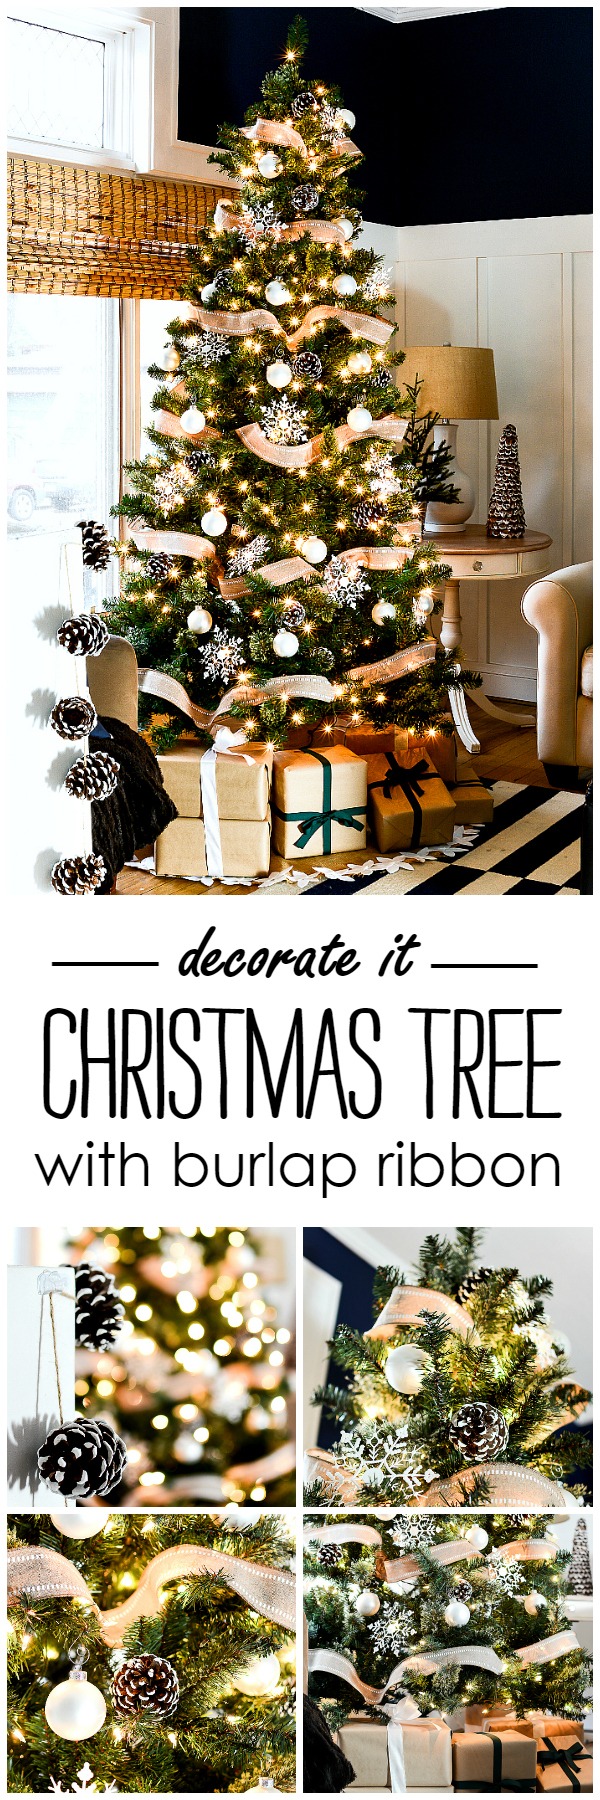
Christmas Tree with Burlap Ribbon & Pine Cones – Natural, Rustic Christmas Tree Idea.
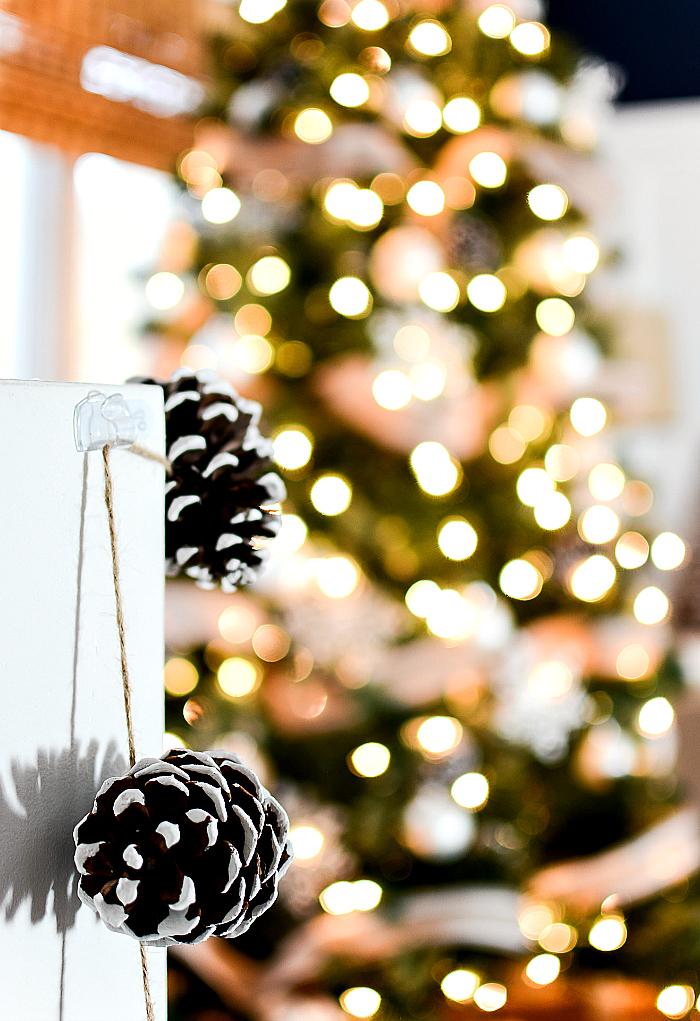
This is not our real Christmas tree.

Our real Christmas tree is exactly that. Real.

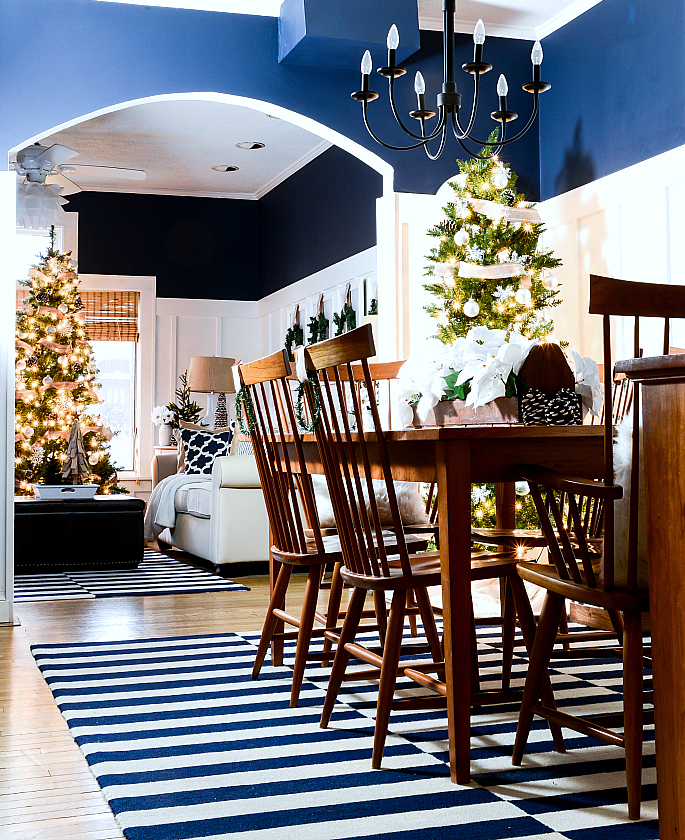
But this faux Christmas tree with burlap ribbon & pine cones is a place holder. A stand in.
A Christmas tree body double, if you will.
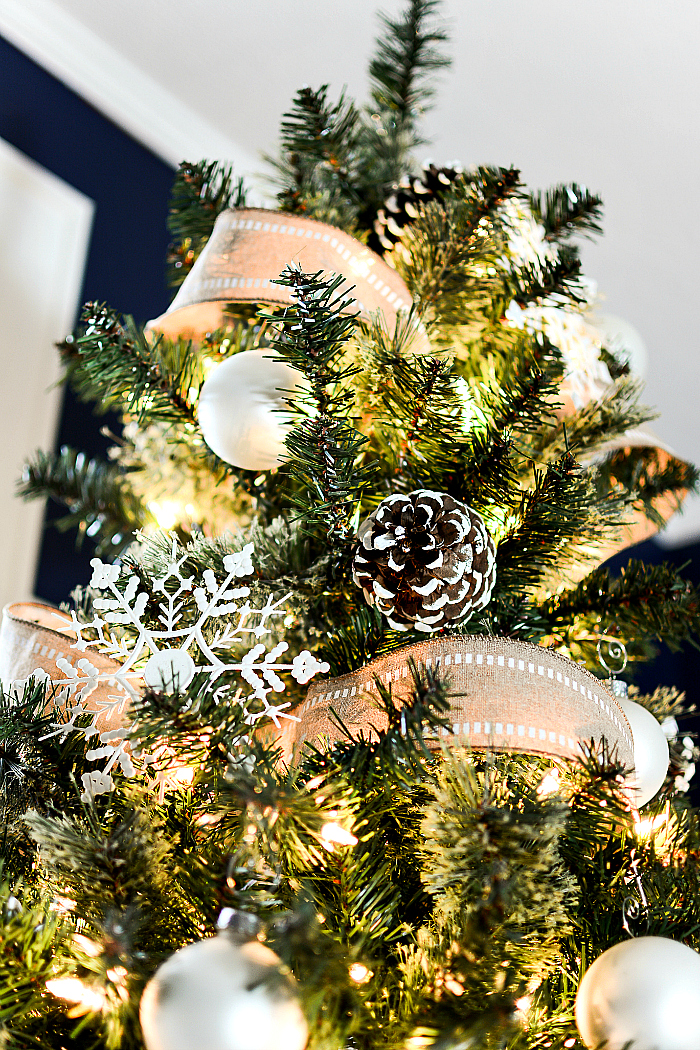
The real tree will be set up when my son returns home from college. As has been our tradition since the kids were little, dad and the kids pick out the tree. And then mom (me) and the kids decorate it.
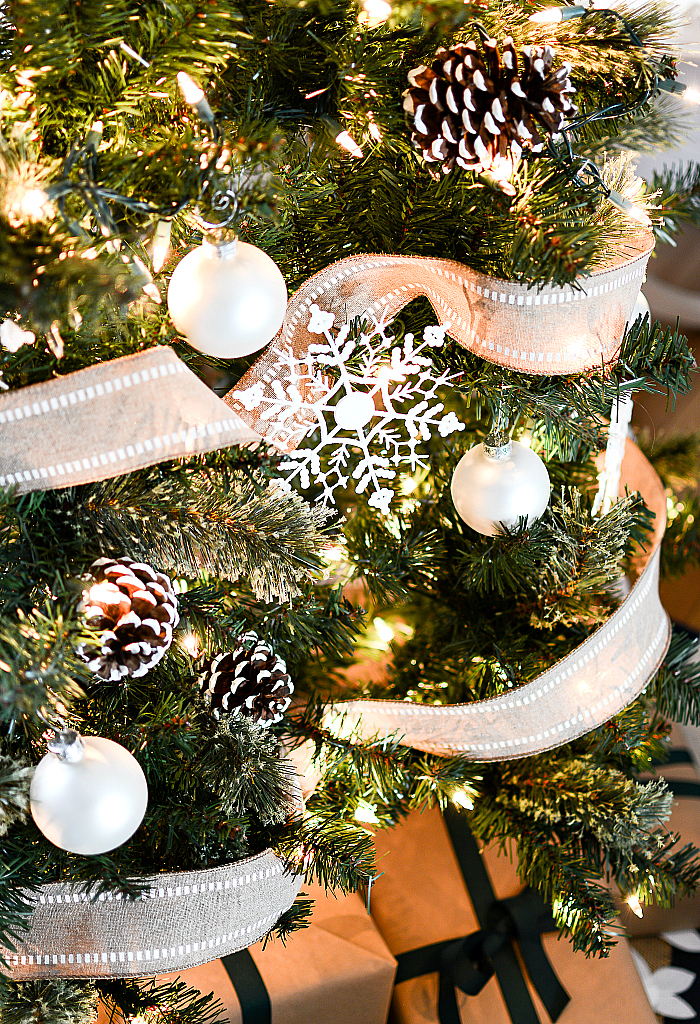
We’ve been amassing an eclectic collection of Christmas ornaments for years and years. Gifts from my sister-in-law to the kids. And gifts from me (in the form of a stocking stuffer) from me to the kids. And gifts to themselves when they visit the Christkindlemarket with my other sister-in-law.
A tradition the kids adore.

And as the kids get older, the tree decorating process becomes slower. Mostly because they stop and pause and reminisce about the various ornaments. Digging out their favorites. And conspiratorially laughing at others.
Inside jokes that mom is not a part of. Which is good thing …
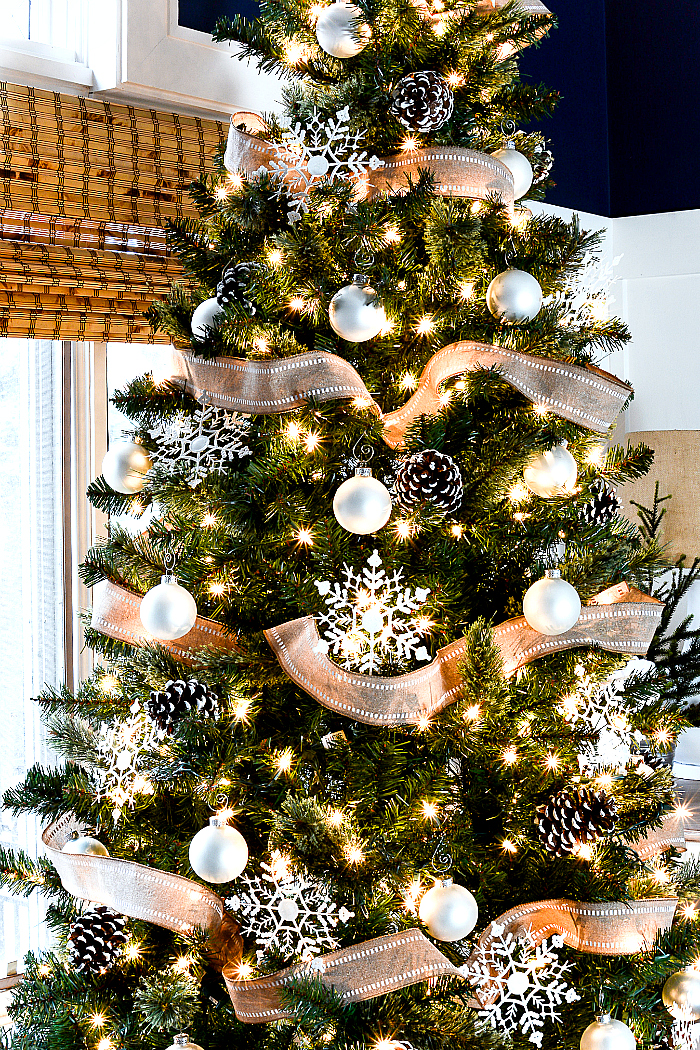
But this “impostor” Christmas tree with burlap ribbon and pines cones will still find a place in our home. Just not here. In the living room …
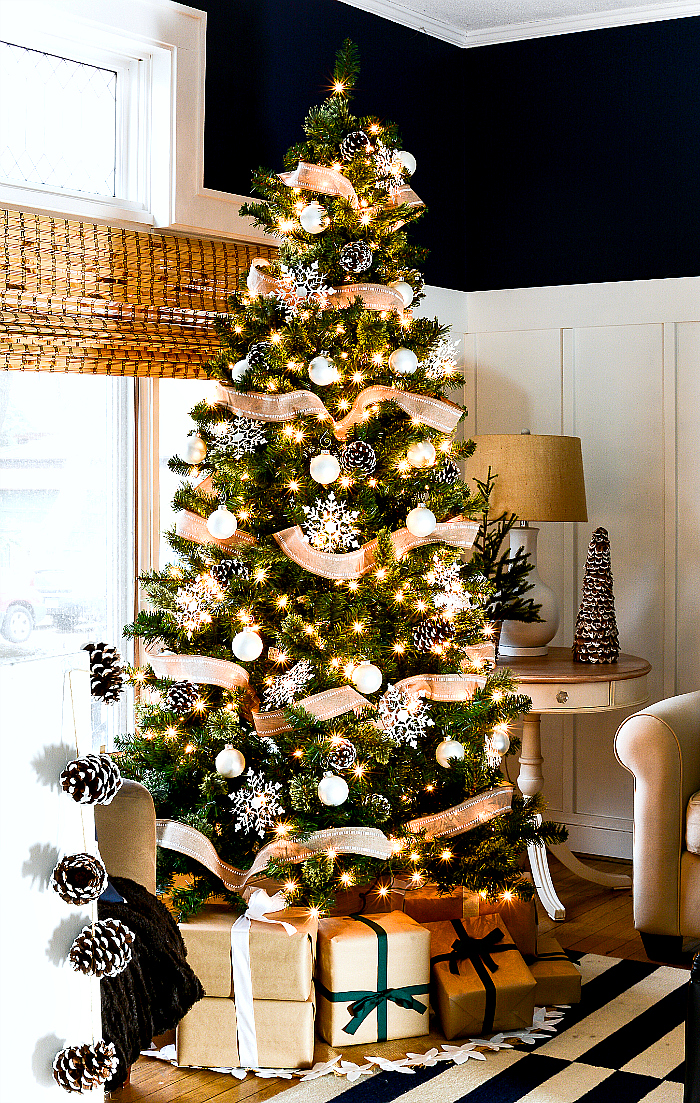
It will graciously make way for the real Christmas tree with a relocation to the family room.
But … for the time being … it’s playing Christmas tree body double for my holiday home tour next week.

I’m up on Tuesday, December 6.
Oh, and I casually suggested to my daughter that we keep this faux Christmas tree decorated with ribbons & pine cones and snowflakes in the living room and put the real tree in the family room.
That idea was shot down immediately.
Tradition rules around here. 🙂
Pin It!
You Might Also Like:
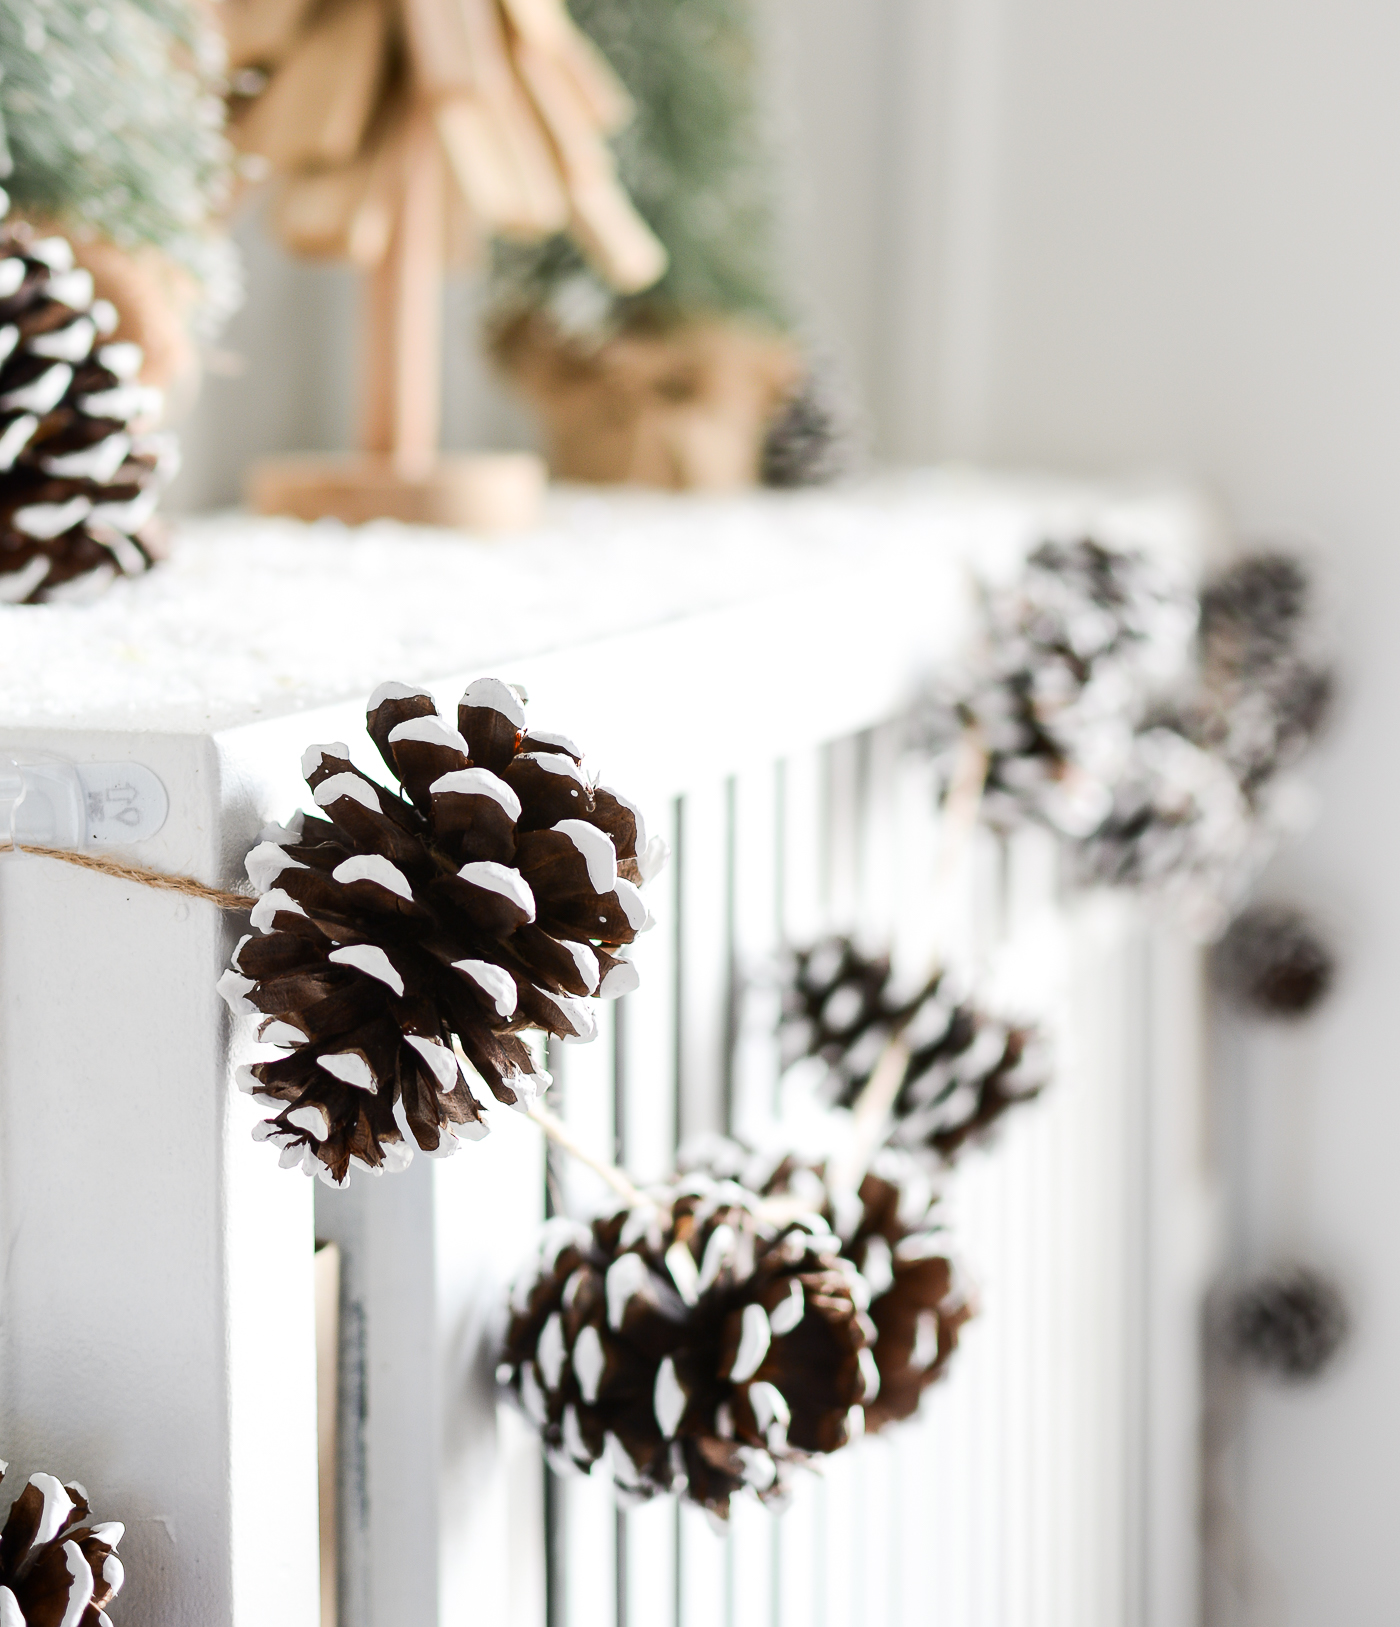
Fantel Mantel with Painted Pine Cones
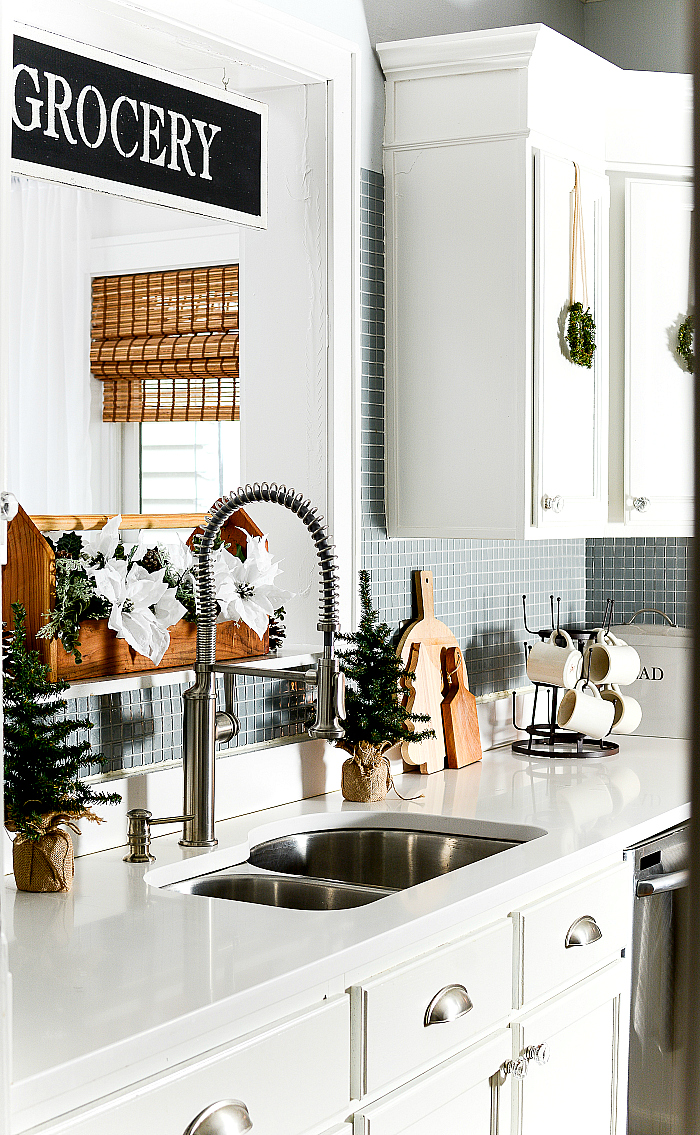
Christmas in the Kitchen (2016)
Christmas in the Kitchen (2015)
Holiday Table with Easy Pine Cone Christmas Tree Place Card Holders

It’s pretty! Our tree has to be fake, as Kid #1 is allergic to fir. But it gets our “real” ornaments. Like drunk Santa.
Hmmm … should I be worried about drunk Santa? 🙂
Oh I love your stand in tree, how gorgeous is that. Now I can’t wait to see the real one too and your tour of course. So fun.
Thank you Marty! I’m so looking forward to all the tours next week – it really gets me in the spirit! And thanks so much for hosting and having me! 🙂
I’m in New Hampshire. You in Chicago may hear the reverberation of whatever sound comes forth from our two grown kids once they discover the first fake tree we’ve ever had. And they thought they had me trained. ~ Your fake tree is lovely! I like the uncomplicated color palette.
Thank you! And, yes, I think I may have heard the groans and screams of traditions being broken! 🙂 I’m still trying to convince my daughter that the family tree belongs in the family room! Wish me luck! 🙂
Love your stand in tree, such a good idea! I am all about black walls right now, very fabulous!
Jenna
Yay for tradition!!!
Christmas tree ornaments color :)??
They’re white bulbs. A bit iridescent/frosted in color. I bought them at Michael’s.
Where did you get this burlap ribbon for your tree? I love it! I have similar ornaments on my “living room” tree and want to copy this 😊
I found it at Michael’s a few years ago. Not sure if they still carry it, but I’m sure they’ll have some version of a thick, wired burlap ribbon to choose from!