When my blogging friend told me she was going to start a second blog — a burlaps project blog — my first reaction was, gulp.
Followed by, uh oh.
And not because I didn’t think the idea was a good one. I knew it was a brilliant one …
in fact, this brilliant-idea-generating friend is the one who suggested I start a mason jar blog. And that was a brilliant idea I’m eternally grateful to her for suggesting!
No, those gulps and uh ohs were a hit-me-over-the-head-with-an-anvil reminder that I’ve never created a single burlap project. Not a one. Never even touched the stuff …
that is until I attended a blogging conference this summer.
It started with the cutest burlap polka dot tote bag I found at Hobby Lobby. The last one they had that I scooped up and carried around with me all weekend long at that blogging conference …
… followed by one of the conference exhibitors, onlinefabricstore.net, giving us all fabric samples; including burlap …
…followed by my lazy unpacking tendencies that situated my cutest burlap polka dot tote bag prominently in my living room. Atop our amazing new navy and white striped rug. Just in front of our new espresso-colored leather ottoman …
where it sat for weeks …
and where it made me smile each and every time I walked through the living room.
It looked so perfect in the room.
Ding. Ding. Ding.
That’s when inspiration struck …
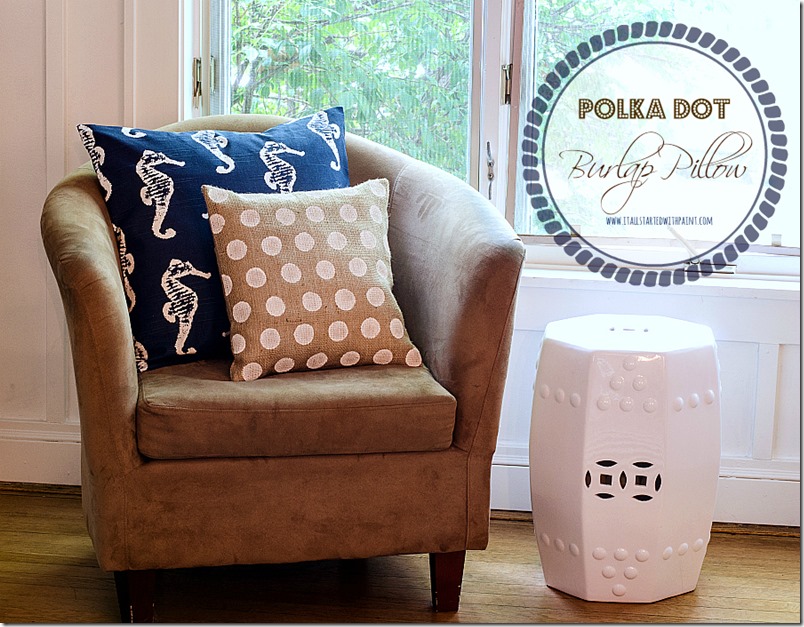
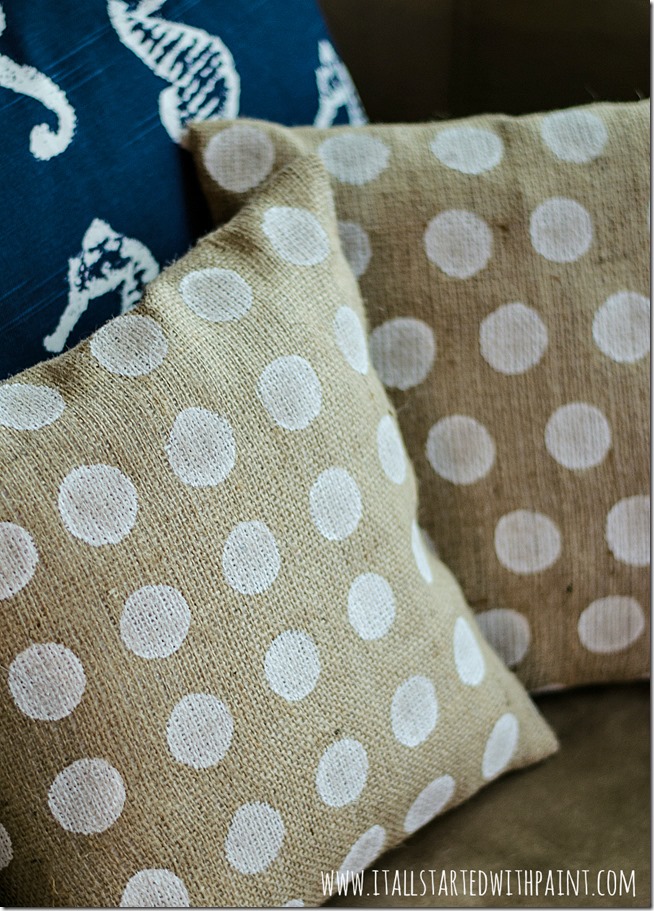
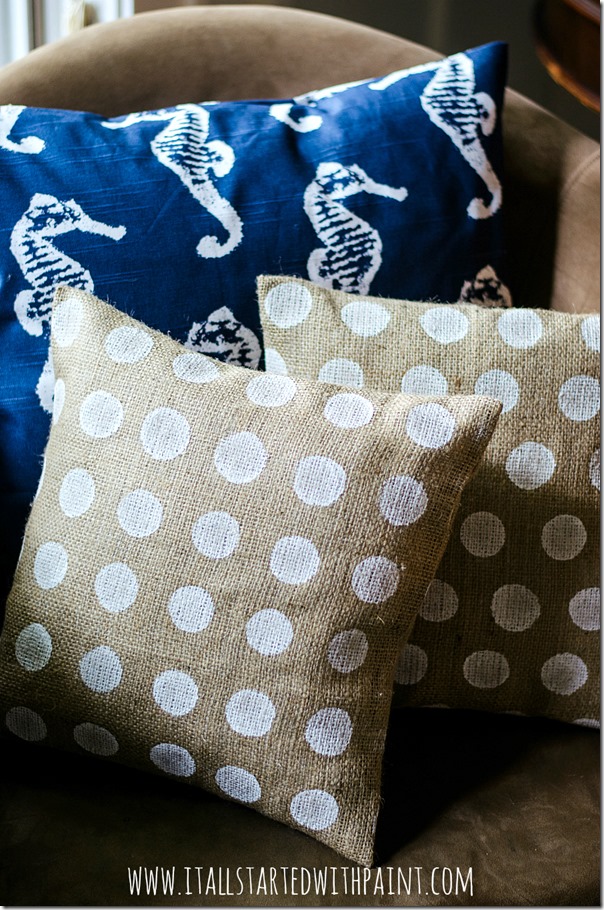
I could make my very own polka dot burlap pillows!
Yeah. I’m quick like that.
How to Paint Polka Dots on Burlap
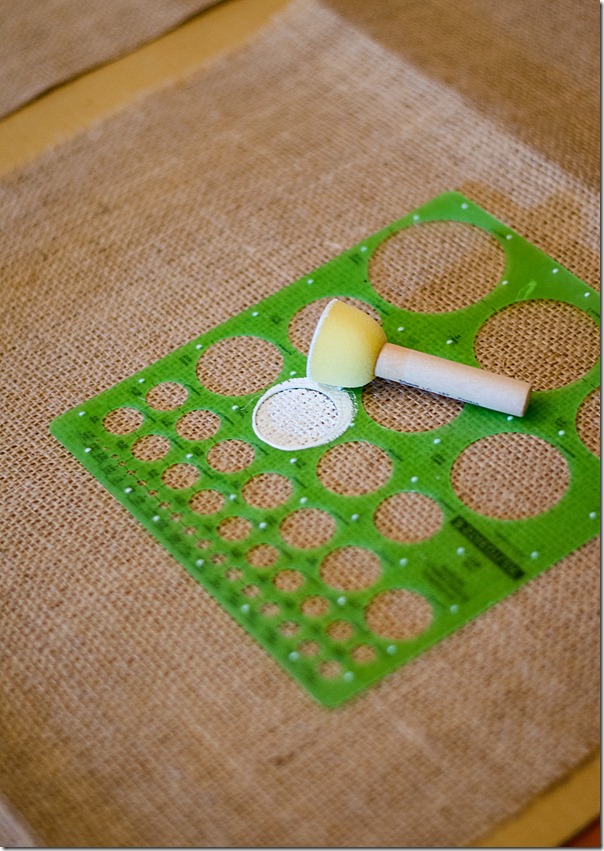
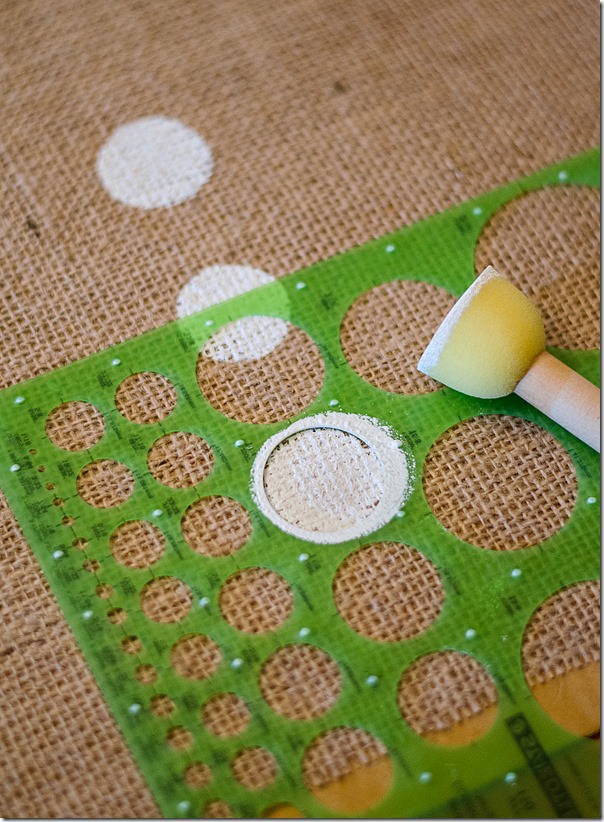
I started with burlap, white acrylic craft paint, a sponge brush, and the most unlikely of stencils. Something I found at Staples in the school supplies section …
… it’s something used by geometry students. But I loved that it offered so many polka dot size options!
My pillow was going to be 14 x 14, so I measure out a 14 x 14 section and then found the center point. That’s where I stenciled in my first polka dot. In the center.
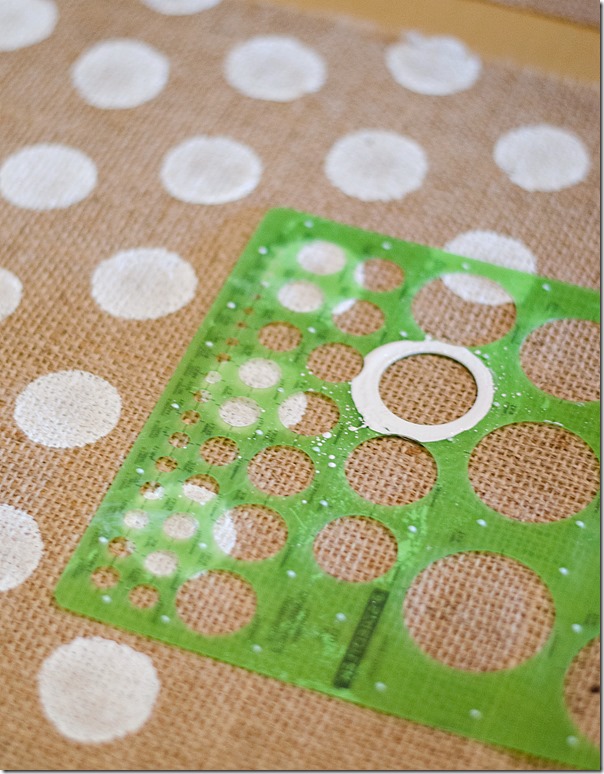
Now make sure you have something behind the fabric because the paint will bleed through. I also had some wet paper towels on hand and wiped off the back side of my geometry stencil frequently.
As I moved through the 14 x 14 section, I just kind of eye-balled where the next polka dot would go, using the geometry form as my guide for spacing …
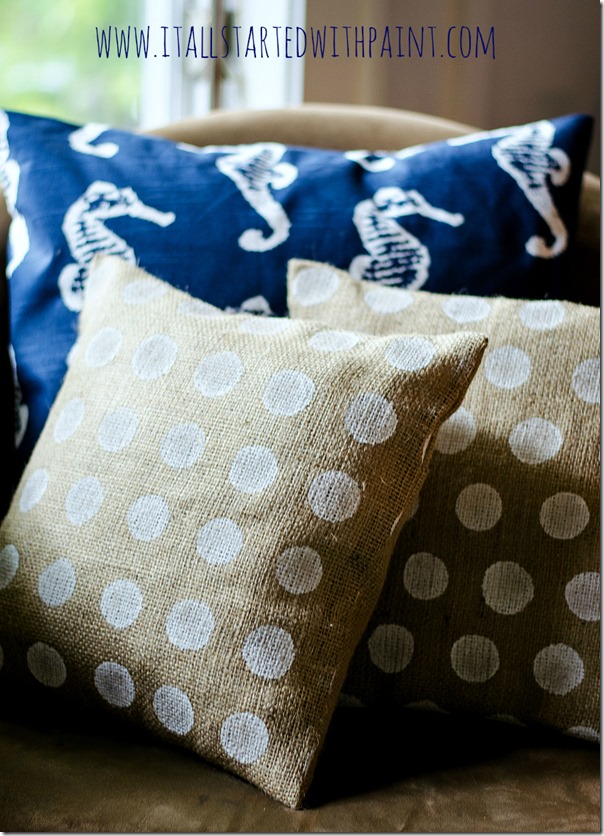
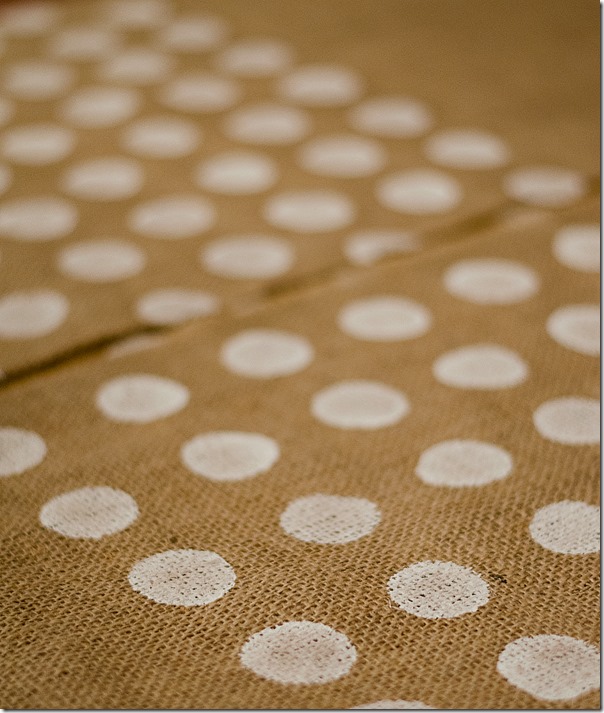
For one of the pillows, I spaced the polka dots in even rows. For the other pillow, I staggered the polka dots row-to-row …
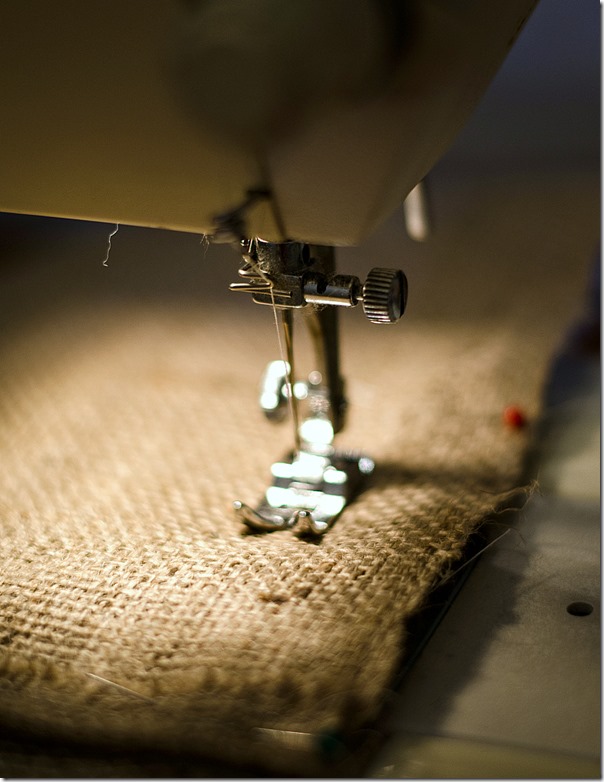
Then it was time to sew.
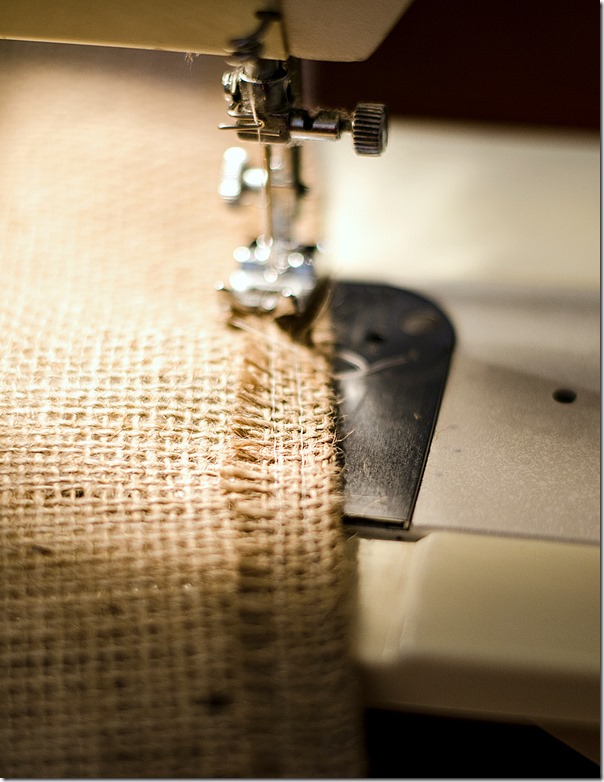
I’ll be honest, I was skeptical about the sewing part. I wasn’t convinced it would hold …
So I gave the end seams a double-row stitch.
As for the pillow construction, I went with my go-to envelope pillow style. I’ll share a tutorial on the construction later this week …
And now that I’ve worked with burlap, I think I may be hooked on this new home decor medium …
I mean, how cute?
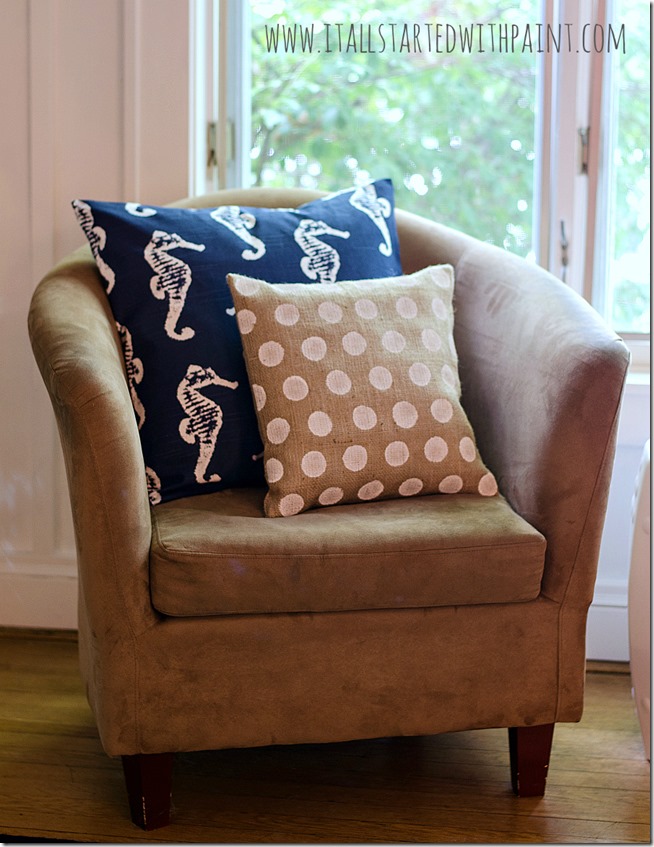
And they look amazing in my newly redesigned living room …
a room I’ll be sharing with you this week. Fingers crossed …
![]()
Sharing:
* Between Naps on the Porch * Uncommon Designs * Savvy Southern Style * Homework Wednesday * The Cottage Market * Tatertots & Jello *


[…] 3. Polka Dot Burlap Pillow // It All Started With Paint […]