You know that “Champagne taste on a beer budget” saying? Well, my daughter and I have chandelier dreams on a …
a …
a …
hmmm …
I can’t seem to come up with the beer to champagne equivalent in the realm of lighting.
Perhaps light bulb budget?
Either way, we both want a chandelier in her room. And when we make the big switcheroo and move her into her brother’s larger room when he heads off to college, we will absolutely hang a chandelier.
And when I say we, I mean I will call our electrician friend.
😉
But for now, her mini room makeover needs to remain gender neutral with paint color and fixtures. So I opted for the next best thing.
A chandelier stencil.
An easy fix with a few strokes of paint when we transition from young woman to young man’s room this summer.
It all started with paint. Because isn’t that how all great wall stencils begin? 🙂
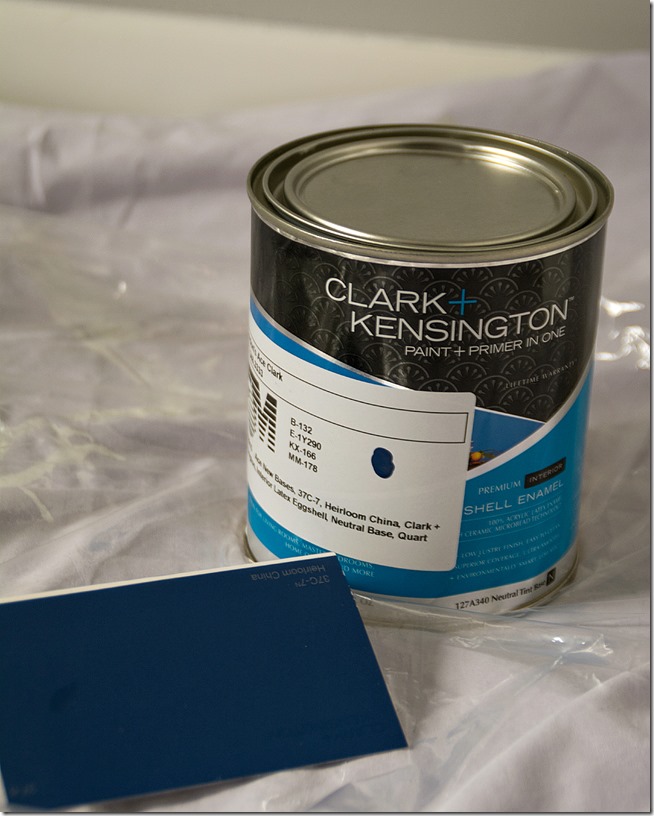
My daughter chose blue. Which surprised me. After the kitchen and living room and dining room and master bedroom redos, she started to lament that everything in our house was turning blue. But in the end, I just love the color she selected: Clark+Kensington in Heirloom China (37C-7). In Eggshell.
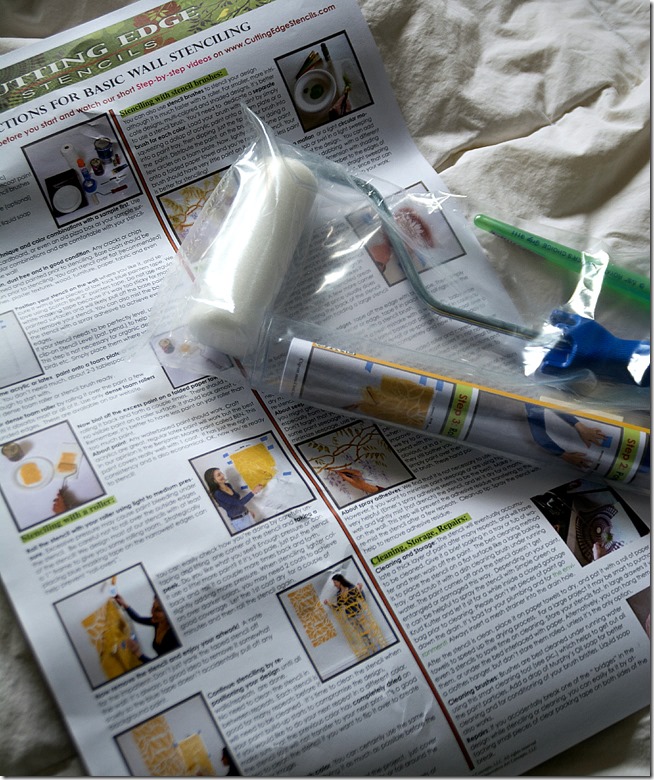
Before doing anything, I read the directions. Twice.
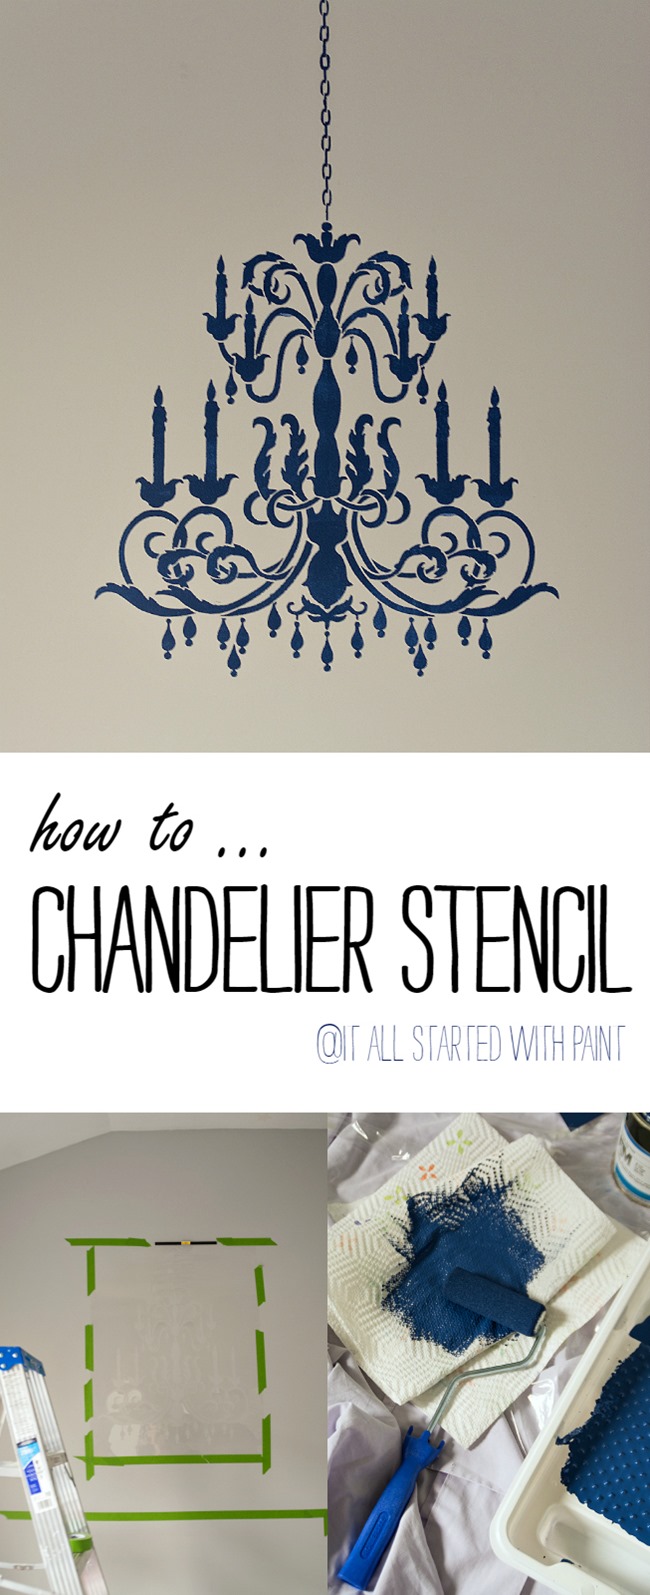
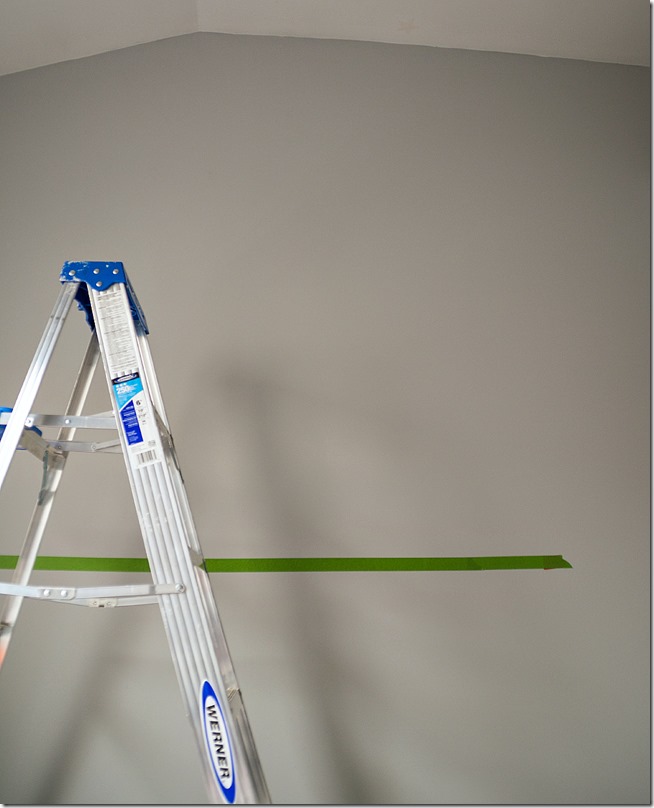
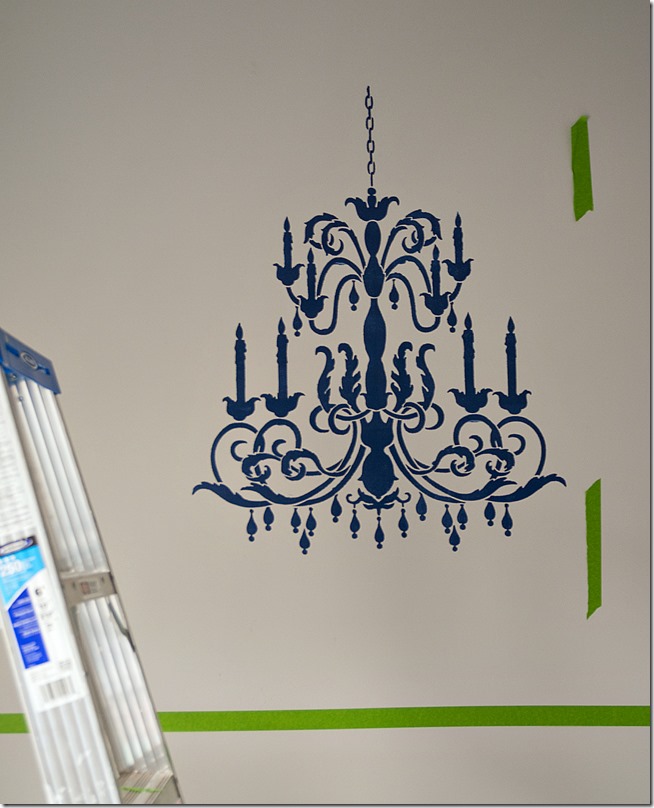
Then I created a horizontal line with painter’s tape, measured up from the floor to indicate the height of her new bed frame.
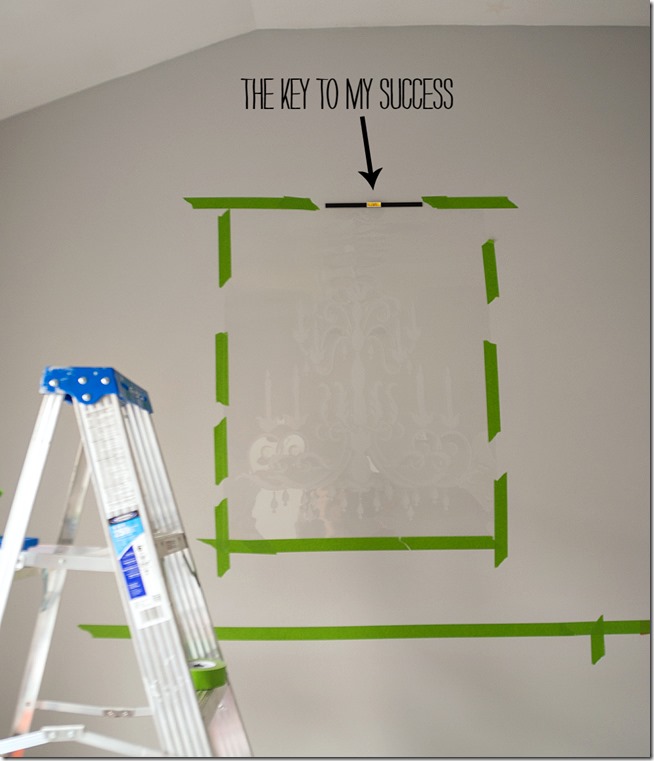
This part took me a few tries to get it just right. I’d climb up the ladder, tape the stencil on the wall, climb down the ladder, stand back to scrutinize. Then I’d decide it was too high. Too low. Too far right. Or left. And try again. And again. And again.
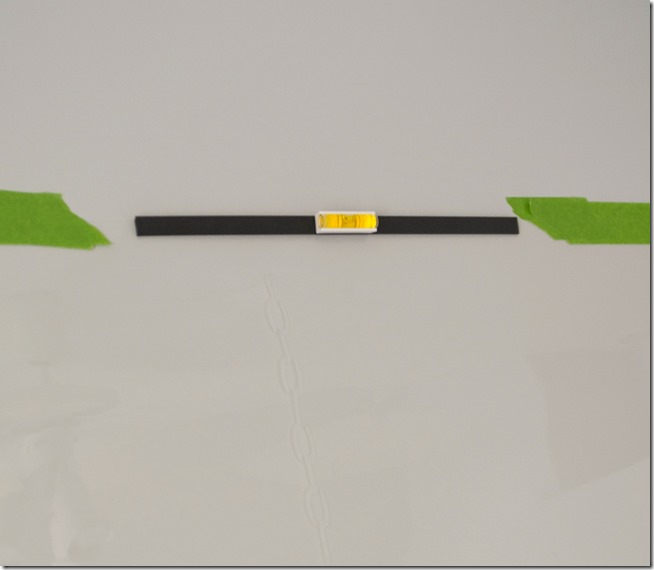
But the true key to my success was Cutting Edge Stencil’s amazing, life-altering clip-on level.
thankfully the level is not blurry in person … 😉
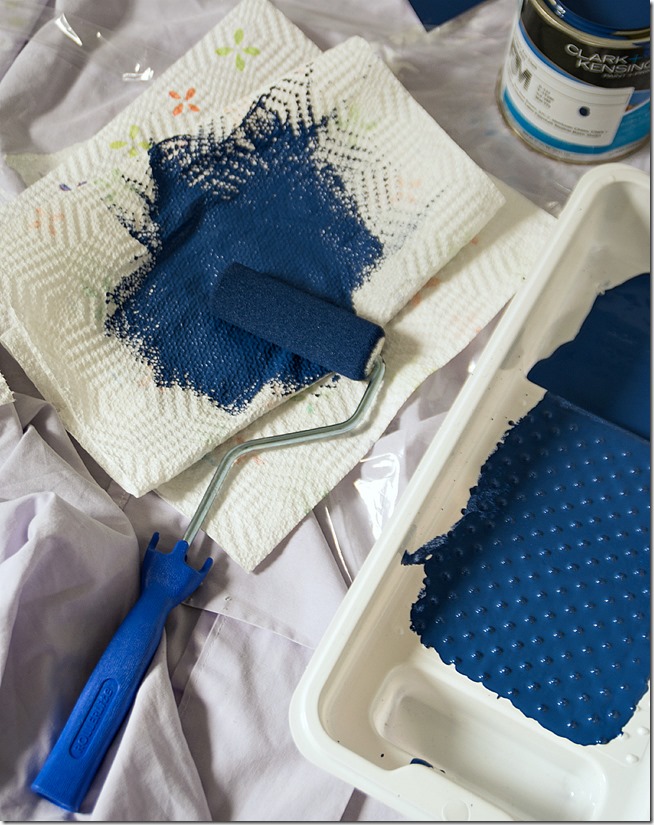
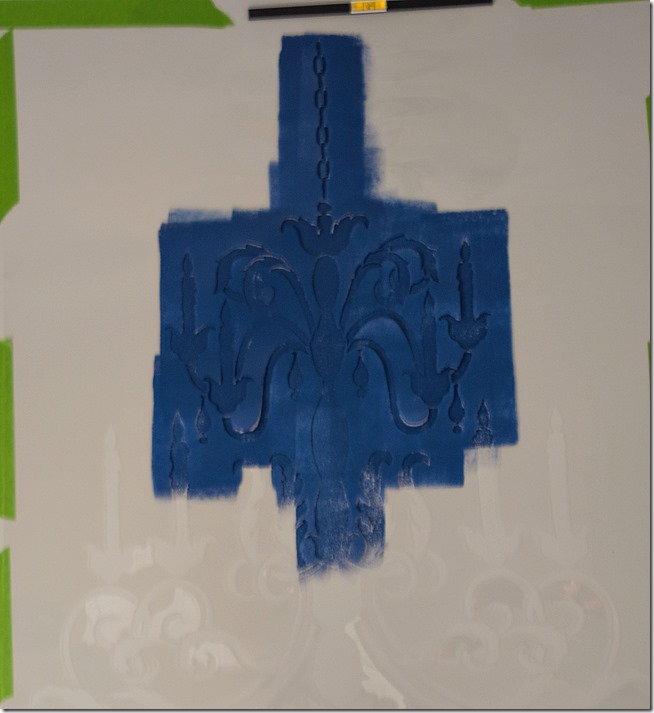
Once the stencil was taped in place, I loaded up the roller with paint. And then rolled it off on a clean paper towel.
Let the fun begin!
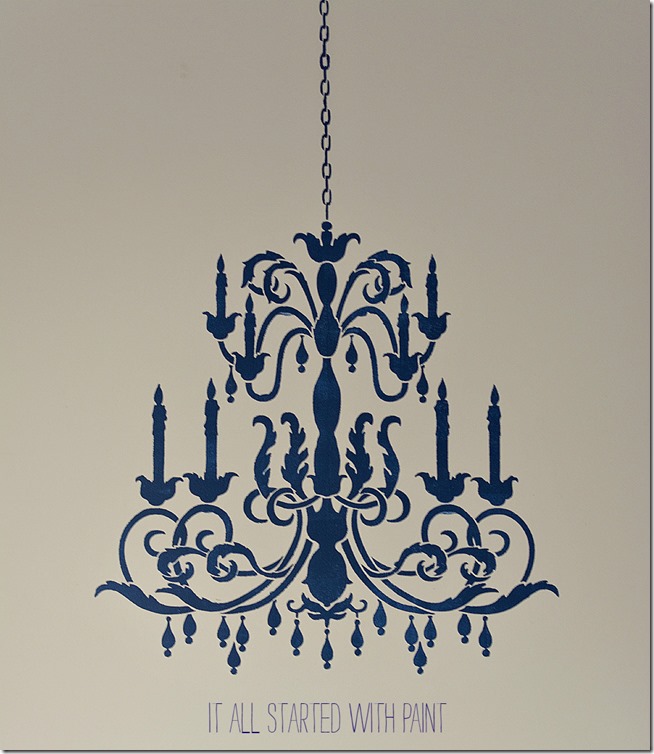
And breath. Yes, there is always the holding of the breath when removing the stencil. And while not perfect, I think it looks amazing …
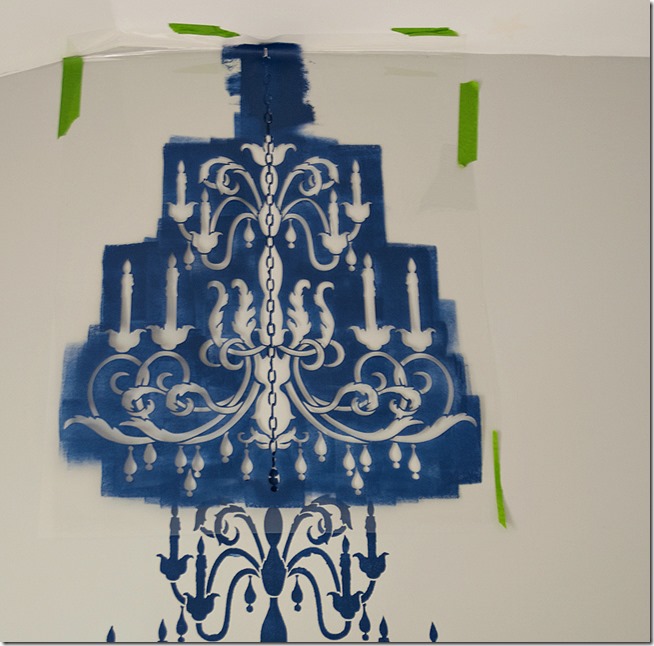
… with the exception of the chain. I wanted it to go up to the ceiling.
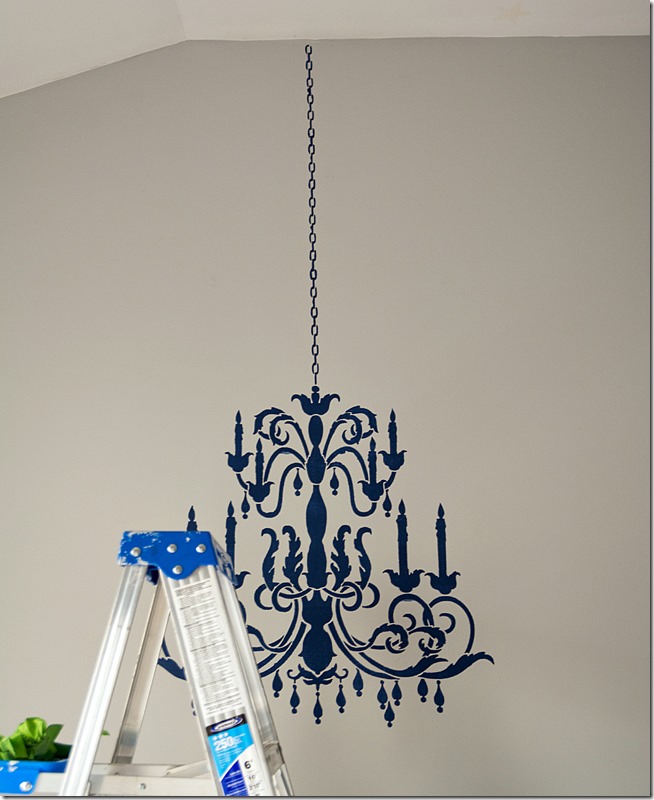
Using the stencil level (and my eyeballs), I overlapped the stencil to repeat the chain.
Voila!
It’s such a statement piece on the wall!
Chandelier dreams on a light bulb budget indeed …
Linda
I would like to thank Cutting Edge Stencils for providing me with this beautiful stencil. However, any and all opinions about the chandelier stencil and Cutting Edge Stencils and the awesome life-altering clip-on stencil level are 100% my own. Oh, and you can find the chandelier stencil by clicking here …
Sharing:
Between Naps on the Porch | Savvy Southern Style | Link Party Palooza | The DIY Showoff | Inspiration Monday |

Looks very pretty and thanks for the tips. I stink at stenciling and will take all the help I can get.
A CLIP ON LEVEL??? I am so IN! Love the way this looks! Does he know yet where he is going?
This looks amazing! That color is gorgeous!
I would love it if you stopped by my blog and joined our link party Something to Talk About!
Have a great day!
Karen
Great job Linda. I’m a fan of the chandelier stencil. In fact, I’m sure I have at least two of them somewhere that have never gotten used. How is it that all you guys get all this stuff done?
Ah, yes. The magic question. Unfortunately, at he detriment of the rest of the house! A bit of a disaster. And dusty. Let’s just say that, for once, my daughter’s room is the cleanest in the house … and THAT is saying a lot!!! 😉
Clip with a level would be life altering with stencils. What a brilliant idea. I really love how this turned out. My recent brilliant idea was to use wall decals to create a Marner’s compass on my ceiling,. I’m just waiting for the stickers to show up. I’ll let you know how it goes. I would have painted it, but I read like 3-4 blogs where they all said “Don’t do it!” So we’ll see how vinyl looks. And sticks. I suppose if it peels eventually, I could use the sticker as a reverse stencil and then paint it, right?
All the Best,
The Other Marian
I can’t wait to see that!!! Kari @Thistle did something like that on her ceiling. And I love the idea of using the sticker as a reverse stencil! You are brilliant!!! 🙂 Linda
this looks really pretty and love the color, I’d love to do one in my daughter’s room but always thought they were really hard to do. thanks for your informative post.
i am not surprised she chose blue. it’s a beautiful color and so cute in her room.
Thanks so much for sharing on Karen’s Up on The Hill! I am looking forward to what you are sharing this week!
Karen