Chicago Subway Art with Chalk – DIY Tutorial
Regrets.
I have a few. Some bad choices I made back in my youth. But I don’t let those regrets define me.
In fact, I’ve used those bad choices as learning experiences. Opportunities to make better choices moving forward.
And moving forward has turned out fabulously. 🙂
But there is one regret I wish I could go back in time and fix. A regret I was reminded of last weekend.
You see, a new reader found this blog. She came through my painted sink project post. And she sent me an email on Saturday morning with a picture of the kitchen cabinets in her New York City apartment kitchen. She was looking for advice on how best to paint them. Because, admittedly, they were pretty hideous.
And it was during this back-and-forth exchange of emails on Saturday morning that I was reminded of my one regret I wish I could change:
I never lived in New York City.
For 10 years I worked on 6th Avenue, also known as the Avenue of the Americas. And during those 10 years, I commuted back-and-forth from New Jersey. Mostly through the Lincoln Tunnel. Sometimes via the George Washington Bridge.
In hindsight, I should have spent a few of those 10 years living in the city. Especially after I started to make some decent money …
I guess I was too attached to my New Jersey life. And my car. And renting a beach house at the Jersey shore in the summer. All of which wouldn’t have been possible logistically … and financially … if I also had to swing New York City rent.
Ah well. As regrets go, it’s not such a bad one to have.
And it’s probably a contributing factor to why I’m so adamant about living in Chicago …
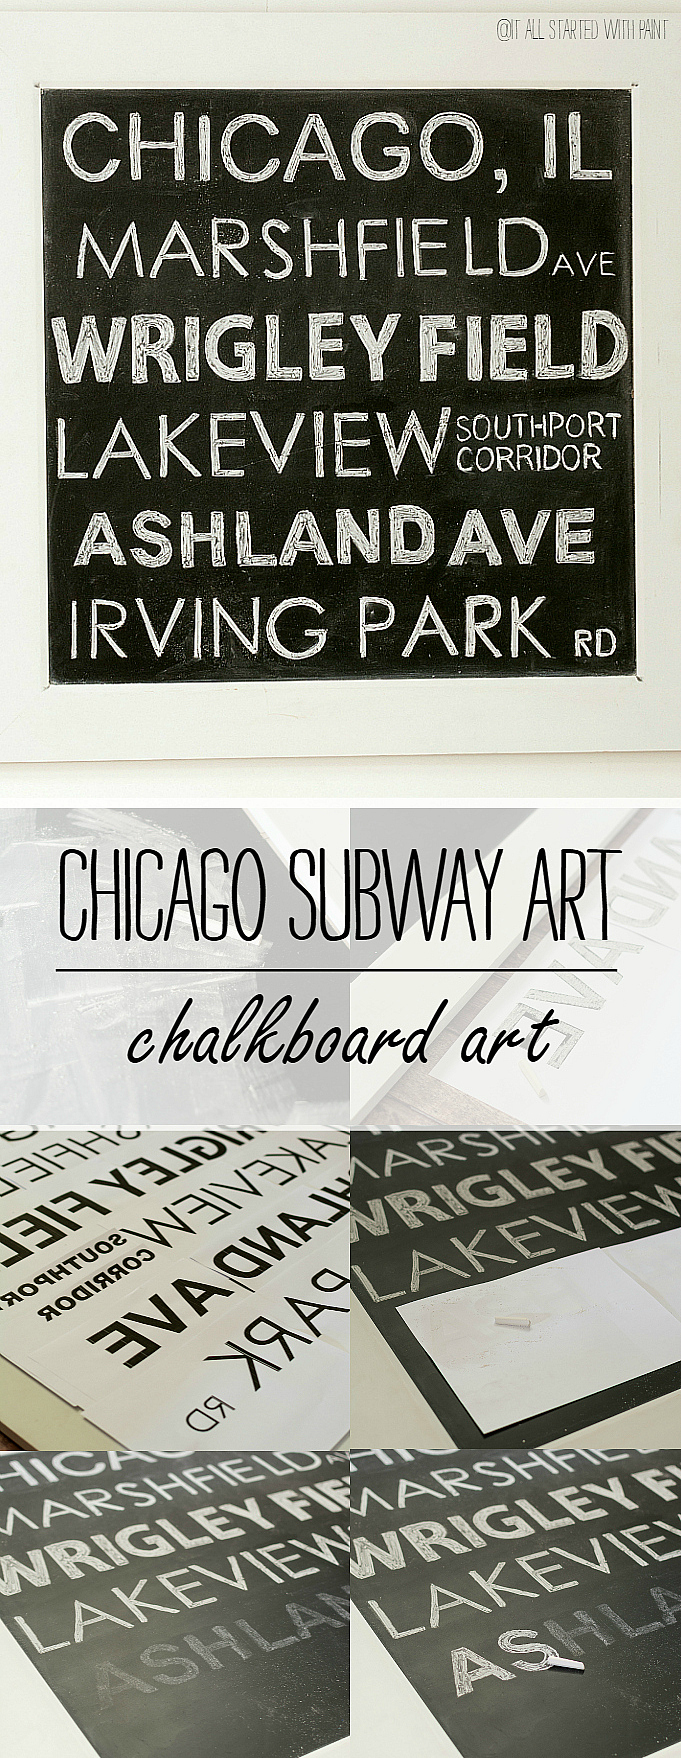
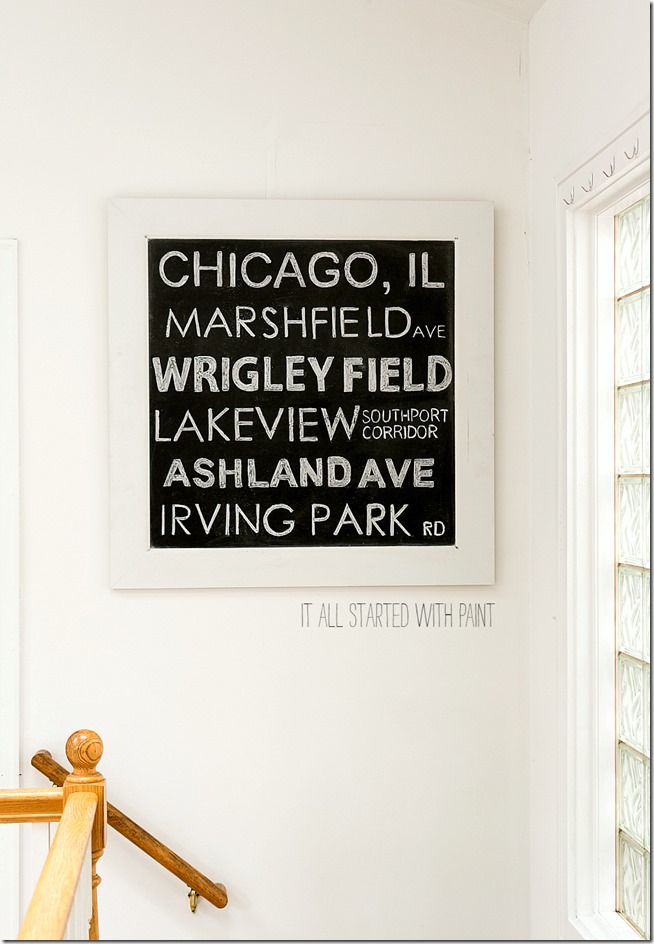
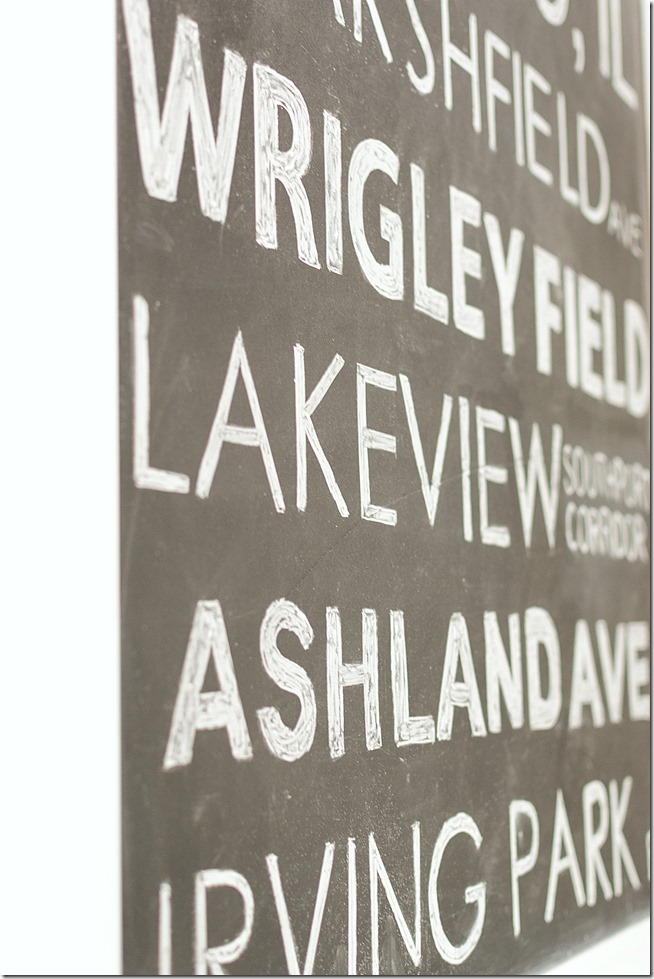
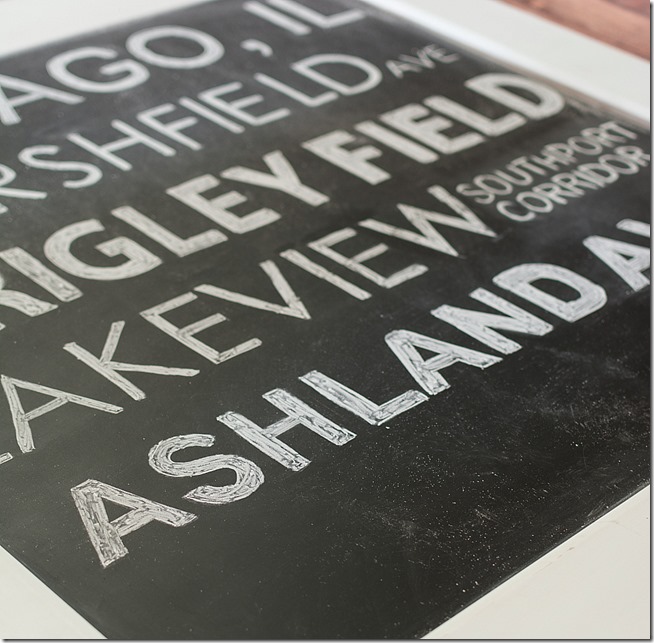
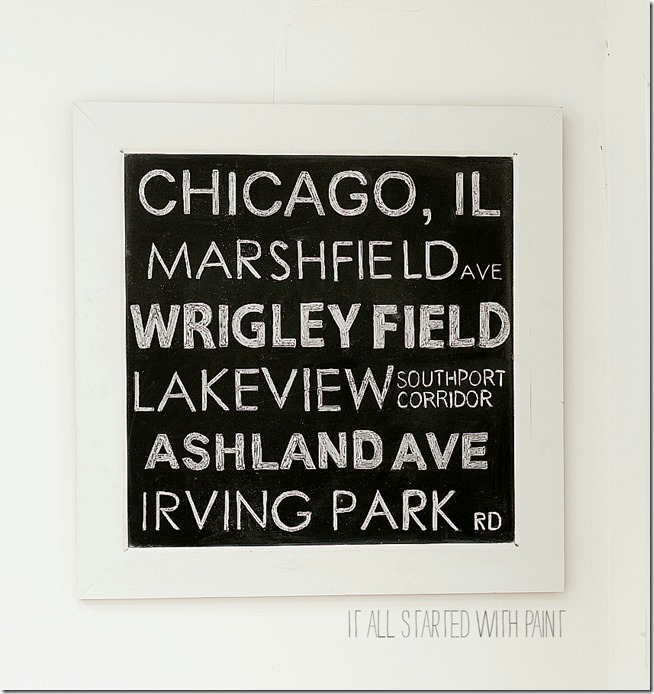
To celebrate out neighborhood, I decided to try my hand at a Chicago subway art project. Only I used chalkboard paint and chalk to create my masterpiece.
How To Make Chicago Subway Art With Chalk
I started by giving the glass on my picture frame two coats of Rustoleum’s chalkboard spray paint.
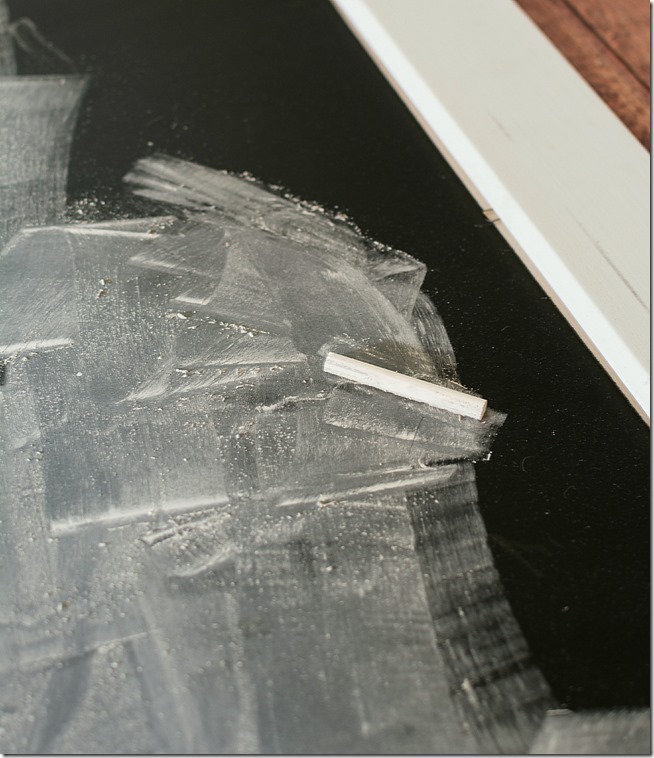
After the paint cured (per the instructions on the spray paint can) I seasoned the chalkboard by rubbing the surface with a piece of chalk on its side.
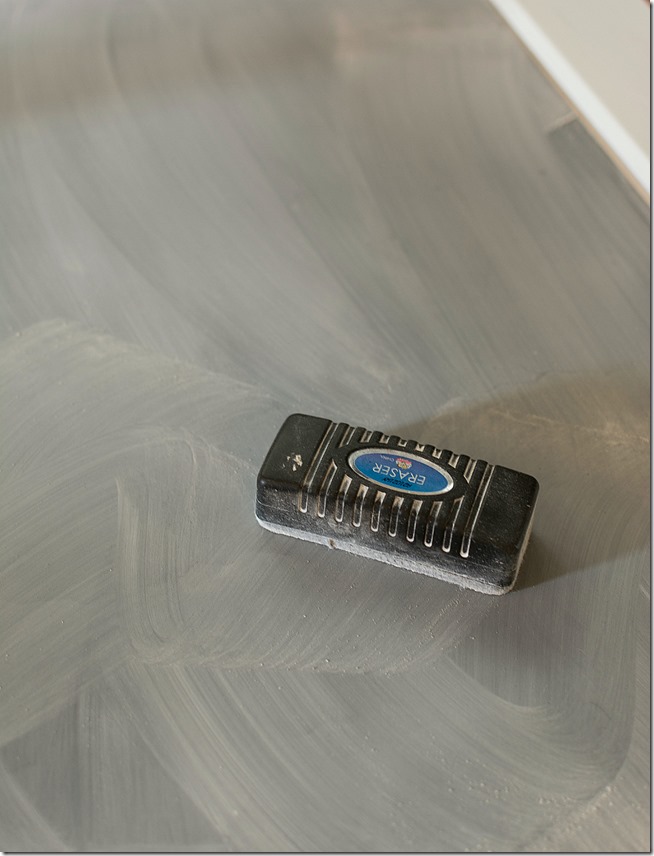
Followed up with an eraser.
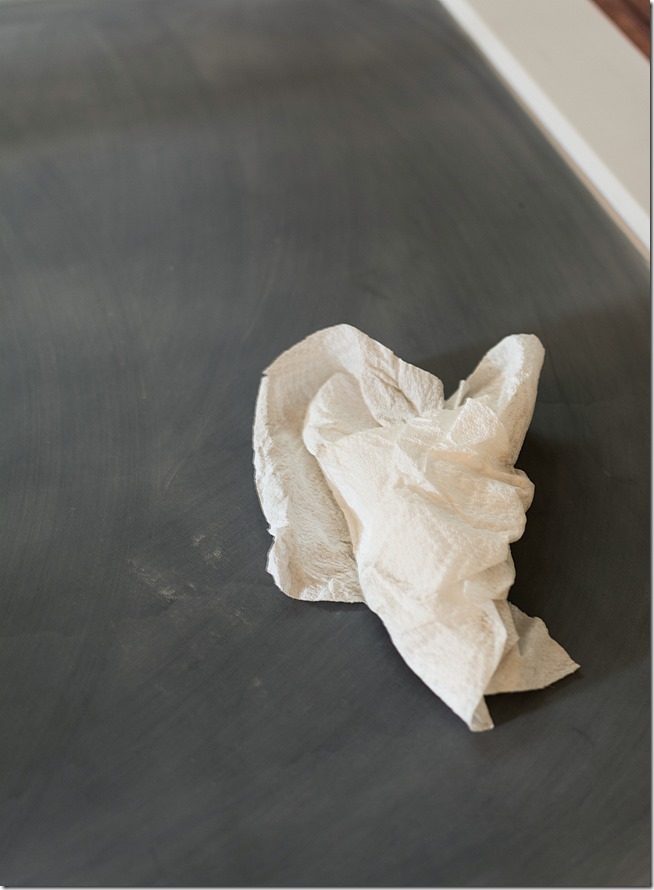
I removed the extra chalk dust with a paper towel (a cringe-worthy-hair-raised-on-my-arms task for me). I also went over the surface with a wet paper towel.
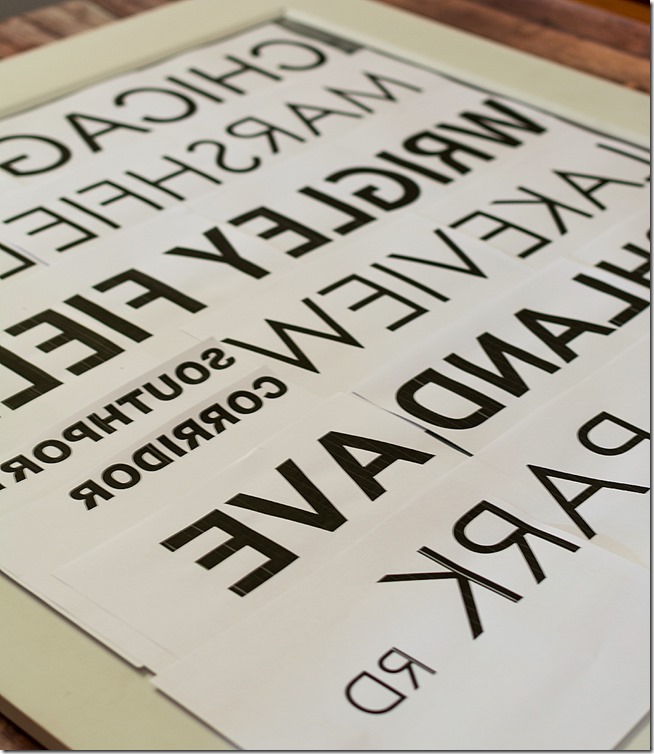
For the typography, I initially planned to free hand it using a grid system. But that plan went south with the very first letter I drew. Instead, I formatted my text in a Microsoft Word document. Then I reverse imaged the text (using this tutorial). I printed everything out and laid it to make sure it fit.
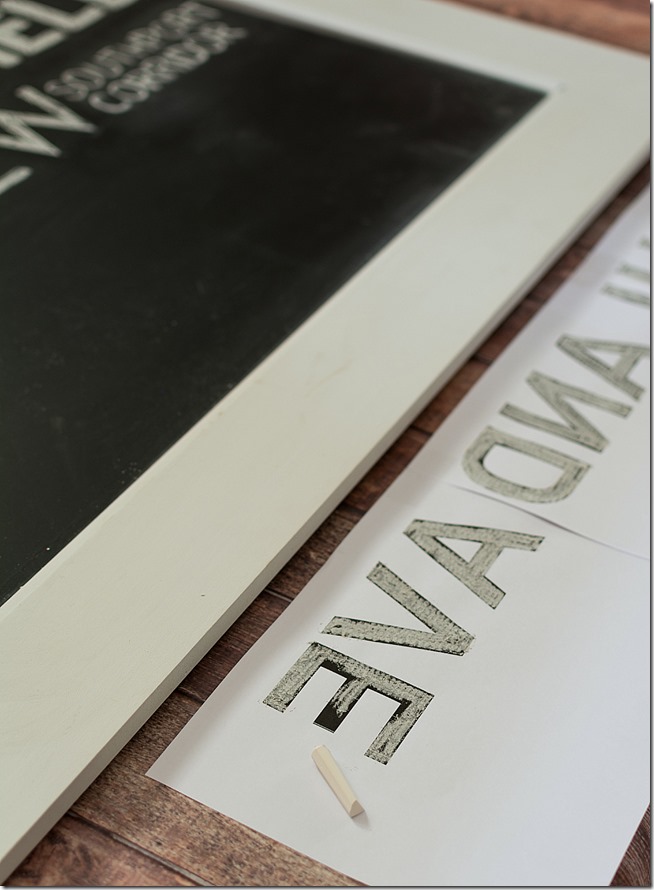
Using my chalk, I filled in the letters/
I then turned it over onto my chalkboard board and rubbed the reverse side with my chalk.
Which transferred my chalk letters onto the chalkboard.
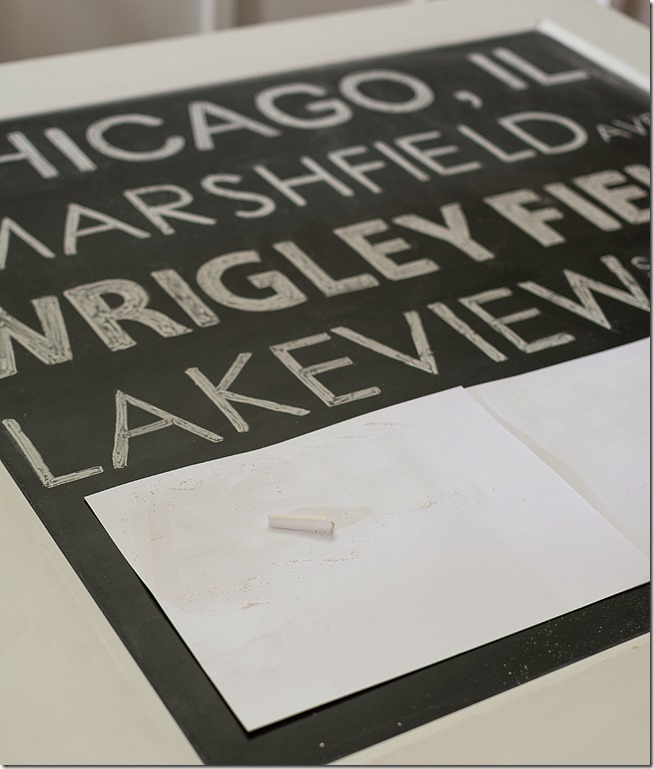
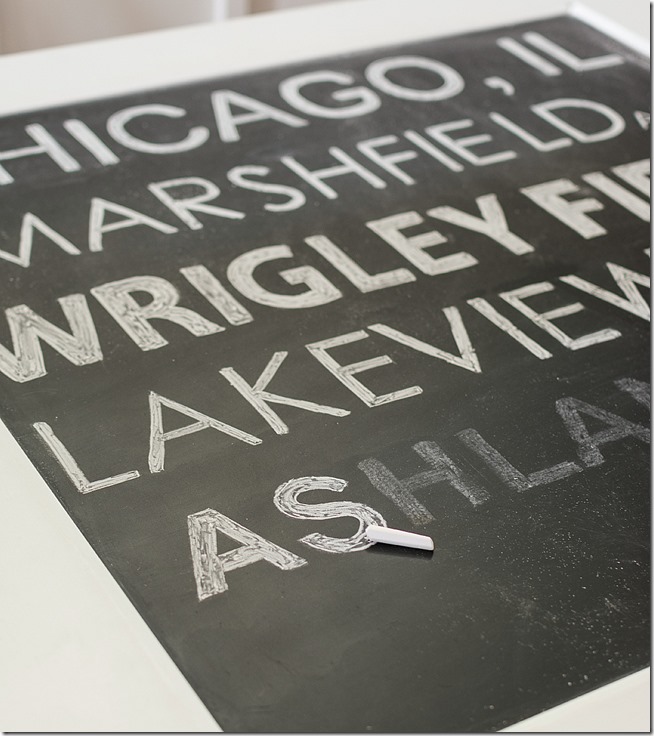
I used that as a guide to fill in my letters with chalk.
And while, in the end, it’s not perfect.
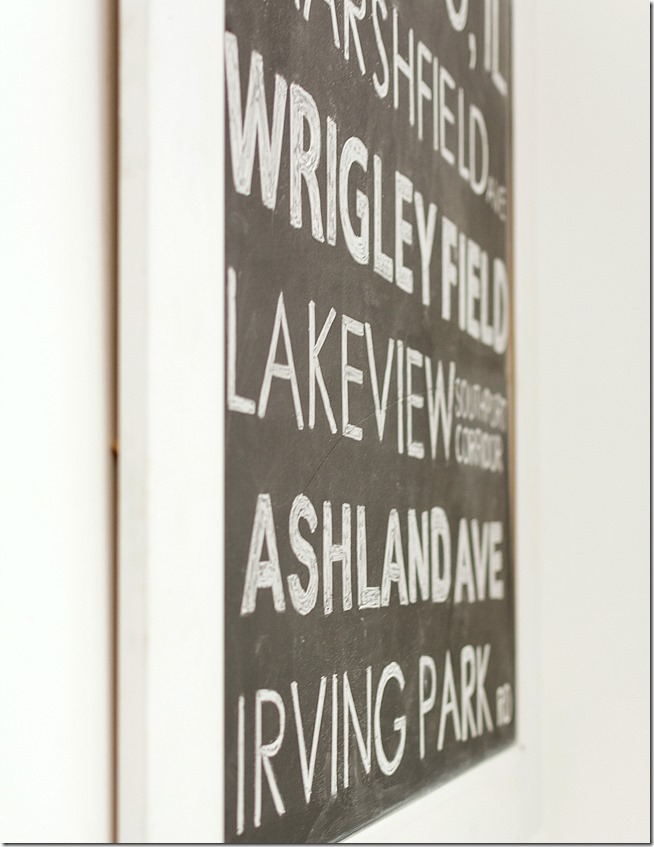
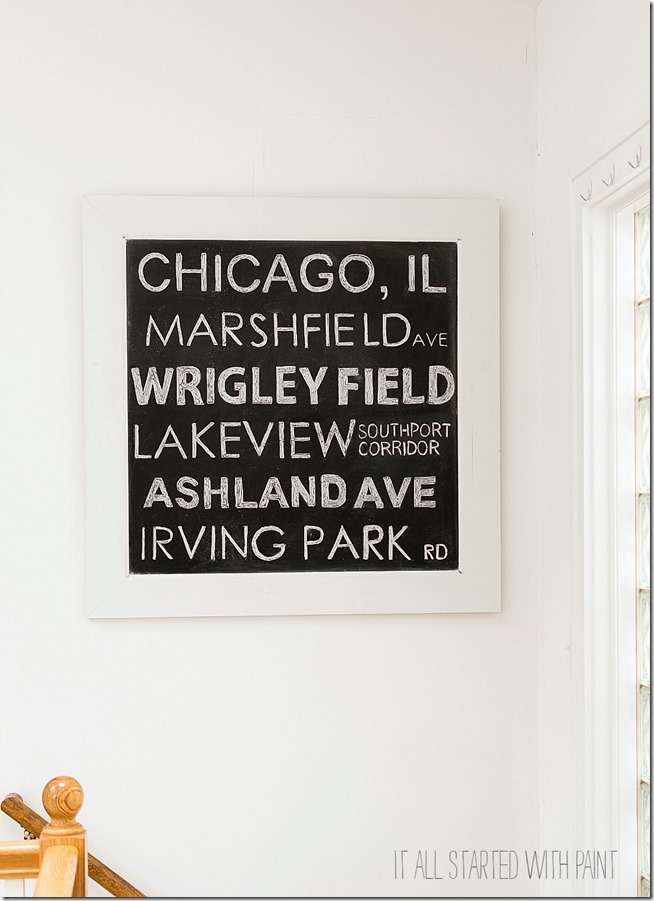
It perfectly captures the places and spaces in the city of Chicago that are near … and dear … to me and my family.
No regrets.
🙂
Linda
PIN IT!
You Might Also Like:

Chalkboard paint! Magic stuff. The back of a childs bedroom door. My daughter is now a teenager and still uses it.
I’m 50+ years old and still obsessed with … and using it … too! Love that chalkboard paint! 🙂
I’m so glad that you are embracing my city! Every street has special memories! Of course my 2nd favorite city is New York, so I think you are amazing!
Love it Linda! Thanks for sharing at #inspirationmonday
🙂 Debbie
So if I drive around on Irving Park Road will I stumble upon you sweeping the porch?
I found you from the BNOTP linkup…I think your chalkboard is perfect! What a great idea for how to do the lettering!
We are new to the Chicago burbs and while we love it here, we still miss home…but, no regrets 😉
Kimberley, Seasideave.com
test