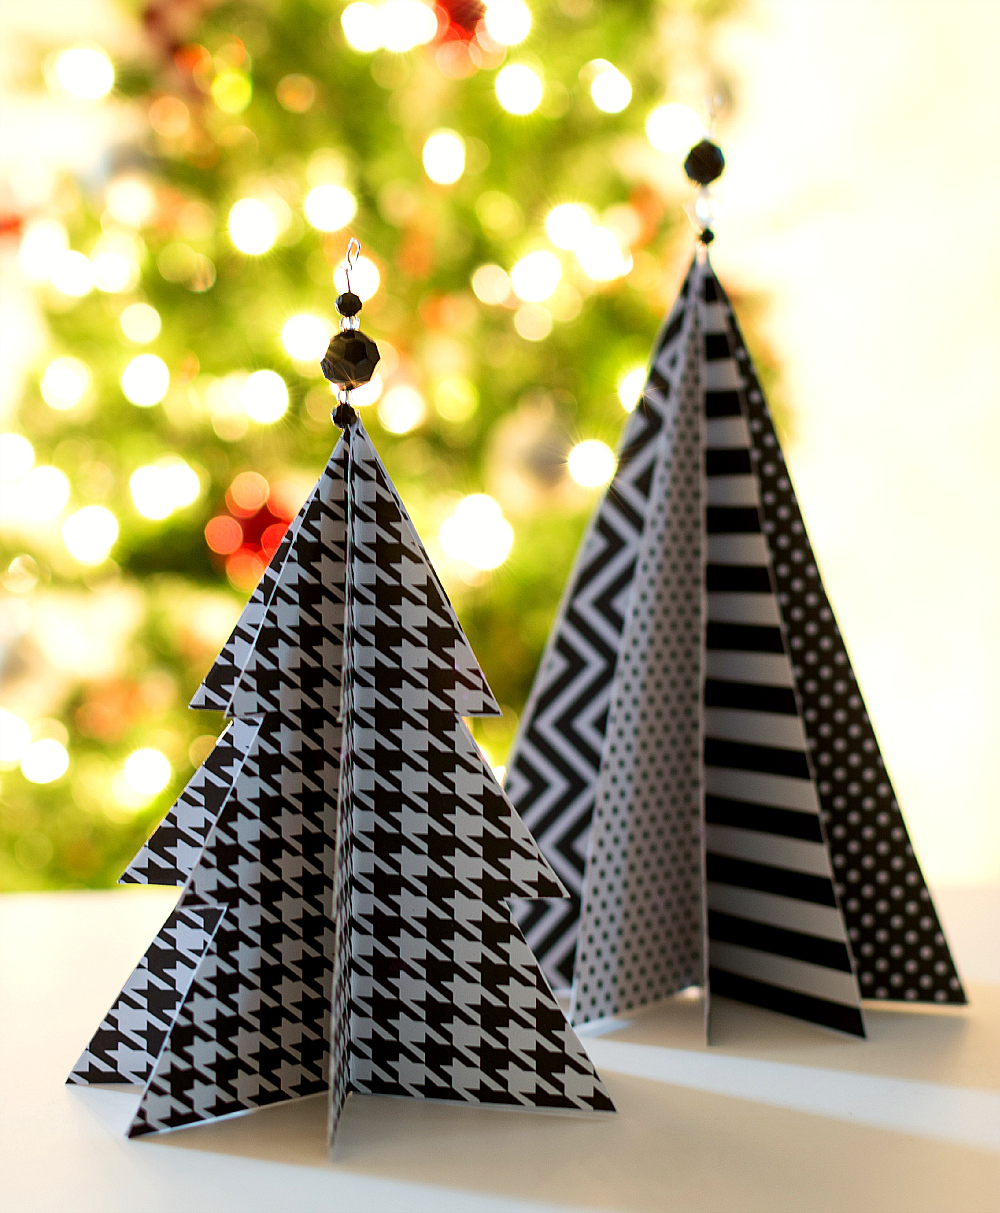
Navigating the aisles of the craft store can be a tricky business …
especially when things are priced $1.99 here and $2.99 there. So reasonable. So affordable. And before I know it I’ve $1.99 and $2.99’d myself to a $50 cart of merchandise.
So my new plan of attack has been to go in with blinders on. Mustering the willpower of a former addict, I bypass the dollar bin aisle. I grab a basket and march headlong to the aisle(s) with the specific products I need. Consulting a pre-prepared list as I go — a tactic to keep me from looking up. Or around.
Blinders, people. Blinders.
My days of wandering aimlessly and blissfully are over.
Well, almost.
Because the other day while seeking out decorative paper in reds and whites, I stumbled across a package of black and white card stock in hounds-tooth and polka dots and stripes and chevrons.
Swoon.
I picked it up. I put it down. I picked it up again. I turned it over. I debated the pros and cons about putting it in my cart. Because, quite honestly, I had no plans for black and white graphic paper in hounds-tooth and polka dots and stripes and chevrons.
I put it down.
Good girl.
And I moved on. Finished up shopping. Left the building without black and white card stock in my shopping bag.
But it stuck in my head. That amazing black and white graphic card stock paper in hounds-tooth and polka dots and stripes and chevrons.
So I returned the next day. Armed with a coupon …
but not armed with any plans for black and white paper. And I bought it. Figuring I would figure something out eventually.
Welcome to my figuring something out. A Christmas Craft idea: paper trees. Black and white mini trees …
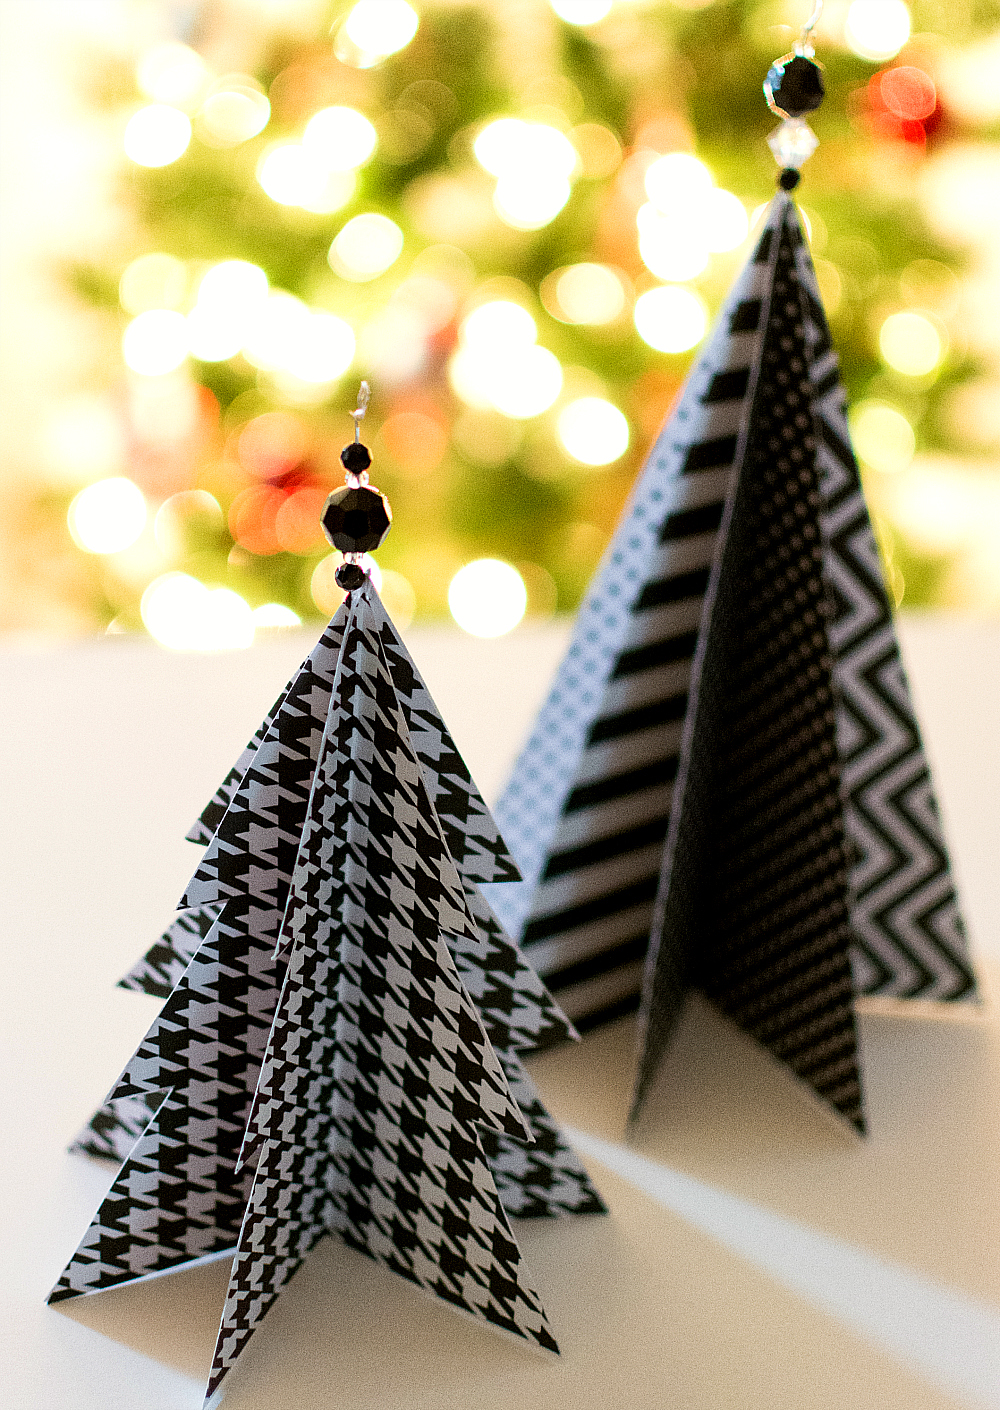
… in hounds-tooth and polka dots and stripes and chevrons!
How To Make Paper Trees
Materials*
Black & White Card Stock Paper (you can also find it here on Amazon)
Black Crystal Beads (some options here and here)
Clear Crystal Beads (some options here and here)
Glue Stick
*some affiliate links included.
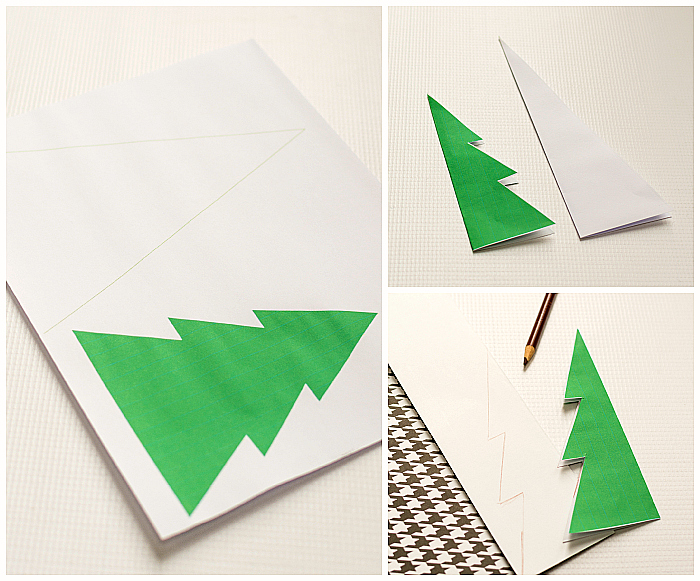
Start with a pattern. I made these using triangle shapes in a Word document. And I’m sharing my template below (just click on the picture to enlarge and then right click to either save as or print).

Cut out the trees and fold in half. Fold your decorative paper in half and trace the half tree, lining up on the fold. Cut out.
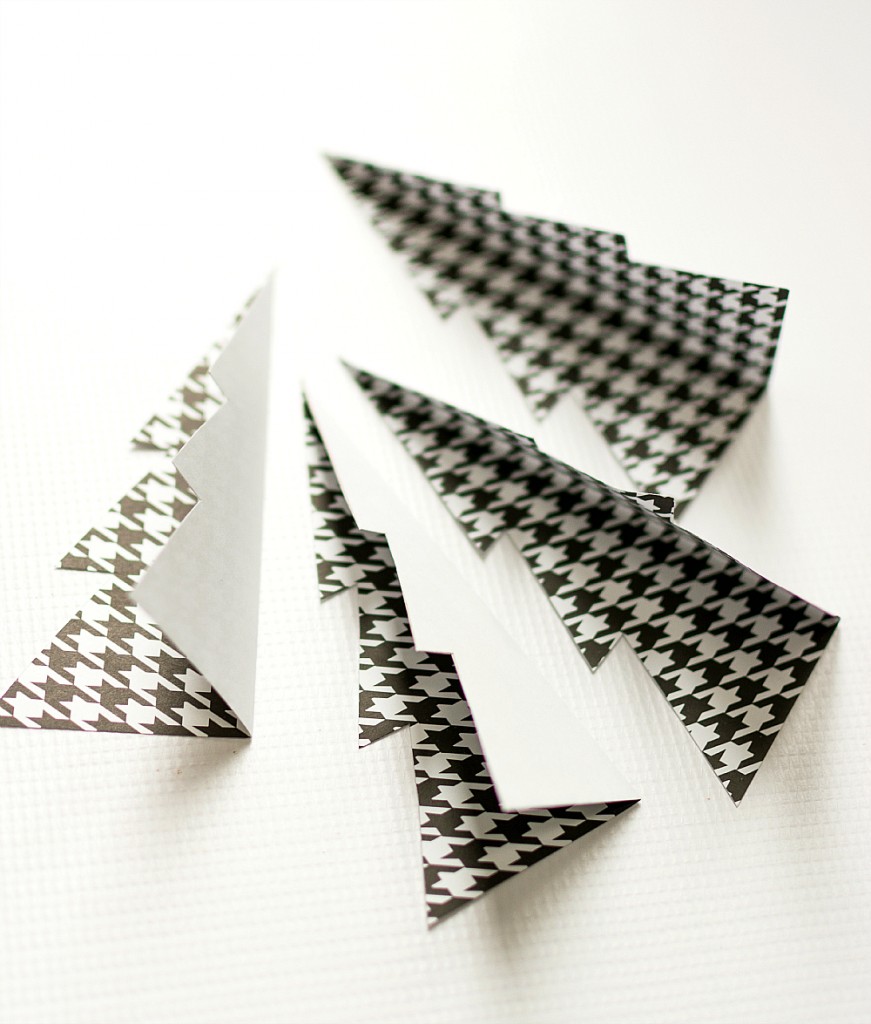
I cut out eight tree shapes.
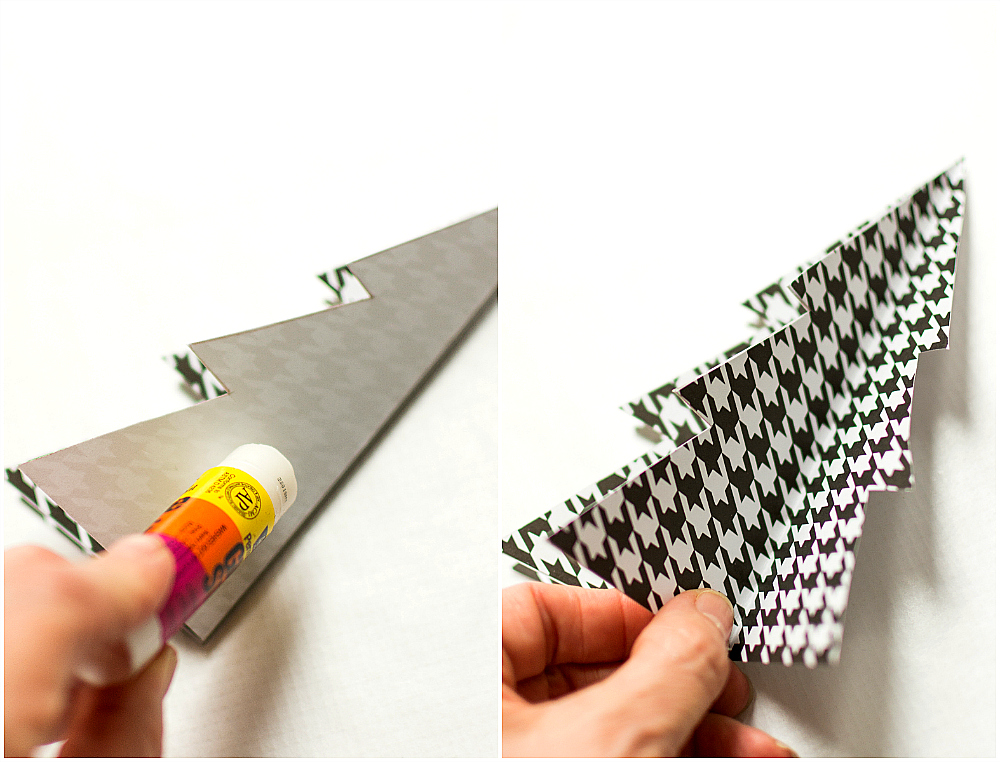
Add glue to half of the tree and attach second piece to the first. Keep moving around the tree.
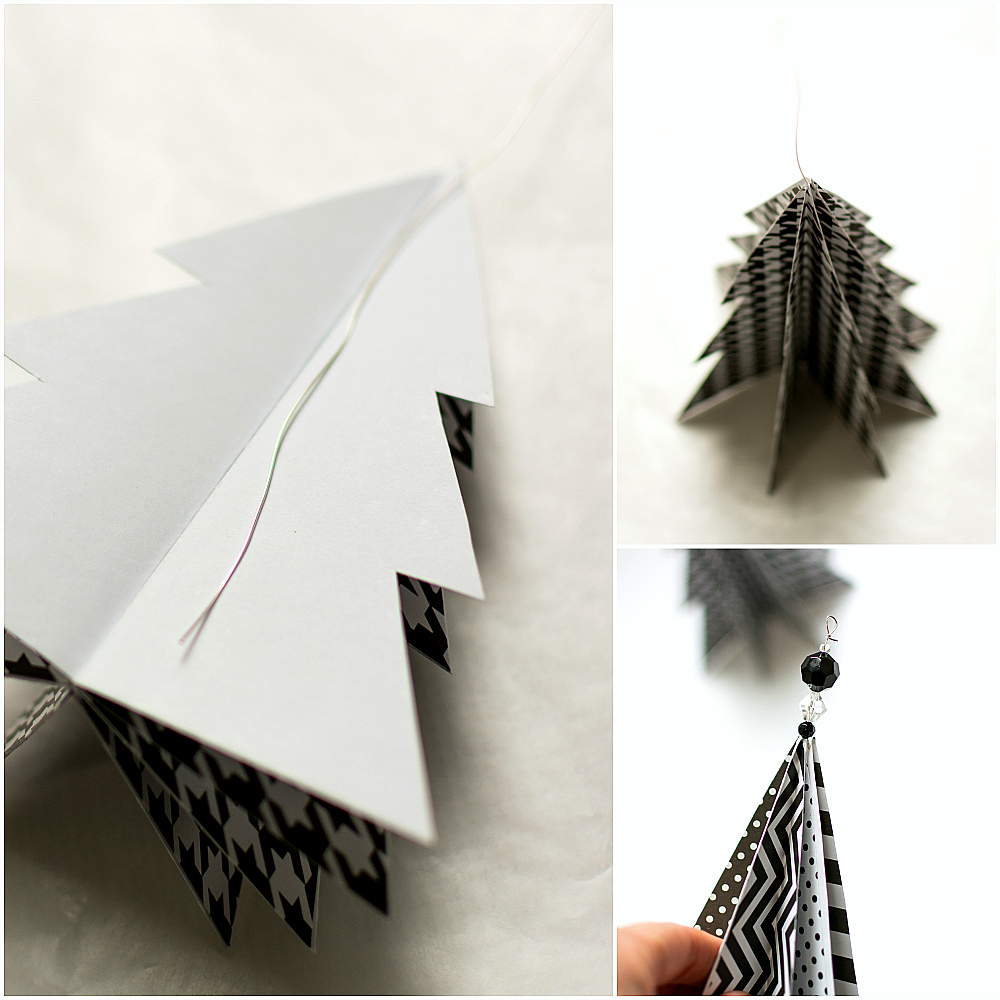
Add a strip of wire along the seam with extra wire extending out the top of the tree before attaching the final piece. String beads onto top of wire.
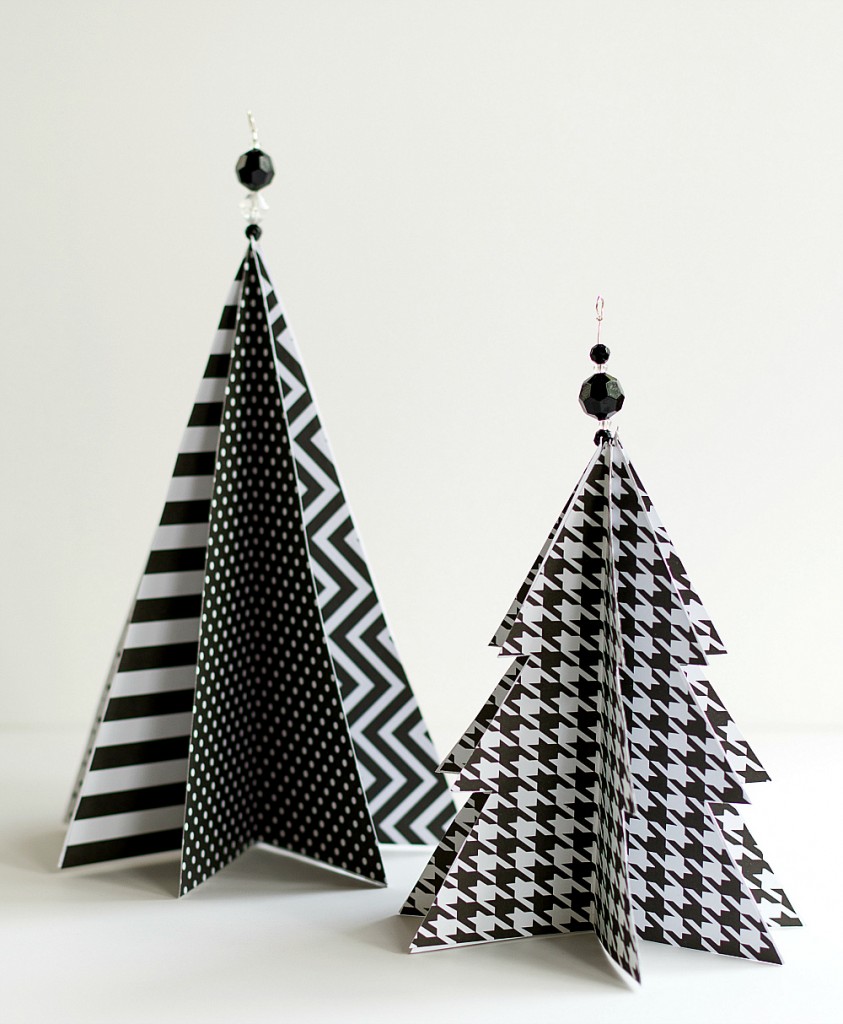
That’s it. You’re done.
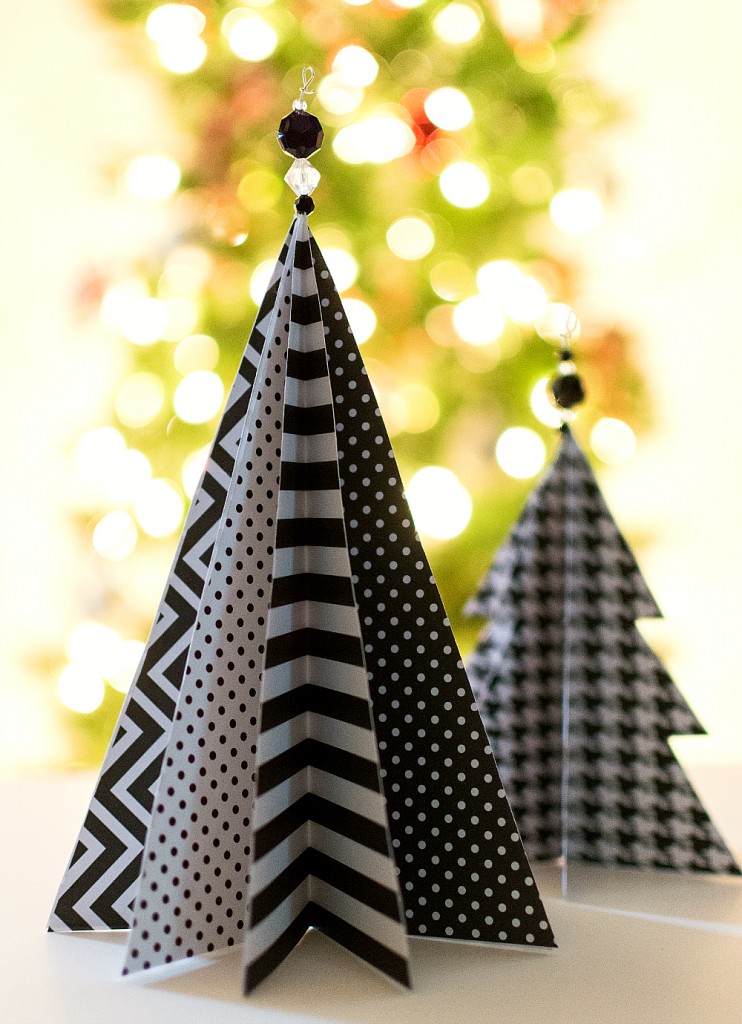
And now you don’t have to feel guilty about picking up that package of black and white graphic card stock paper in hounds-tooth and polka dots and stripes and chevrons.
Oh, wait, that would be me who no longer feels guilty.
😉

You Might Also Like
Vintage Car Snow Globe Ornament
Sharing: | Between Naps on the Porch |




Love it.
How many tree cutouts did you use per tree when you put it together? You said 8 shapes….did you do 4 per tree?
I used the 8 per tree.