DIY Bath Caddy Tutorial – Easy, Affordable Wood Tray with Handles.
I’m not a bath person.
And yes, I’m fully aware of the irony – or is it disconnect? – between my first sentence and this post’s title/subject matter.
But I’ve never found the act of lying in a tub of warm water with bubbles relaxing. It always felt forced. “Am I having fun yet? Am I relaxed yet?
I even tried adding the obligatory candles, glass of wine, and book. And yet, still no comfort.
In fact, it was the opposite of comfort. It was sheer discomfort. I’d be anxious about dropping the book in the tub. And warping the pages as I held the book – and turned the pages – with wet hands and fingers.
And don’t even get me started on the whole pruning of the fingers thing.
Then there’s the wine. Where do I rest it after taking a sip? I can’t hold it and the book at the same time. Do I put it on one of the slippery corner ledges? Or on top of the toilet seat? Which, by the way, ew.
And as the water temperature cools and bubbles disperse my anxiety about the whole experience only heightens.
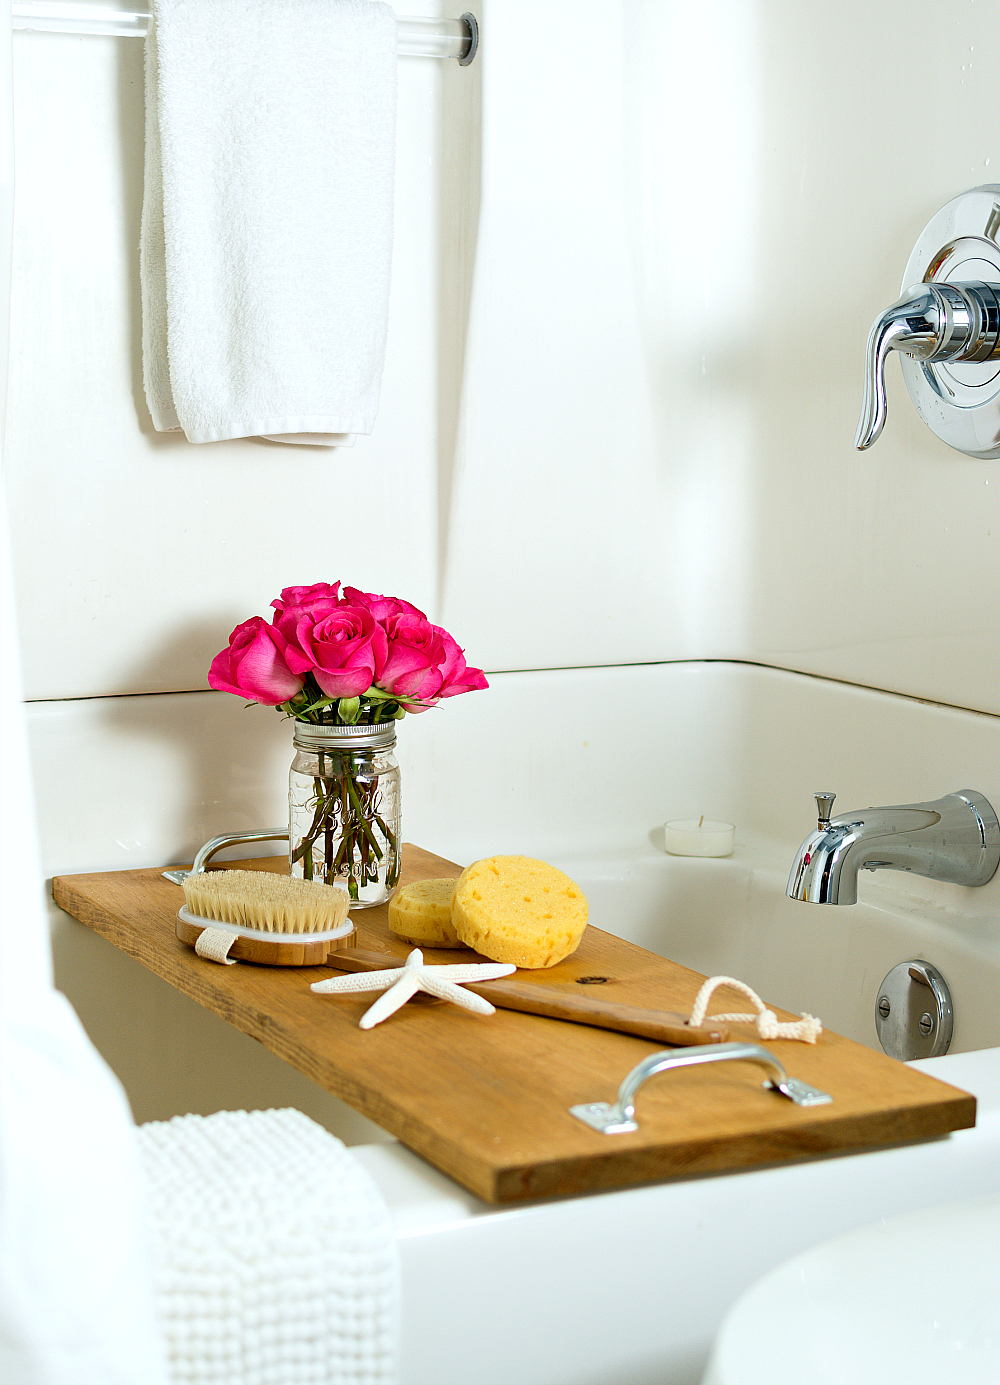
So why, you may be asking at this point in my bath rant, have I created a diy bath caddy?
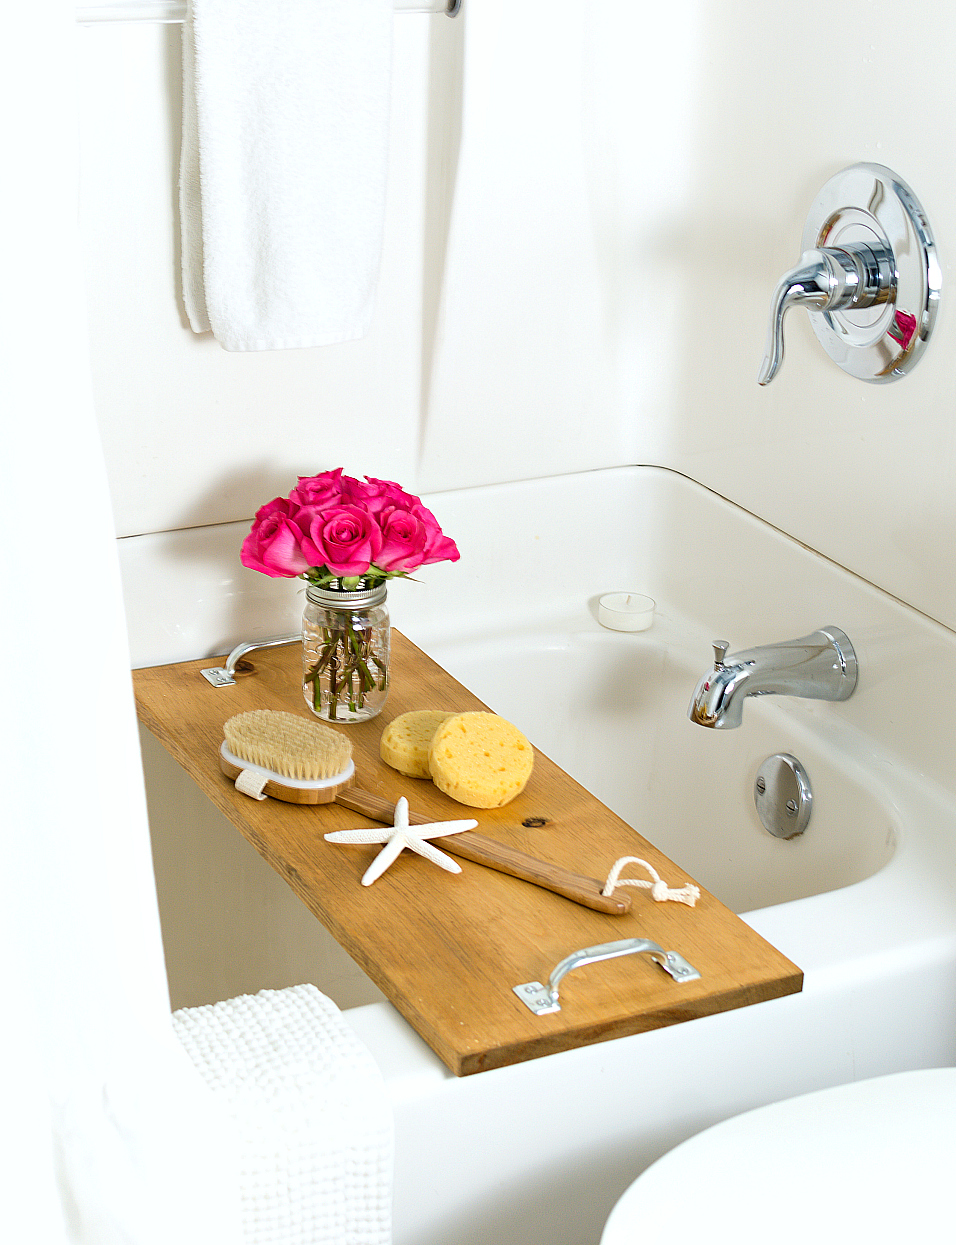
Two reasons. First, my daughter is a bath enthusiast. She’ll disappear for hours on end. I even make her lavender bath salts (here). Now she can rest them on the bath caddy in case she wants to add more mid-bath. Oh, and I thought we could avoid any future i-phone submerged in the bath mishaps with a tray to rest her phone upon … 😉
The second reason is because of a little mini bathroom upgrade I gave the space, thanks to Angie’s List. I thought a diy bath caddy would help make the reveal look a little more interesting …
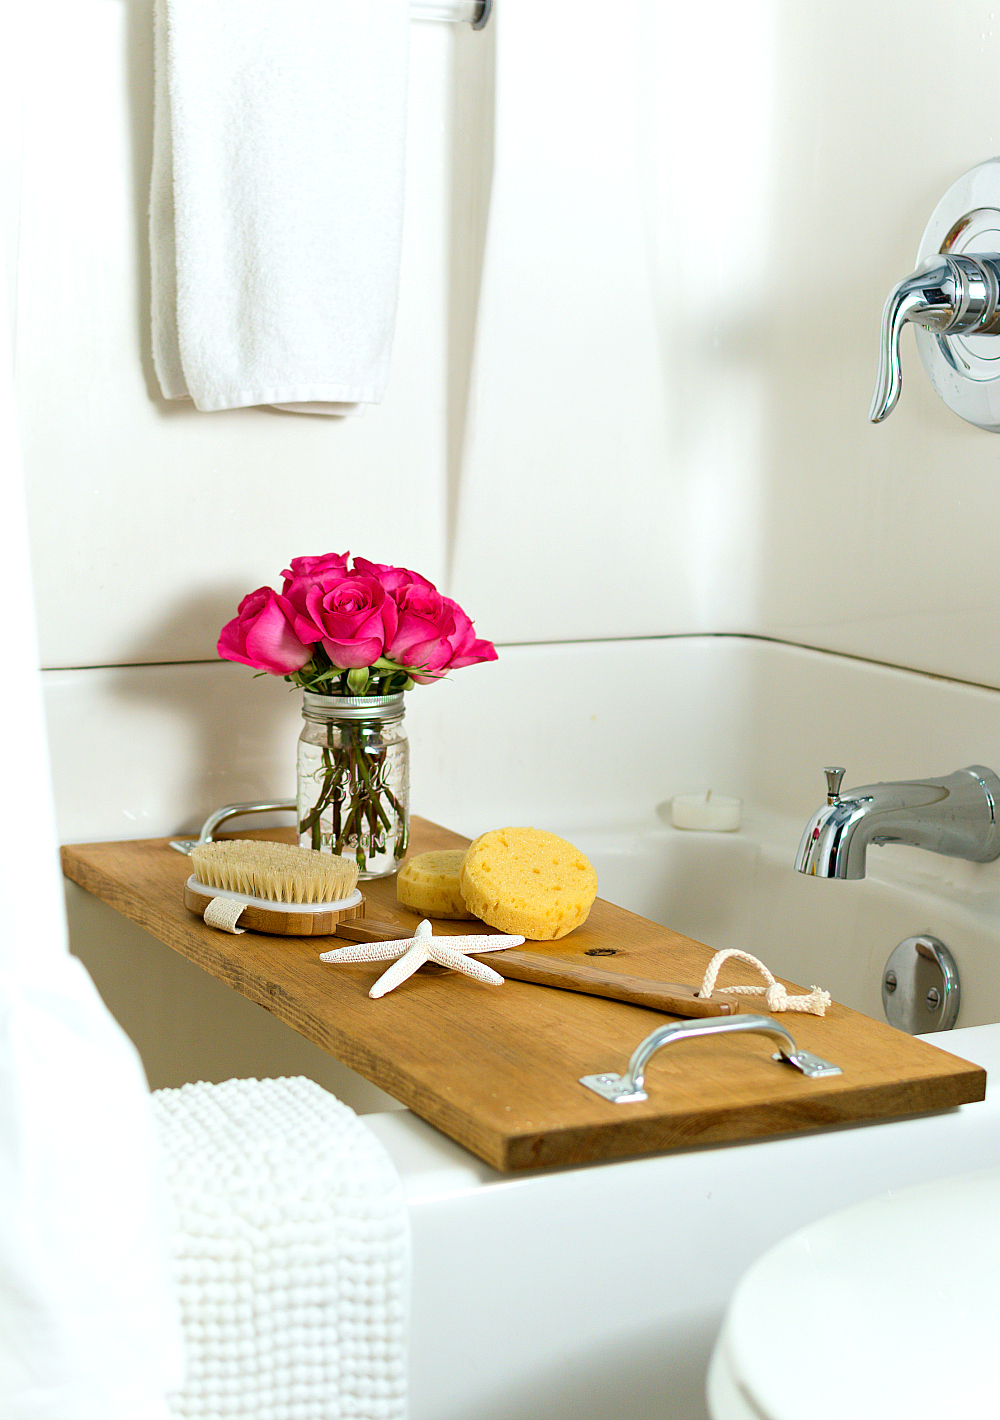
and spa-ish.
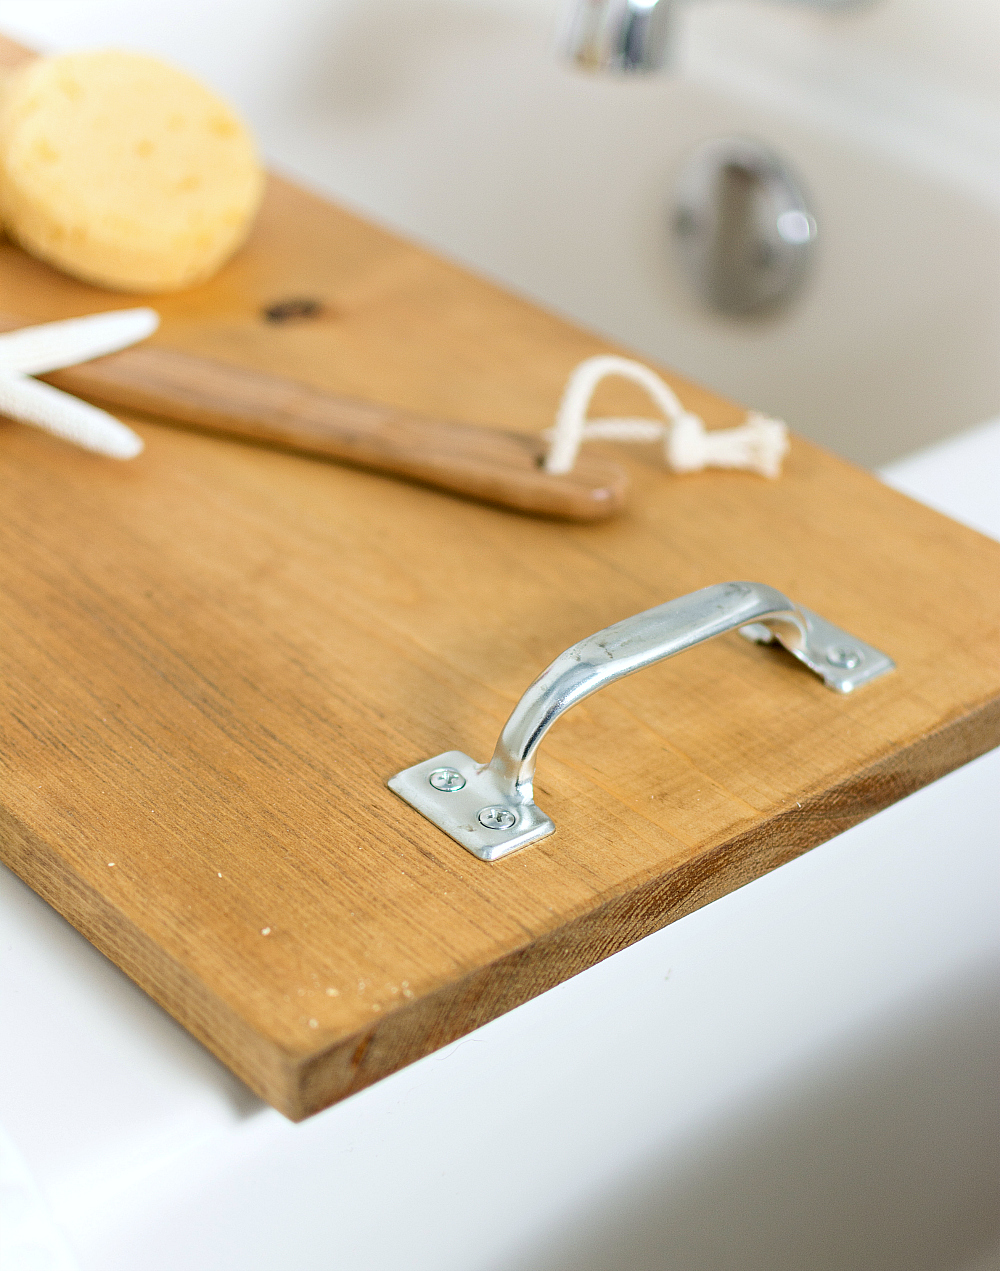
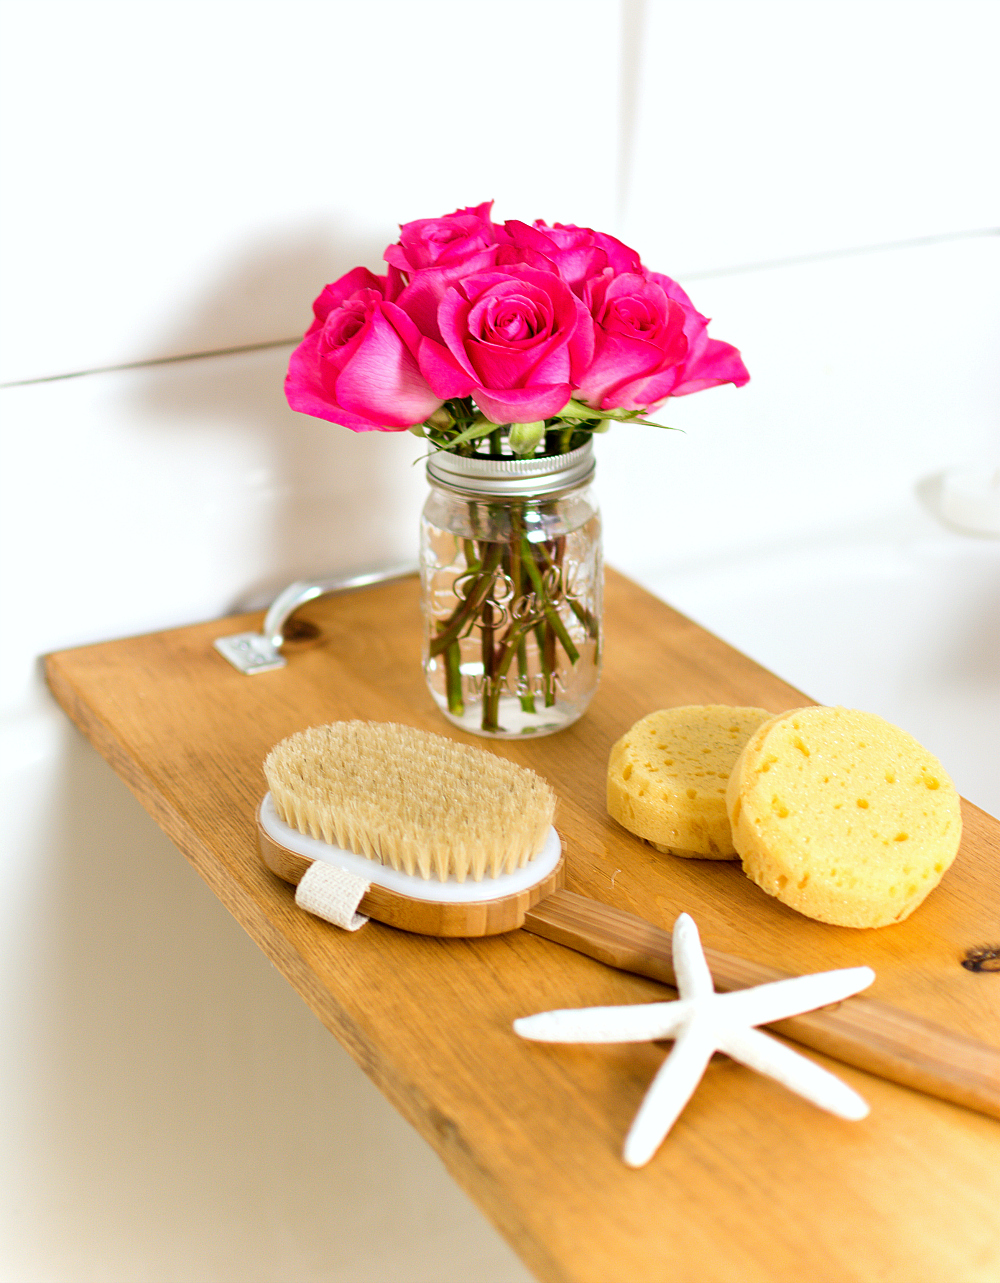
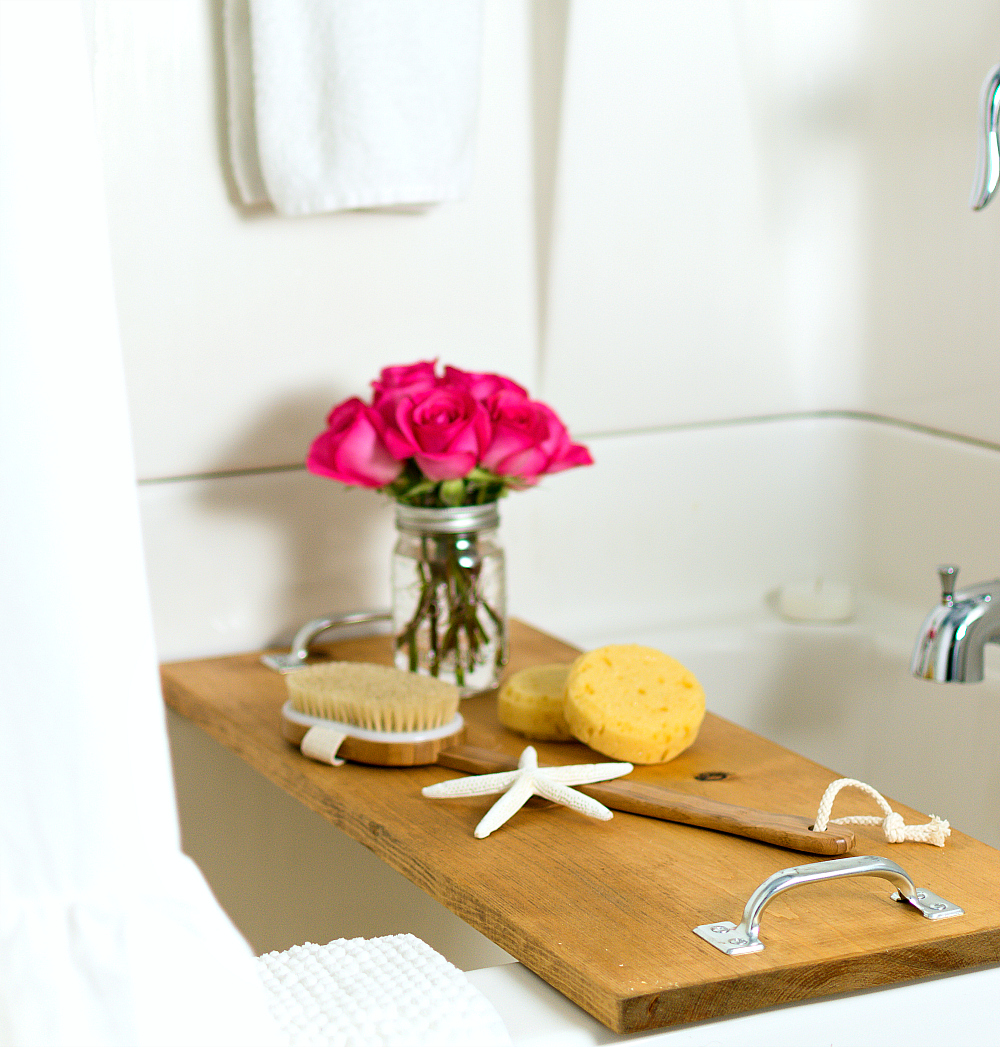
I’ll share the full reveal soon, but in the meanwhile here’s a quick tutorial on how to make your own diy bath caddy. It’s super easy and super affordable!
How To Make A DIY Bath Caddy
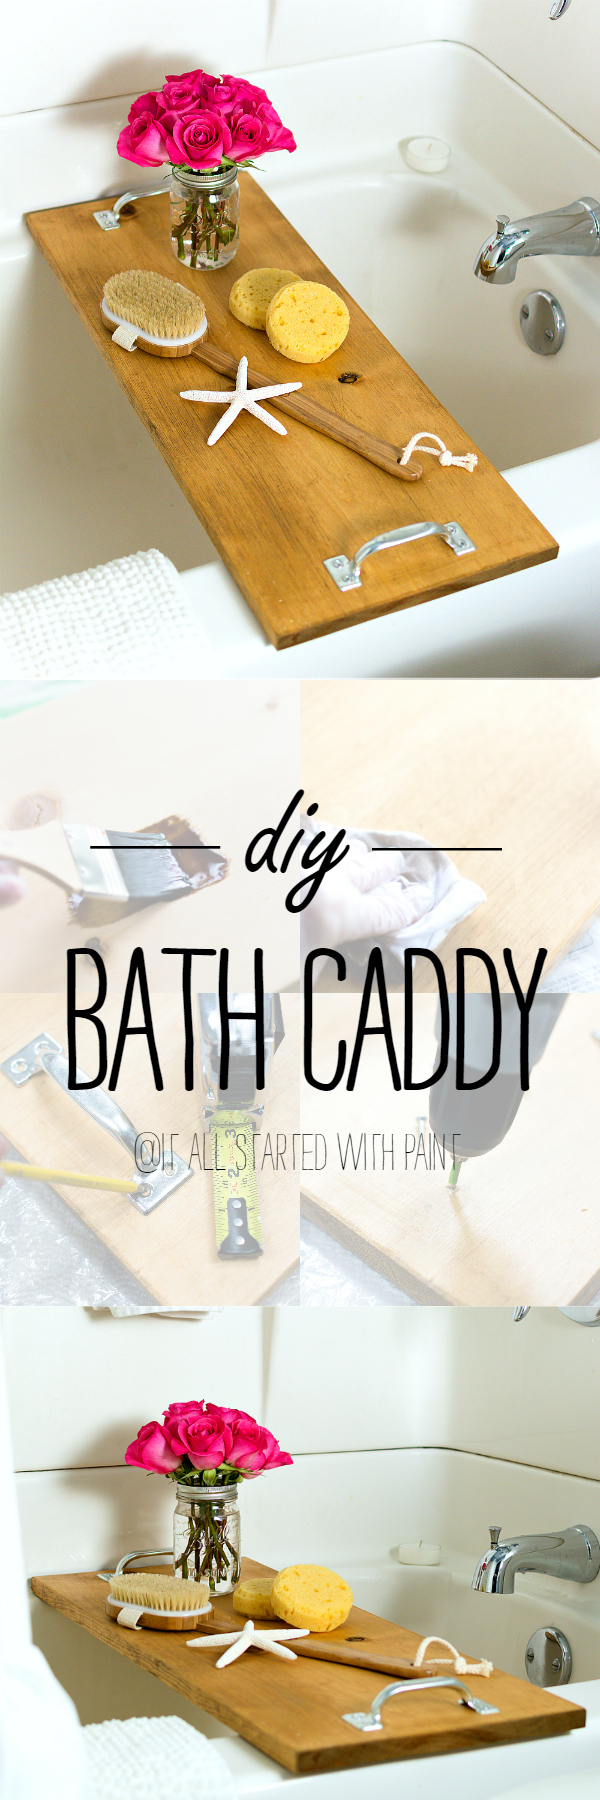
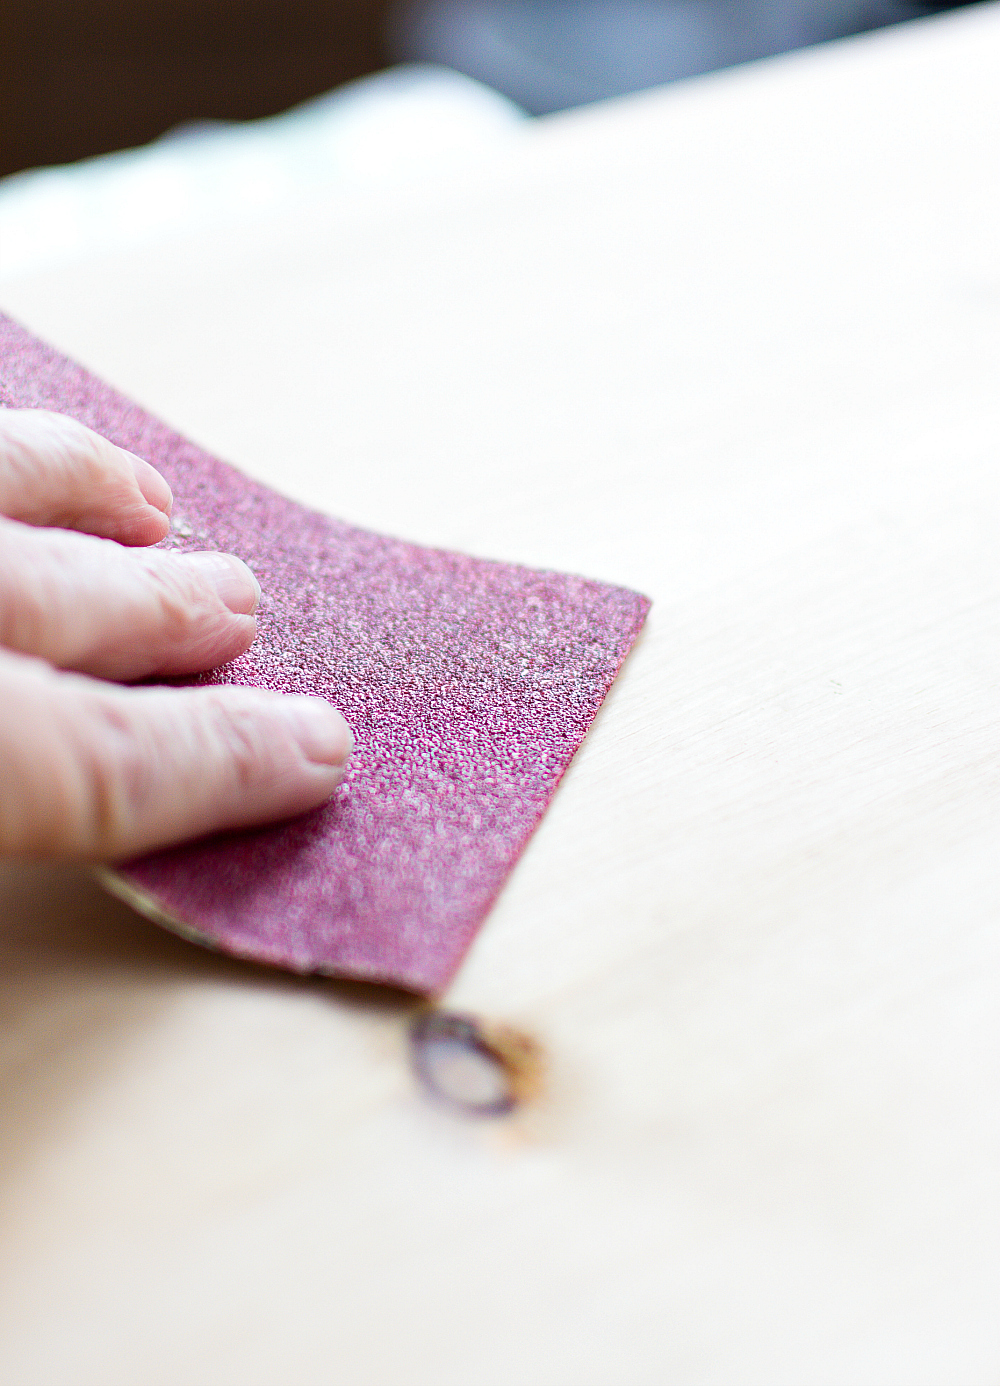
I started with a piece of 1 x 12 pine that I had the nice folks at The Home Depot cut down to size to fit the span of my tub. I then used some 80 grit sandpaper to smooth down the rough edges and remove any potential splinters (because, let’s face it, getting a splinter while taking a tub would not be relaxing at all).
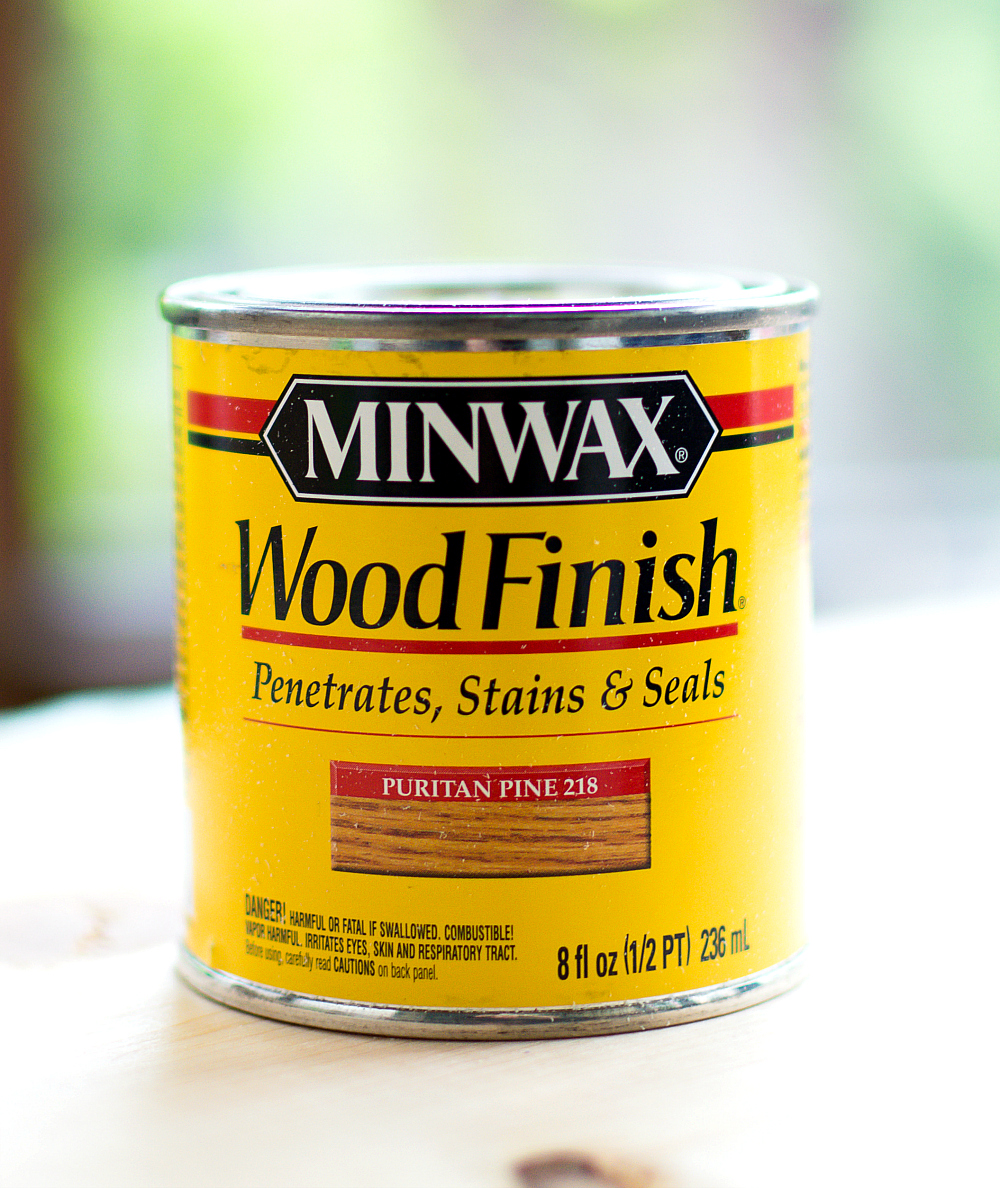
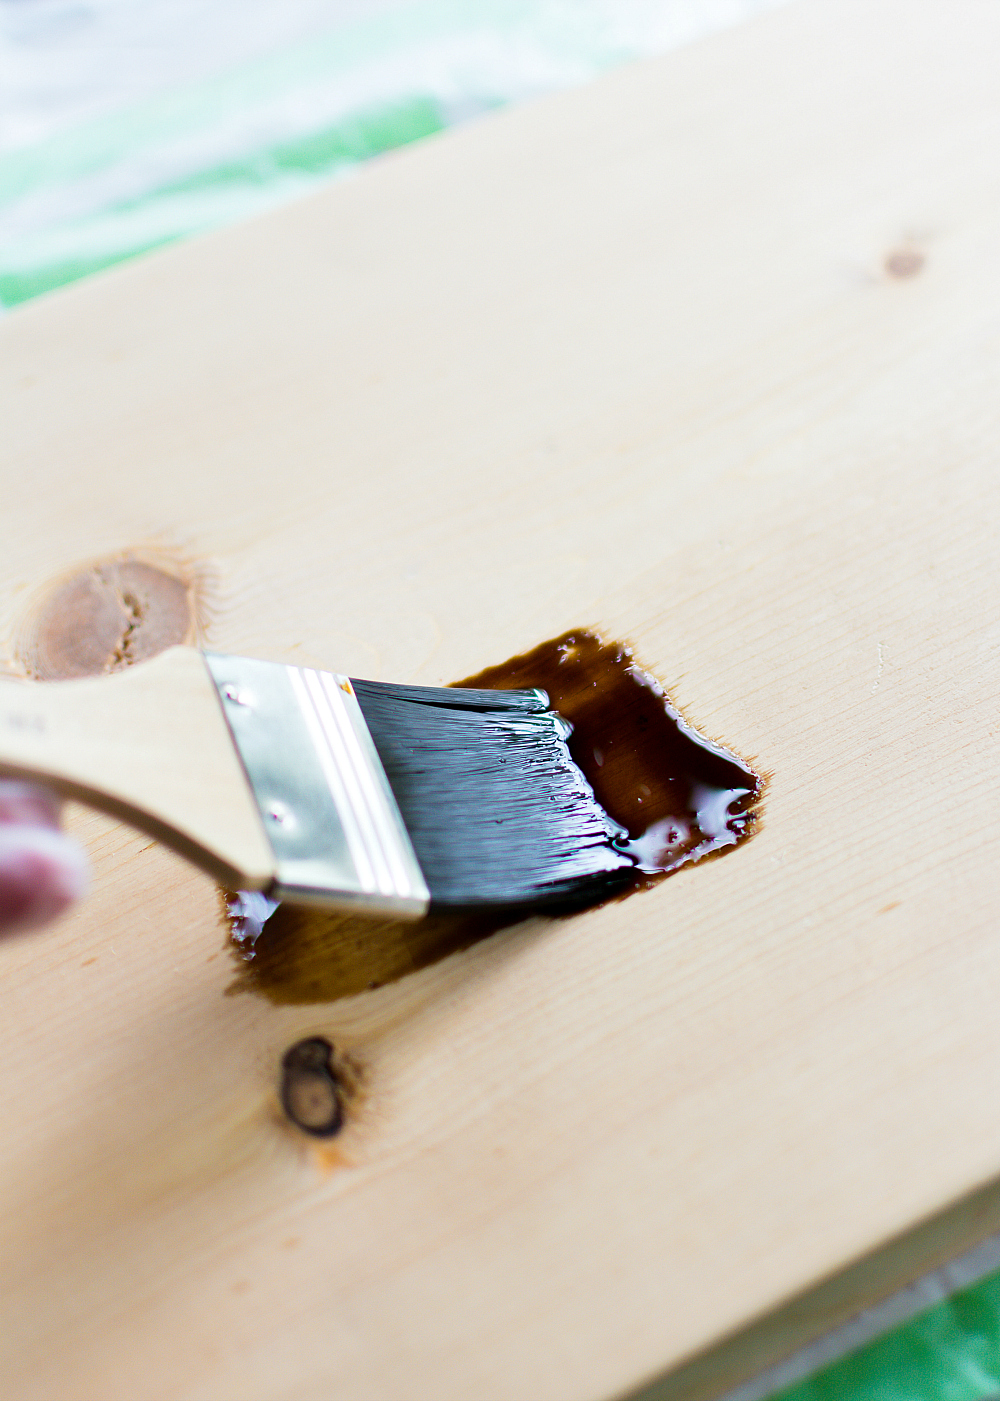
I then stained the board using “Puritan Pine” (who came up with that name?!?). Using a cheap paint brush (you could use a foam brush too) I applied a generous coat …
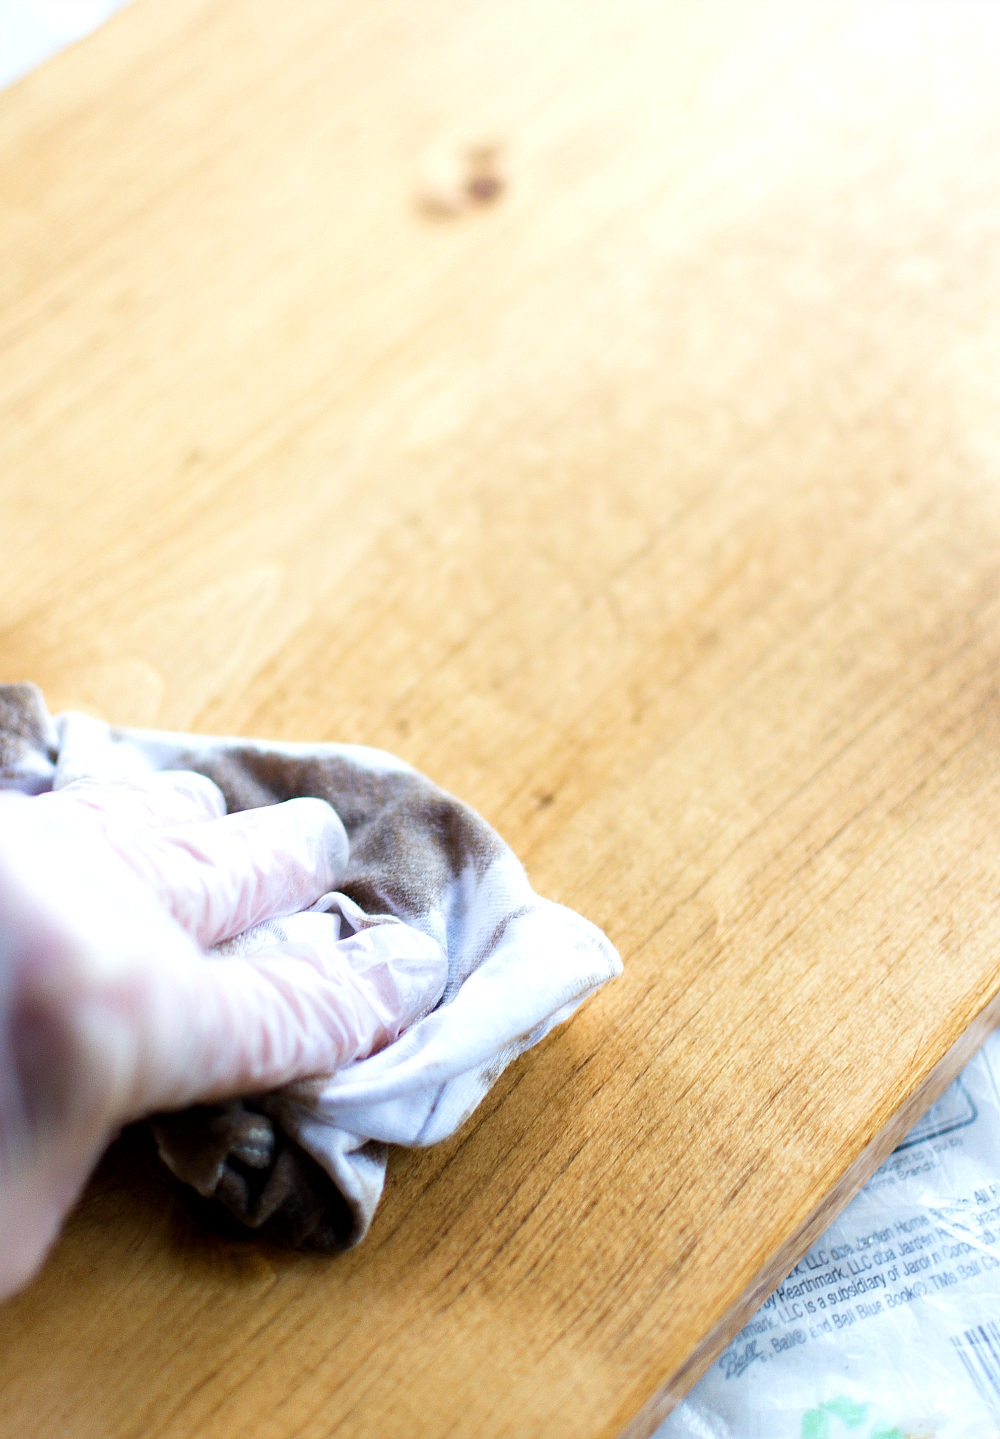
Which I then immediately wiped off with a clean rag. You could also apply the stain using a rag, following up with a clean rag to wipe away any excess.
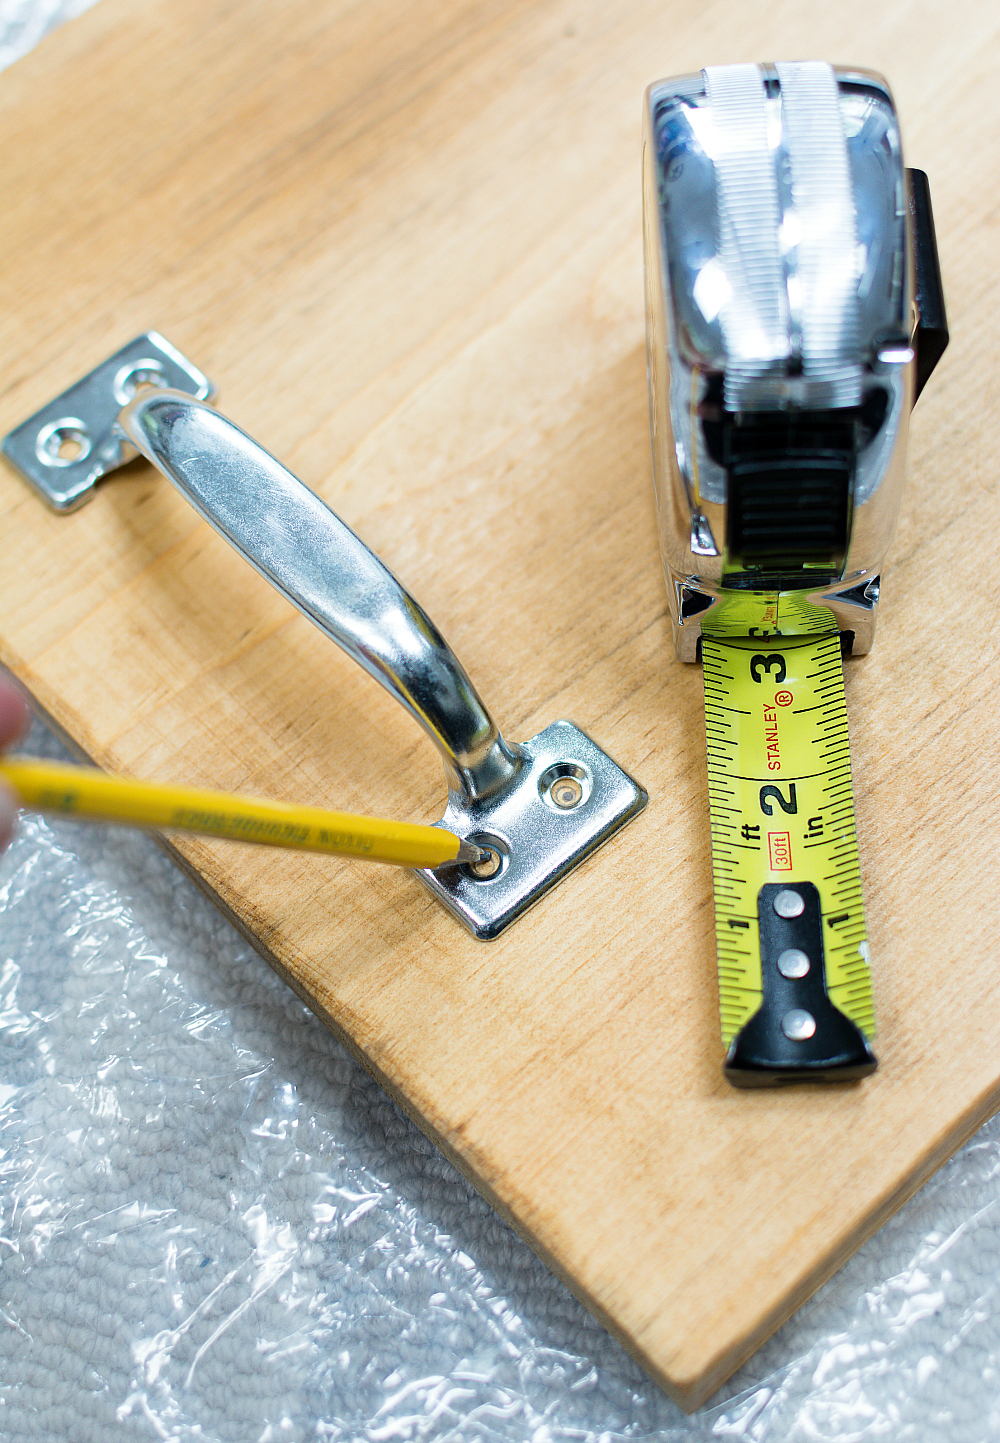
I let it dry overnight before adding hardware. I found these handles at Ace Hardware and they’re called “Utility Handles.” I liked that I could screw them in from the top of the board. I simply used a pencil to mark where holes needed to be drilled.
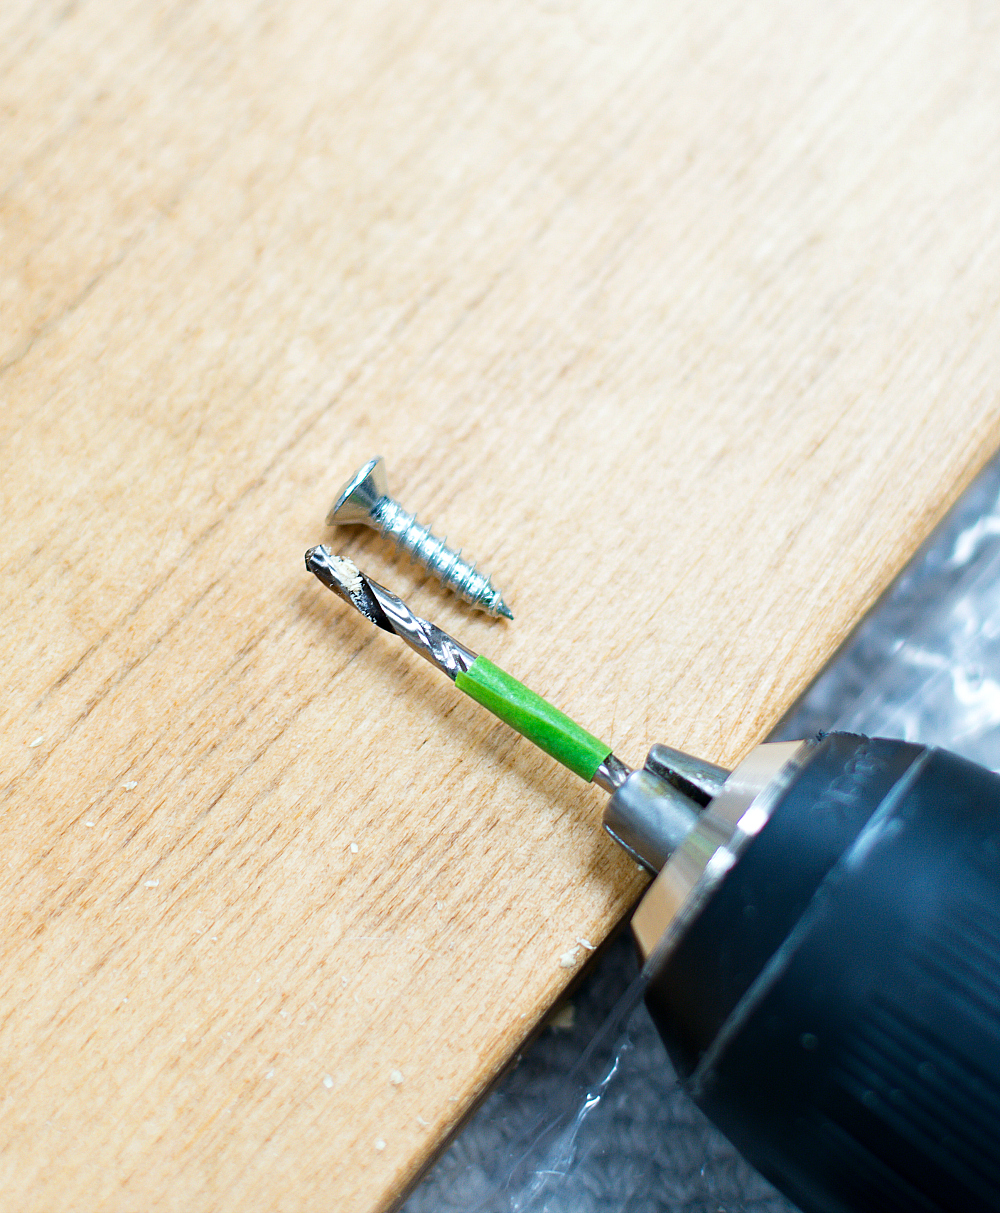
Quick drilling tip: I used a piece of tape to mark off the depth of the screw to prevent me from drilling a hole all the way through the board. Like that ever happened before. 😉
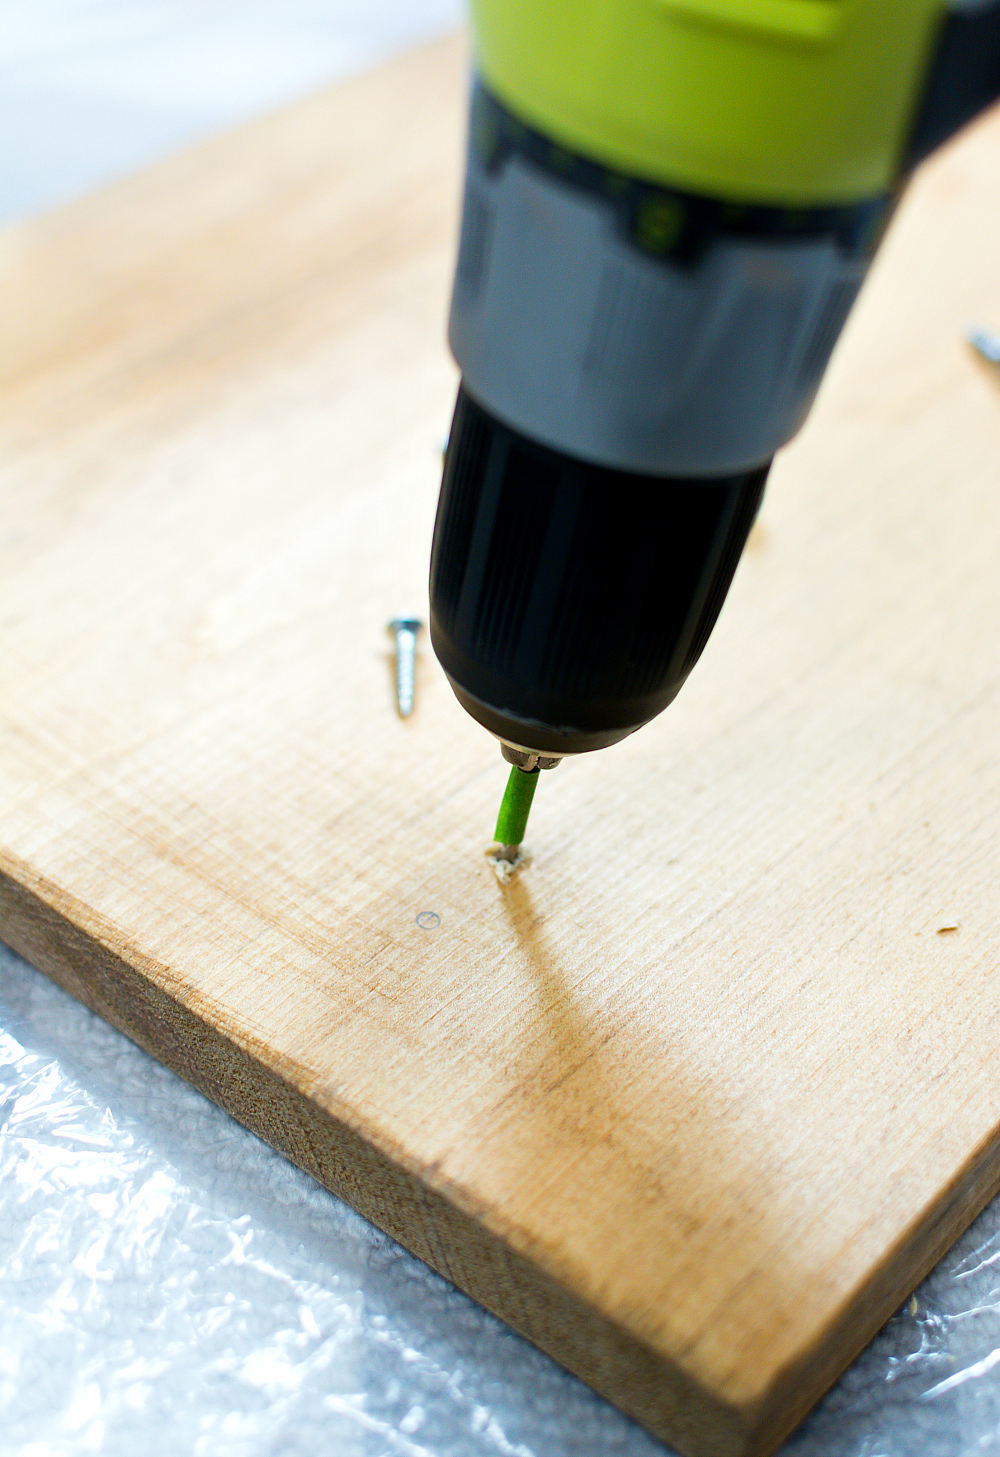
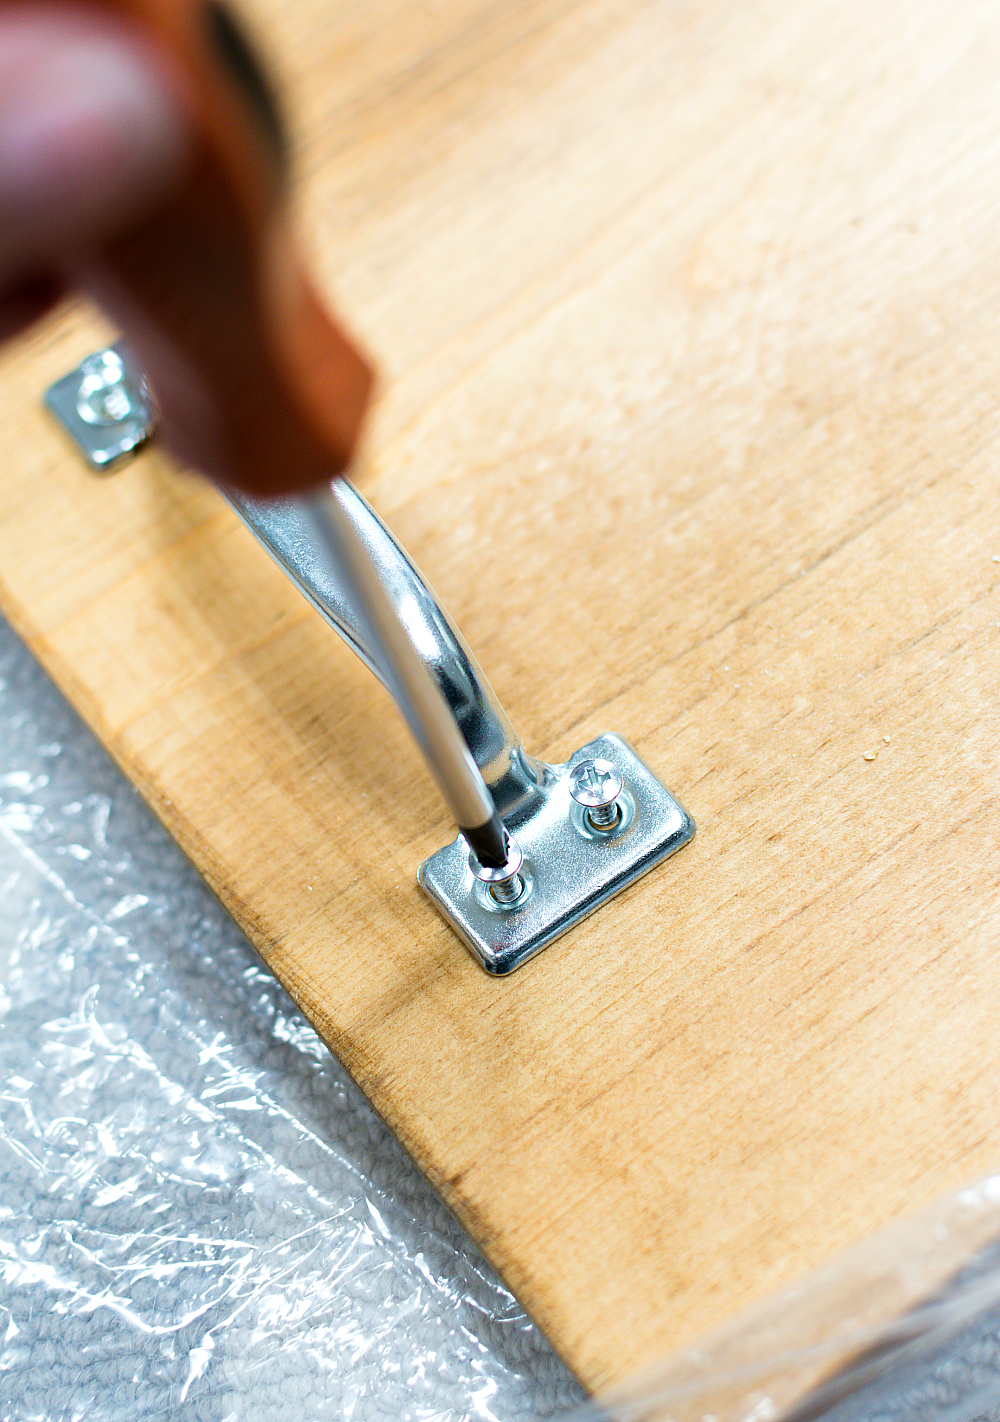
All that was left was screwing in the screws with a screwdriver.
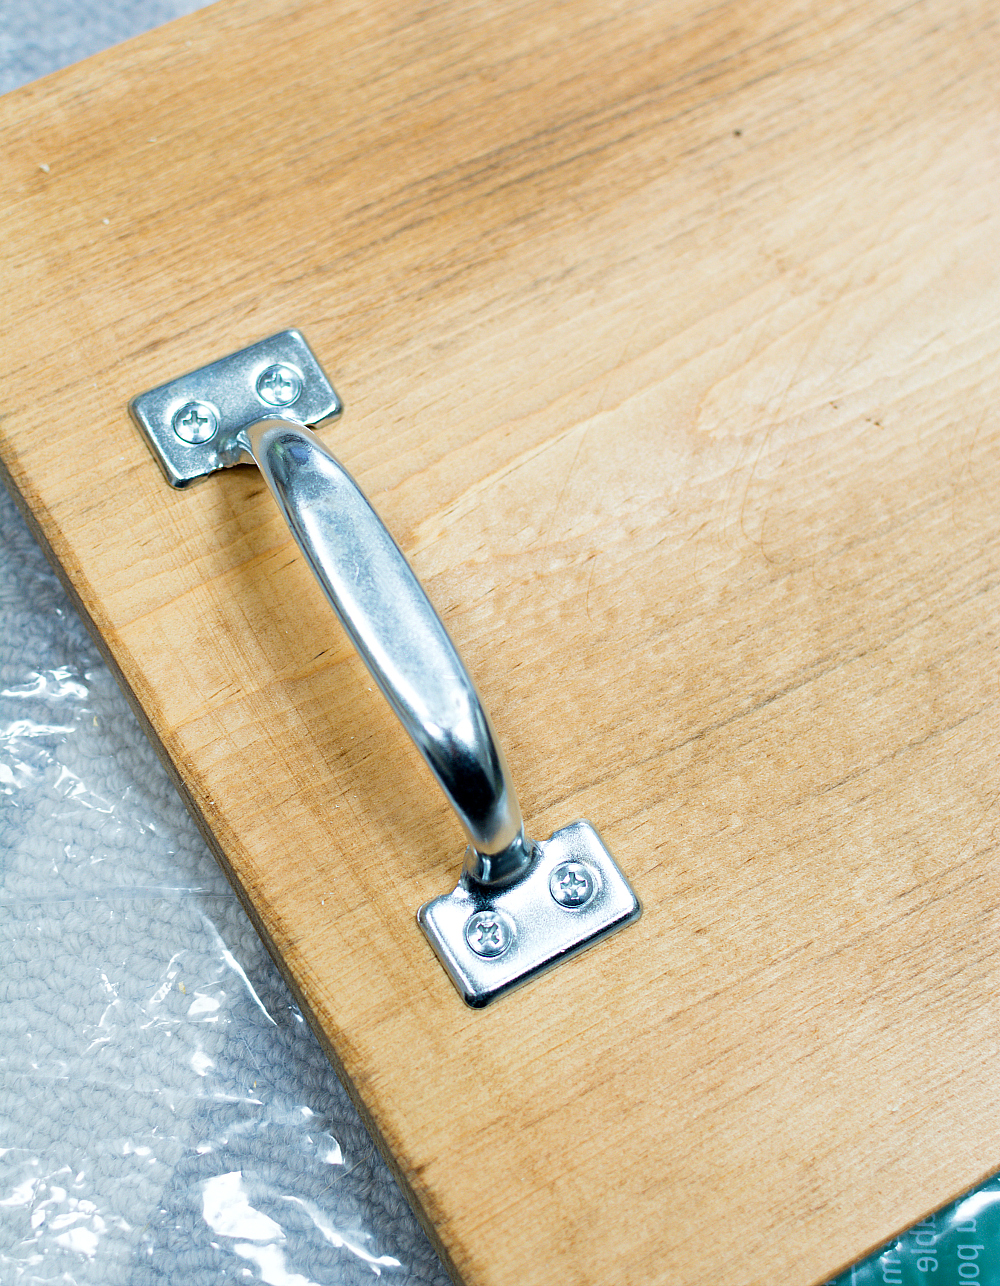
Oh, and I added handles on both ends of the board. With is self-explanatory, but thought I’d explain anyway! 🙂
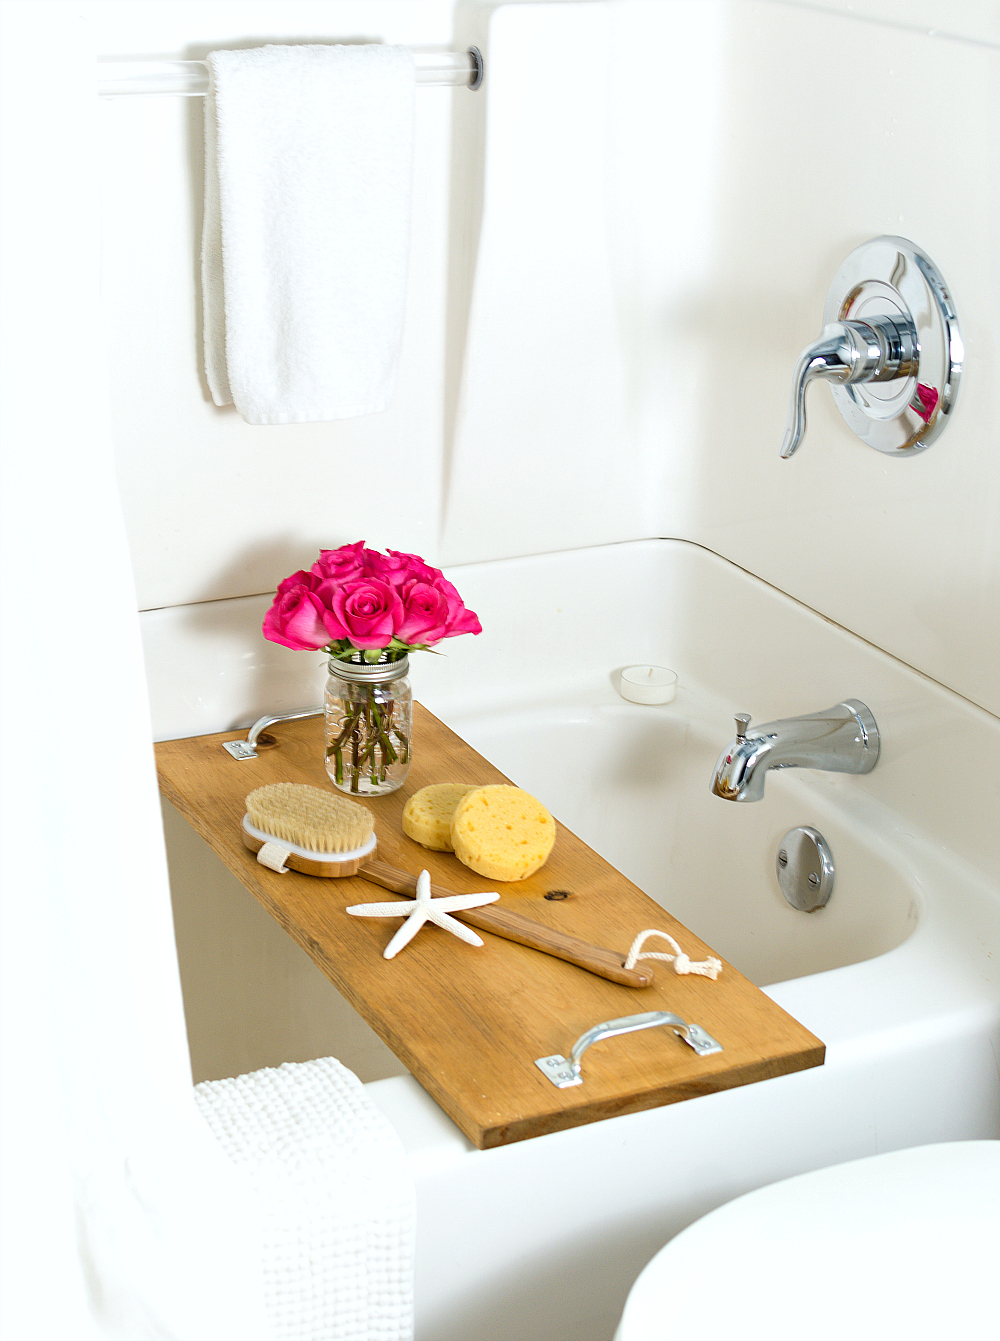
And now just a few more shots for good measure …
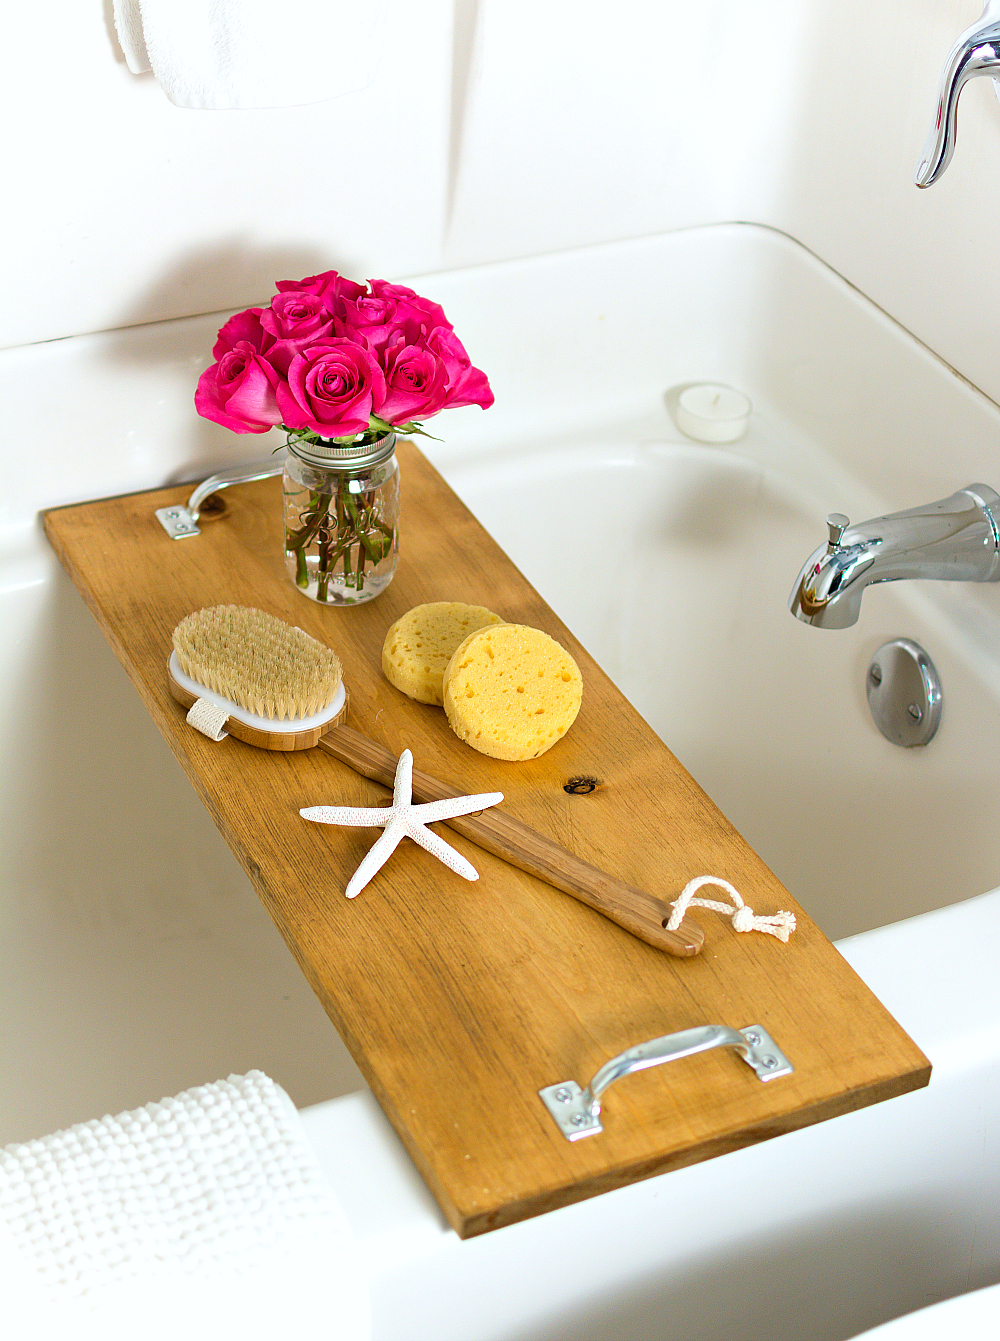
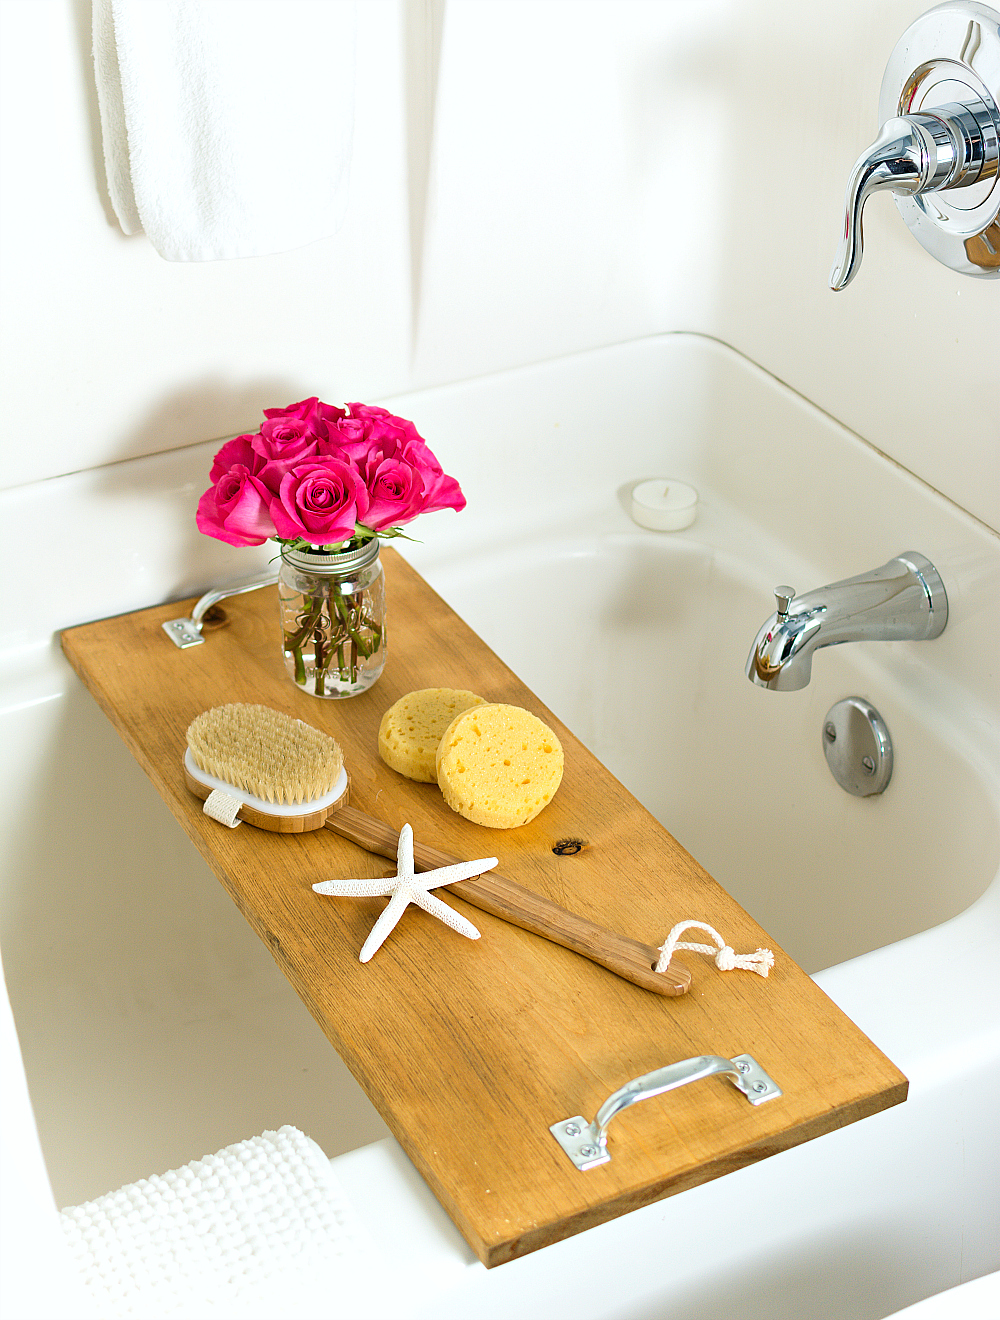
In fact, I like my new bath caddy so much I’m tempted to try the whole taking a bath thing again …
🙂
Pin It!
You Might Also Like:
Vintage Look Crate DIY (click here)
How to Age Locker Baskets (click here)
You can find even more of my before & after projects by clicking here …
Sharing:

ah….calgon take me away! I love this project!