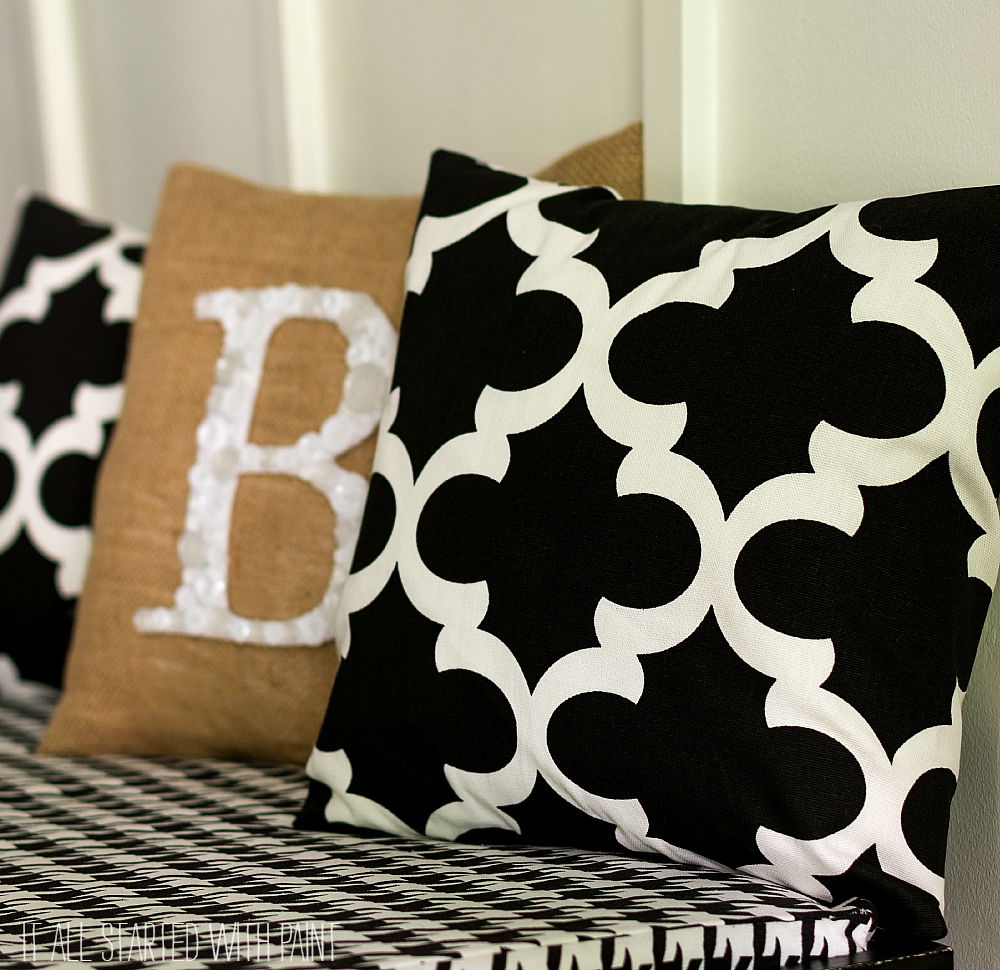
Yesterday I was making envelope pillow covers and watching the Pope. It wasn’t a conscious choice (the Pope-watching, that is). More like I had no choice because most networks were covering the event live. So when I tuned into Good Morning America – like I do each and every morning – the show was 100% Pope Francis.
How hundreds of thousands have turned out for his arrival at the White House.
How he refused the Popemobile and opted instead for a tiny Fiat.
How the Secret Service was beside themselves because he refused the Popemobile and opted for the Fiat.
Now I’ll be honest, I’m a lapsed Catholic. Mostly because I disagree with many of the rules assigned to the religion. It felt inflexible to me. Governed by sin and atonement. I want to believe in a God that is forgiving. Not one who is judgmental.
But I like this Pope. He’s progressive. He’s flexible. He understands times have changed, and the church needs to change with them. He’s forgiving. He’s not judgmental …
He’s a rule-breaker; a rebel.
Now that’s a Pope I can get behind!
Because I’m a bit of a rebellious rule-breaker myself …
especially when it comes to making envelope pillow covers.
I can hear your collective moan over that segue. 🙂
Envelope Pillow Cover How To Make
Materials*
Pillow Form (I used a 14 x 14 for my project; for affordable options in multiple sizes, click here or click here)
Pins
Thread in black or white
Iron
*affiliate links included.
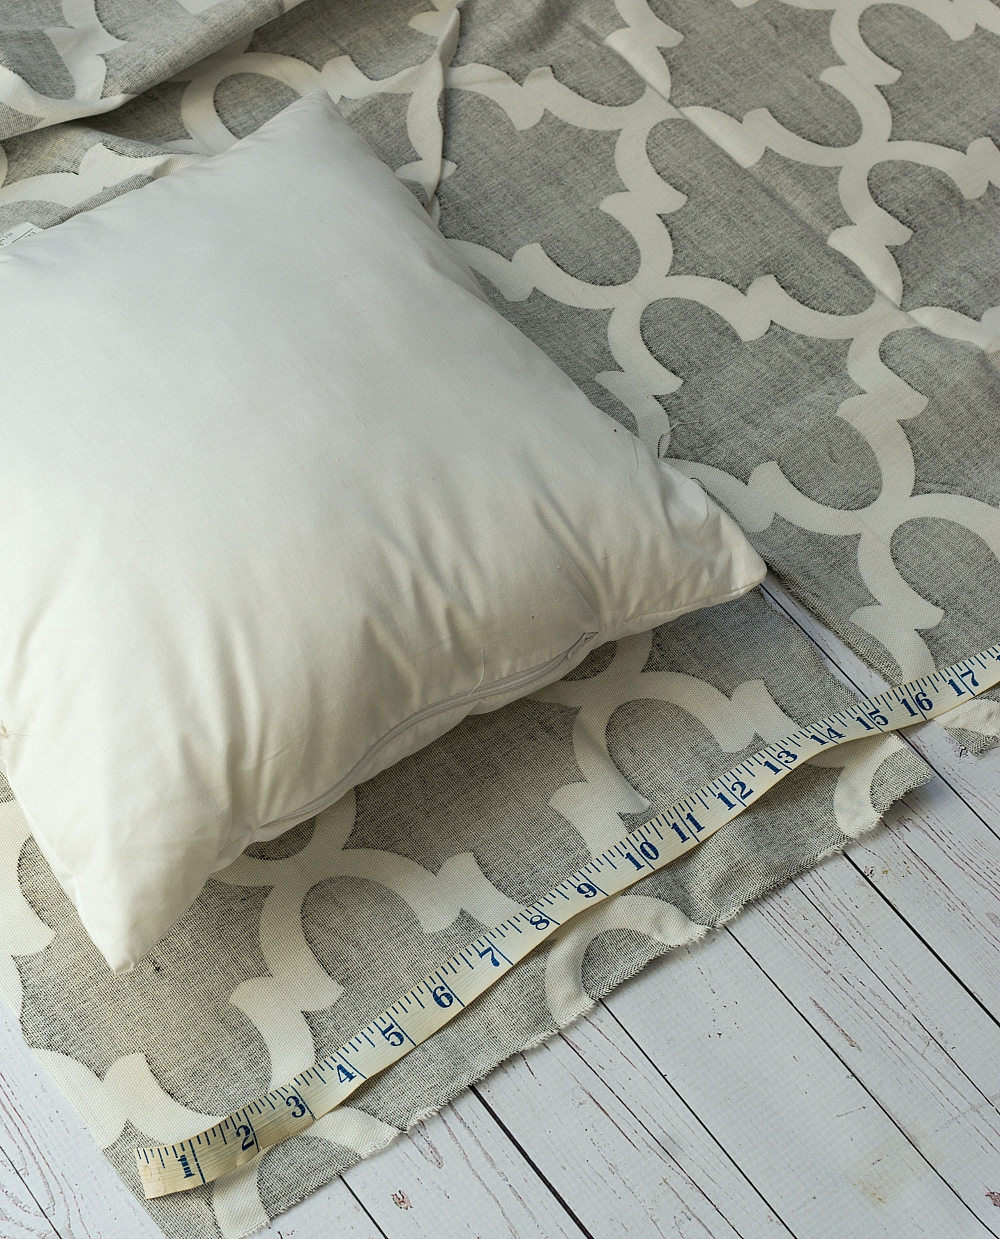
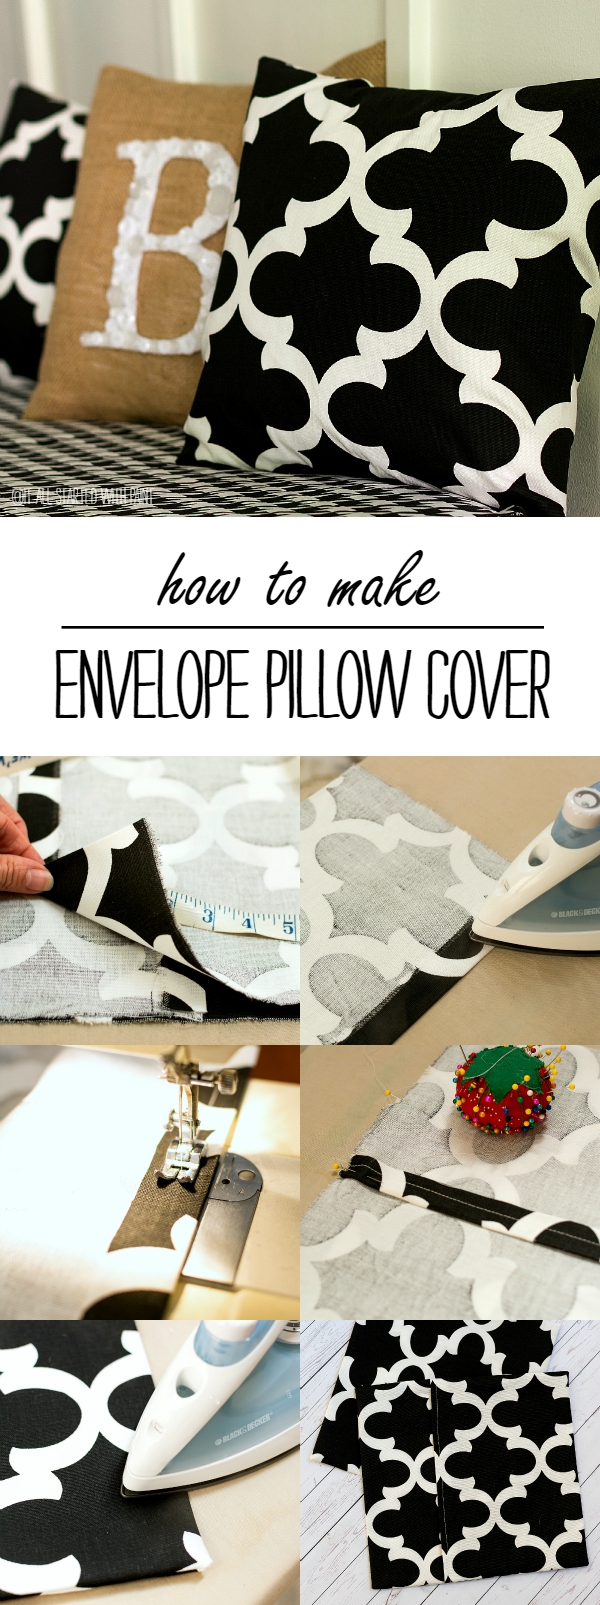
Forget the patterns (see how I’m breaking the rules!) and grab your pillow and fabric. I wrapped the fabric around the pillow making sure there is at least a 4″ overlap on the back side. Now it’s time to cut. Since my pillow is 14″ x 14″ I cut a strip 15″ long. And to keep it straight, I cut a few inches and then ripped it.
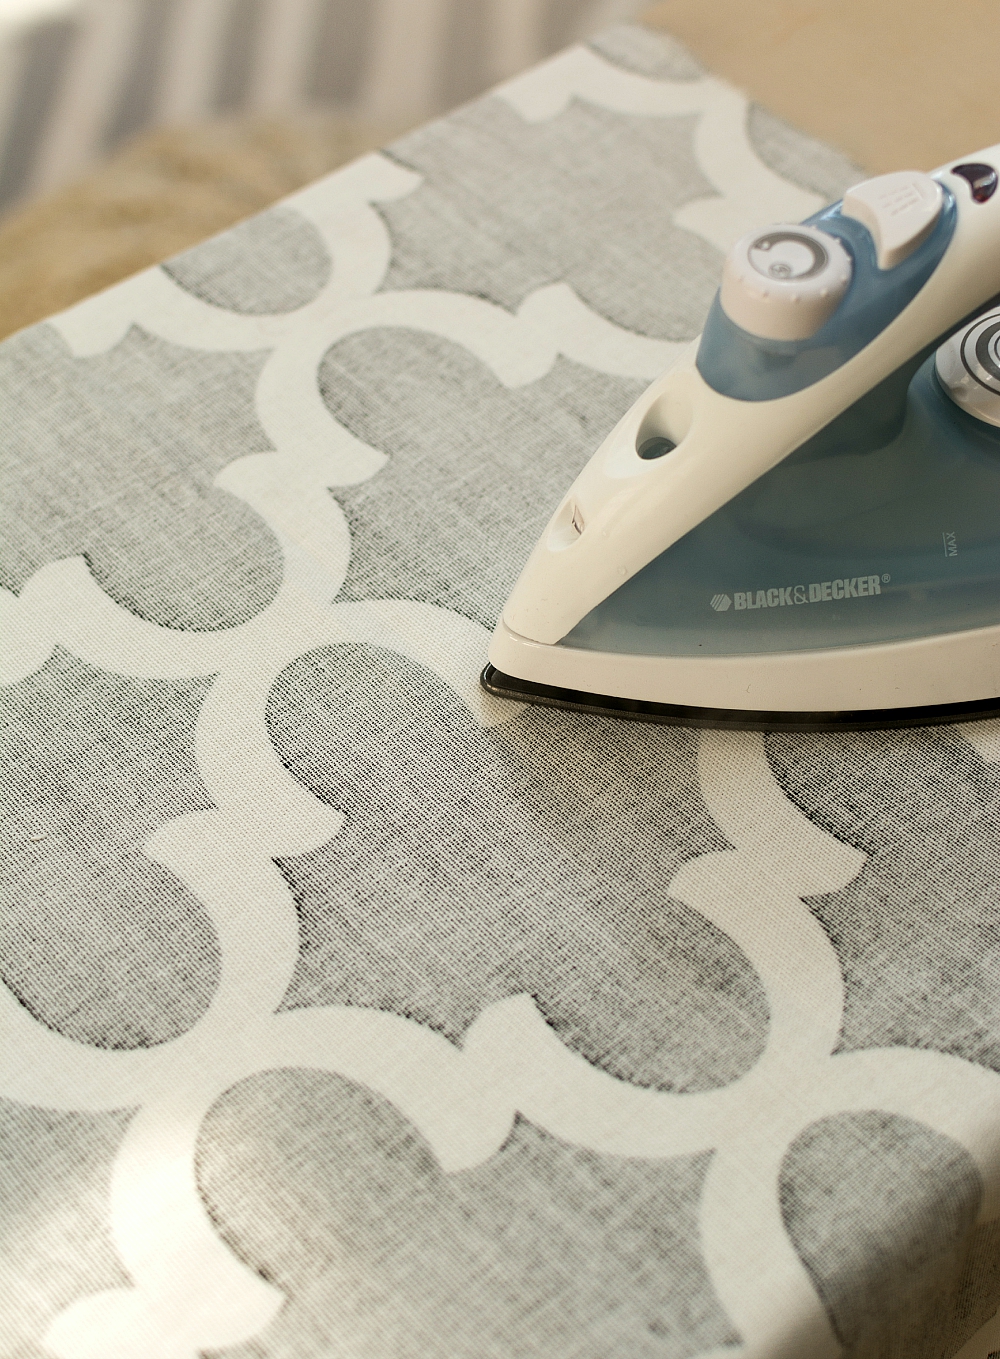
Up next, pull out the iron. I know, I know. I can hear your moans and groans. But trust me. They’ll turn out so much better. Just iron it flat.
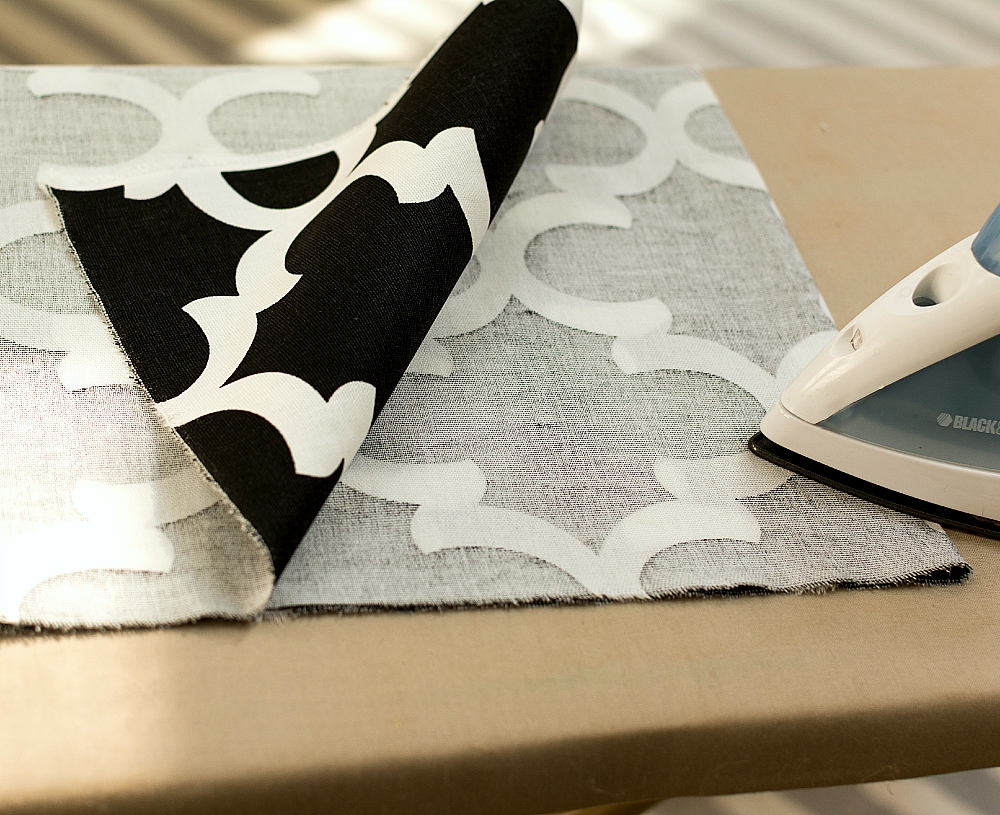
Now lay the fabric out flat and fold it onto itself (right sides together) in thirds. Adjust your folds until the center piece of the fabric measures 14″ in width. There should be an overlap of at least 5 inches. Iron side seams flat.
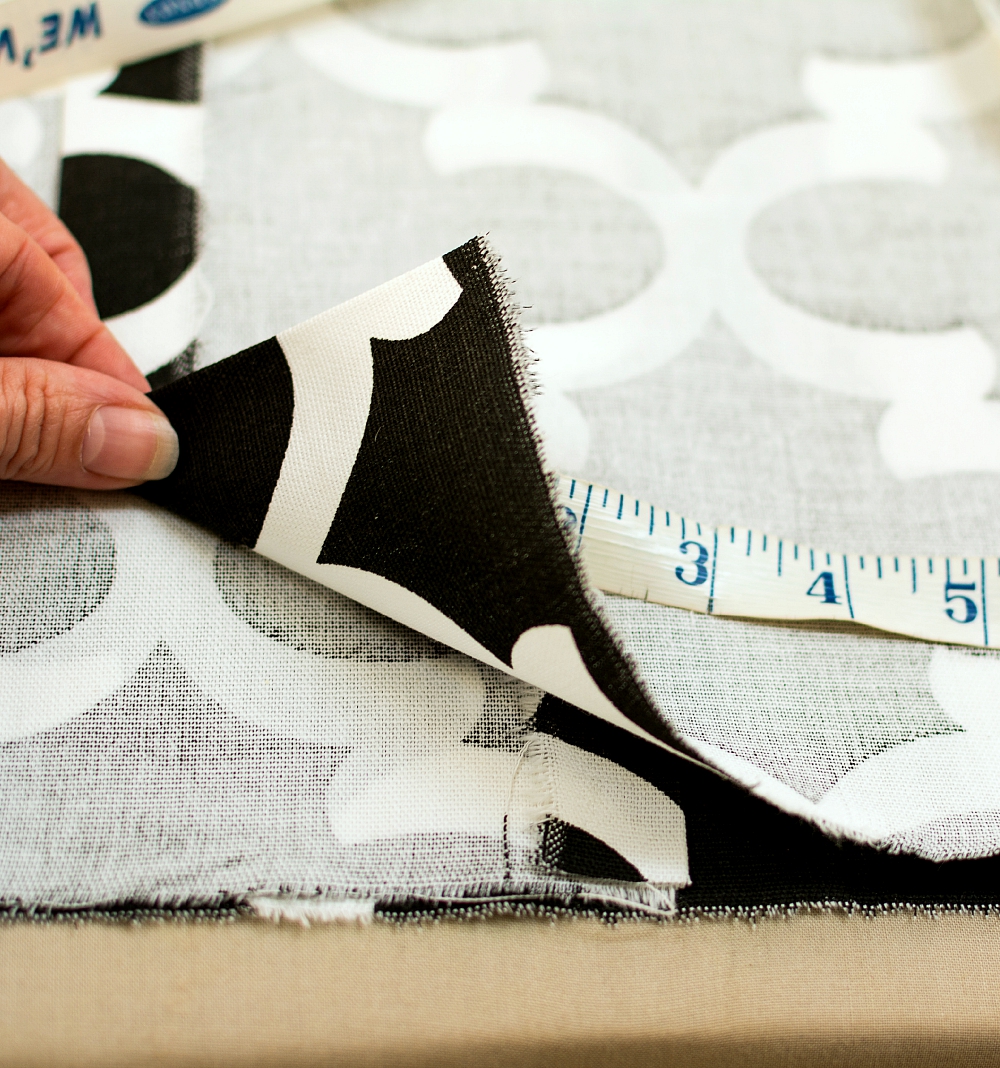
For the overlap seam (this is where the pillow form will be inserted), the finished overlap should be between 3-5″ in length. Make sure you add in another 2″ inches so you can fold over and finish the end seams (1″ fold over on each end).
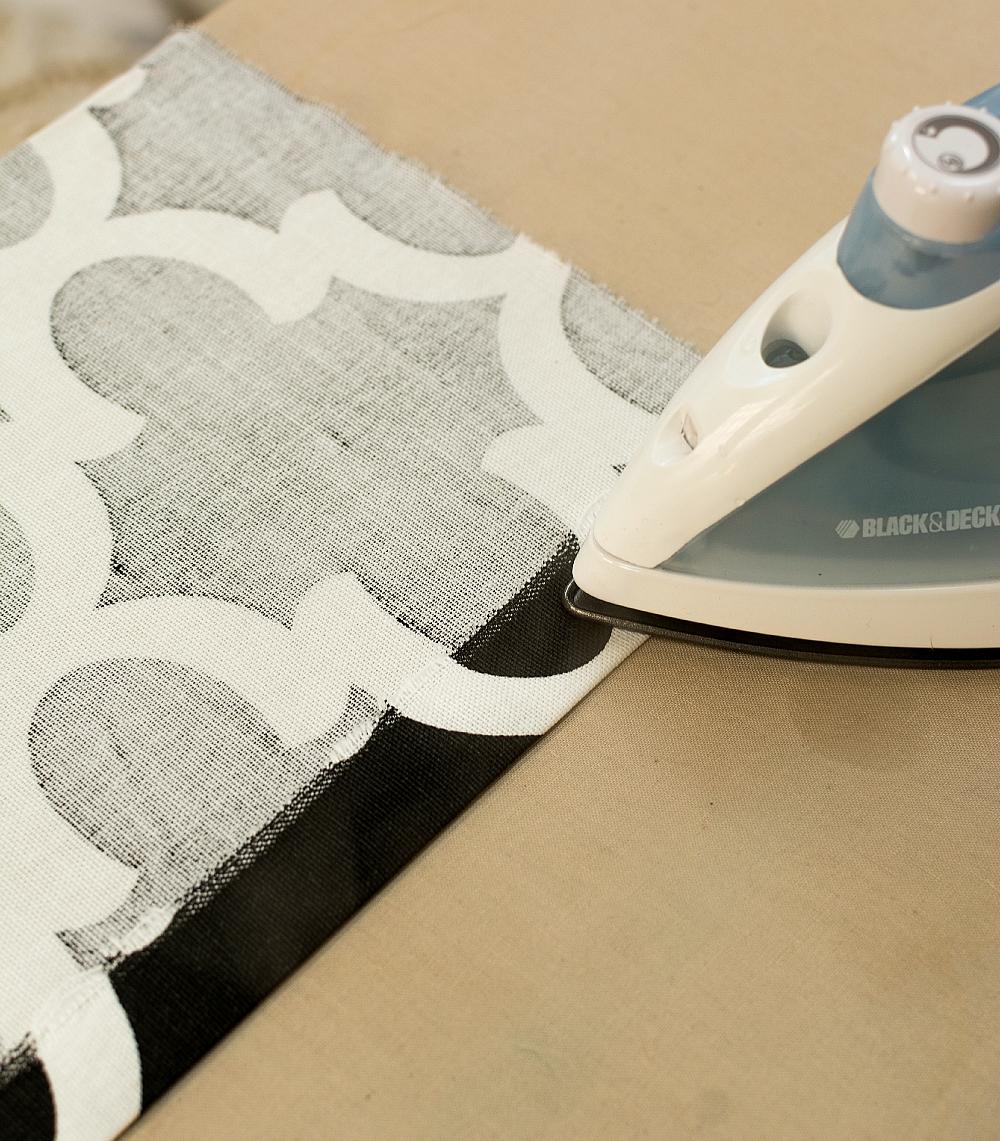
I then use the iron to create 1″ seams on each end of the length of fabric. Wrong sides together.
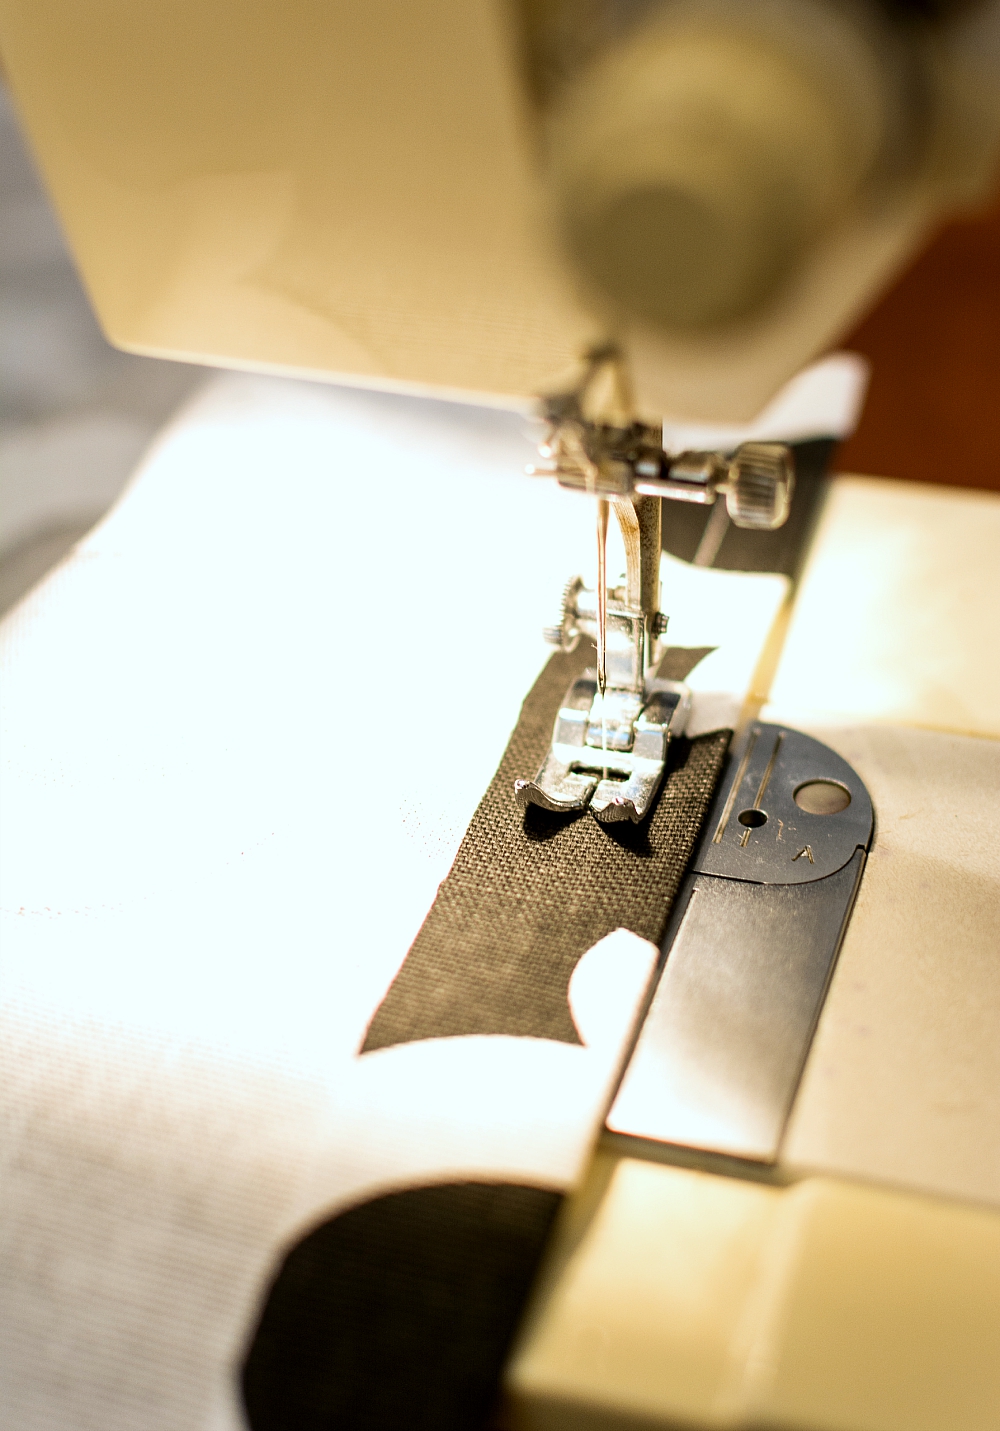
Sew seams flat using a 1/2″ seam. (Though, when I’m feeling extra rebellious, I skip this step and move on to the next where I sew together the side seams).
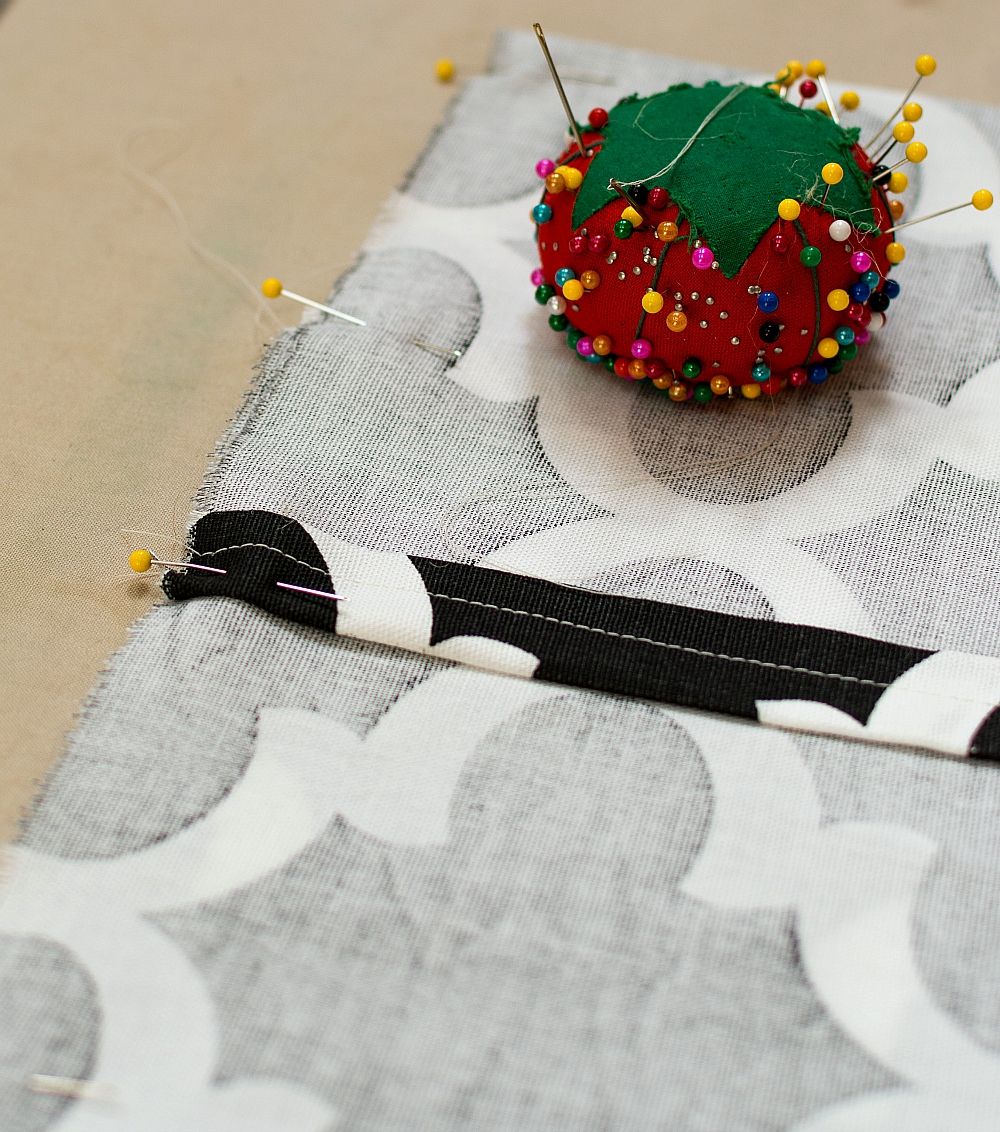
Now I pull out the pins and pin the right sides together before sewing the side seams. I take extra care to pin down the overlap pieces.
Sew side seams (no pictures here for that step) using a 1/2″ seam on both sides.
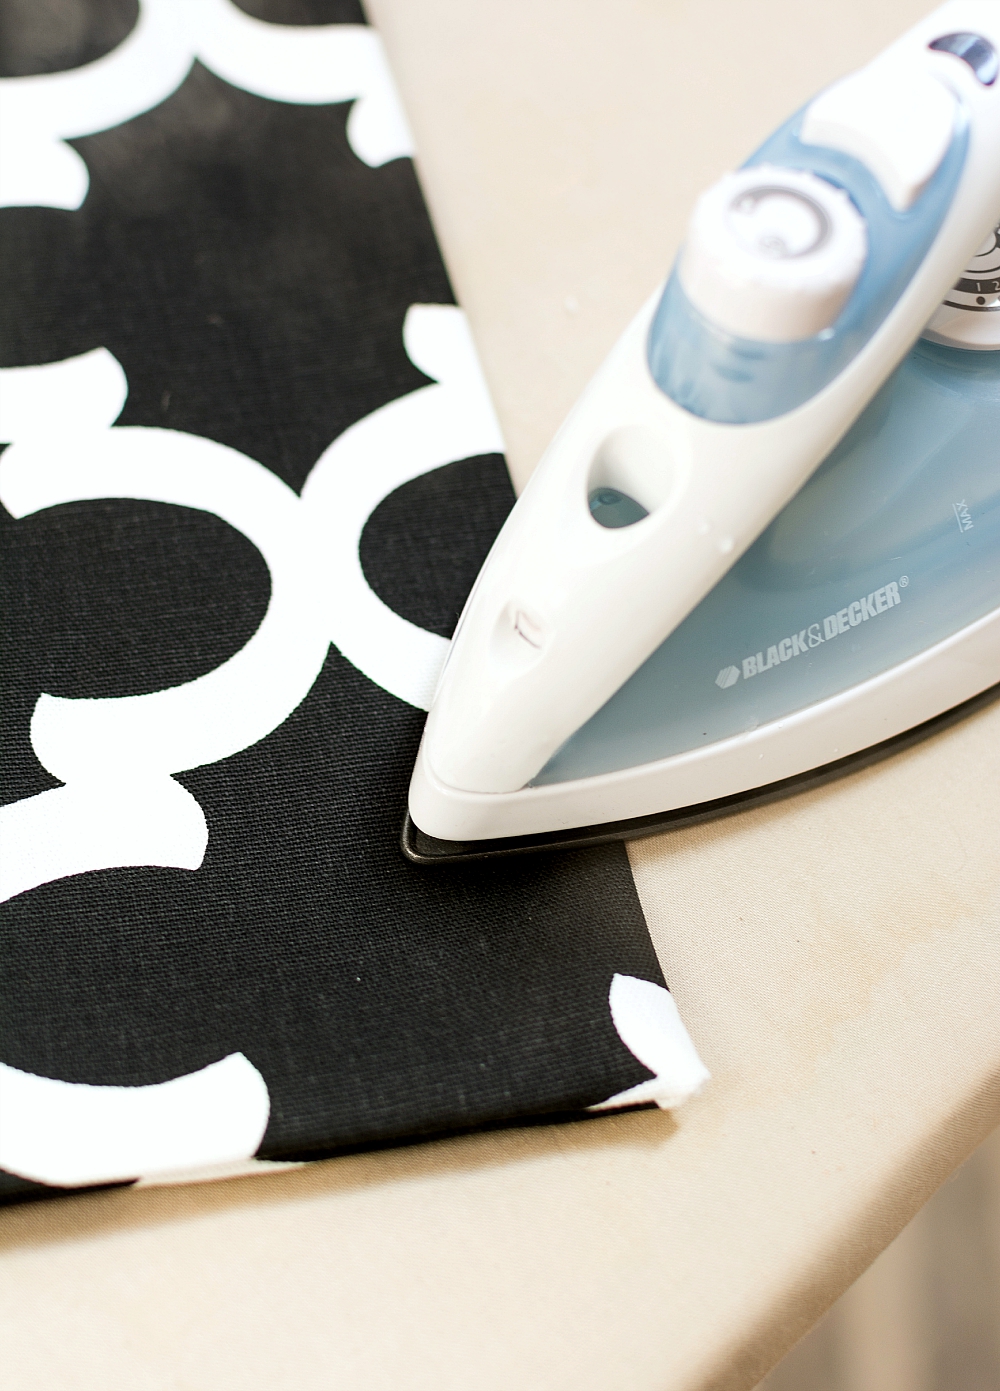
Turn right side out and press down the four side seams of your pillow cover to finish it off.
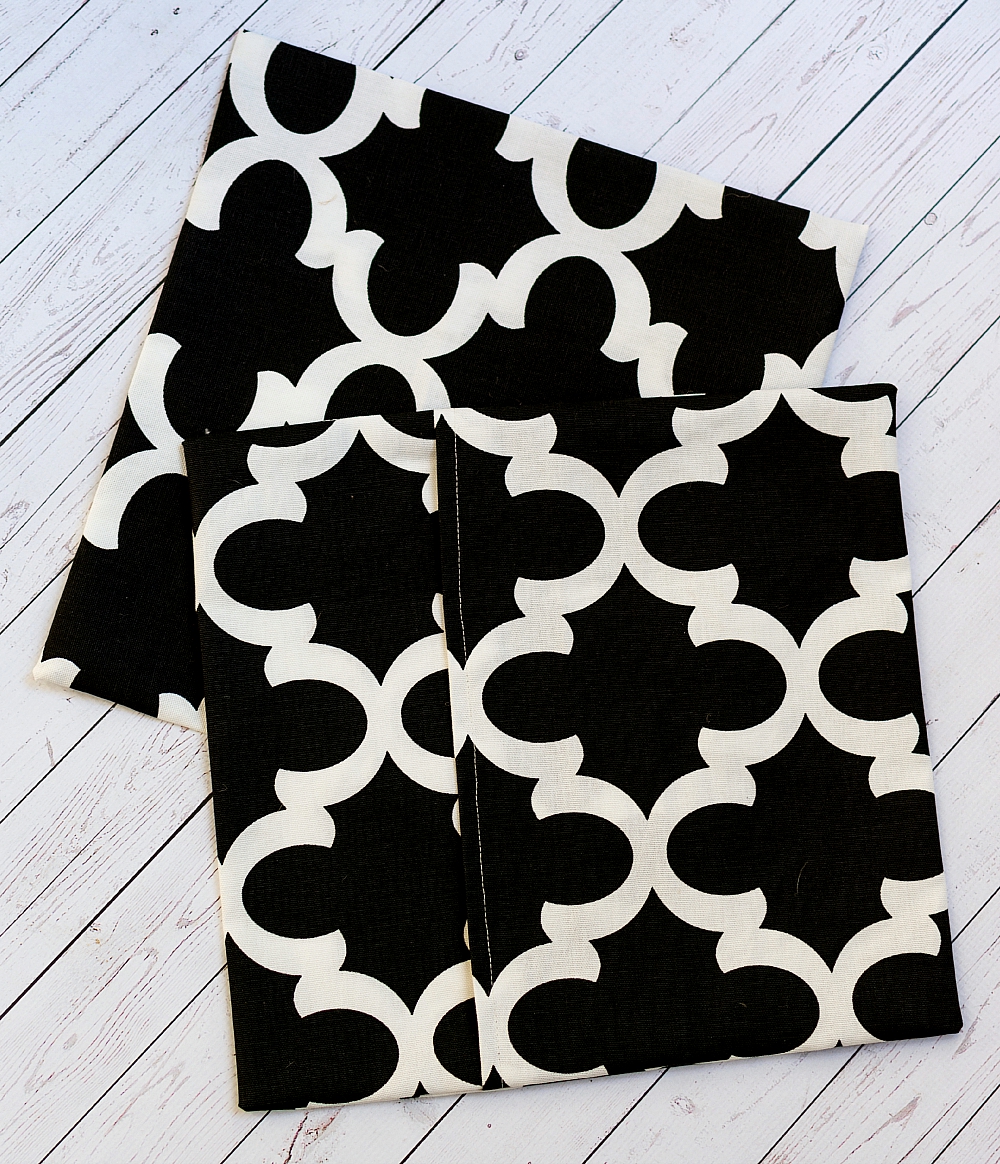
The rule-breaking rebel in me didn’t feel like changing out the thread in the machine, so I stuck with the off white already threaded and bobbed. A true non-rebellious-rule-following seamstress would have gone with black. And her seam would have been much straighter. 🙂
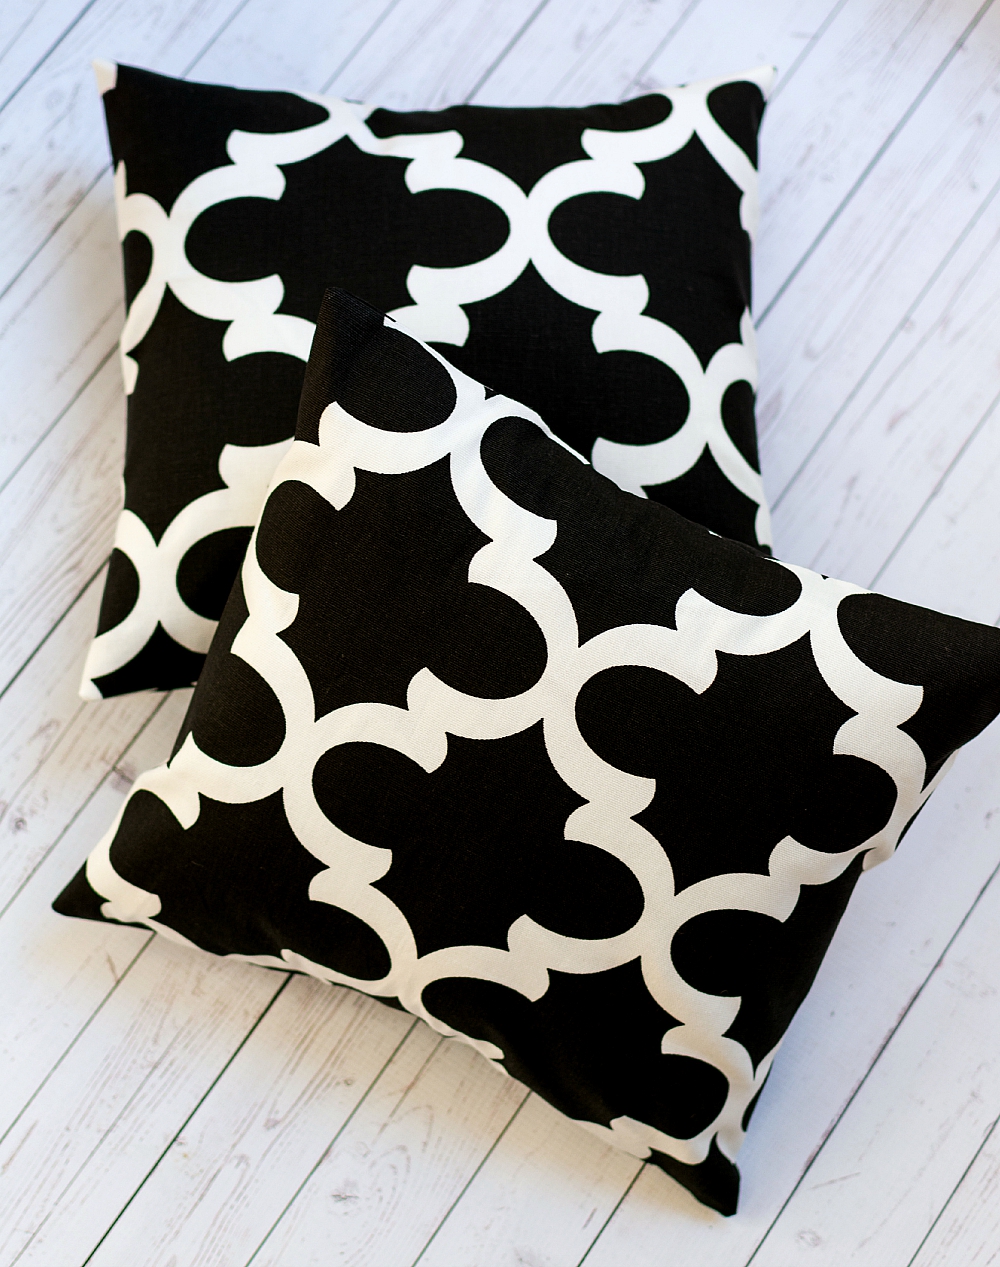
Insert pillow forms through back seam.
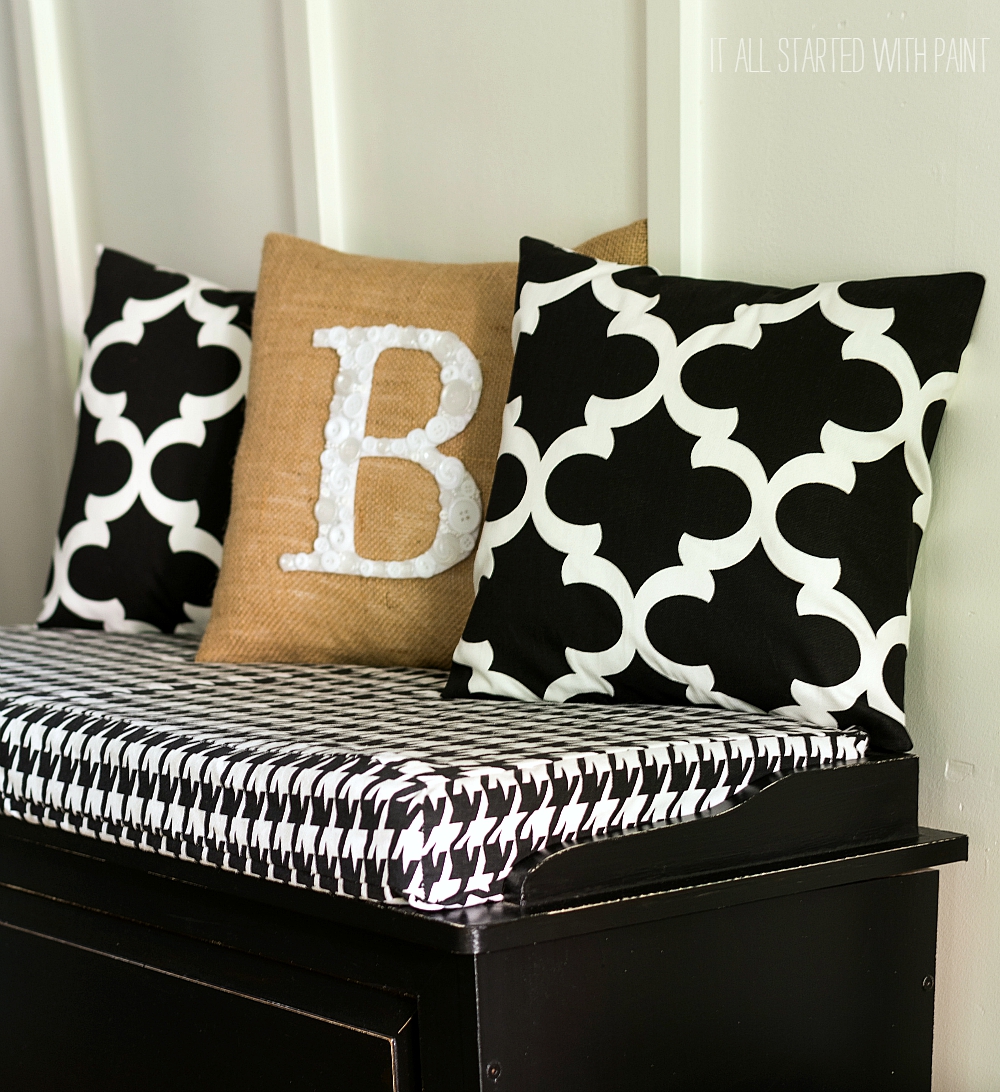
And enjoy your break-the-rules-rebel-rousing envelope pillow covers.
🙂
You Might Also Like:

i love a good rule breaking project!
Great tutorial! (And I *heart* this Pope. Even my mother, the Presbyterian from Scotland who was not even allowed to have Catholic friends, loves this Pope. Coolest Pope EVAH!!
I am not a catholic, but rather an ex-Lutheran, nor am I a believer anymore, but I sure do like this Pope. He makes me smile and think that there is possibly hope for this world yet… xo
I noticed that your fabric is dyed only on the front of the fabric. Having sewn for more than 60 years, I wanted you to know that any fabric that is printed only on one side will fade quickly when washed. It would be best if you launder it in cold water to stop the fading.
Wonderful tutorial, looks/sounds like how I make pillow covers. When I sew the side seams I go back over part where the opening parts area is to give cover little more strength. So when I put pillow form in I don’t tear whole cover at sides, like bull in china shop I am.. Duh. Anybody that tries to sew without using their iron might as well forget it.
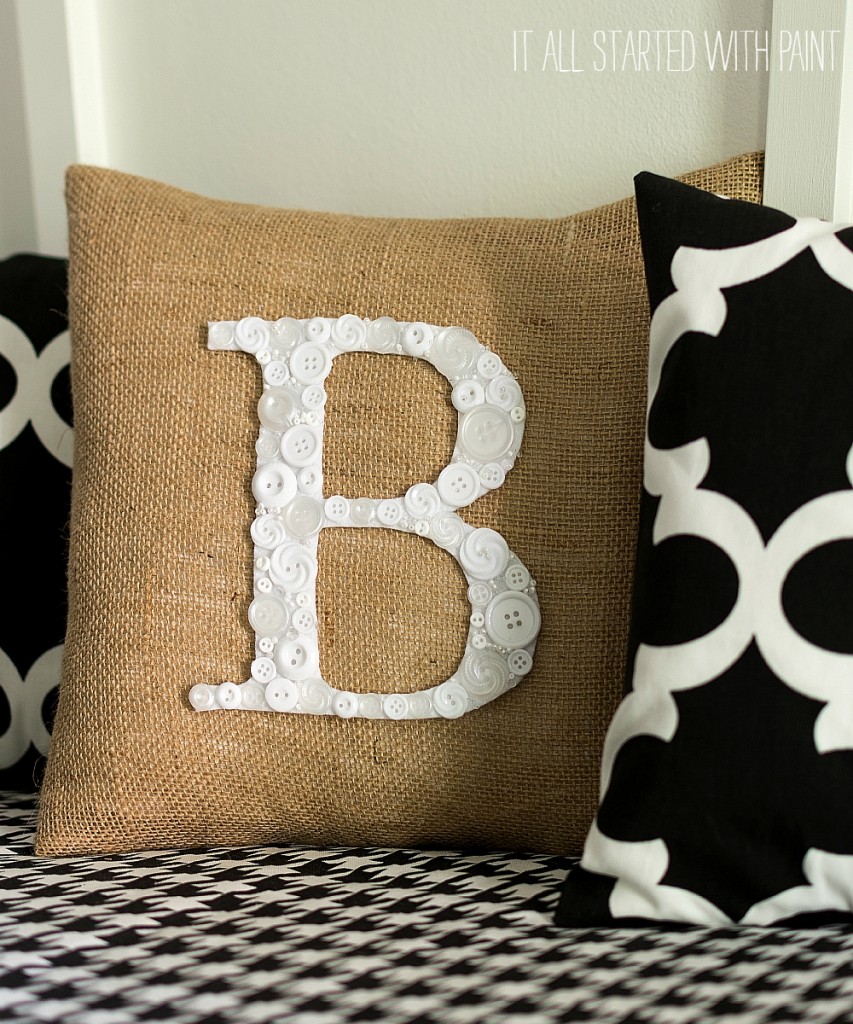
Your pillows looks really nice, love both of them, one with letter/buttons too. Do you ever have trouble sewing with burlap? Love black and white fabric, quite snazzy looking.
As for our dear Pope, I Like him too, have read things he’s said and sure agree. I was married to Catholic first time, married in catholic church, 3 older kids baptized in church. Don’t think ex goes to Catholic anymore anyway, since we’re divorced, don’t really know as haven’t had any contact with him for many years. He’d be 79 yrs. old. He had girl friend before we divorced, where he worked, they had one child.
Well I digressed as usual, sorry for that. Just tell me to shut the heck up ok? Happy weekend.
I have a few tired pillows that could use an update. With these pillow covers, I could make some for every season and change them out whenever I wanted. Thanks for the tutorial!
This is a great idea to cover those pillows you already have. Honestly, who really has extra storage for throw pillows?
I’d love for you to share this with us at our Wake Up Wednesday link party! It’s going on now until Friday!
Hope to see you there!
http://www.theorganizeddream.com/2015/10/wake-up-wednesday-89.html
Kate | The Organized Dream