This is a sponsored post written by me on behalf of The Duck® Brand for IZEA. All opinions are 100% mine.
I’m going to let you in on a little secret …
I like wrapping presents.

And it’s not just a like like. It’s more of a love like.
When I was younger, my love-like of wrapping presents made me the family’s gift wrapper in residence.
I loved it!
Okay, more like loved liked it. 🙂
And after I was clued in to the whole Santa situation, I became the official Christmas gift wrapper. I even wrapped my own gifts (and, no, I never peeked).

In hindsight, wrapping gifts was my creative outlet. We weren’t a crafting family, but at Christmas time I could exercise my creativity with gift wrap and bows and ribbons.
No two gifts looked alike.
As I got older, I started spending a ridiculous amount of money on Christmas wrap and ribbons and bows. I always needed at least 3-4 different types of paper. And there was always, always a complimentary color story and theme …

And then I had kids. And became a stay-at-home mom. And spending ridiculous amounts of money on 3-4 different types of color-and-theme-coordinated papers and ribbons and bows was out of the budget.
That’s when the real creativity kicked in. 🙂
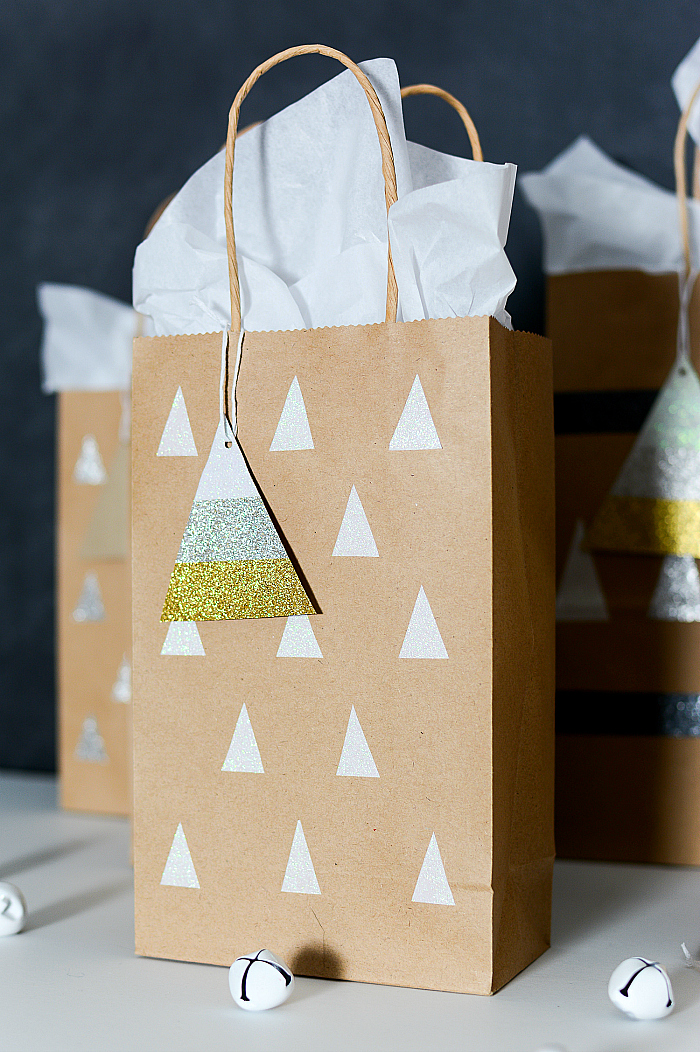
I love the idea of making your own homemade wrapping. And I especially love the simplicity of dressing up dollar store gift bags with some glamorous Duck Tape® . So easy. All you need is Duck Glitter® tape and inexpensive brown bags. That’s it. Two ingredients and you’re done!
How To Make Homemade Holiday Gift Bags and Tags
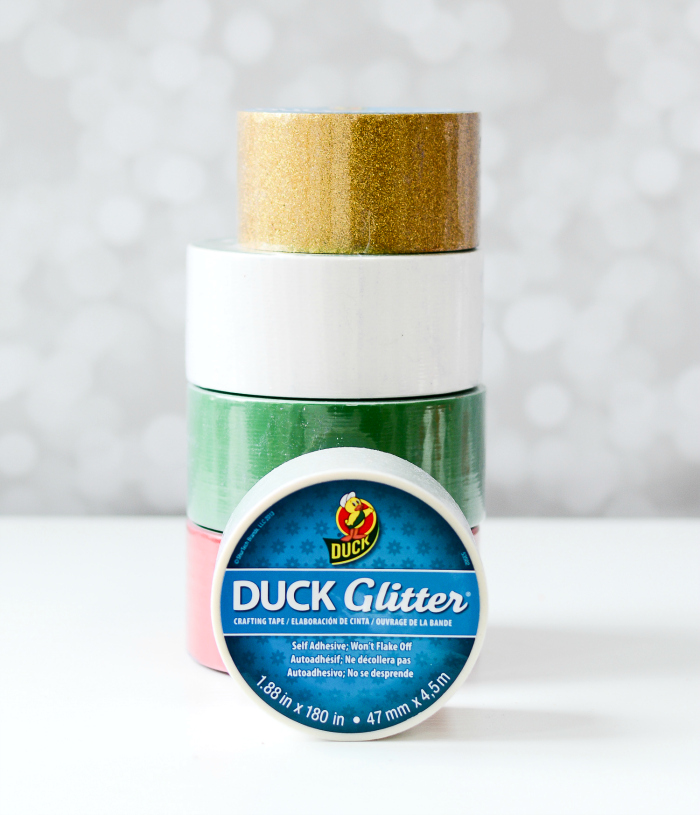
Materials
Duck Glitter® Tape
Dollar Store Paper Bags
Scissors
Ruler
Dollar Store Tissue Paper
White Embroidery Thread (or String)
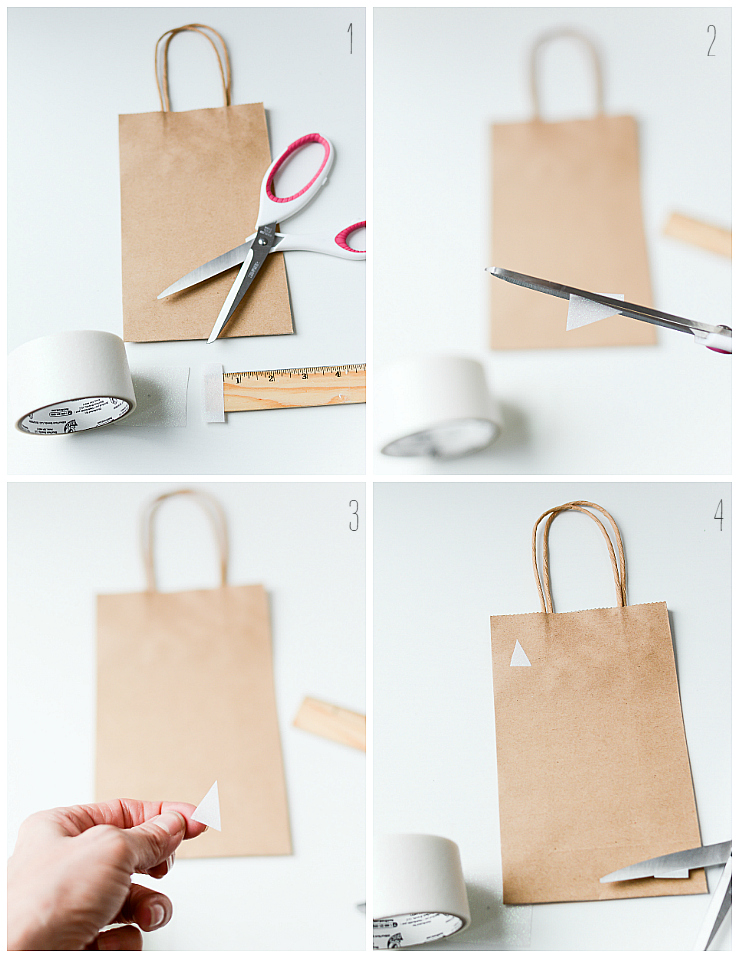
For the mini tree bags (1) Start by cutting a 1/2″ length of Duck Glitter tape in white. Then cut that 1/2″ piece in half. (2) & (3) Cut into triangle shapes. (4) Attach to bag.
Repeat.
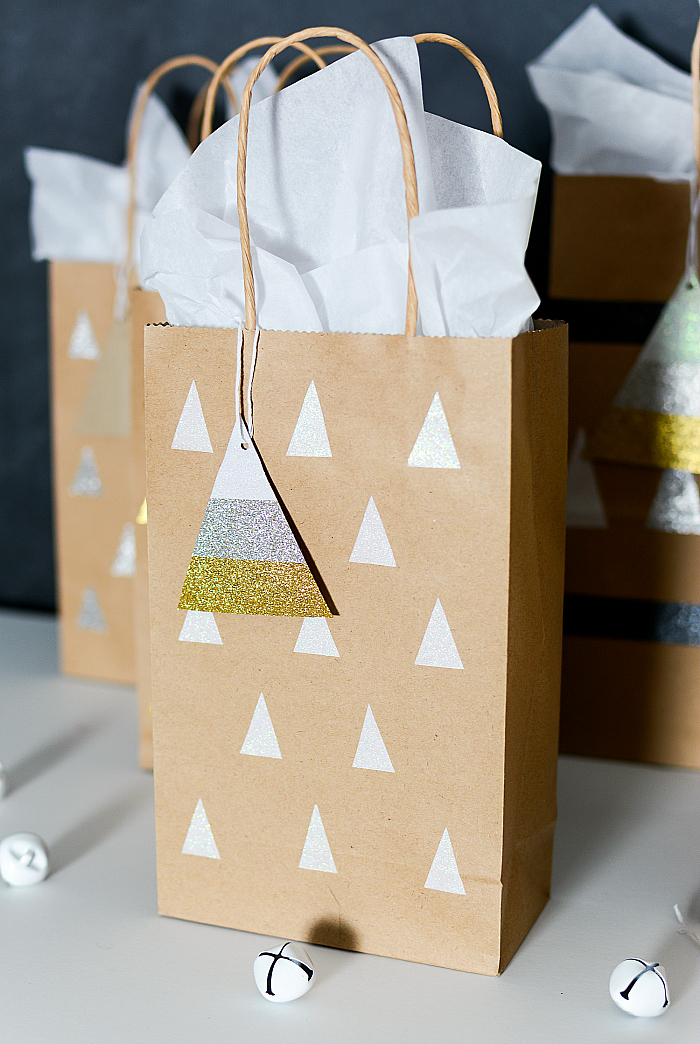
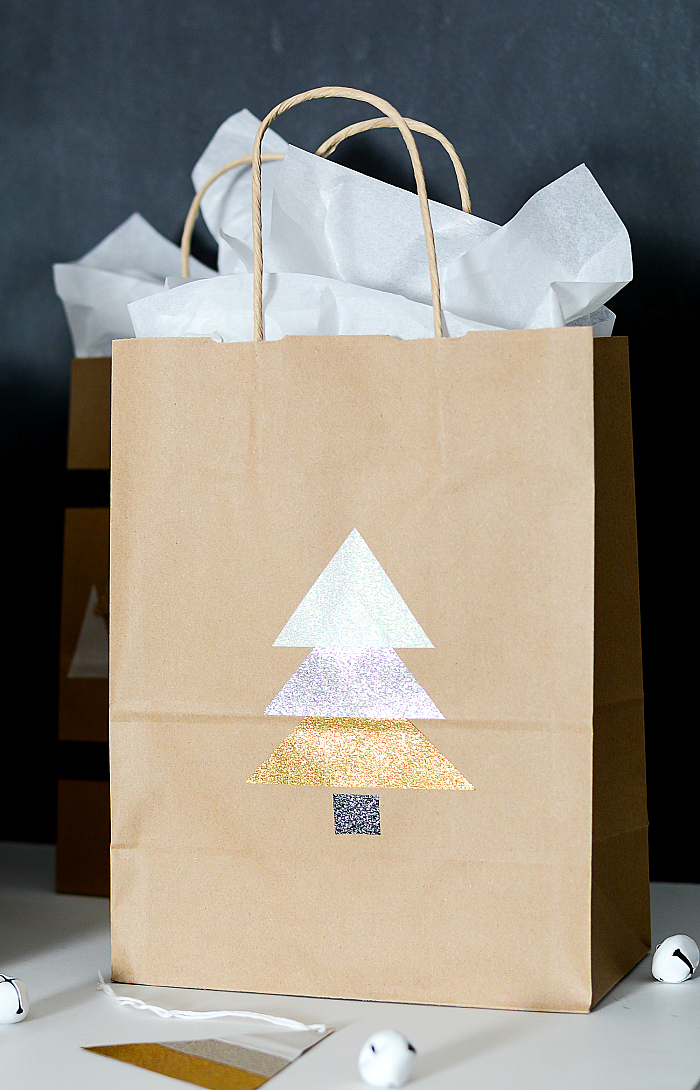
For the white, silver, and gold Duck Glitter tree bag …
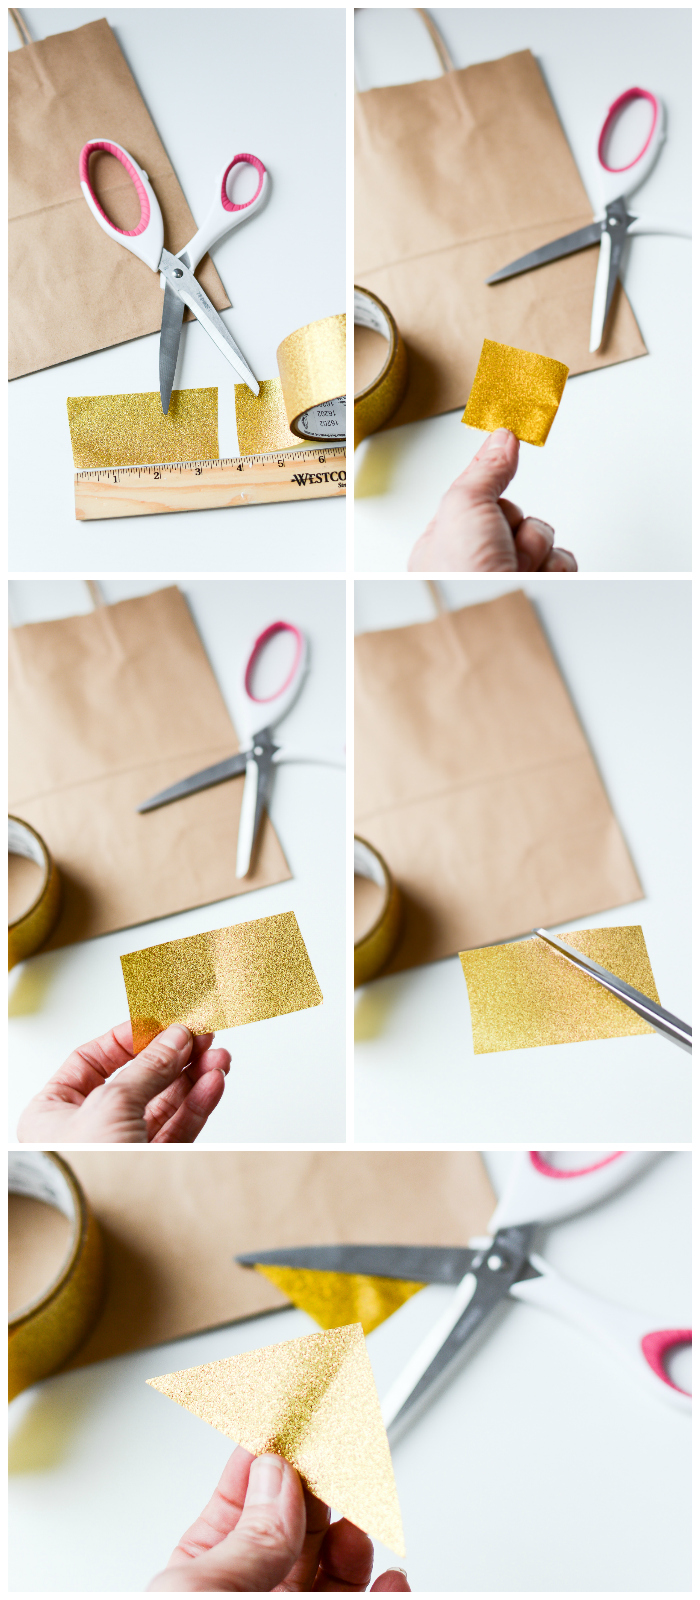
Start with a 3 1/2″ strip of gold Duck Glitter tape. Fold in half to find center point. Using the center point guide, cut out triangle.
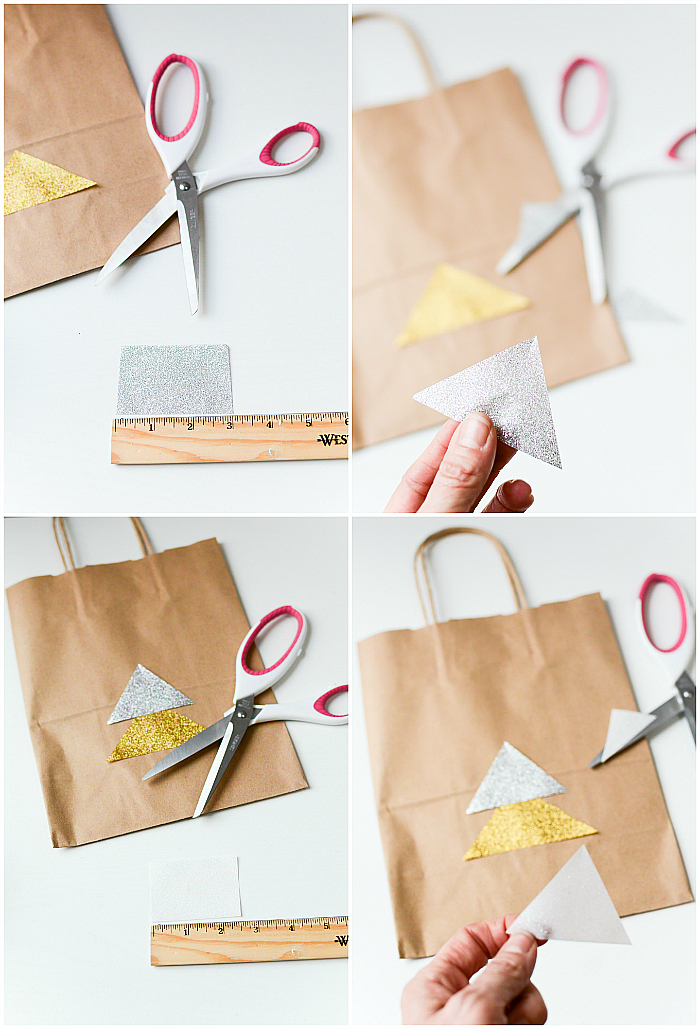
Repeat steps above with silver and white Duck Glitter tape, cutting strips 1/2″ smaller each time. That’s 3″ for the silver triangle and 2 1/2″ for the white.
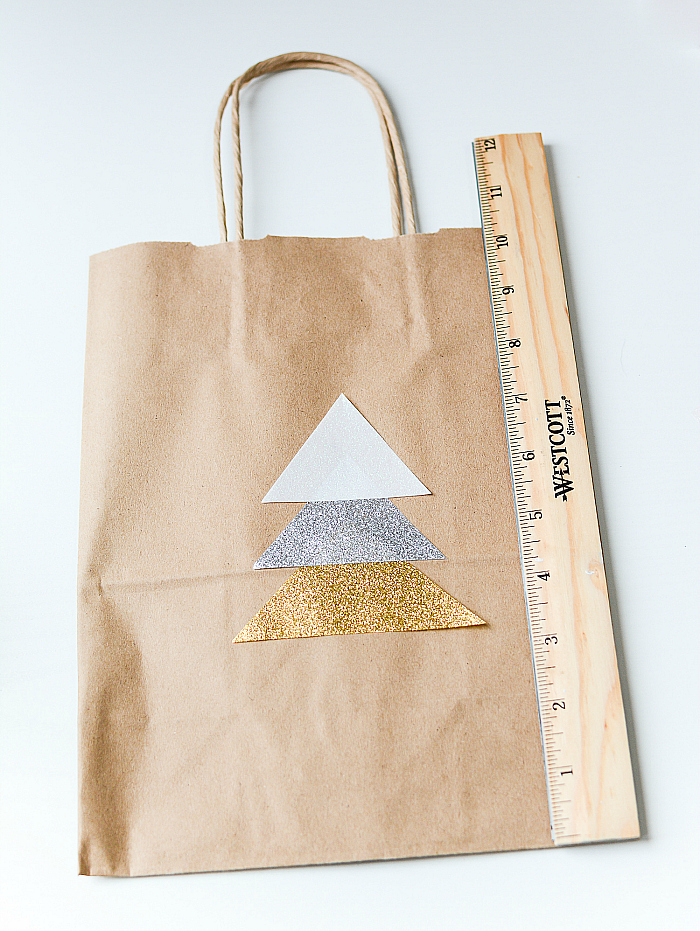
Start with the gold triangle, and stack each one on top of the other. I left about a 1 1/4″ inch or so between each layer.
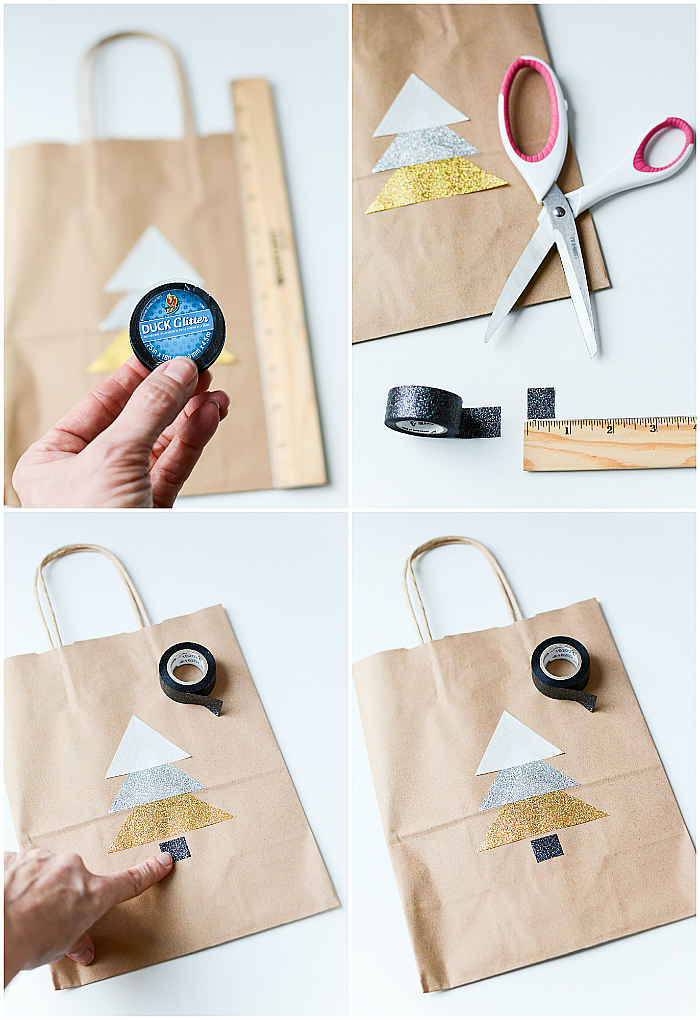
For the trunk, cut a 1/2″ piece from the Duck Glitter in black.

And that’s it. For the bags.
For the gift tags …
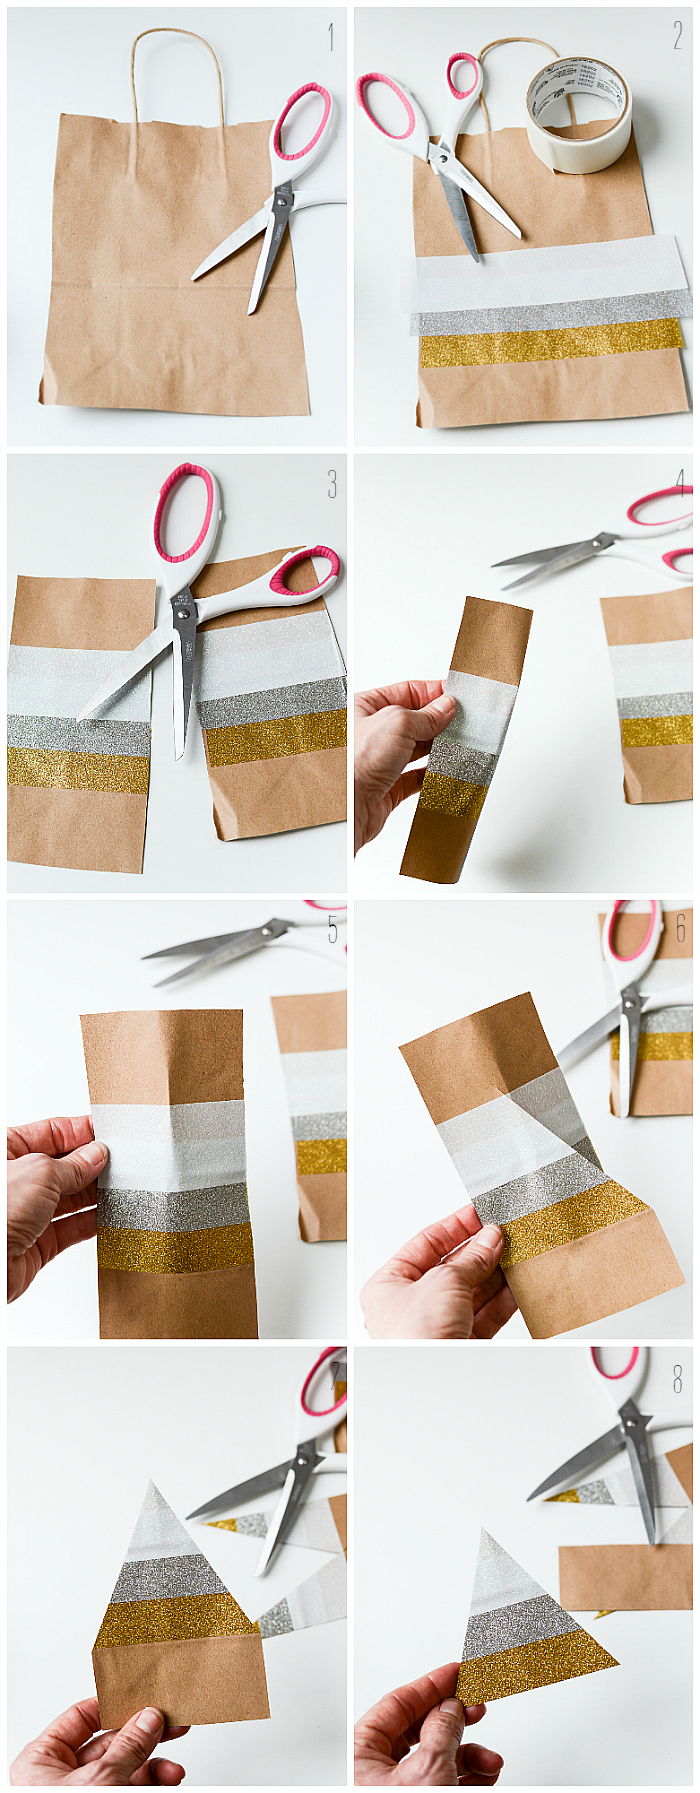
(1) Cut a gift bag in half.
(2) Overlap three strips of Duck Glitter in gold, silver and white.
(3) Cut in half.
(4) & (5) Fold in half to find center point.
(6) & (7) Using center point as guide, cut out triangle shape.
(8) Trim bottom.
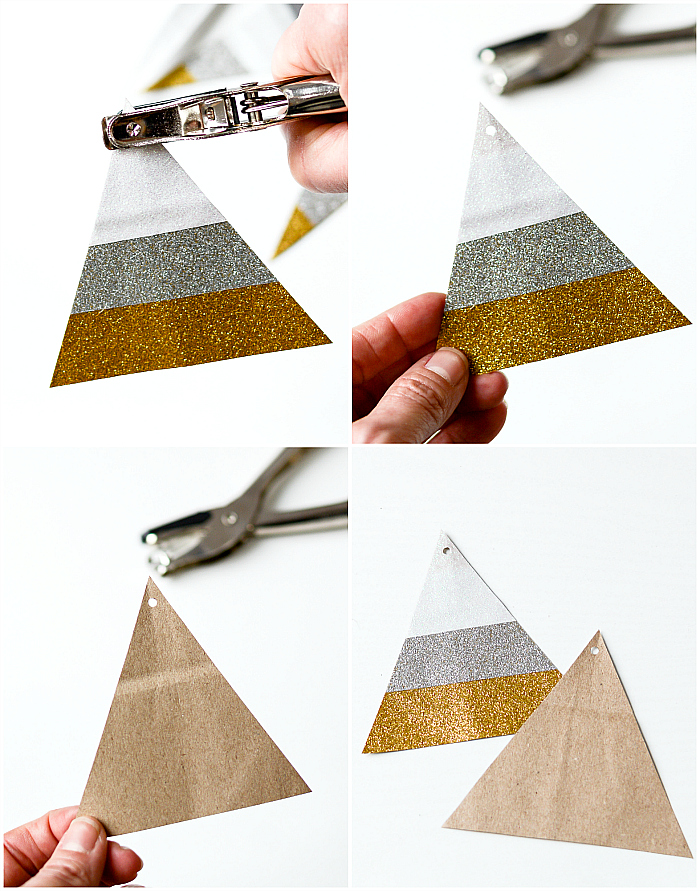
All you need now is a hole punch to cut a hole to thread a piece of string through. The back side is perfect for writing your gift tag message.
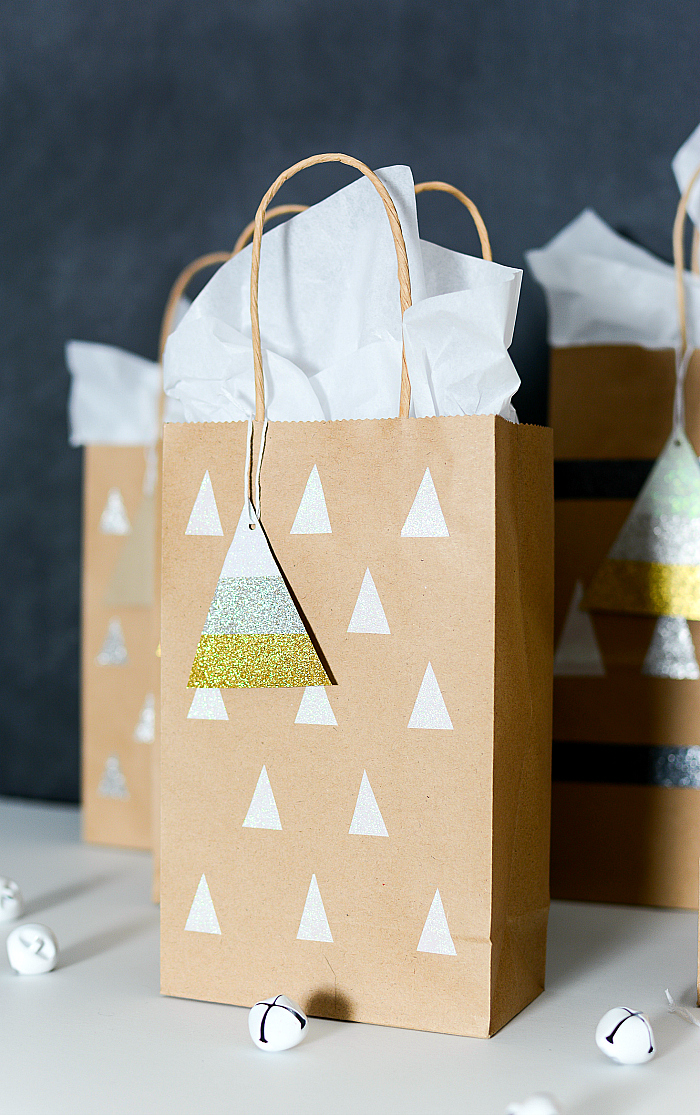
I made one more design that uses a mix of triangle trees and the black DUCK glitter tape strips.
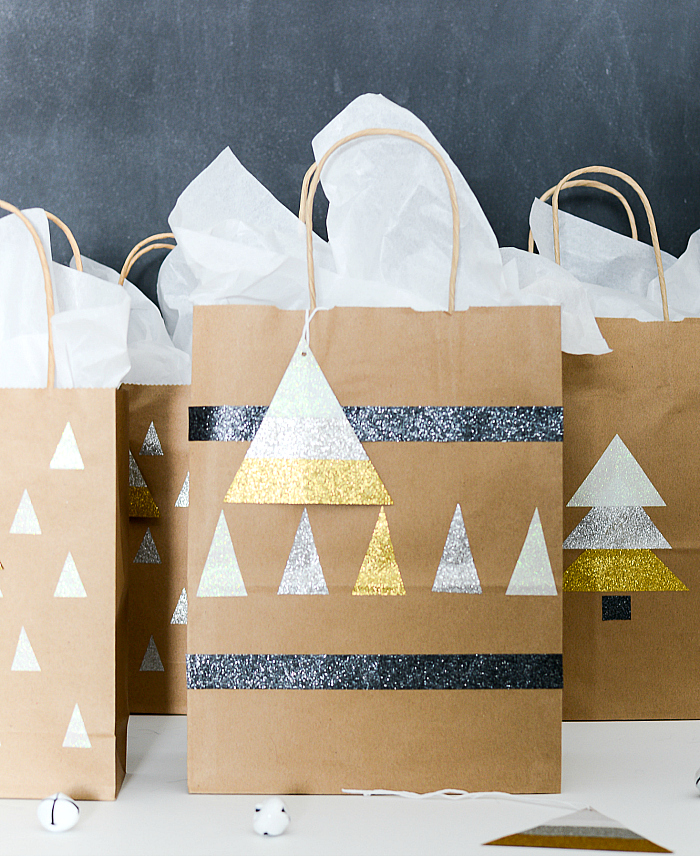
Easy. Peasy …
and oh so glamorous! 🙂
Pin It!
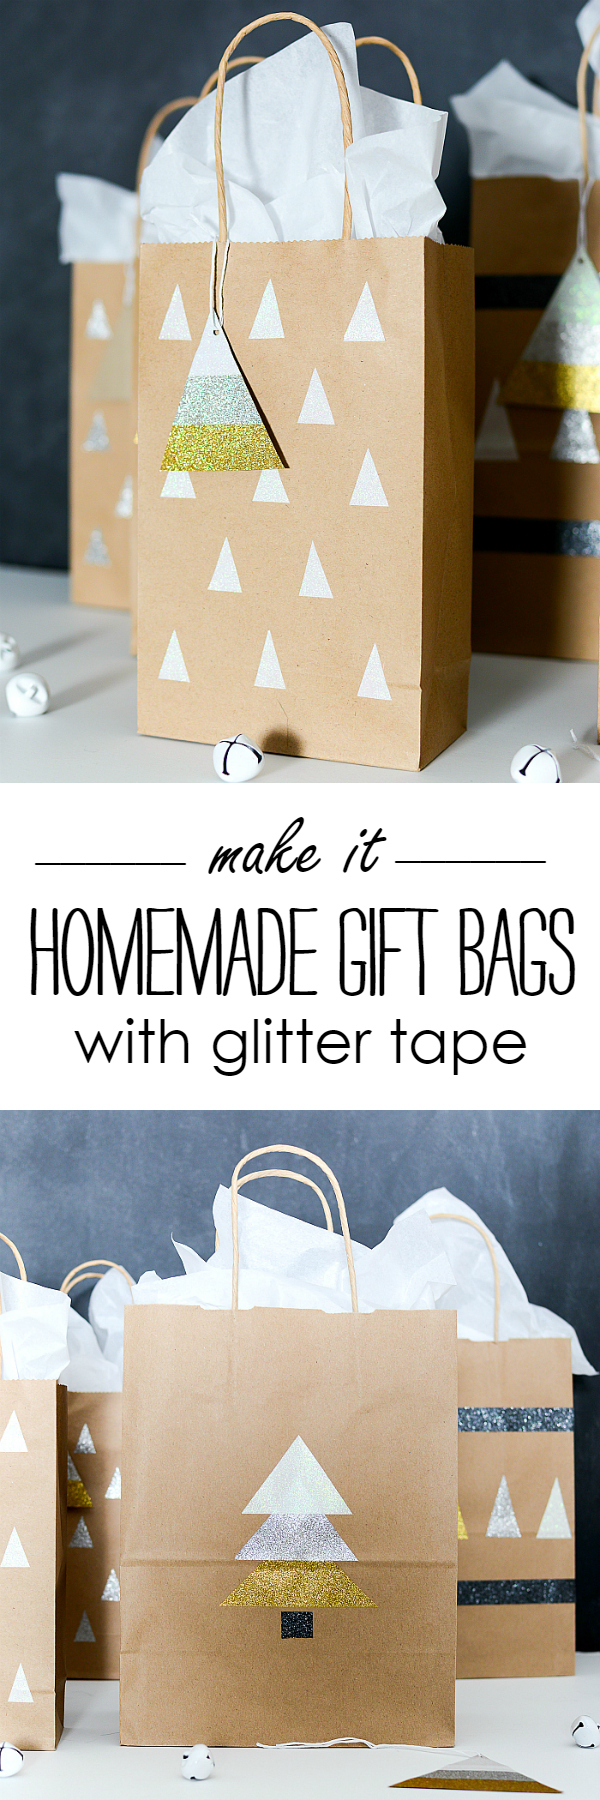
You can find even more creative – and glamorous – holiday craft ideas on the Duck Tape holiday Pinterest board
You Might Also Like:
Christmas Countdown Calendar DIY
Easy Painted Pine Cone Place Card Holder
For my complete DIY & Crafts project gallery, click here …



Leave a Reply