This is a sponsored post written by me on behalf of Kohler for IZEA. All opinions are 100% mine.
Kitchen Faucet Installation – Single Handle Pull Down Sprayer
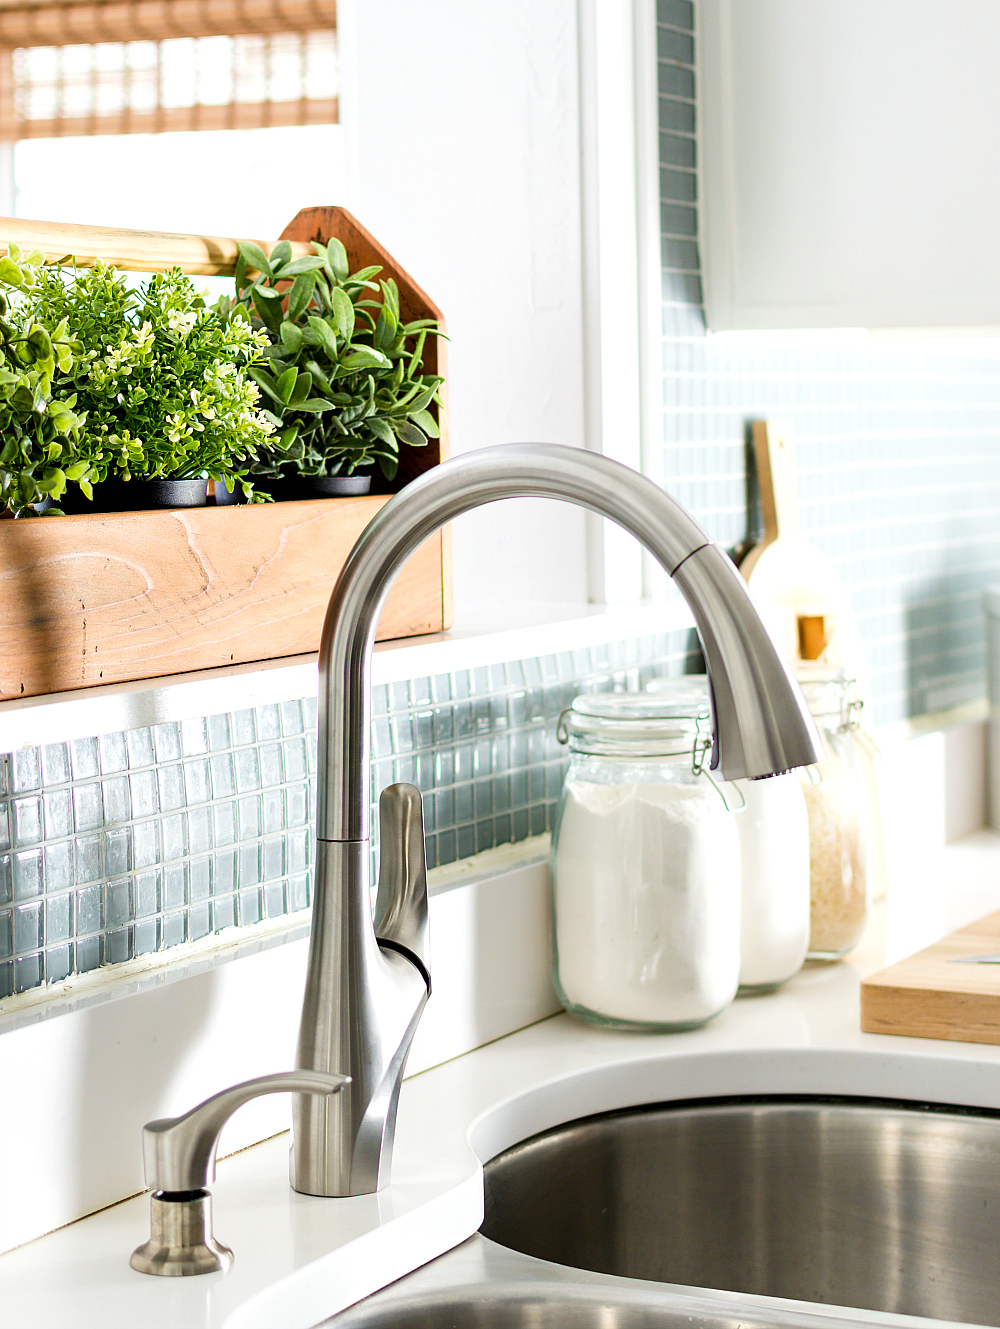
I’m going to come clean with you here …
Ha! Clean. Get it?
I was worried about tackling this kitchen faucet installation project. My husband’s skepticism didn’t help, reminding me of the times (yes, times plural) in the past when this DIY did not go off as planned.
In our defense, our house is old. And our pipes are old. Which can present some challenges.
So with great trepidation … and a much-needed boost from my fabulous sponsor Kohler … I soldiered on. Starting with the fun part: shopping at Home Depot.
Kitchen Faucet Installation
Step 1: Shopping at Home Depot
I narrowed my choices down to three. The Kohler Sous Kitchen Faucet. Which, as the description says, will speak to my inner chef.
Why yes, yes it does.
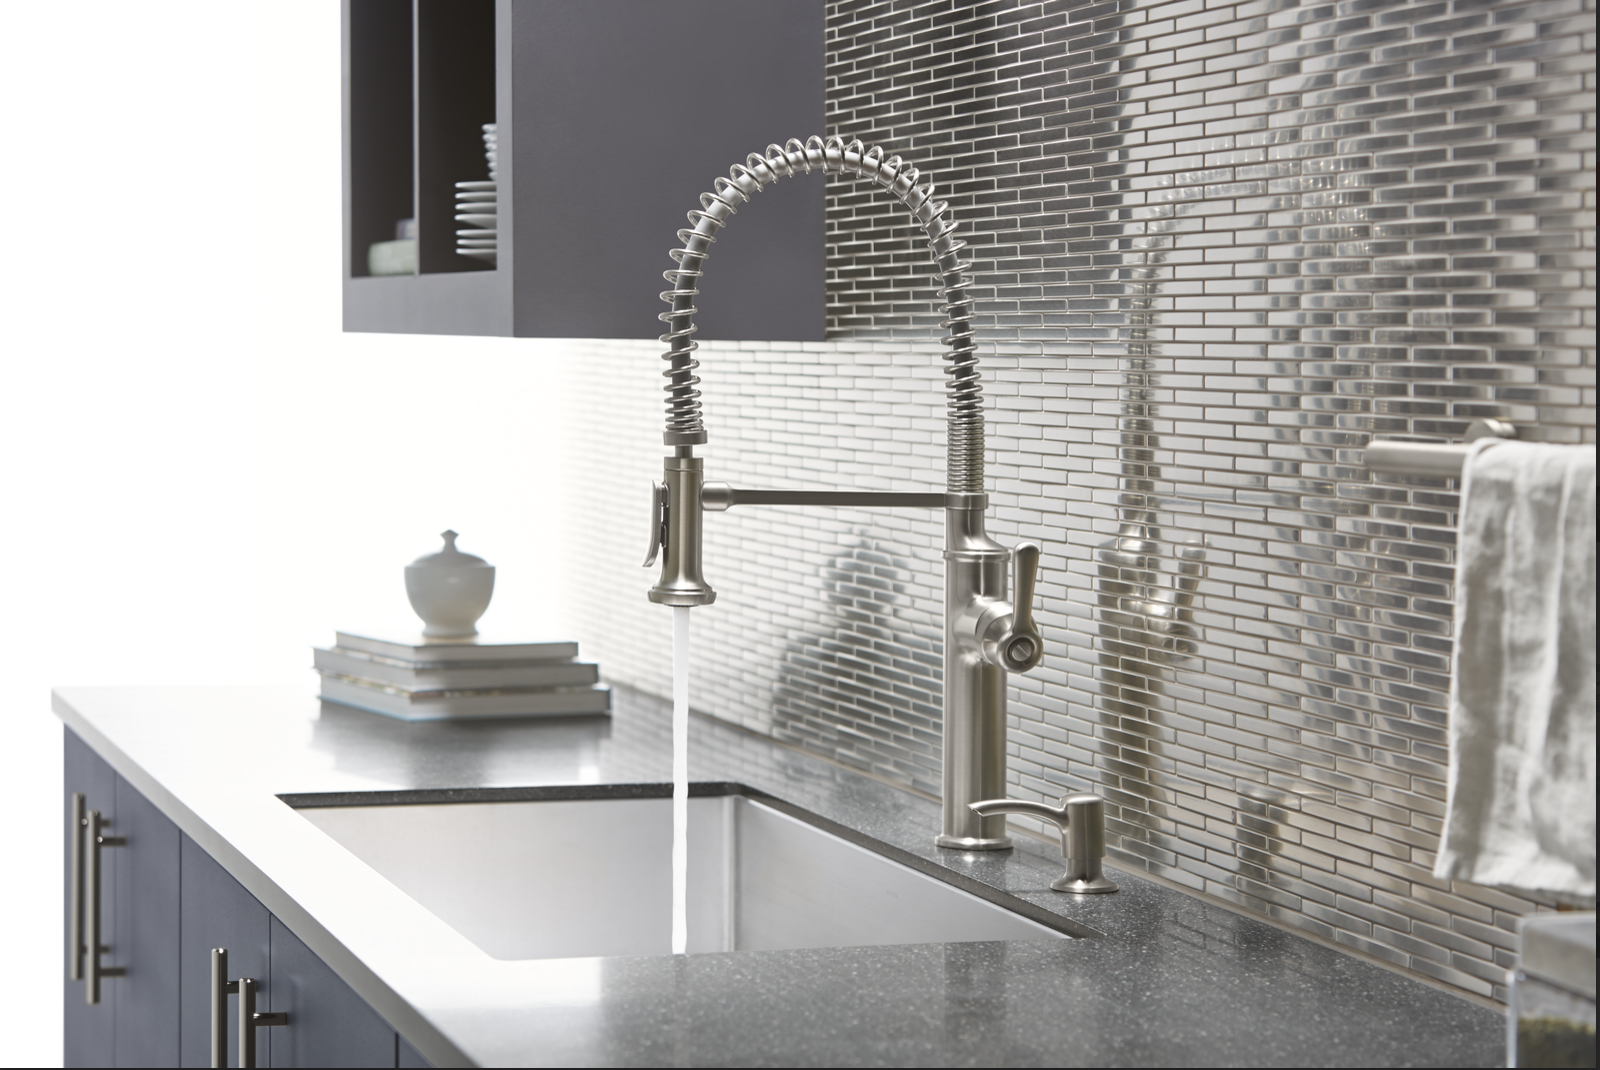
It also spoke to my inner hopes and dreams. Seriously. The Kohler Sous is my dream faucet. If only I had my dream kitchen. I feared it would look out of place in my current space-challenged and very modestly DIY’d space with it’s painted builder grade cabinets. This faucet needs shiny new cabinets and a stunning back-splash.
So I’ve filed it away in my dream kitchen files …
Then there’s the Kohler Worth Kitchen Faucet.
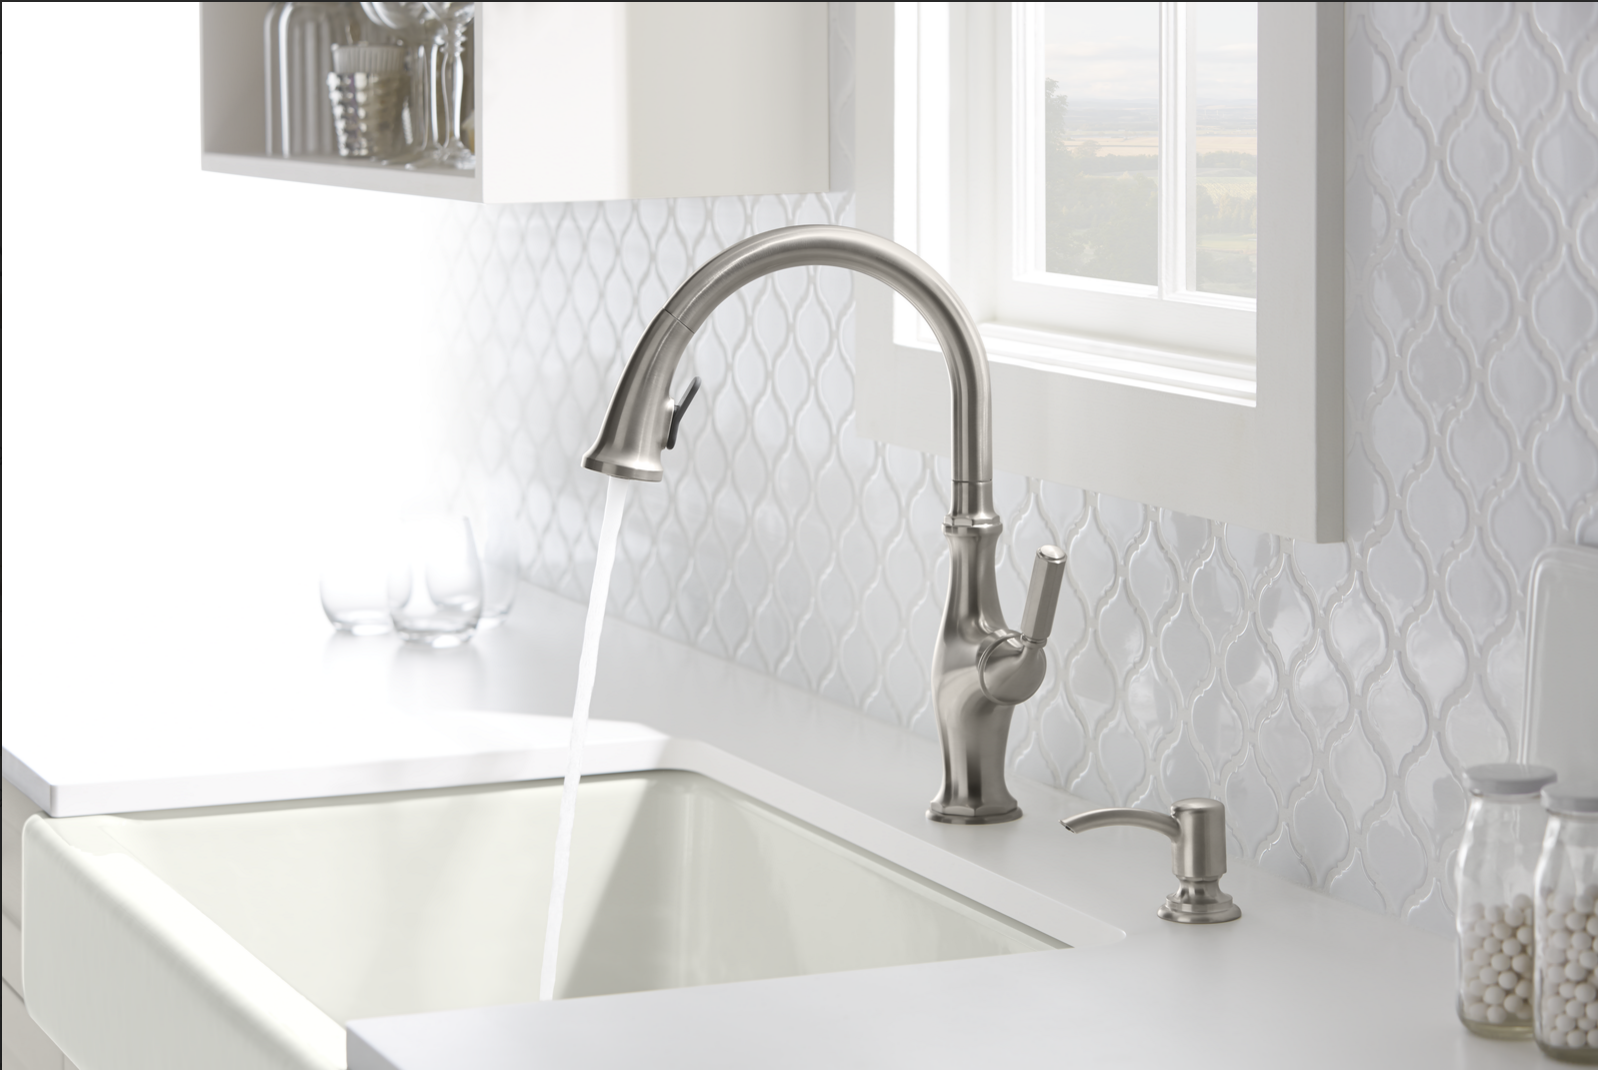
I liked the vintage vibe. I also like that back-splash tile.
But in the end, went with the Kohler Trielle Kitchen Faucet.
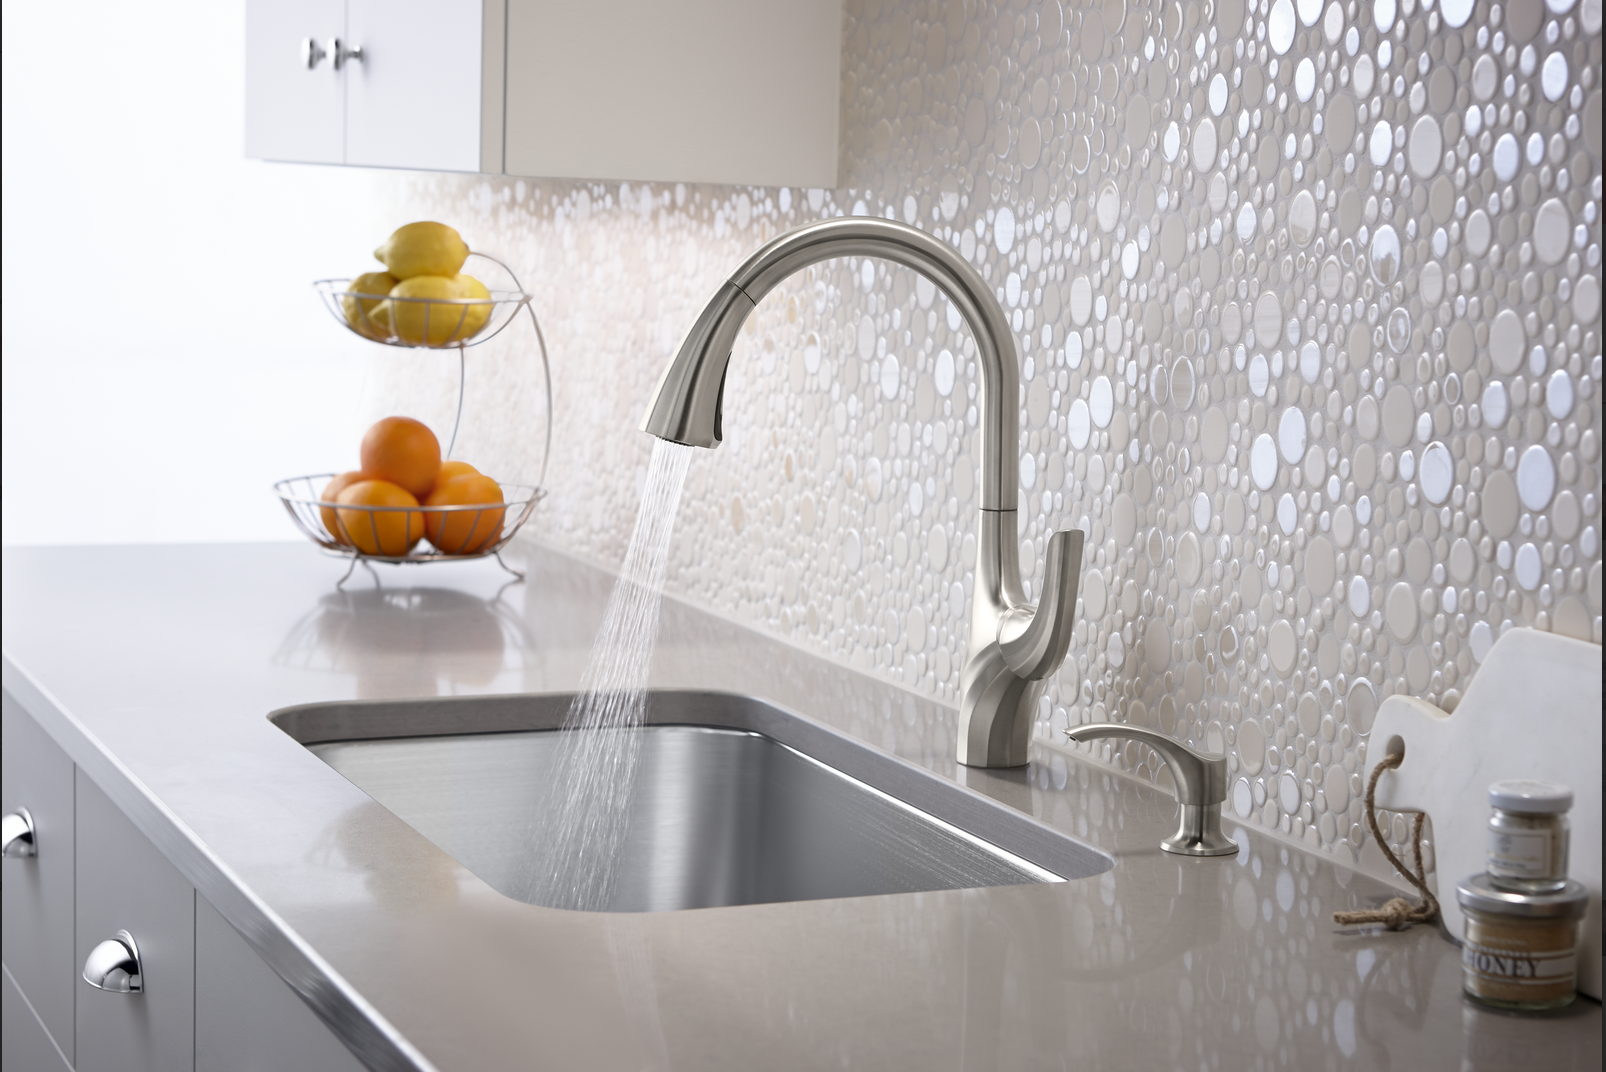
I liked the clean lines. “A touch of glamour with a contemporary design.” That’s what the description says. And I have to agree. It also has a two-function spray head with stream and sweep and features DockNetik technology that secures the spray head in place using Kohler’s signature magnetic docking system.
And just a final few notes about my three Kohler kitchen faucet selections:
*All three feature scratch shield technology that helps the faucet withstand the tough use — key for me since my kitchen sink is also my slop sink and my craft sink.
*All are exclusively available at The Home Depot.
*They include a 3-hole sink adapter plate
*They are designed with ceramic disc valves that exceed industry standards by 2x for a lifetime of durable performance.
*And the very best part? They’re all DIYer friendly so you can tackle the install yourself …
even if you’re like me with trepidations and a skeptical husband whispering in your ear.
Step 2: Prepping for Installation
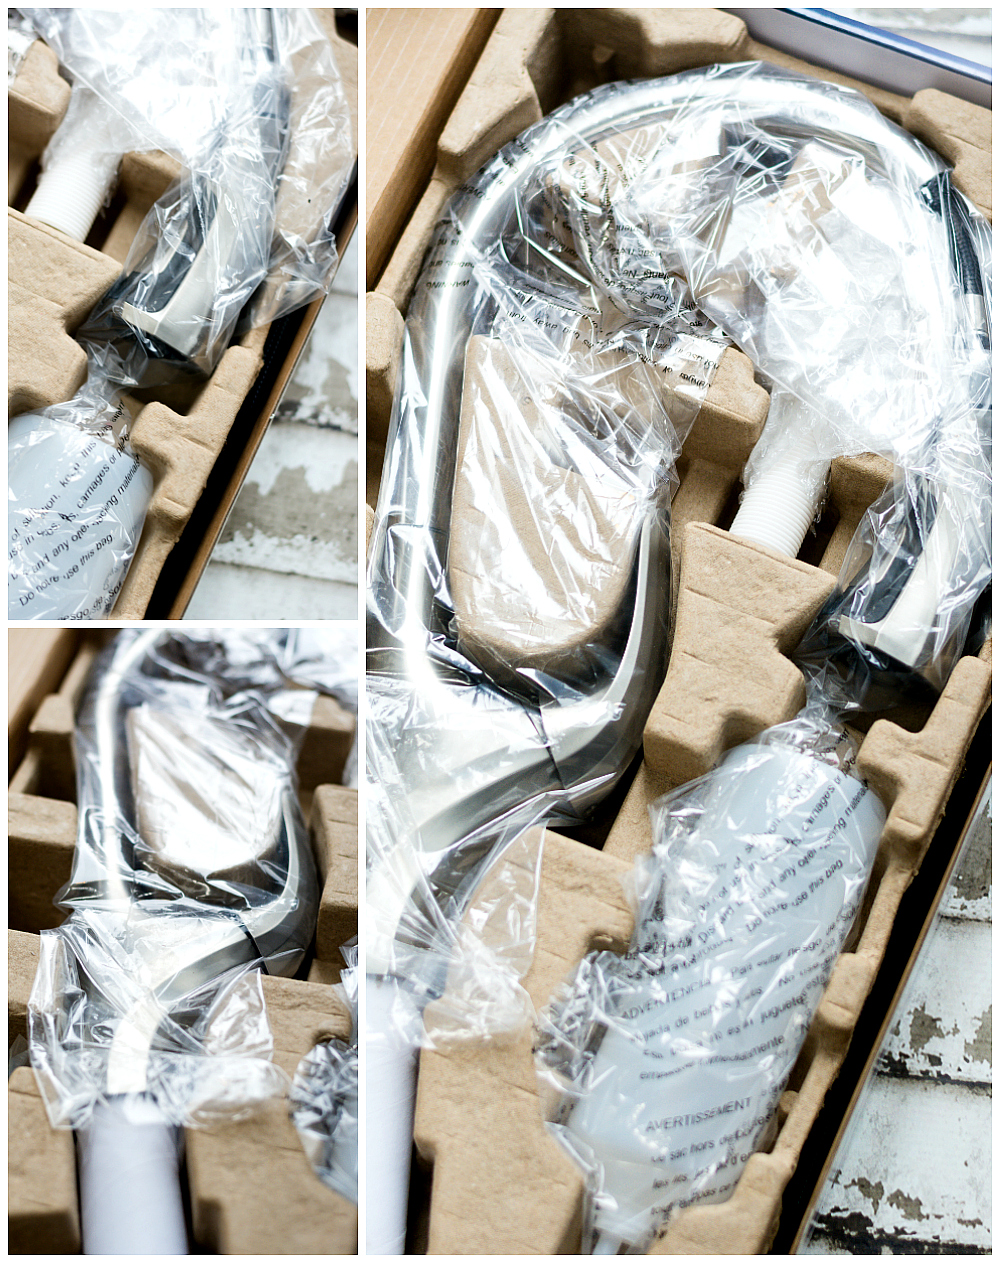
The faucet comes with everything you need for the installation, including a 3-hold sink adapter plate and a matching soap dispenser. All you need to provide are the tools.
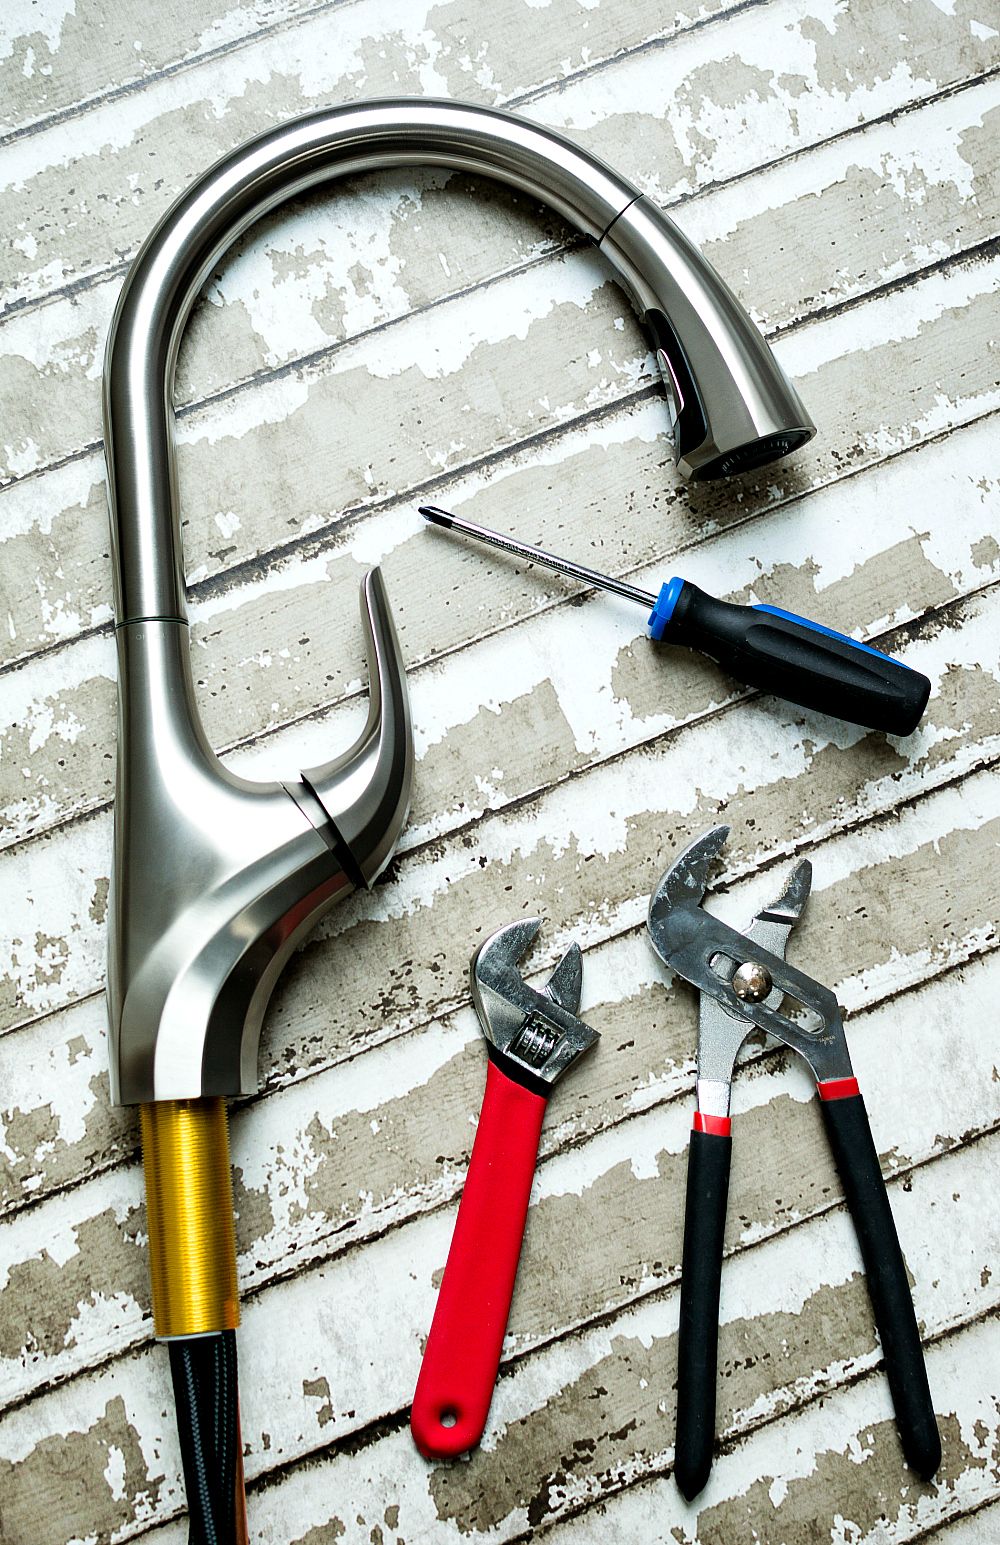
That’s a Phillips head screwdriver, and adjustable wrench and that other thingy I’m not sure what it’s called.
Step 3: Kitchen Faucet Installation
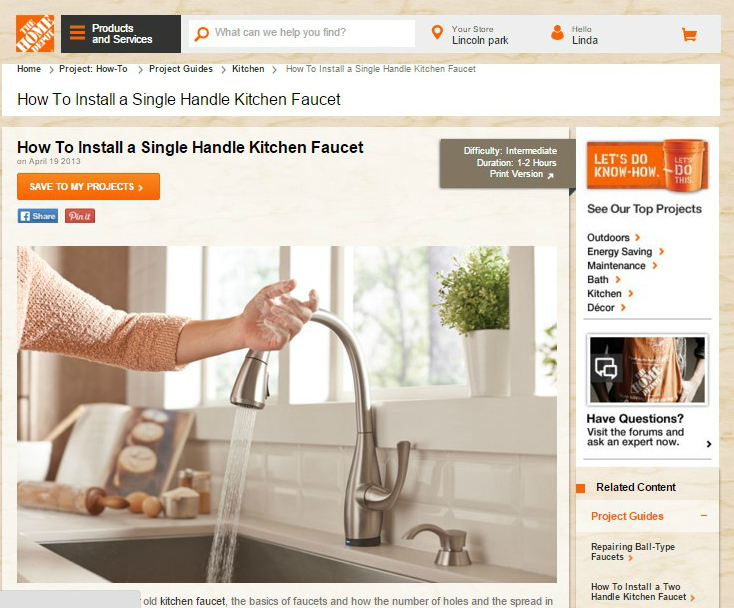
This is where I should be sharing photos of how I installed the faucet. Only problem? It was impossible to get any pictures under the sink. So instead, I’ll direct you to this amazing installation video on The Home Depot (just click here).
Step 4: Step Back and Admire Your Handiwork
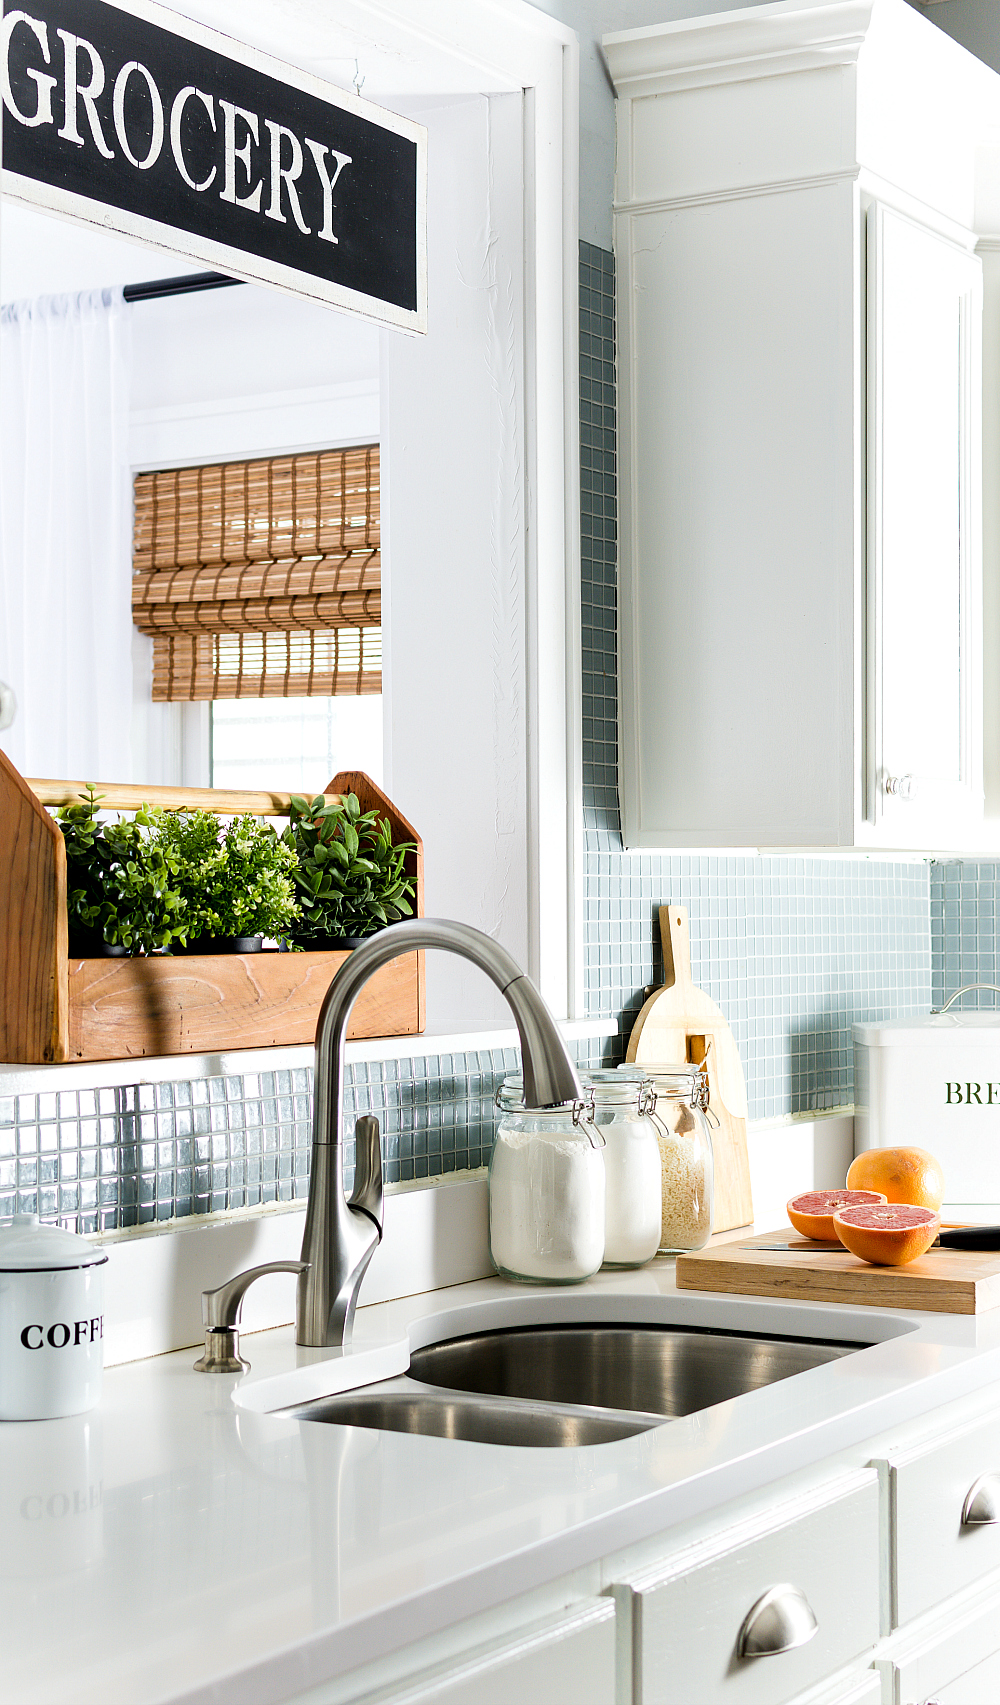
And make sure you to meet your skeptical husband at the door when he arrives home from work so you can show off your successful kitchen faucet installation …
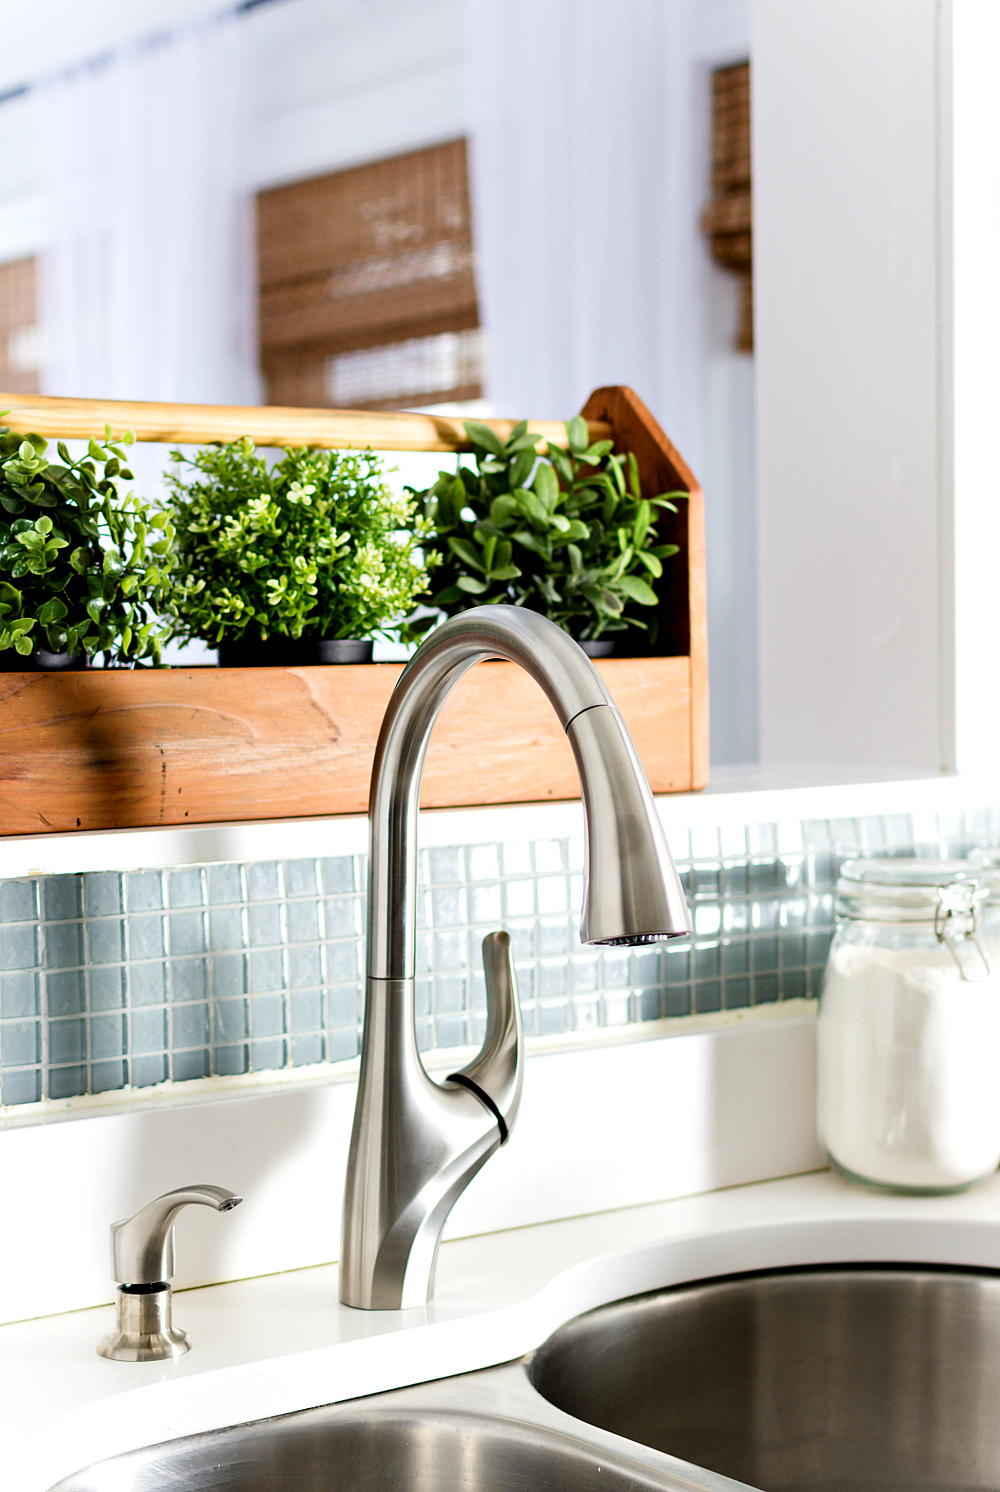
P.S. How did I survive 15+ years in a kitchen without this pull down faucet feature?
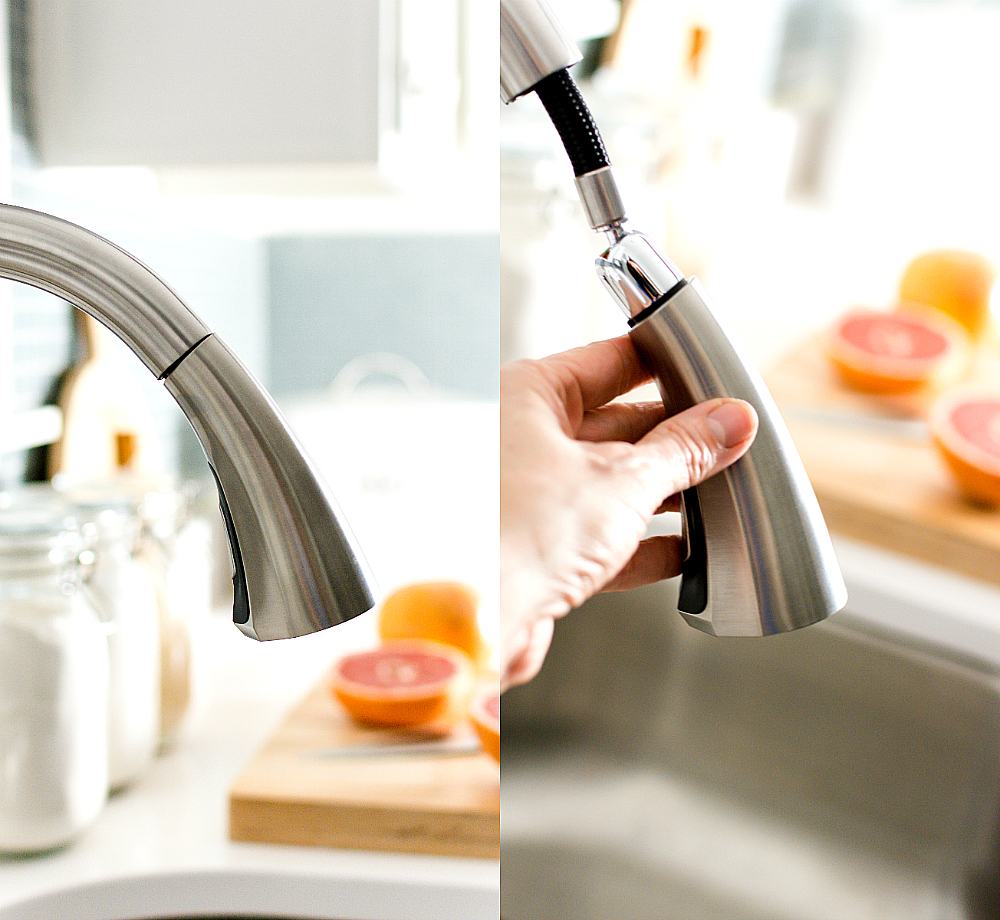
Seriously? How did I fill a pasta pot? How did I wash pots and pans?
PIN IT!
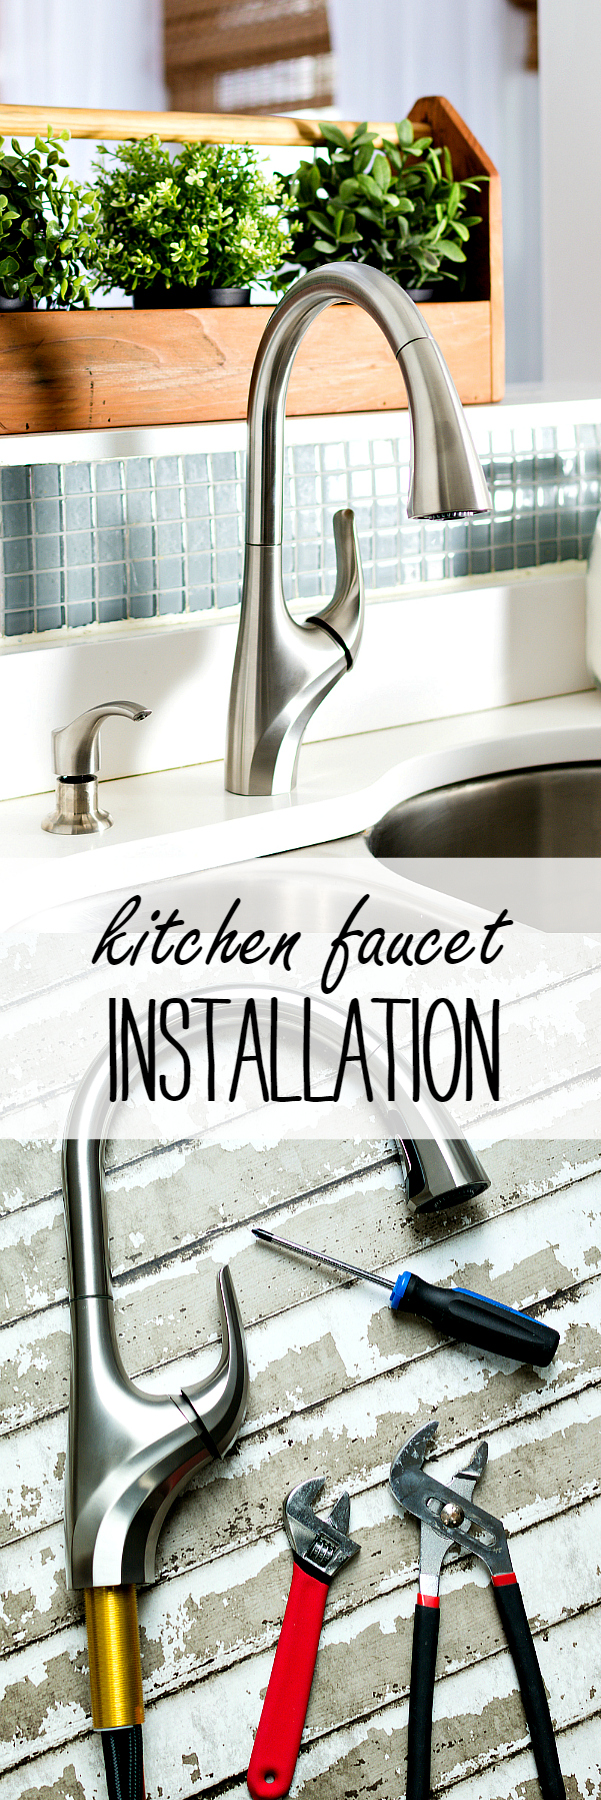
More DIY On A Budget Kitchen Renovation Posts:
How To Add Height to Kitchen Cabinets (click here)
How To Paint Builder Grade Oak Cabinets (click here)
Kitchen Bling – Crystal Hardware (click here)
White Kitchen Before & After Reveal (click here)
Sharing:
| Between Naps on the Porch | Inspiration Monday | Moonlight & Mason Jars |



I love your choice, simply because it would be the easiest to keep wiped down and clean after use. I couldn’t imagine how anyone would keep the first one you pictured (The Sous) clean! Ugh. It is gorgeous, but I go for simplicity. xo Your sink area looks stunning by the way.
Thank you so much! And I never thought about the cleaning of the faucet thing!
So glad you posted this! I plan on installing a new faucet in my kitchen-after I tackle concreting the counter tops. I just finished a bathroom redo complete with concrete counter top and new faucet. I have a skeptical husband also and he was sure we would be purchasing a new vanity as well as having to have a plumber come in. I am happy to report it turned out great and even my husband was very impressed with the results.
Solidarity, my friend. Solidarity!!!
Just let me say – I think your kitchen is hip enough for your dream faucet. But that’s just me. I’ve been craving one of those pot fillers over my stove ever since I can’t carry a filled pot across the kitchen. When somebody makes a convenient way to CLEAN a pot – that’s when I’ll be agog.
You are too sweet! And, yes, I want that faucet that also scrubs the pots and pans too! And then dries them and puts them away!!!
I never thought about keeping that first choice clean either, I’m scratching that style off my list, I don’t want one more thing around here that is hard to clean. Keeping it simple and cleanable like the one you chose.
For a non-professional you kitchen faucet installation turned out more than great! Did you really handle pipes by yourself? You man should be darn proud! I wish my girlfriend had such plumber talent, so I do not have to fix our faucet ever few weeks.. In my humble opinion as a professional handyman in London single handles are not the best way to reduce water usage and waste and they hold a bigger risk of leaking. It does hold better control of pressure and temperature, but people always use those to 100% of water pressure possible, which is water down the drain.. However, in your case it does look astonishing!