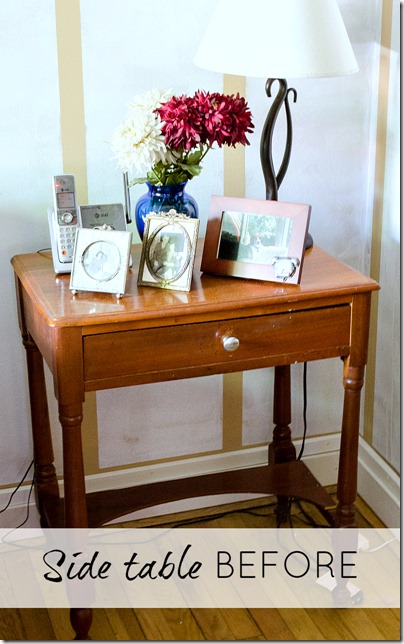
Do you know that piece of furniture that has just always been there? Just hanging around the house.
That piece of furniture you inherited from some long lost aunt. Or grandparent. And somehow – inexplicably — it made the cut and moved with you from apartment to apartment and house to house. It was never something you were in love with. It was always just a placeholder. A temporary placeholder until you found something more permanent.
And 18 years later, that temporary placeholder remains a permanent reminder …
Until now …
I had three choices when redecorating my living room. One, leave that placeholder of a table as is. As it has been for 18 years in our home …
and who knows how many years and in how many homes before us ….
Two, assign that placeholder of a table to my “future garage sale” pile and find a replacement. Yeah, we know how that’s worked out …
Or three, give that placeholder of a table a makeover.
And then this arrived on my doorstep …
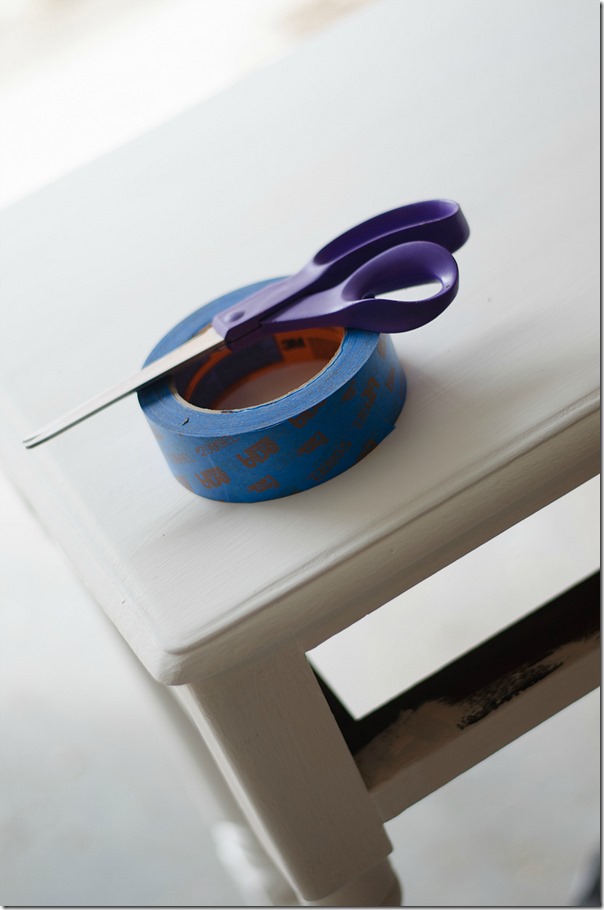
A box filled with ScotchBlue™ Painter’s Tape. And my decision was made. Option number three it would be. That placeholder of a table would finally get a makeover. And a fun makeover, at that. One with stripes …
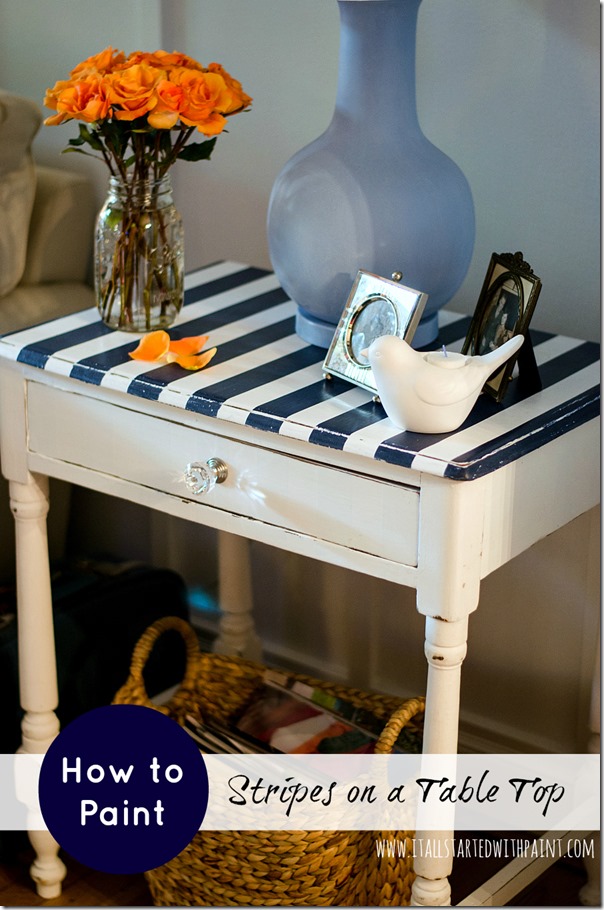
HOW TO paint PERFECT STRIPES ON A TABLE TOP
Step #1
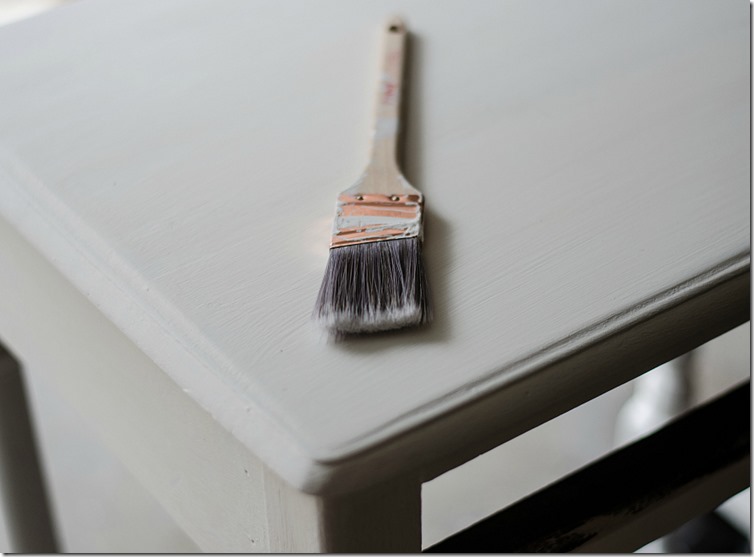
Give your table a base coat.
The whole table go t two coats of white paint. I actually mixed up my own chalk-like paint using one part Plaster of Paris to three parts flat white latex paint. This mixture lets you skip the whole priming step … and makes it easier to sand and distress.
Step #2
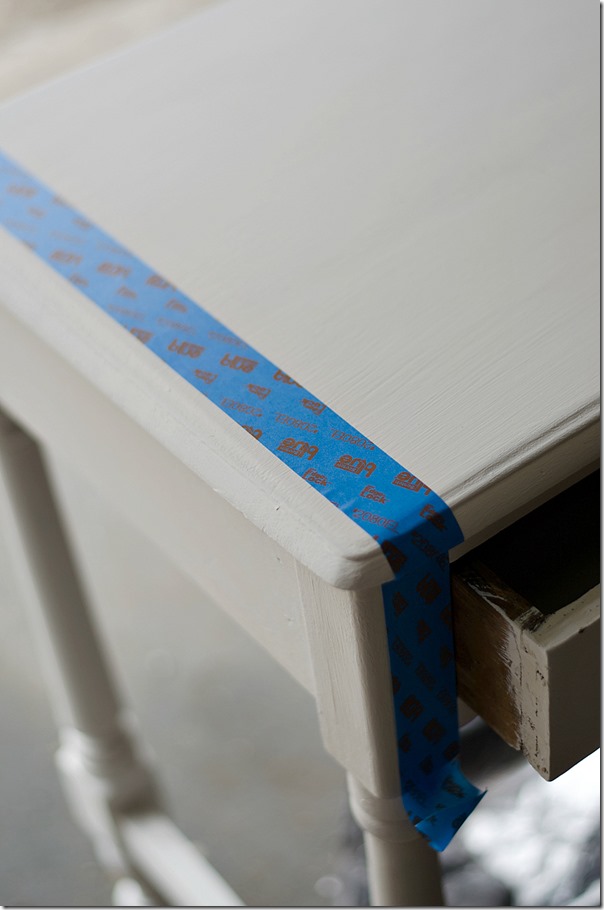
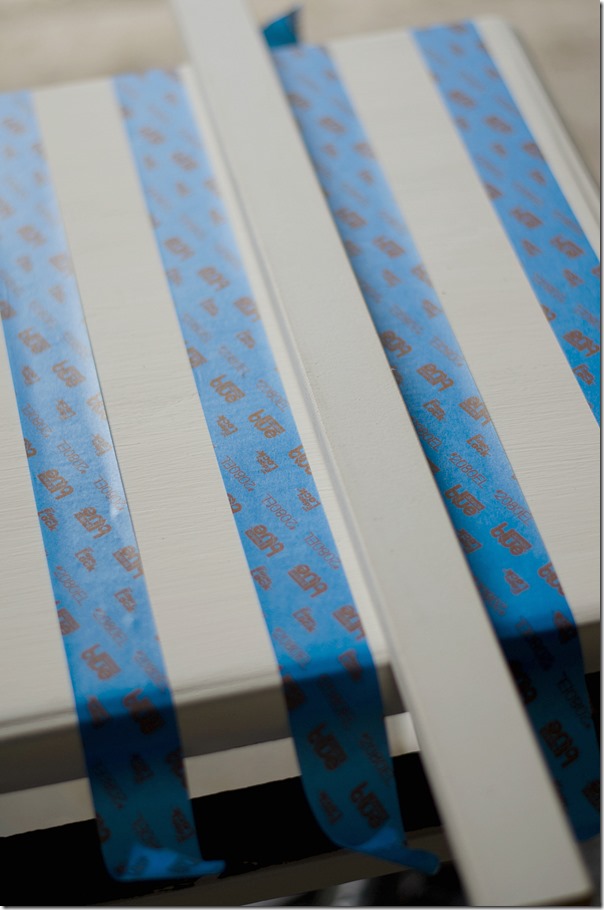
Tape off your stripes with ScotchBlue Painter’s Tape.
To keep it simple, I just let the ScotchBlue™ Painter’s Tape width be the width of the stripes.
And as for those pesky measurements between stripes, I skipped the complicated math calculations and “winged it” using a scrap 1 x 2 as a rough guide.
Step #3
Seal edges of tape with base coat.
You know when you try to get a crisp edge and the paint seeps under the tape? To prevent that from happening a little trick it to paint over the edges of your tape first with your base coat. Let dry.
Step #4
Paint your stripe color.
I’m thinking this one is pretty self explanatory. I opted to just paint one coat.
Step #5
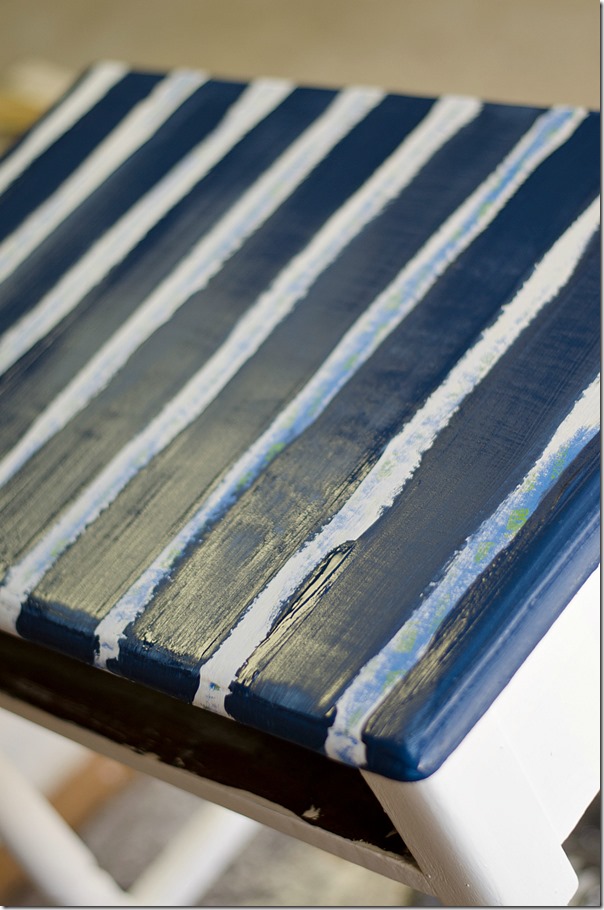
Pull up the tape right away.
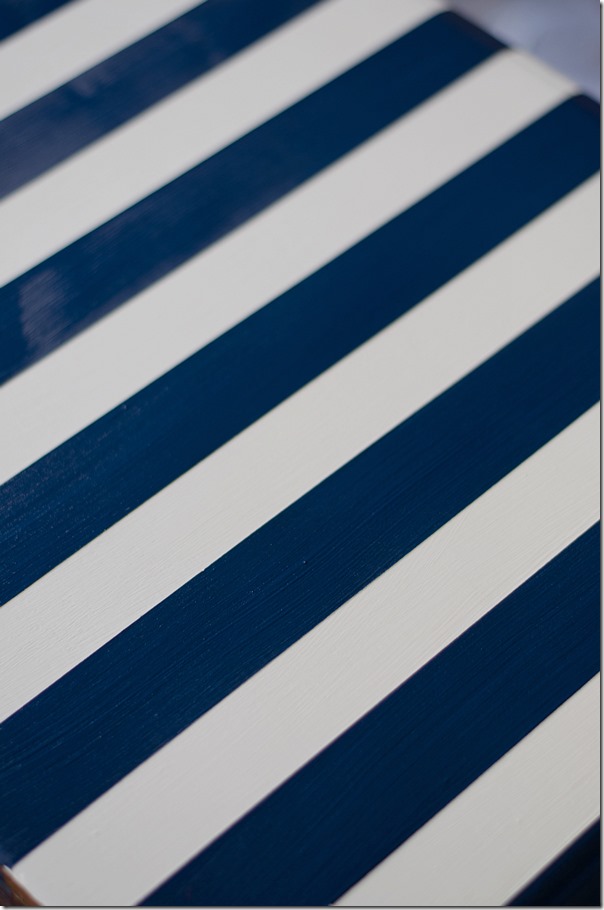
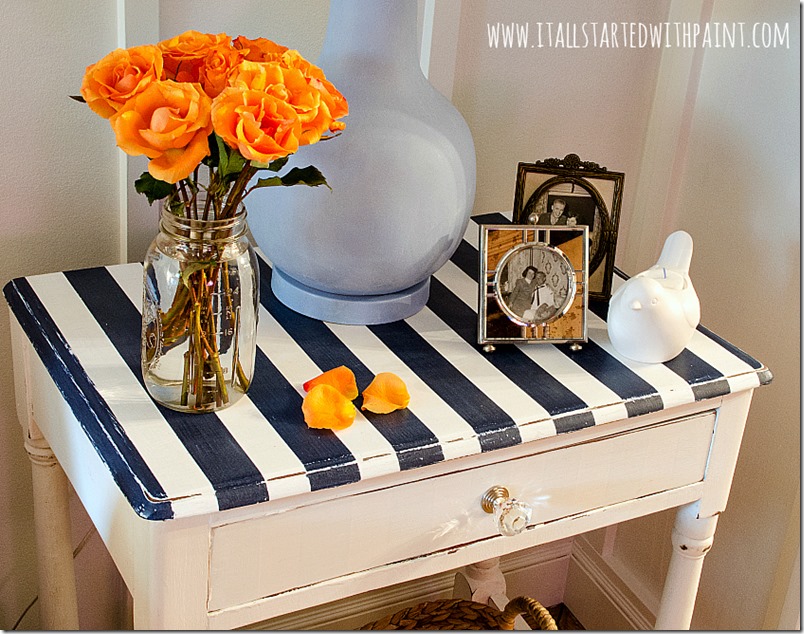
This is the fun part! Just look at how that ScotchBlue™ Painter’s Tape gave me perfectly crisp lines ….
Step #6
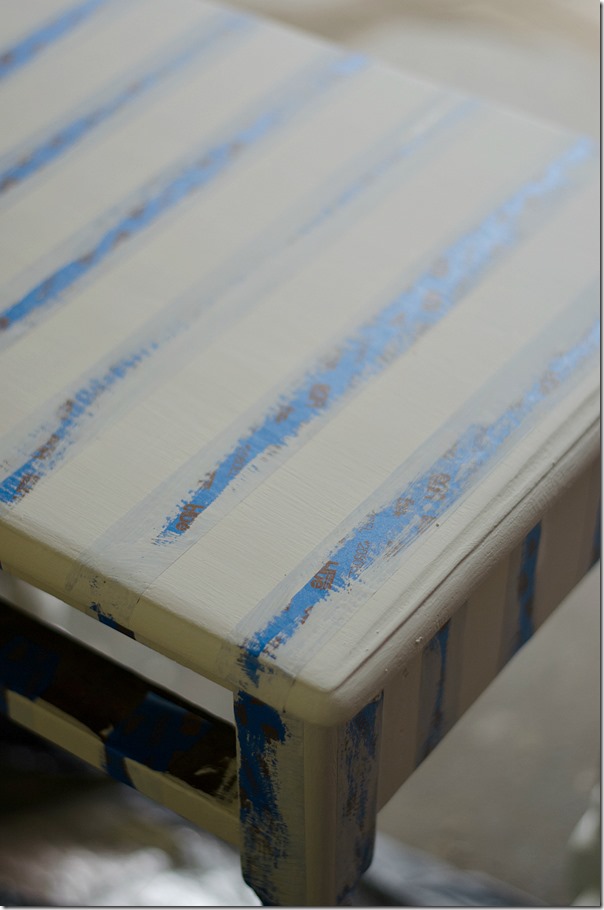
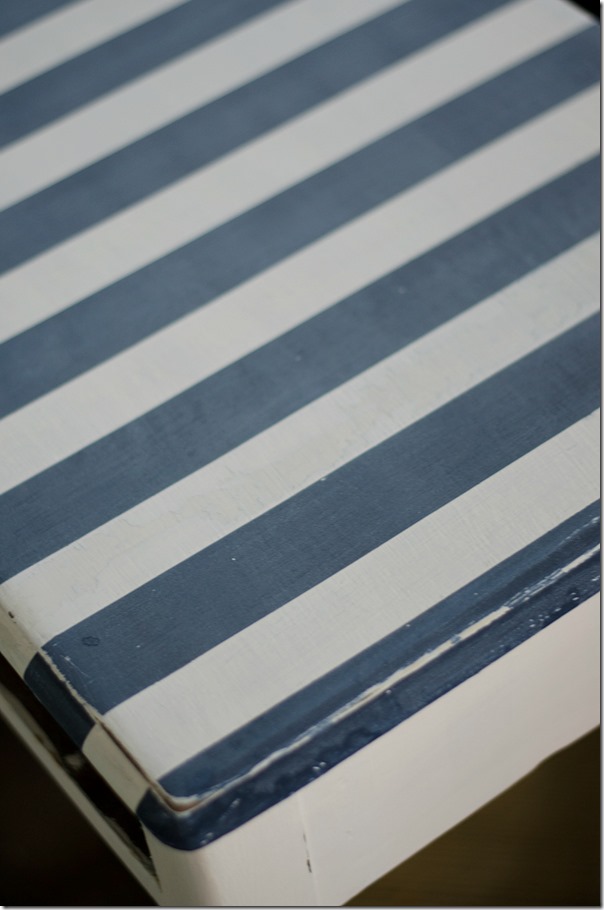
Distress.
This is optional, depending on the look you want to achieve. What I liked most about distressing the stripes is that the navy paint, once hit with sandpaper, took on the look of denim. A very pleasant and unexpected surprise …
Step #7
Seal with wax.
I used Annie Sloan soft wax in clear that I had on hand. But you can use any clear wax product from local hardware store, or even apply a clear coat of polyurethane (just make sure it won’t yellow the white paint). For the the wax application, I used a clean rag. I loaded it up with some wax and applied by rubbing in a circular motion. Then I went over with a clean rag to wipe away the excess. That’s it.
Step #8
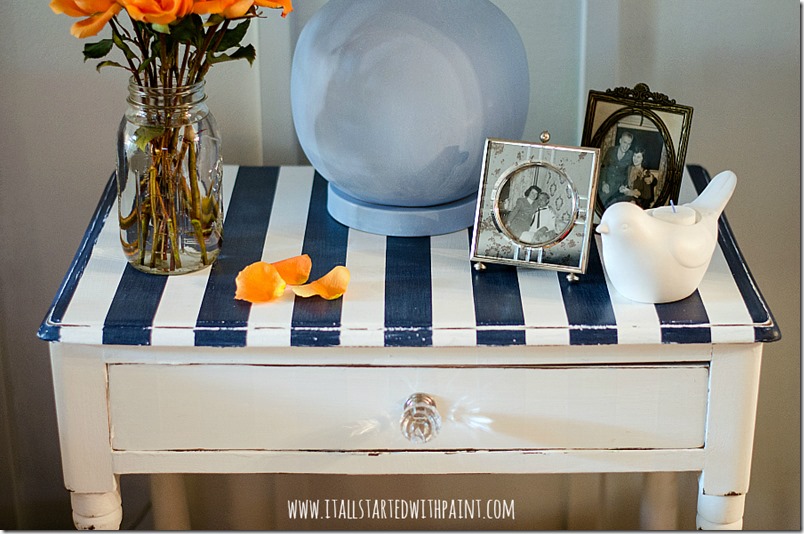
Stand back and admire.
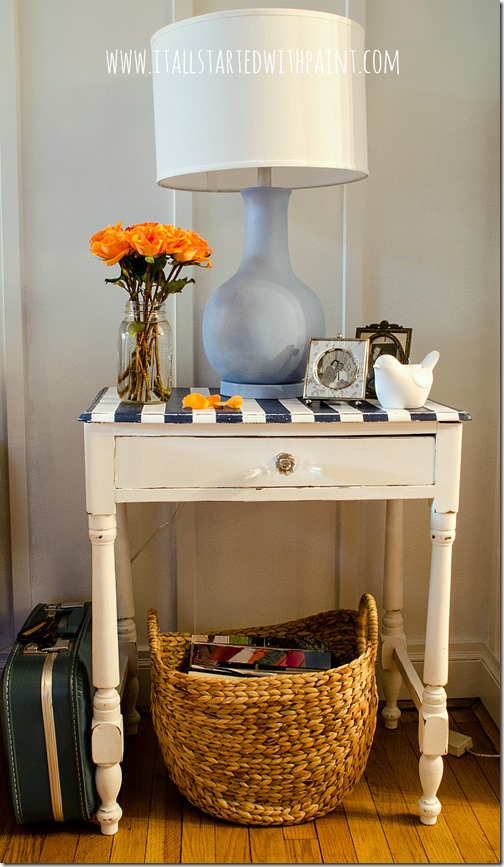
I love how it gives the room a beachy vibe.
Oh, and I’m putting the finishing touches on the living room remodel. I’ll be posting the reveal soon …
This post is a collaboration with ScotchBlue™ Painter’s Tape. To join the creative community, visit www.facebook.com/ScotchBlue. You can find ScotchBlue Painter’s Tape on Pinterest here, on Facebook here, and on Twitter here.
Sharing: * French Country Cottage * Miss Mustard Seed * Funky Junk Interiors * The DIY Showoff * i heart naptime * Between Naps on the Porch * Cozy Little House * Savvy Southern Style * Link Party Palooza * Under the Table & Dreaming * Bliss Ranch *
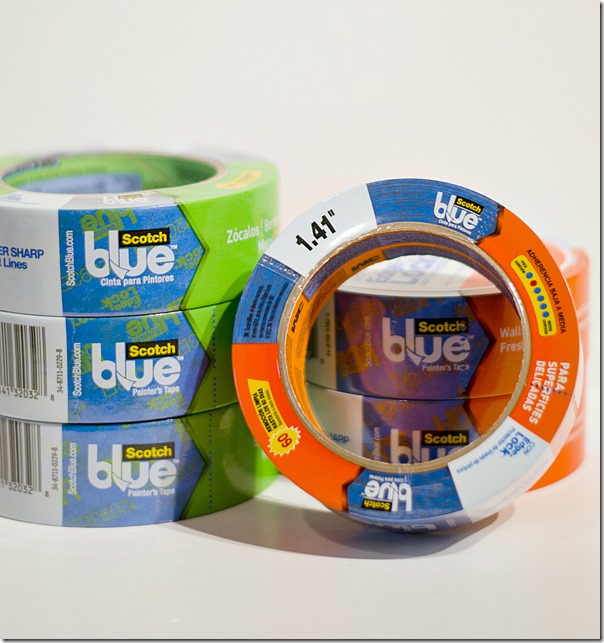
 . And my decision was made. Option number three it would be. That placeholder of a table would finally get a makeover. And a fun makeover, at that. One with stripes …


I love the look of this! I have been holding on to a couple of old end tables, trying to decide what color combo to use, and when I saw this, my mind was made up! Thanks for the easy tutorial – I’ll be following you now for more tricks 😉
I like that you cut the base cross bar off the bottom. That was creative and brave.
It also had exposed nails — a tetanus shot waiting to happen — so I thought it best if it went! I checked first to make sure it wasn’t structural (which is wasn’t). 🙂
Call me crazy but–would it not be easier to just paint the surface the base color then cover the entire surface with your tape and then remove every other piece of tape, then paint your stripe color? I did a guest bathroom like this. Sure, you use a lot of tape but the stripes are perfect.