If you’ve hung around here for awhile, you know that I can’t be trusted with living things.
Well, living things with roots. The kind that live in dirt. I’m okay with kids and pets. Both of which have managed to survive — and even thrive — in my care.
But plants? Yeah, we don’t see eye-to-eye. All that needing water thing trips me up.
So, I’ve had to resort to fake flora and fauna. In the past, the fake stuff was plastic and “silk” (read: not silk) flowers. But I’m over that look.
It’s so 2001 …
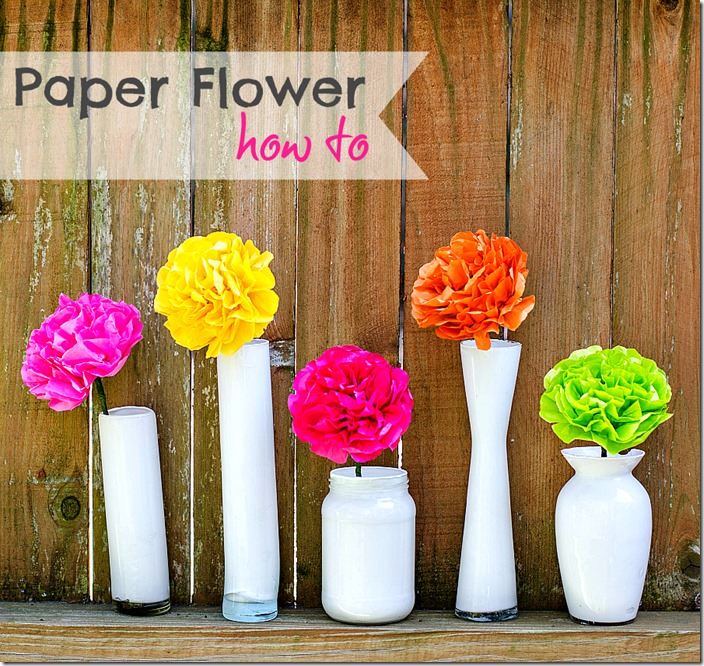
Most recently, I’ve turned my attention to paper flowers. Just like those tissue paper flowers we learned how to make in grammar school art class …
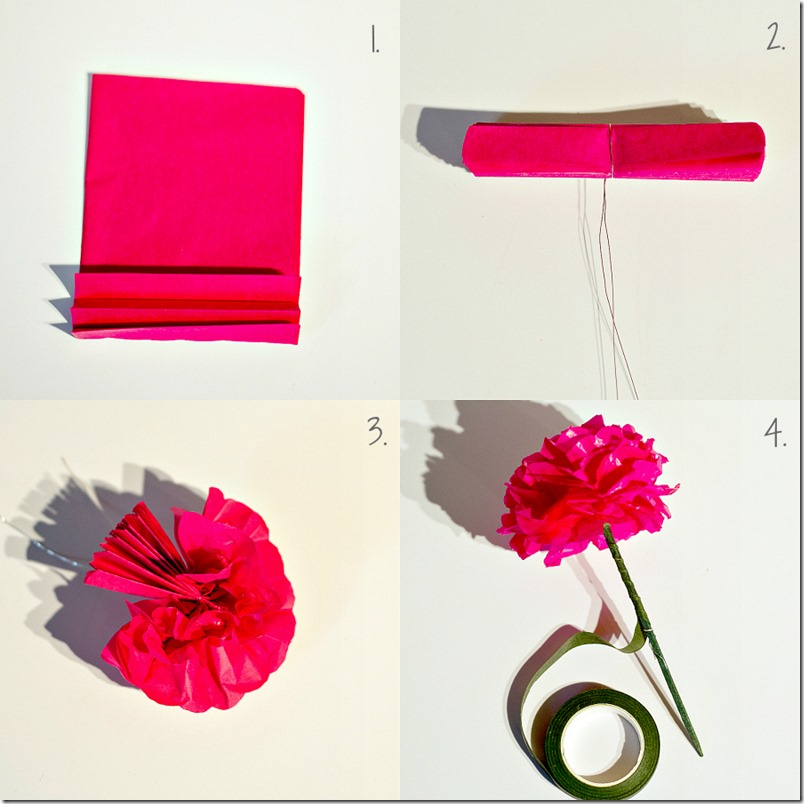
1. Start with 6-8 sheets of tissue paper (depending on thickness of the tissue paper) and cutinto 5 x 7 rectangles. Stack them up and accordion fold (using a 3/4” fold).
2. Once accordion is fold complete, wrap wire around the center. I used picture frame wire. Cut ends of tissue paper into half circles. You could also cut points.
3. Very gently start pulling up each layer to the center. Start on one side of the wire. Then proceed to the other side.
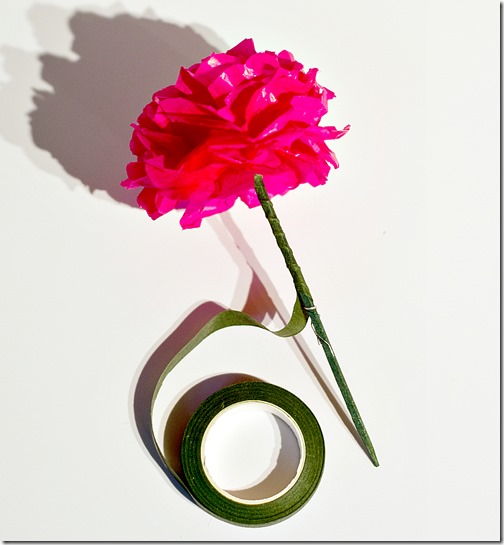
4. Attach to stem (I found my in the flower section at the craft store) and cover with florist tape.
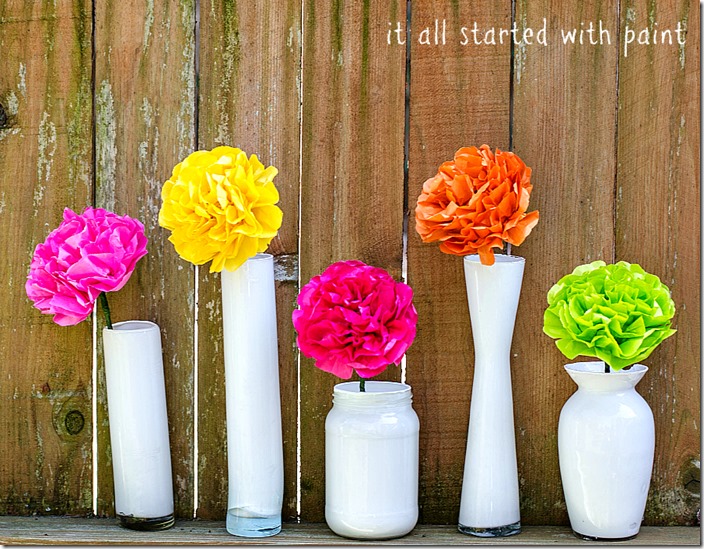
And now you, too, can have a bouquet of colorful tissue paper flowers.
A bouquet that, ironically, can be destroyed with water …
Before you leave, make sure you check out my mason jar project gallery here …
And you can see how I made those faux milk glass vases from dollar store vases here …
Get it all started with paint delivered to your email inbox:
Let’s keep in touch:
Sharing:
* Tatertots & Jello * Between Naps on the Porch * Bower Power * Red Bird Blue * Sparkle Meets Pop * Young House Love * i heart naptime * Under the Table & Dreaming * Today’s Creative Blog * The Shabby Creek Cottage * CraftBerry Bush *


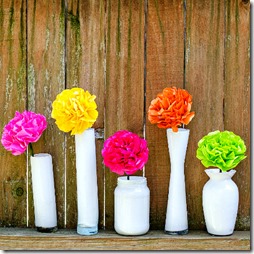

so pretty! love the bold vibrant colors with the white vases!
Now I KNOW I can do these! So cute!
I always planed on making some of these this spring….never got around to it. It seems like a better plan than what I currently do which is cut some sort of branch that is blooming outside, let it sit in the vase way to long, until it starts creating a funny smell, and then have to wash and replace (repeat through spring and summer). Yup, time to make some paper ones! Yours look great!
So pretty! I don’t know if I’m quite “botanically challenged” yet – this growing season is going to be the deciding factor there. But I do love how paper flowers won’t ever wild or shed petals or stink. That’s pretty awesome.
I’m pinning this tutorial! I smell a project here! (And I’m thinking that these would be fantastic for party centerpieces too!)
If I make some they are going in a mason jar.
Bliss
These are cute! I want to do a few for my sister’s graduation party in June so I need to pin this!
Thanks for sharing this Linda! I had forgotten how to make these.They are so pretty and so colorful too!
xx
Anne
So pretty! I feel confident even I could keep these alive!
I LOVE this idea! Whenever I put live flowers in a vase, I kinda forget about them and when they die, it takes me forever to throw them away. Gross! These will look beautiful forever and I can reuse them anytime!!! Thanks for the awesome idea!
Love them! How did you attach the stem?
Hey rock star! Love this so much! Sharing on Facebook today!
Have an AWESOME day1
July love these bright colorful flowers!
I love how bright and colorful these are! So perfect for a summer mantel. Pinning
Love the colors!
Come party with APIMP!
I would love for you to share and link up at my TGIF Link Party.
http://apeekintomyparadise.blogspot.com/2013/05/tgif-link-party-3.html
Hugs, Cathy