Photography tips for real estate listings – Interior Photography Tips and Tricks.
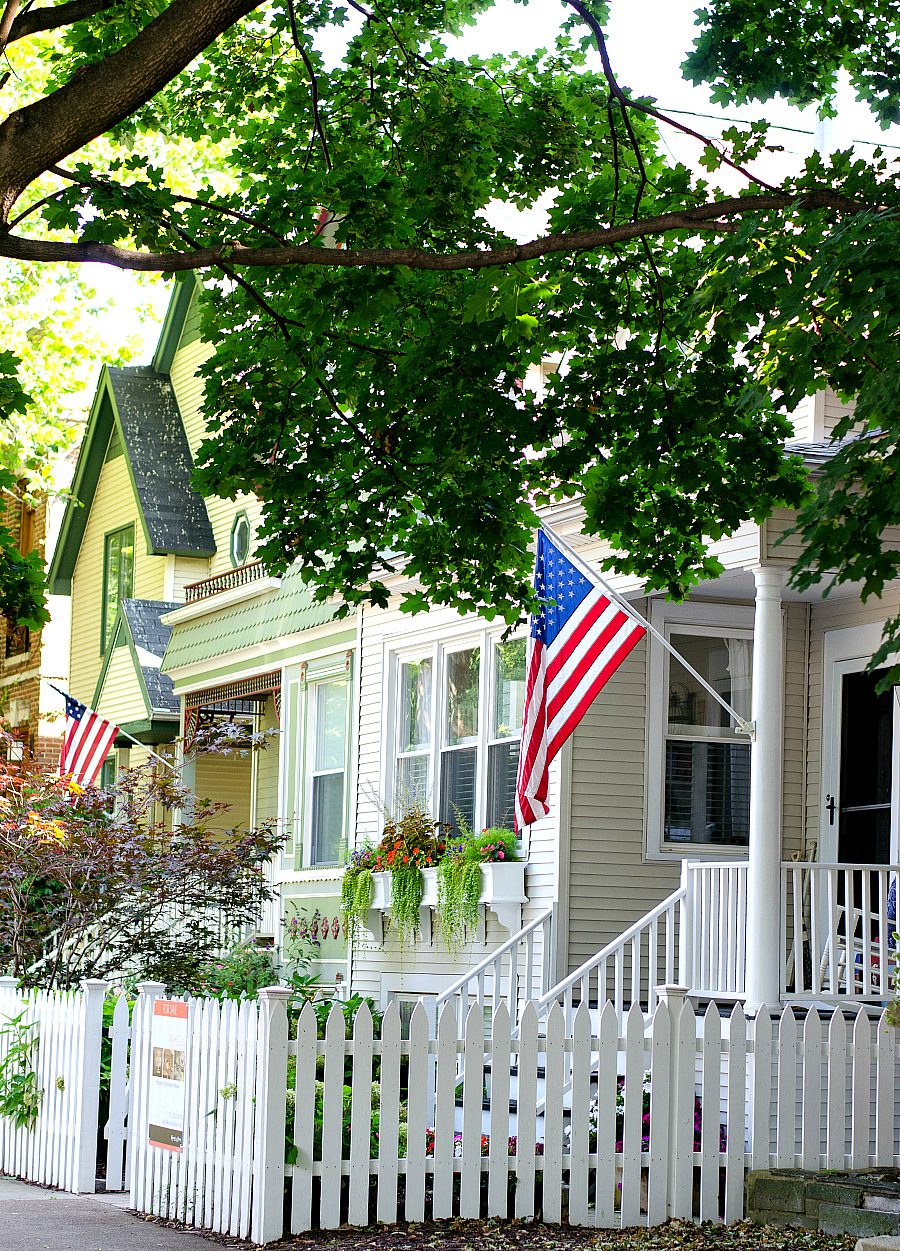
If a picture is worth a thousand words, then in real estate a picture is worth hundreds of thousands of dollars … or more.
Clever, right? Sometimes I do surprise myself.
I said it before, and I’ll say it again: I’m counting down the days, weeks, and years until we can put our home on the market. And when we do put it up for sale, it will be for sale by owner. Especially considering how many amazing tools and resources are available for the independent seller on sites like Owners.com. Not to mention the savings opportunities …
In fact, HGTV’s Scott McGillivray recently joined forces with Owners.com to offer his expert advice on how to save big when selling your home (you can access the article by clicking here). Tip #4 really struck a chord with me — creating a great listing. So I thought I could expand on that idea with some photography tips for your real estate listing. Because, let’s face it, in real estate books really are judged by their cover.
Clever again, am I right?
I want to be clear that these are photography tips for amateurs … from an amateur. Well, an amateur who has spent an inordinate amount of time taking pictures of the interior spaces in her home. And an amateur who has learned — and continues to learn — along the way.
Photography Tips for Real Estate Listings
Tip #1: Camera Equipment & Accessories
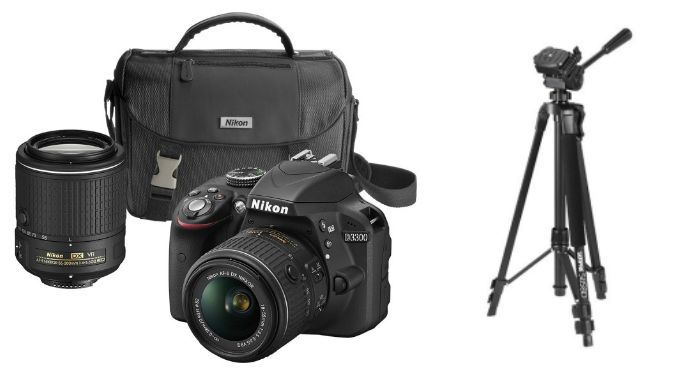
Unless you have some serious iPhone picture-taking game (and trust me, I’ve seen some amazing iPhone shots on Instagram), I recommend getting a digital camera. A point-and-shoot with a zoom function is the cheapest and easiest to use. A DSLR camera would be ideal, offering better quality and more control over photo editing. The DSLR kit bundles typically come with a 18-55mm zoom lens, which is all you’ll need. Either way, a tripod is a must. Not ifs, ands or buts about it. It will give you the sharpest shots. You can find an affordable one for around $20.
As an aside, I use a Nikon D7100. My preferred lens is the Nikon 35 mm fixed lens, but it has limitations when shooting interiors. Since it’s a fixed lens, it can’t capture the wider full room shots. For those, I use a zoom lens — either the kit lens that came with my camera (Nikon 18-55mm) or my Tamron 18-200mm lens. (Some affiliate links included).
Tip #2: Stage Your Home
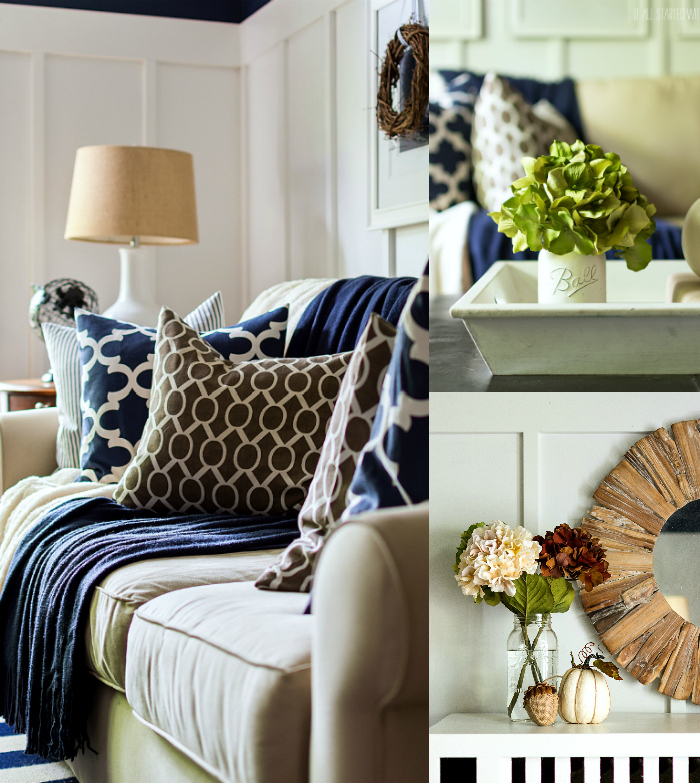
Just like an open house, you should stage your home for it’s photo shoot.
Fresh baked cookies are optional. 🙂
Take down personal pictures and memorabilia and mix in some color and warmth with flowers and fabrics and textures. Fluff the pillows and add a throw (always a great idea to cover up a stain on the couch). Remove any extra stuff that can been seen as clutter. Dust surfaces and run the vacuum right before you start taking pictures of the room.
On the plus side, unlike a real open house you can always just throw all the “junk” and clutter behind you when you take pictures of a room. Not that I’ve ever done that. 😉
Tip #3: Turn Off the Lights
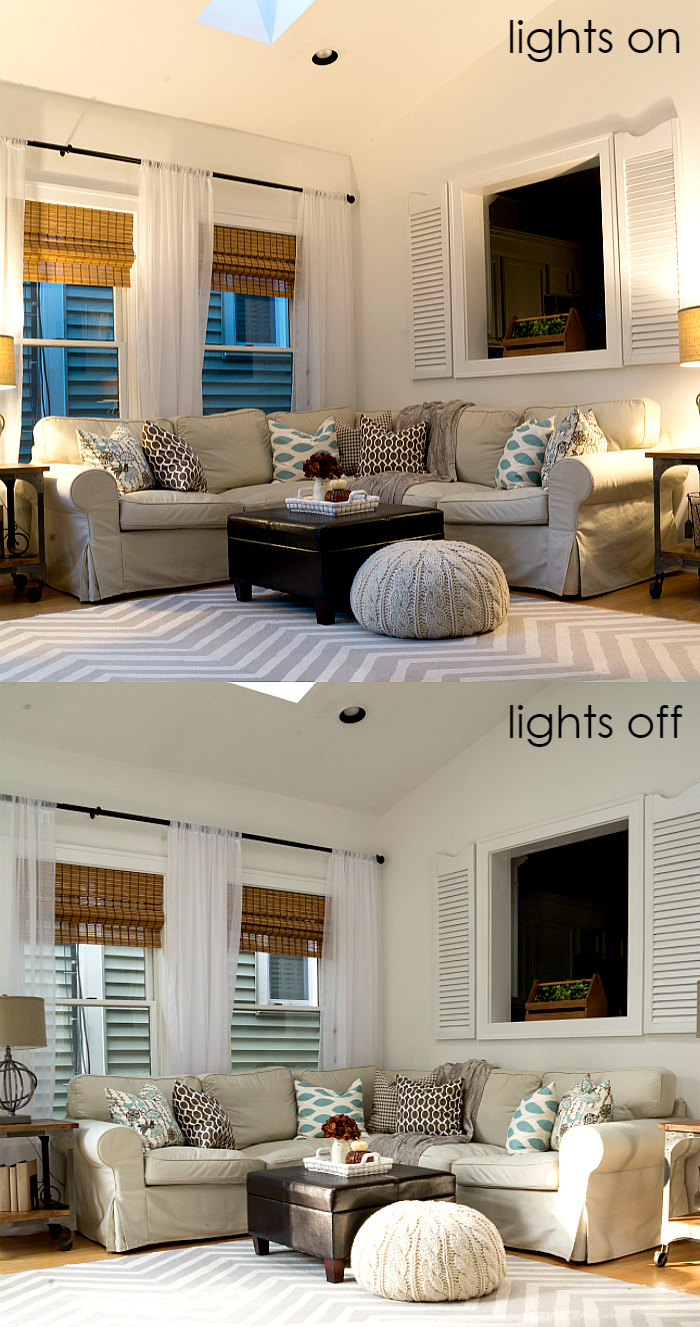
Turn off the lights. And turn off the flash. Both will give you a yellow/orange glow that no amount of post production editing will get rid of. This is why a tripod is a must, because your camera can take a photo in a low light situation, but you could never hold that camera steady long enough while that picture is being taken. The tripod does the work for you!
The ideal light is on a slightly overcast day. Or, wait for the sun to move out of the room before photographing (unlike my lights off picture above that has sun glare).
Tip #4: Watch Your Angles & Verticals
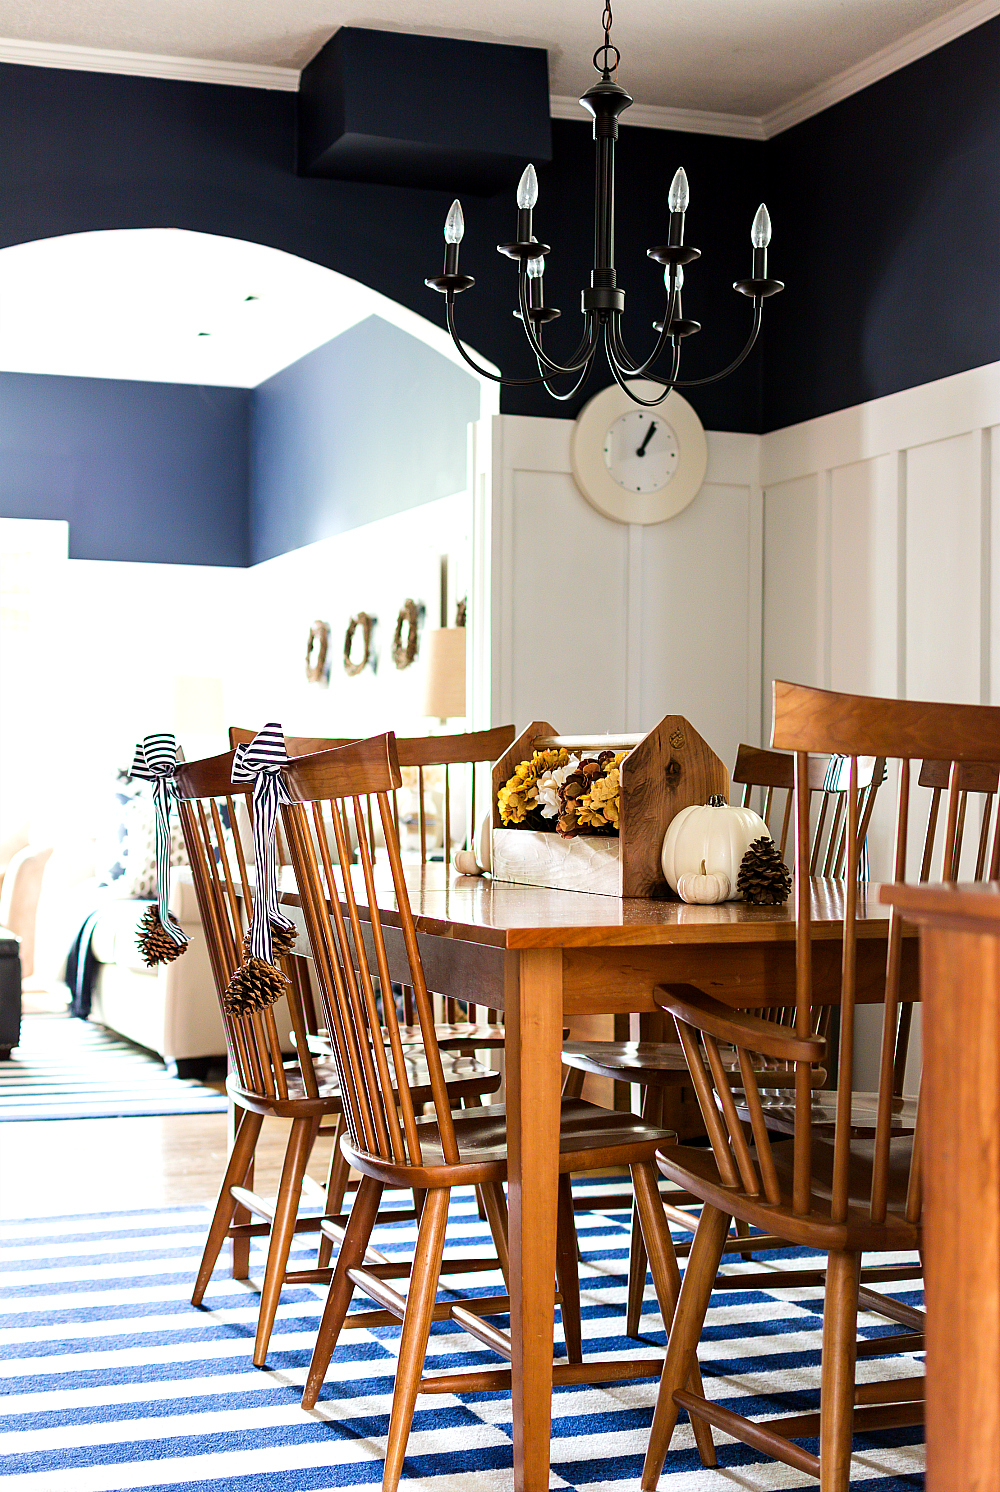
When lining up the shot — or in the editing phase — be sure to line up the verticals in the frame. Like so …
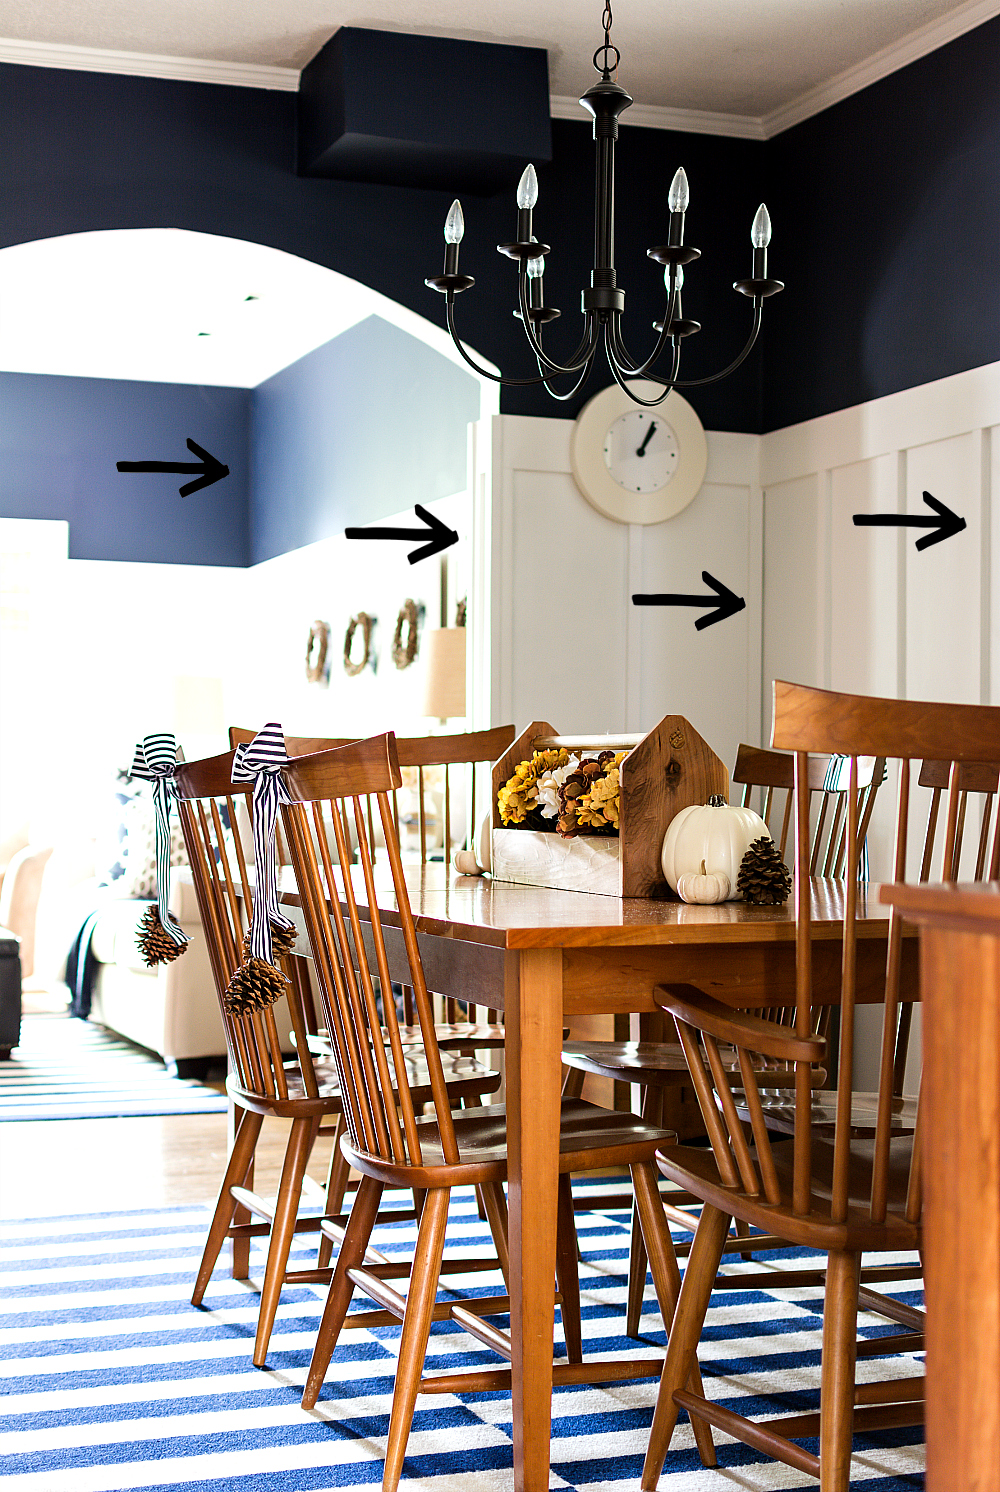
If you line up the horizontals, things will look tipsy.
Also, play with camera heights. Eye level doesn’t always work best. As you can see in the picture below it creates a shot that’s looking down on the scene.
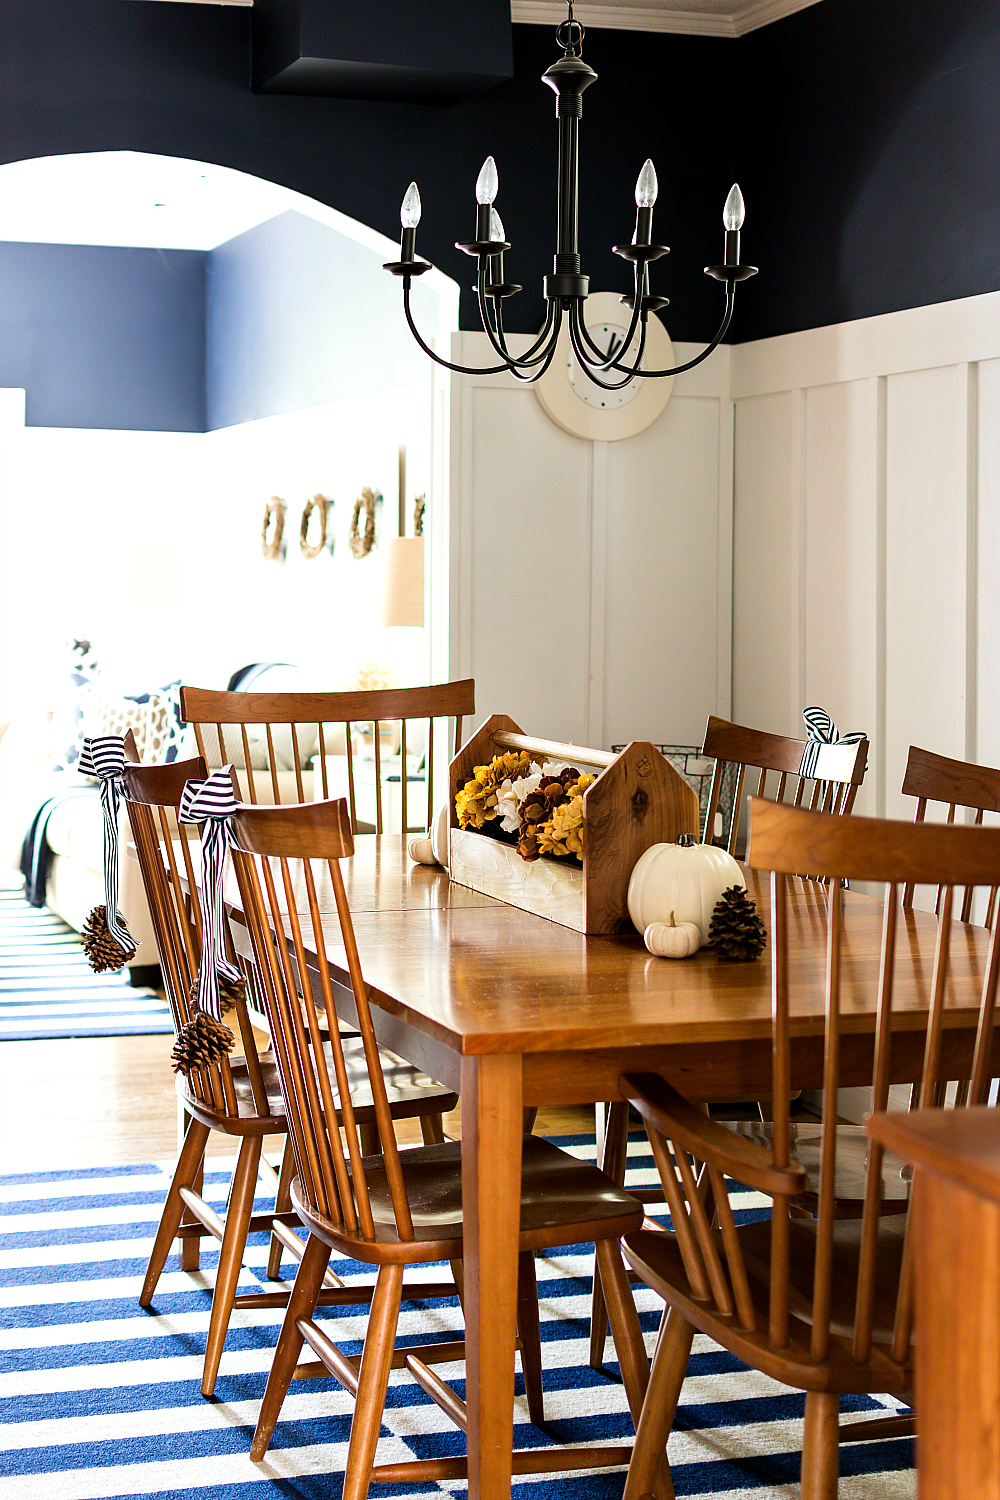
But then again, don’t go too low for your real estate listing shot. It doesn’t really show off the room as much as it shows off the furniture and fixture.
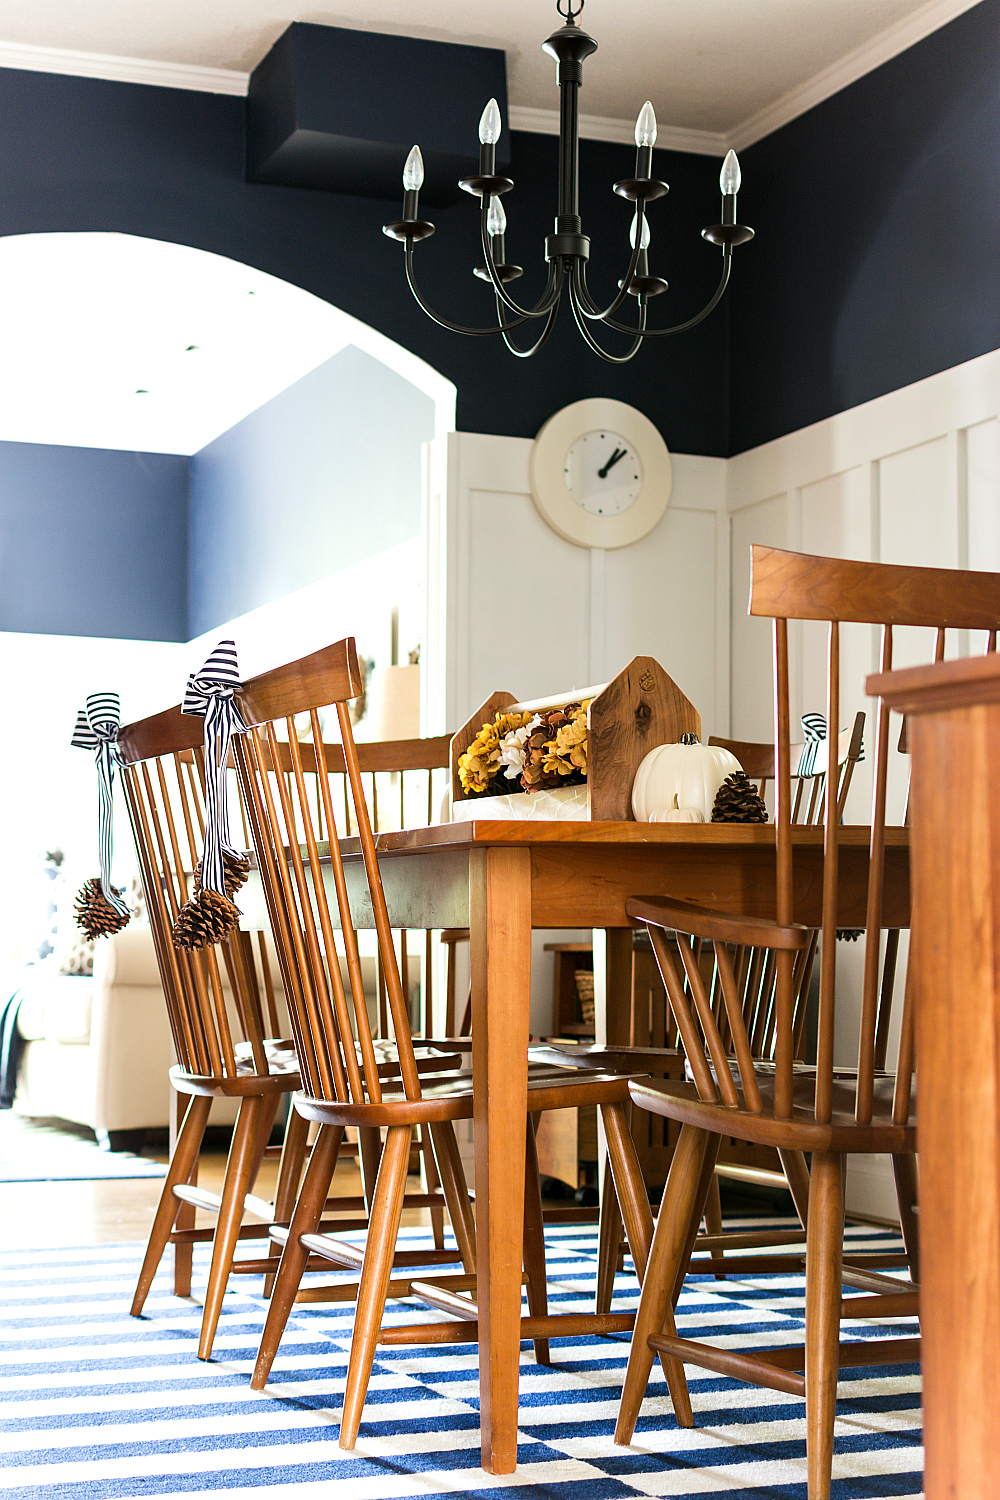
The ideal height is somewhere in-between. Lower than your natural eye level — and, most likely, lower than you would instinctually think — but not the lowest level on your tripod.

Be sure to include a mix of angles and perspectives. Shoot into all four corners to find a shot (and/or shots) that best show off a room. But also include a mix of head-on shots (see tip #7 for example).
Tip #5: Accentuate Key Selling Features & Upgrades with Close-Ups
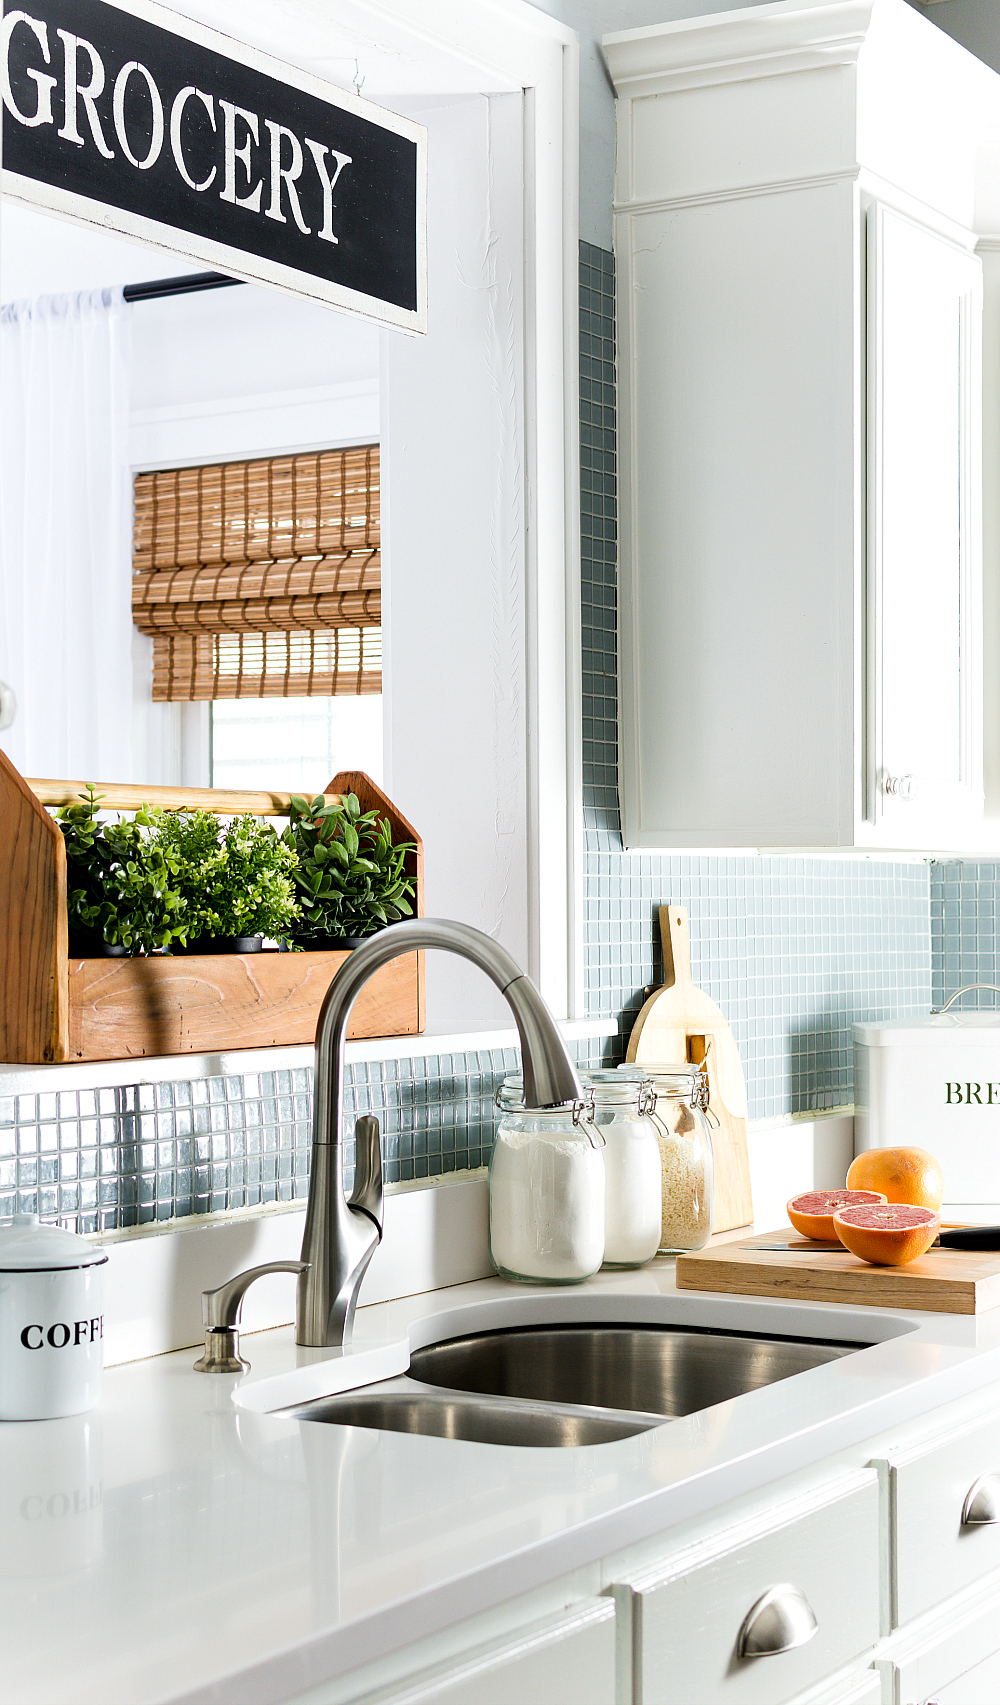
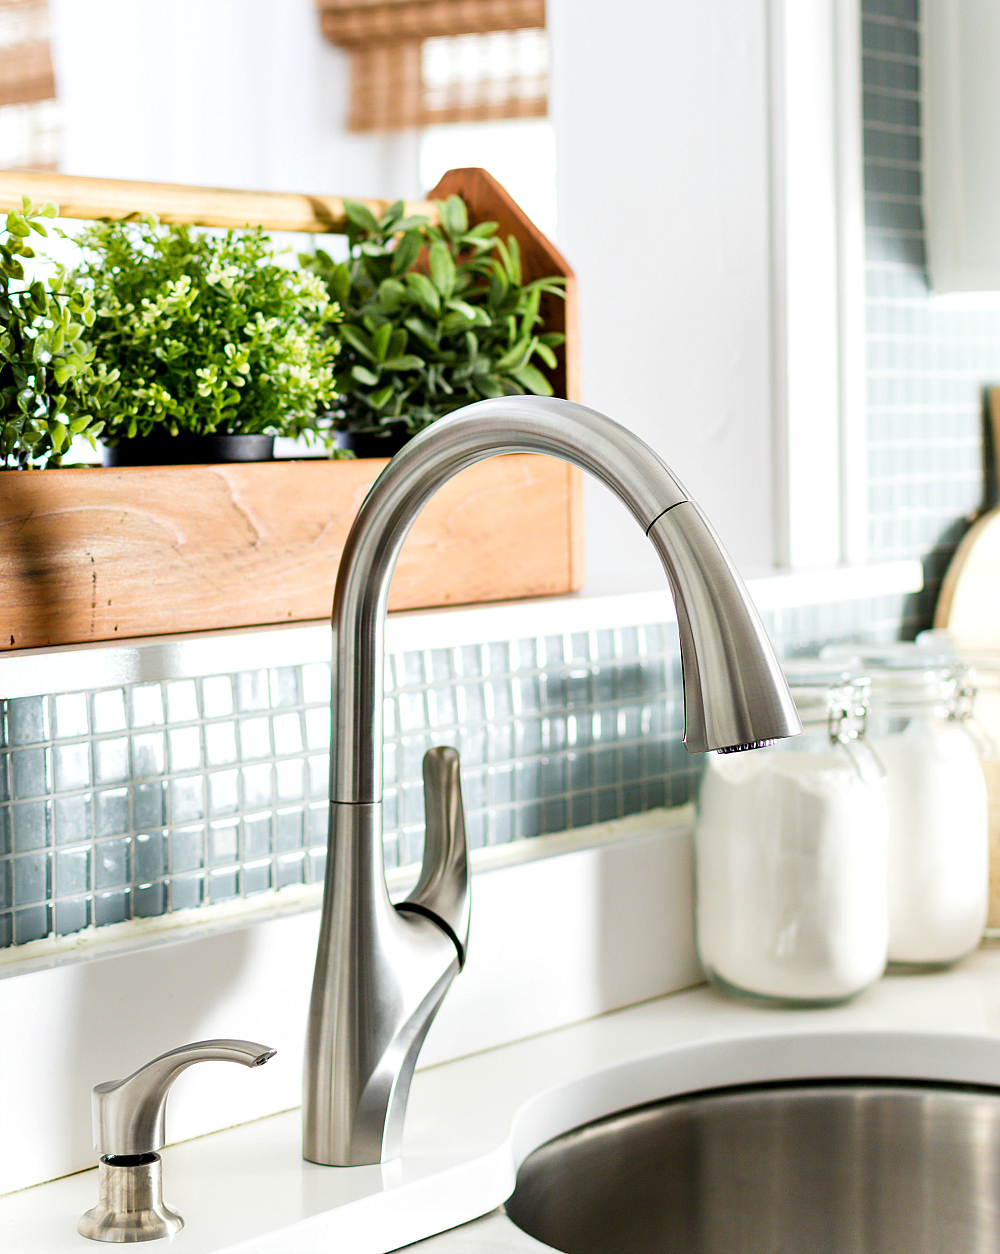
While most of your real estate listing photographs will be from a full room perspective, it’s okay to include a few close-ups to highlight key selling features and upgrades that might otherwise get lost. Especially in kitchens and bathrooms.
Tip #6: Edit Your Pictures
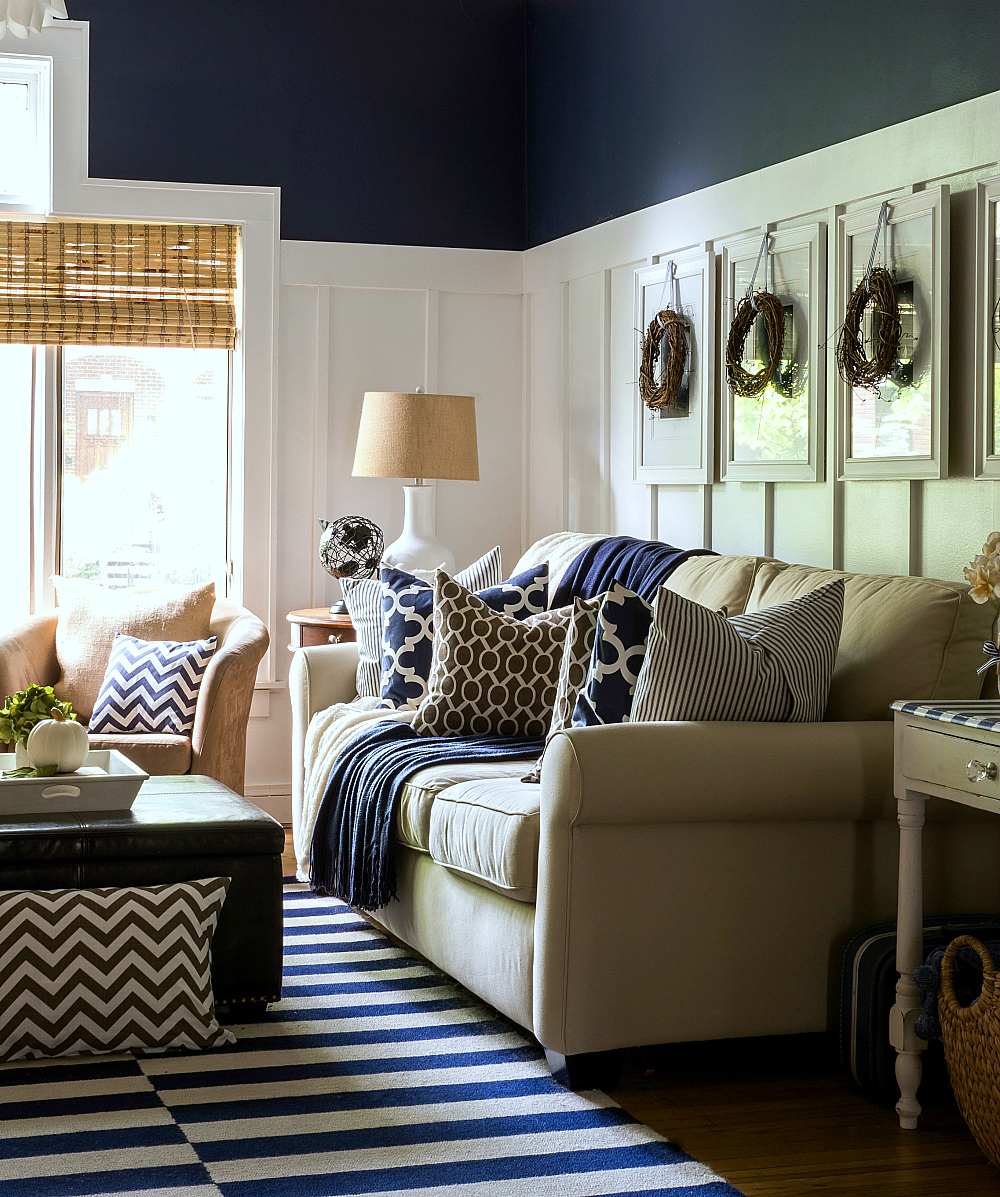
Your photographs will be greatly enhanced with a little editing. As an example, here’s the photo above straight out of the camera …
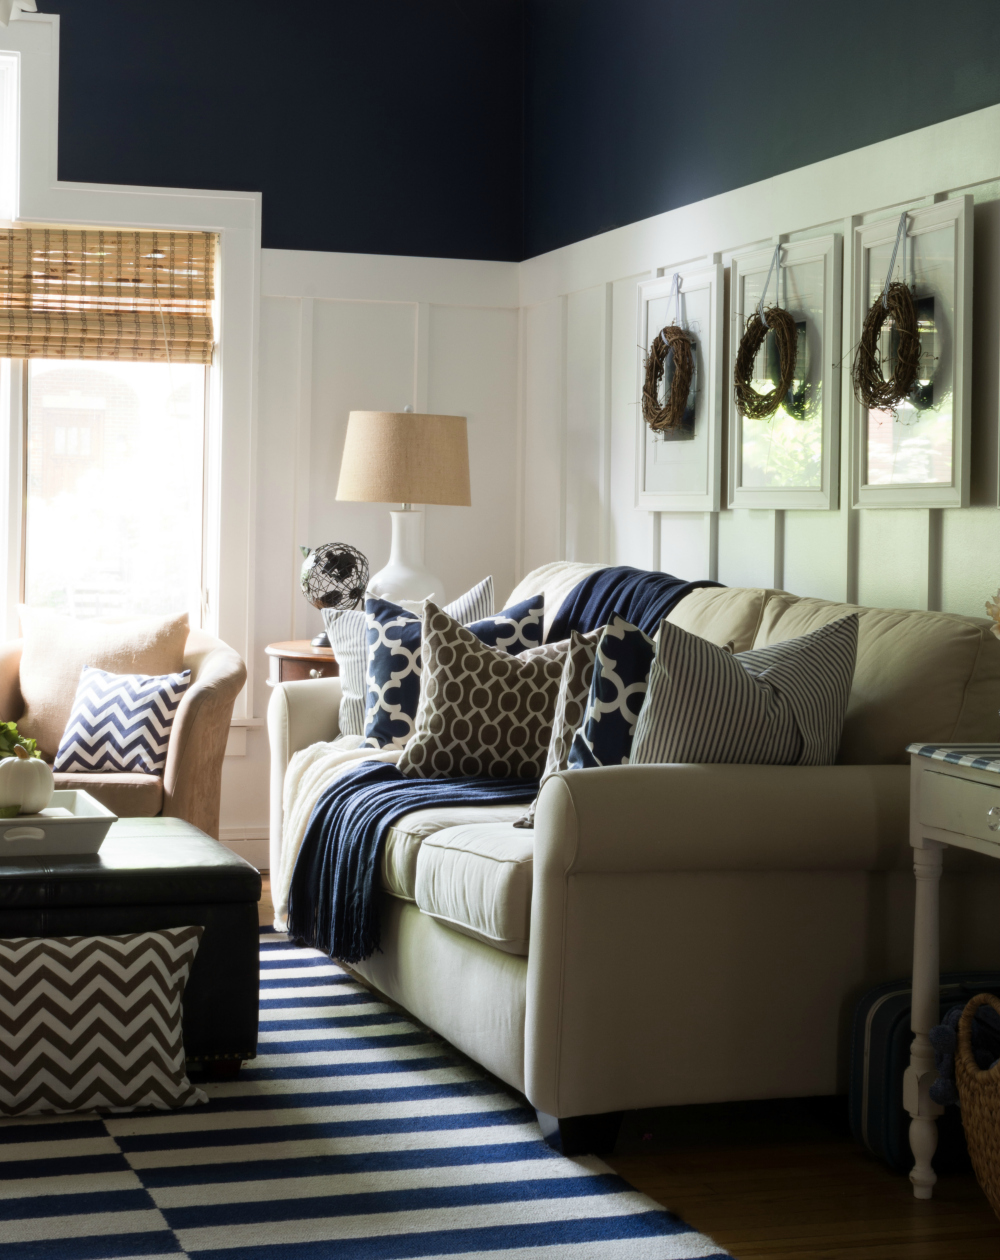
I shoot in RAW format – which, in simplest of terms, means the camera doesn’t add any edits when I export the picture to my Adobe Lightroom photo editing software. But even if you’re shooting in JPEG, your photos can always be improved with editing. And you don’t even have to pay for software. There are a number of free options out there. My go-to is PicMonkey.

You can lighten and brighten. You can crop and rotate. You can boost color — or cool down a picture. You can resize. And you can sharpen and add clarity.
Tip #7: Tell A Story
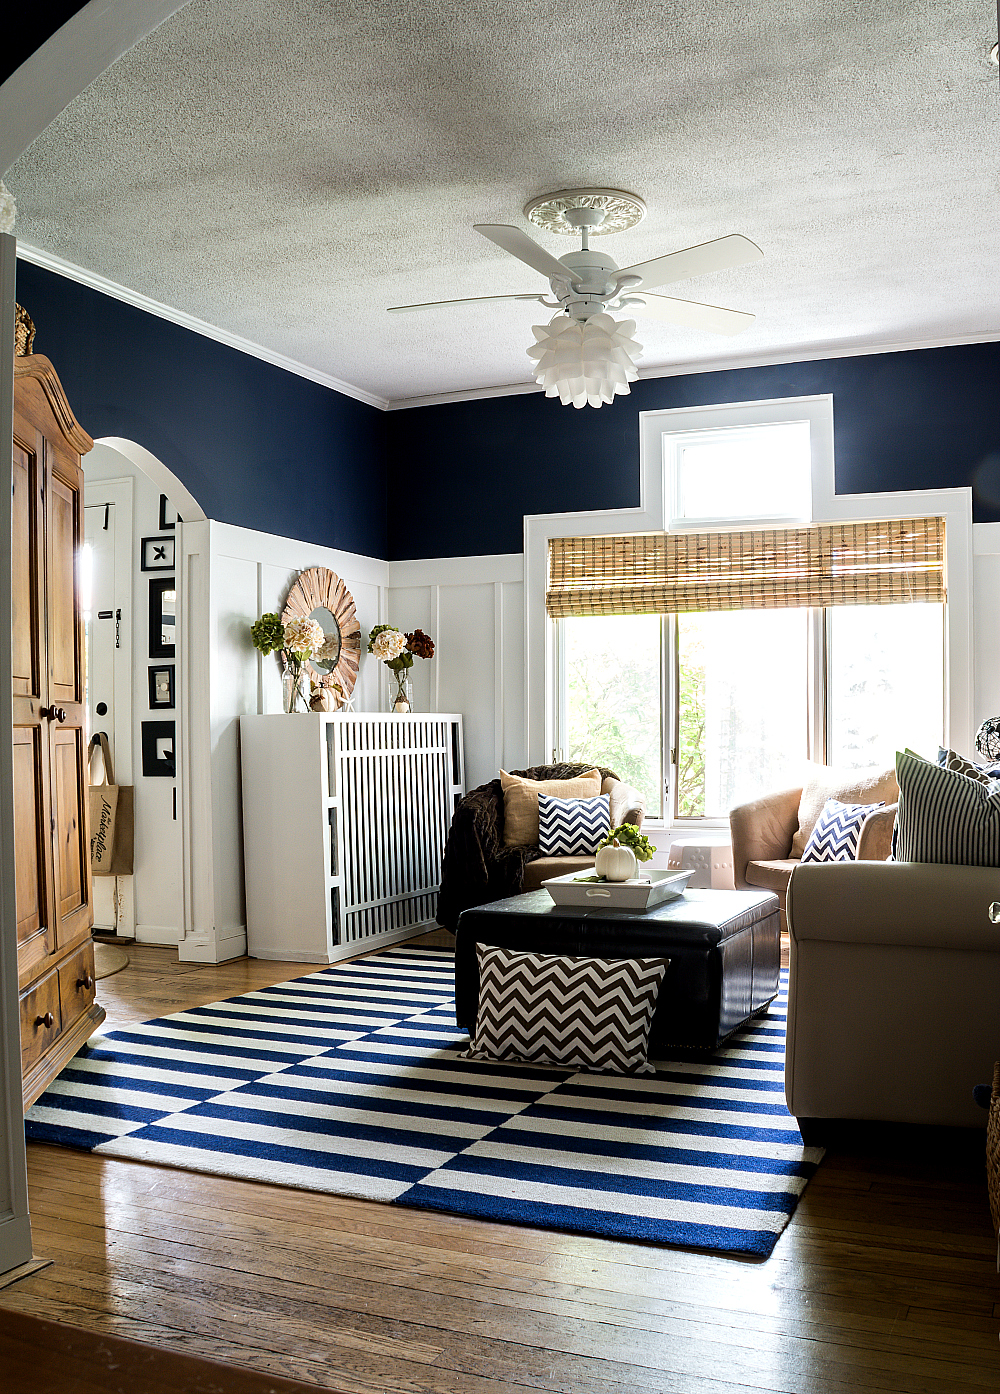
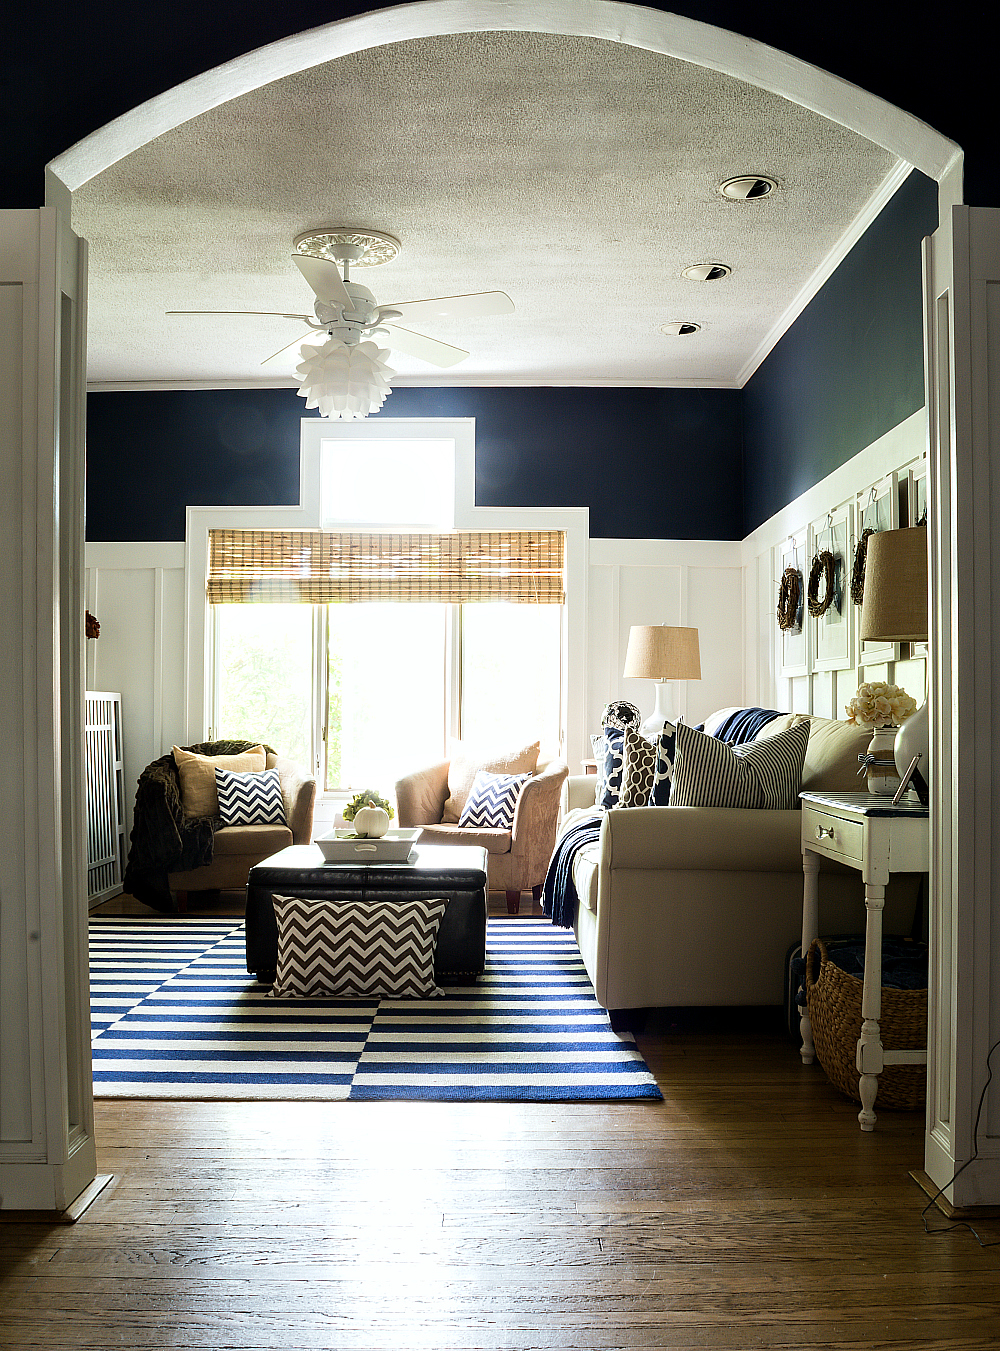
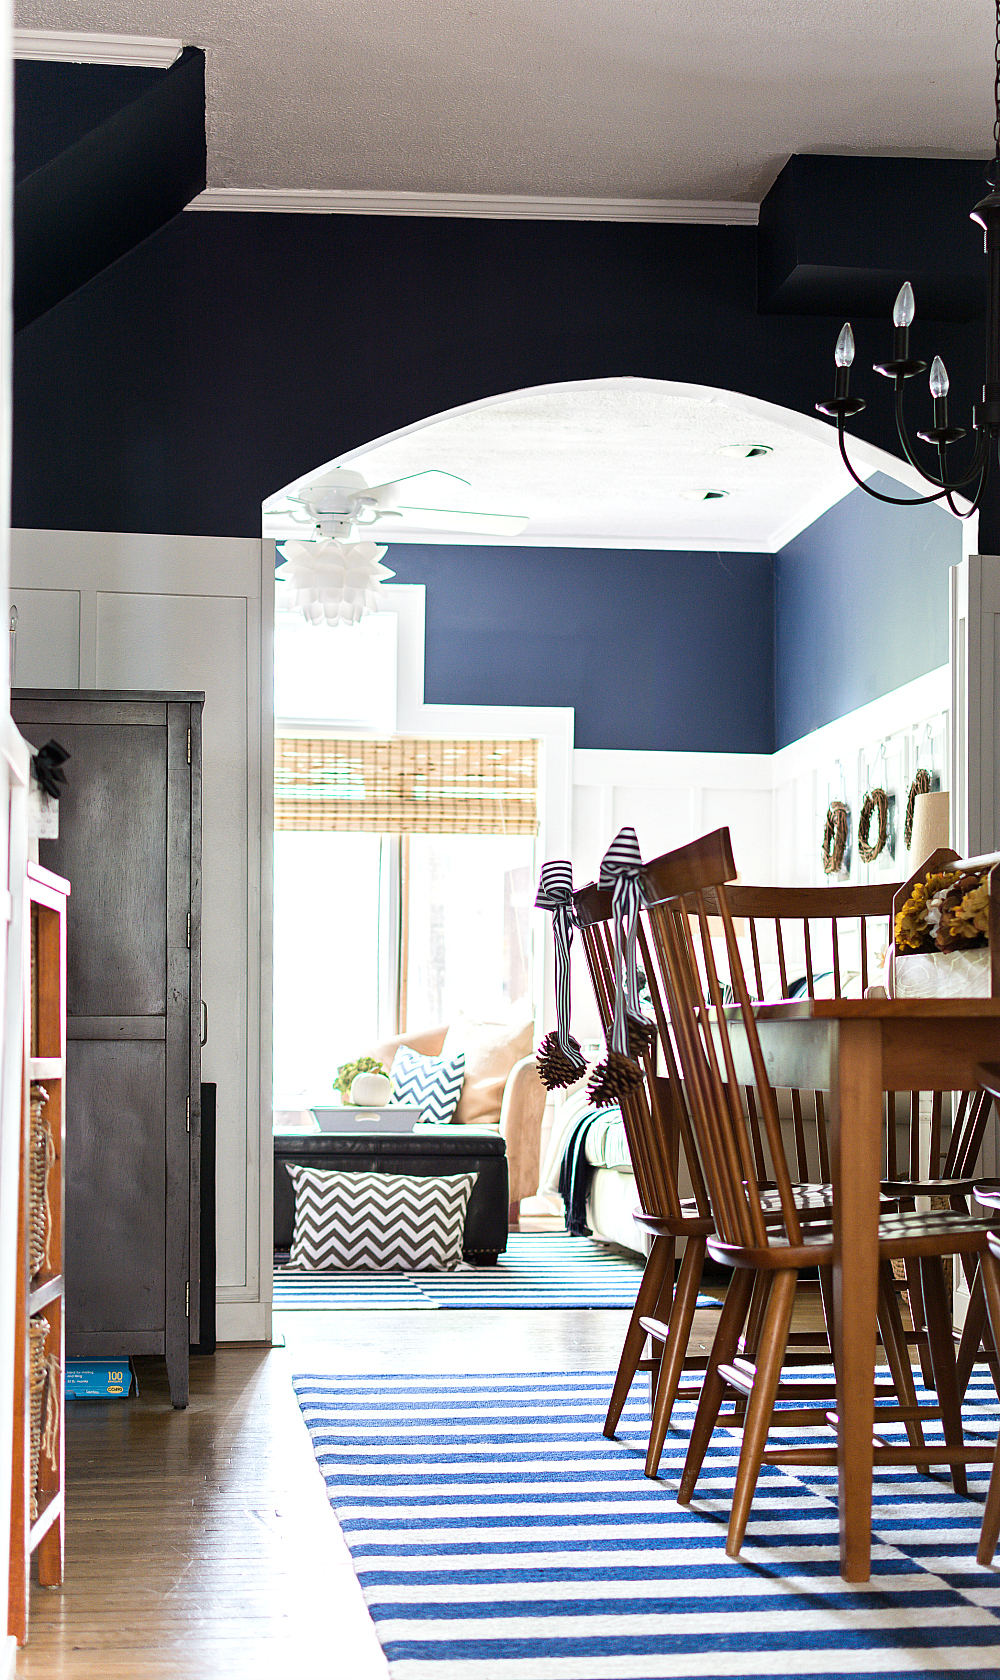
Organize your photos like someone is walking through your home. You can start at the front door and entry, and then move on into living spaces. Also, whenever possible, try to show how rooms relate to one another through doorways (or, in my case, arches).
Tip #8: Include Pictures of the Neighborhood
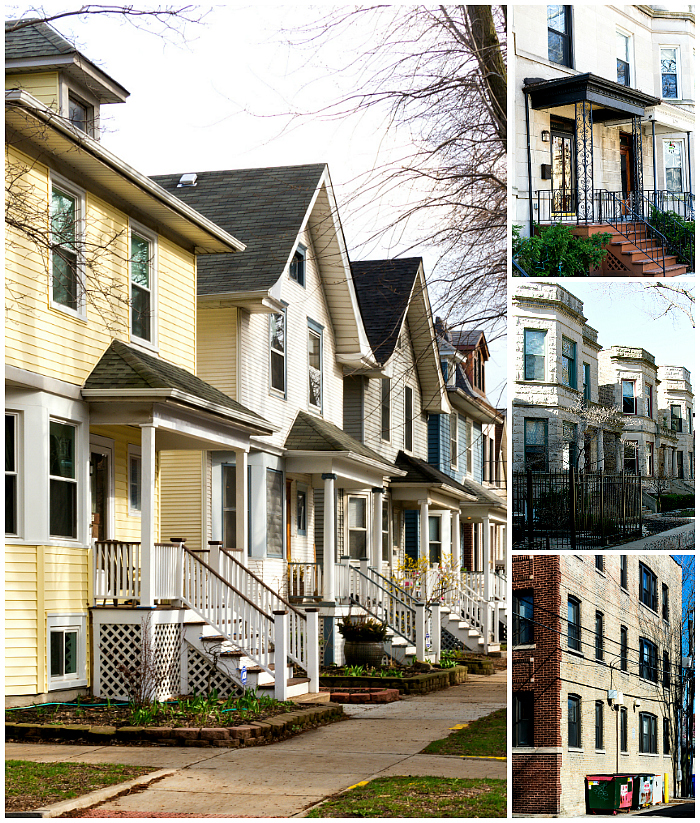
Remember: Buyers aren’t just purchasing a home, they’re buying into the neighborhood. So grab your camera and take some pictures outside to give them a feel of your lifestyle.
Tip #10: Take a Million Pictures
You’ve invested the time in staging your home and cleaning your spaces, so you should take advantage of that effort to take as many pictures as you can. Vary the angles. Vary the height of the camera. Shoot from all four corners. Shoot head on.
Trust me, you won’t want to set everything up again after you break it down.
And one last tip for the road: Don’t try to photograph your entire house in a single day. I recommend one or two (at the most) rooms a day. Otherwise, you’ll get frustrated. And sloppy. And start to cut corners. Just saying …
😉
Pin it!
You might also like:
Home Selling Tips: Repairs To Make Before Listing (click here)
This post was written by me on behalf of Owners.com. I receive compensation for this post, but all opinions about home selling, photography, Scott McGillivray, and Owners.com are 100% my own. For more, see my disclosure policy here.



Pinning is winning, Linda. Thanks for the roundup of info. Not that we’re ready to sell, but when we do, we will also be listing by owner.
Jeeze you are clever.
People looking for houses love pictures. I recently have been looking for a new home, and so many listings don’t have pictures, or even proper pictures. I personally ignore those listings and move on to the next one. If you want people to look at buying your house, make sure you have good pictures.
I appreciate what you said about books being judged by their cover in real estate. I have a good friend who recently bought a home and that they didn’t really consider purchasing at first because the listing wasn’t attractive. They said that the photographs of the home in the listing they were looking at were horrible, so they were able to buy the the home for a lesser price since less people were looking to buy the house.