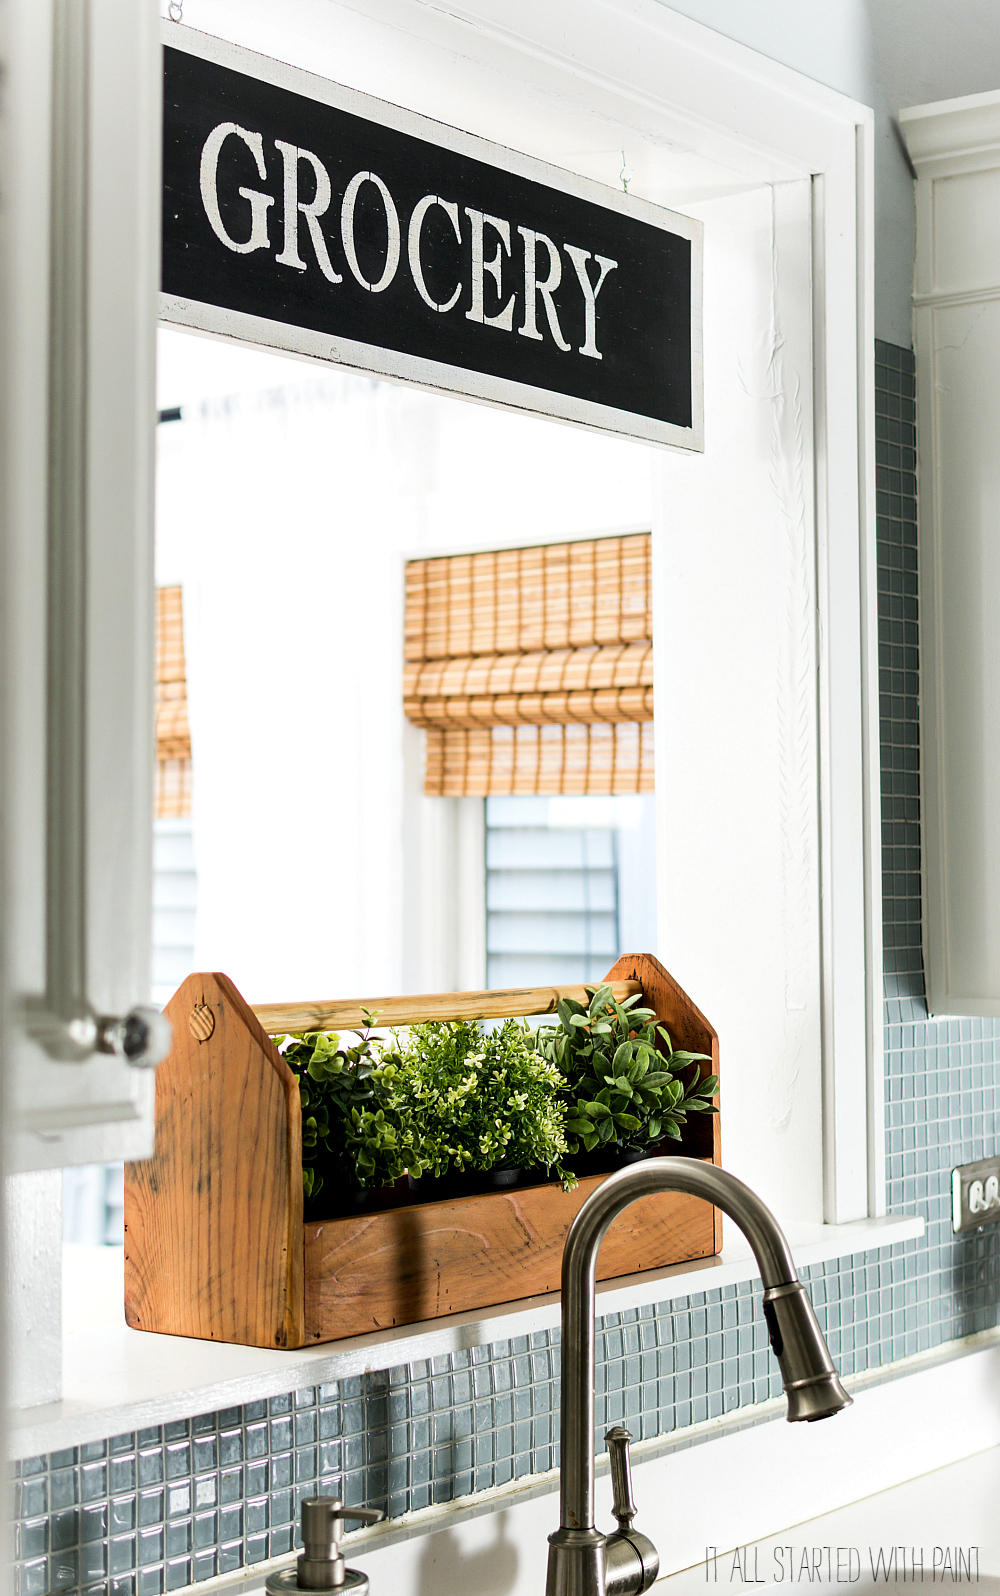
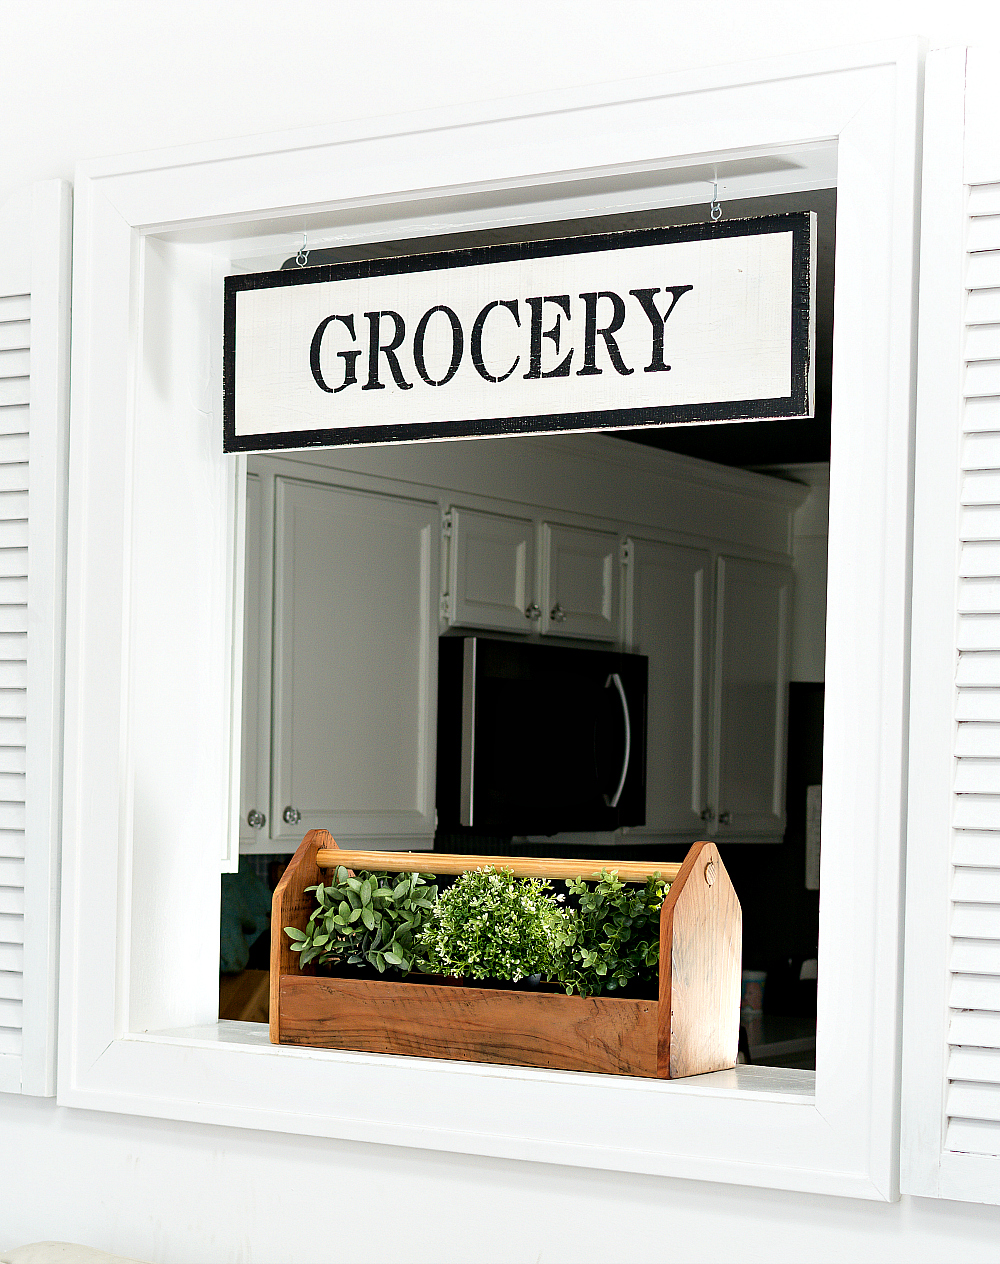
How to make a vintage look grocery sign tutorial.
There are bits and pieces of Christmas still lingering about the house.
An ornament here. A Santa mug there. Candy canes hither. A Christmas village thither …
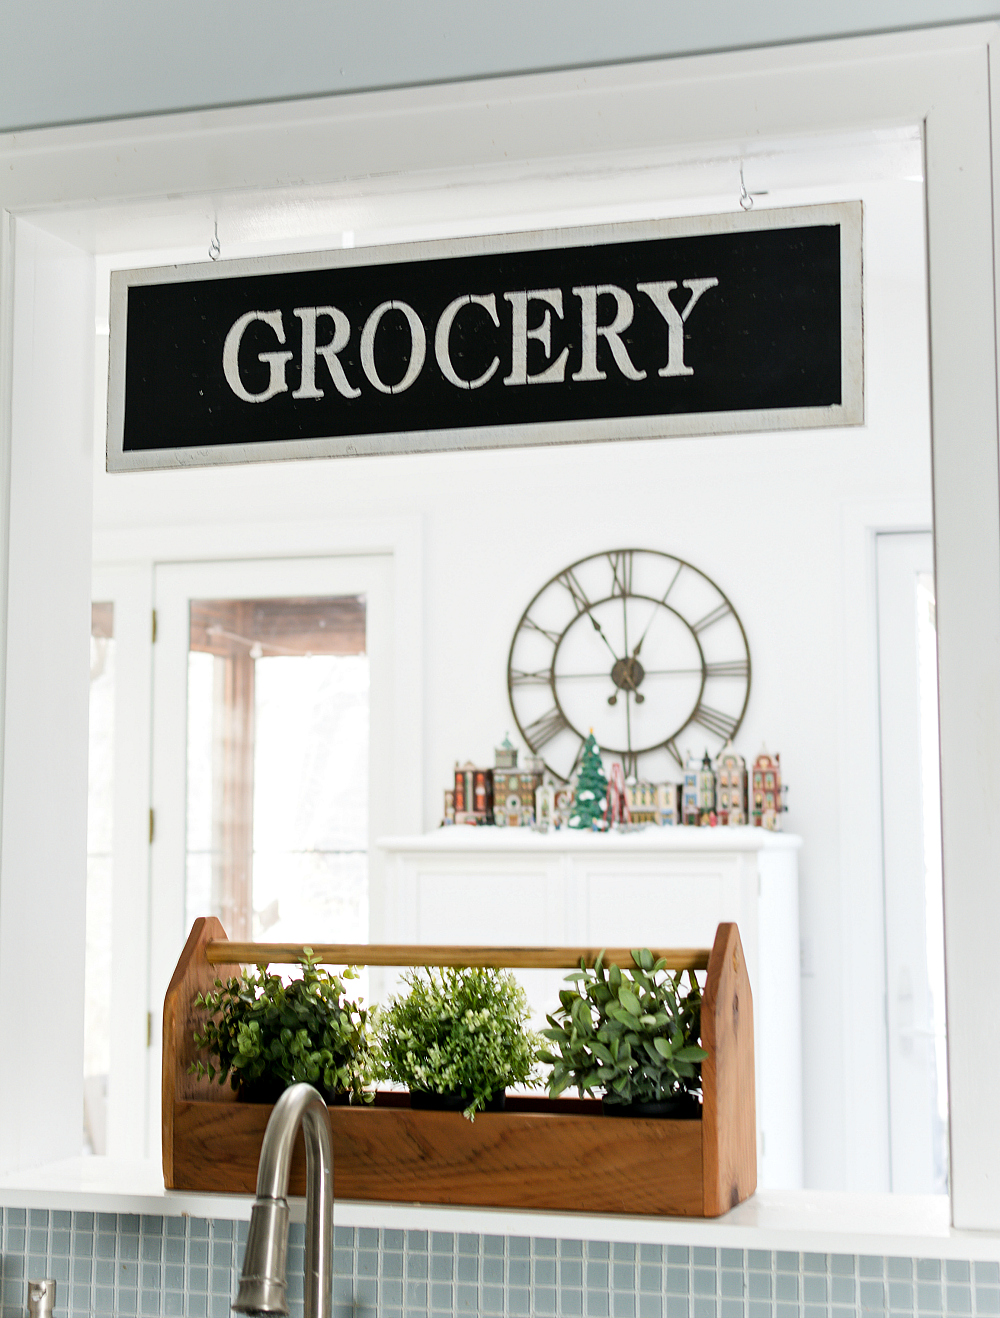
What?!?!
That’s not exactly a bit. Or a piece. It’s a whole lotta bits and pieces!
At first, I justified it as a winter scene. Winter decor that transcends Christmas. That’s what kept it up through January. But when February rolled around, those excuses fell flat. And, quite honestly, it’s become overlooked. I’ve turned a blind eye to those row houses and ceramic people and the Hi De Ho Nightclub that needs a new bulb …
until …
until I was editing pictures for this vintage look grocery sign project.
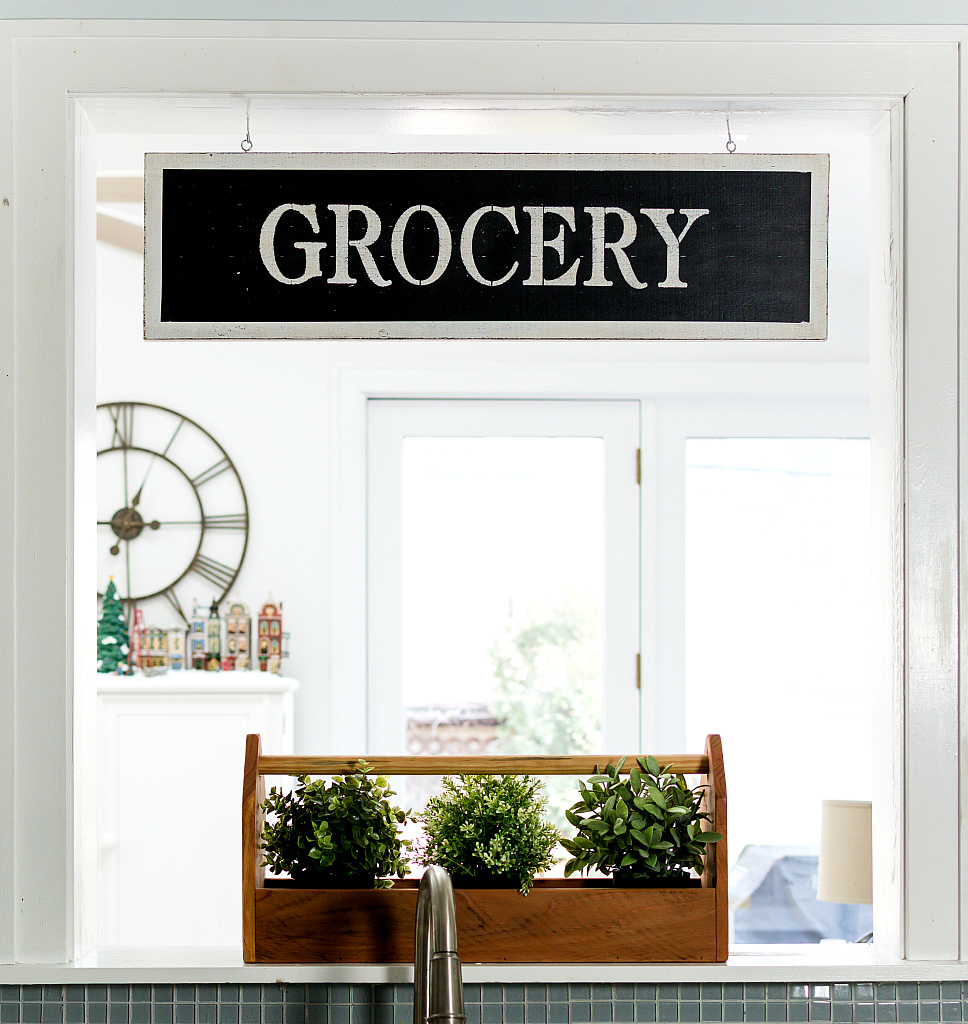
There, front and center, was the elephant in the room: the Department 56 Christmas in the City village. A full two months-and-a-day past its 2015 holiday season expiration date.
Sigh.
Maybe I’ll get it down this weekend. Surely the forecasted 50+ degree temperatures will melt all that faux snow. 😉
In the meanwhile, here’s a detailed tutorial on how I made that vintage look grocery sign.
Vintage Look Grocery Sign DIY Tutorial
Materials
Stencil (I purchased mine here)
Lumber (I used a 1″ x 10″ pine board and had Home Depot cut it down to 34″ for me)
Primer (I used Zinsser Bulls Eye 1-2-3)
White Latex Paint – Flat Finish
Black Latex Paint – Flat Finish
Painter’s Tape
Sanding Block (fine grit) and/or Sand Paper (120 grit)
Tack Cloth
Spray Adhesive (I used Loctite brand) – Optional
Light & Dark Waxes (I used Amy Howard Light Antique and Dark Antique waxes, purchased at Ace Hardware)
Paint Brushes, Rollers
Stencil Brush
Cloth Rags
I started by priming my board (one coat) followed by one coat of latex paint. My board is 2-sided so I painted one side white and the other black.
1.Tape
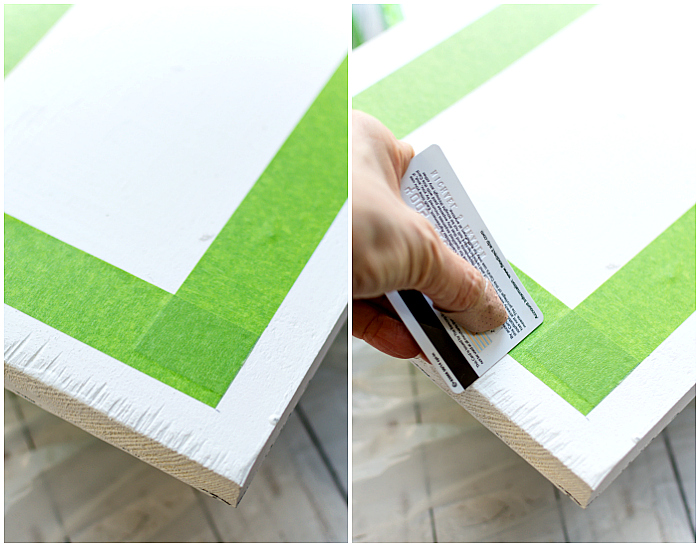
I taped off a one-inch board around the board. I used a credit card to seal the edges.
2. Affix Stencil
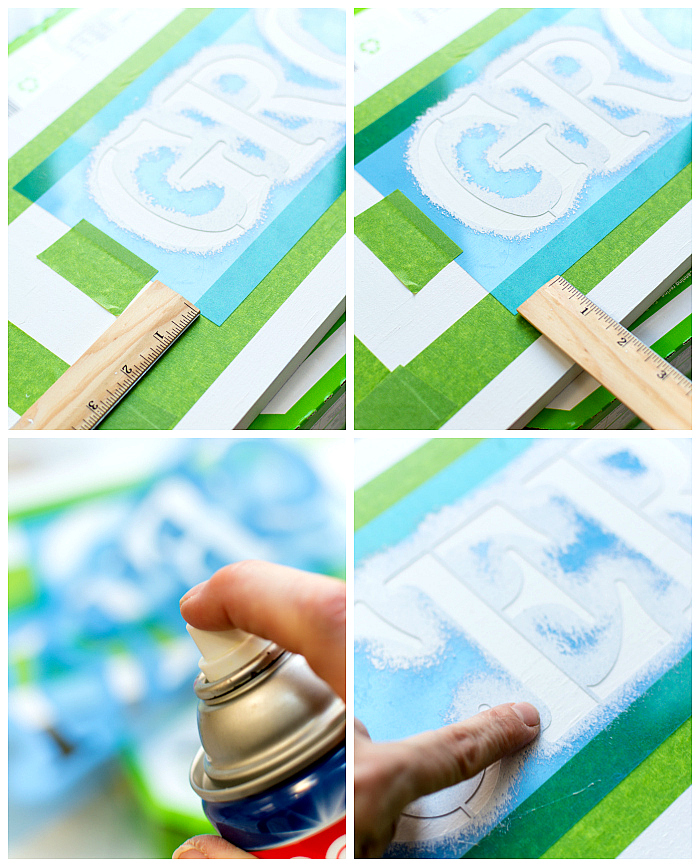
I tried my best to center the stencil on the board and then carefully lifted it from each end (while in place) to spray with adhesive. I used my finger to press down along the edges to prevent paint bleeding.
3. Paint & Stencil
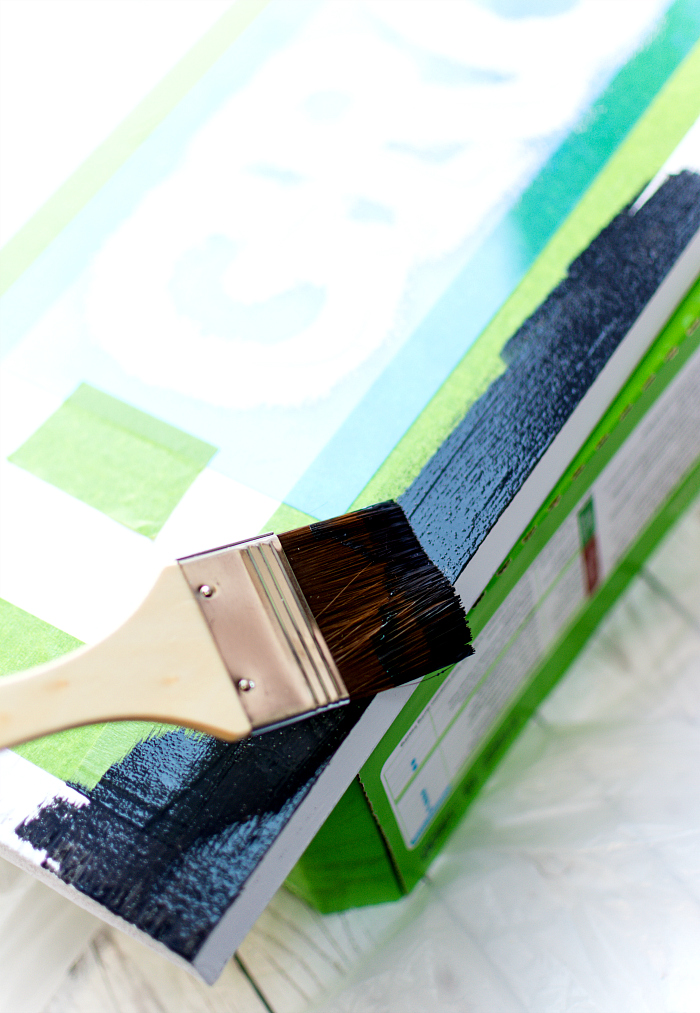
Using a brush, I painted black along the boarder.
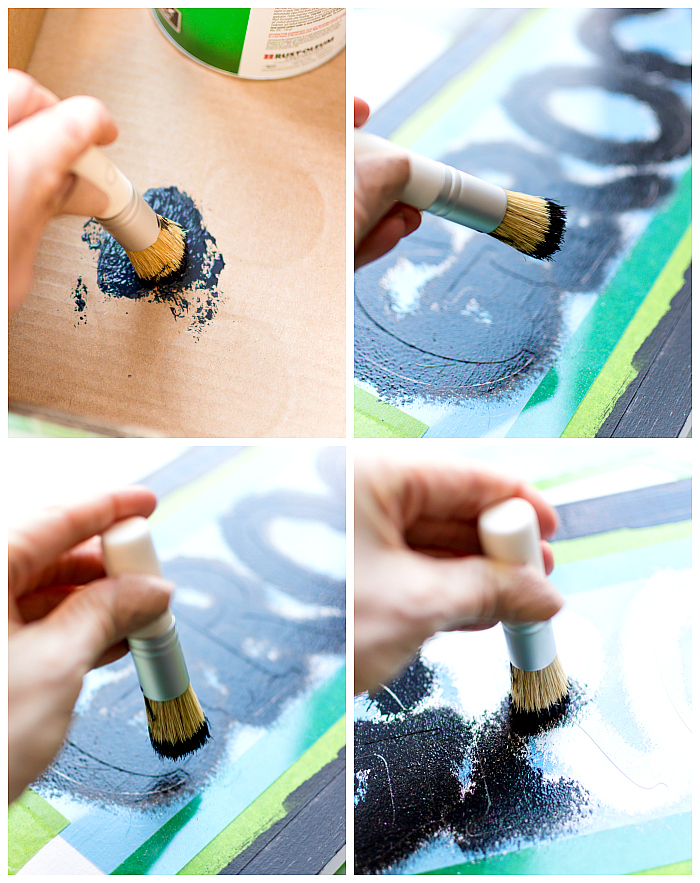
For the stencil, load up your stencil brush with paint, and then offload on a piece of cardboard. Use an up and down motion to stamp the paint over the stencil. Don’t swirl or go back and forth with the brush.
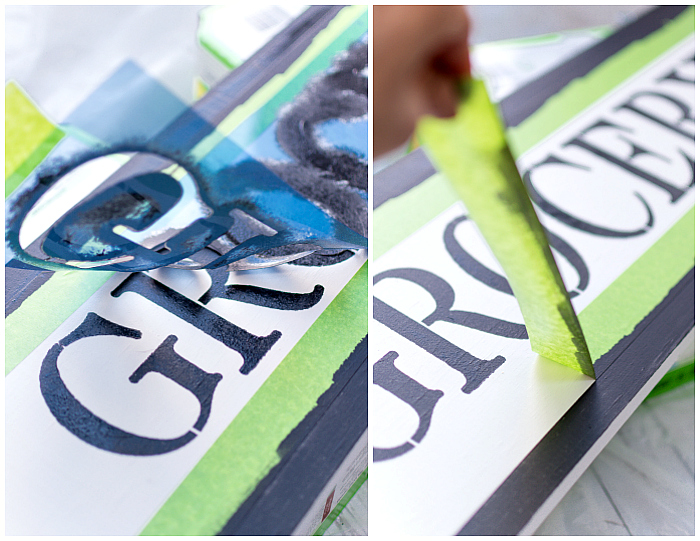
Remove stencil and tape once finished painting & stenciling.
4. Sand
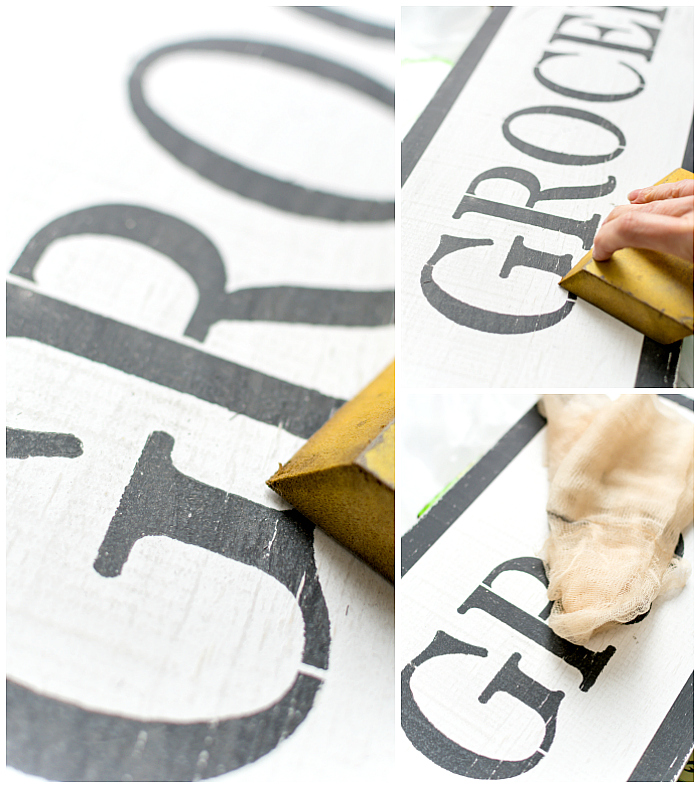
I just lightly sanded over the whole piece, and then added a bit more along the edges and letters. I went for a light distressed look. Use a tack cloth to clean off sanding dust.
5. Wax
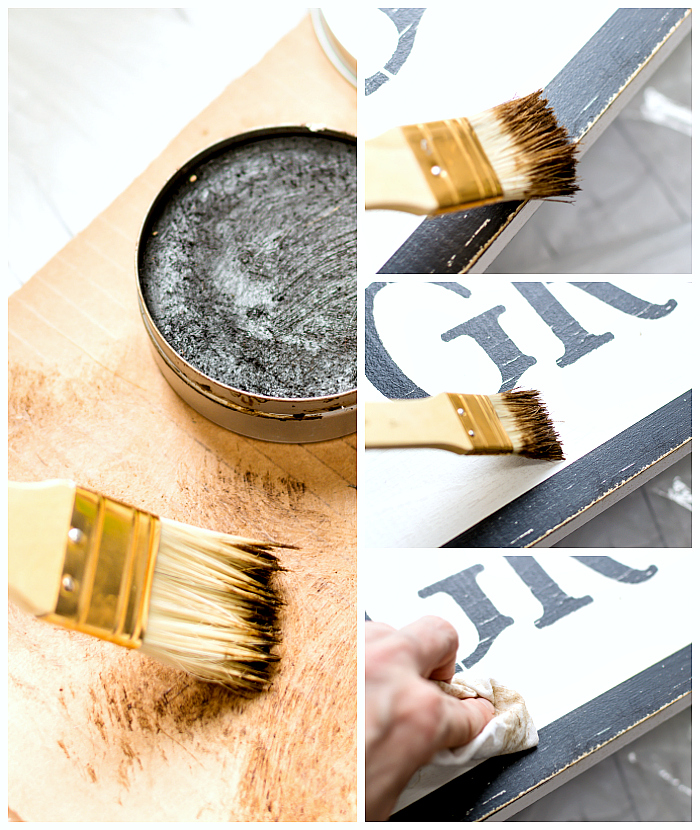
I started with the Amy Howard Dark Antique wax first. Load up your brush and then unload most on a piece of cardboard. I focused along the edges and the letters, followed by a clean cloth rag to remove excess.
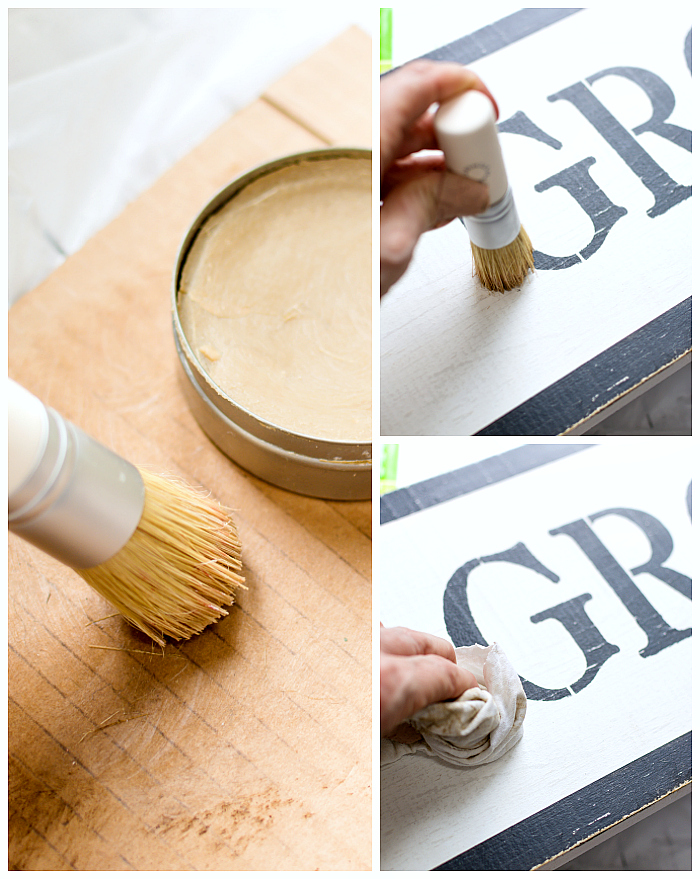
I followed with the Amy Howard Light Antique Wax. I loaded up my brush and then unloaded most on a piece of cardboard. I applied in a circular motion on the entire piece to tone down the bright white. After letting dry for 10 minutes or so, I used a clean rag to buff.
6. Rinse & Repeat
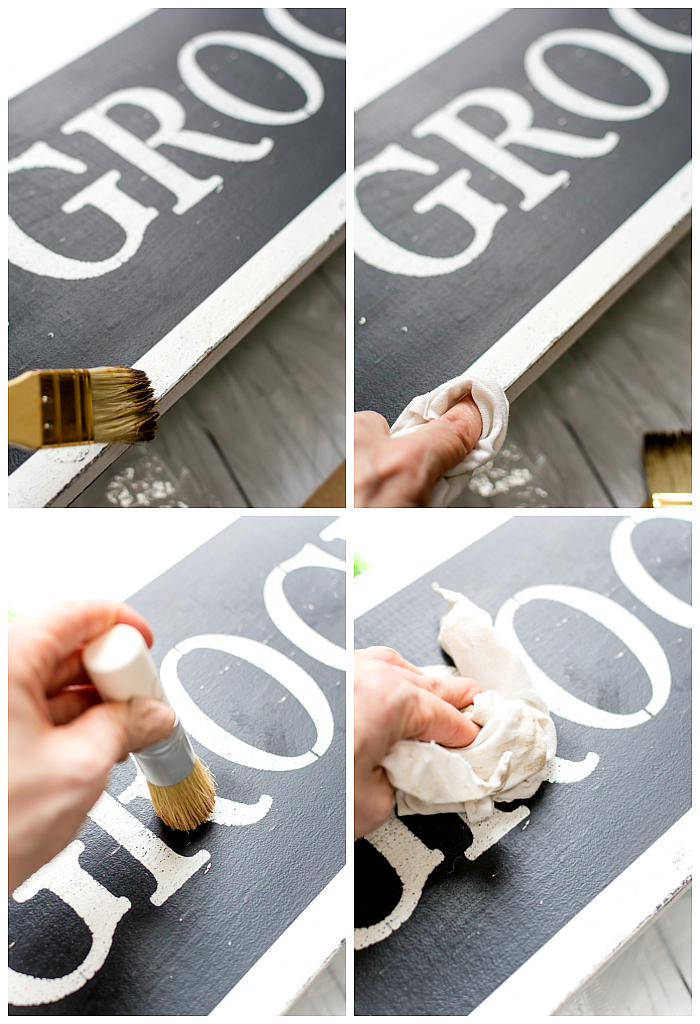
Since my sign is two-sided, I followed the same steps for the flip side of the board.
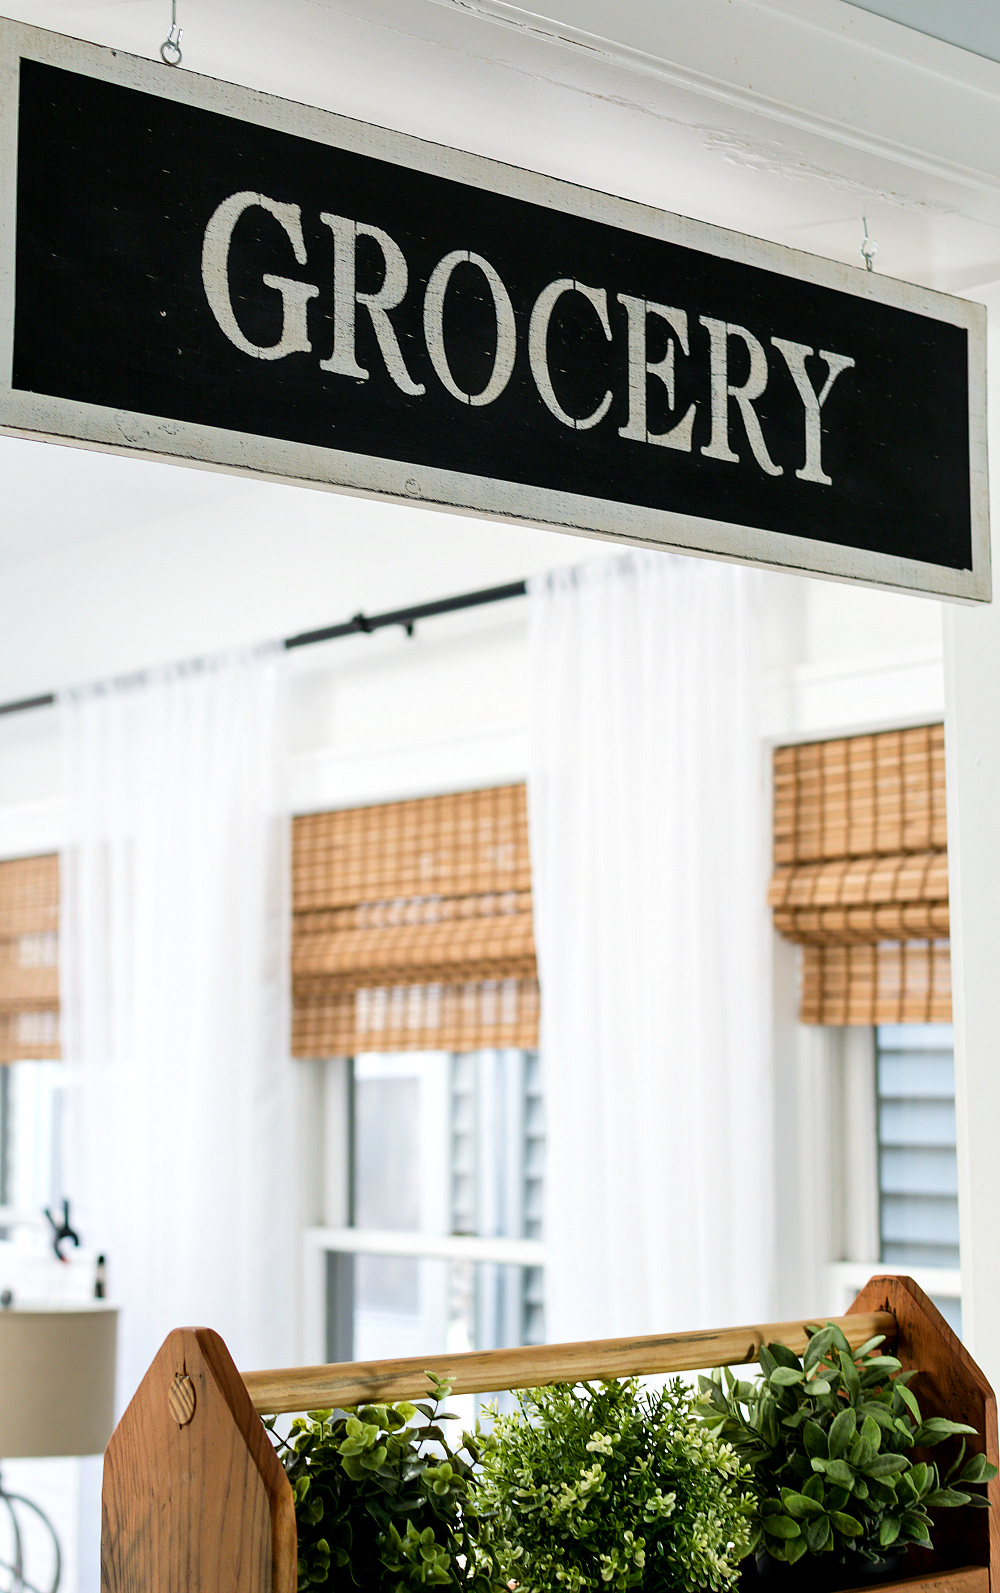
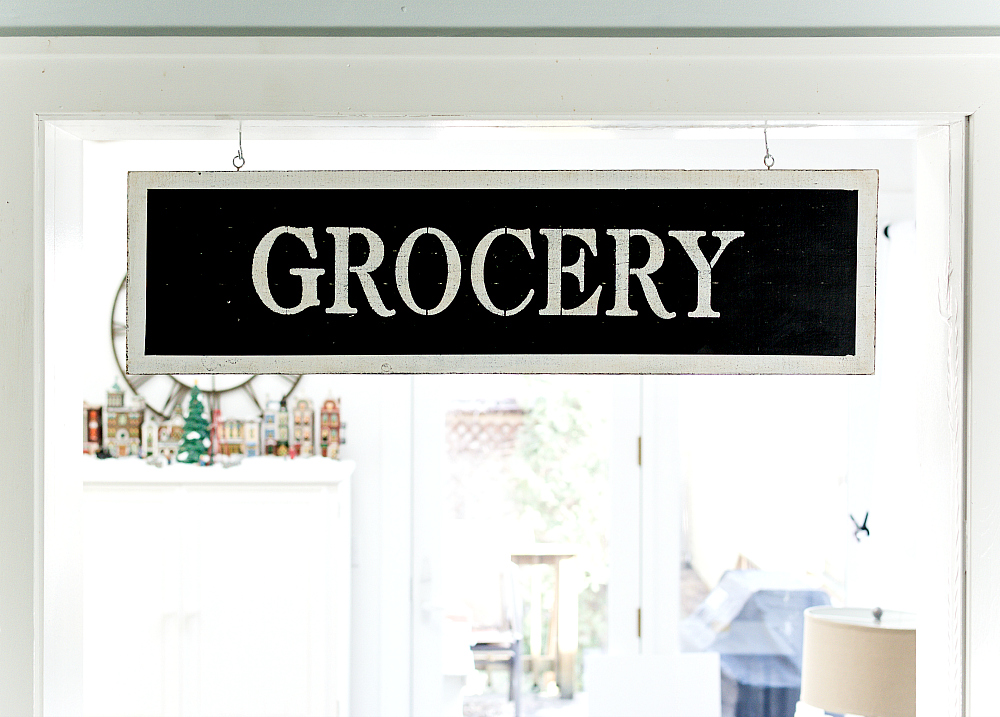
And I’ll sign off with one more peak at the past-due Christmas village! 🙂
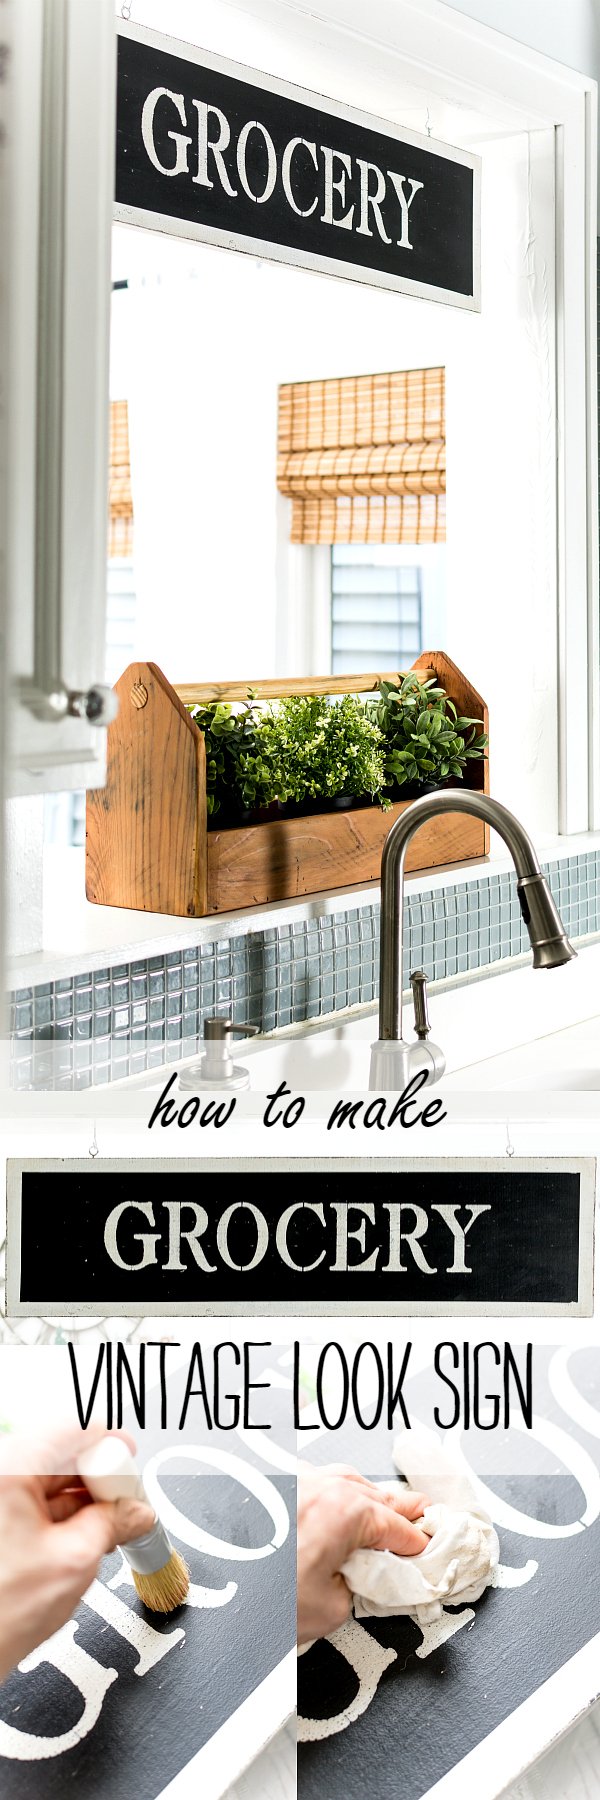
Pin it!
You Might Also Like:
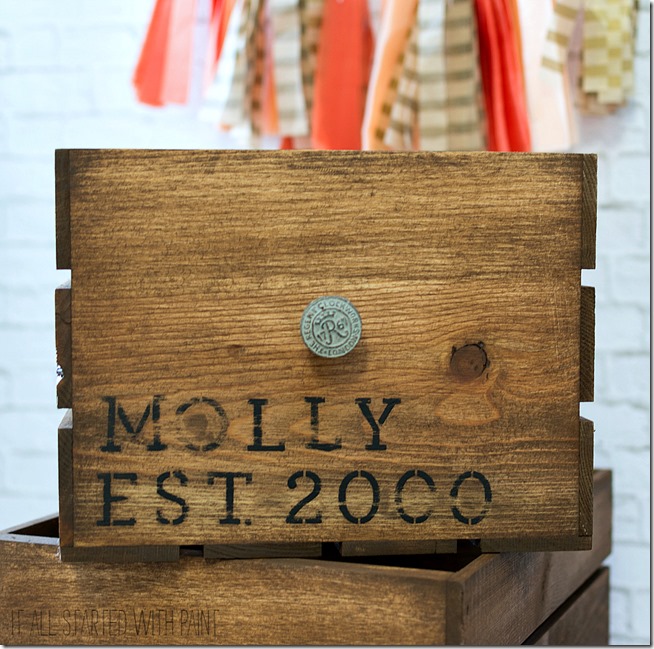
Vintage Look Crate DIY (click here)
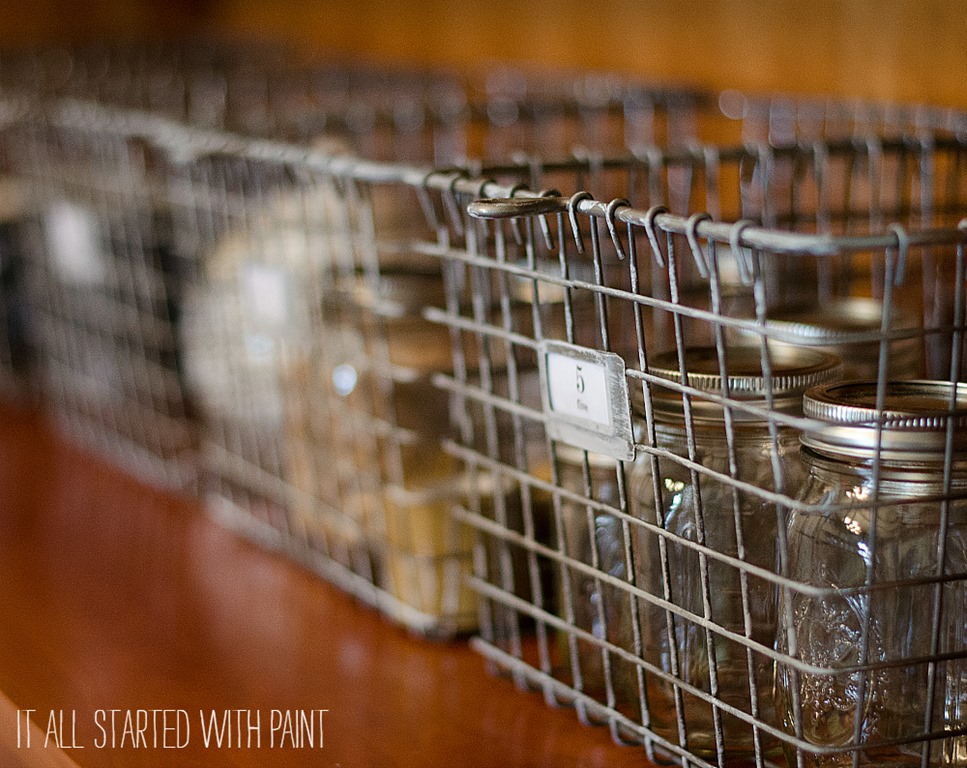
How to Age Locker Baskets (click here)
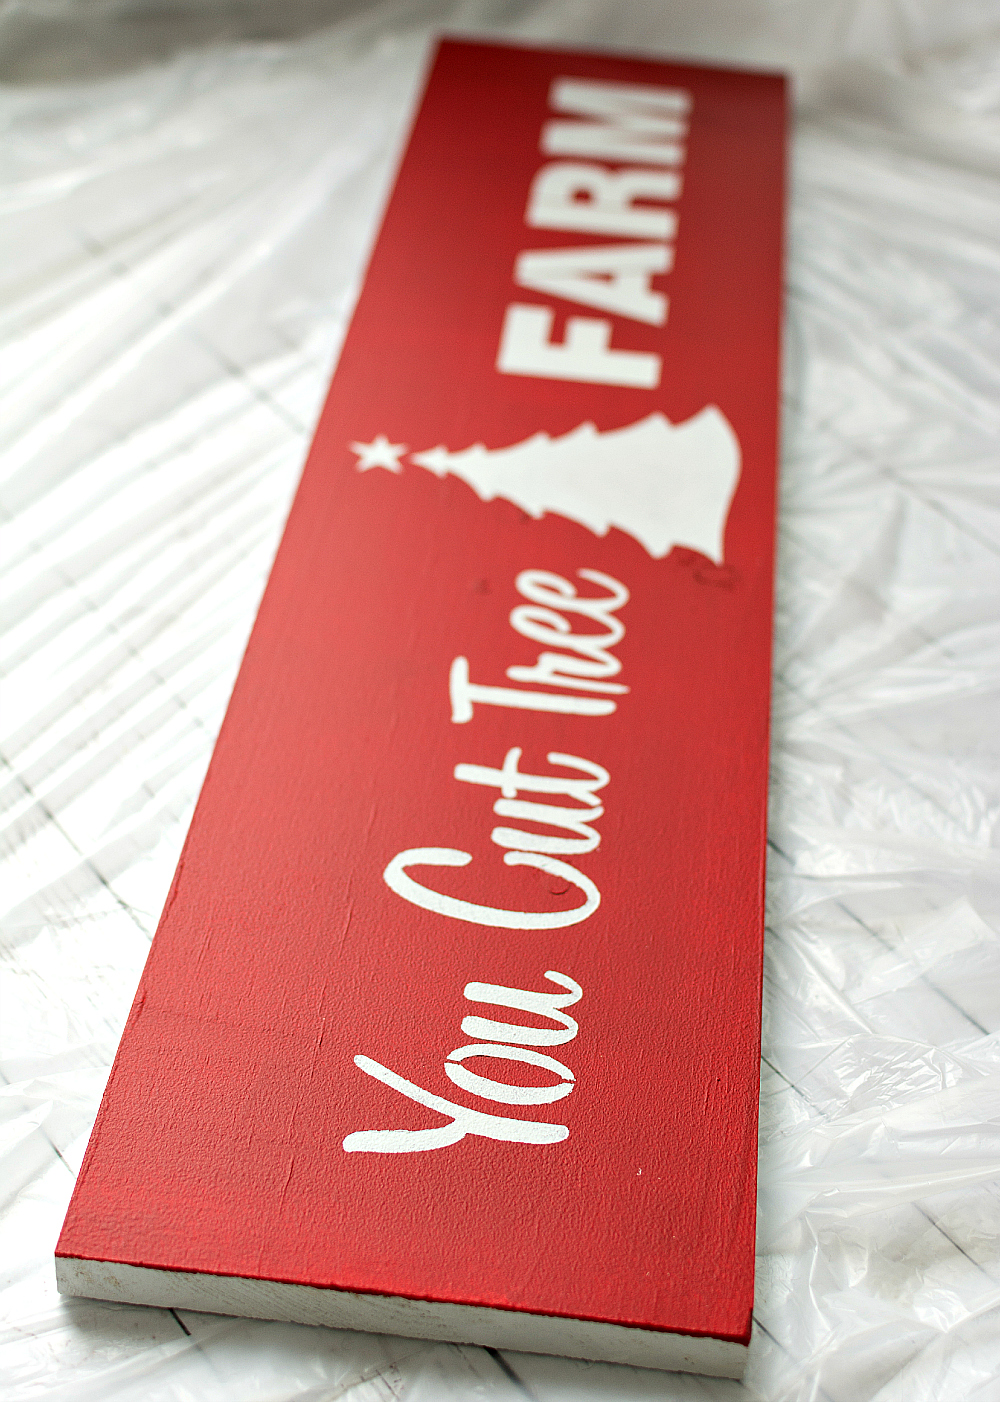
Christmas Sign DIY (click here)
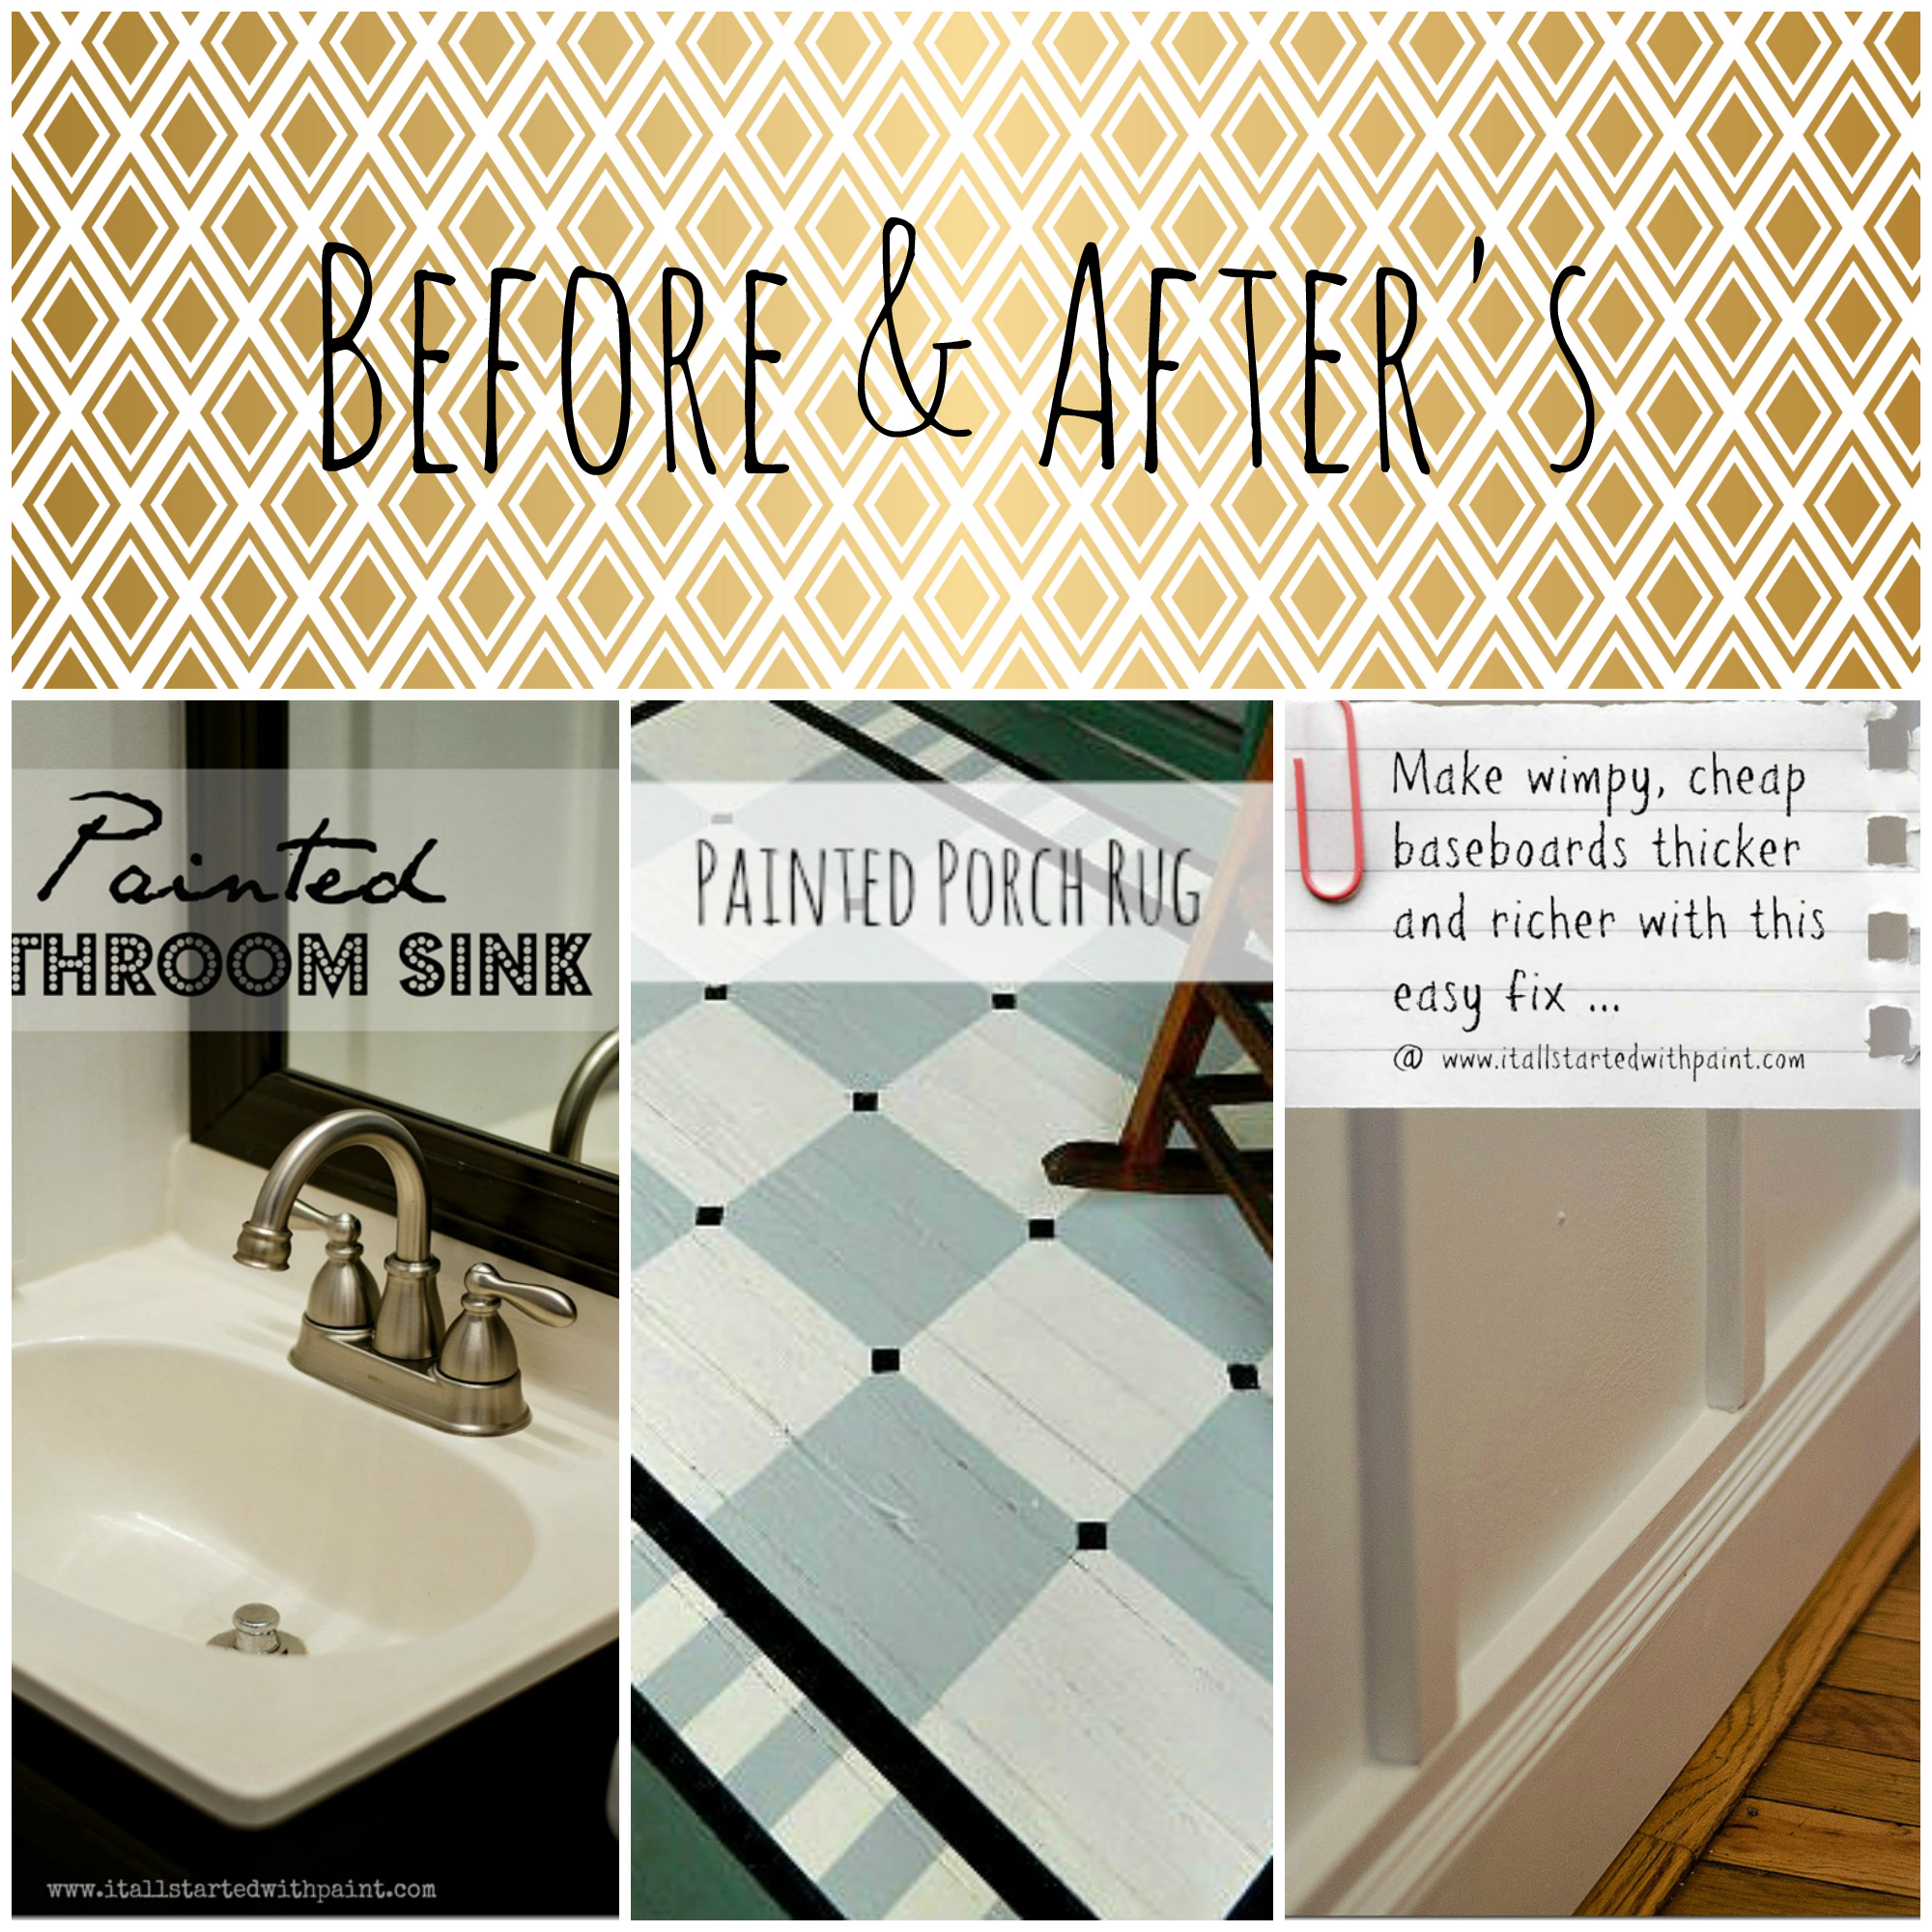
You can find even more of my before & after projects by clicking here …
Sharing:
| Savvy Southern Style | A Designer At Home | The DIY Showoff | Between Naps on the Porch | Inspiration Monday | Moonlight & Mason Jars |

Leave a Reply