How To Make Oversize Chalkboard Wall Calendar
This is the time of year when everyone is talking about trends. Trends in food. Trends in fashion. Trends in décor. And trends in the DIY world.
We’re looking ahead to 2015, making forecasts and predictions; and looking back at 2014, evaluating what worked …
and what didn’t.
Then there are the stories and blog posts about trends that need to go away. Can you say coffee filter wreaths anyone?
I know chevron is on the chopping block. Though I’m not giving up on it in 2015.
I’ve heard mutterings about how crafting with mason jars must go. But I’m holding on to that trend. Fiercely.
And considering that I am currently in the midst of painting, distressing, and mailing out close to 60 mason jars ordered through my Etsy shop, I don’t think the mason jar trend is going anywhere but up in 2015.
Another trend some have started to mumble and grumble about – but I’m hanging on to fiercely as well — is chalkboard paint.
In fact, I might even go so far as to rename the blog, It All Started With {Chalkboard} Paint.
😉
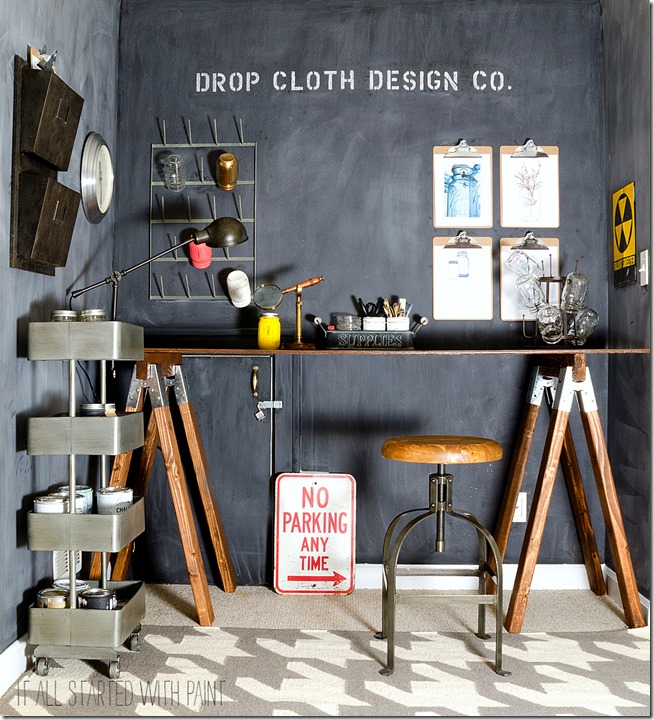
I’ve already added a chalkboard wall in the new workspace I carved out in the basement. But that project has not sated my appetite for chalkboard painted surfaces. In fact, it’s had the opposite effect, making me hungry for more …
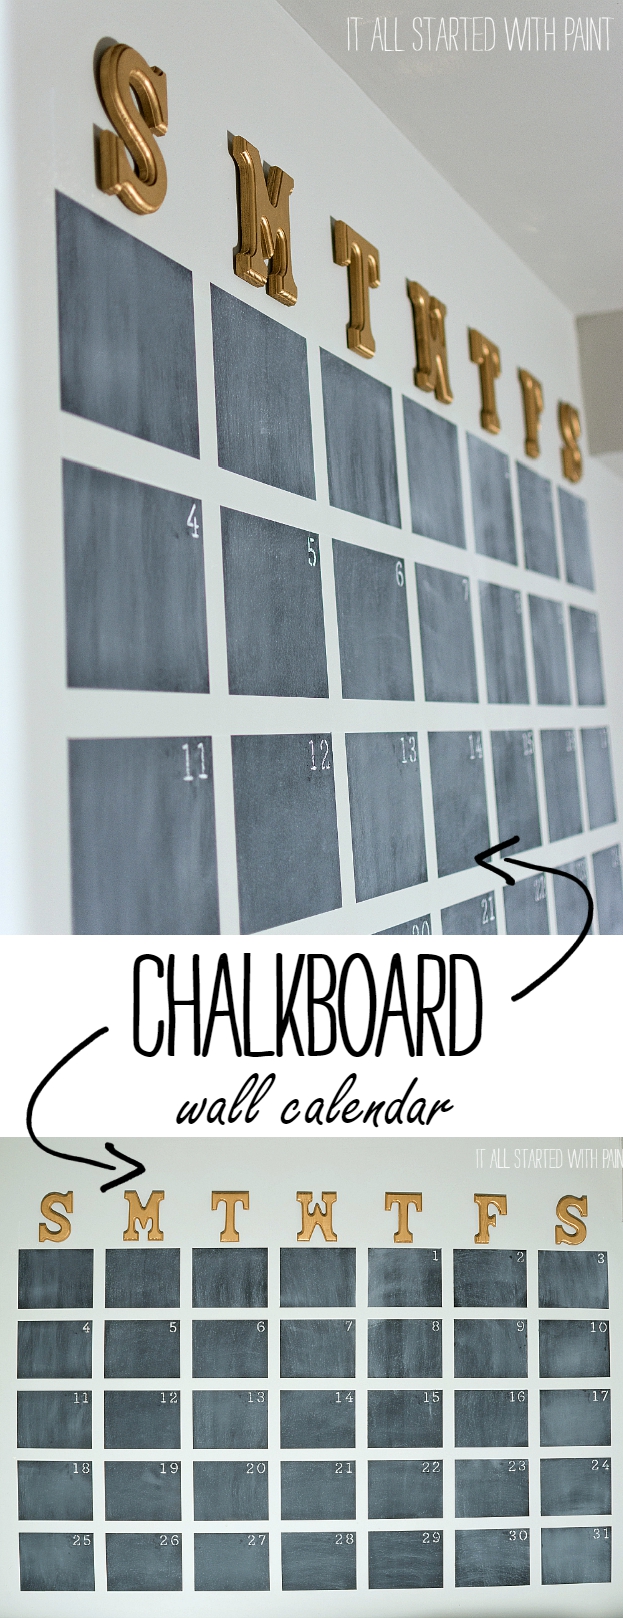
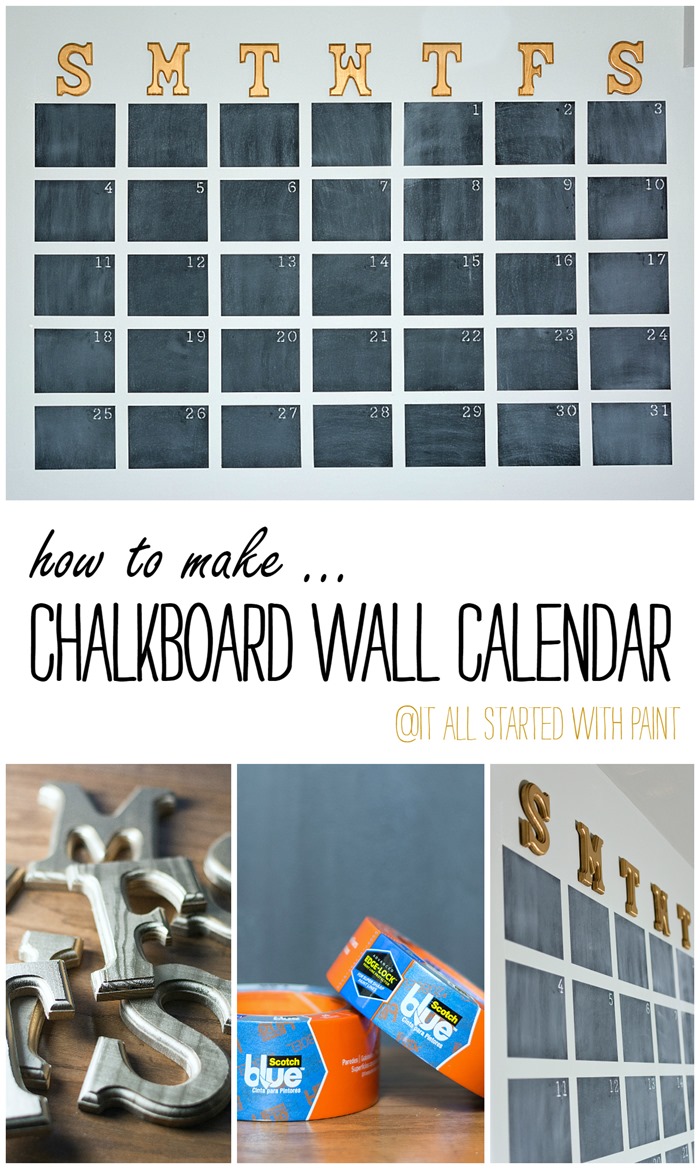
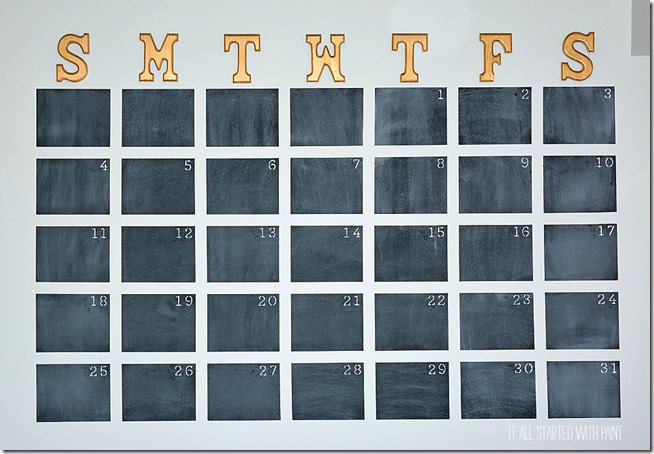
in the form of an oversize chalkboard wall calendar.
How To Make Chalkboard Wall Calendar
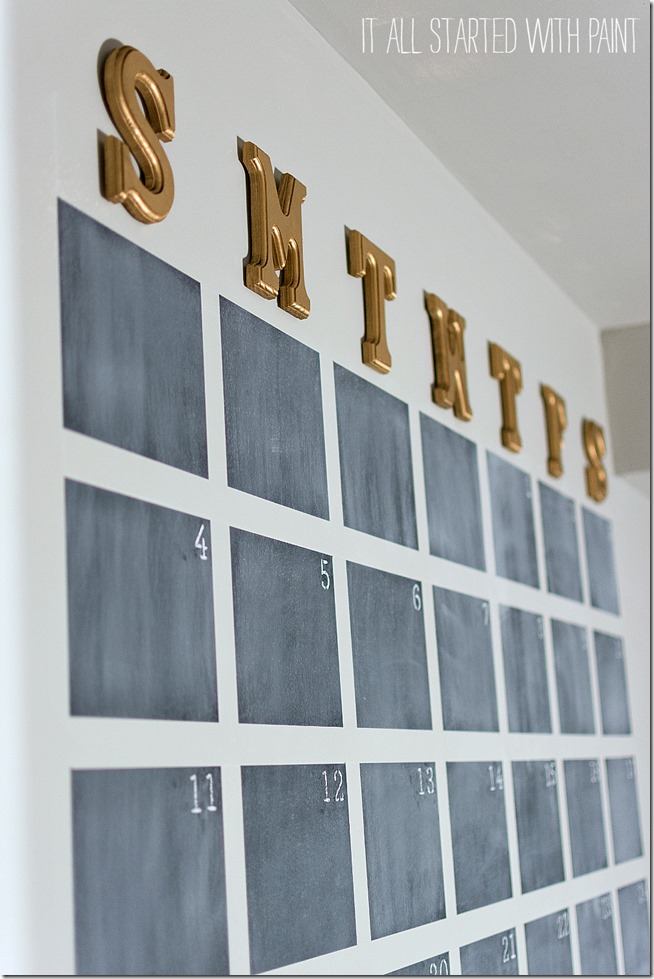
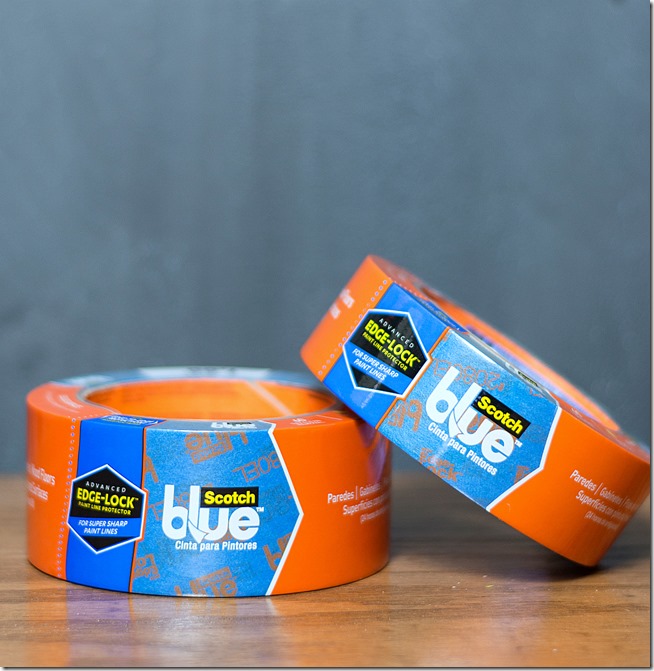
I started my chalkboard wall calendar project with ScotchBlue™ Painter’s Tape Delicate Surfaces with Advanced Edge-Lock™ Paint Line Protector 2080EL,
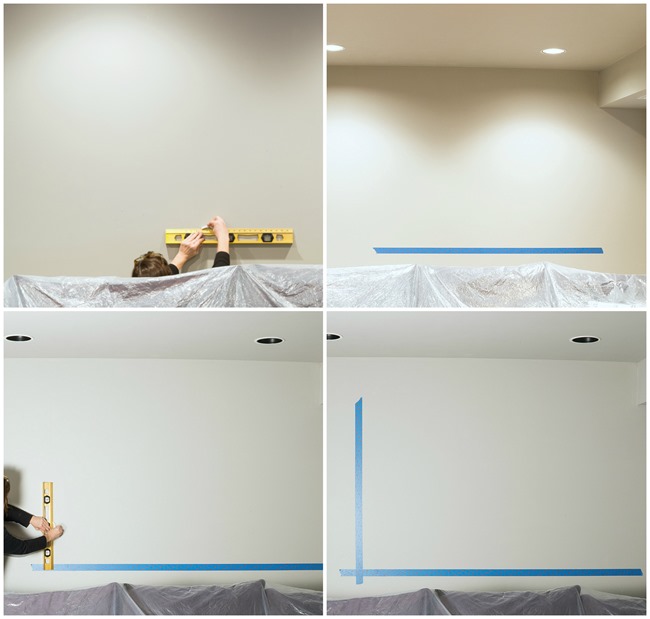
… a level, and a piece of chalk.
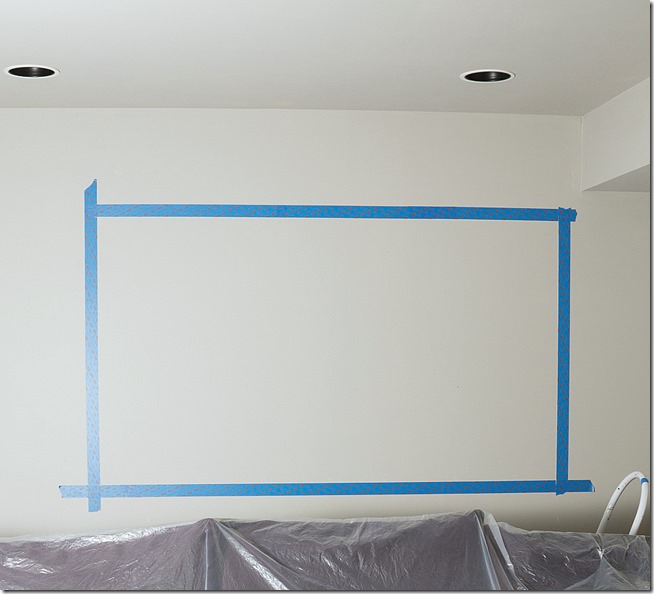
Using the level, I drew vertical and horizontal chalk lines that would make up the outer border of the calendar.
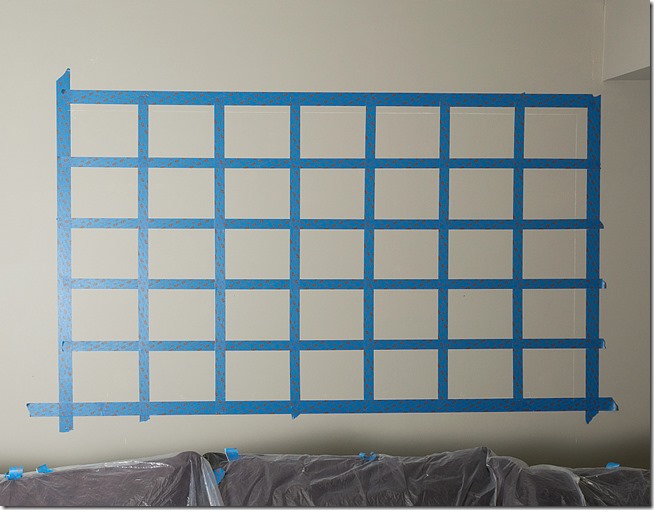
And I used those lines as guides to tape off the area.
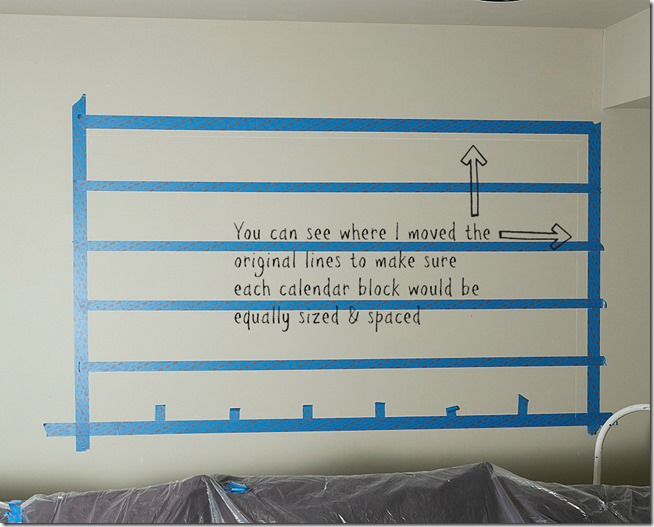
Now came the tricky part. Because I wanted all my chalkboard wall calendar “days” to be equal in size, I grabbed a yardstick and a few strips of ScotchBlue™ Painter’s Tape Delicate Surfaces with Advanced Edge-Lock™ Paint Line Protector 2080EL to map out the vertical and horizontal lines. I pulled out the level and chalk to draw them first before taping off.
And as you can see, I had to adjust the height and width a bit …
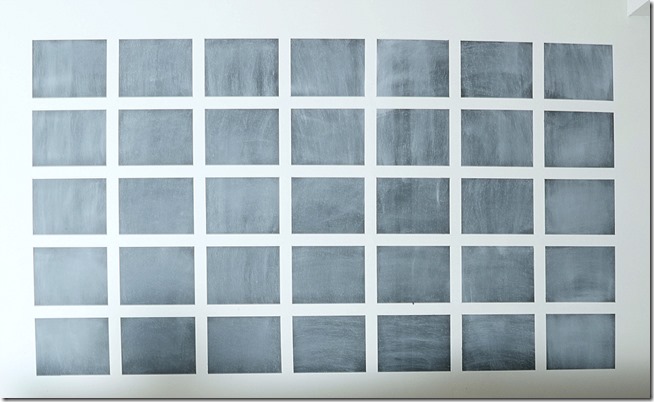
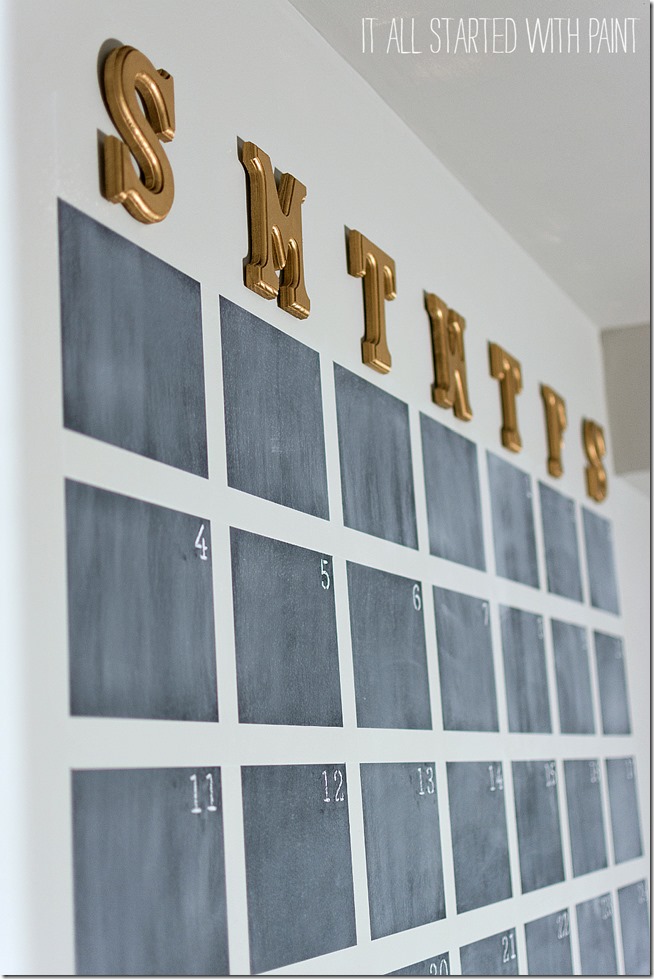
Finally creating a grid with five vertical rows and seven horizontal columns.
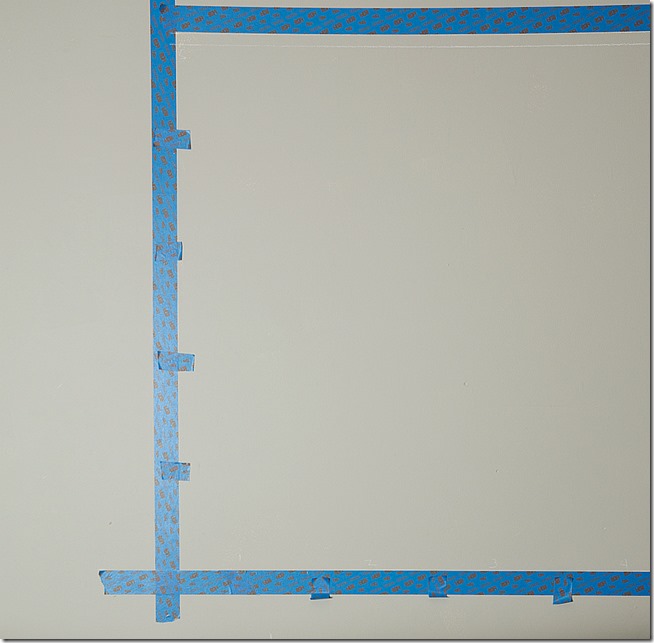
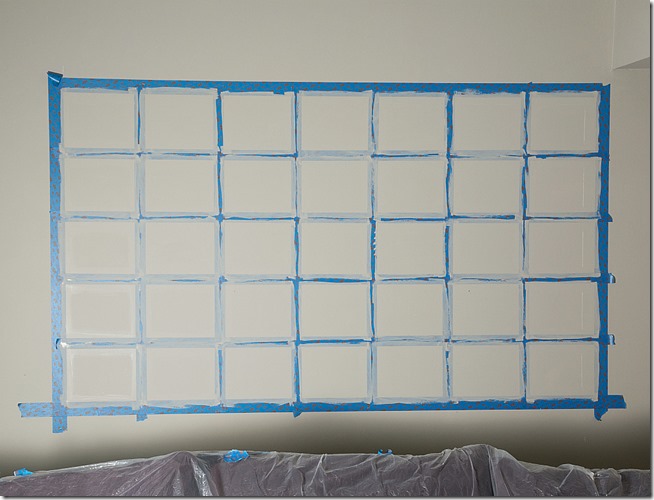
This next step wasn’t really necessary – especially since I was using ScotchBlue™ Painter’s Tape with Advanced Edge-Lock™ Paint Line Protector – but I was more worried about human error. As in me (aka “the human”) not sealing the edges as well as I should. Especially since there were so very, many edges to seal!
So I gave the edges a quick coat of the wall color paint.
That way, if any paint seeps under the tape, it would be the original wall color.
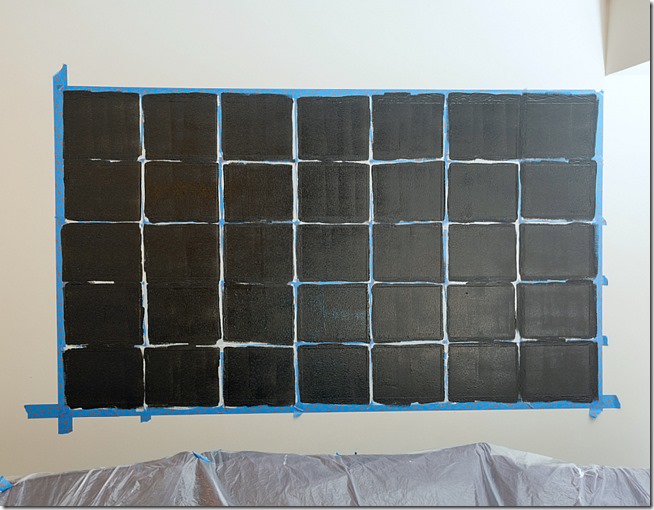
Then I gave it two coats of chalkboard paint.
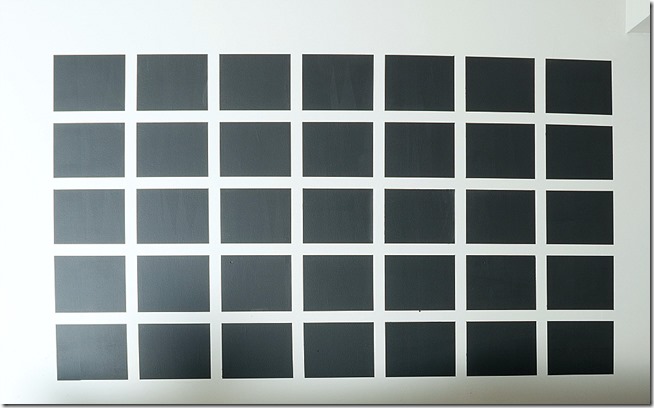
And removed the tape.
And I may have jumped up and down with excitement.
🙂
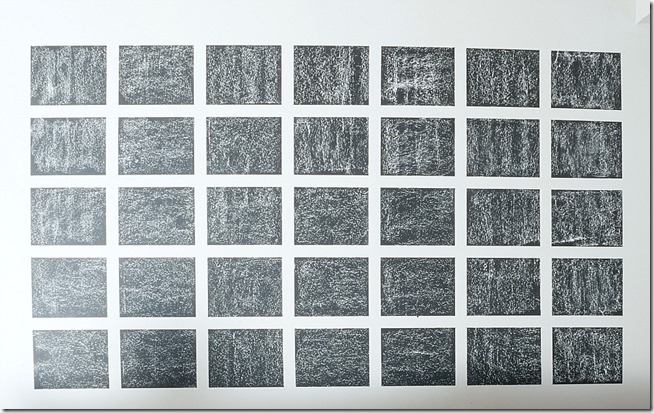
After three days drying time, per the chalkboard paint instructions, I seasoned the surface by rubbing over it with the side of a piece of chalk.
After which I erased it.
My least favorite part because the dry eraser against dry chalkboard surface gives me the shivers. Brrrr …
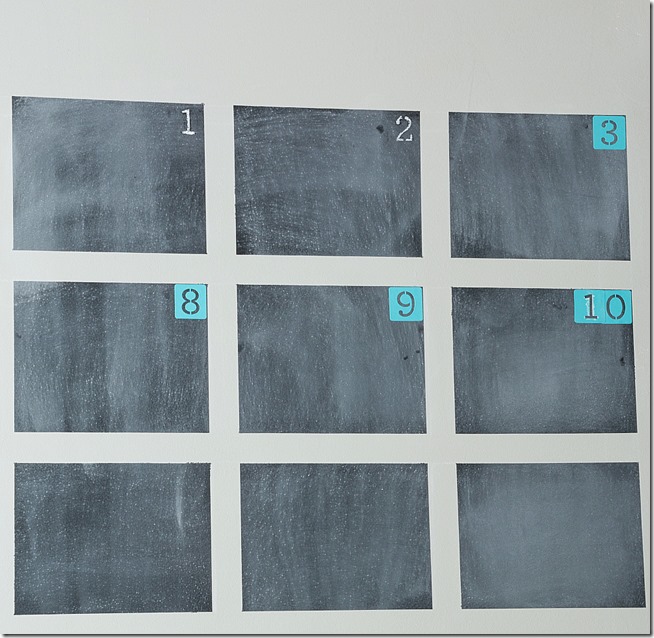
To finish it off, I used some reusable stick-on number stencils (found at the craft store) to create the dates with chalk.
And I’ll be honest, it’s questionable if I’ll take the time to stencil the dates in future months. I’ll probably just chalk them in by hand.
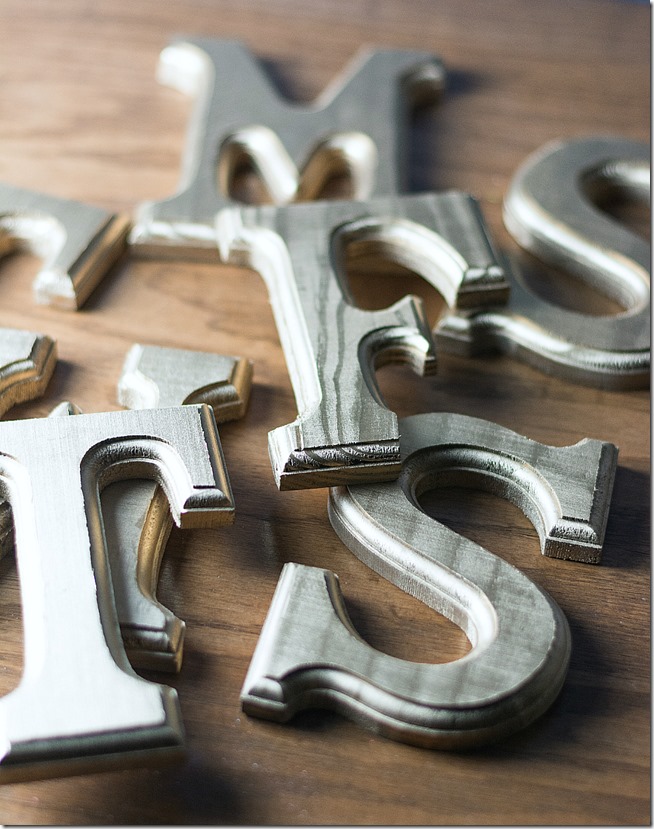
The chalkboard wall calendar days of the week were made using wood letters from the craft store; spray painted gold …
… and hung with removable Command™ Picture Hanging Strips.
And now I can use my chalkboard wall calendar to map out my future chalkboard paint projects …
because, trust me, I really do have more planned.
🙂
Linda
Pin It!
You Might Also Like:
You can find even more of my chalkboard paint projects by clicking here …
I am proud to be a 3M sponsored blogger, and, as part of my responsibilities, I get the opportunity to evaluate ScotchBlue™ Painter’s Tape. Opinions are my own and additional products used in the project were selected by me.

You can learn more at: ScotchBlue™ Painter’s Tape Website | Pinterest page | Twitter page | Facebook page


LOVE this! I know folks said that chalkboard paint would go, but as long as there are moms, there will be chalkboard paint.
Awesome idea!!
Thanks! 🙂 Linda
I read a couple of those posts about what was in and what was out. Good to know we have some self-imposed blog police out there. Whatever. I love your chalk board project and I think it would take a calendar of these monumental proportions to keep me organized!
Never liked chevron – although I love herringbone. Never did or will do most of the trends. But I’ve ALWAYS – as in like 30 years used mason jars and I always will. Same with chalk board paint. I painted my first chalkboard wall in 2002 and I’ve wanted to do one everywhere I’ve lived since. I don’t have one here, but I’m getting ready to have one. I support your personal trends completely!
Love the tip to paint the wall color first to prevent seepage chalkboard paint under the tape!
you KILLED it, linda! i LOVE your take on this- the gold letters are fab!
Linda,
So great. Love this. Love the gold letters too. So creative and functional. You rocked it out with this one.
Kris
Awesome project! Mason jars and chalkboards are so useful and good looking I don’t think they’re going away soon. The gold letters are fantastic too!
Thanks Cristina! Hope you are having a fabulous weekend! And I’m thinking it might be a bit warmer than mine! 🙂 Linda
Ugh, I can’t stand other people trying to dictate what others should be or should not be into. I like chevron and will continue to incorporate it when it suits me (though the only chevron thing I have is some black and white curtains I got to cover my laundry area after I took the folding doors off since they wouldn’t close because my new-to-me dryer stuck out just far enough AND some duct tape that I use as background for some of my thumbtack art).
I’m one of those people who likes what they like – not because it was a trend. If it so happened to be a trend, ok, but I would still rock it after it was no longer “the thing”.
All that to say – keep on keepin’ on with your chalk board paint projects and mason jars!
I love this massive calendar! If I had space for it (and really needed a calendar that massive – I’m single, childfree, and work from home so my schedule is pretty free flowing that doesn’t necessitate scheduling and organizing like most need) I’d probably do something like that too. Heck I love the letters by themselves! lol
For anyone wanting to do a smaller scale with the chalkboard here’s something i did recently. I found a box of peel and stick vinyl floor tiles. (I bought the tiles years ago but recently I saw a boxes of them at Family Dollar for $8 to $10 for what equals 30 square feet. I have used those tiles to cut down and make a herringbone pattern backsplash in my kitchen. I spray painted them silver and put them on posterboard and put up so it wouldn’t mess up the walls). I took a few of them and spray painted them with black chalkboard paint – then stuck them up to the inside of a couple of my kitchen upper cabinet doors. You only see it when the door is open – so I like to put goofy sayings/quotes/lines from shows/movies. I also painted my white fridge with black chalkboard paint and have fun stuff written on the sides (the words to “Soft Kitty” from the Big Bang Theory and the line about the soft glow of electric sex gleaming from the window from A Christmas Story).
Ok, I’ll stop rambling now. 🙂
Wow! It sounds like you have some seriously AMAZING DIY going on at your home! And I just adore the backsplash idea and the painted fridge in chalkboard paint! I’ve been toying with that one. Oh, and Soft Kitty LOL! Thanks for my morning laugh! Just adore that!!!
Happy Saturday & Happy New Year!
🙂 Linda
I love it. I knew I would never change the days, so I made mine on a magnet board and the numbers are on magnets. Even so, it is still on December.
This is not only beautiful but so functional….you have always been able to incorporate beauty and function so well…Great, great chalkboard calendar!…
Thank you Shirley! You are too sweet!!! 🙂 Linda
Your calendar looks great.
I created a wall chalkboard calendar in 2013 . Since I’m not very good at measuring and getting things straight I decided a more rustic look was necessary. So I put all the tape up without measuring it and didn’t seal the edges. I love it. If I had tried to measure it as well as you have I would have messed it up and it would have driven me crazy every time I looked at it.
I put the minimum amount of information in each entry, (as all the details are in my laptop calendar), and it’s very efficient way to keep track of everyone’s schedule at a glance.
I forgot to mention, my board is now going to get a little make-over, inspired by your board. I didn’t think to place the days at the top. I’ve just been writing them in free hand. I love how you’ve done yours. Thanks for the idea!
Wow ~ that’s a big project but a great one too. I think chalkboards are great, especially if there are kids in the home. Who follows trends anyway? I sure don’t.
Big Texas Hugs,
Susan and Bentley
Linda this is AMAZING!!! I absolutely love it!!
Vanessa – Thank you so much!!! You are too sweet! 🙂
I couldn’t love this idea more!! And I agree, I’m holding onto chalkboard walls too!! My kids LOVE it, and your calendar idea would be SO great for kids with special needs who really love to see “the plan” for the day…or for some over-scheduled adults I know (sigh). Love it, and soe glad to have found you at DIY Showoff’s latest link party 🙂
Heather – thank you so much for your kind words! I’m loving it so much, but have been shy about writing on it! I just love it as is!!! 🙂 Linda
Oh absolutely love this! Love the gold accent that really makes it perfect :)!!
Hi Linda,
Can you tell me what the size of your squares are on the chalkboard wall calendar? I am in the process of making one and I just love yours – the size is perfect. Thanks 🙂
Thank you so much Cindy! My squares measure 7″ (height) by 9″ (width). Good luck with your project!!! 🙂
I was wondering how you now keep the white lines in between the calendar days clean? Is it painted with a glossy paint or has it just not been a problem? I’m thinking about doing the same thing this weekend.
The lines between the calendar are actually the base wall paint. So I don’t ‘clean’ them. It’s just the wall color.
What a creative use of chalkboard paint!! I would totally do this in my home if I had a big office! I’d love if you shared this at the Create with Me link party! I’m featuring chalkboard projects this month at http://www.lovecreatecelebrate.com 🙂
wondering if you used chalk paint or liquid chalk on it?
The liquid chalk paint pens would be permanent. Or at least partially permanent. You can’t just wash it off easily.
Such a clever and cute idea! I live it! I was thinking, since your overall calendar is pretty large, it might be cool to stencil the numbers on a small plaque of wood, drill a hole in it, and hang it in the upper right corner of each block using a small hook. The calendar would then be a perpetual one.
That sounds like a wonderful idea!
How as the chalkboard wall held up over time with consistently using and cleaning.
I honestly don’t use it that often so it’s held up well. But you can always sponge it down if it gets too dusty and chalky.