Easter Egg Decorating with Paint Pen – Brown Organic Egg Decorating Idea for Neutral Easter Decor.
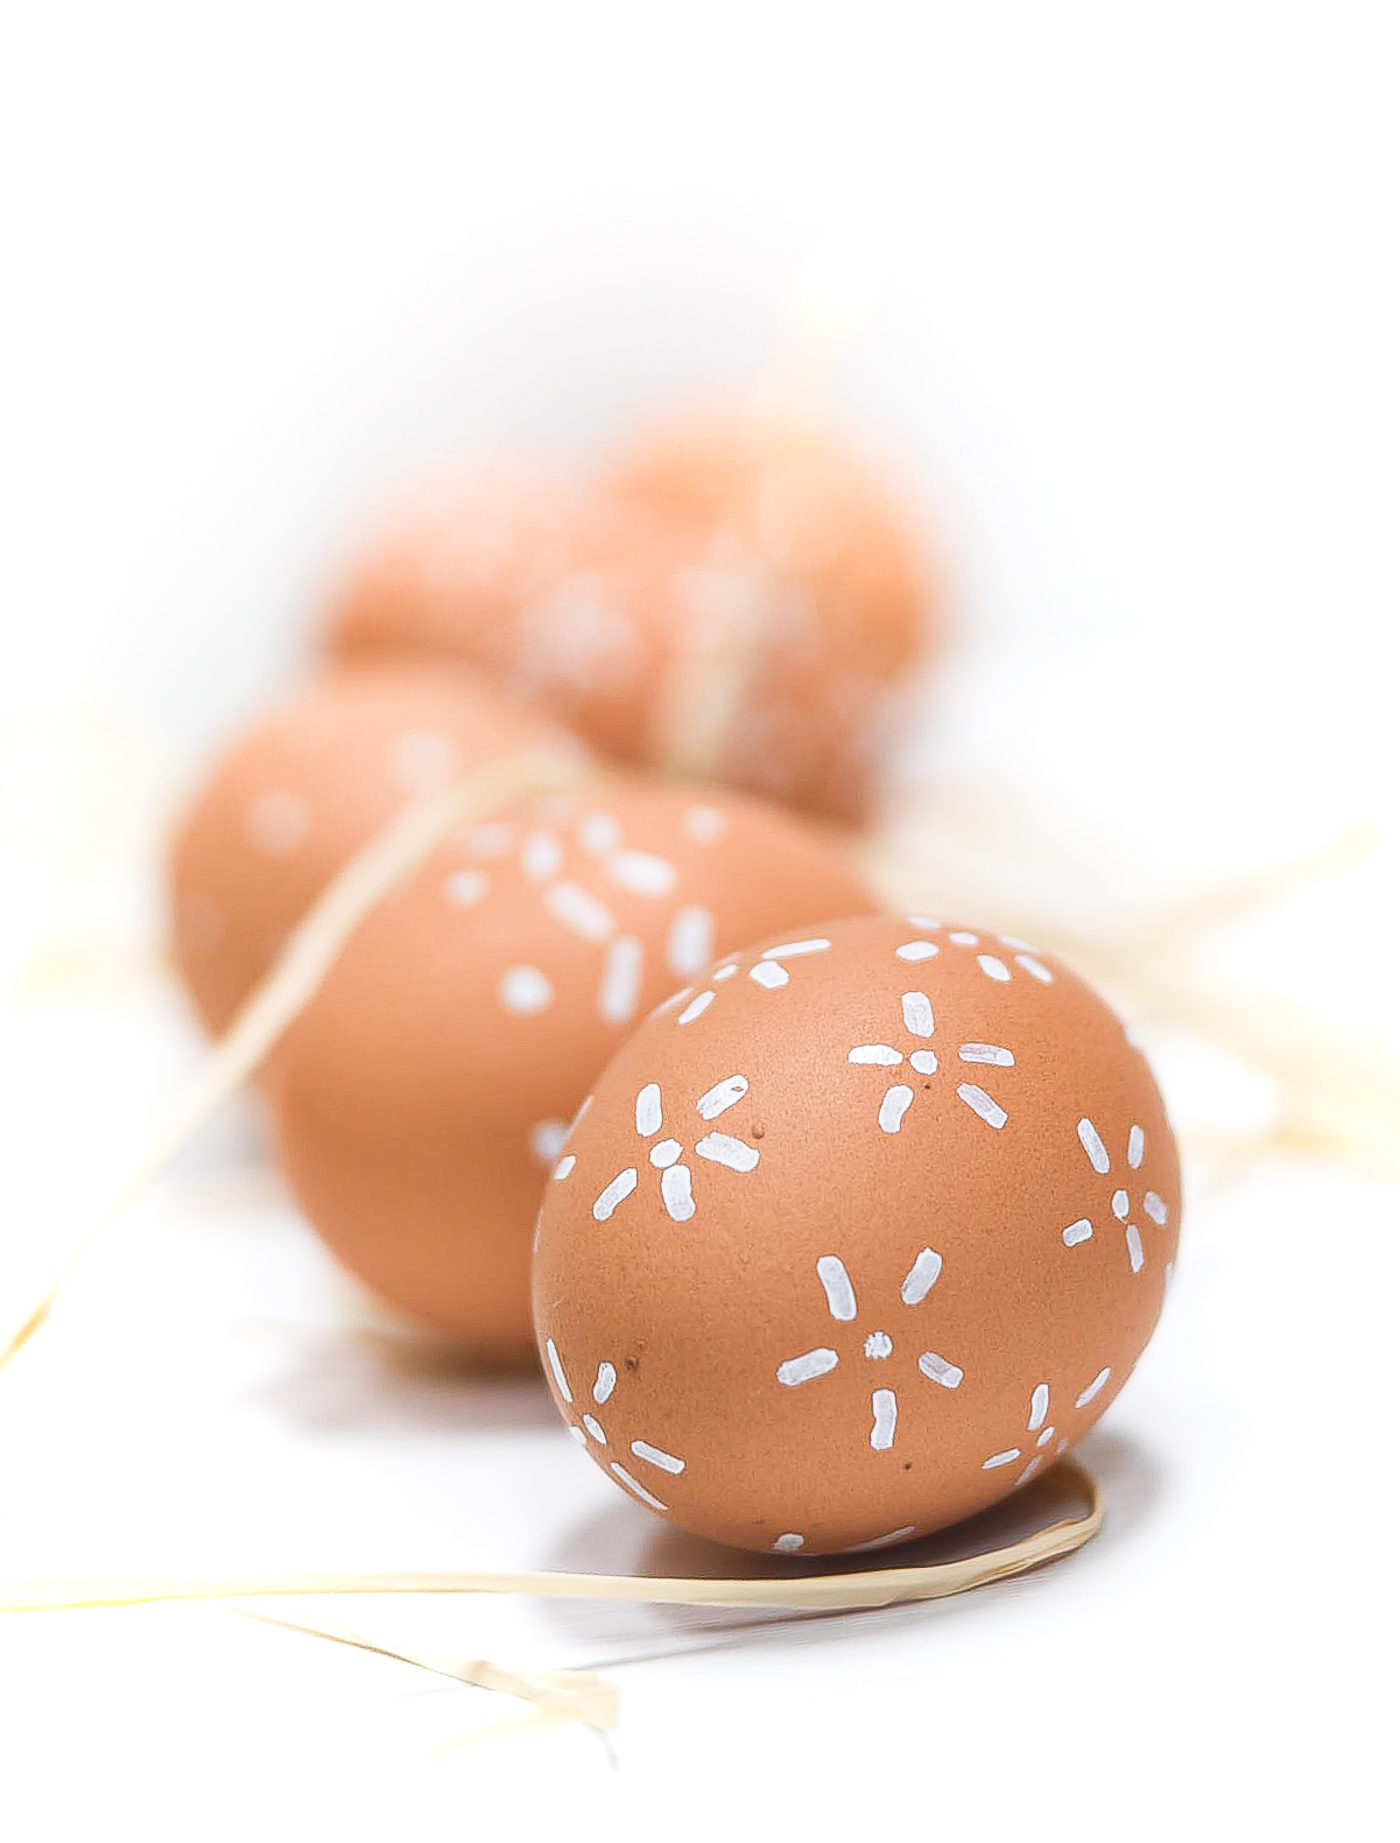
Silly me …
I thought this project would be easy.
As in peasy easy.
It wasn’t. Not even a little bit. But I take full blame for assuming this would be easy. And peasy …
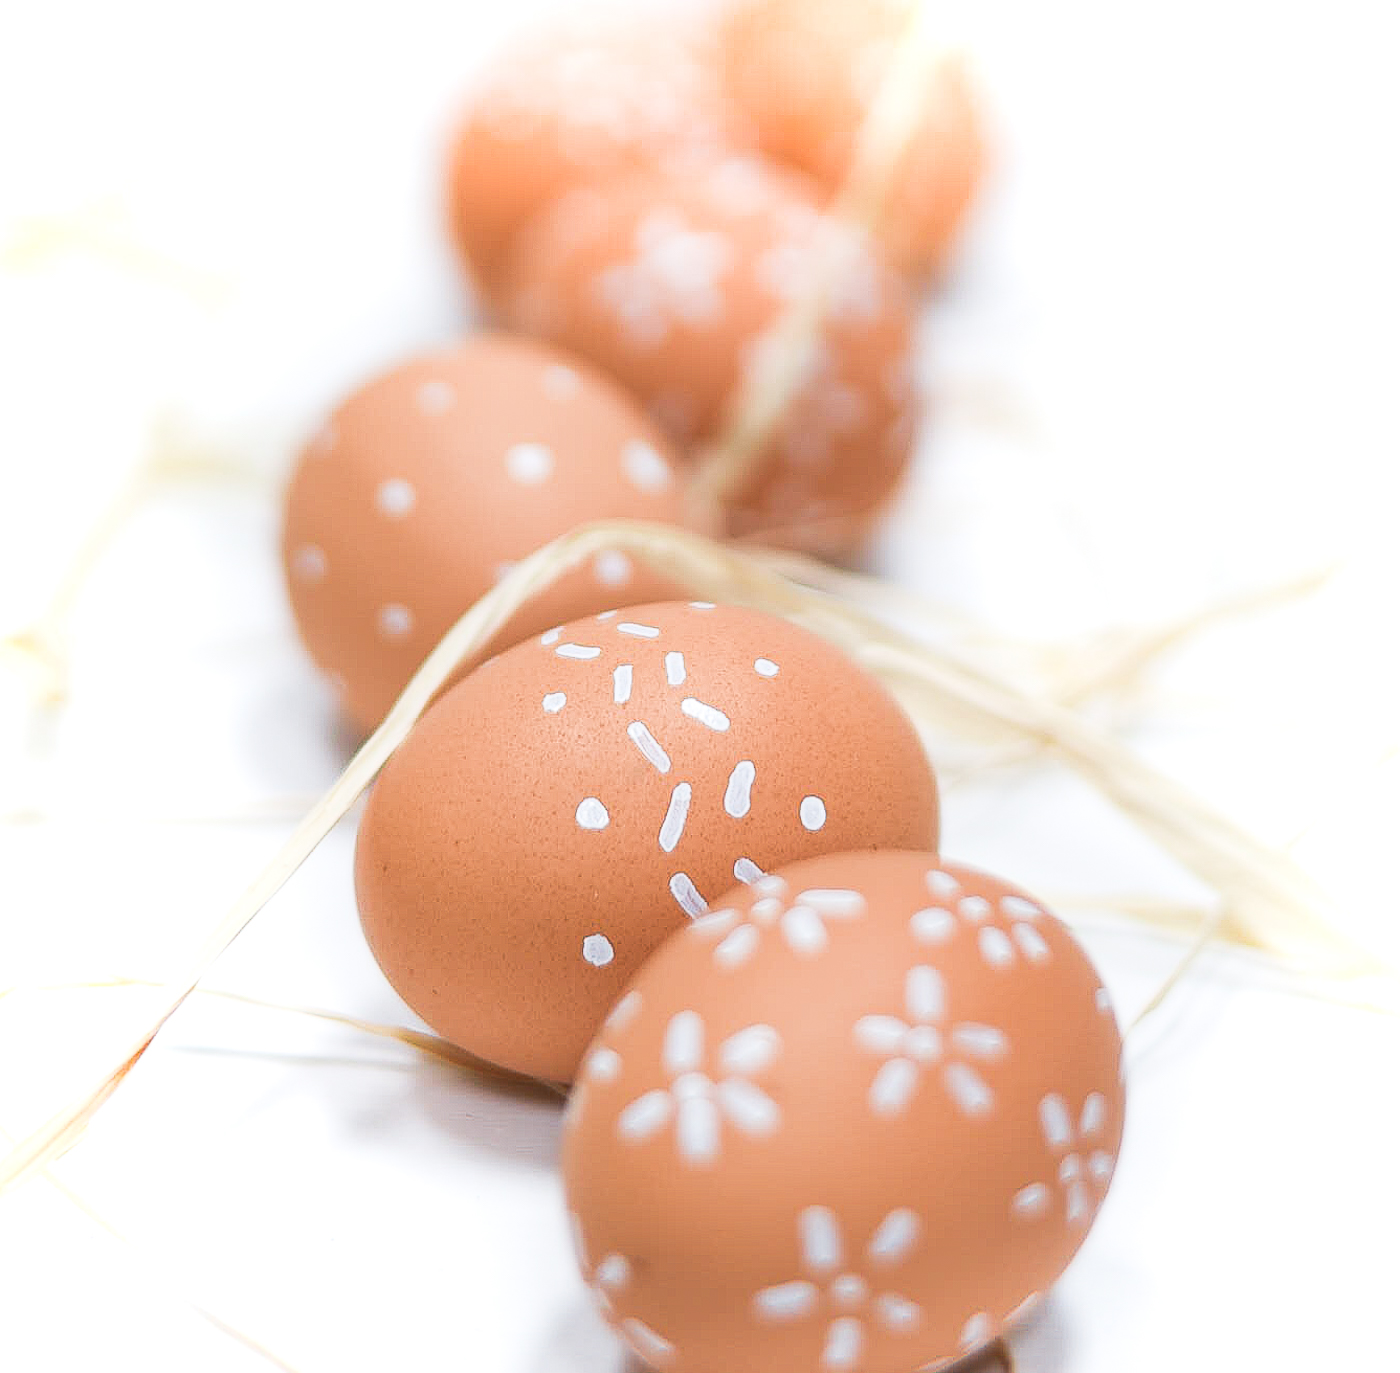
Problem #1: Eggs don’t have a flat size. They roll. And roll. And roll.
You get the idea.
I didn’t break one (though I was close to breaking three at least three different times during the course of this project. ;))
But when you try to use a paint pen on an egg, it’s hard to find a way for it to dry. Because eventually it will roll. And roll. And roll.
Which leads me to Problem #2 …
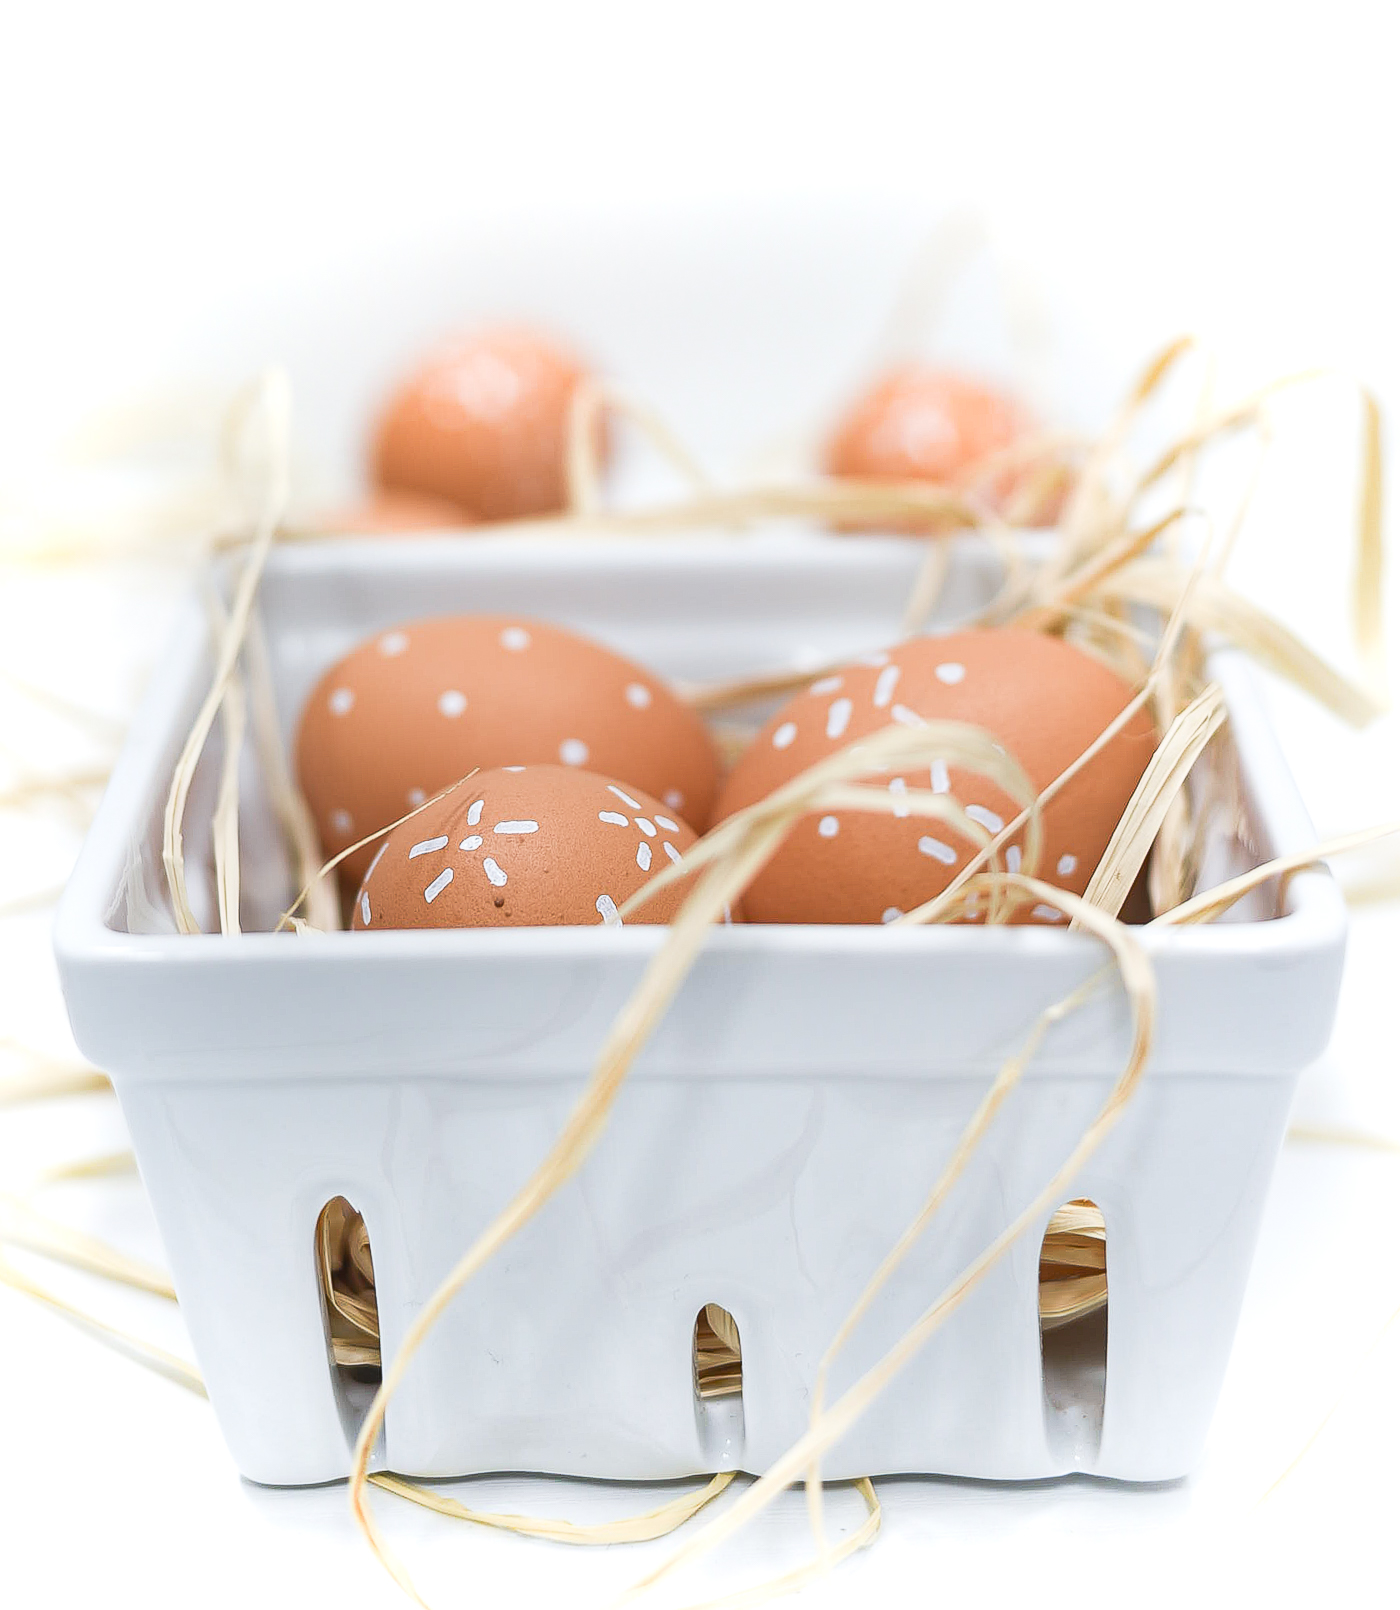
Problem #2: Working with paint pens on eggs can be messy. Especially when you’re working with a round surface ….
that rolls!
And you may find yourself with paint pen painted finger tips. And eggs with smudged paint.
Problem #3: Paint doesn’t dry quickly when refrigerated. Something about the cold and drying times.
The same principle that make it okay for me to store wet-with-latex-paint brushes in plastic bags in the fridge for use the next day.

Problem #4: Turns out, I don’t have the steadiest of hands for a project that could really use a steady hand.
The solution was to simplify my design ideas as much as possible.
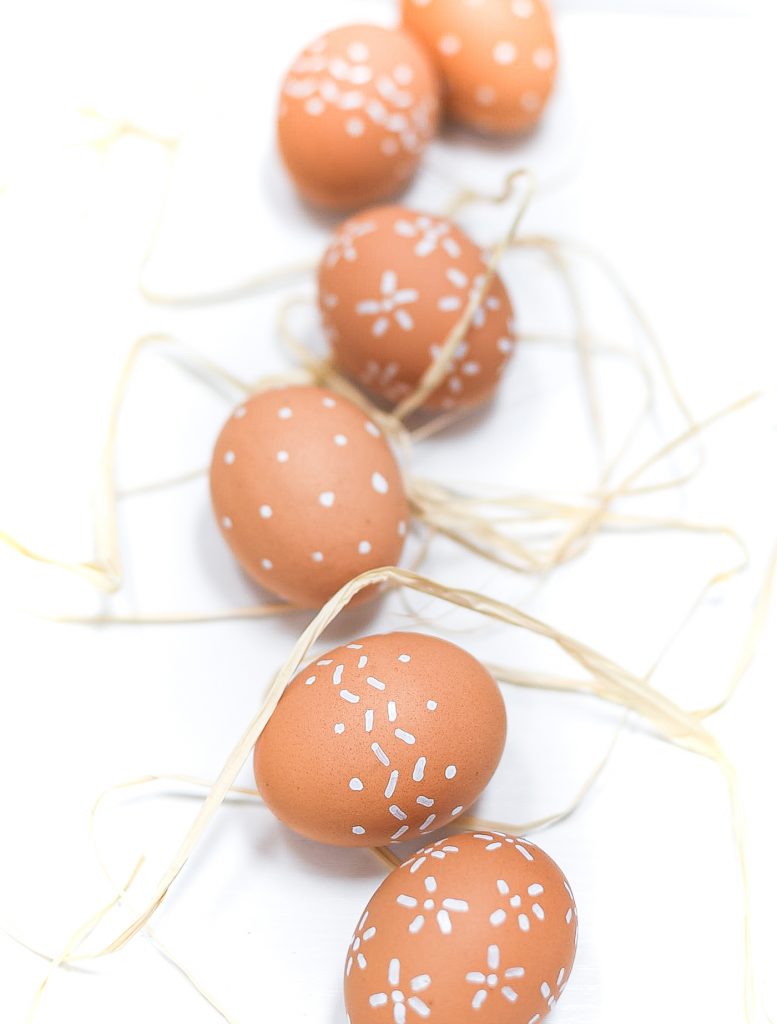
Problem #5: I started this project without thinking it through. I just jumped on in (thinking it was the peasy kind of easy) and failed miserably on my first … and second ... attempts.
So I’ve done the (literal) dirty work for you. And am sharing my pearls of not-so-easy-peasy wisdom with you today in this Easter egg decorating with paint pen tutorial.
How To Make Neutral Easter Eggs with Paint Pens & Organic Eggs
Materials: Organic Eggs & White Acrylic Paint Paint Pen (Medium Tip)
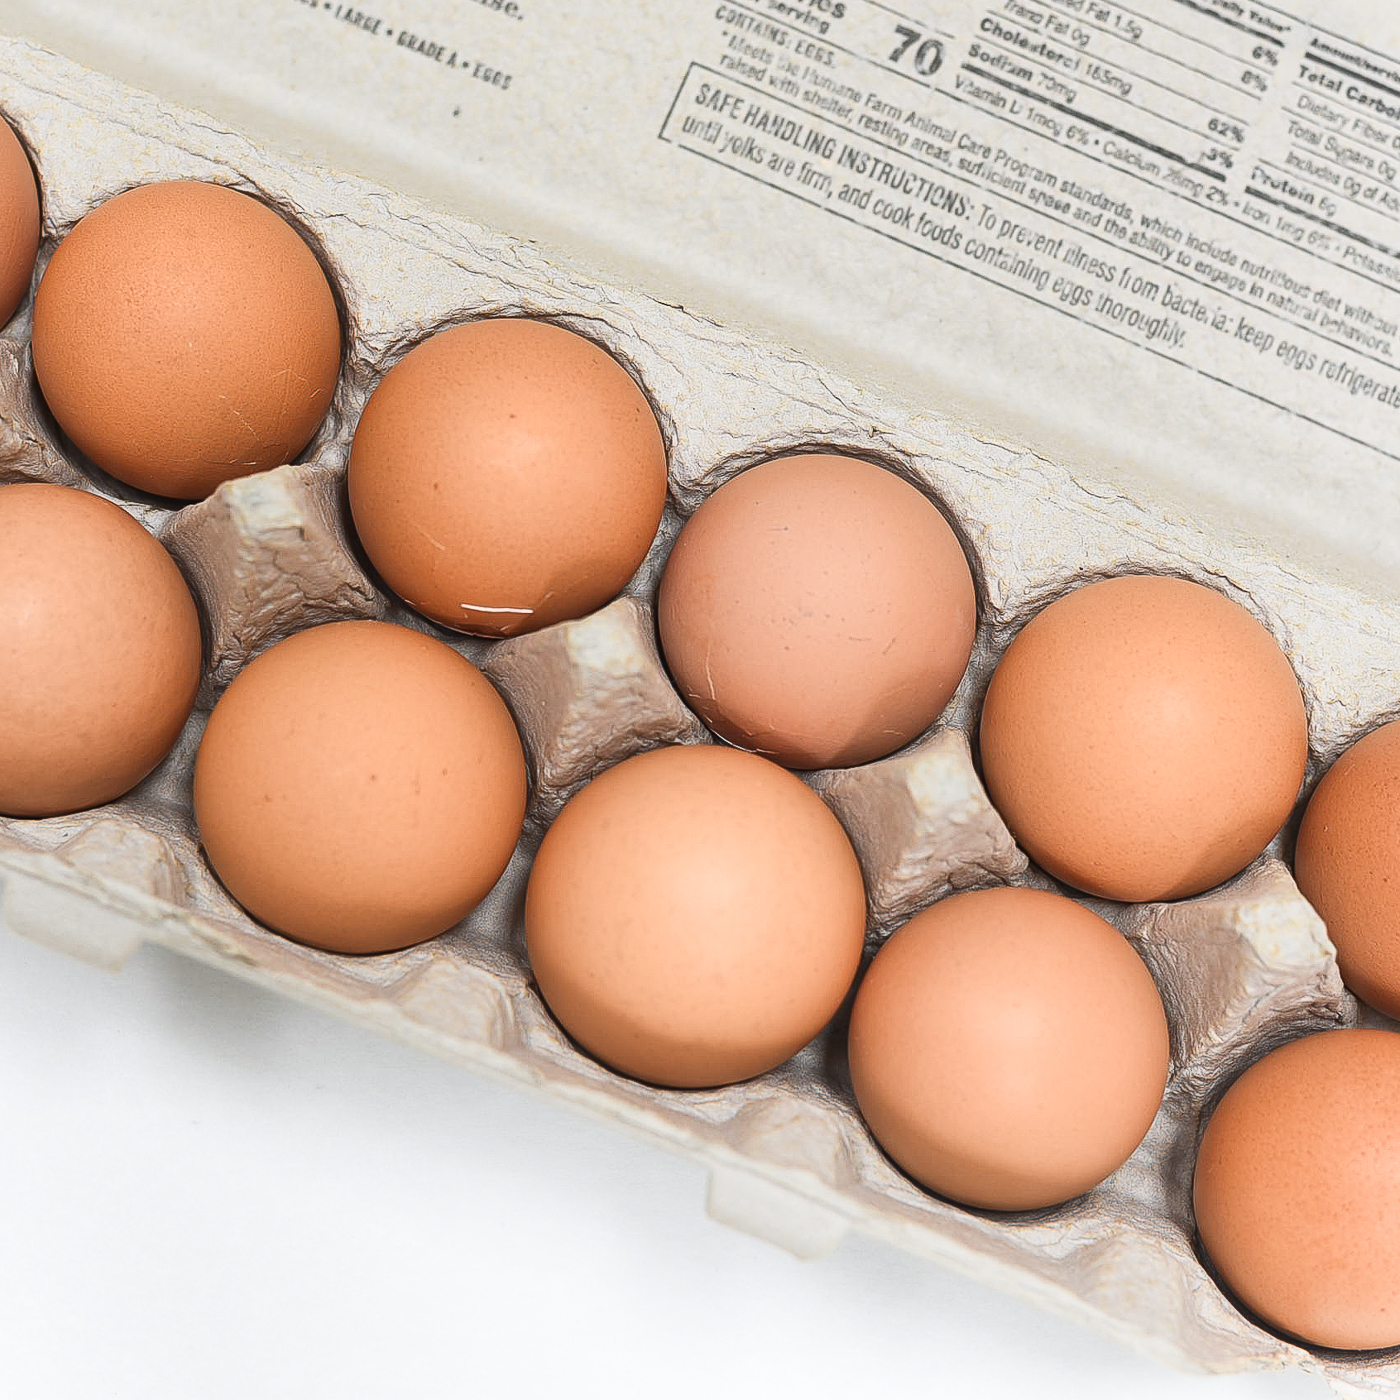
Start with organic, brown eggs. But be much smarter than I and check to make sure none are cracked.
In my defense, during this pandemic I was so excited to see eggs at the grocery store that I hastily grabbed a carton before they disappeared again!
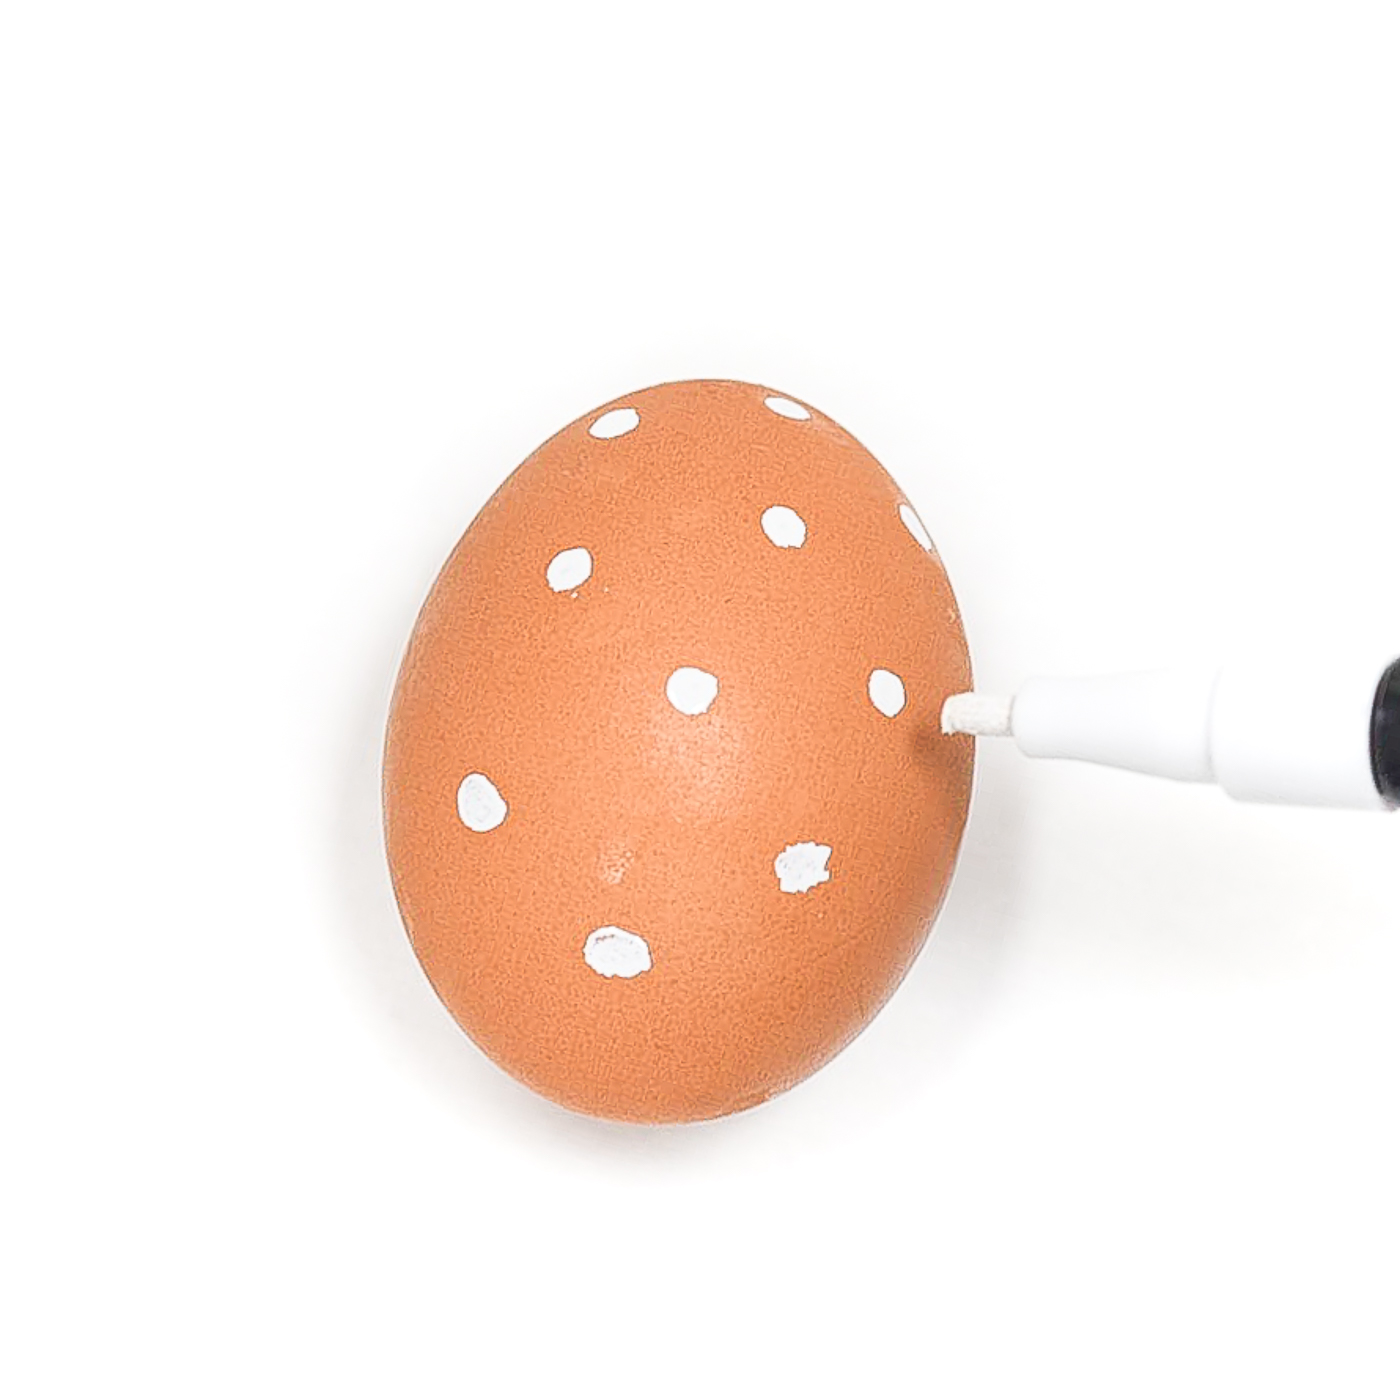
Here’s my problem #1 attempt. That sucker kept rolling and smudging and before I knew it my fingers were covered in white paint.
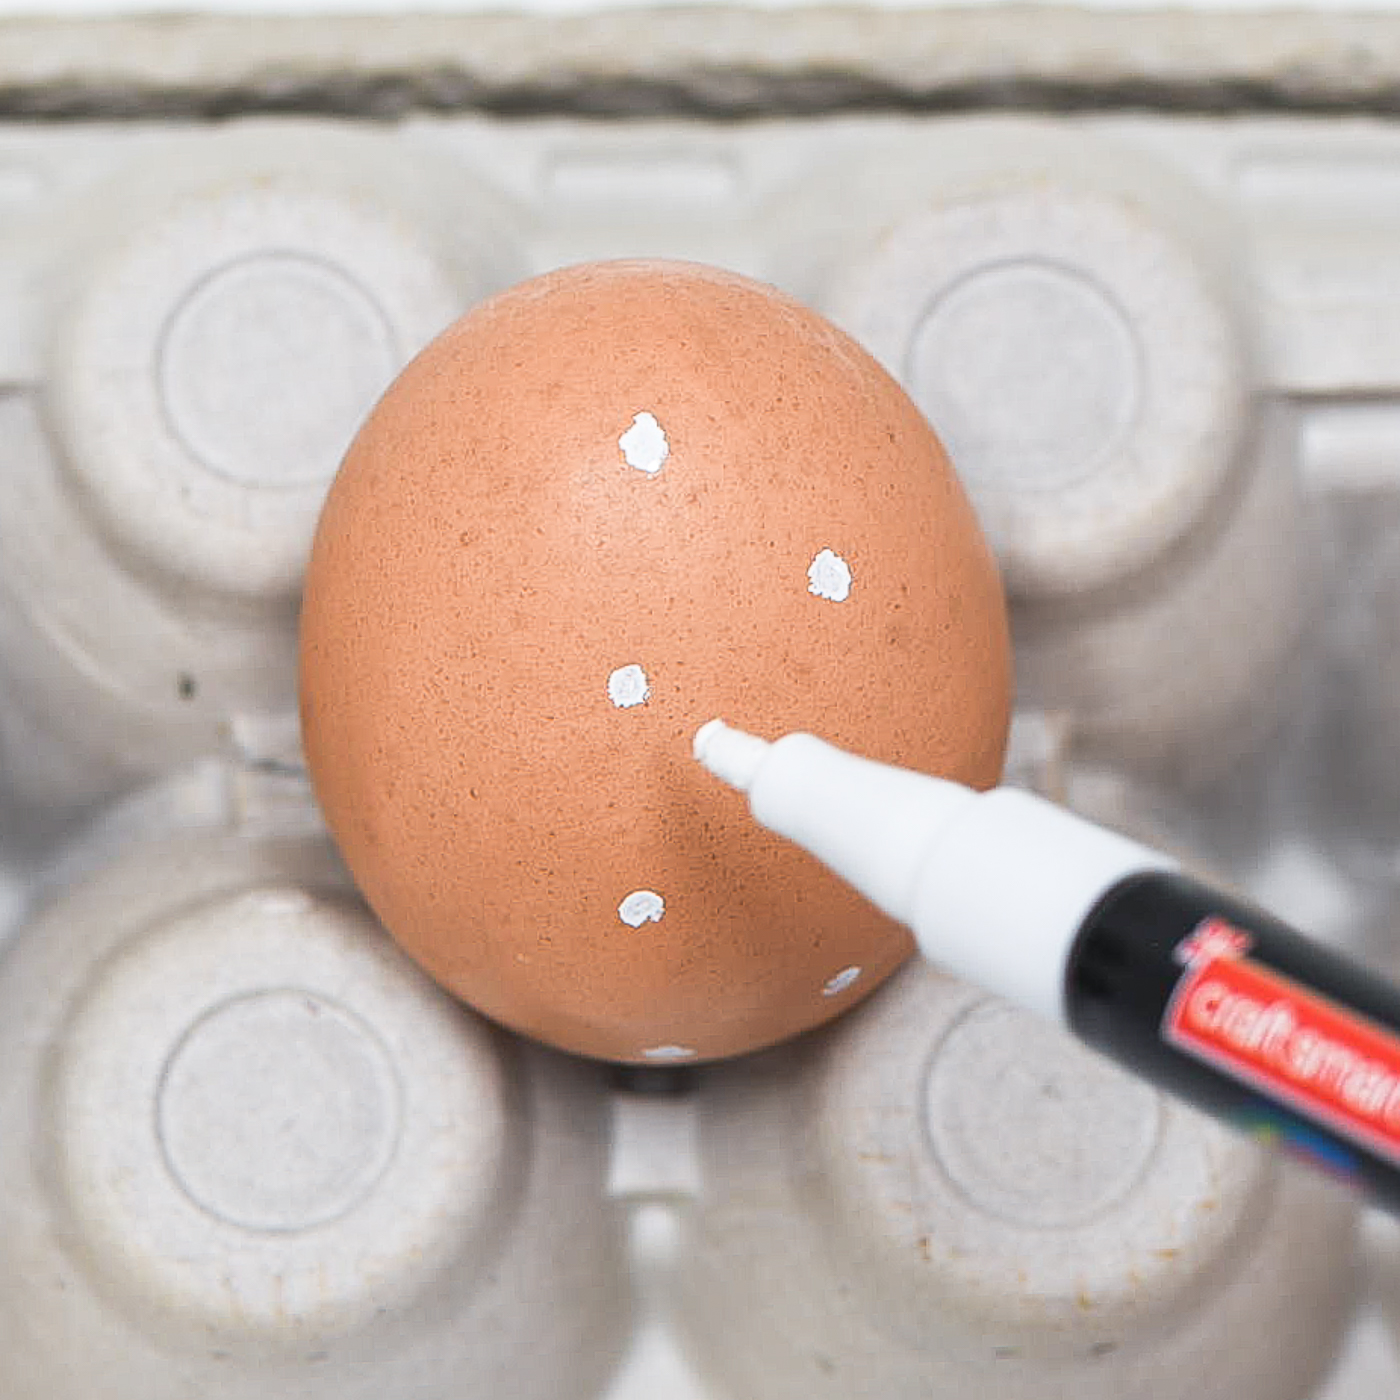
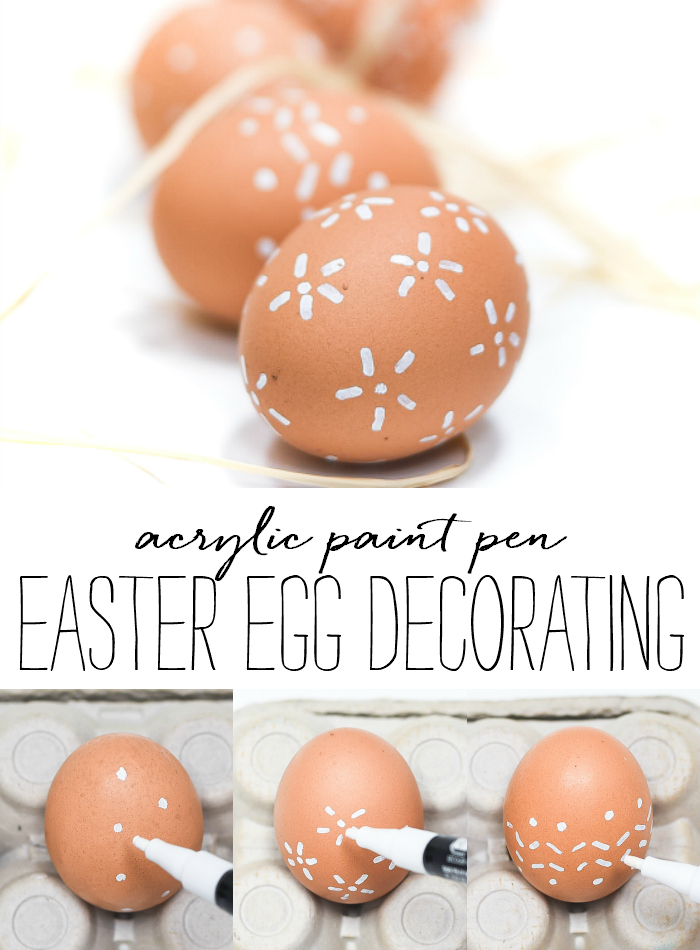
So I made a plan (to solve Problem #5): I took all the eggs out of the carton. Turned the carton upside down. And then nestled the eggs in the crevices and proceeded to paint pen them.
I did have to wait for sections to dry and then turn them over and do the other side.
And turn them again to catch any missing spots.
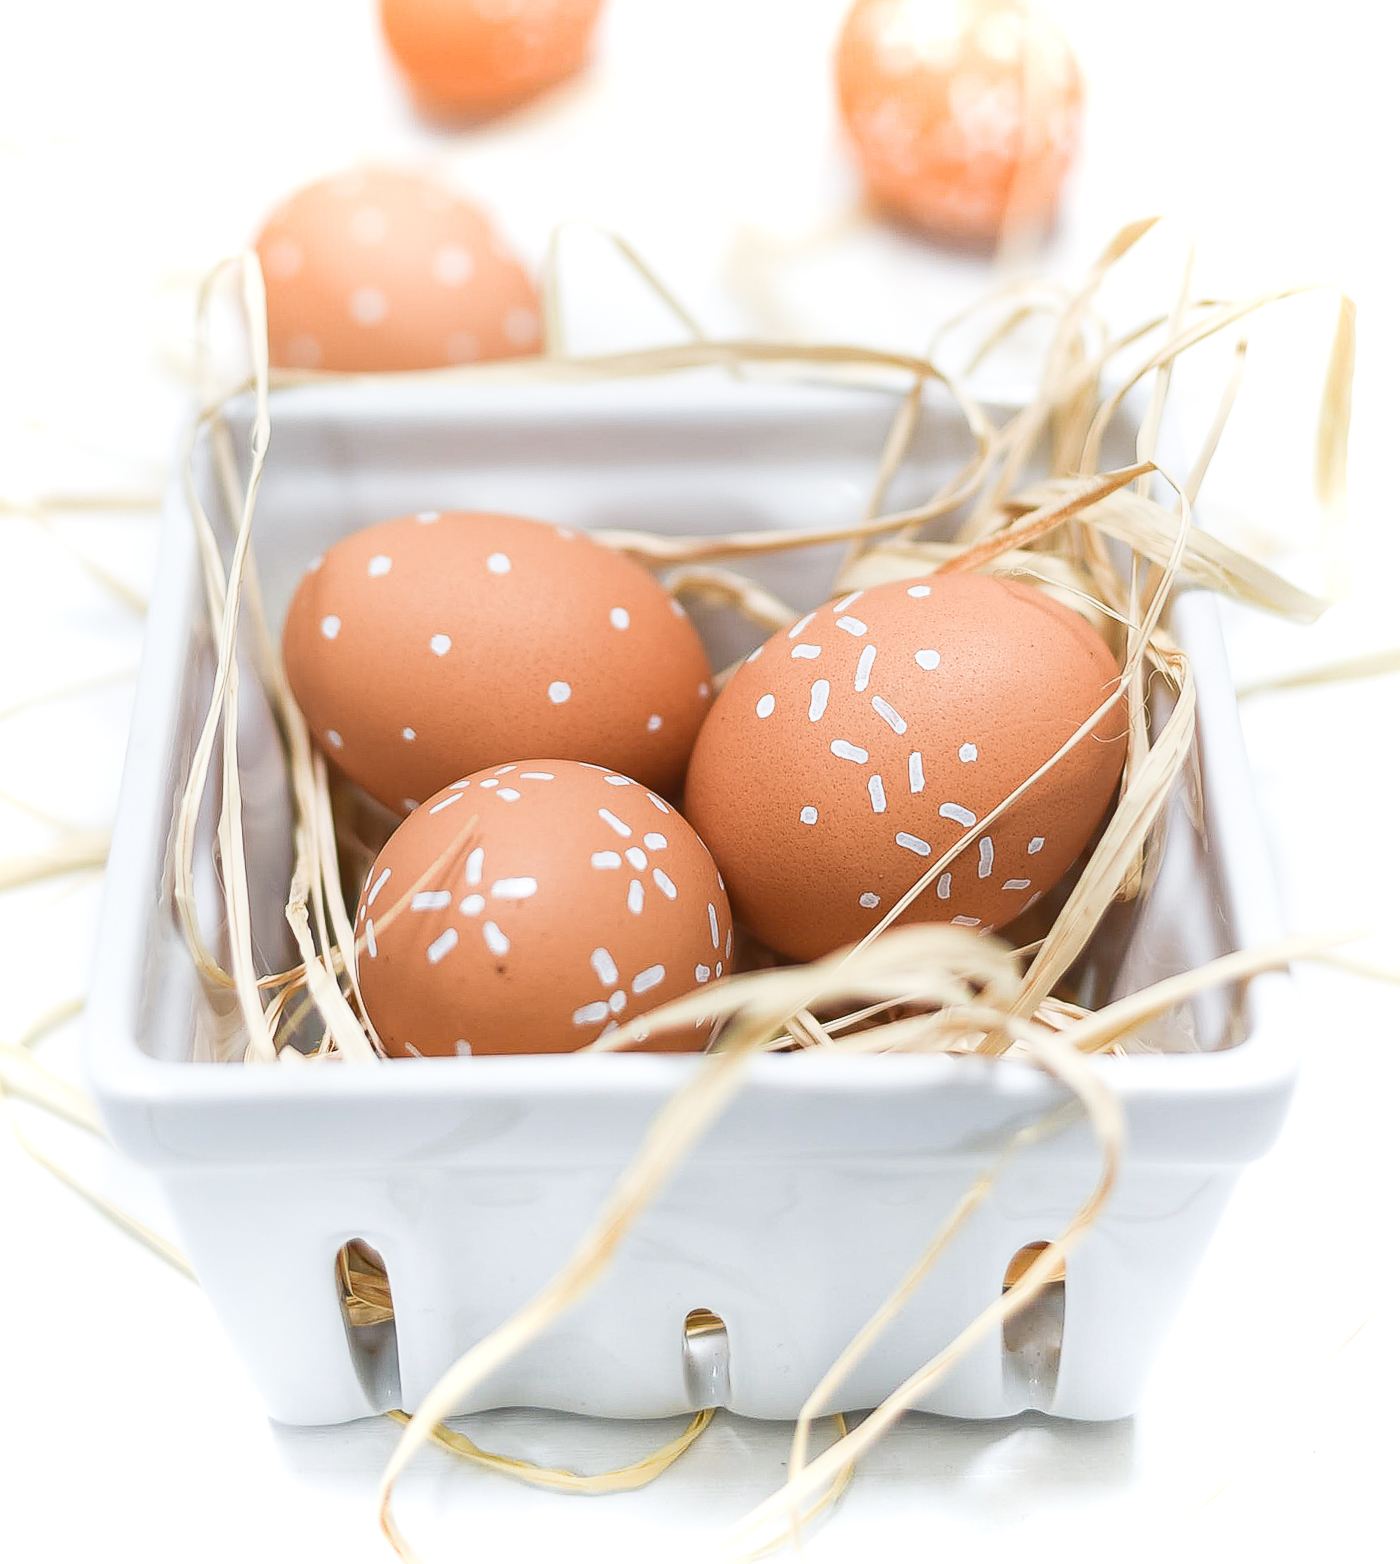
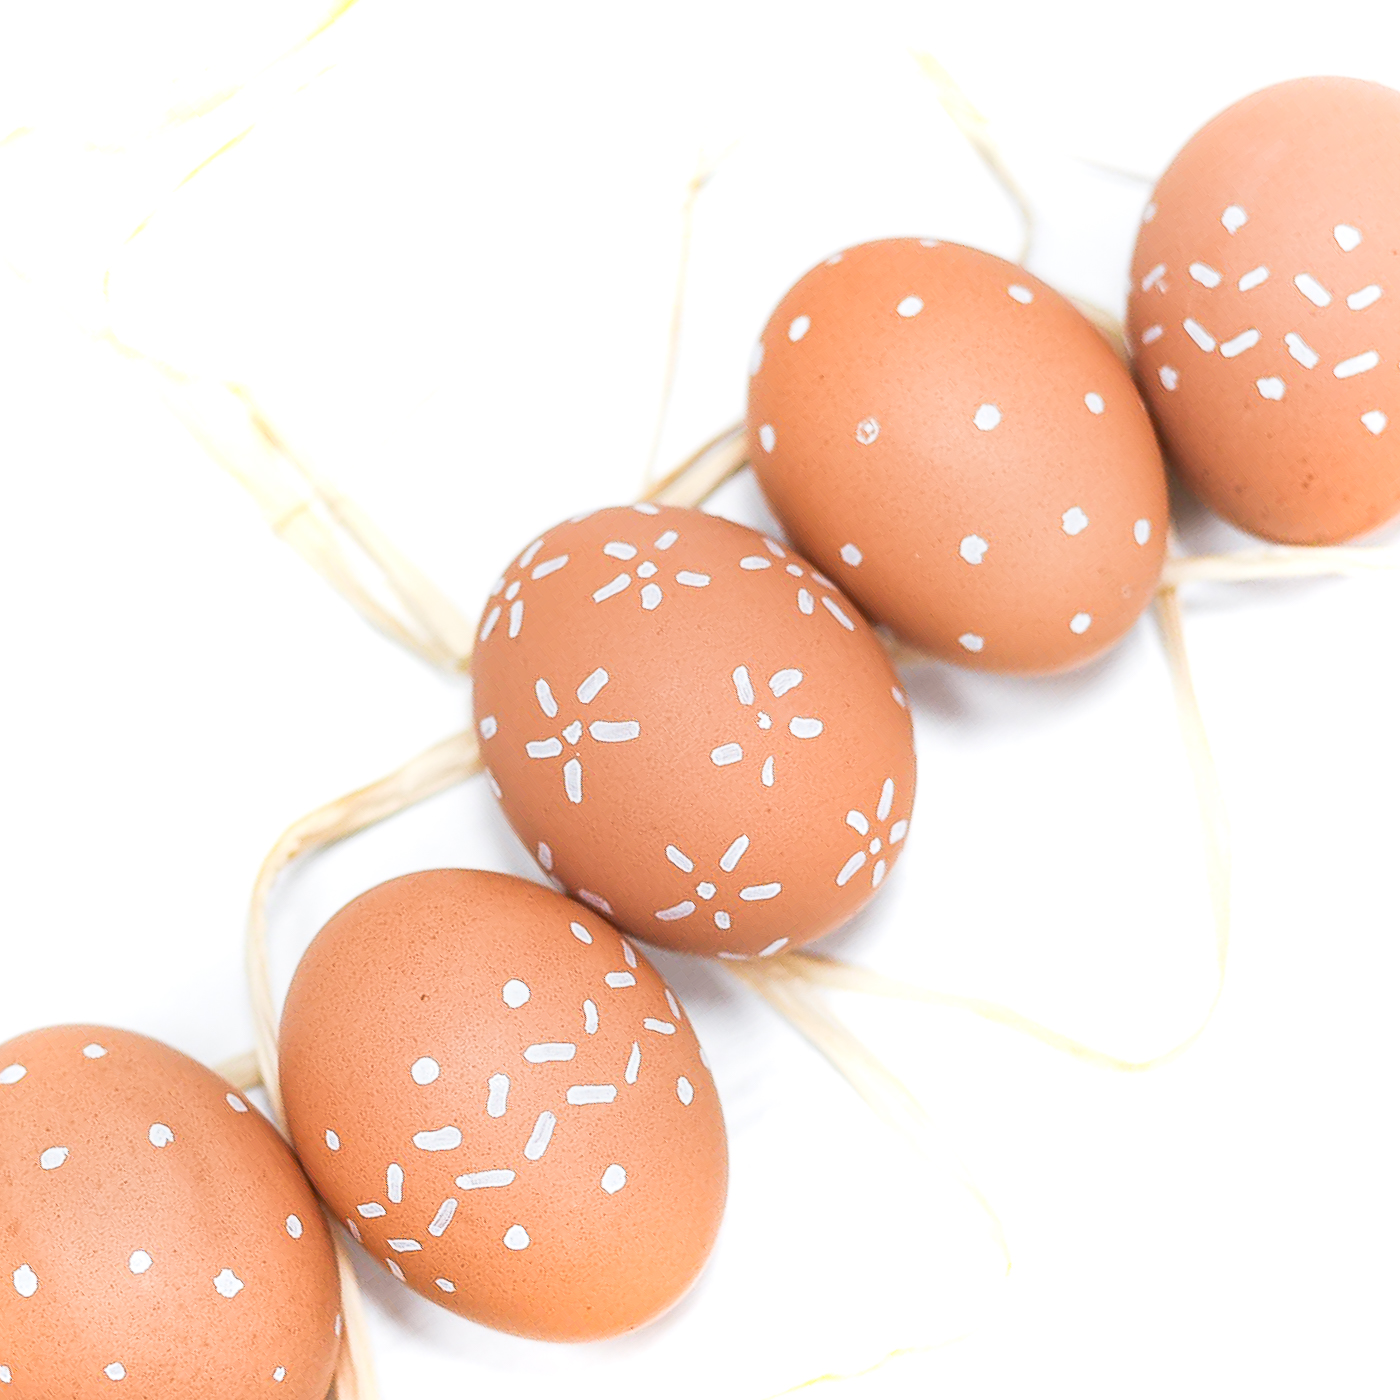
I started with polka dots, figuring it’s the easiest. Not always. The paint pen can get overloaded and drip and smudge. Keep a wet and a dry paper towel handy to clean up messes.
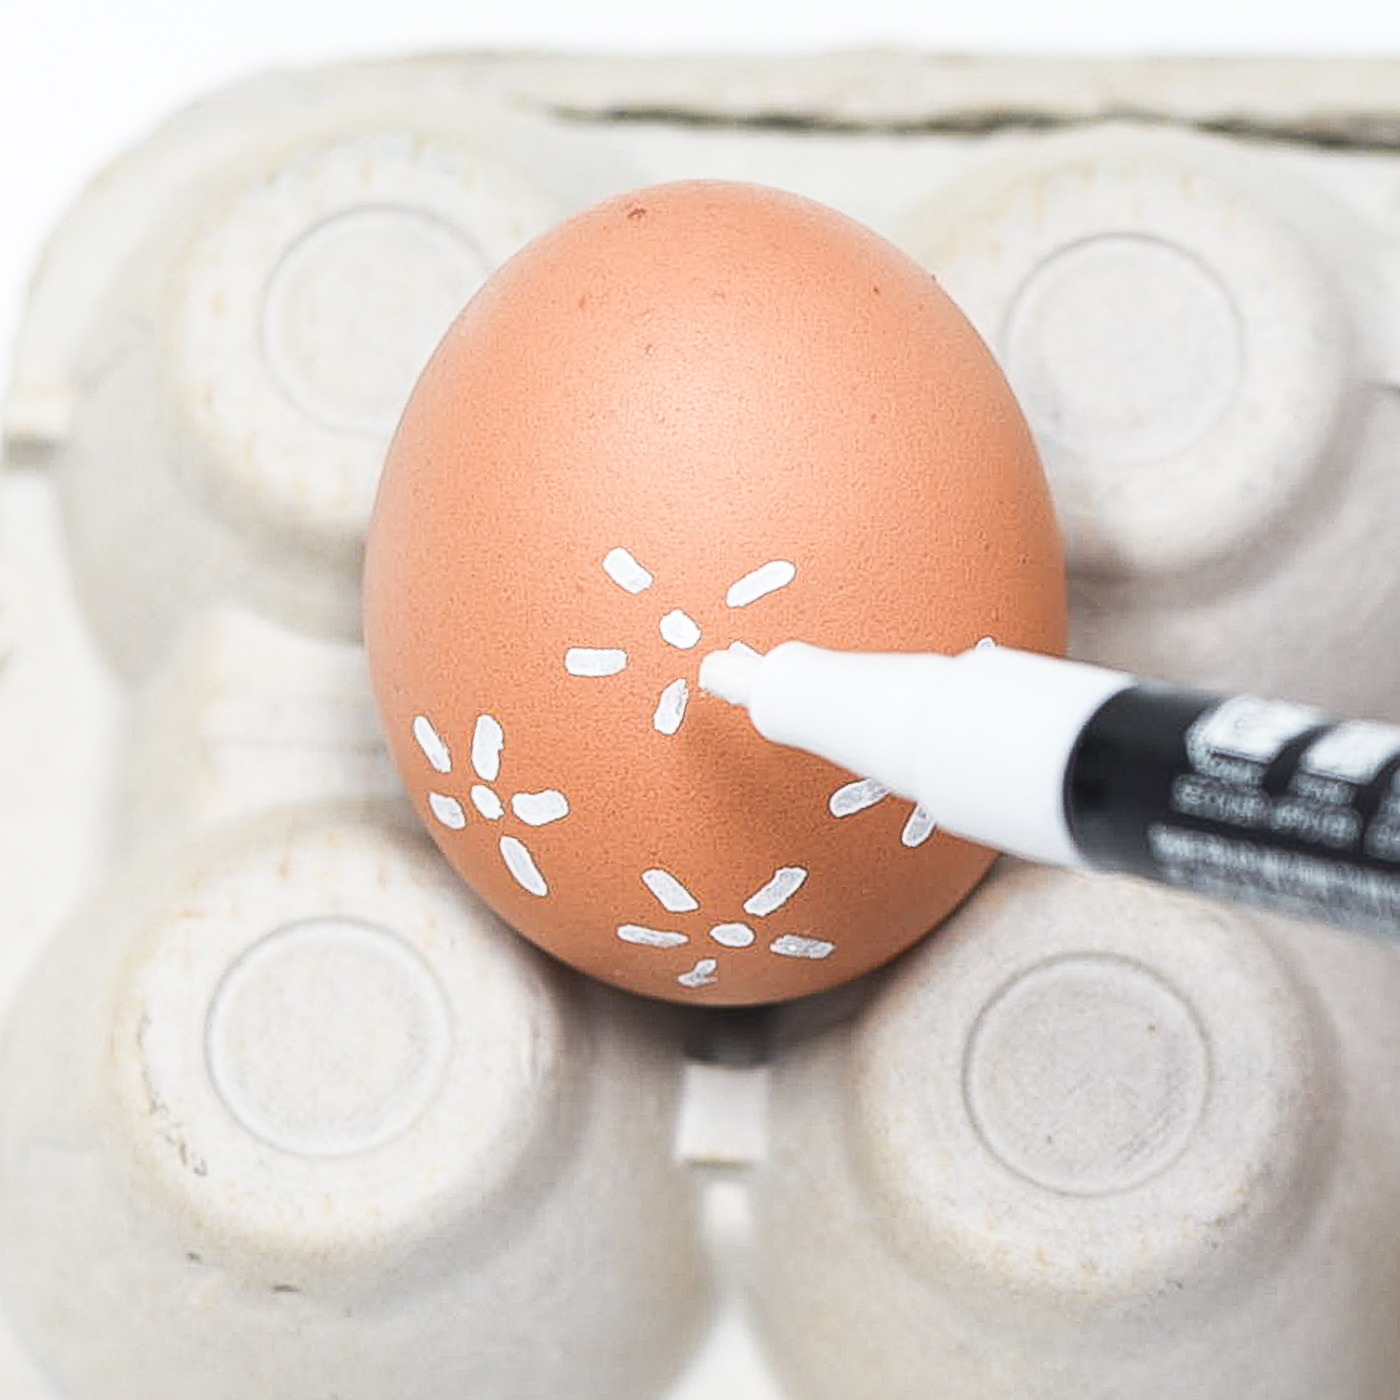
I had perfected my technique (a bit) when making the flowers-ish design.
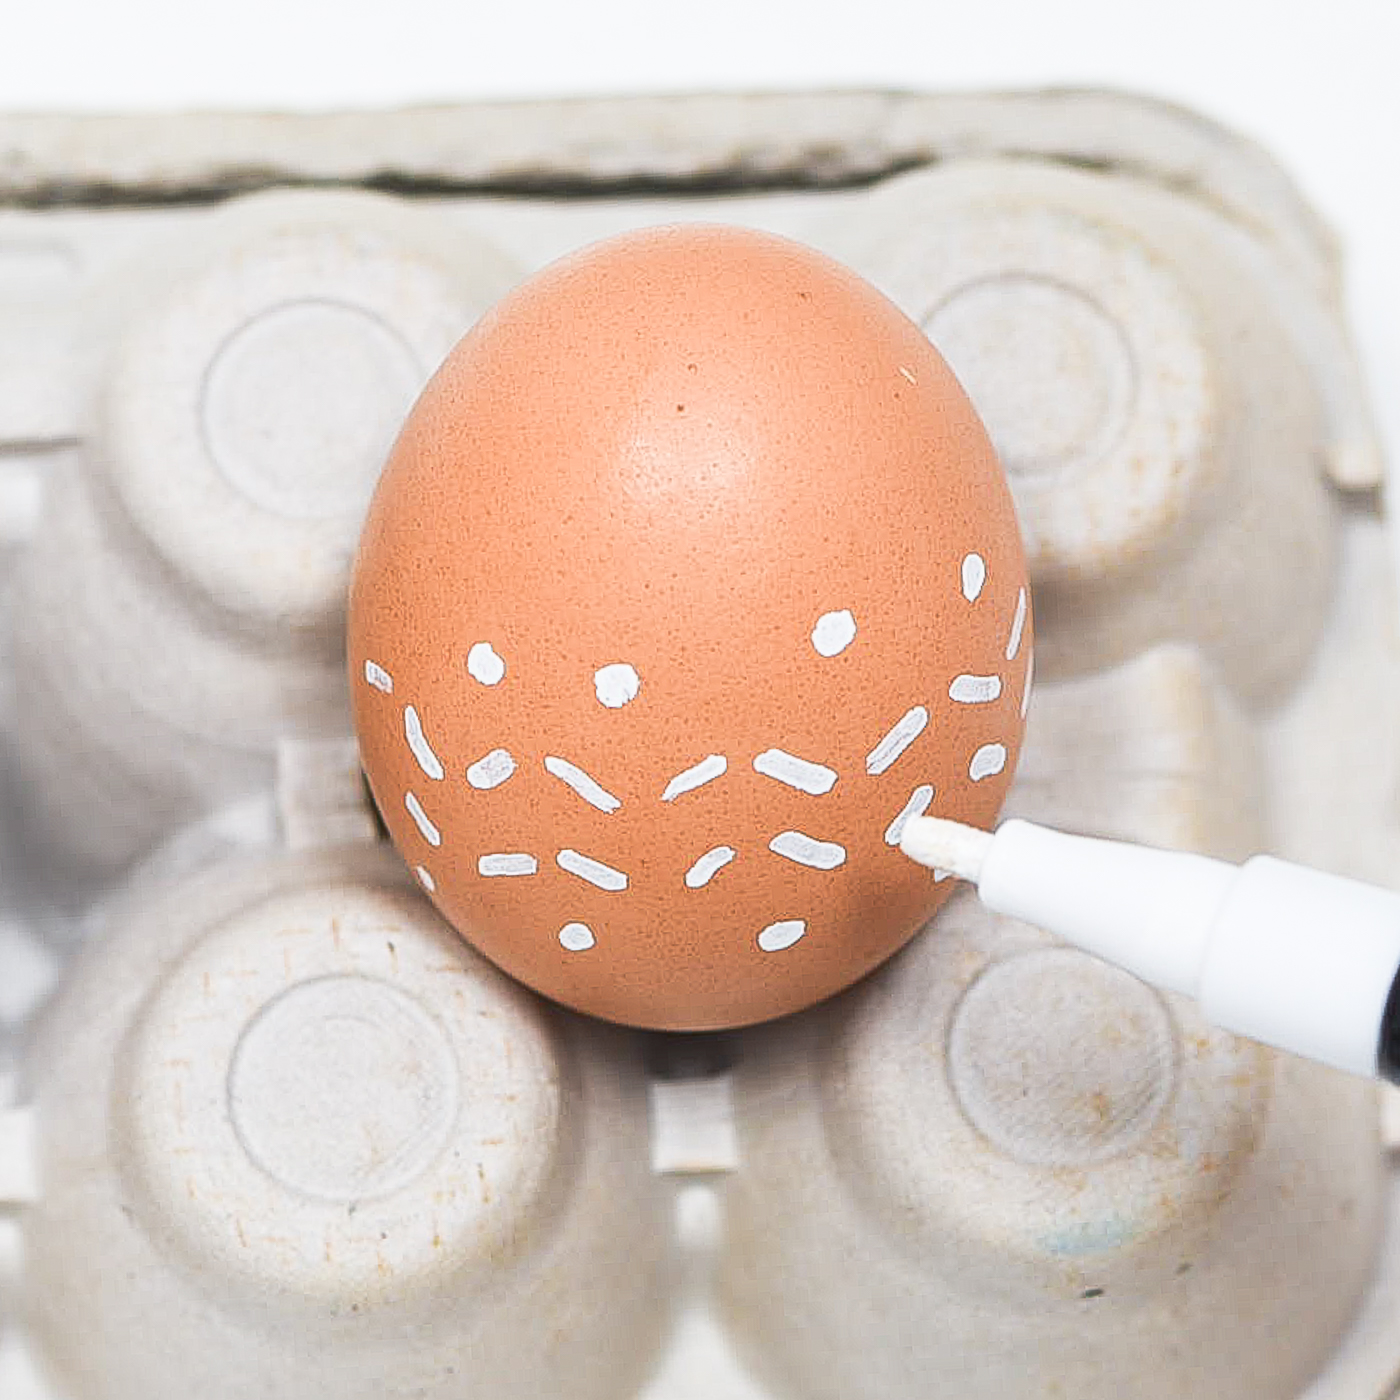
And then I got fancy …
some zig zags and dots.
My original plan was multiple layers of zig zags and dots. But this was the Problem #4 peasy easy solution. A single row. 😉
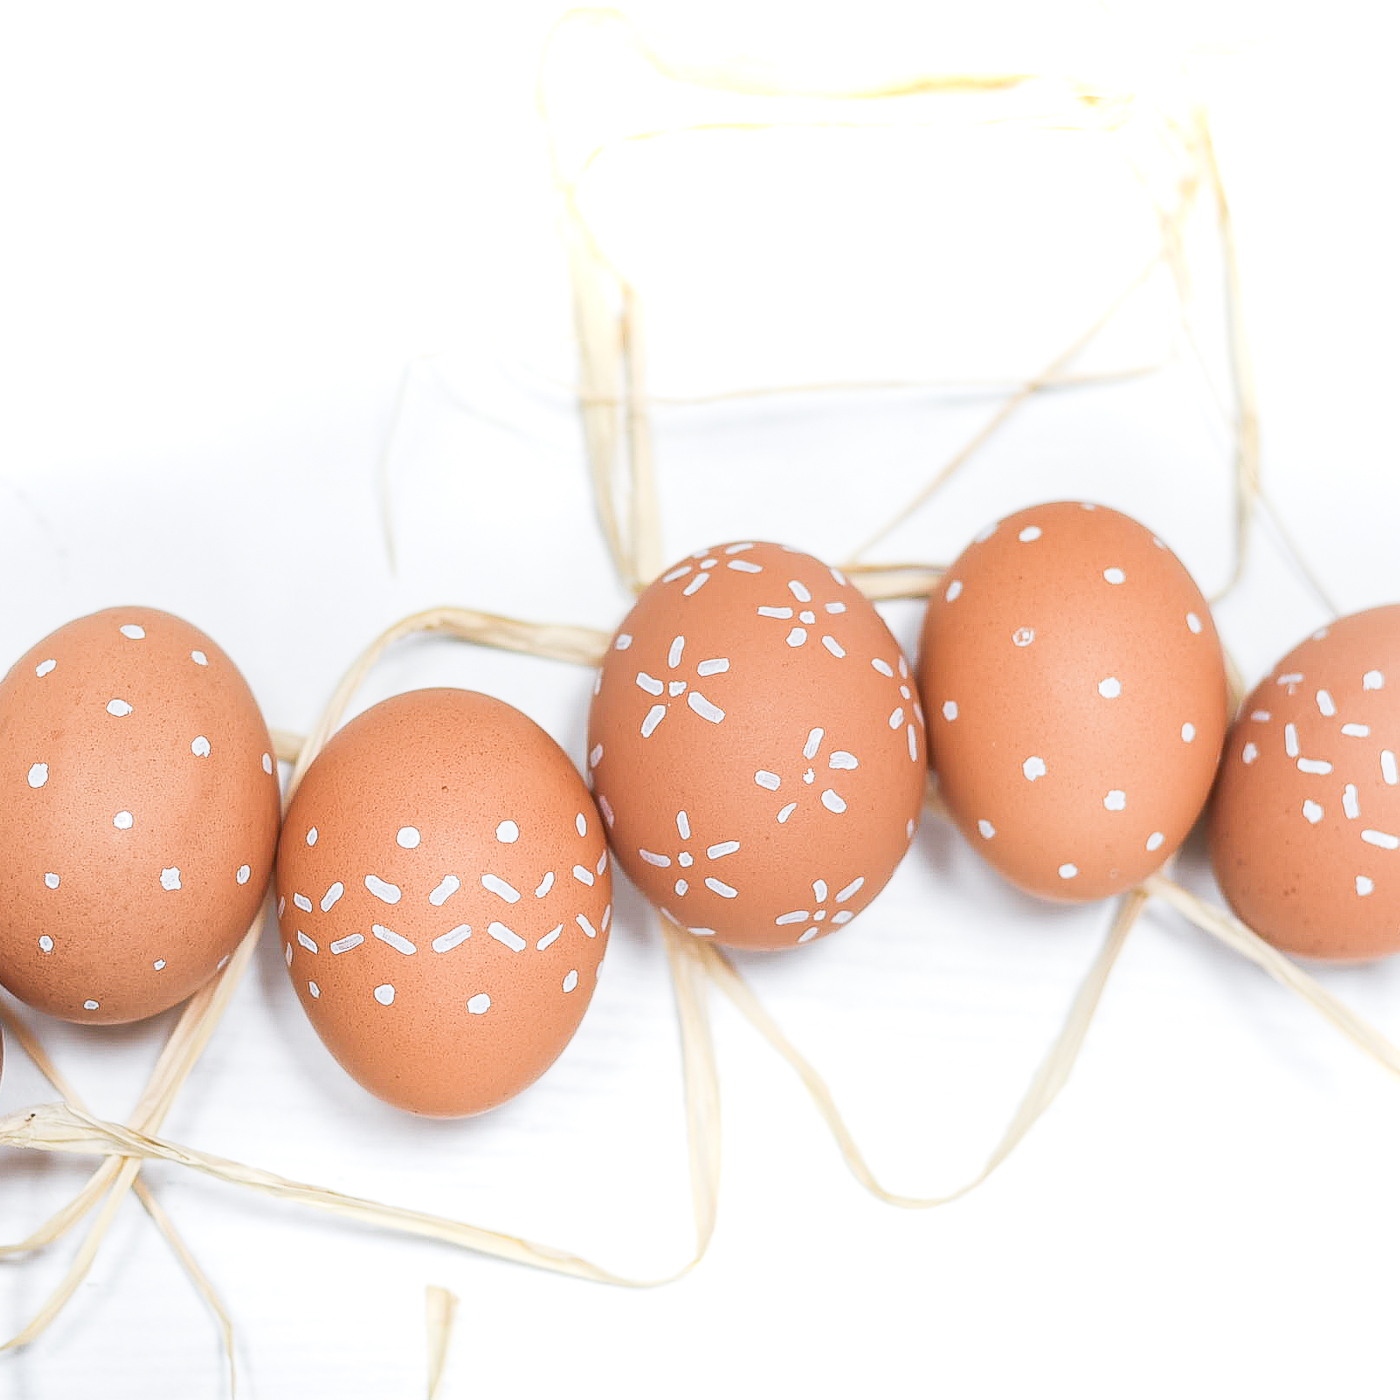
I really want to say my problem-solving turned this easy as peasy project easier. And peasier.
But there was still a level of waiting. And drying. And paint dripping that needed a quick wipe away with a wet paper towel. And drying with a dry one.
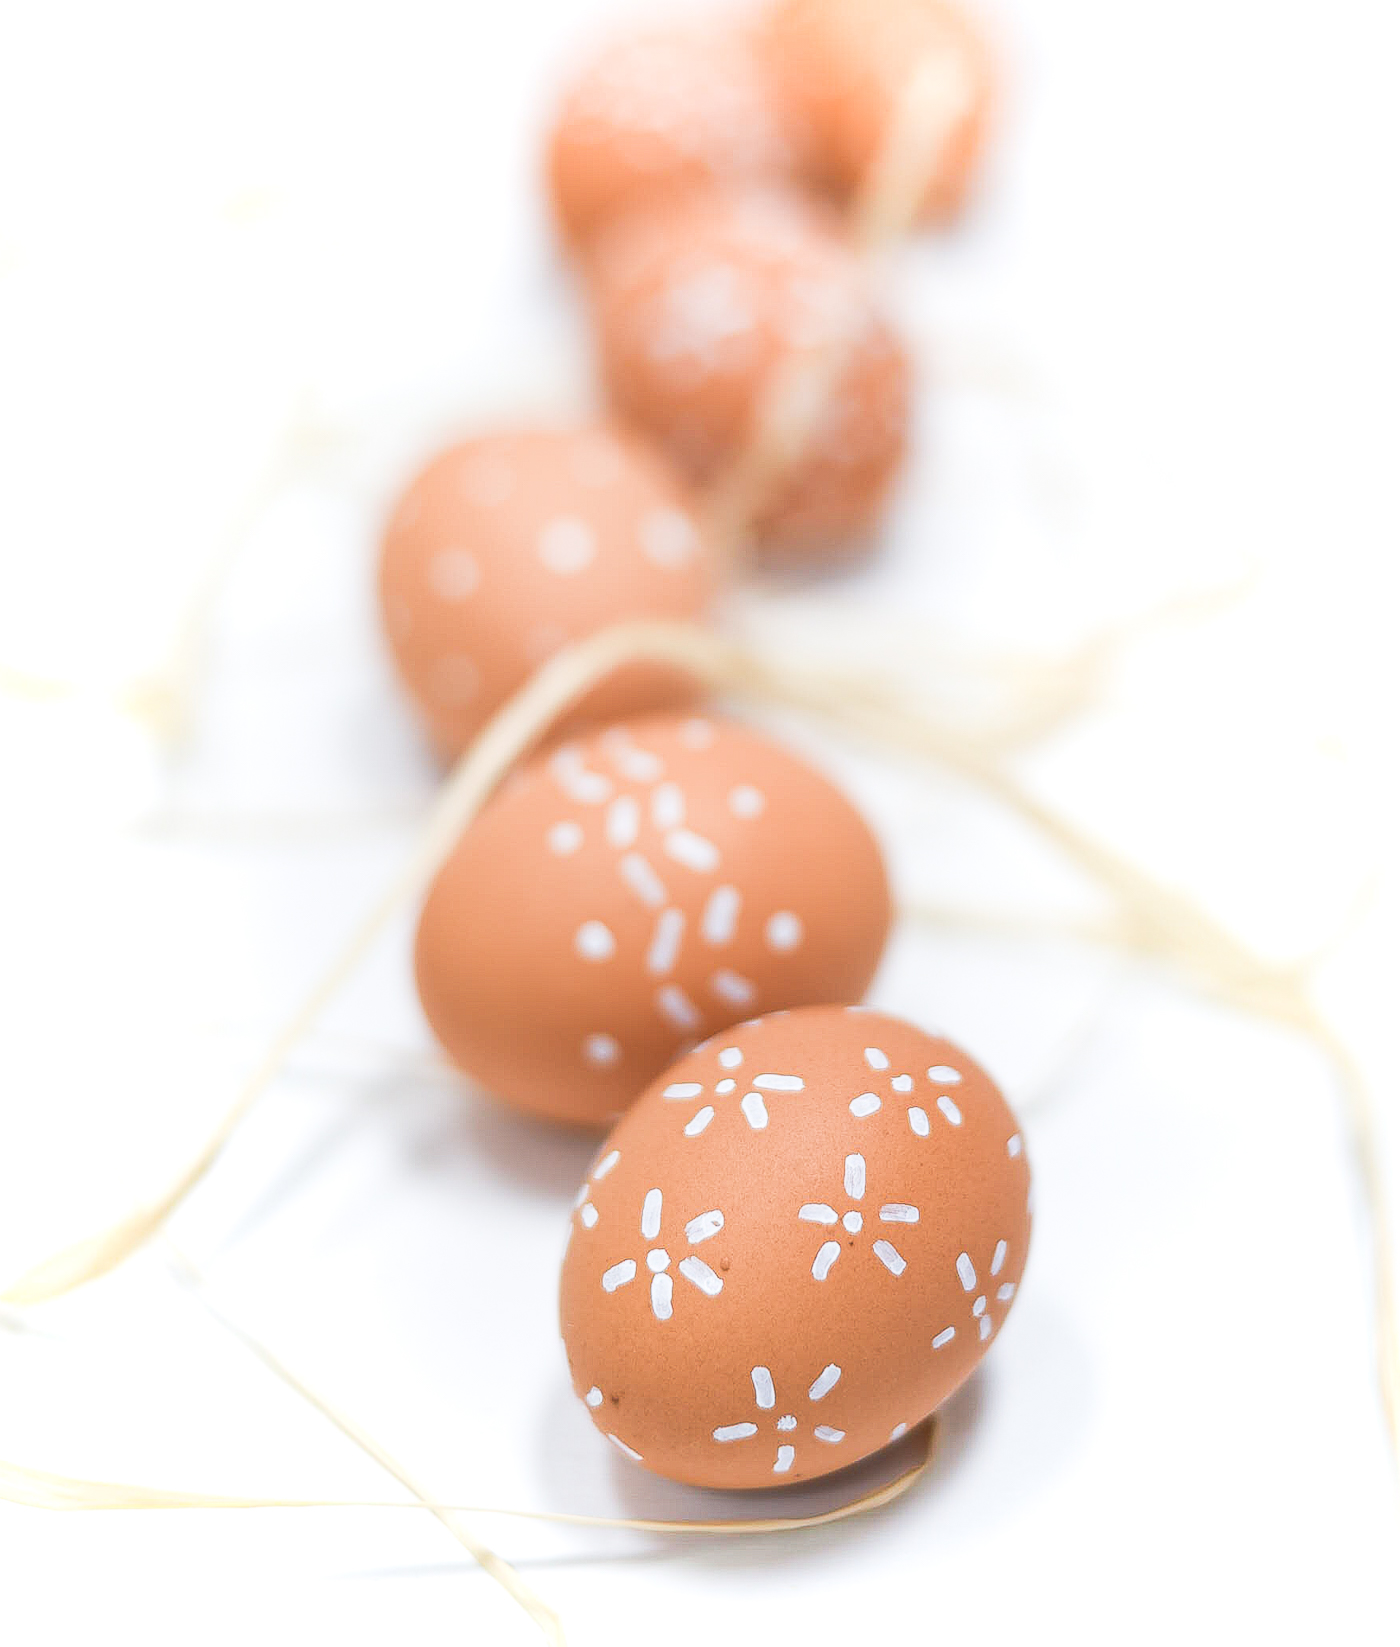
And my skill-less-ness is pretty apparent in the finished eggs …
but I’ve chosen to embrace the flaws.
No Easter egg shaming going on in this household!
I’ve got a few more Easter-related projects planned for this week. Both of which I think might be easy with a capital Peasy.
Fingers crossed! 🙂
Pin It!
You Might Also Like:

You mean I’m not the only one who dives feet first into easy peasy and discovers there is no easy in the peasy. Thanks for keeping it real! Your painted eggs look pretty darn good! Pssst, it might have been the pen. I have found those particular ones to be a (you know what) to work with.
Very pretty Linda! Thanks for sharing with us at the Snickerdoodle link party – this will be one of my features this Saturday!