Easy Distressed Terracotta Pots – How To Age Flower Pots Tutorial
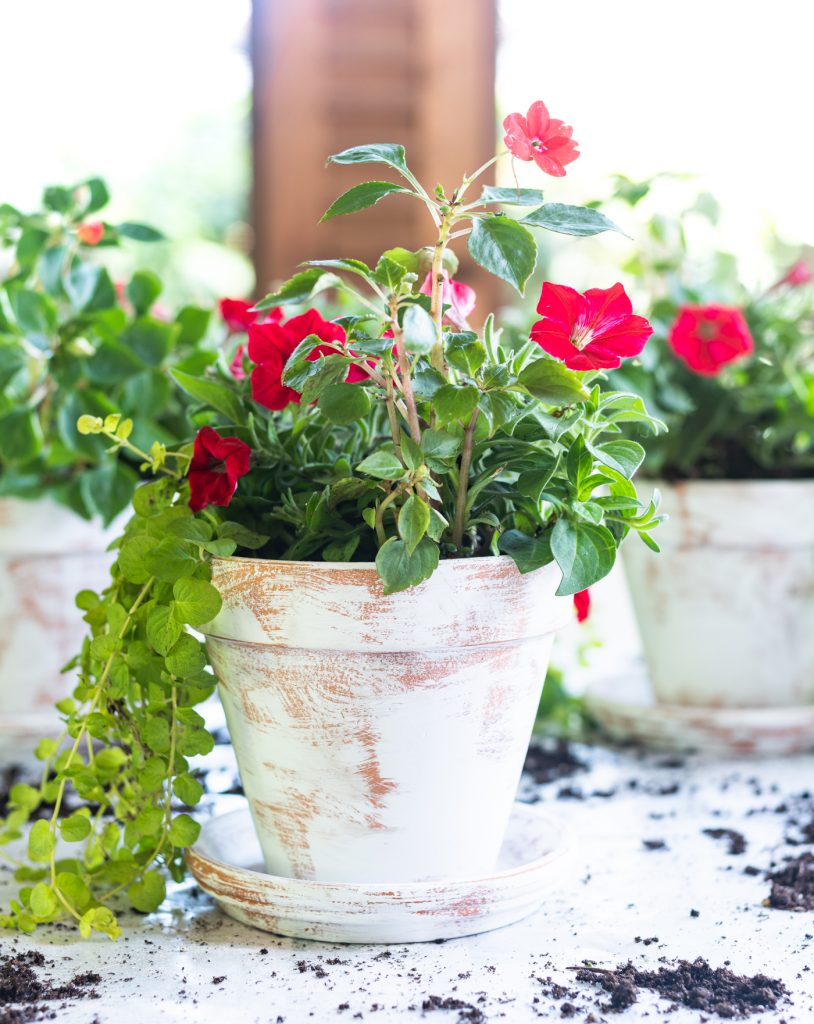
Let me set the scene for you:
It’s a gorgeous summer day. Like a day you wish each and every day could be like. Like a day you want to retire to … and a day that has you wondering exactly what city, what state, what country, what island you could you move to that would guarantee you a full year of days just like this day.
Or at least 300 days out of 365 like this day.
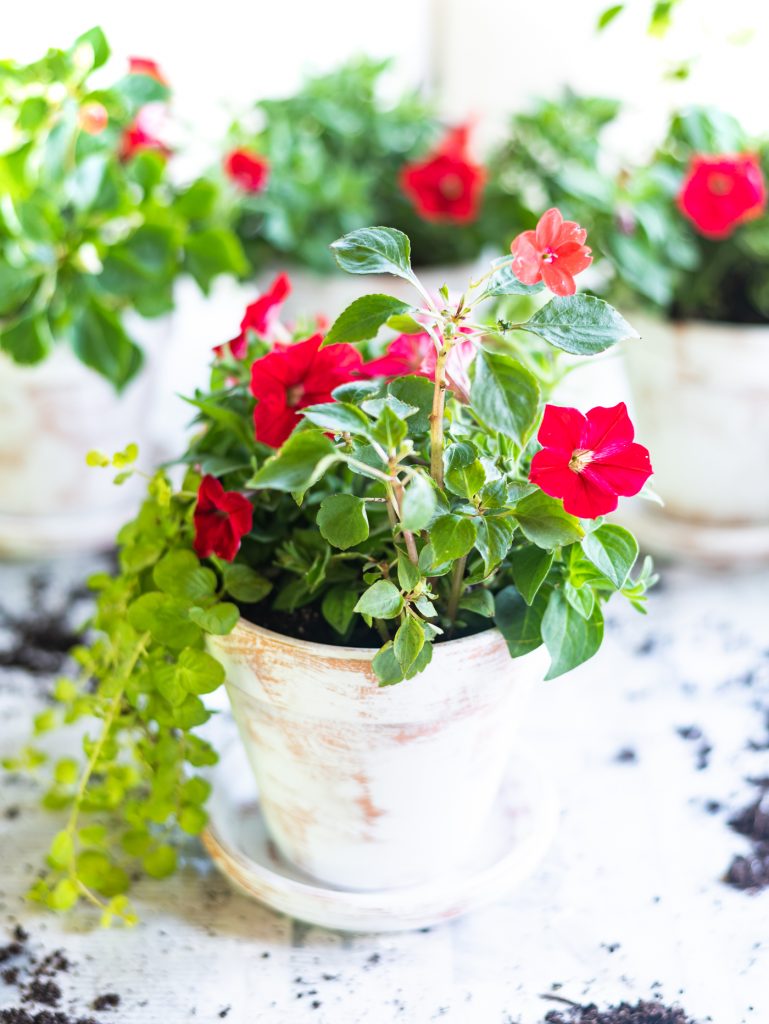
It’s sunny (of course). Temperatures are in the mid-70’s. There’s a slight breeze; just enough to rustle a few leaves. Absolutely zero humidity.
Am I right? Did I not just describe the perfect day.
I’m out the back porch working on this easy distressed terracotta pot project, listening to the sounds of the city around me.
Birds are chirping. I can hear the garbage truck working it’s way down the alley. The dogs next door start barking when they see me. Across the alley I hear the little voices kids playing out on the second floor balcony.
In the distance, I hear a drumbeat. And not the tom tom kind. But a full on rock and roll riff.
And as I “paint’ these terracotta pots … and I use the word paint very loosely because I’m basically just dry brushing and cross hatching away … that rock and roll rift picks up speed and volume. So I start dry brushing faster and faster along with the beat.
And the little voices across the alley on the second floor balcony hear the drums too. And they call out for the drummer to stop.
But I’m digging it. It the perfect background music for this particular project. And in no time at all, I’m done.
And the music ends.
But now the little kids with their little voices on the second floor balcony across the way call out, “hello person.”
Are they calling out to me? Perhaps another neighbor is working in their back yard too?
I wave. And they wave back.
So yes, they were calling out to me! The perfect icing on the perfect day.
End of scene.
P.S. I add a little drum riff tune to the video tutorial to help set the mood for you too!
Easy Distressed Terracotta Pots Tutorial
Materials*
Terracotta Pots & Saucers
*includes some affiliate links
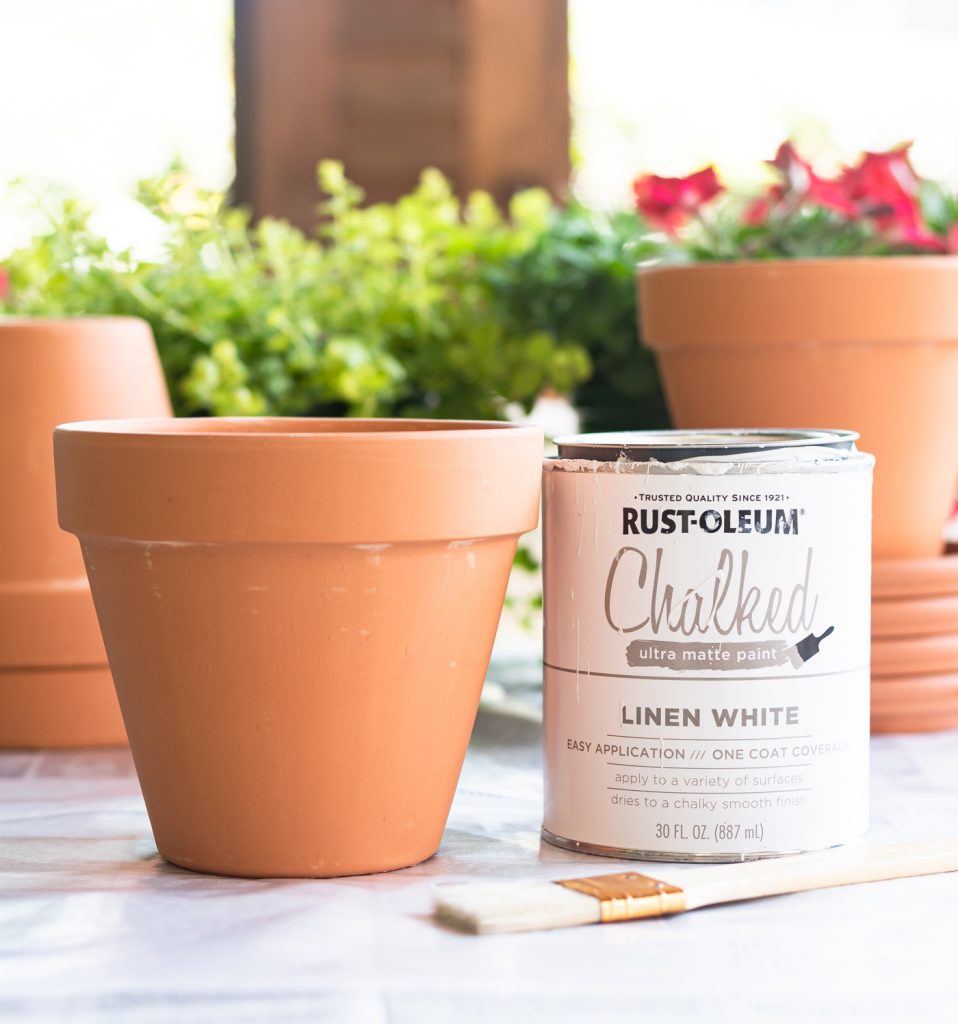
Start with paint. I prefer chalk paint because it’s easy to work with and dries incredible fast. But you can use an acrylic paint too. Just use a matte finish.
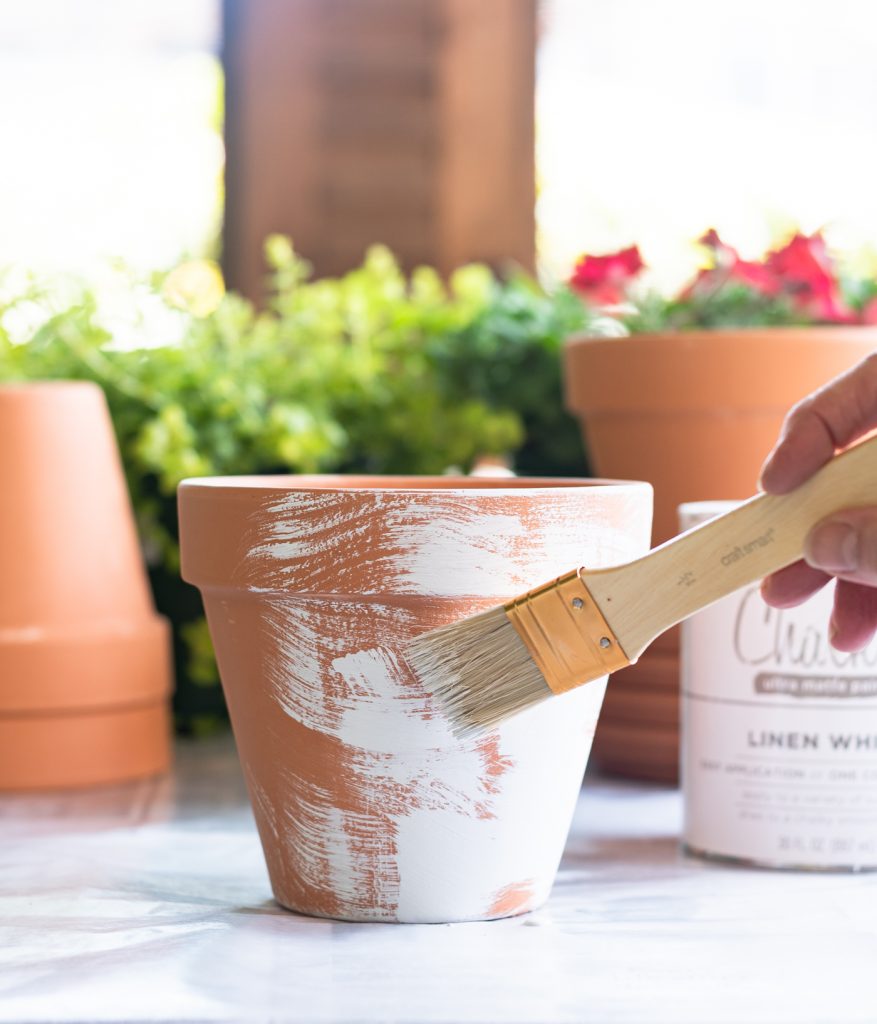
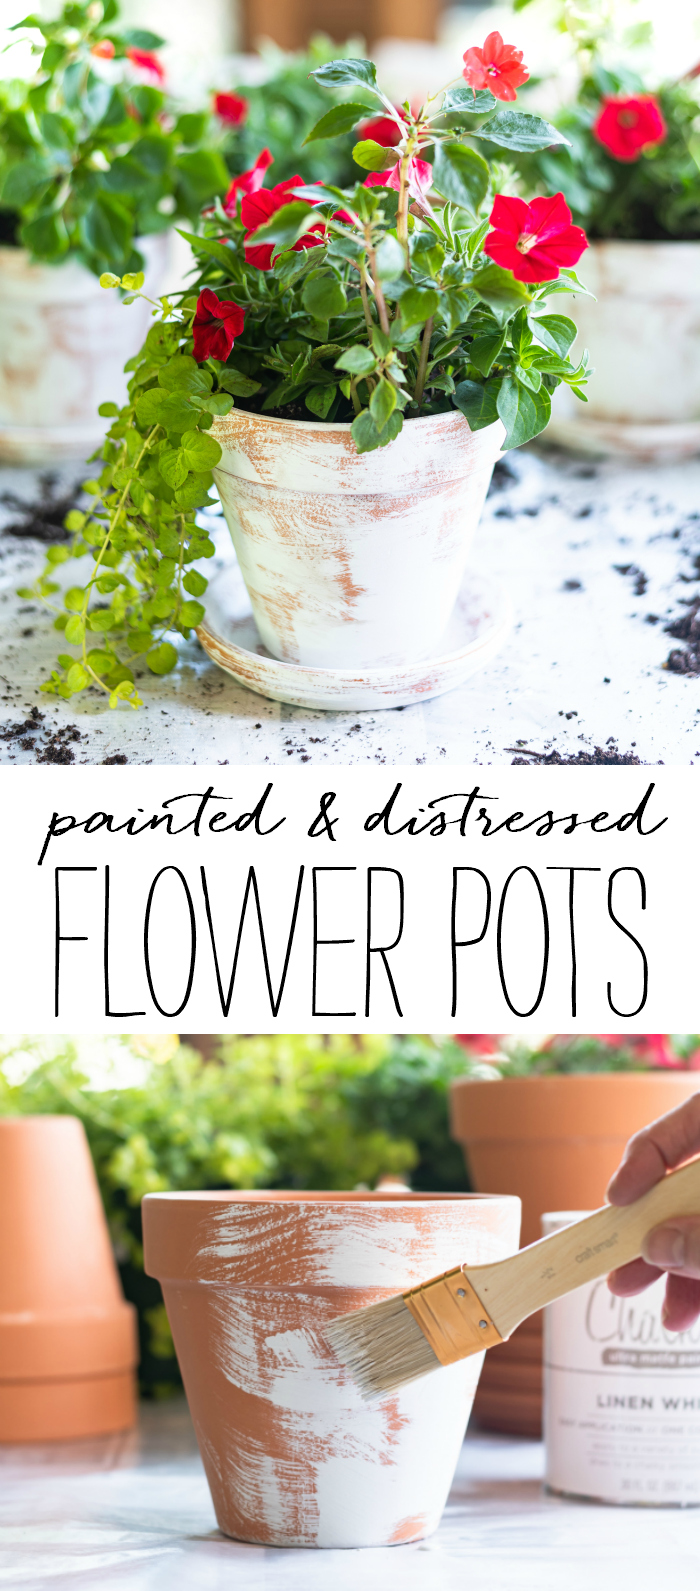
Using a chip brush, dry brush on pot in cross hatch pattern. Don’t worry, you can’t make a mistake.
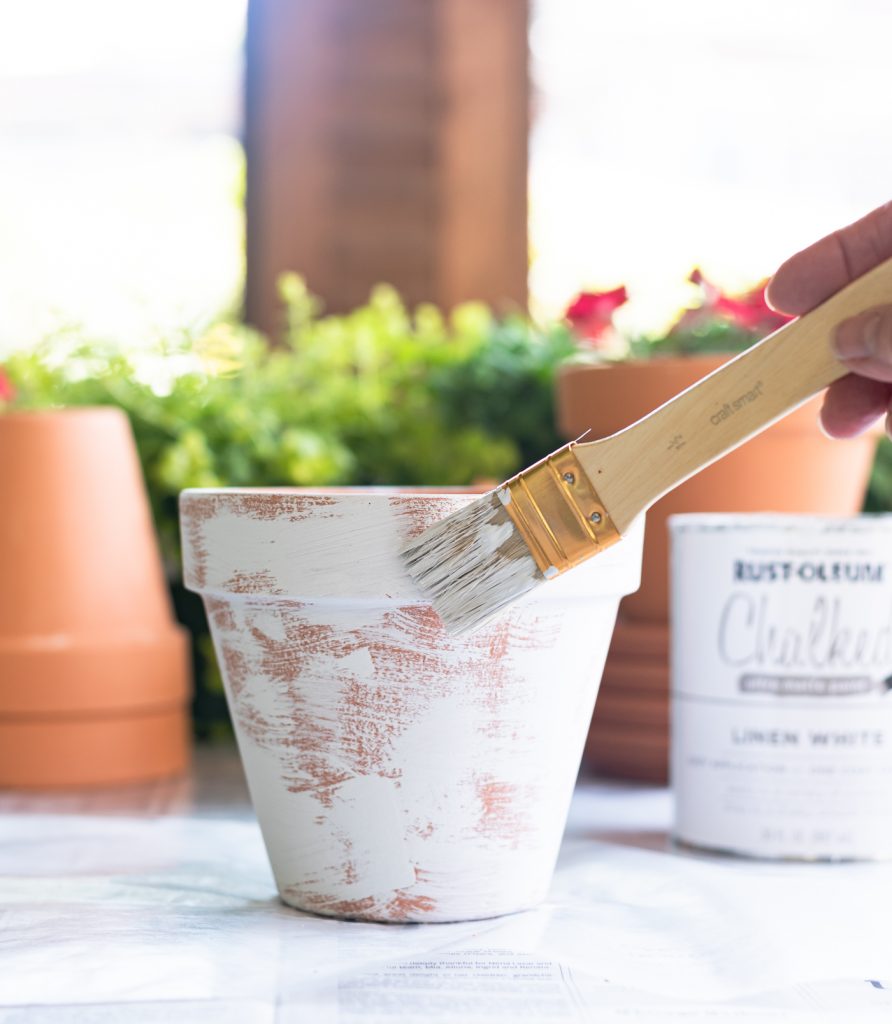
Keep painting until you get your desired look. I went a little heavier on the paint, but made sure some terracotta color still shows through.
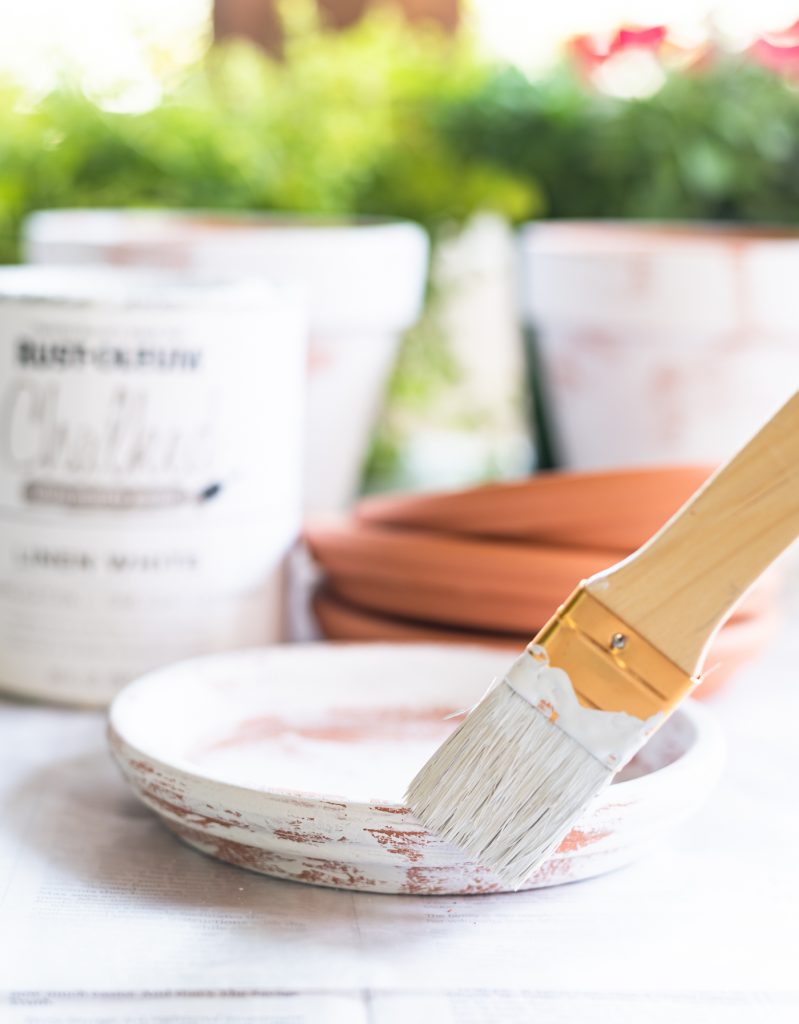
Don’t forget to paint the saucer too!
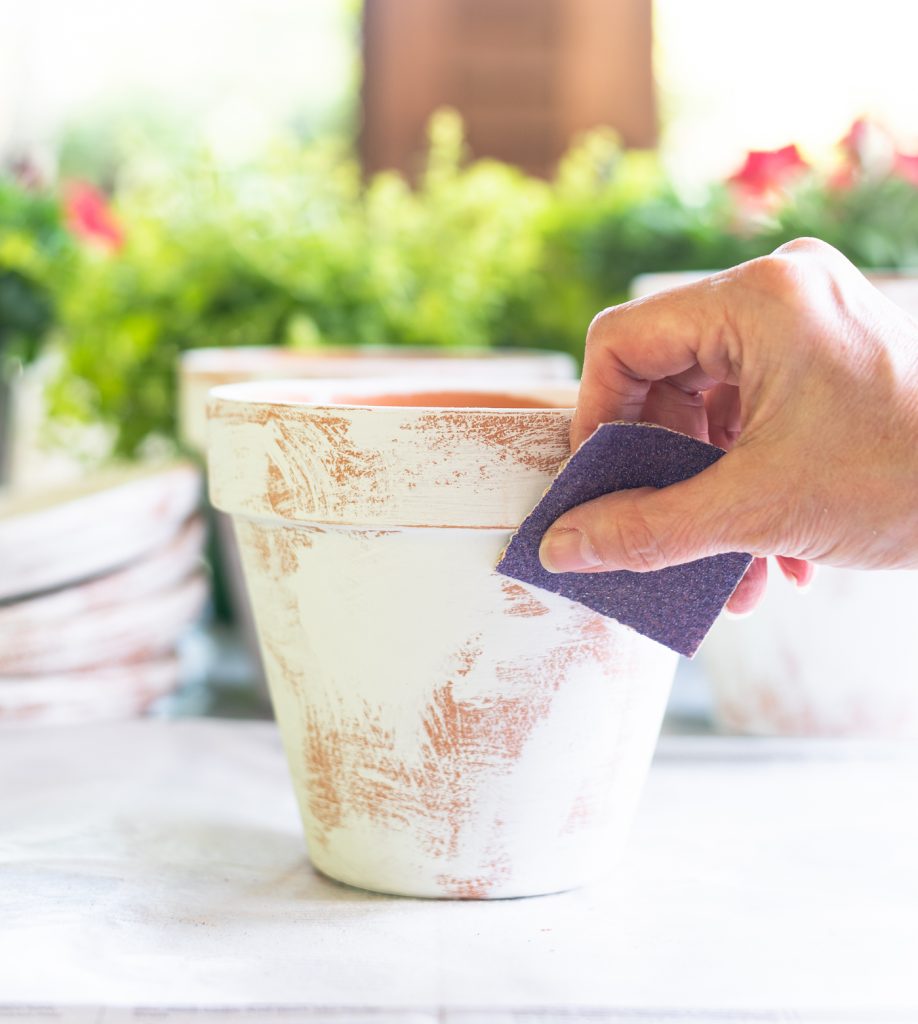
Optional: Distress with 80 grit sandpaper. I just hit a few of the edges around the top rim and bottom.
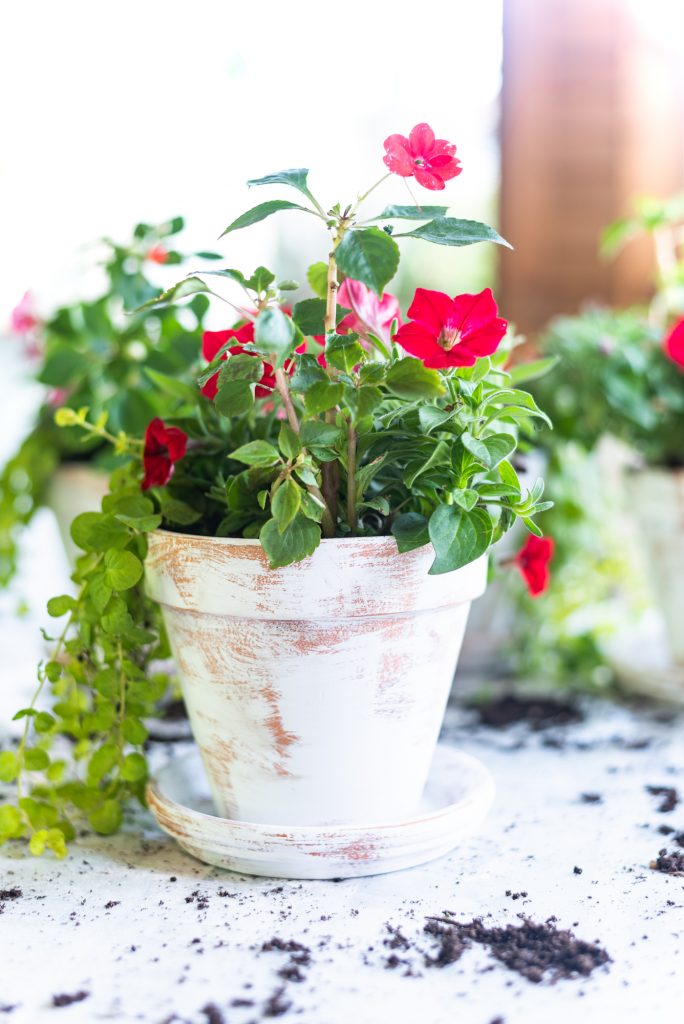
Just add plants to finish them off!
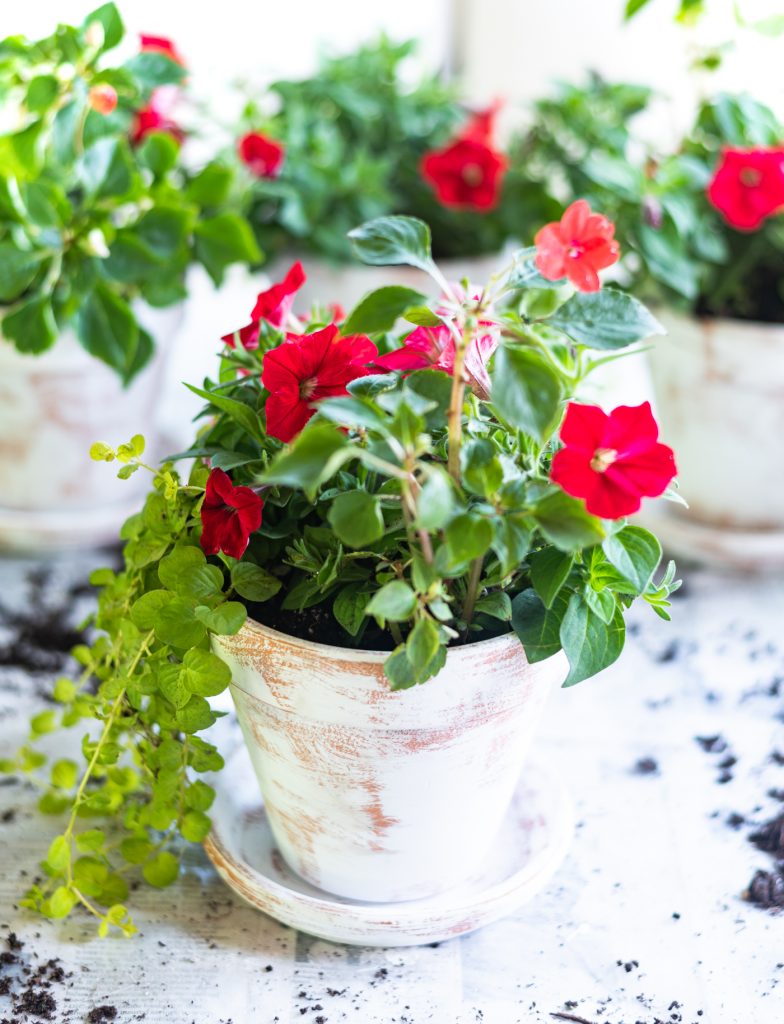
Now back to finding the perfect city/state/country/island where I can find the perfect day, day after day …
I’d also like someplace that I can enjoy the sounds of the city in the background …
and little voices calling out “hello person.”
Rock and roll drum riff optional.
🙂
Pin It!
You Might Also Like:
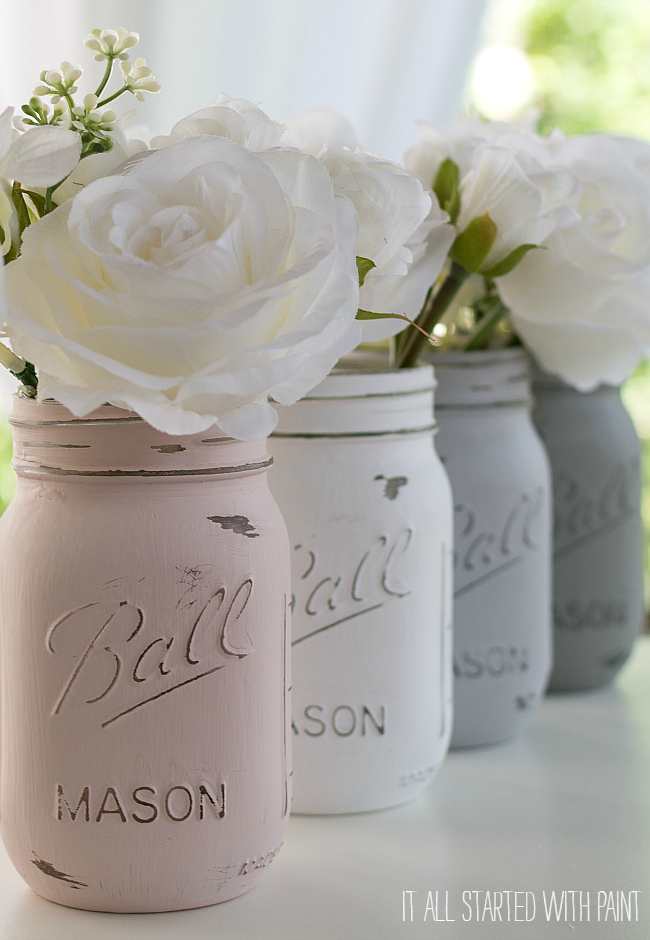
How To Paint & Distress Mason Jars


Hi Linda!
Your terracotta pots look so pretty painted and distressed! Thanks for sharing the background scene you experienced while you were working on these. It was like I was there with you. I can just imagine painting each brushstroke to the rhythm of a drumbeat – how fun! Thanks for sharing at Hometyle Gathering! I love having you at the party each week! I hope you’re week is off to a great start!
>>> Kim
Wow! Love the painted planters. I am going to try to paint some too.
Have a great day,
Kippi
I just love these. Years ago, my sister did this technique and then had me do some lettering on them. She gave them as gifts. Thanks so much for sharing at Thursday Favorite Things!
These are so lovely!! I can picture them in various placed inside my sun room!
So lovely!!