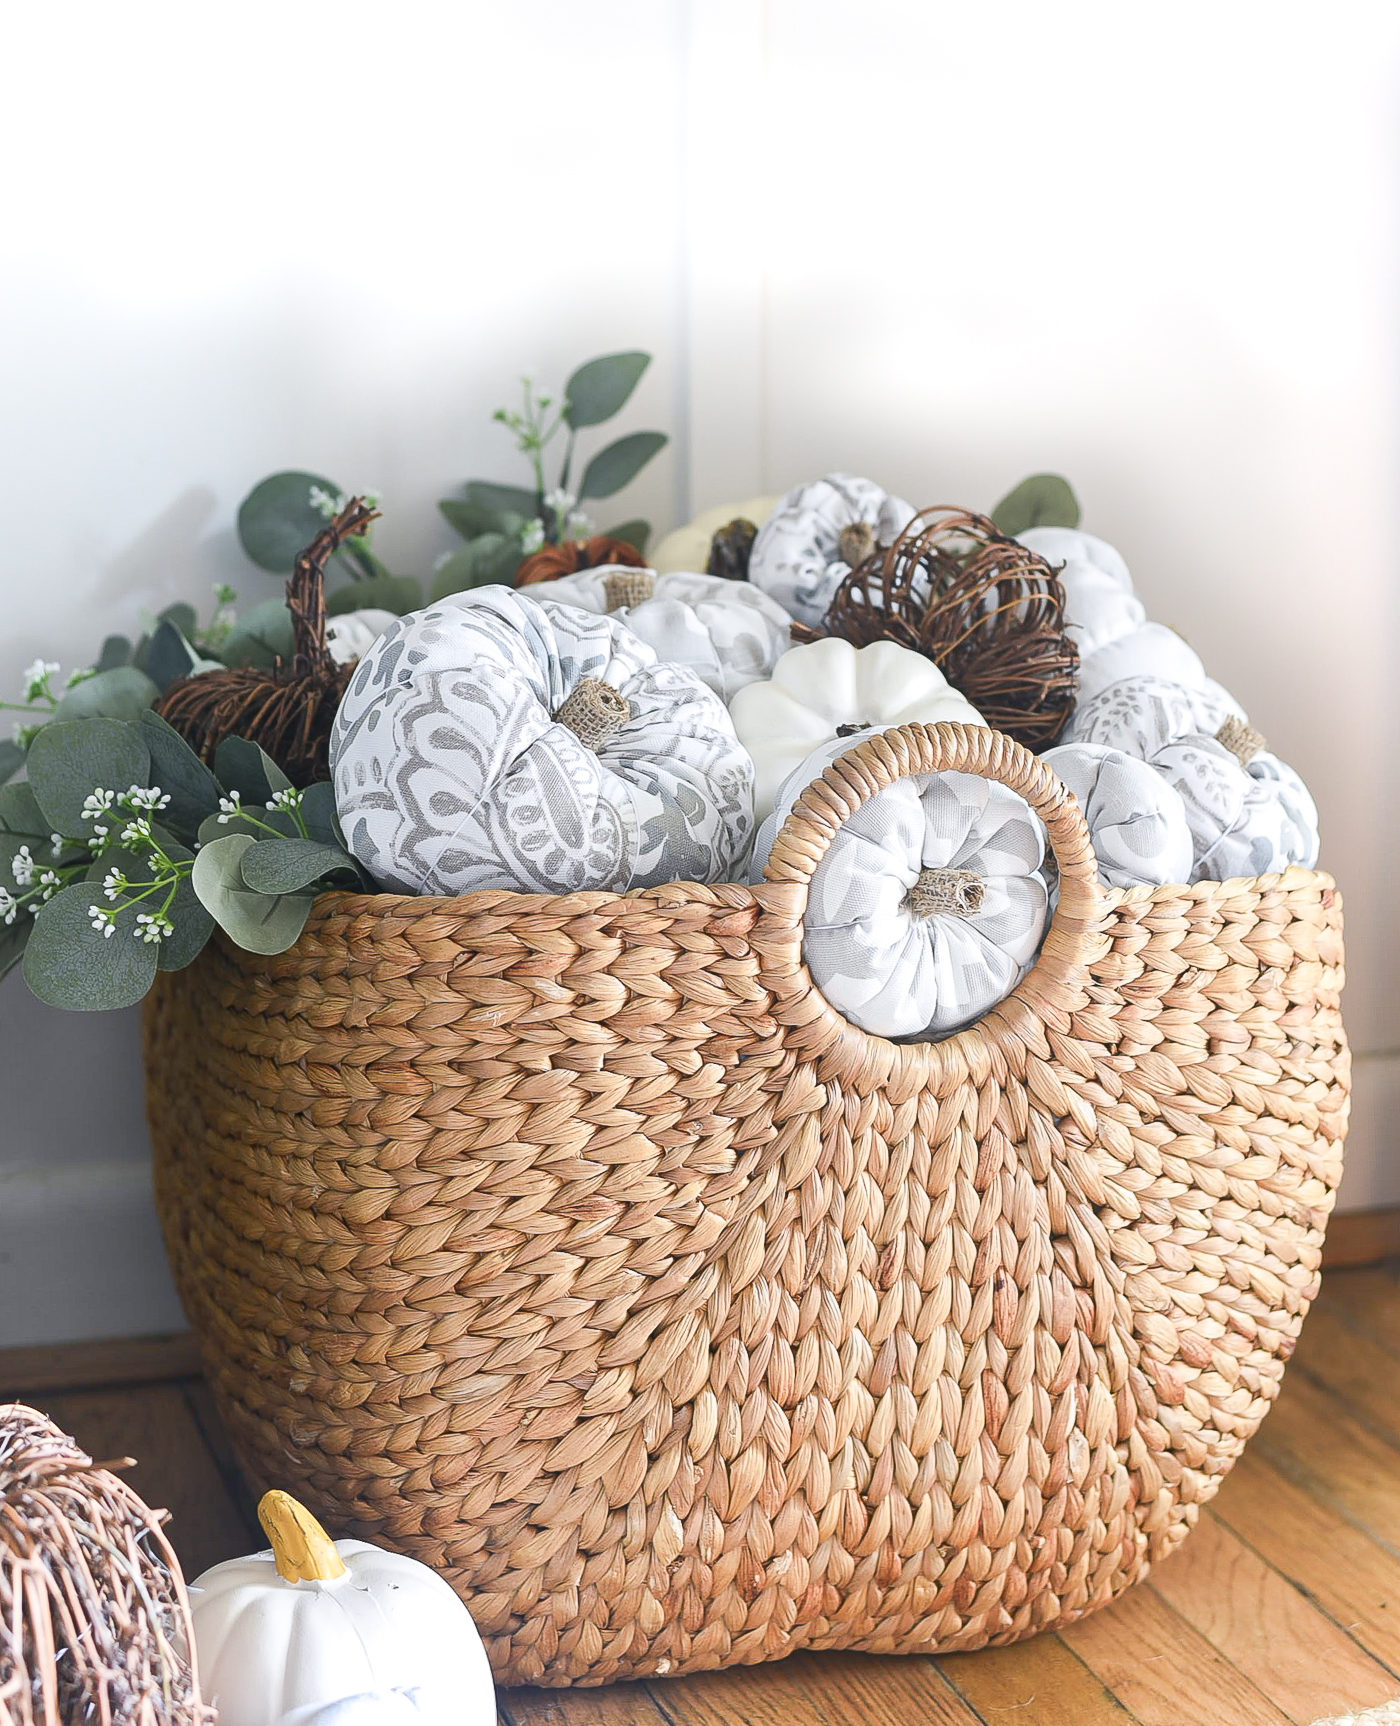
Fabric Pumpkins – Neutral Gray, White Stuffed Pumpkin DIY.
Dear Michaels and JoAnn’s Fabric and Craft Stores,
I would like to extend my deepest apologies. Especially when you see a sudden and shocking drop in sales at your Clark Street (Michaels) and Elston (JoAnn’s) stores in Chicago.
You see, I’m on a mission to craft with what I (mostly) have. Because I’ve (mostly) gathered lots and lots of craft supplies over the years. From both of you. But, sadly, too many of those supplies that have remained dormant for years and years and years (as I explained here).
So when made that lofty statement a few weeks ago about how I’m going to refrain from running to the craft stores and first see what’s in my current stash of craft stuff, I figured I was setting myself up for an epic fail.
I mean, we are entering the height of craft and decorating season. Surely I would abandon that manifesto the first time I walked into Michaels and/or JoAnn’s and caught sight of all those fun, seasonal crafting goodies!
I mean, it assaults you the minute you walk in the door!
But I’ve been putting my blinders on. Aside from a quick peek at the dollar section, I traverse Michaels like a woman on a mission …
a mission to not buy anything that is NOT on the list.
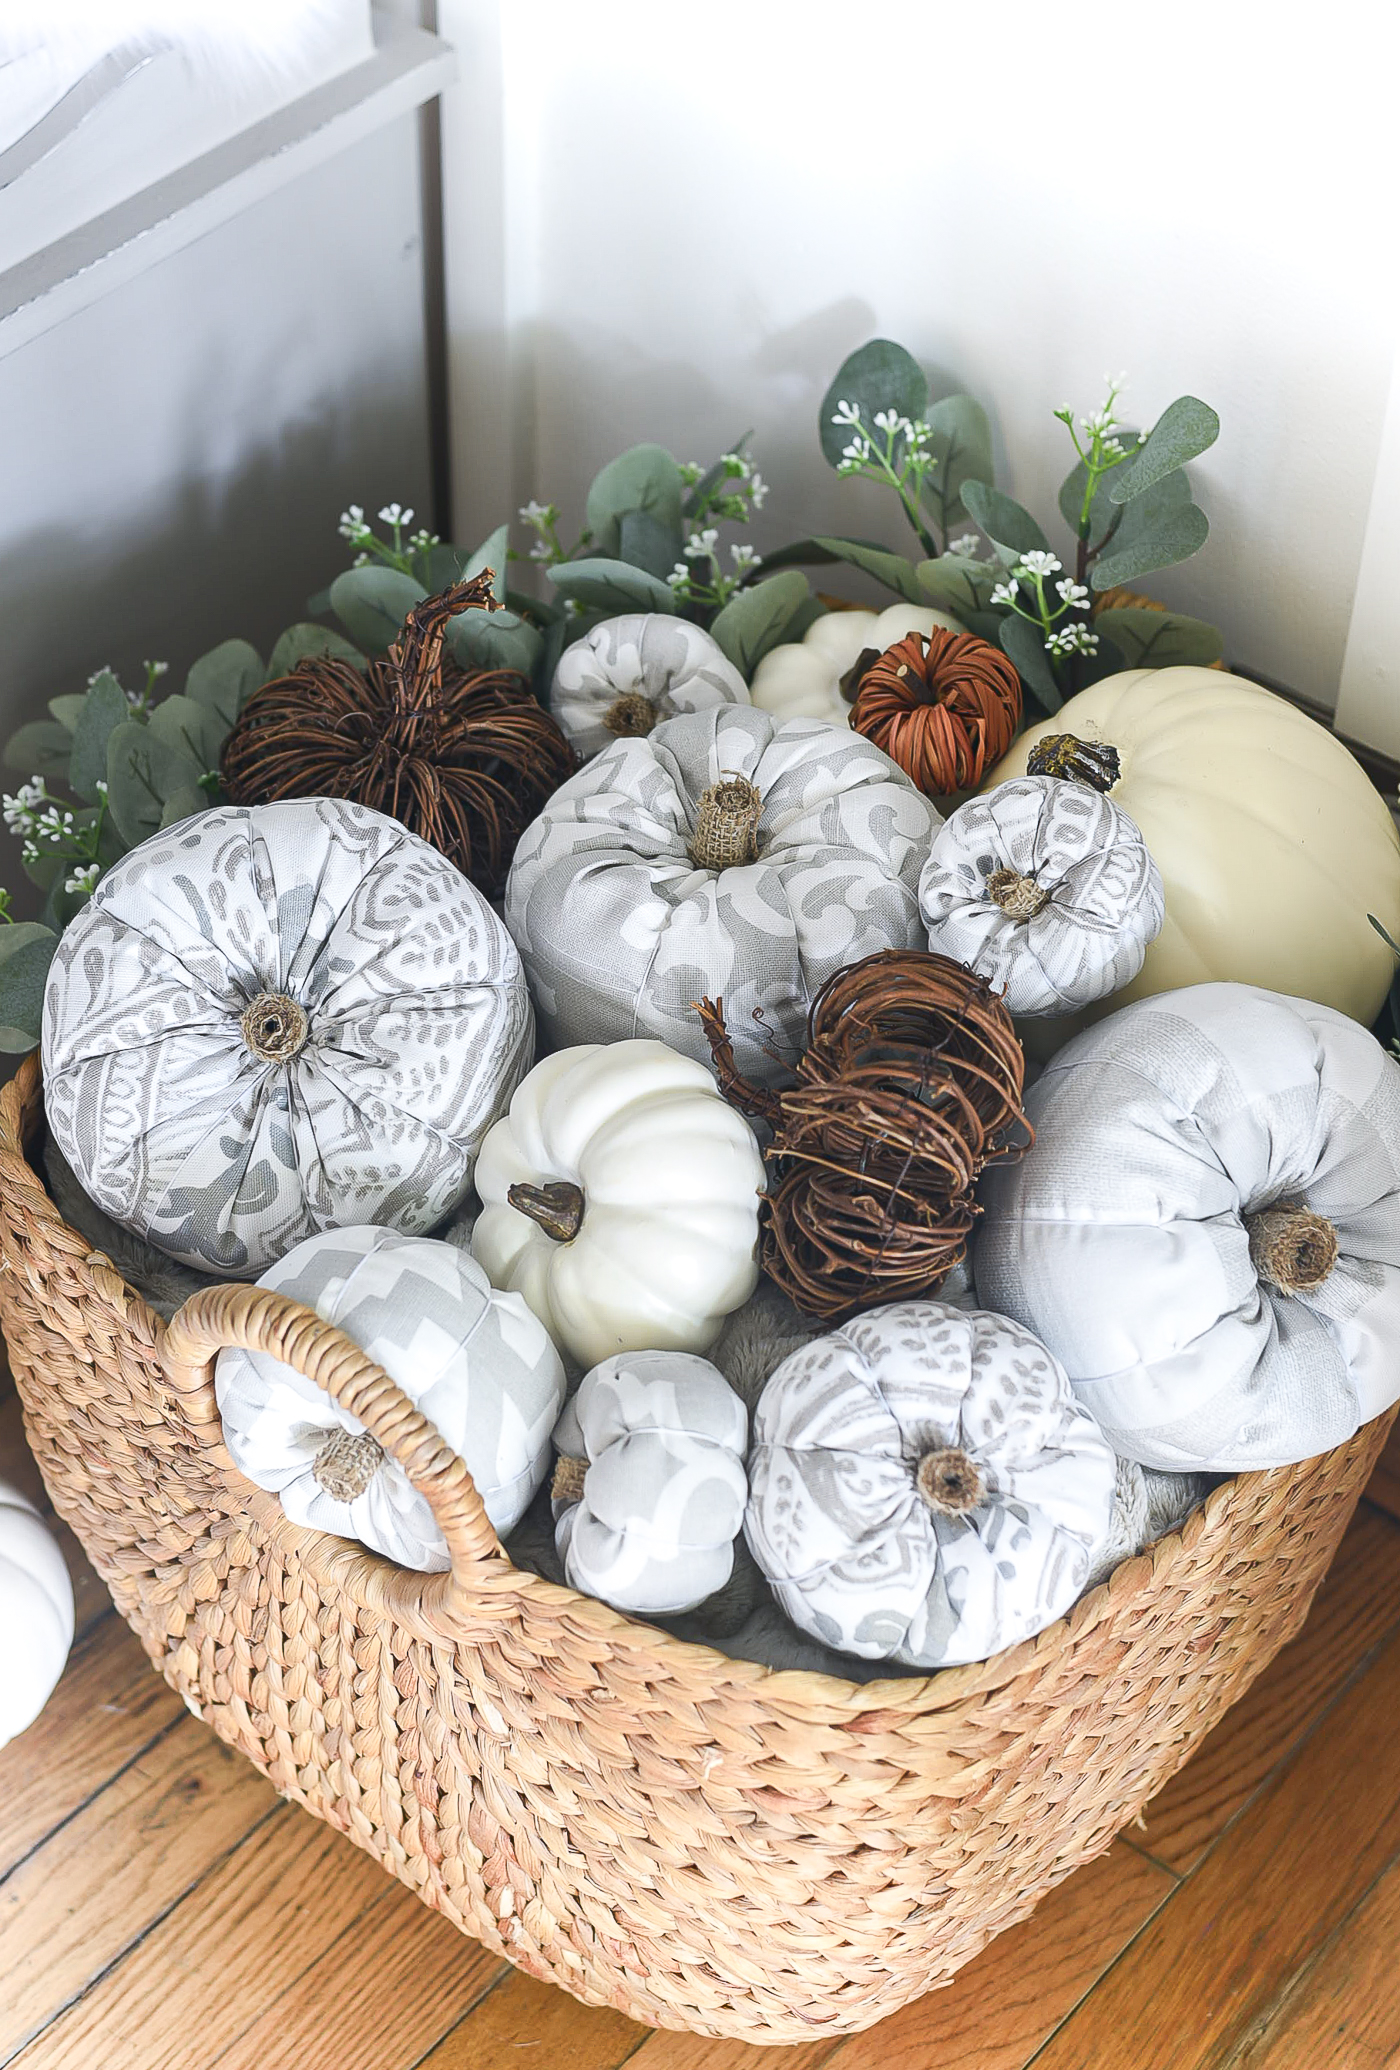
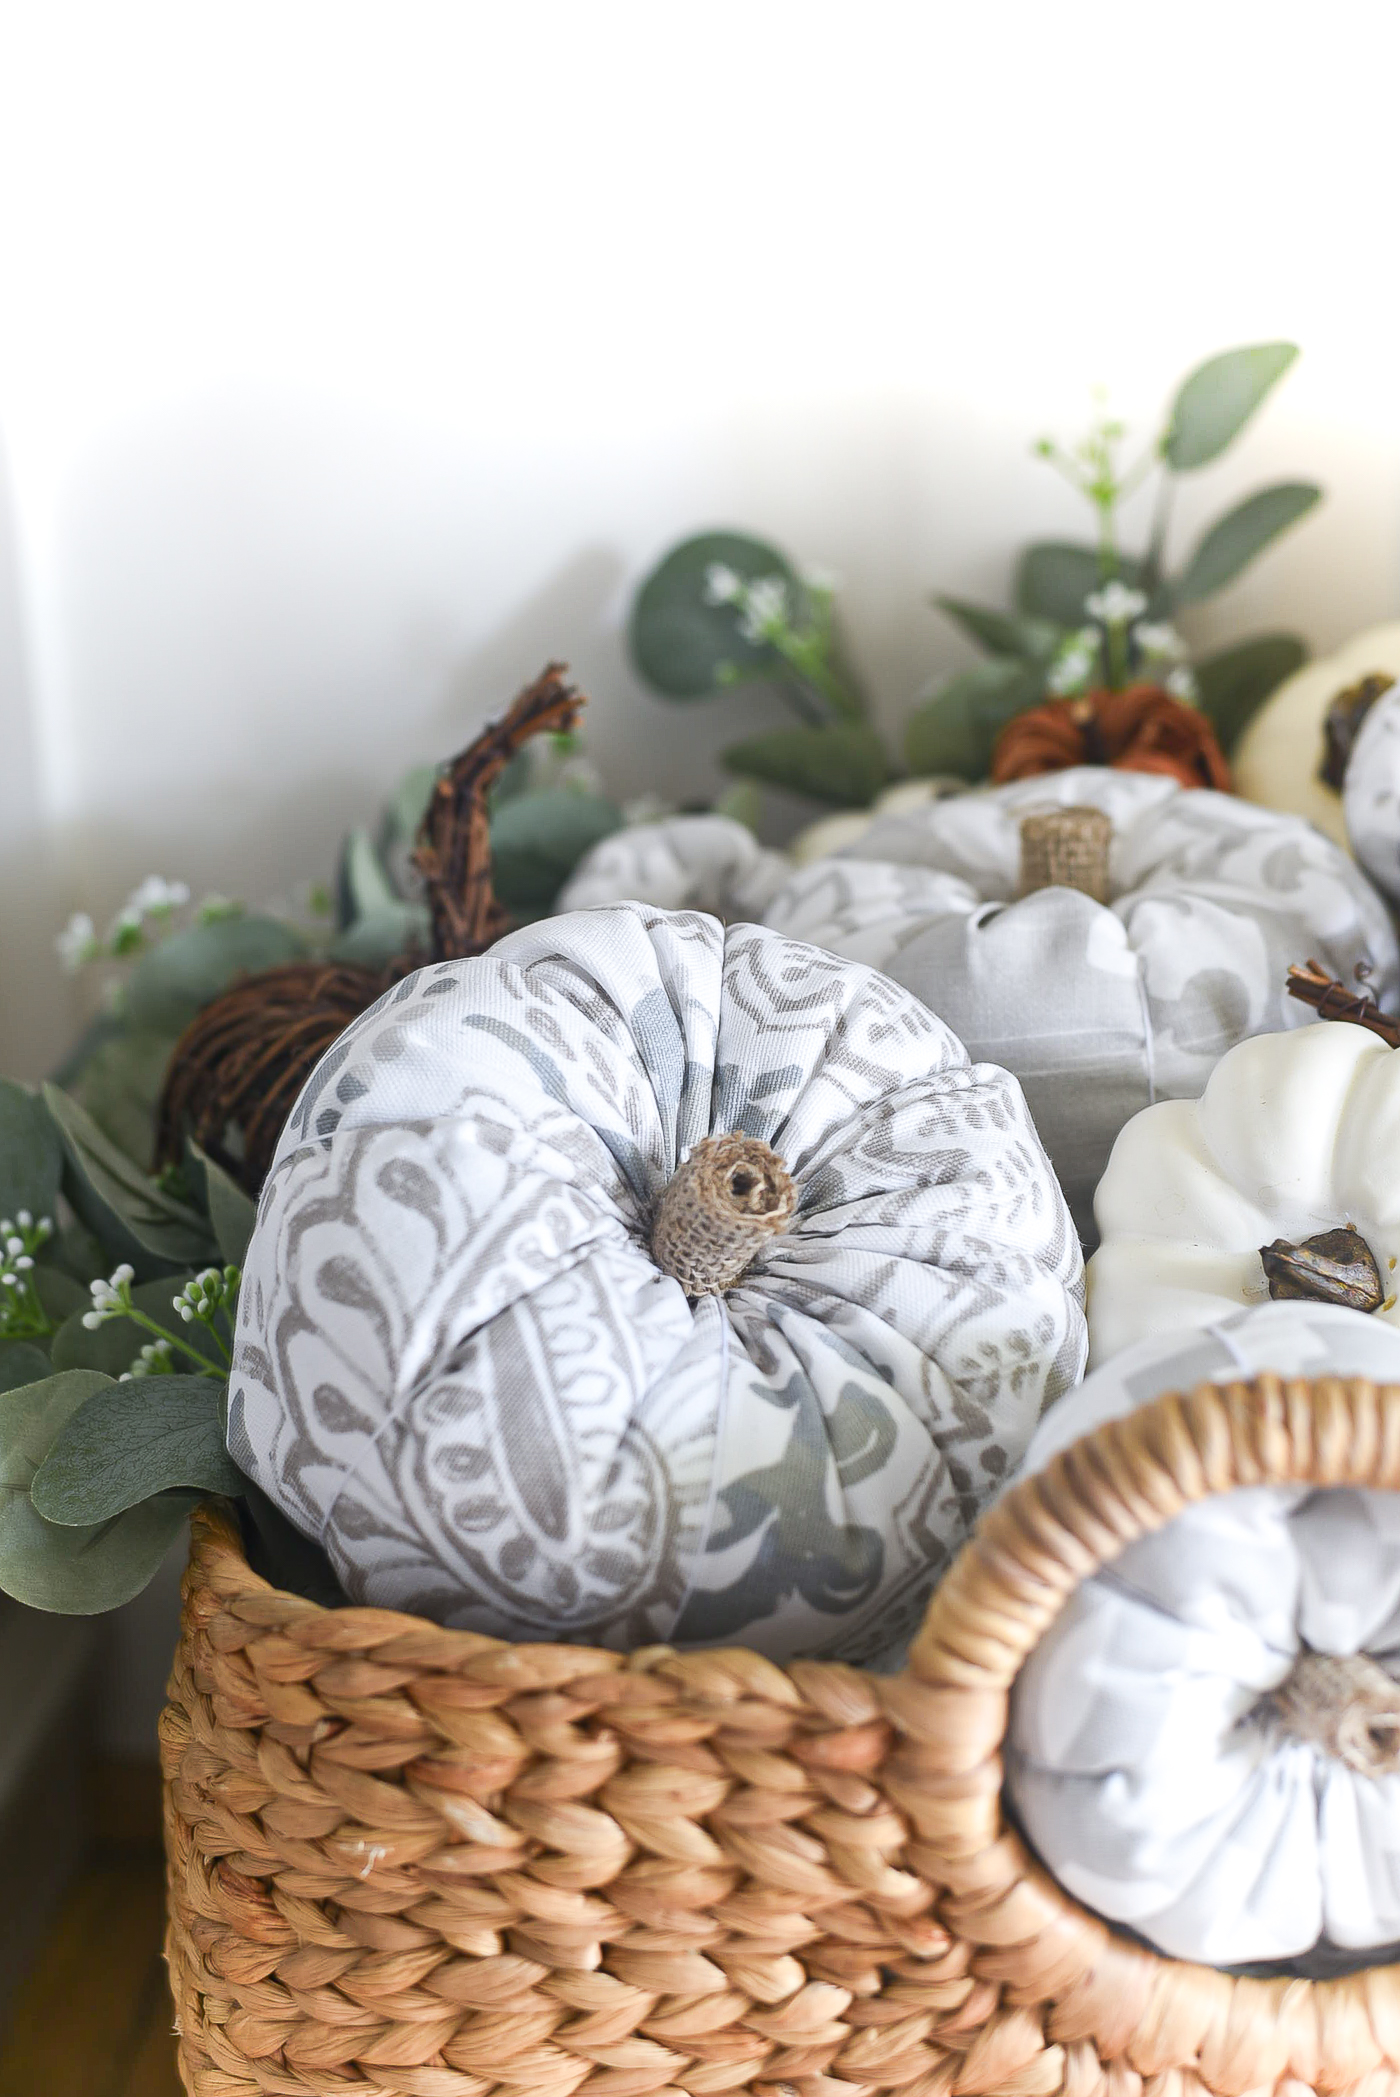
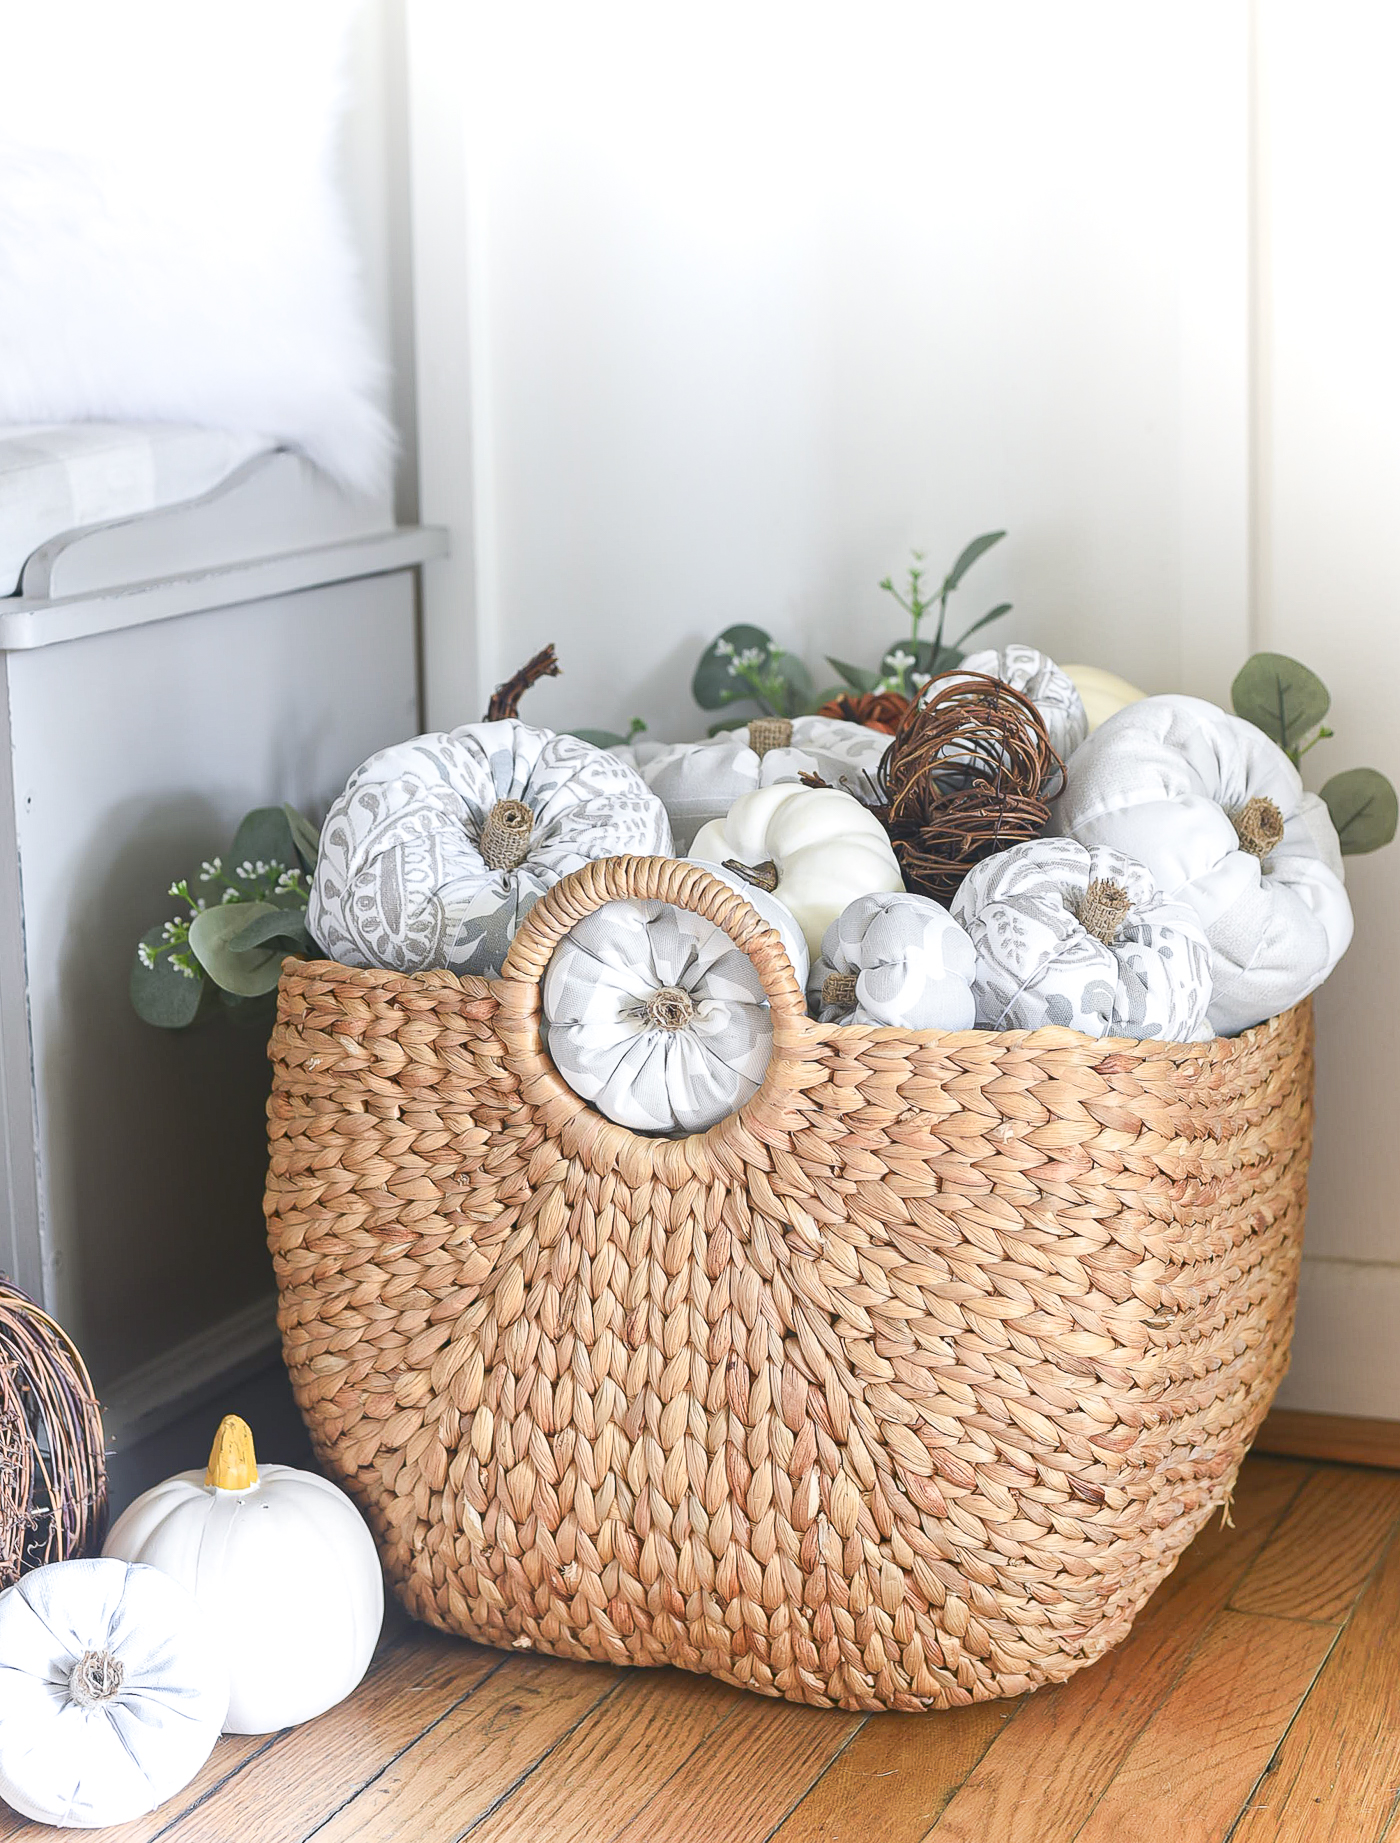
To make this patch of fabric pumpkins, I had the fabric and burlap and thread and embroidery needle and thread left over from other projects (or potential projects that never quite came to be). But …. I did need to pick up one thing.
Batting.
I first toyed with deconstructing an out-of-use pillow from down in the basement to keep this project craft store shopping free. But I wasn’t sure what kind of batting (or what, for that matter) I would find inside those basement pillow.
Annnnnnd … I did have a 40% off coupon at Michaels. So it only cost me about $3.99.
Score!
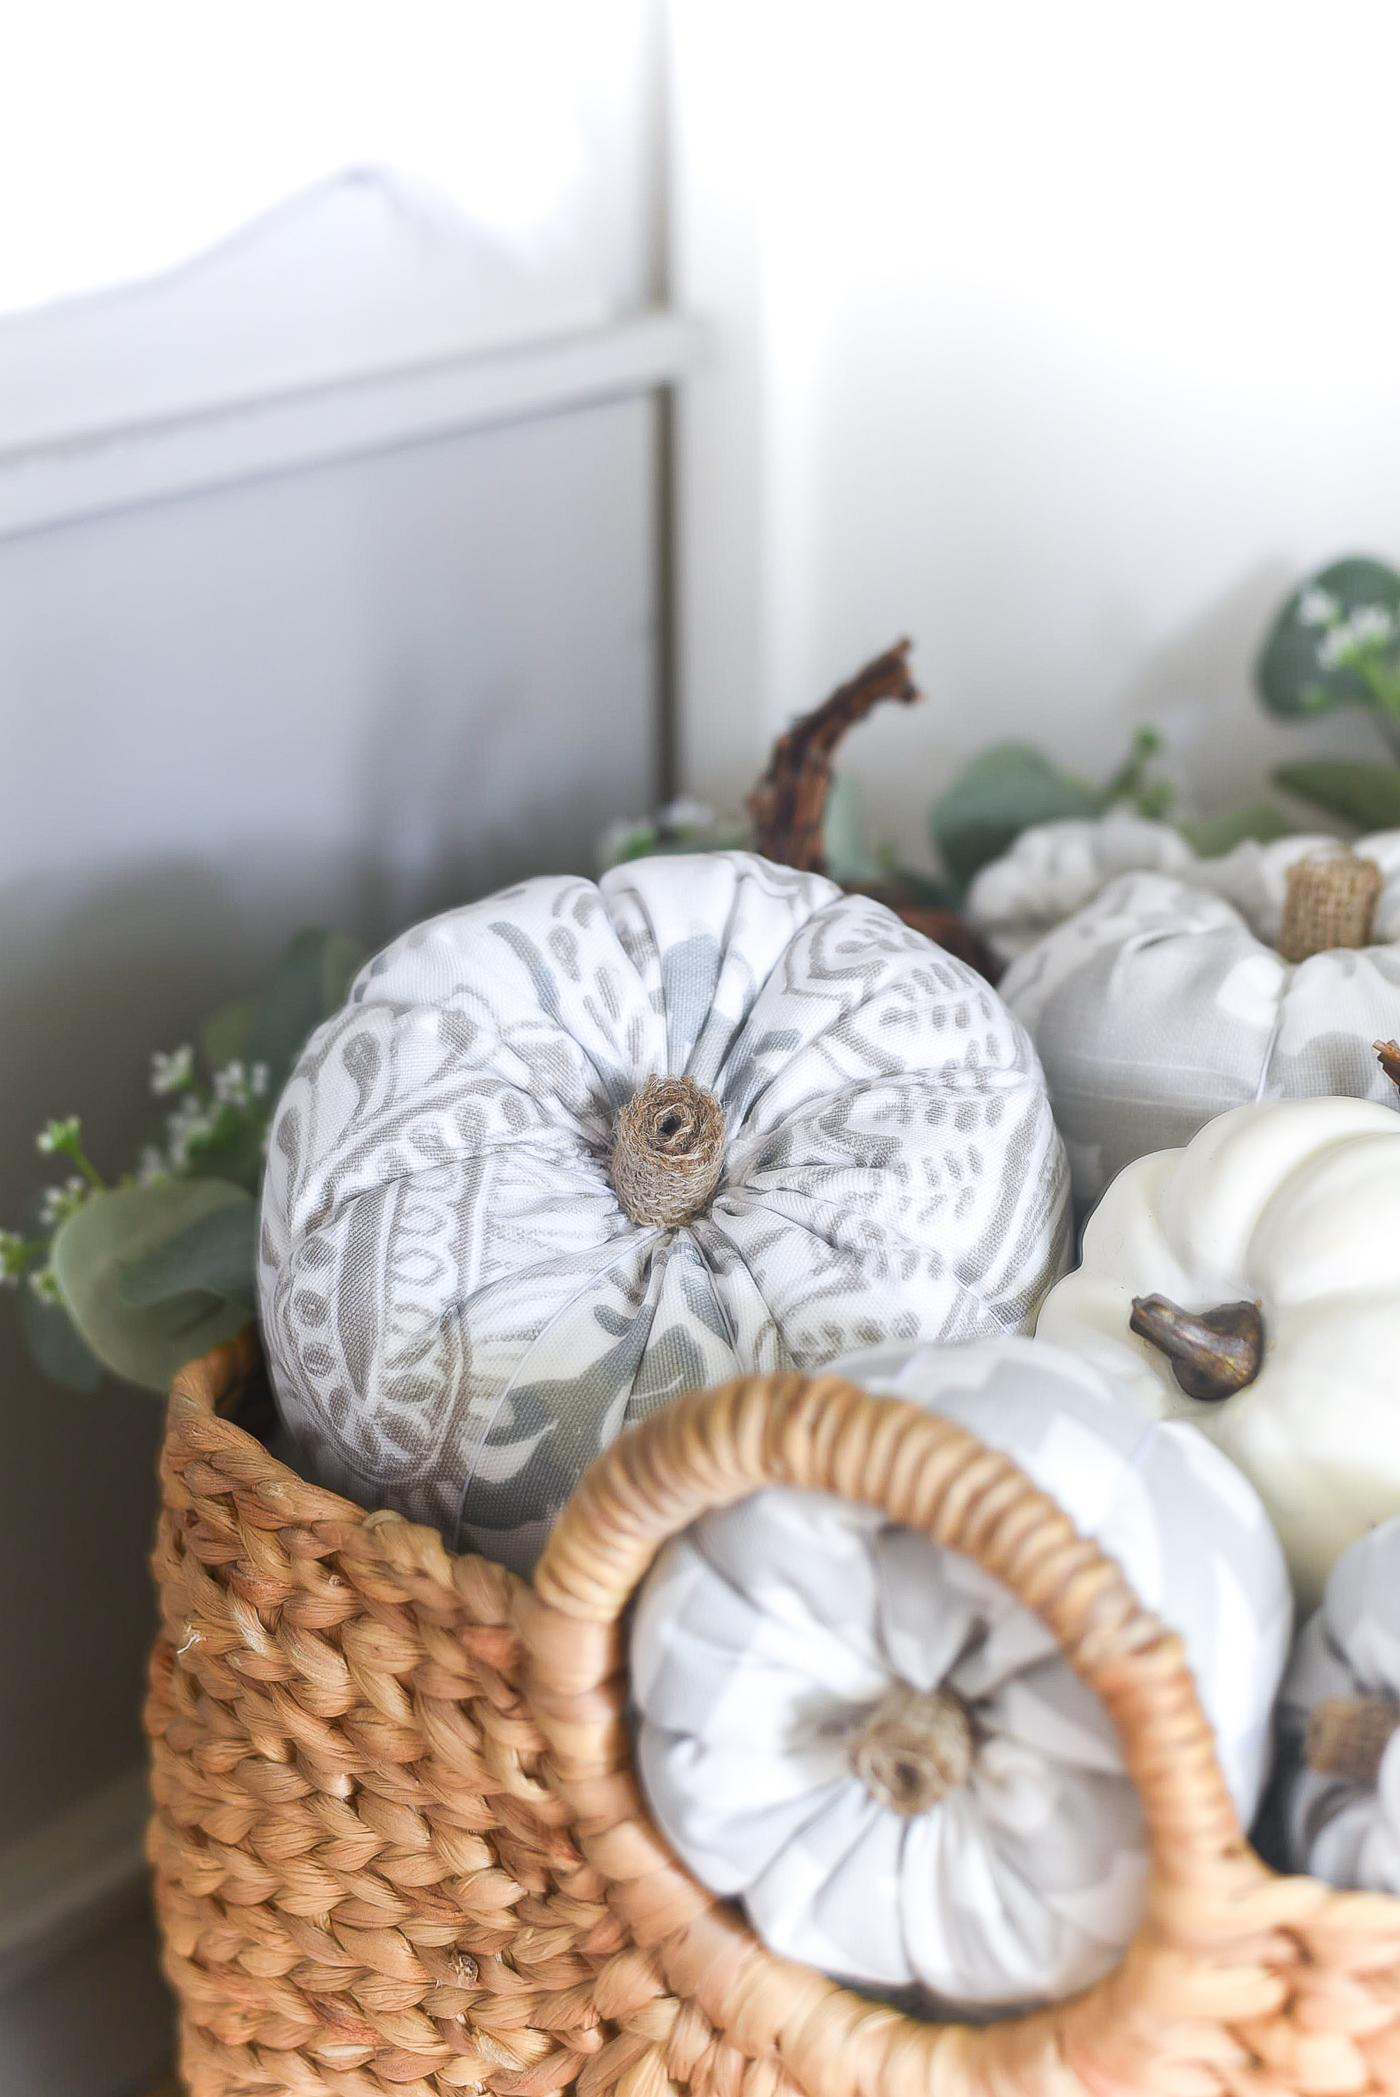
Not too shabby a price for this fun and easy(ish) to make fabric pumpkin patch!
How To Make Fabric Pumpkins Tutorial
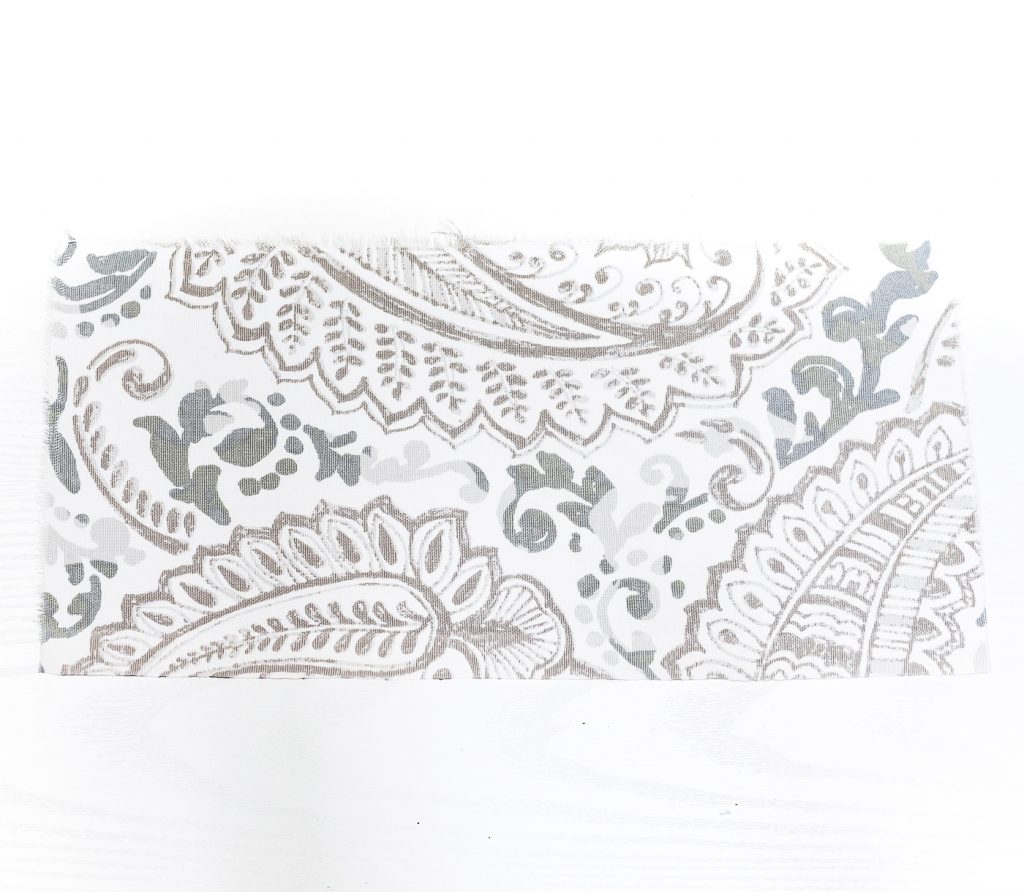
Start with a length of fabric (mine measures 7″ x 14″). Rule of thumb is length should be double the width. Iron out wrinkles.
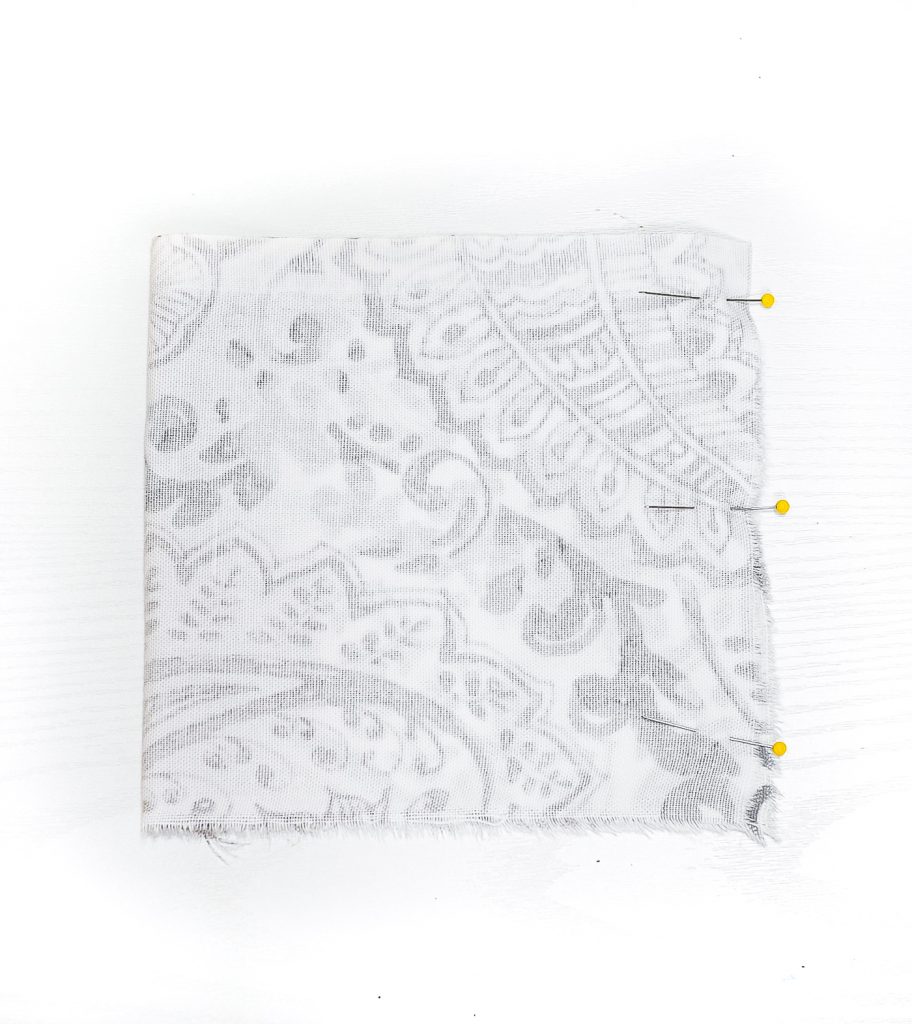
Fold in half and pin right sides together.
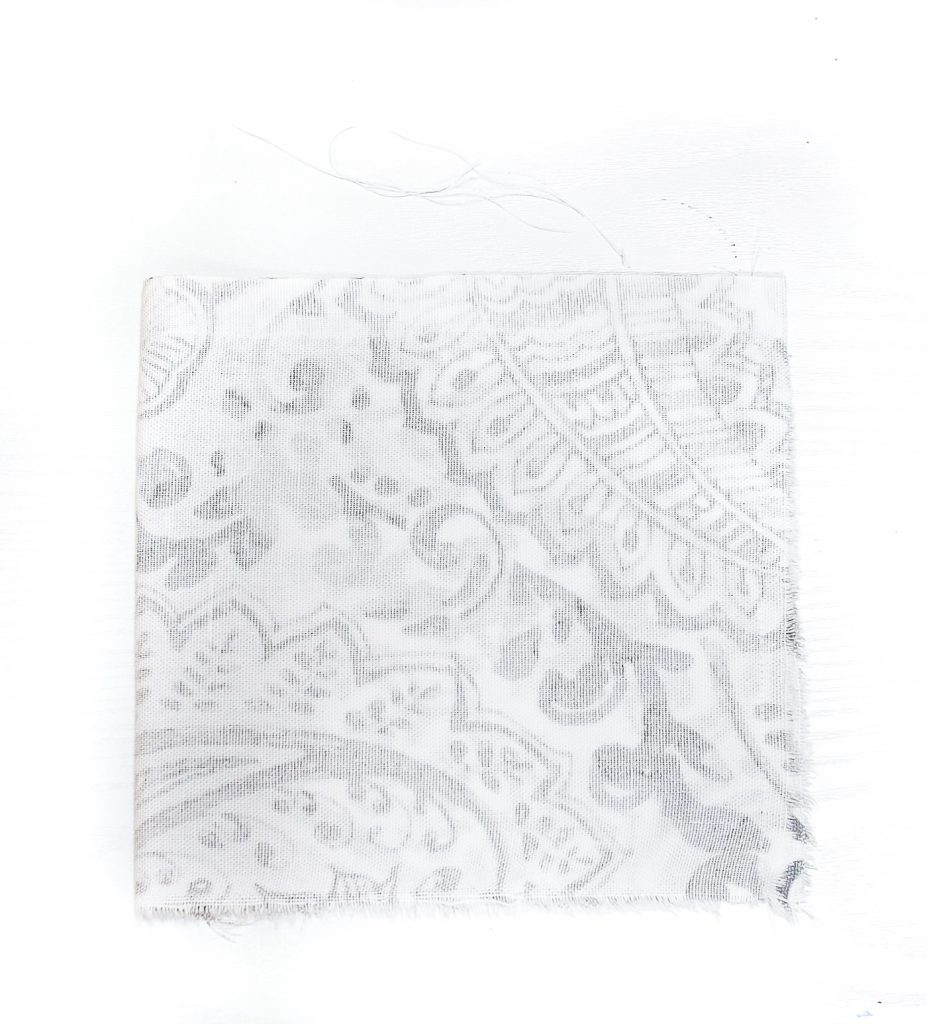
Sew using a 1/4″ seam.
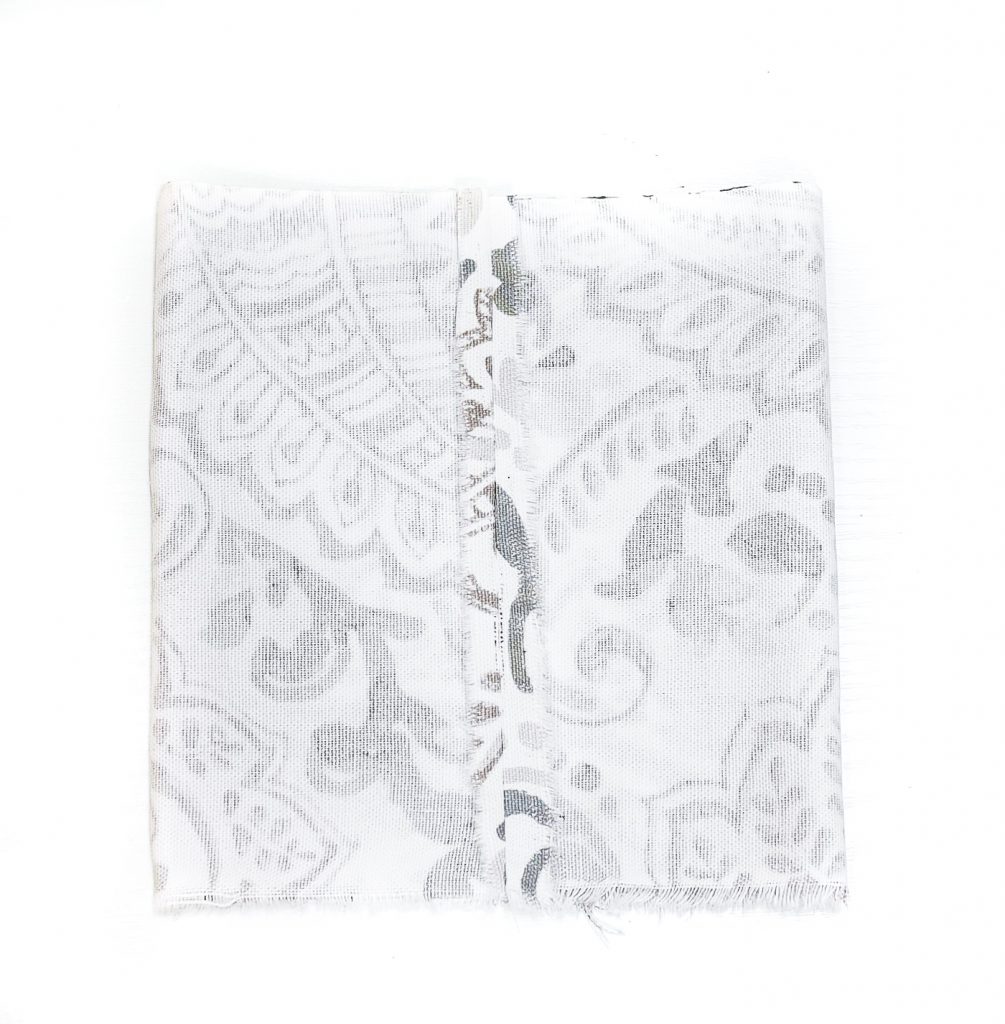
Press seam open.
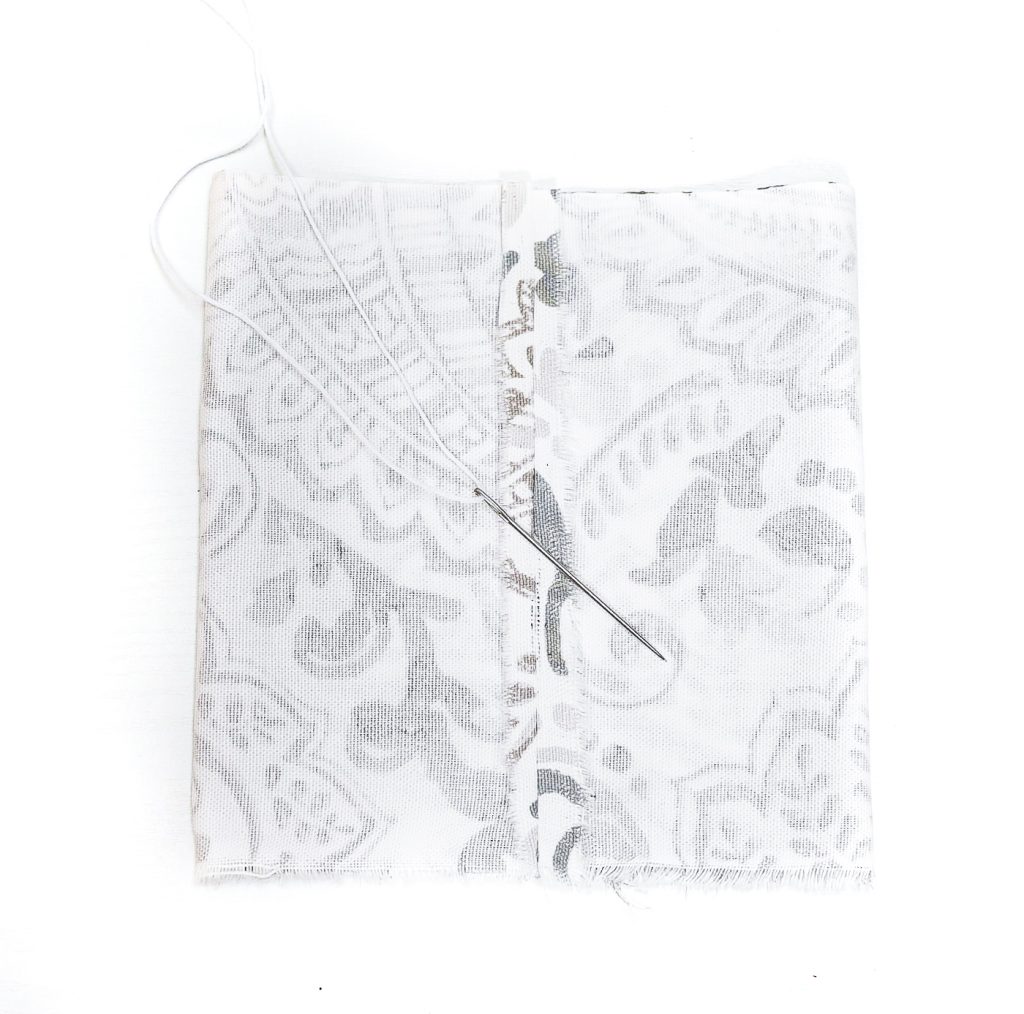
Thread a large eyed needle (also known as needlepoint needle) with embroidery thread. I actually used string my daughter had to make friendship bracelets.
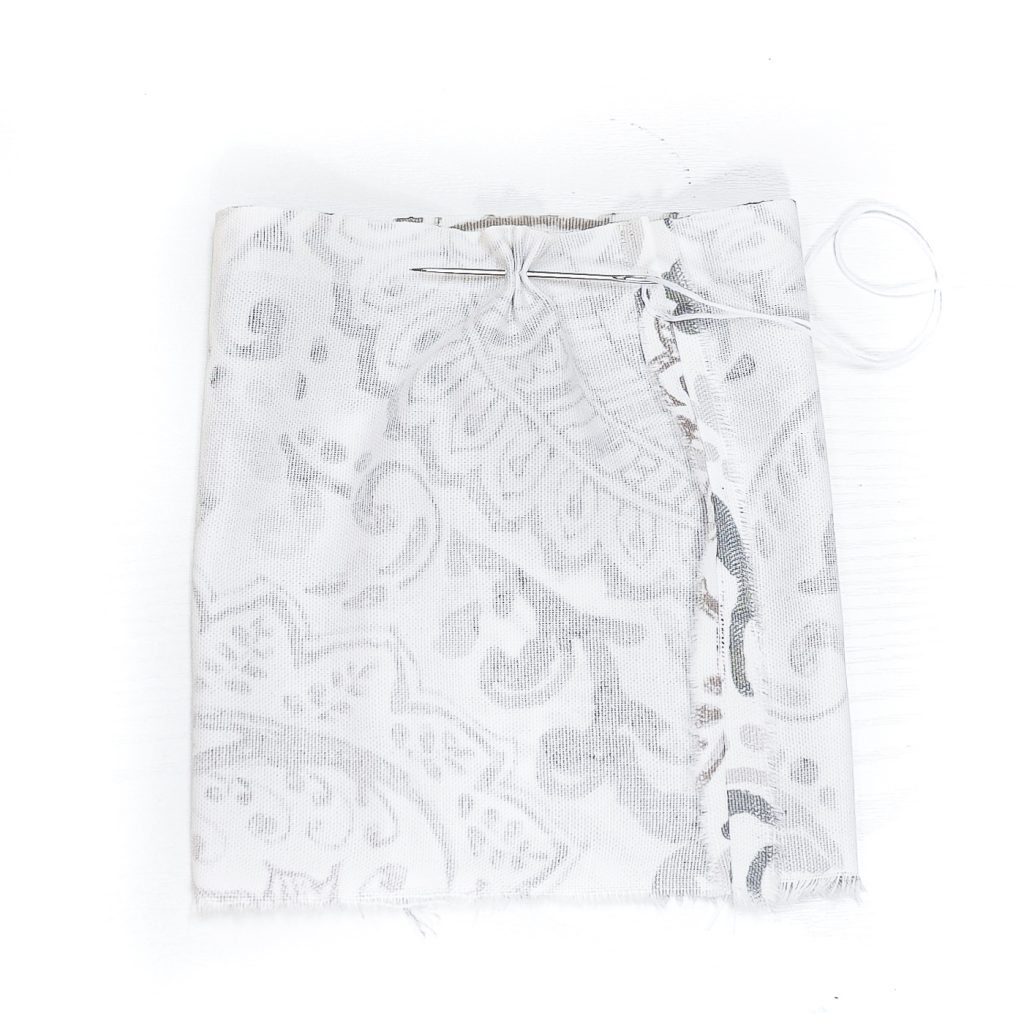
You’re not sewing the two halves together but instead making spaced out stitches all along the top opening.
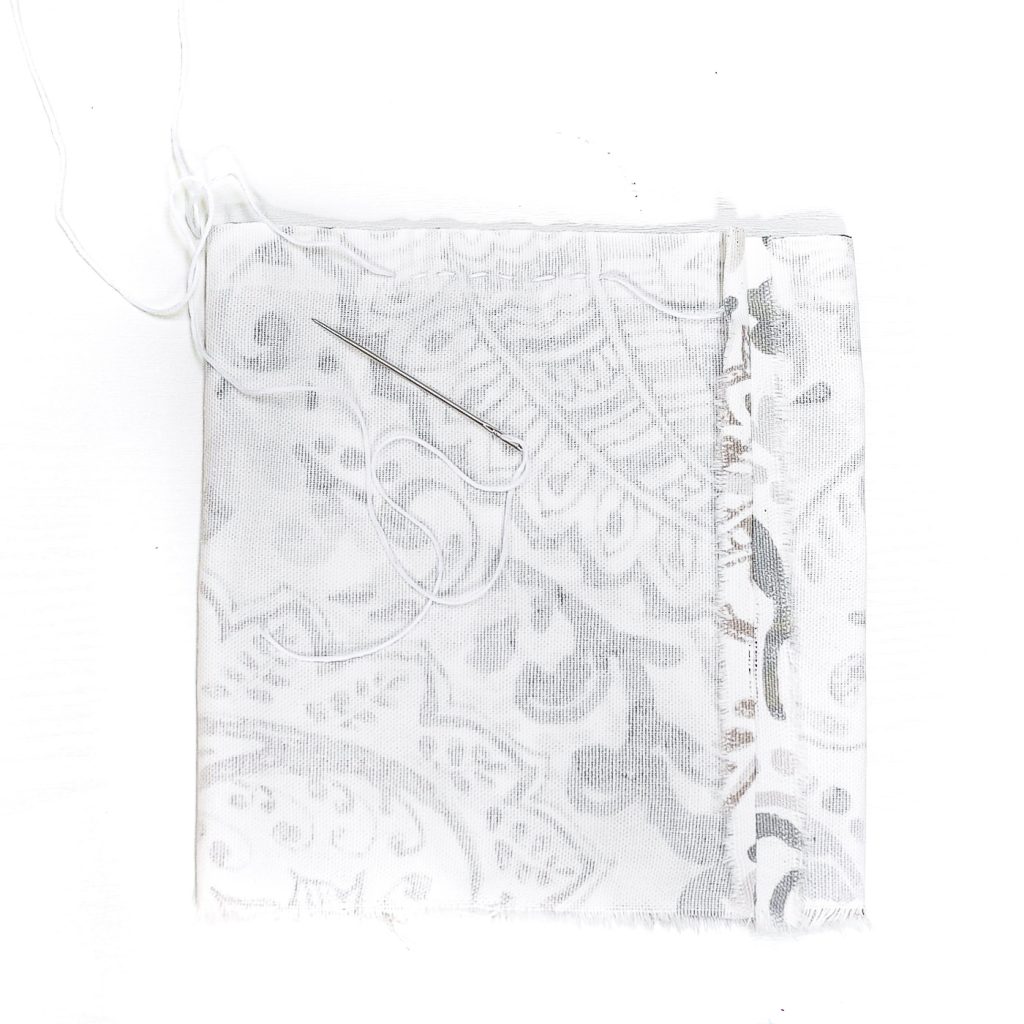
Like so.
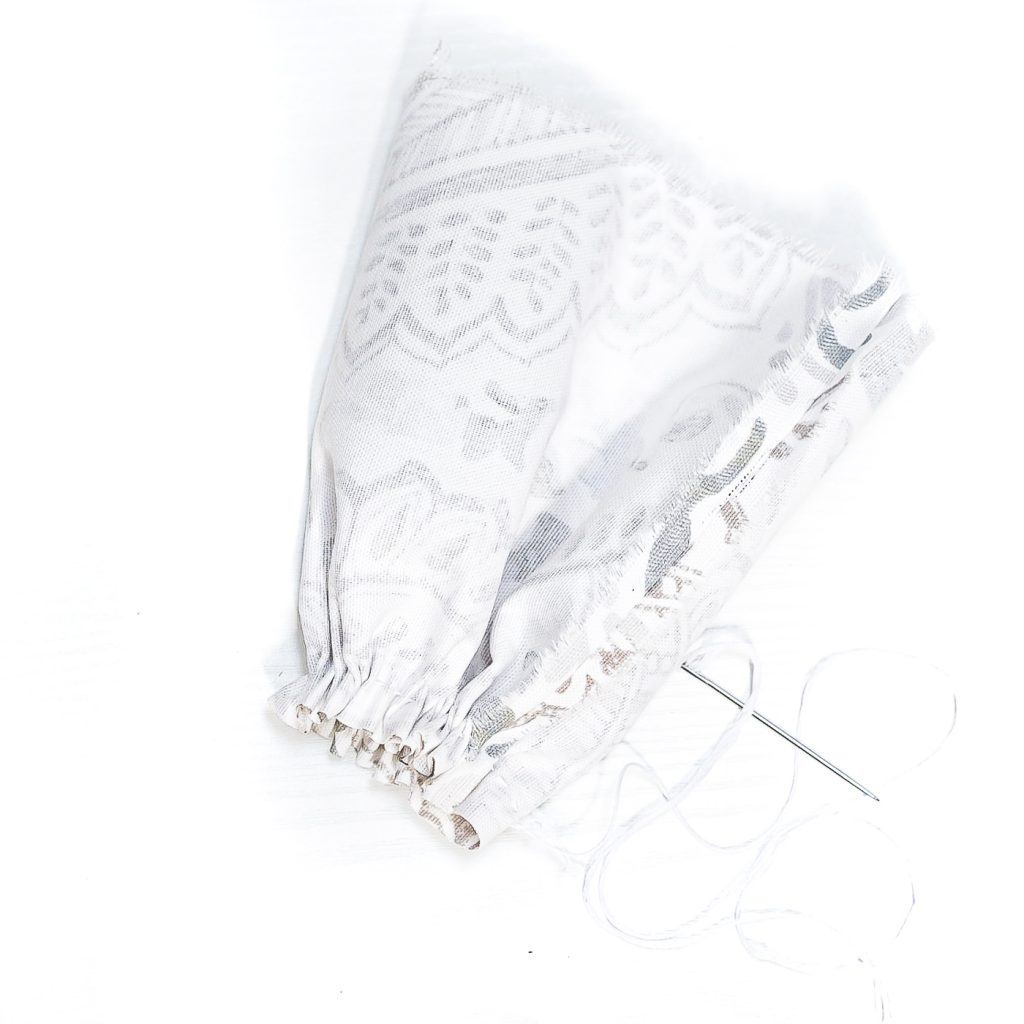
Then pull the thread to gather the fabric.
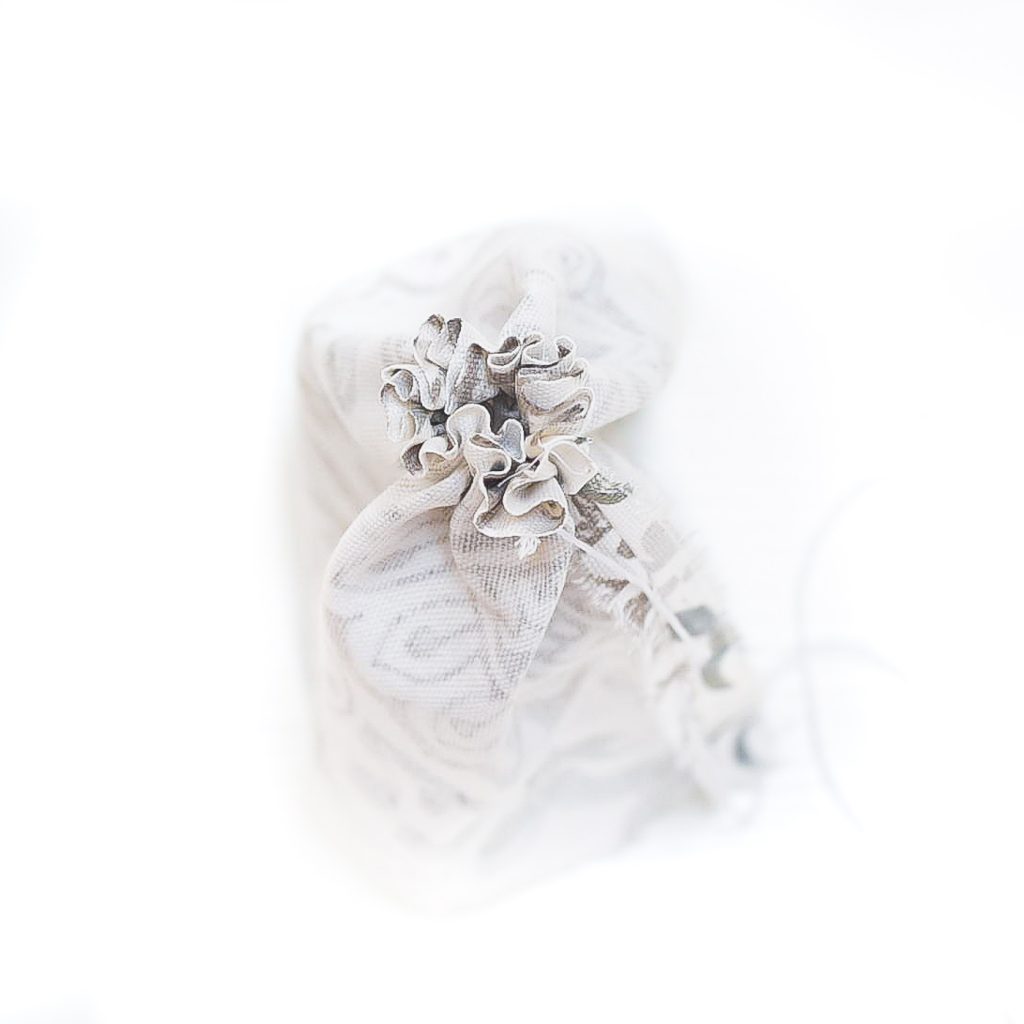
Like so.
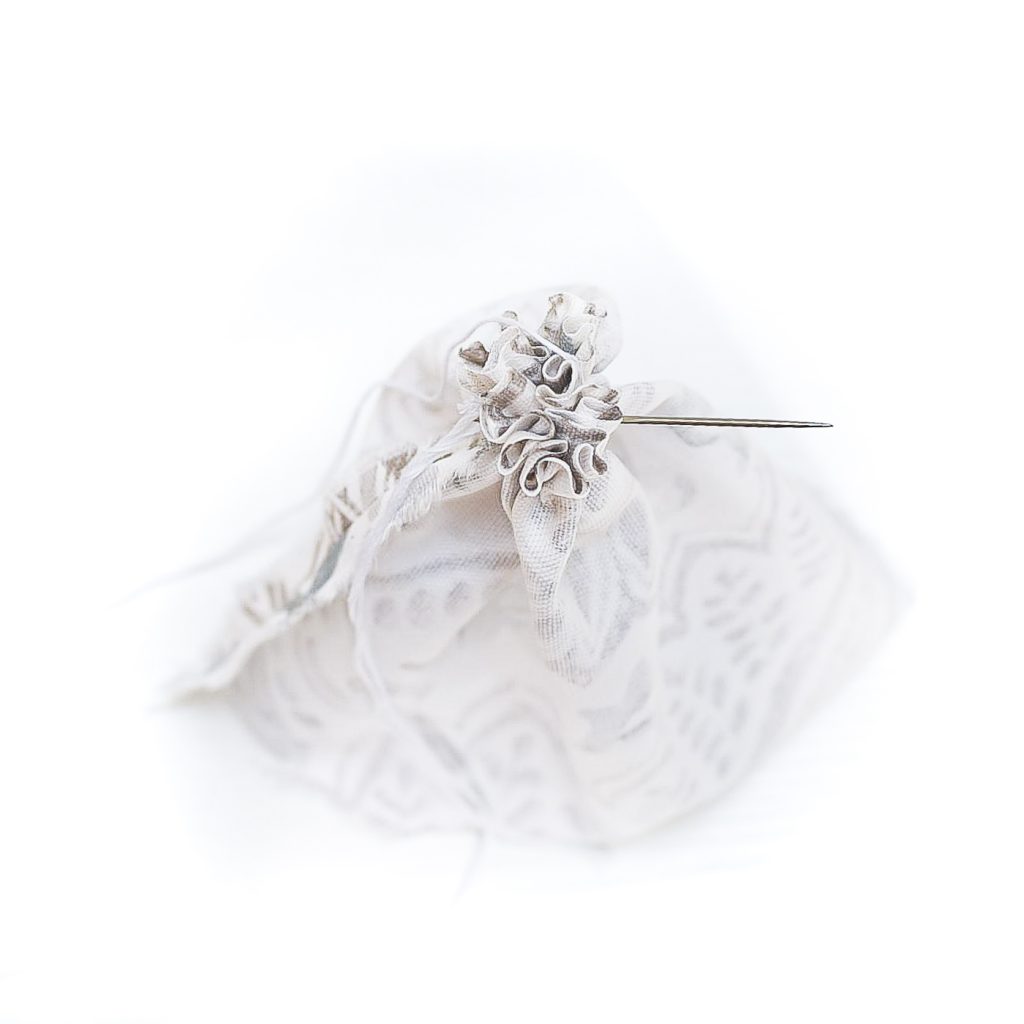
Use the needle to stitch the two sides together. I gave it multiple stitches in multiple directions. Don’t worry about it looking messy.
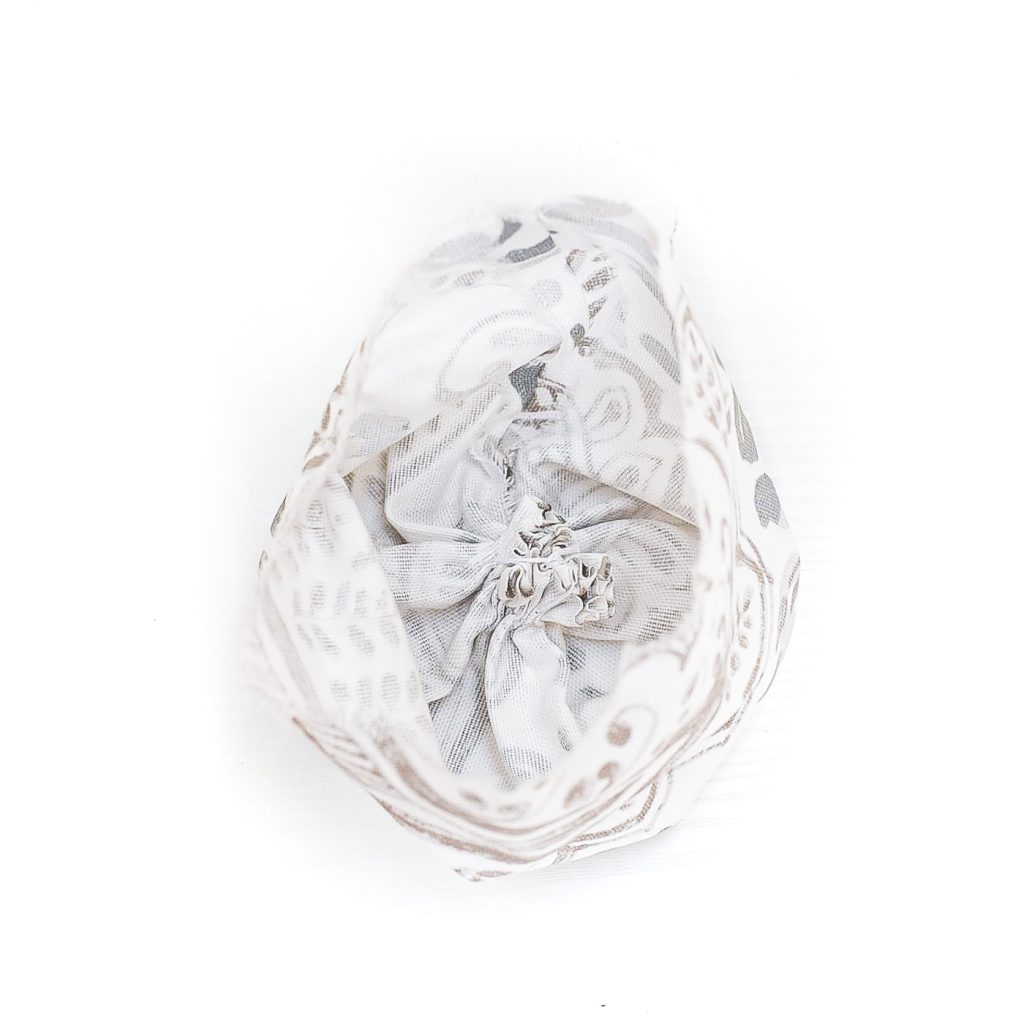
Turn it inside out so that the good side of the fabric is on the outside now.
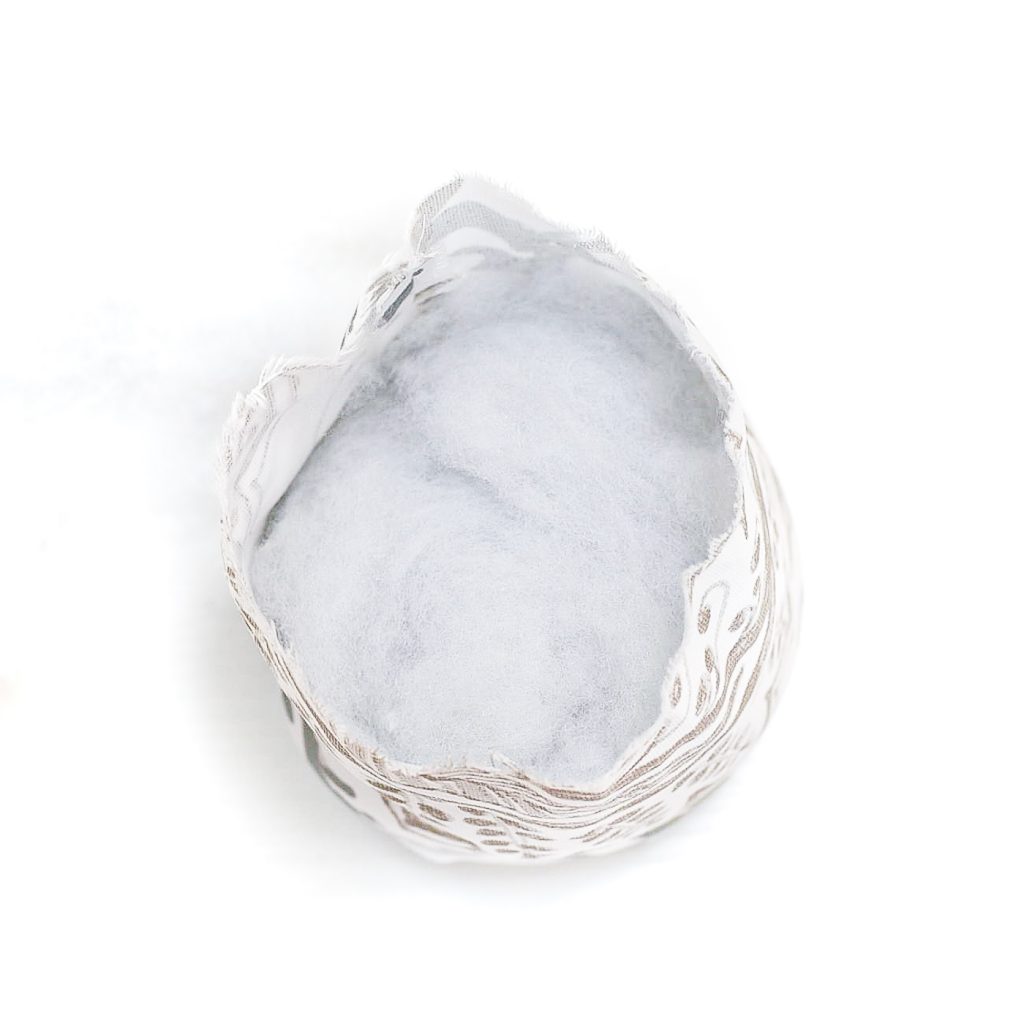
Add stuffing. Pack it pretty full, but leave about 1/4 of fabric on top edge.
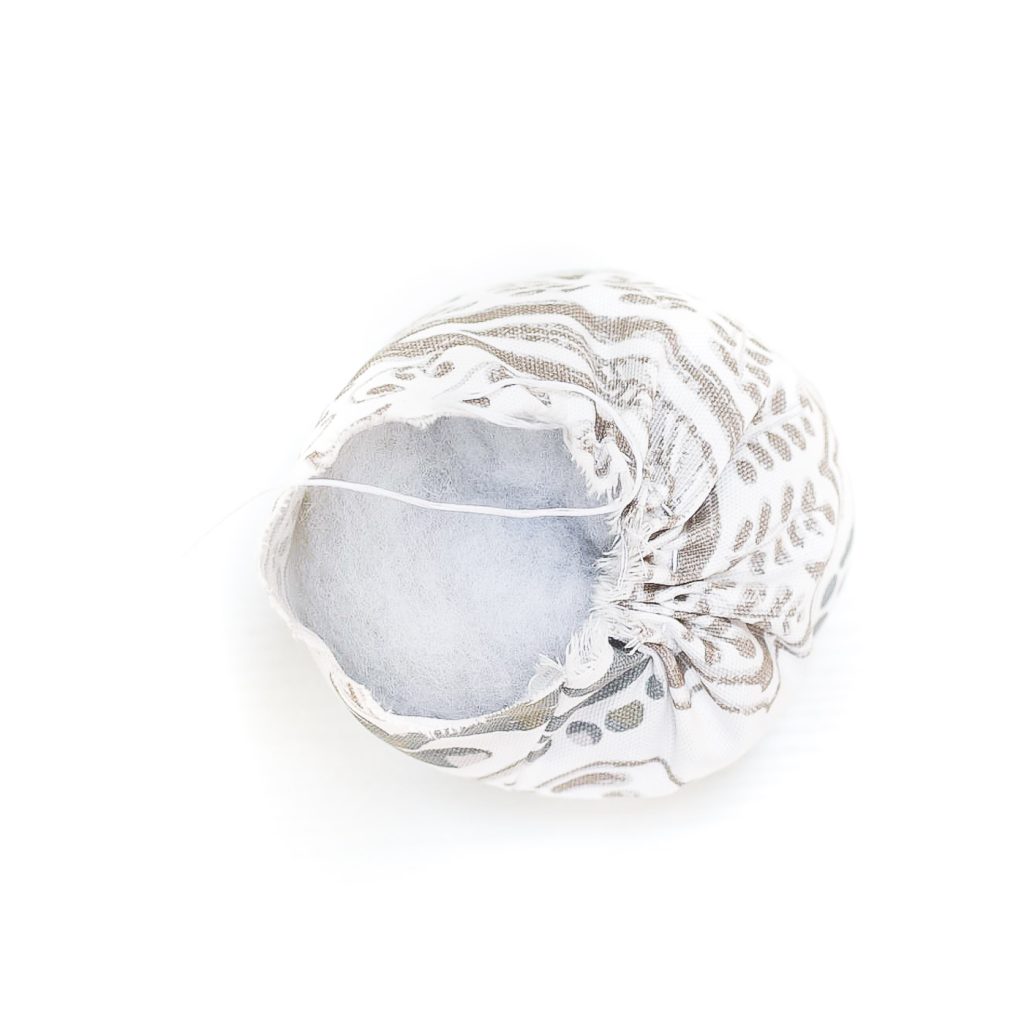
Like with the bottom, use the embroidery needle and thread to make large stitches and gather the fabric as you go along.
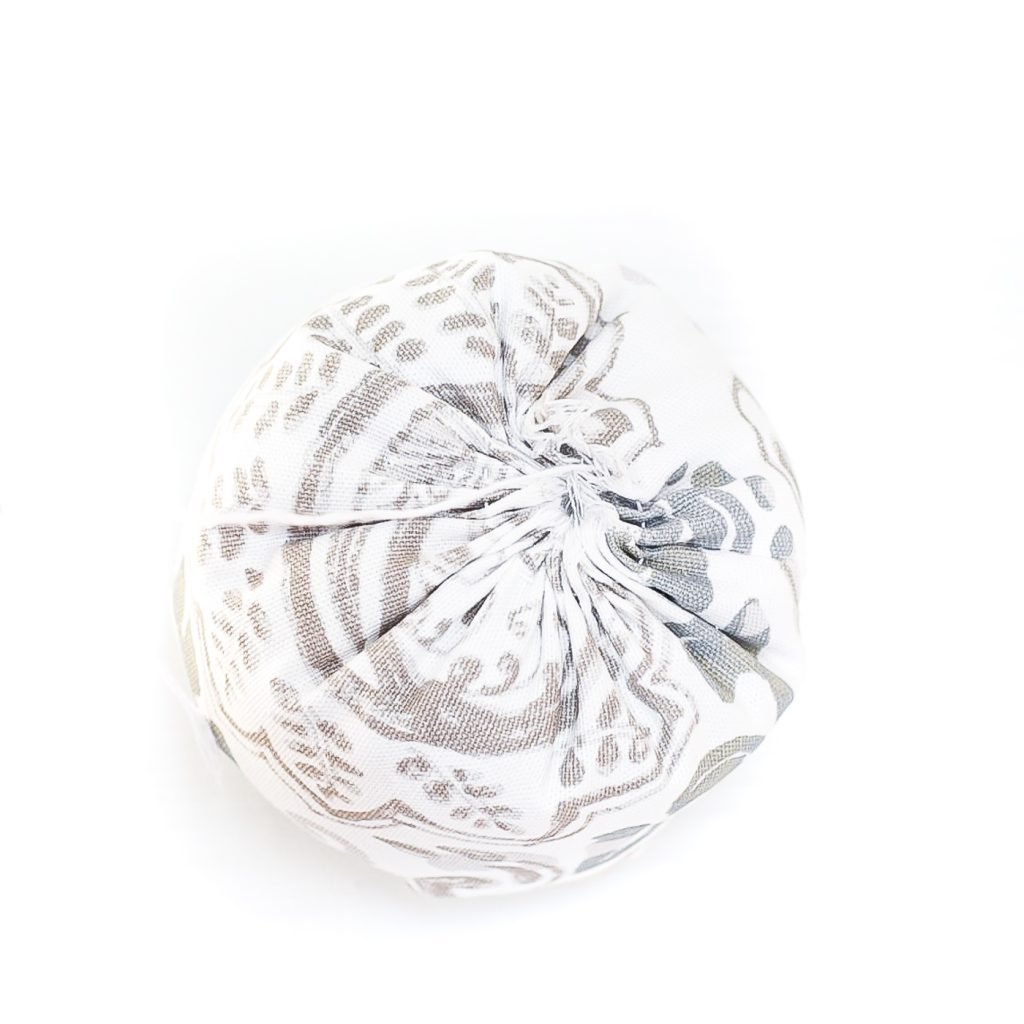
Like so.
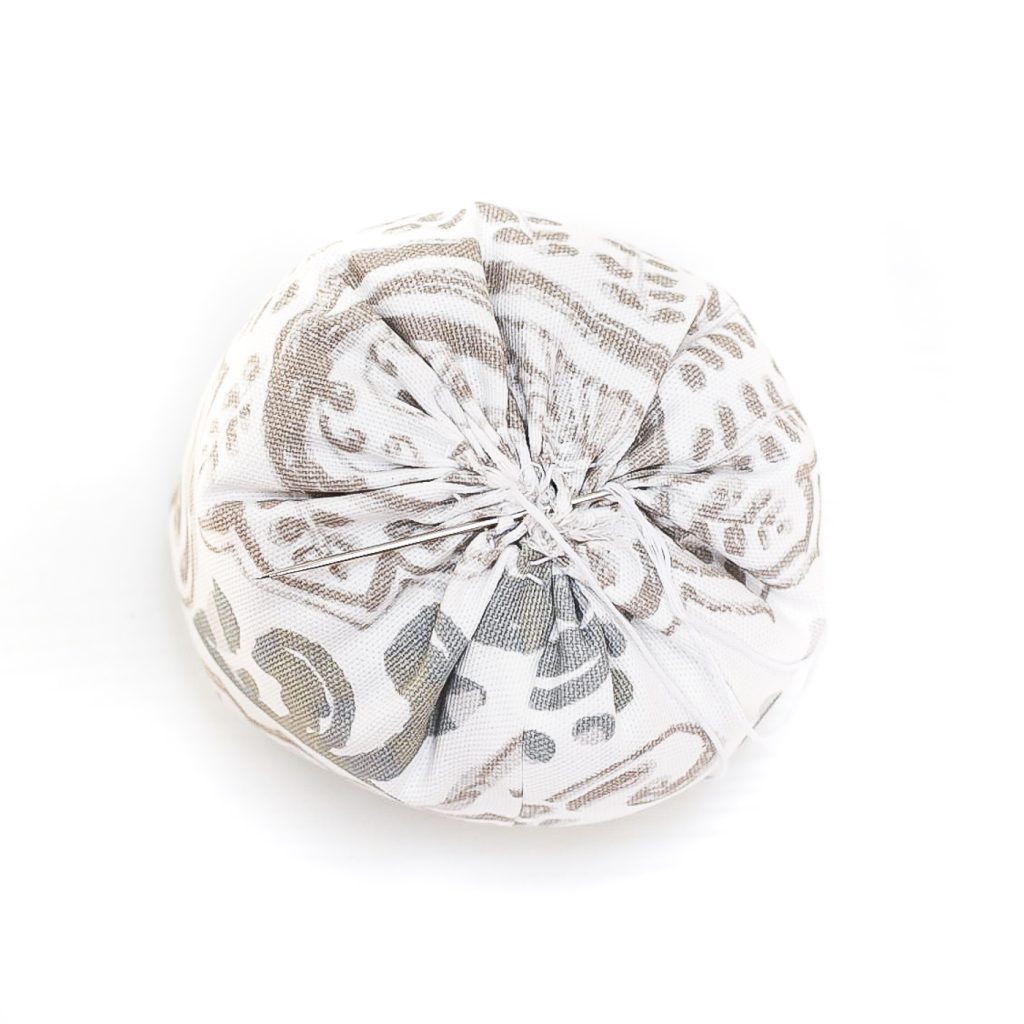
Use the embroidery needle and thread to stitch the top closed.
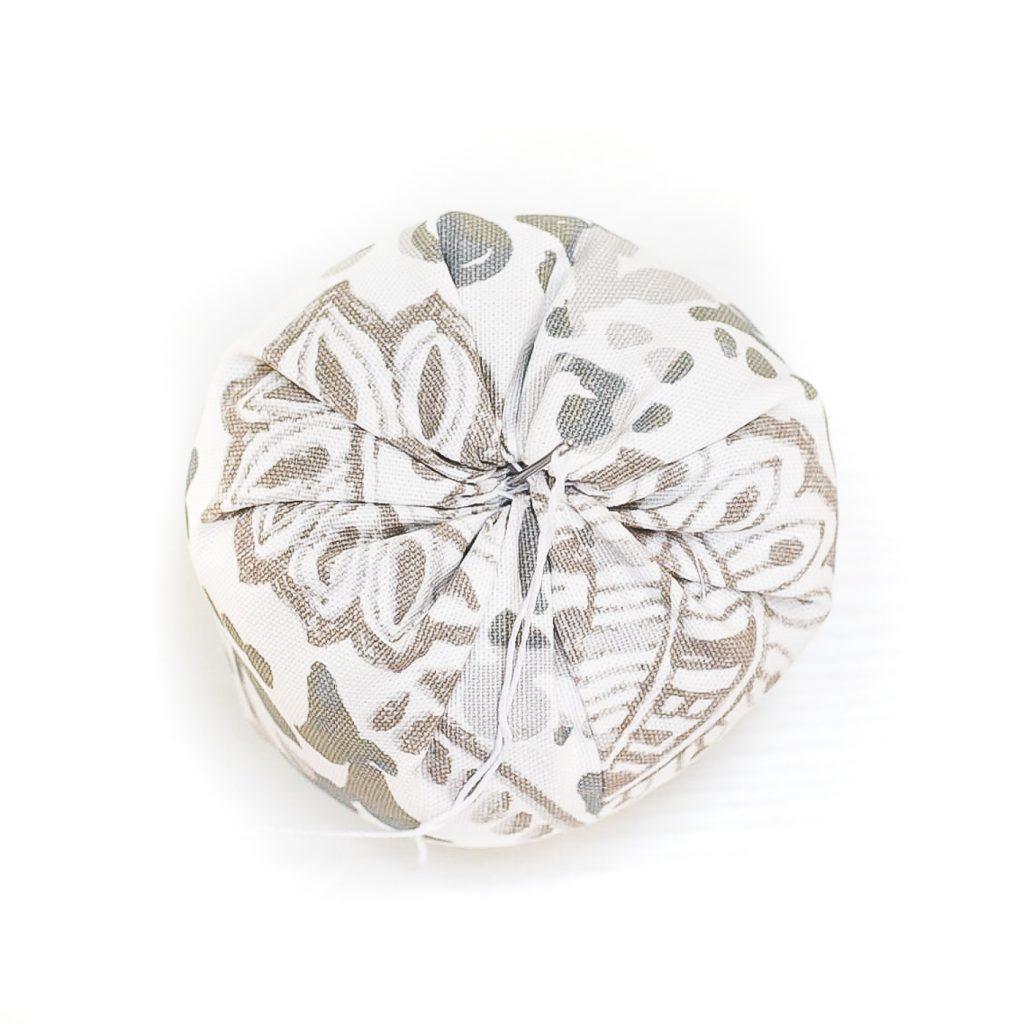
Now you’re going to take the needle and thread and stick it through the center of the pumpkin, and out the center of the bottom of the pumpkin. (Make sure you create a knot at the end of your thread).
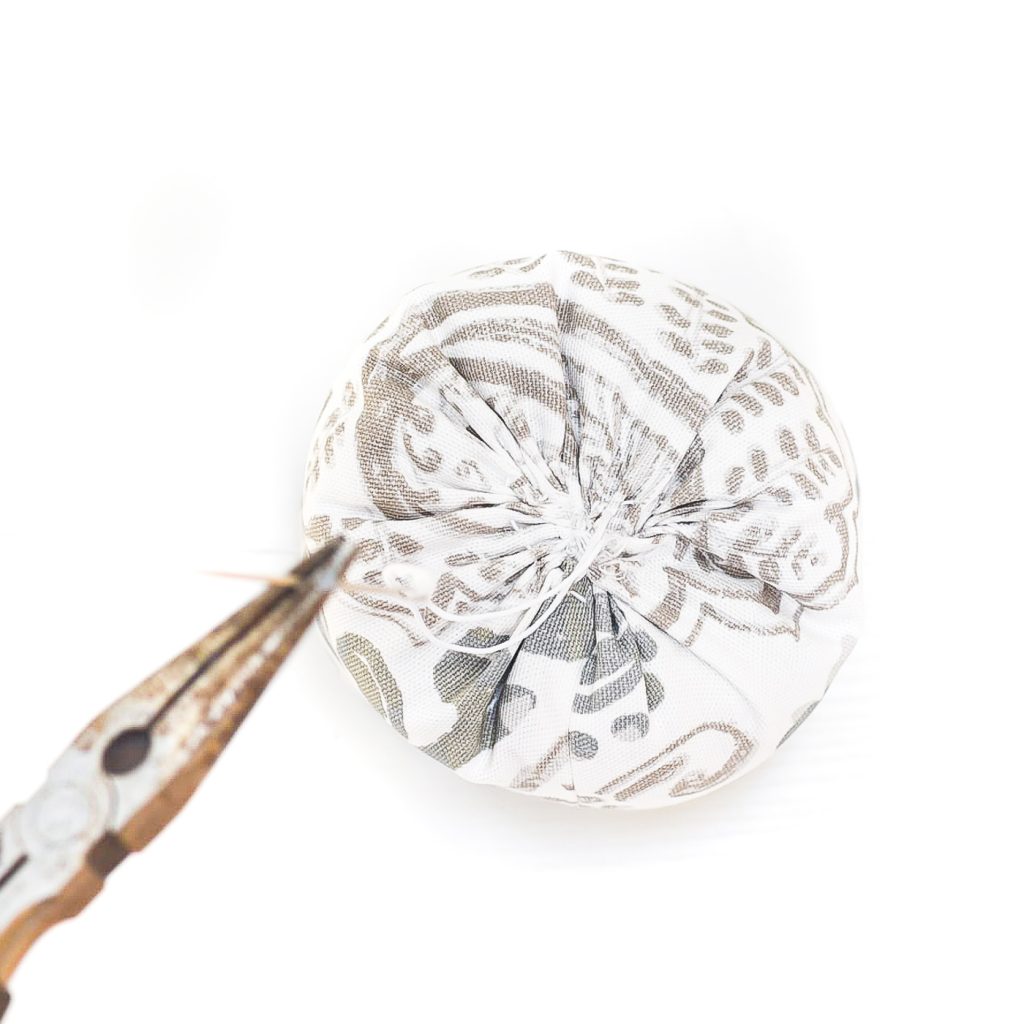
I actually used pliers to pull the needle out of the bottom of the pumpkin.
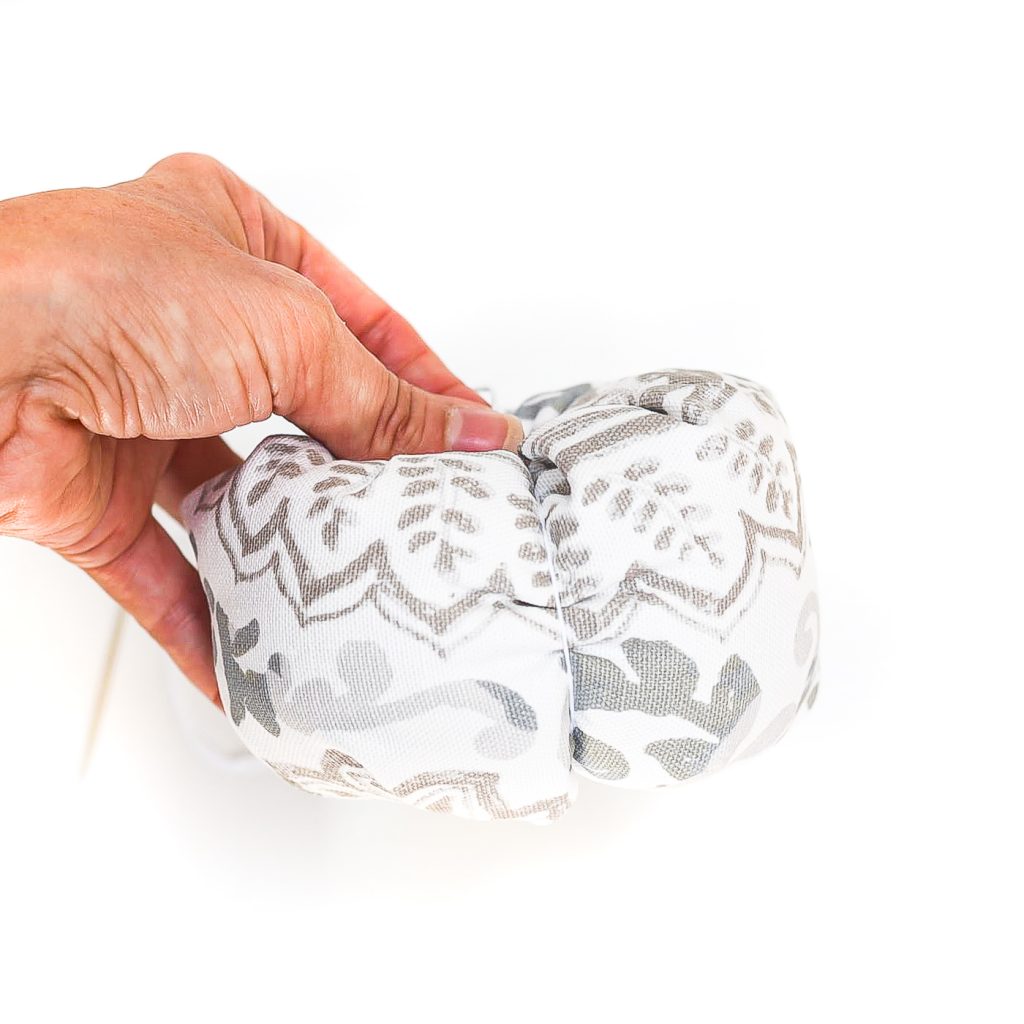
Now you’ll take the string on the outside of the pumpkin and thread it through the top to the bottom again. Pull tight.
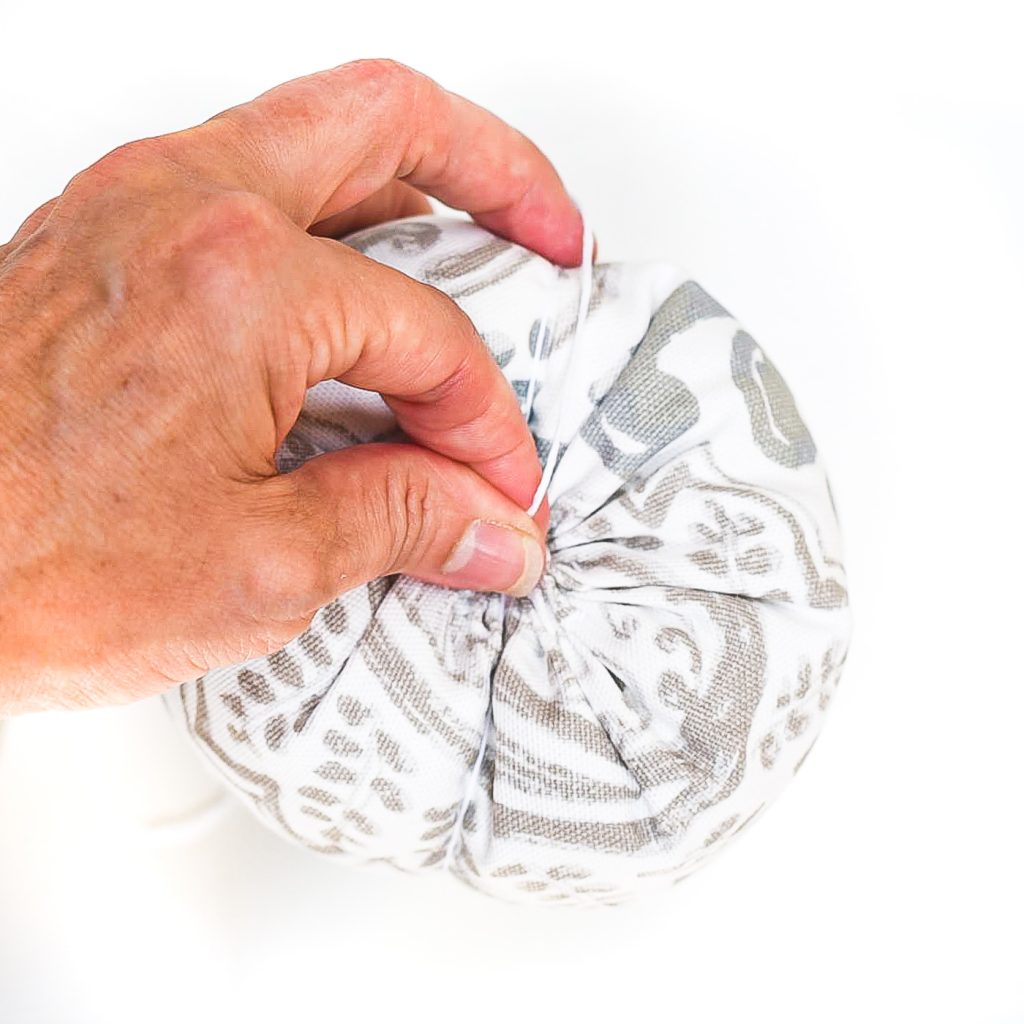
Repeat this process seven more times (giving you 8 pumpkin “slices” separated by thread). I first made two halves of the pumpkin. Then made even quarters. And finished with eighths.
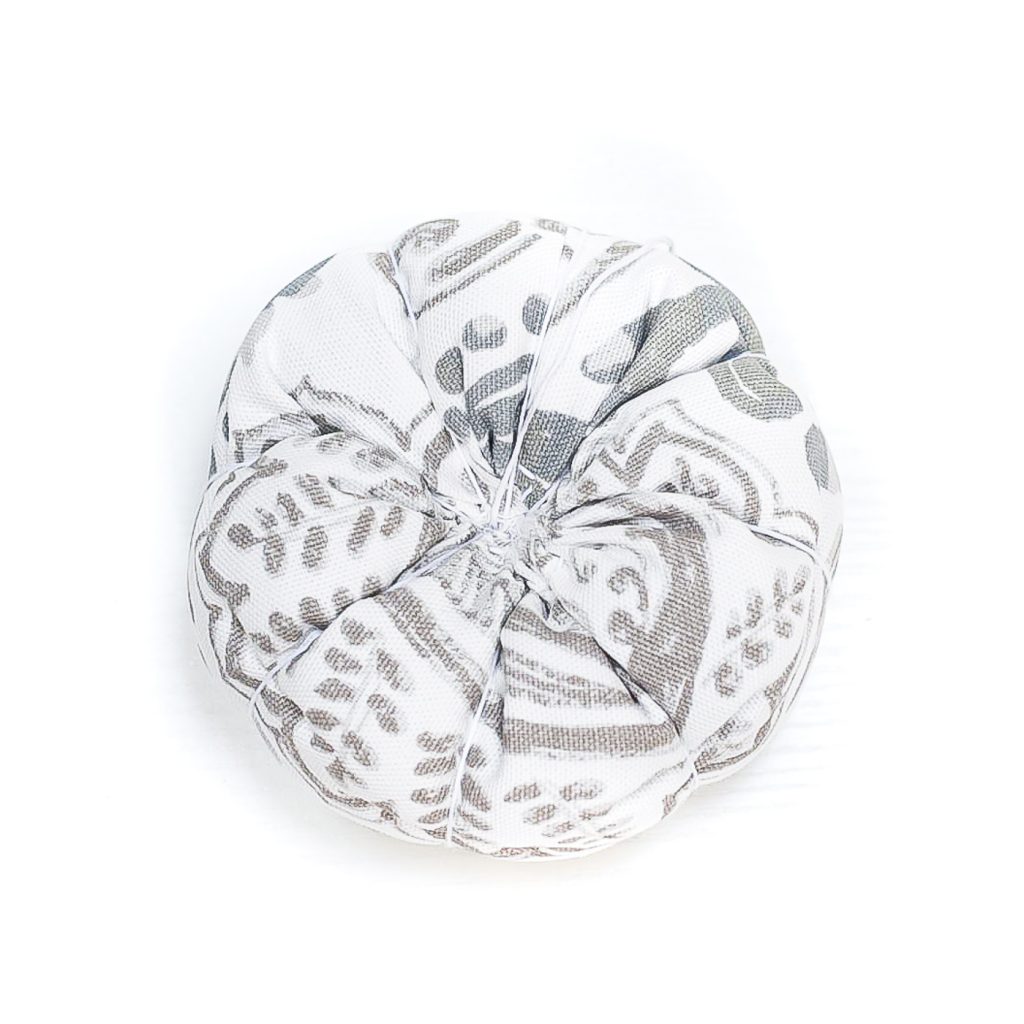
Like so.
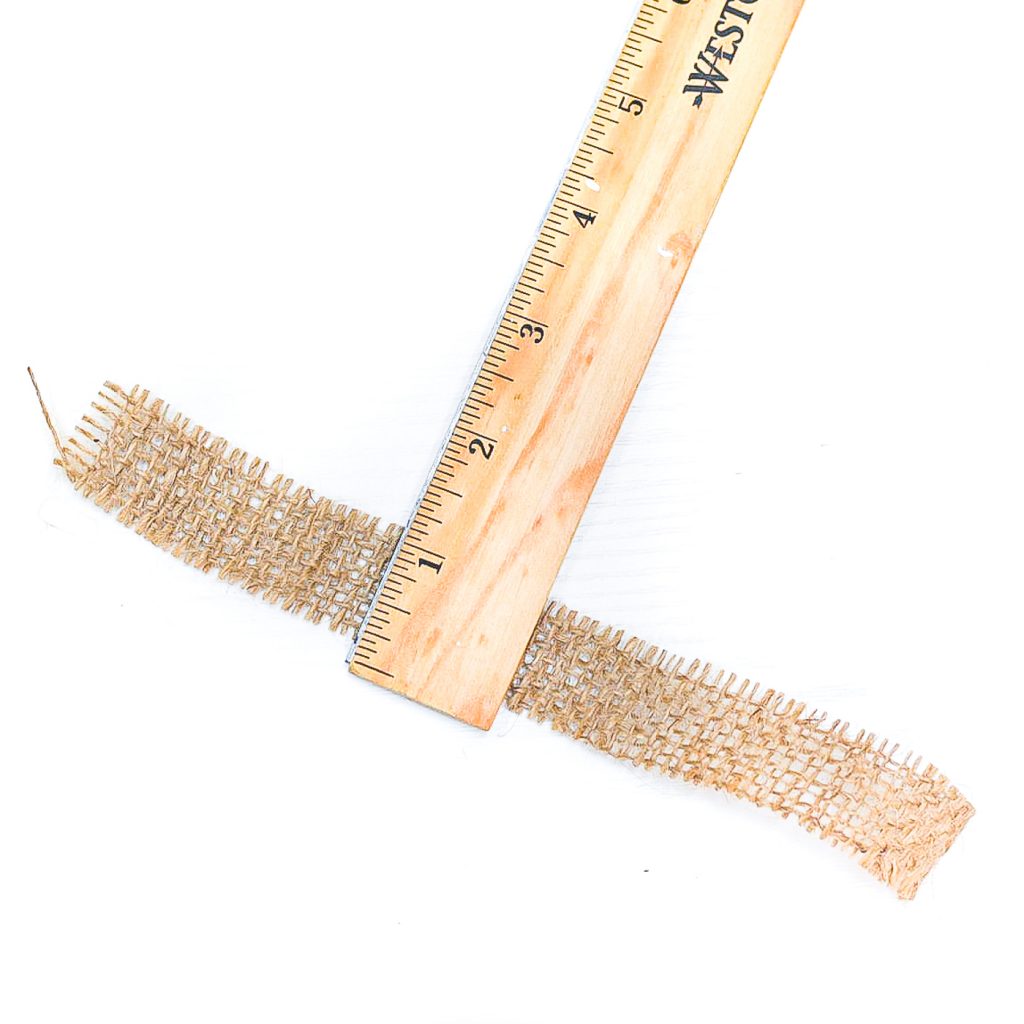
For the stem, I cut a length of burlap that measured a 1″ x 12.”
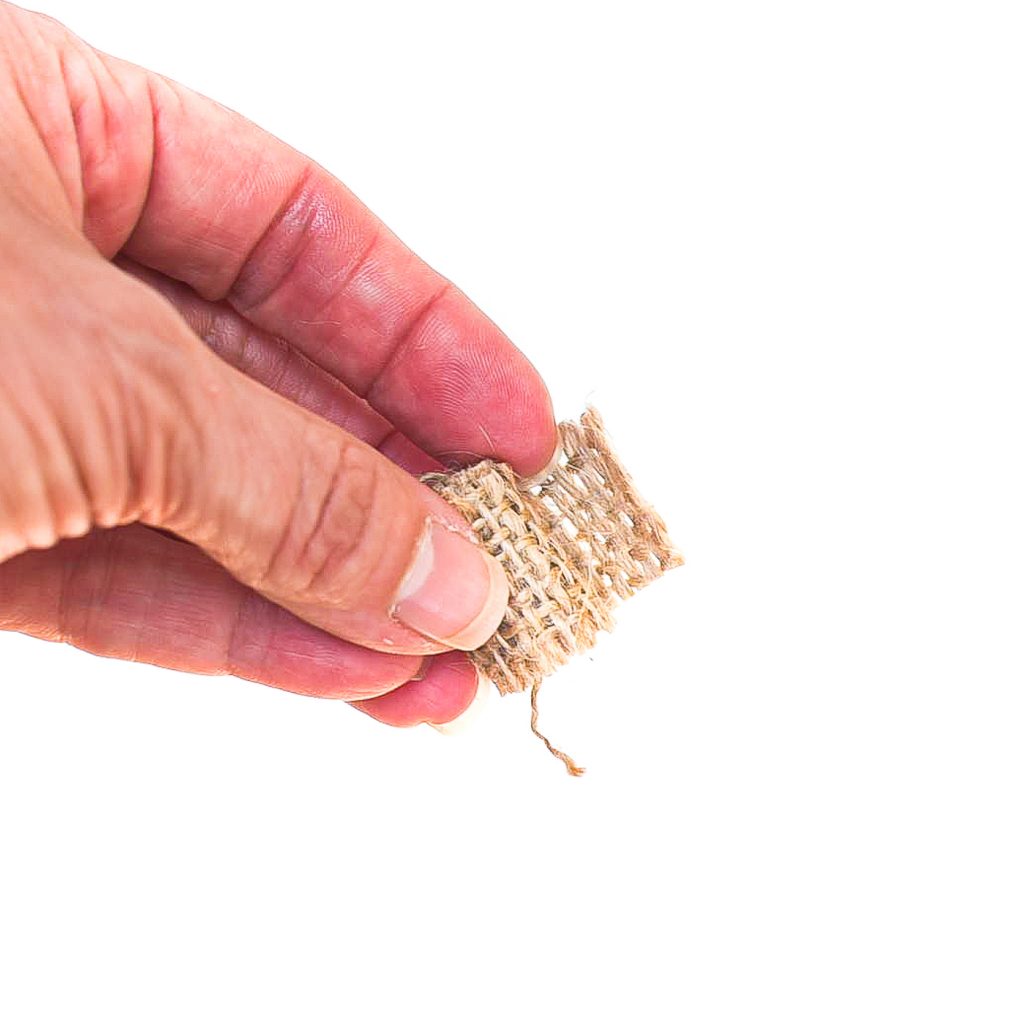
Roll tightly together.
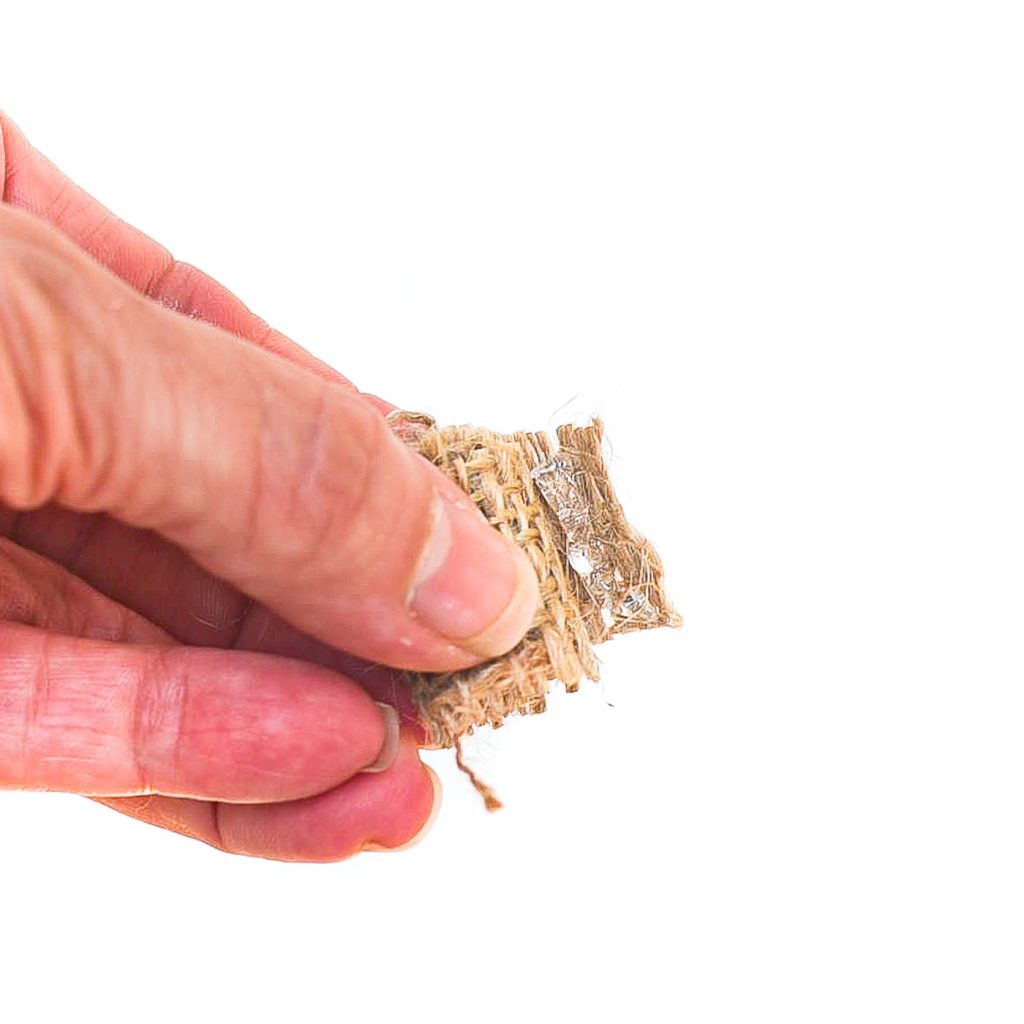
Add hot glue to the end and press (be careful not to burn your fingers like I did!).
I also did some trimming of errant threads and to make sure the length worked for the pumpkin.
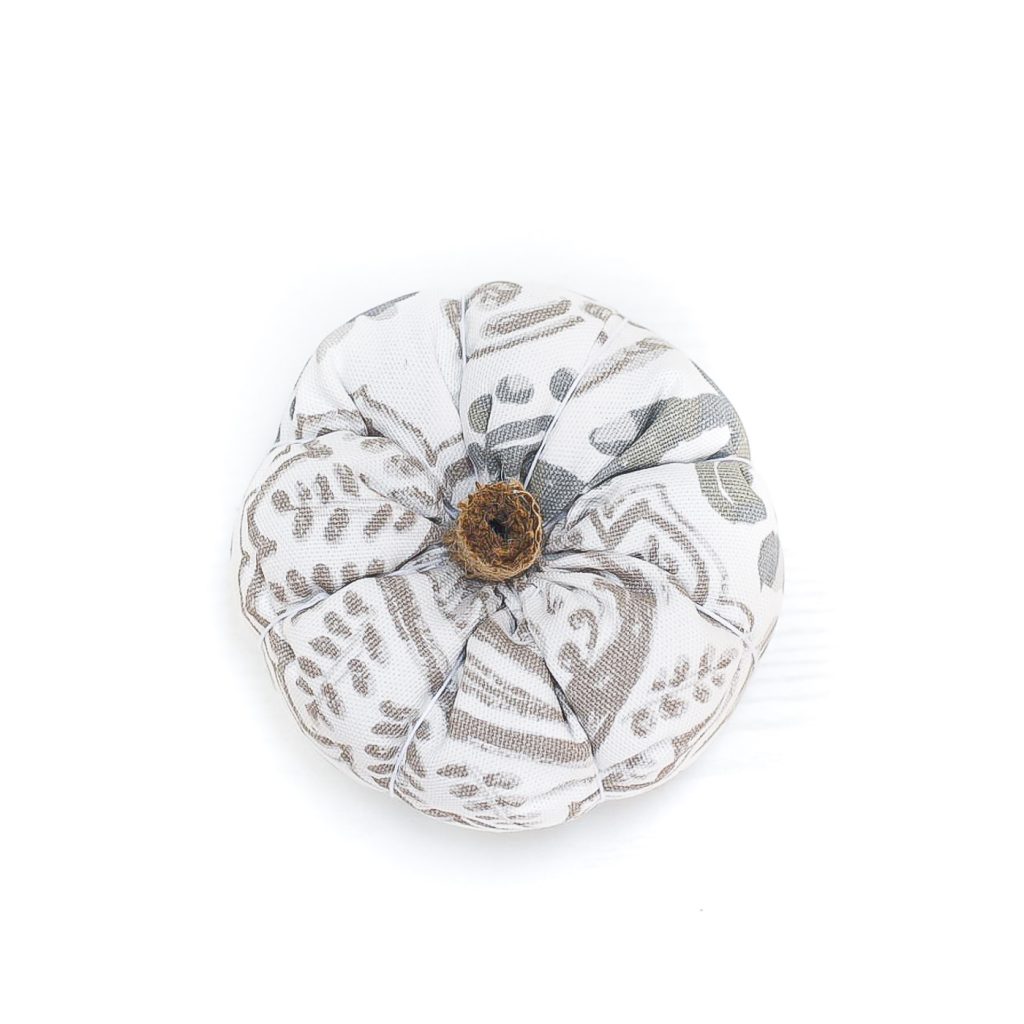
Fix the stem in place with hot glue.
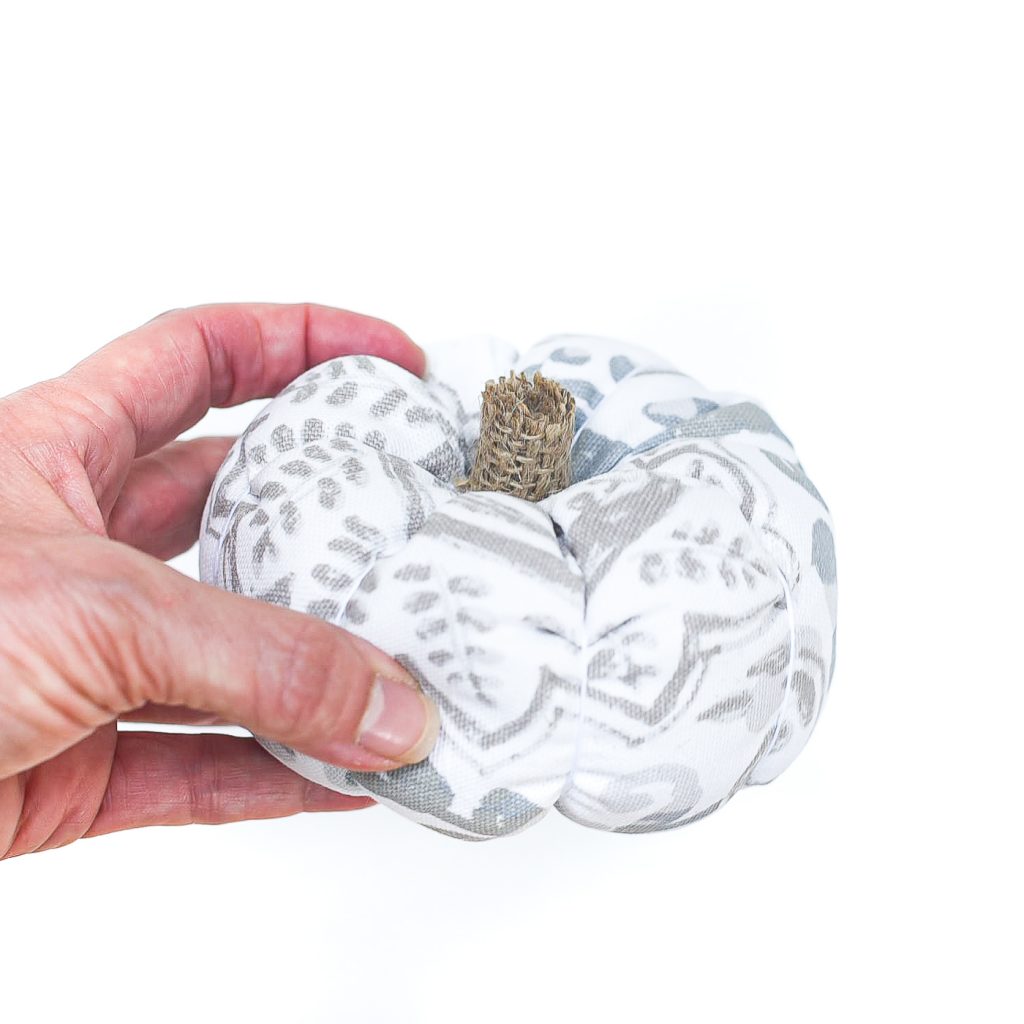
Like so.
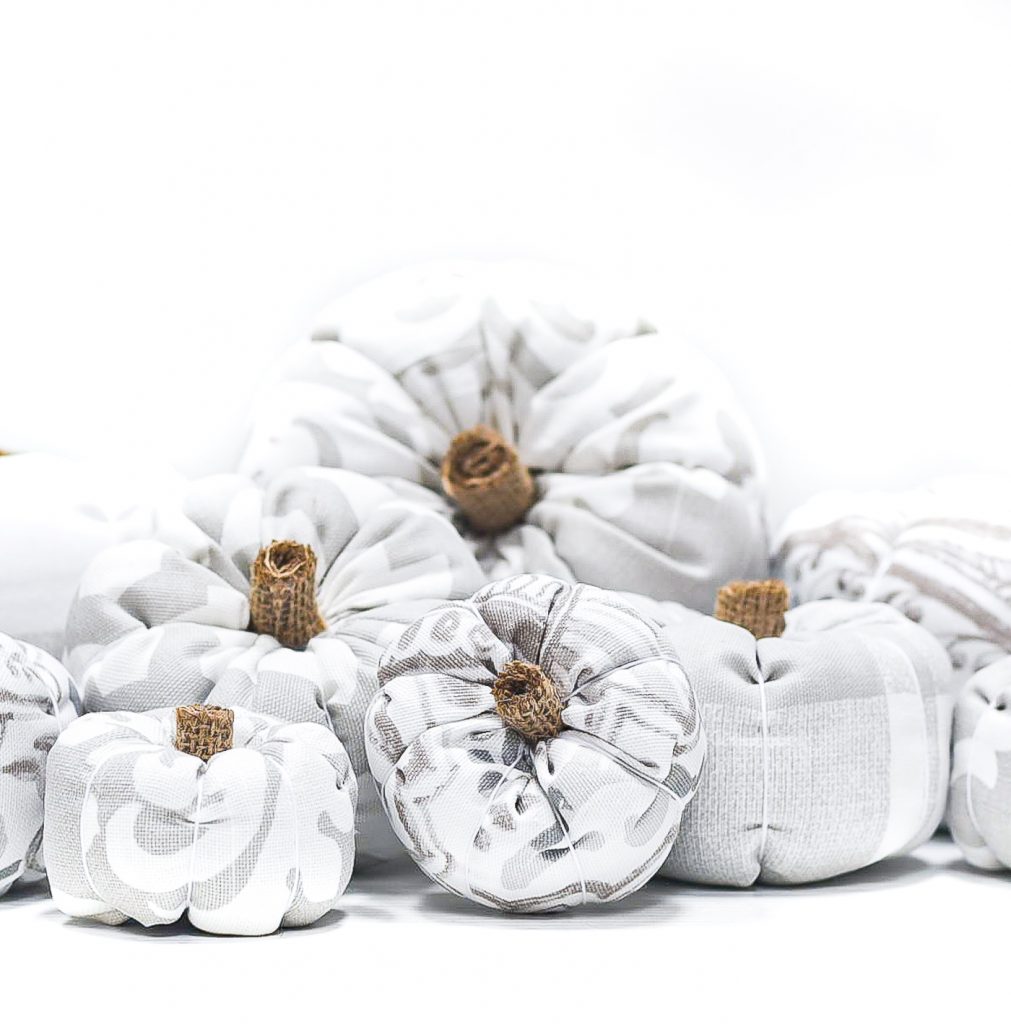
Rinse and repeat! 🙂
The smallest pumpkins used 5″ x 10″ lengths. The largest used 10″ x 20″ lengths.
I know sewing tutorials can be tough in picture form, but you can find a fabulous video tutorial at this link — though I skipped the whole cutting the fabric on the bias part.
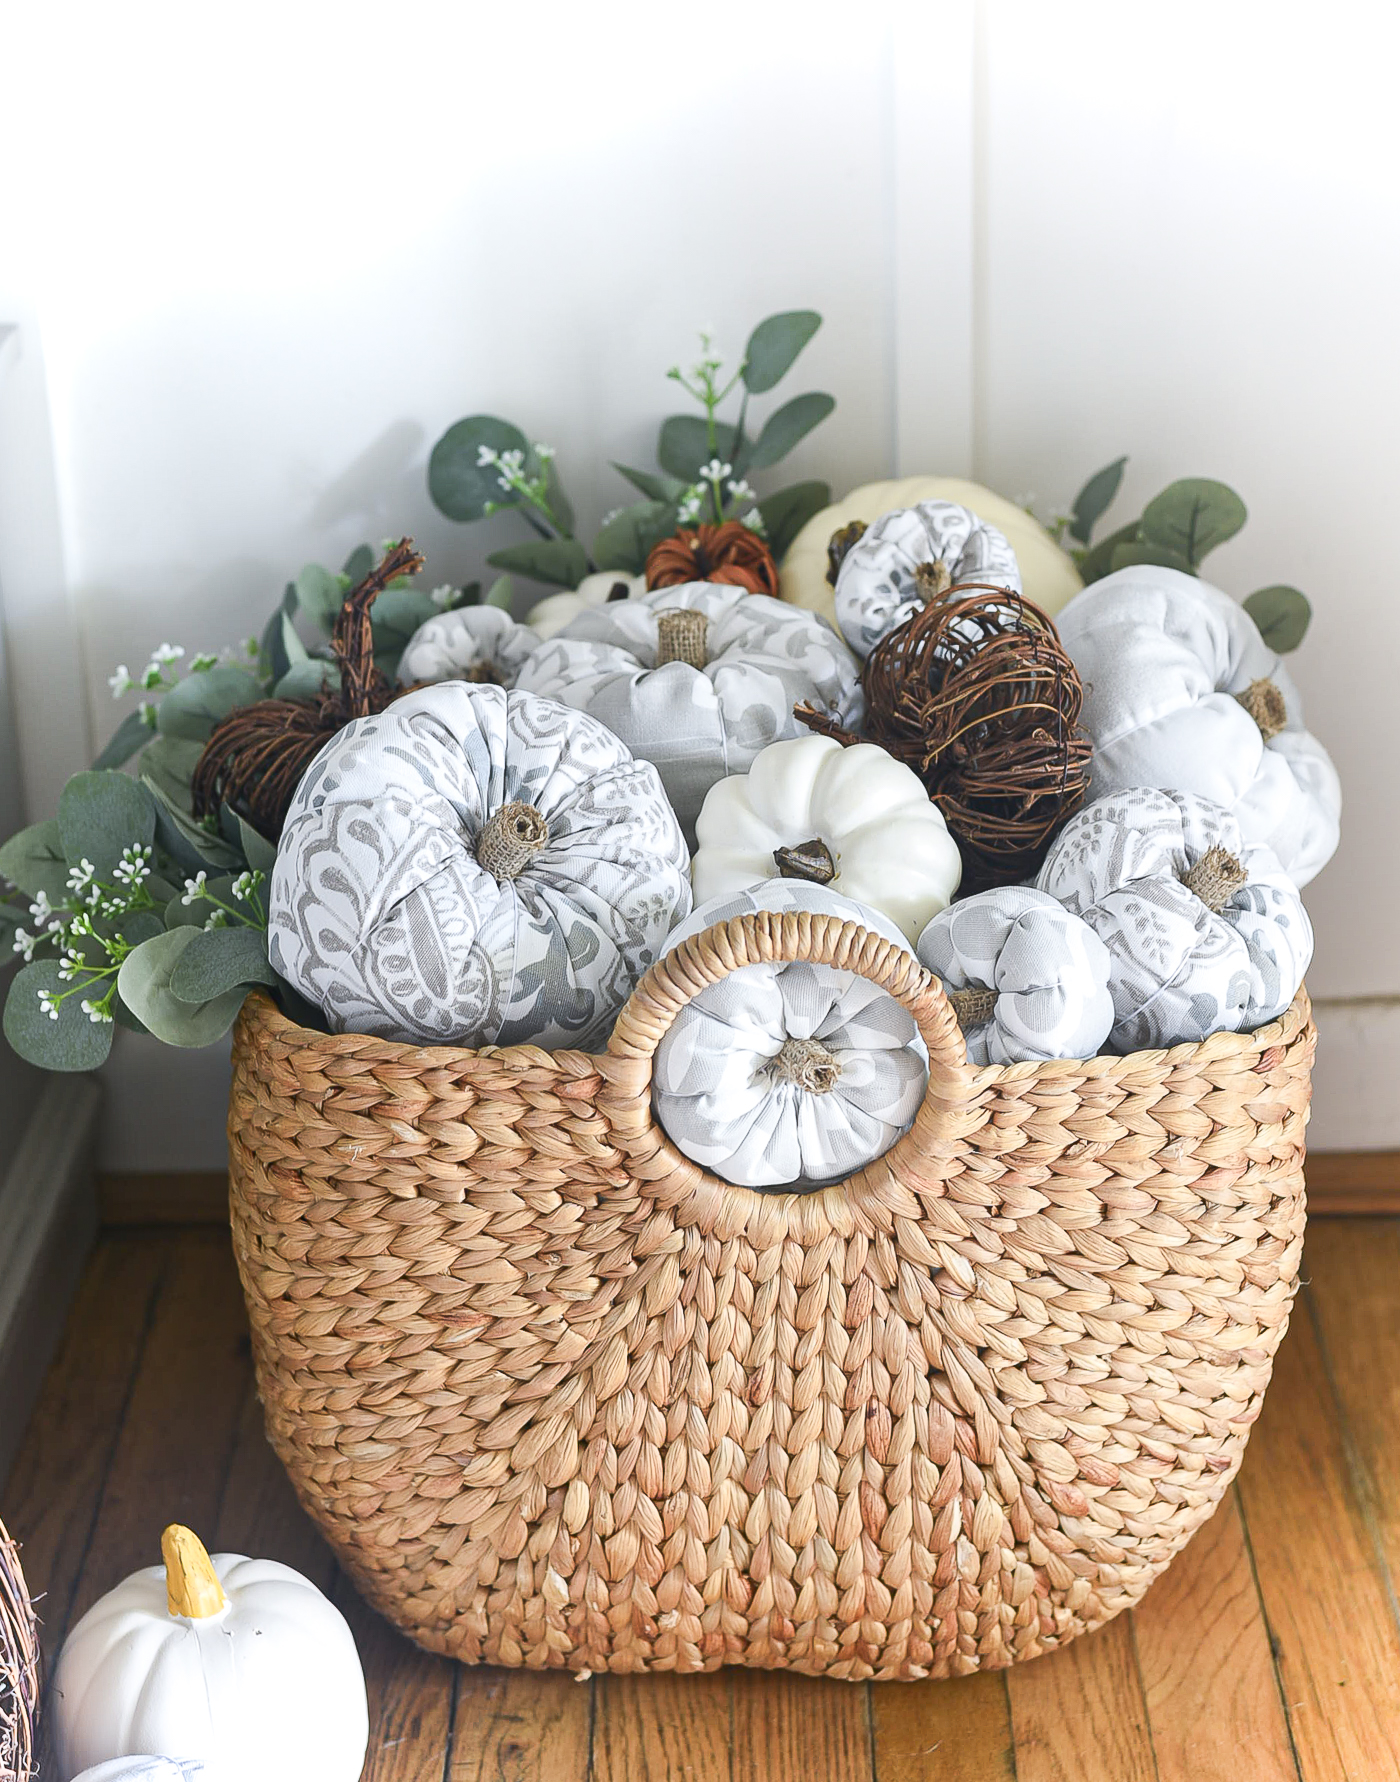
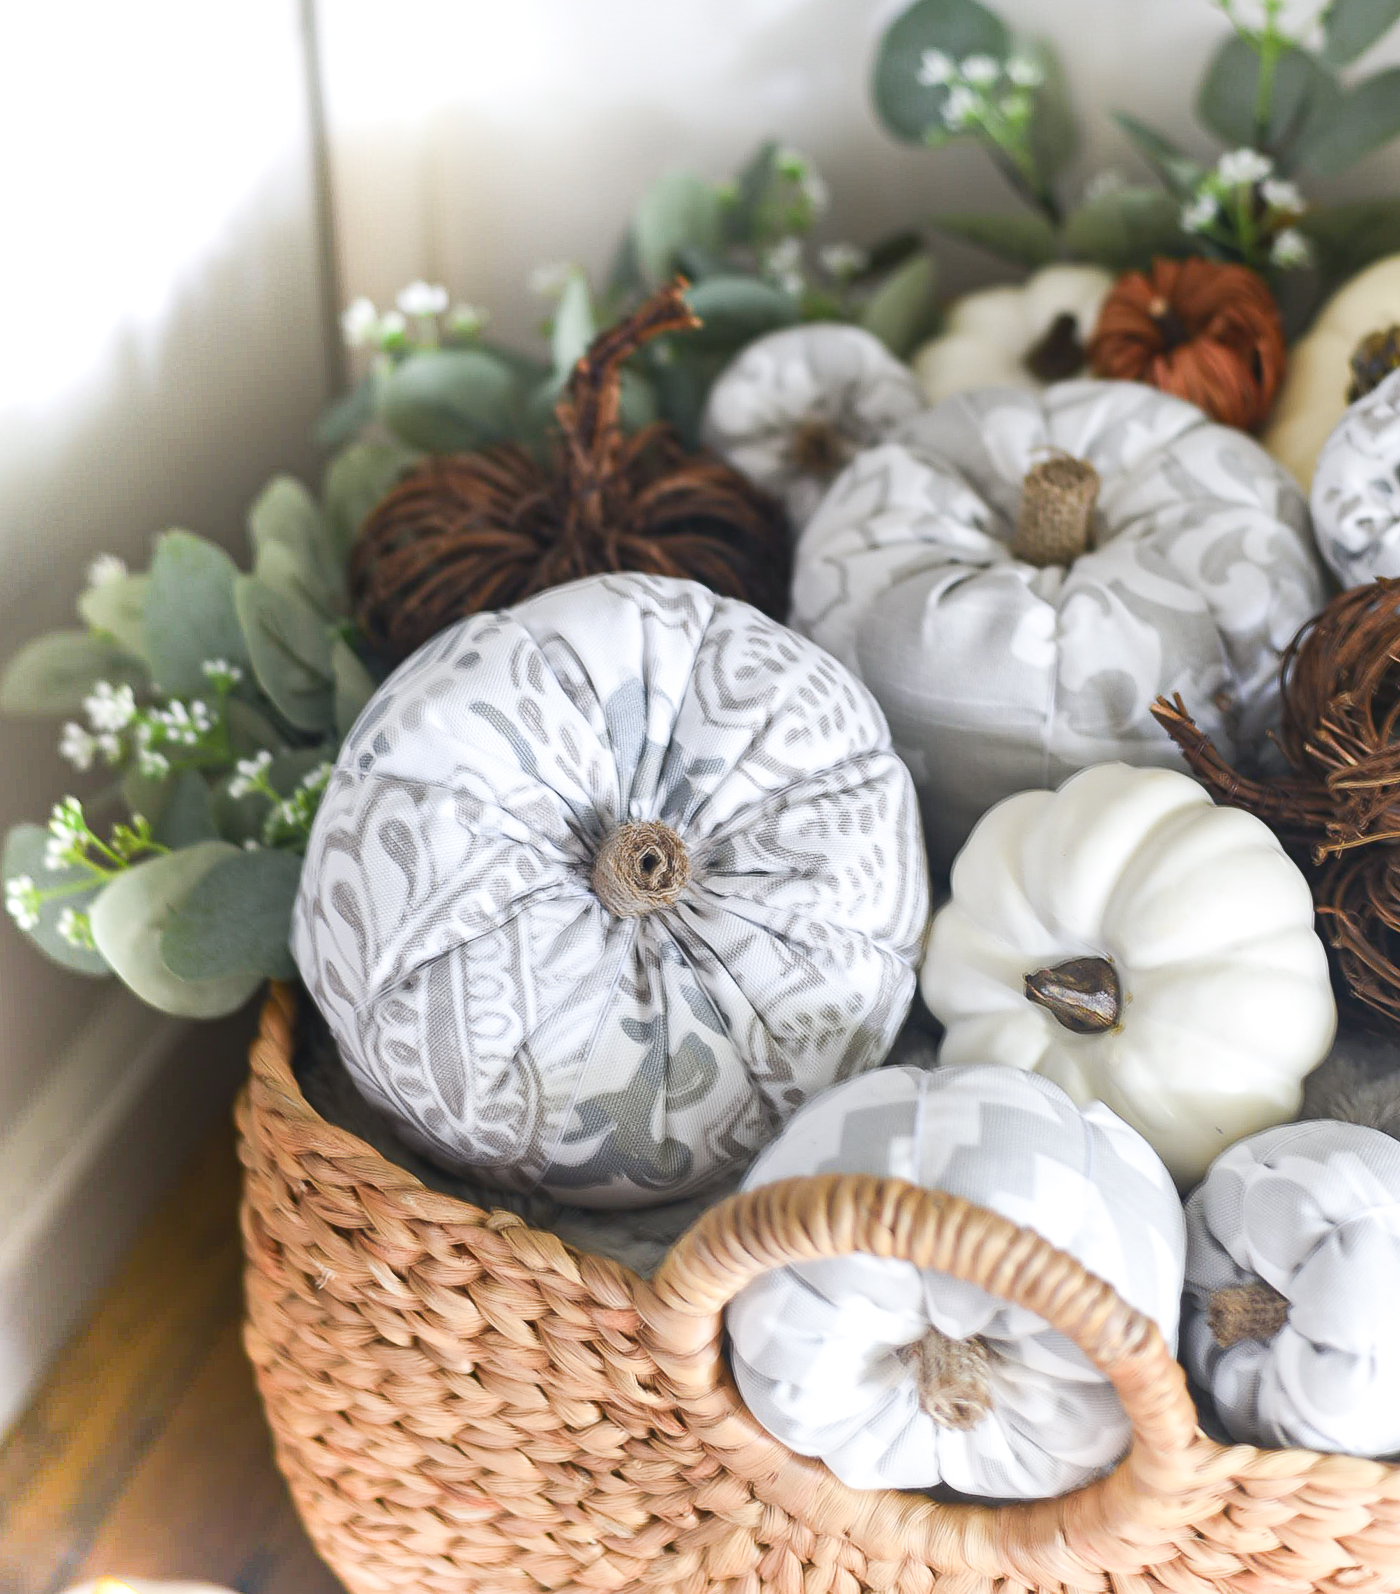
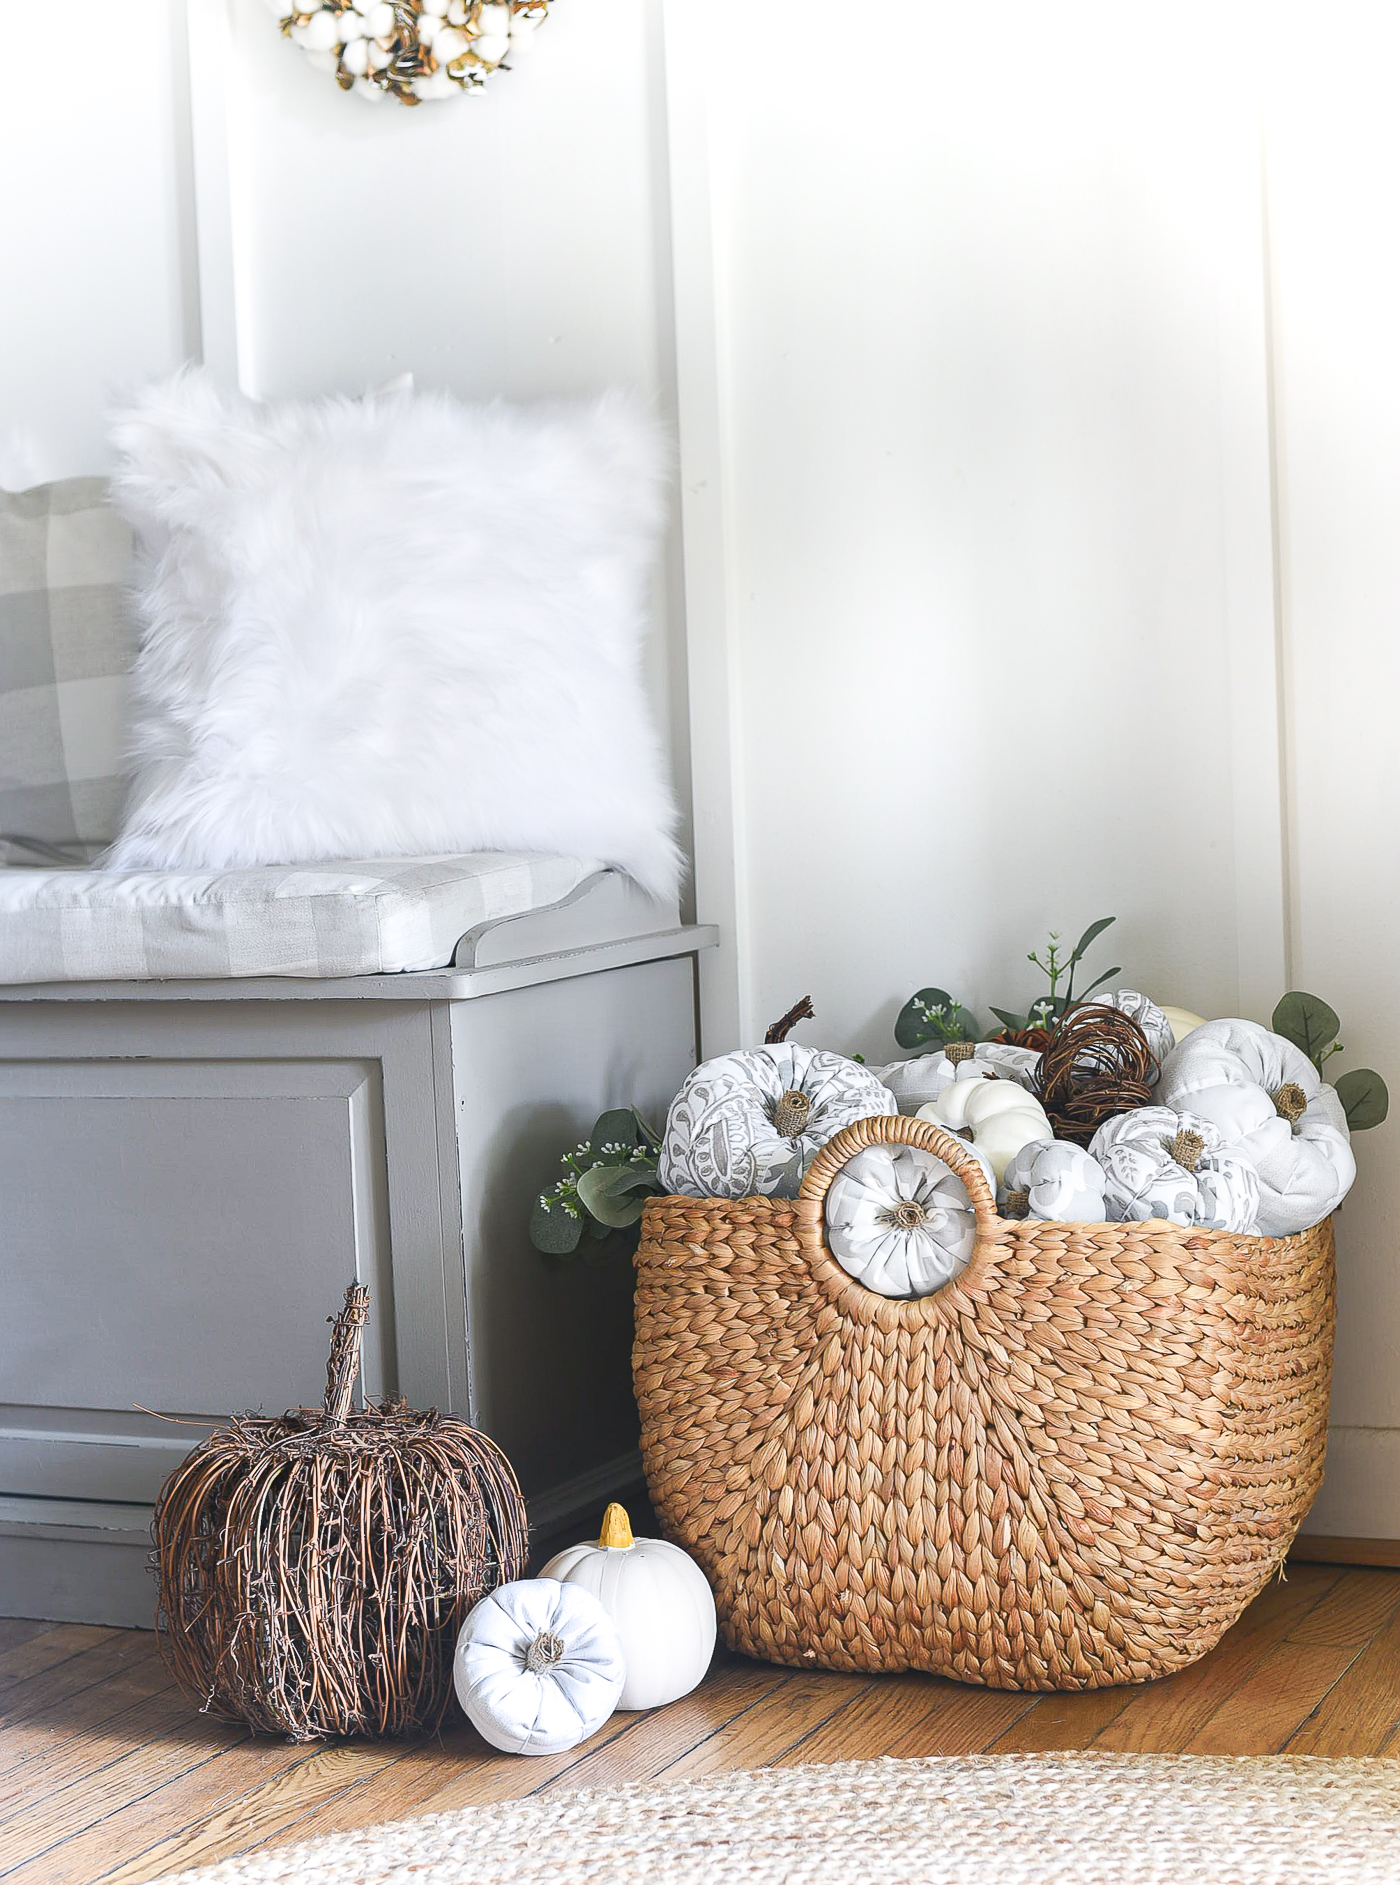
Now I’m going to pat myself on the back for completing two projects using my fabric and craft supply stash! 🙂
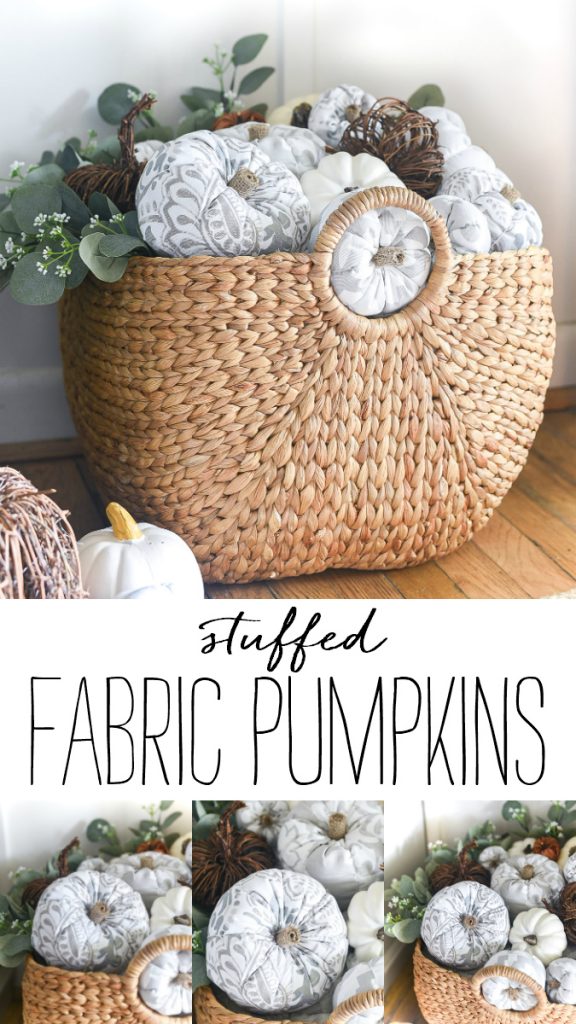
Pin It!
You May Also Like:
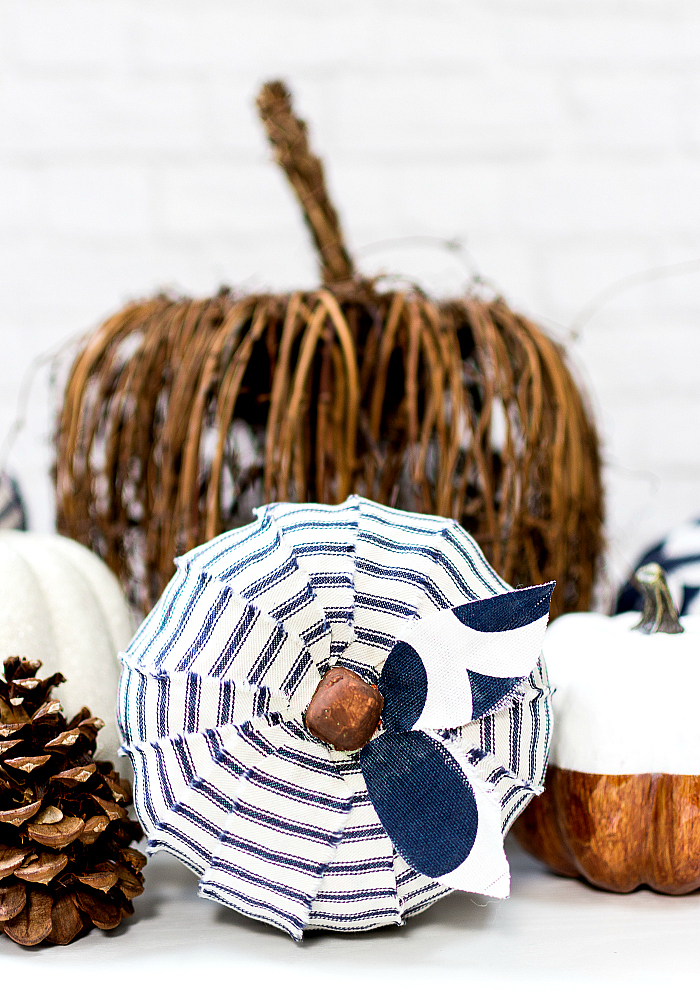
White Painted Pumpkin Mason Jar

Super cute Linda! I saved some pumpkin stems last year so I could make this project. Thanks for the reminder.
The Other Marian
Good luck with your pumpkins! 🙂
Love these!! So glad I came across your site at the Wonderful Wednesday Blog Hop today. Definitely will be making a few of these & pinned for a reminder…thank you for the tutorial!
Great tutorial, I see these all over and have been thinking about giving it a try! Found you on a link party!
Love your fabric pumpkins and so wonderful to “meet” you on craft schooling Sunday, hope you’ll join the party again soon!
Enjoyed your tutorial! Wish I had your discipline. My 4 besties are ACMoore, Michael, Joanne and HL! I shopped at Goodwill for $1 tagged clothes last year in Halloween “colors.” My faves were purple satin PJ bottoms (I started cutting them up before I looked at the Victoria’s Secret tag, but they were too small, anyway) and pale greeen and ecru cable sweaters for “baby boos”. Using the sleeves/pantlegs eliminated sewing. I left my tops open and inserted sticks in for stems. Love your rolled ribbon idea. Want to make more this year with unused ones I started. Hot glued on fall bows or jute strings with acorns, silk leaves, etc. to make them all different!
That sounds like a great idea! And (luckily) for me HL isn’t in the city. So it’s a big trip to the burbs which typically means me being lost! Probably has saved me thousands!! 🙂
i used your rolled ribbon idea with a fancy burlap; looked great. Also did a few with corks and liked that, too! Our 2 HLs are an hour and 70 min. away so it is always a treat to go; one is supposed to come to a local closed K-Mart, Going often will ruin the mystique of it for me. Ditto for our local Christmas Tree Shop.
Thanks for the tutorial–very helpful. I can’t wait to make some pumpkins.