How to Decorate Easter Eggs with Rhinestones, Pearls & Flowers – Easy Easter Egg Decorating Ideas
Remember back in January when I talked about my New Year’s non-resolution resolutions? One of which was writing and/or journaling everyday.
Yeah, well that’s not going so great. Or is it well? That’s not going so well?
Perhaps if I journaled more I would know the difference. 😉
And my failed non-resolution resolution to journal daily should be abundantly clear …
because now I’ve resorted to writing a blog post about how it’s not going great. Or well.
Or really at all.
But in the spirit of my New Year’s non-resolution resolutions, I am amending the journaling resolution. Or, is it amending the journaling non-resolution?
As I get ready to welcome Spring — marking two-and-a-half months into 2024 — I’m amending the daily writing/journaling non-resolution resolution. It’s no longer an unrealistic daily goal. Instead, I’m aiming to get (at a minimum) some words on pages one-to-two times a week.
I originally typed one-to-three times but quickly amended it to two.
Knowing full well that it’ll probably be one. Lol.
Considering my track record thus far, I’m just trying to be realistic! 🙂
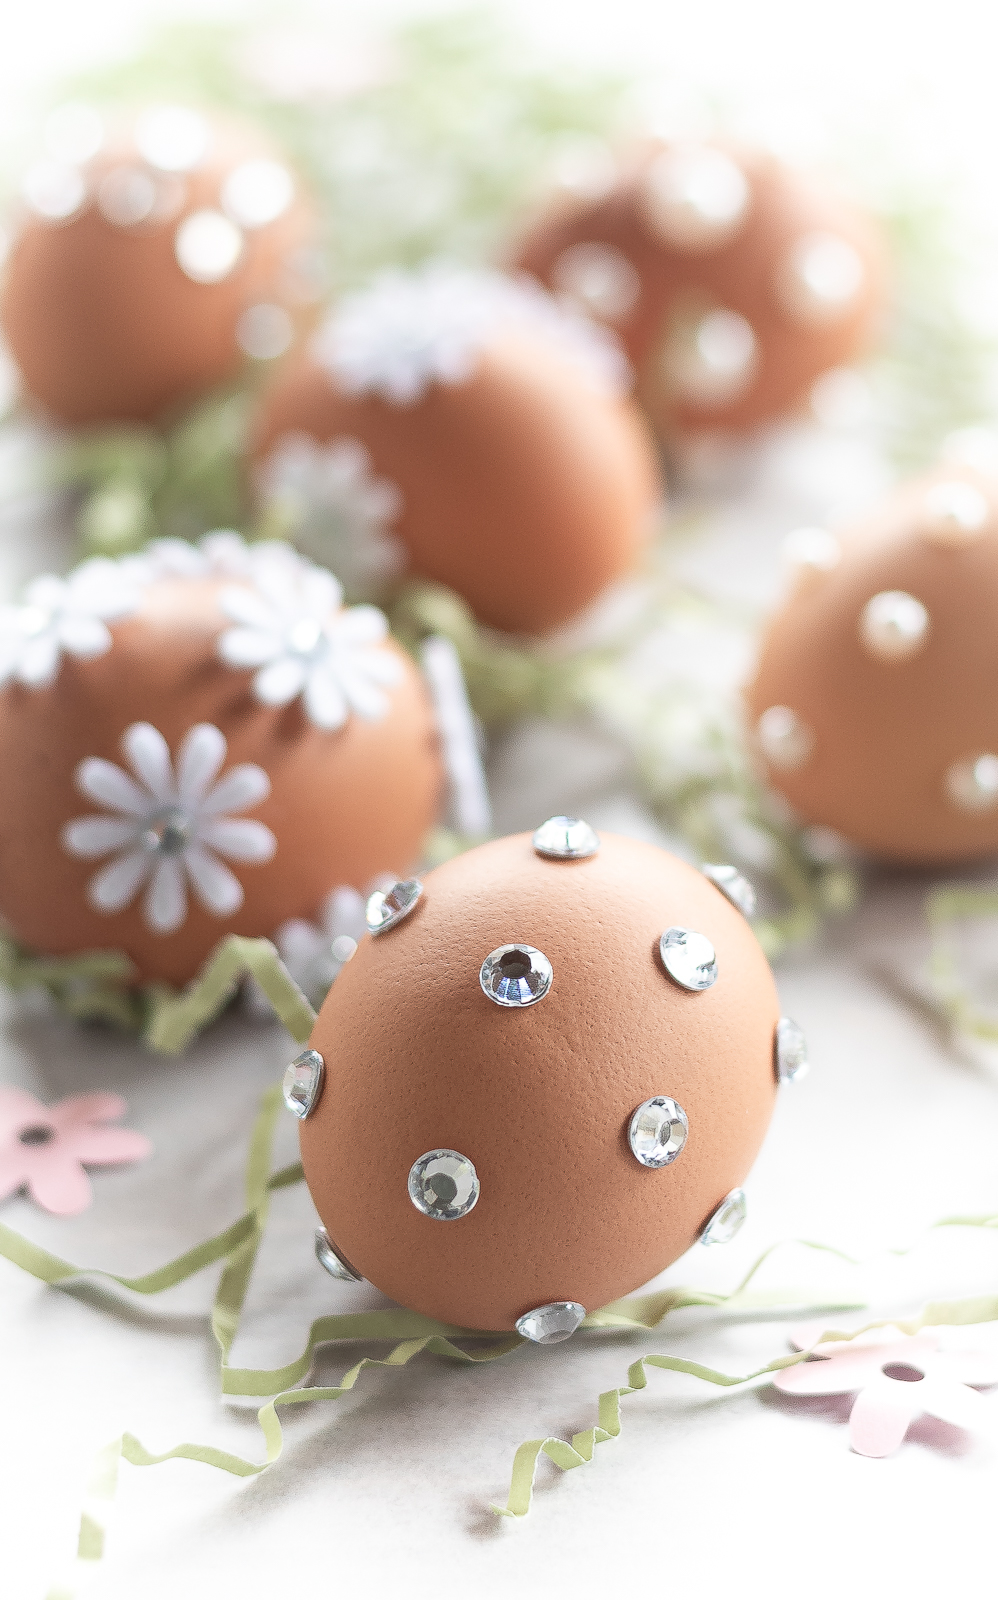
In the meantime, I’m 100% upping my crafting game with this super easy Easter egg decorating idea …
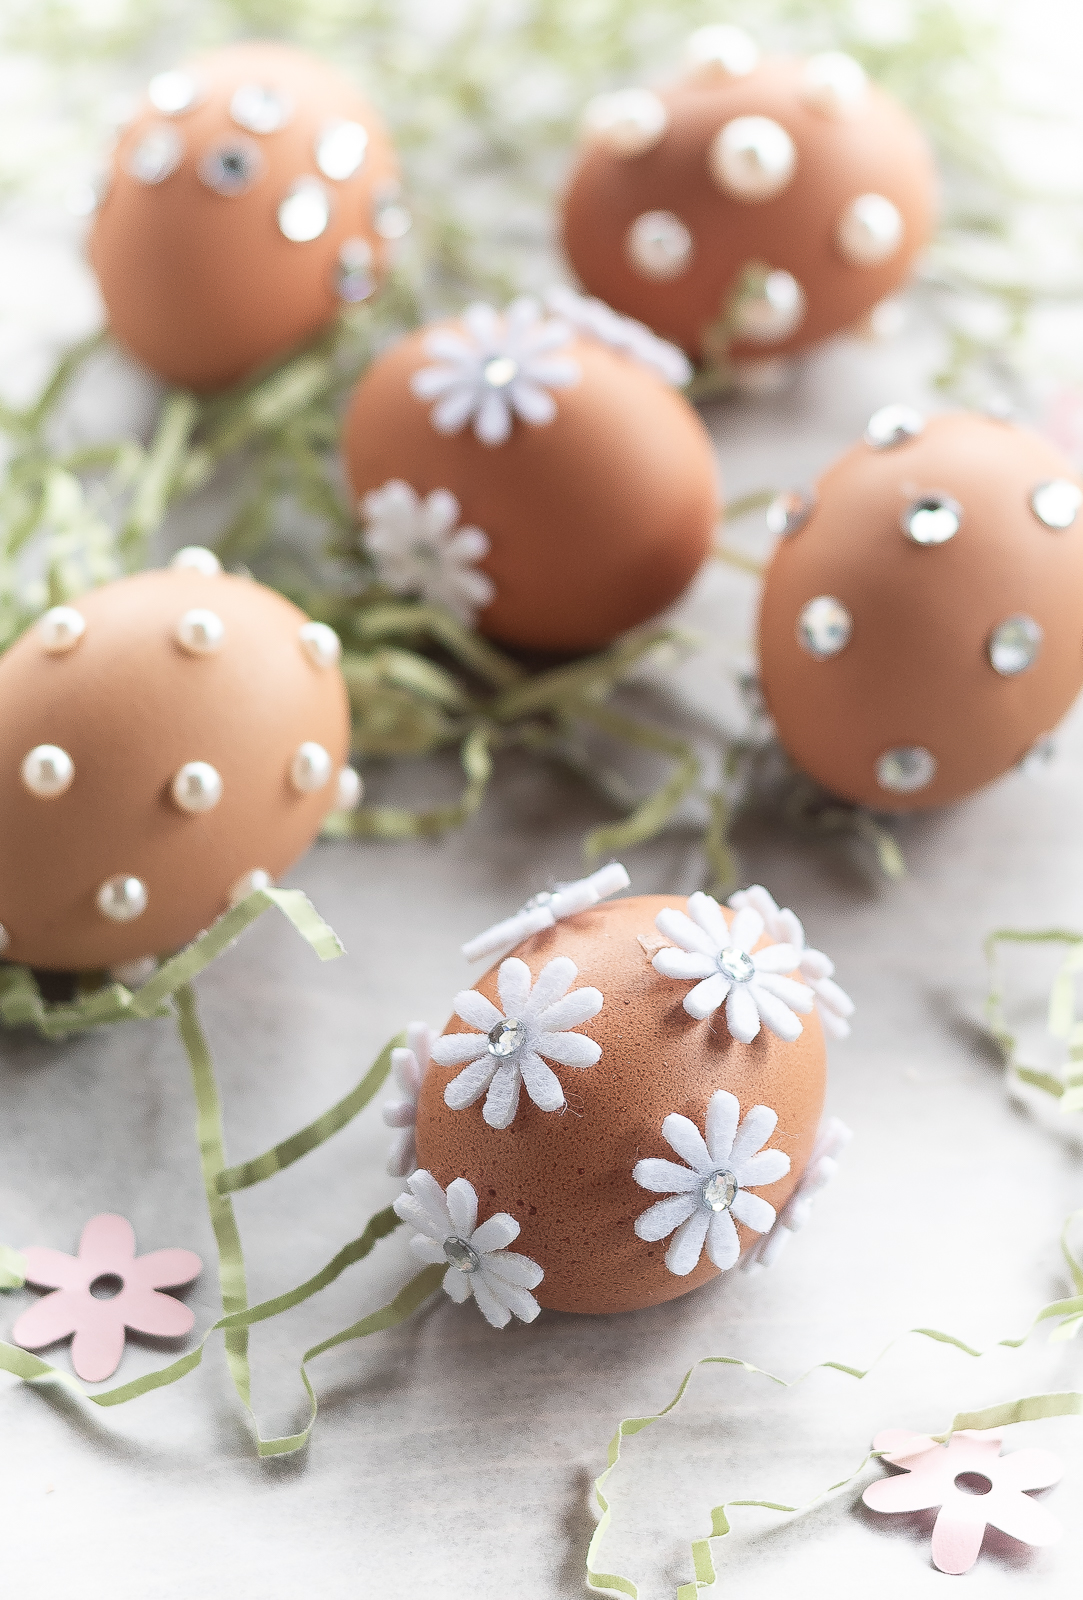
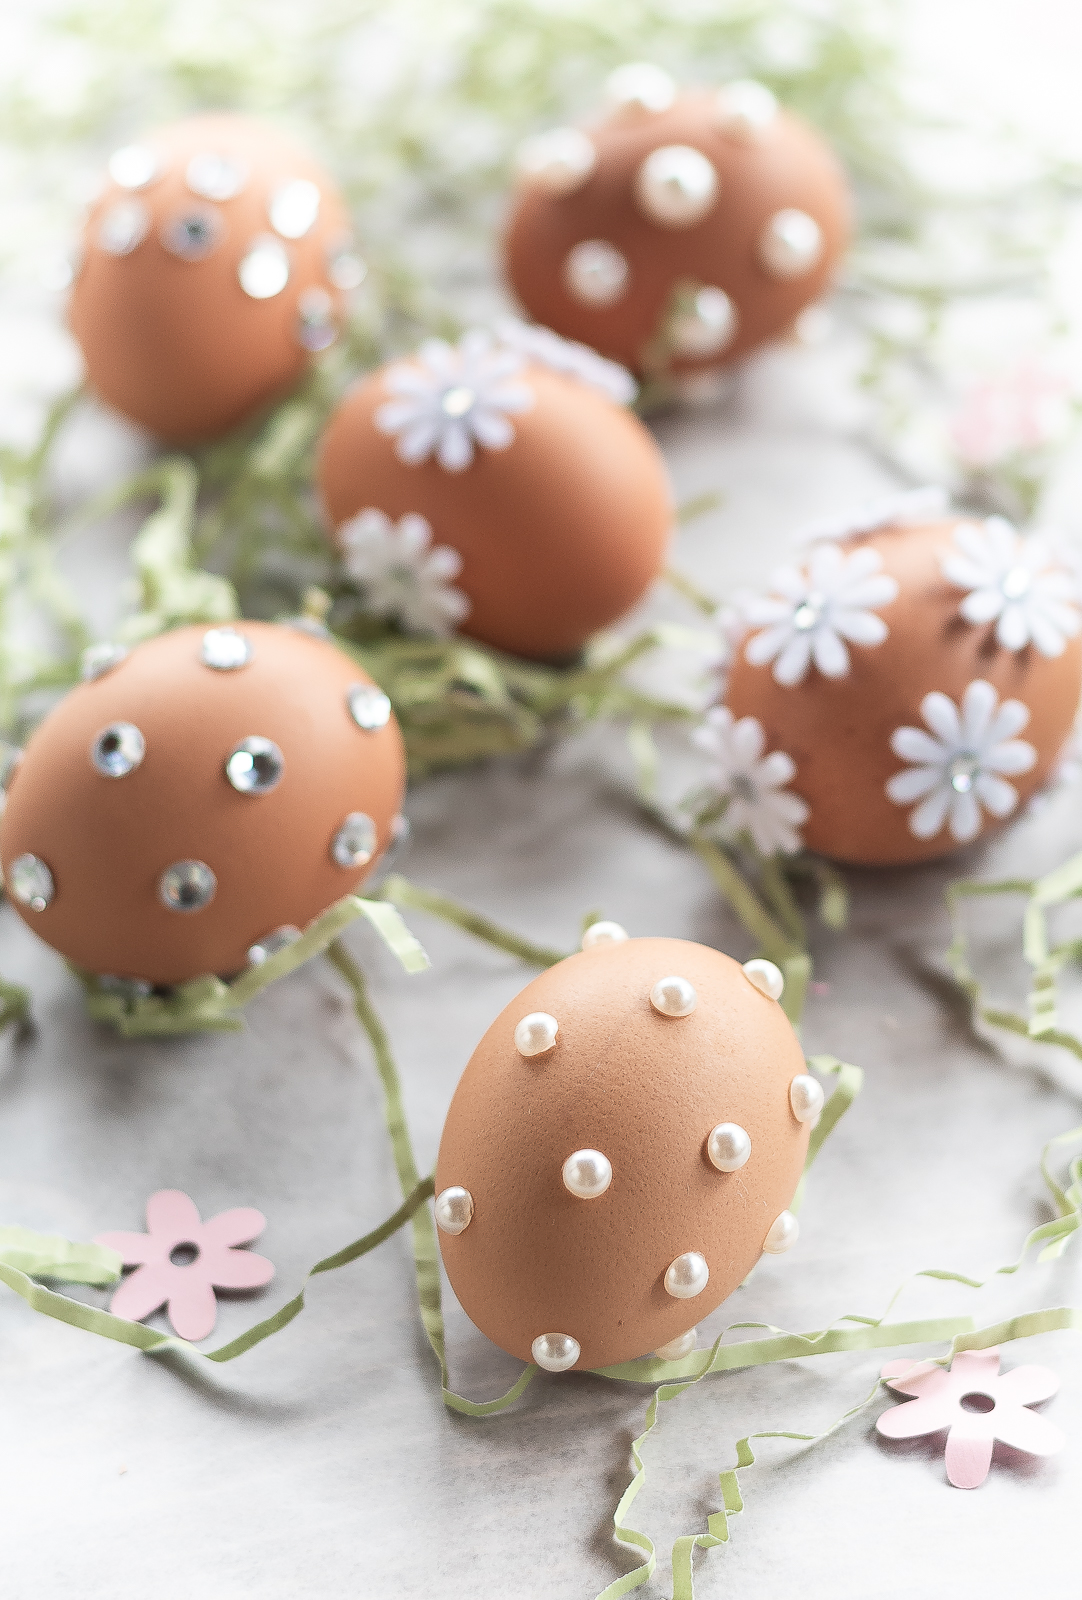
How To Decorate Easter Eggs with Rhinestones, Pearls & Flowers
Materials*
1/2 pearl self adhesive stickers
Rhinestone self adhesive stickers
Felt & rhinestone flowers (I found mine at the craft store years ago)
Glue dots mini dots
Eggs 🙂
*includes Amazon affiliate links.
Instructions
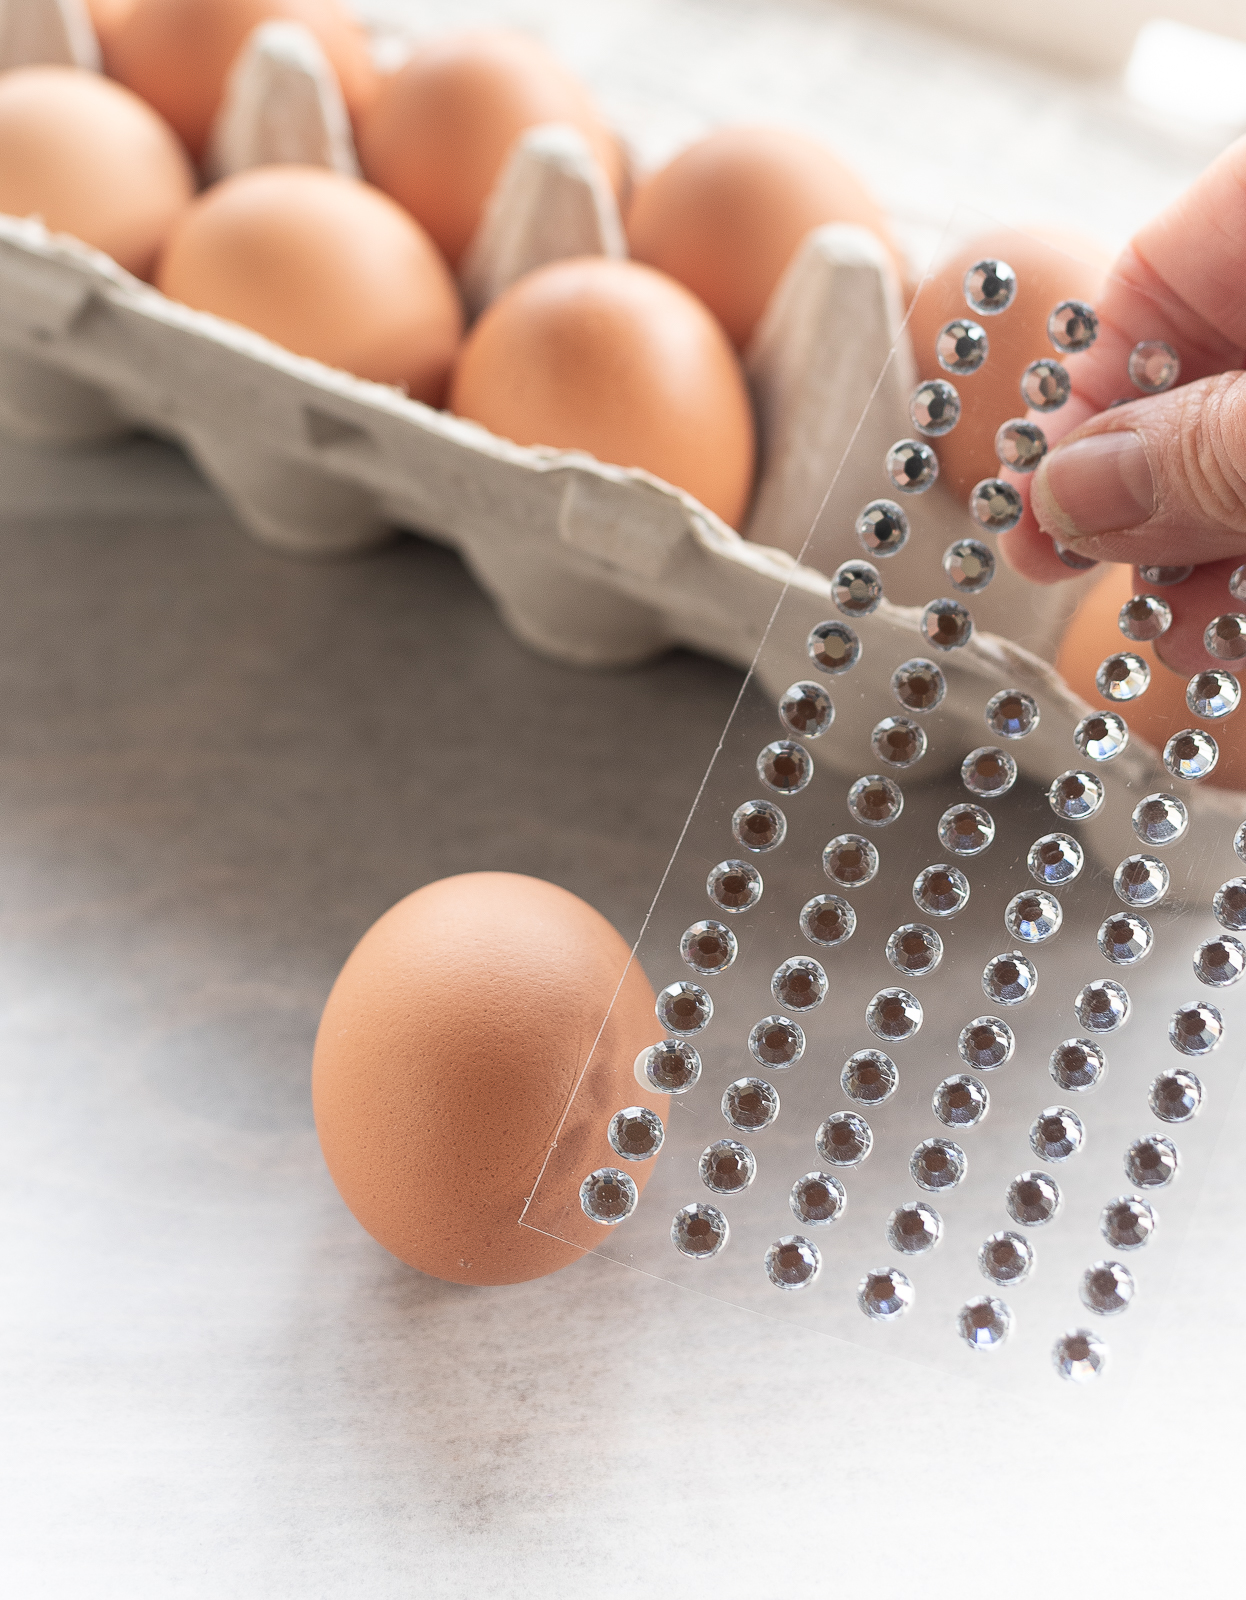
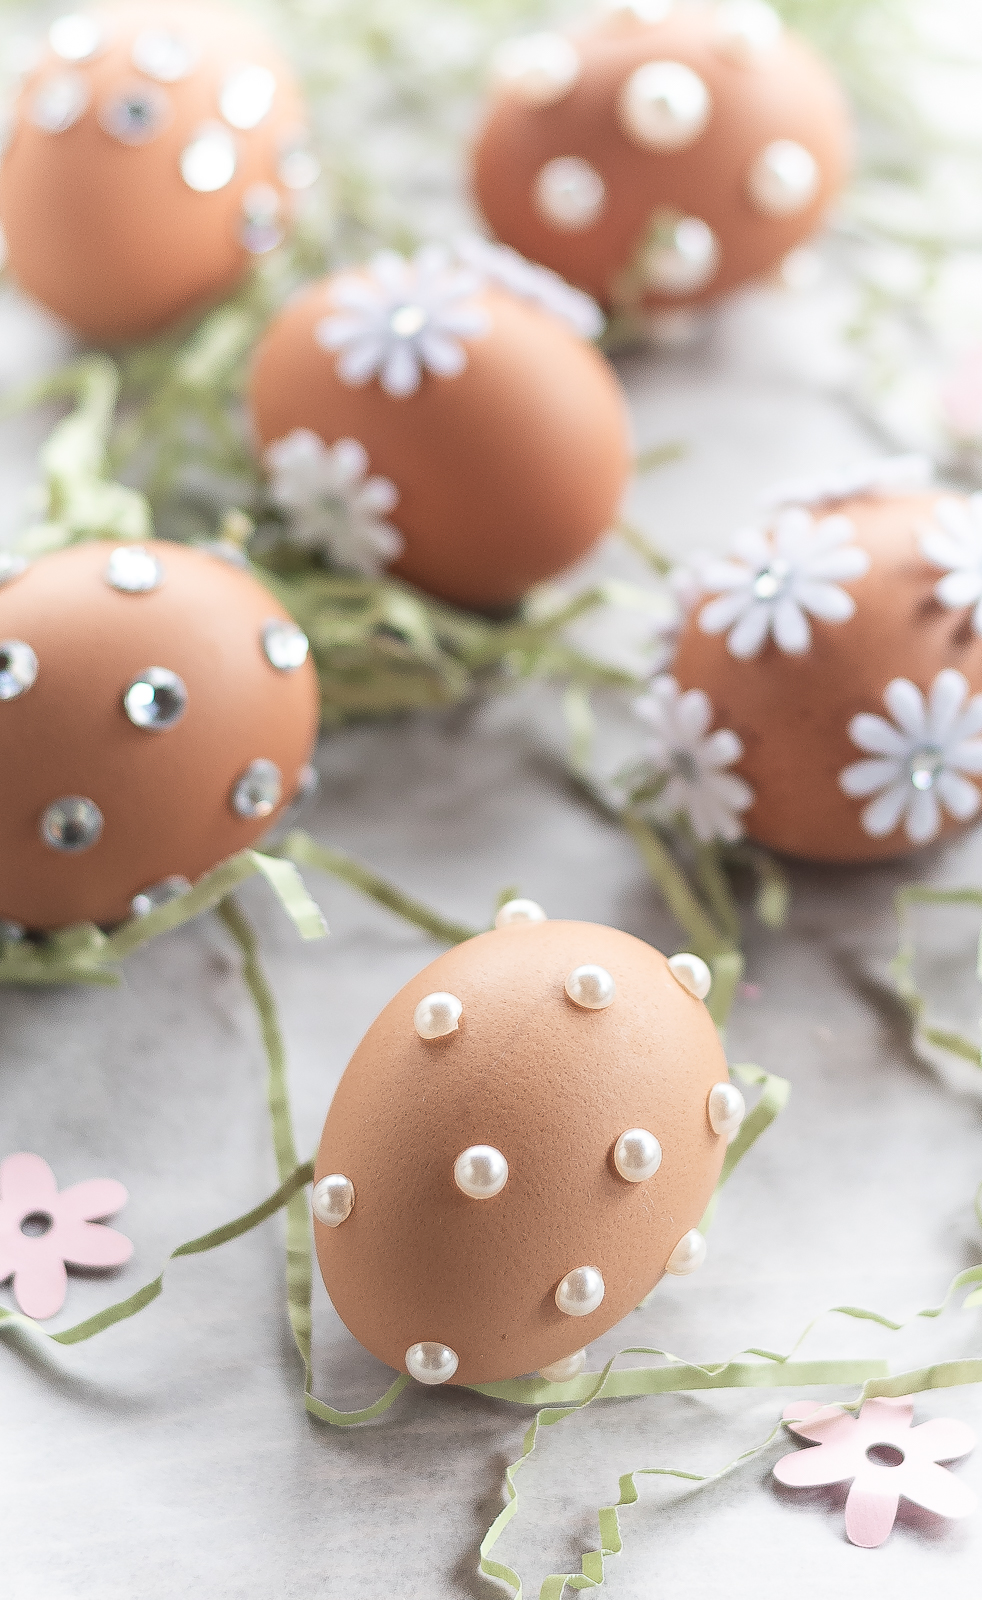
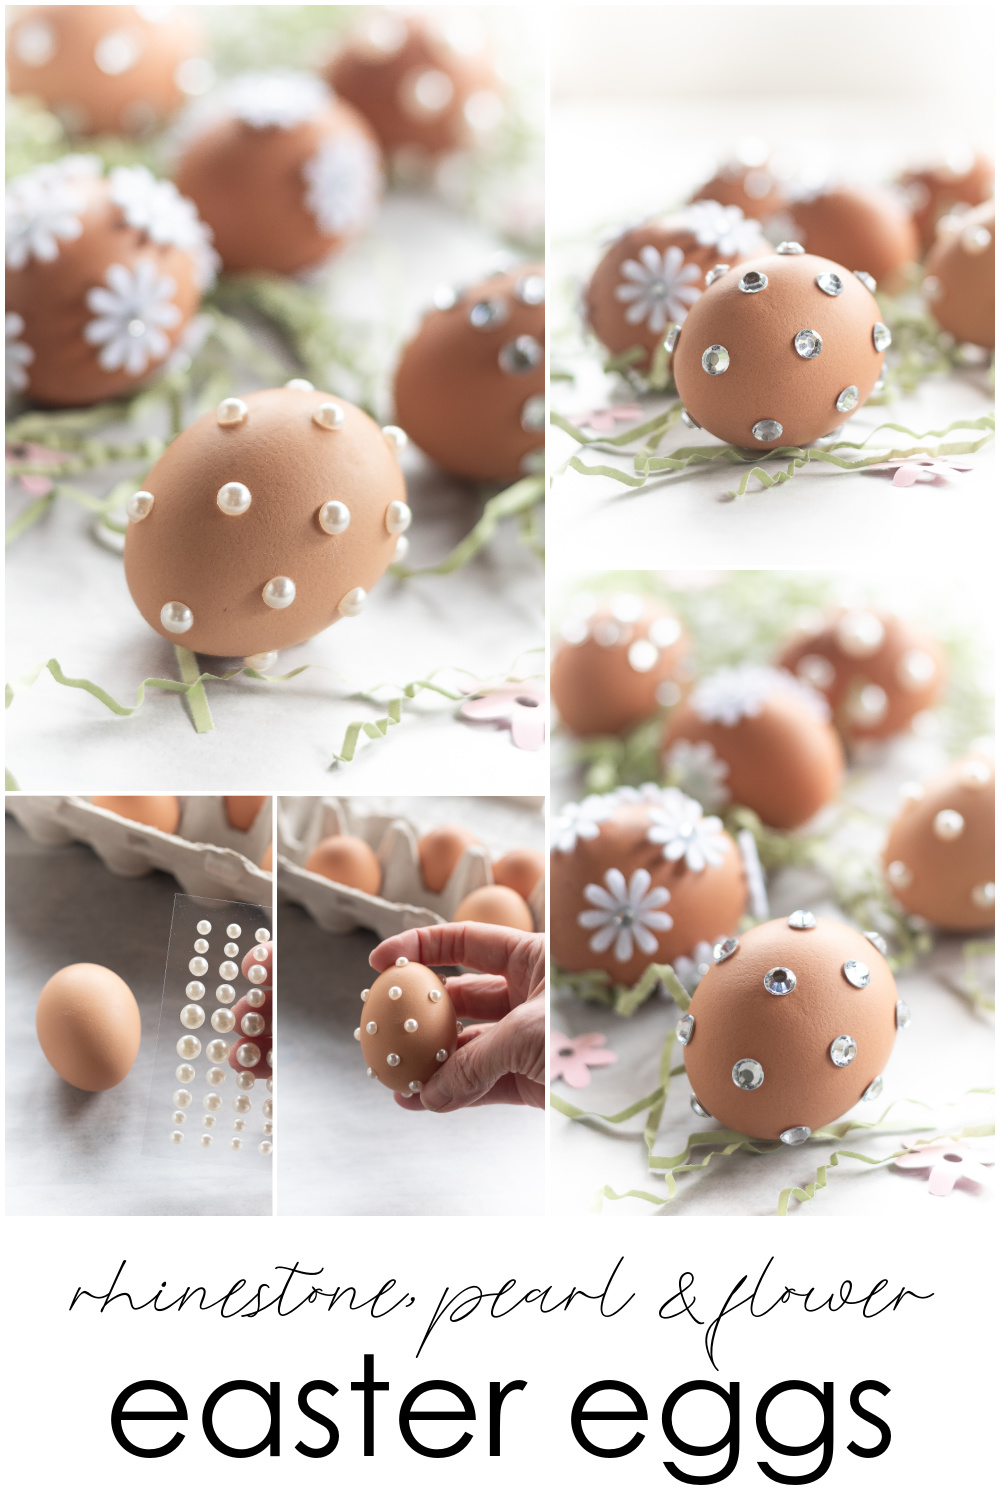
Start with hard boiled eggs (I didn’t hard boil mine and did regret it when a few cracked under pressure! Lol) and self-adhesive rhinestones and pearls.
I used the brown eggs because I thought the rhinestones and pearls would pop.
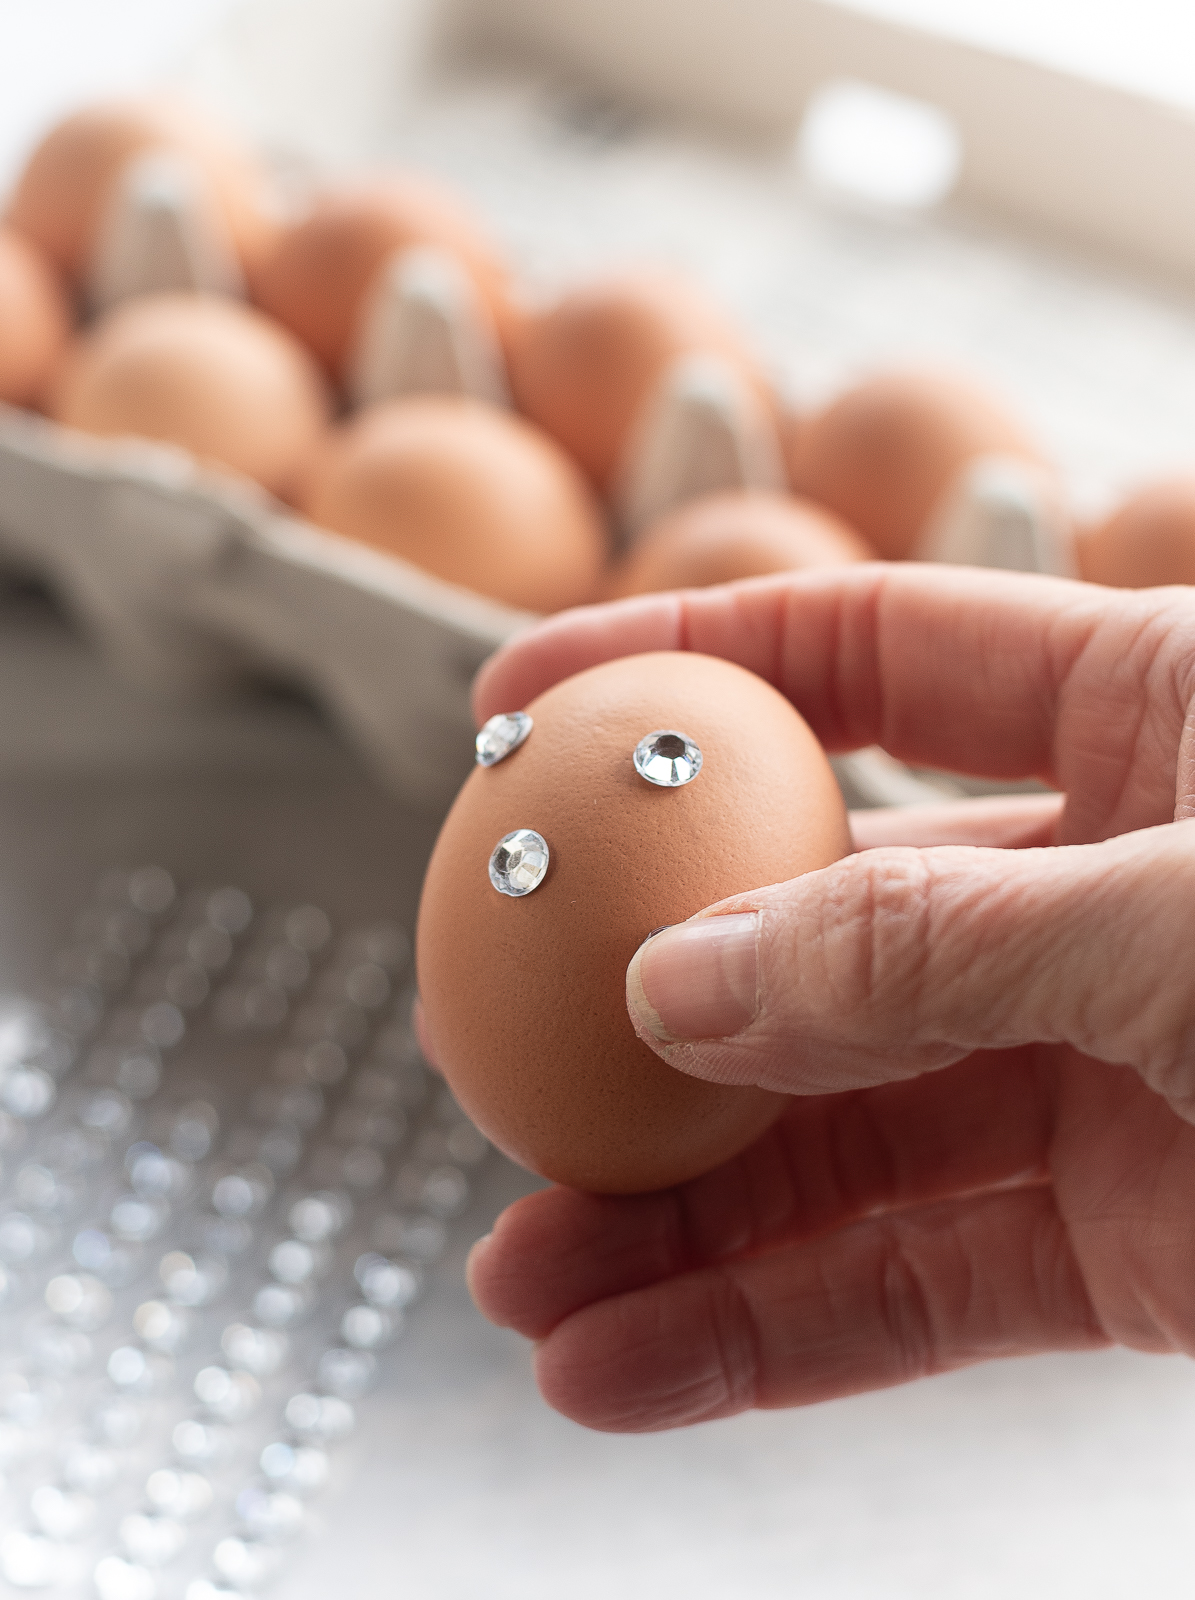
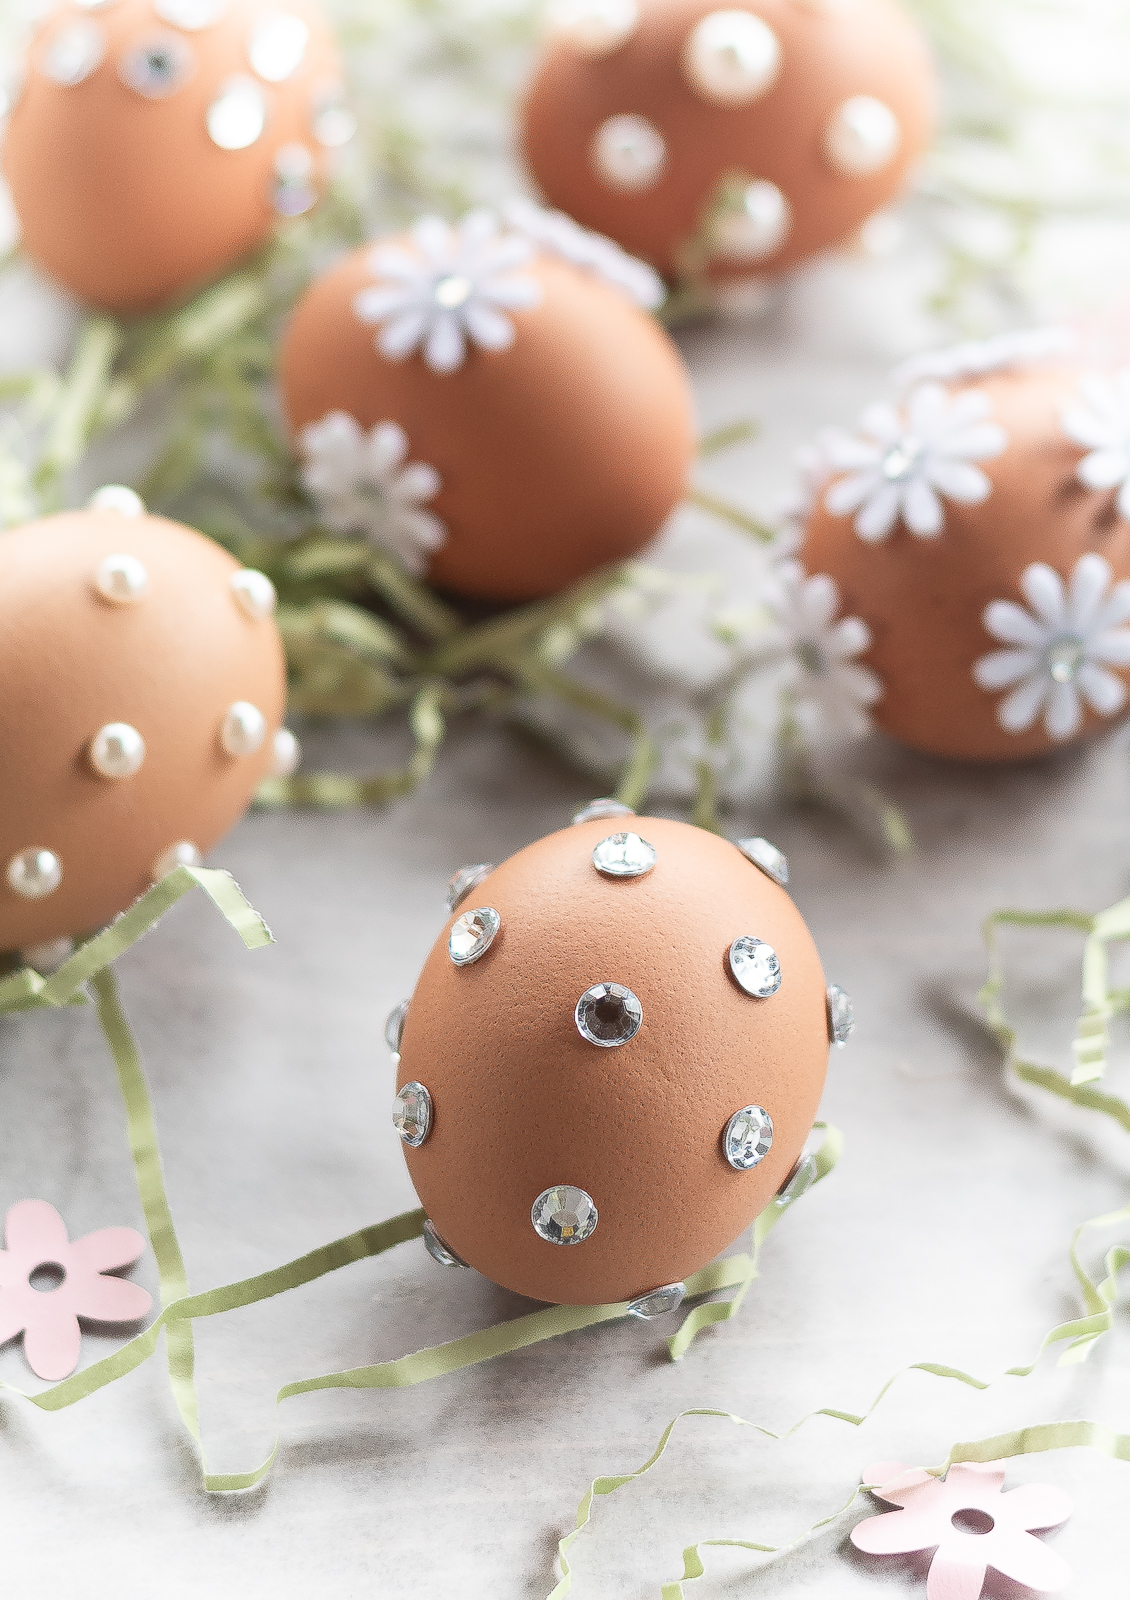
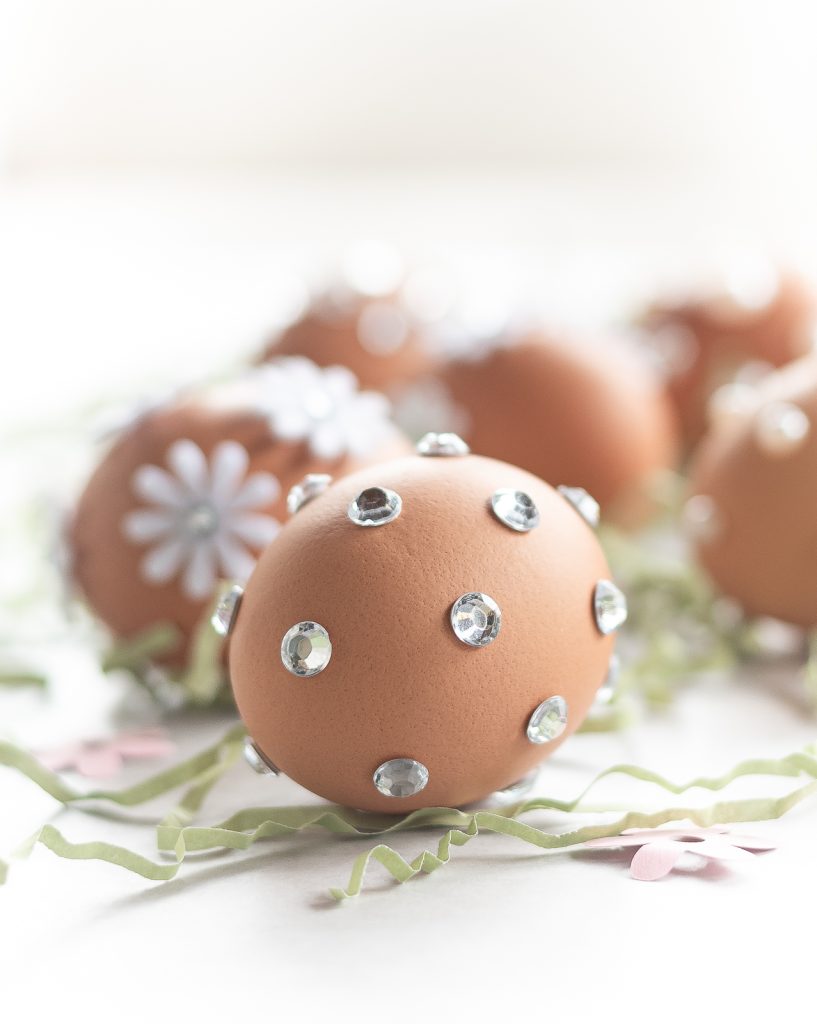
Simply press the rhinestones onto the eggs. Space out in an even(ish) pattern.
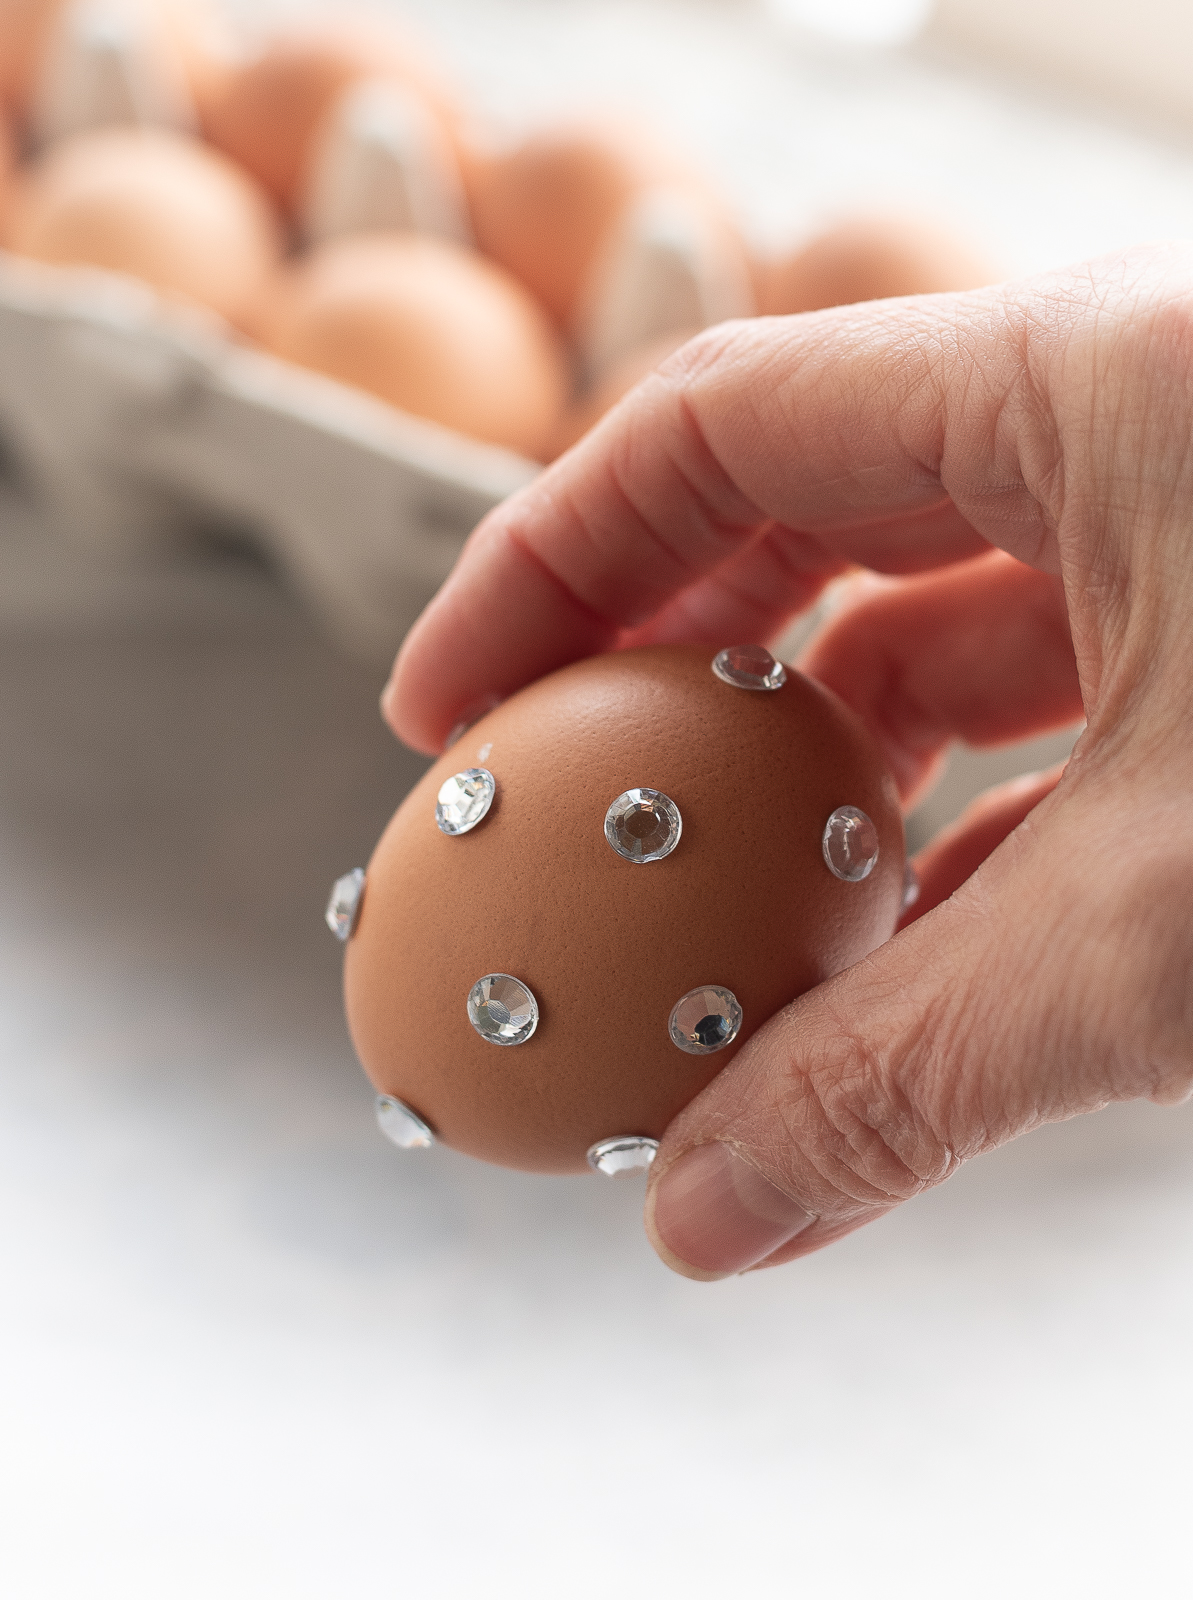
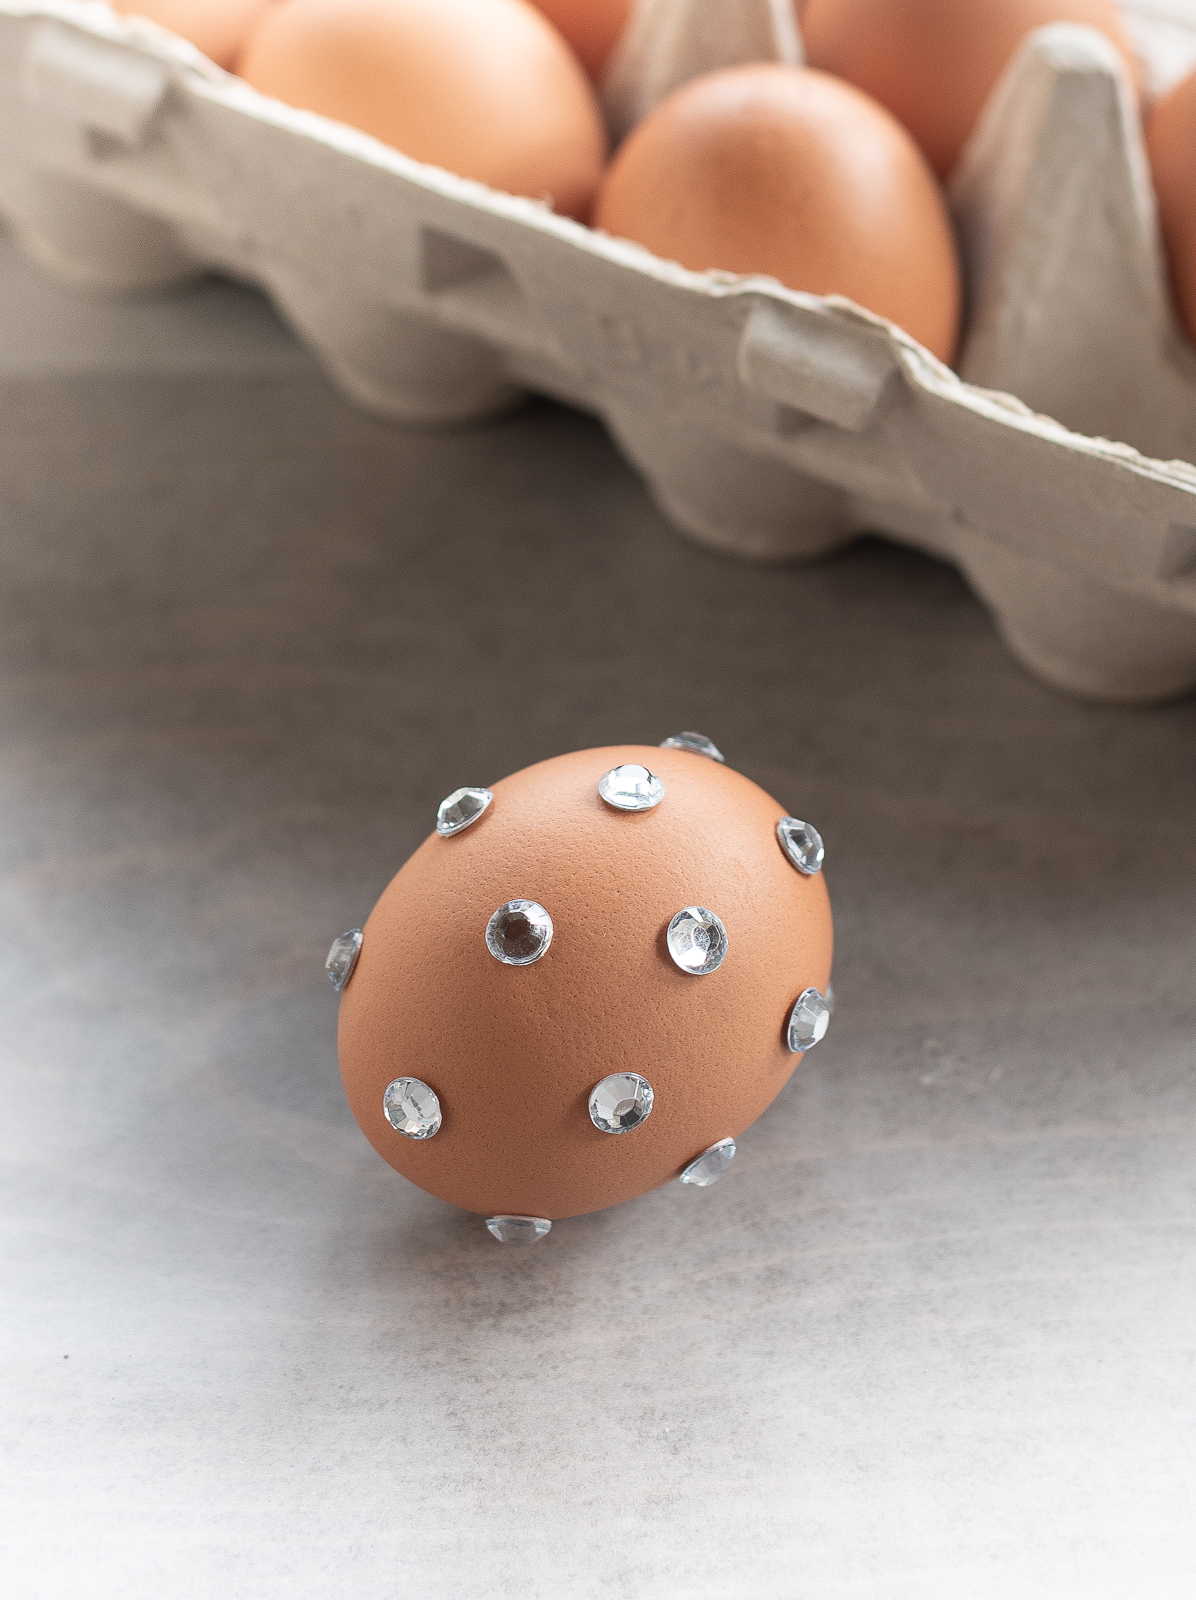
And voila! Super easy.
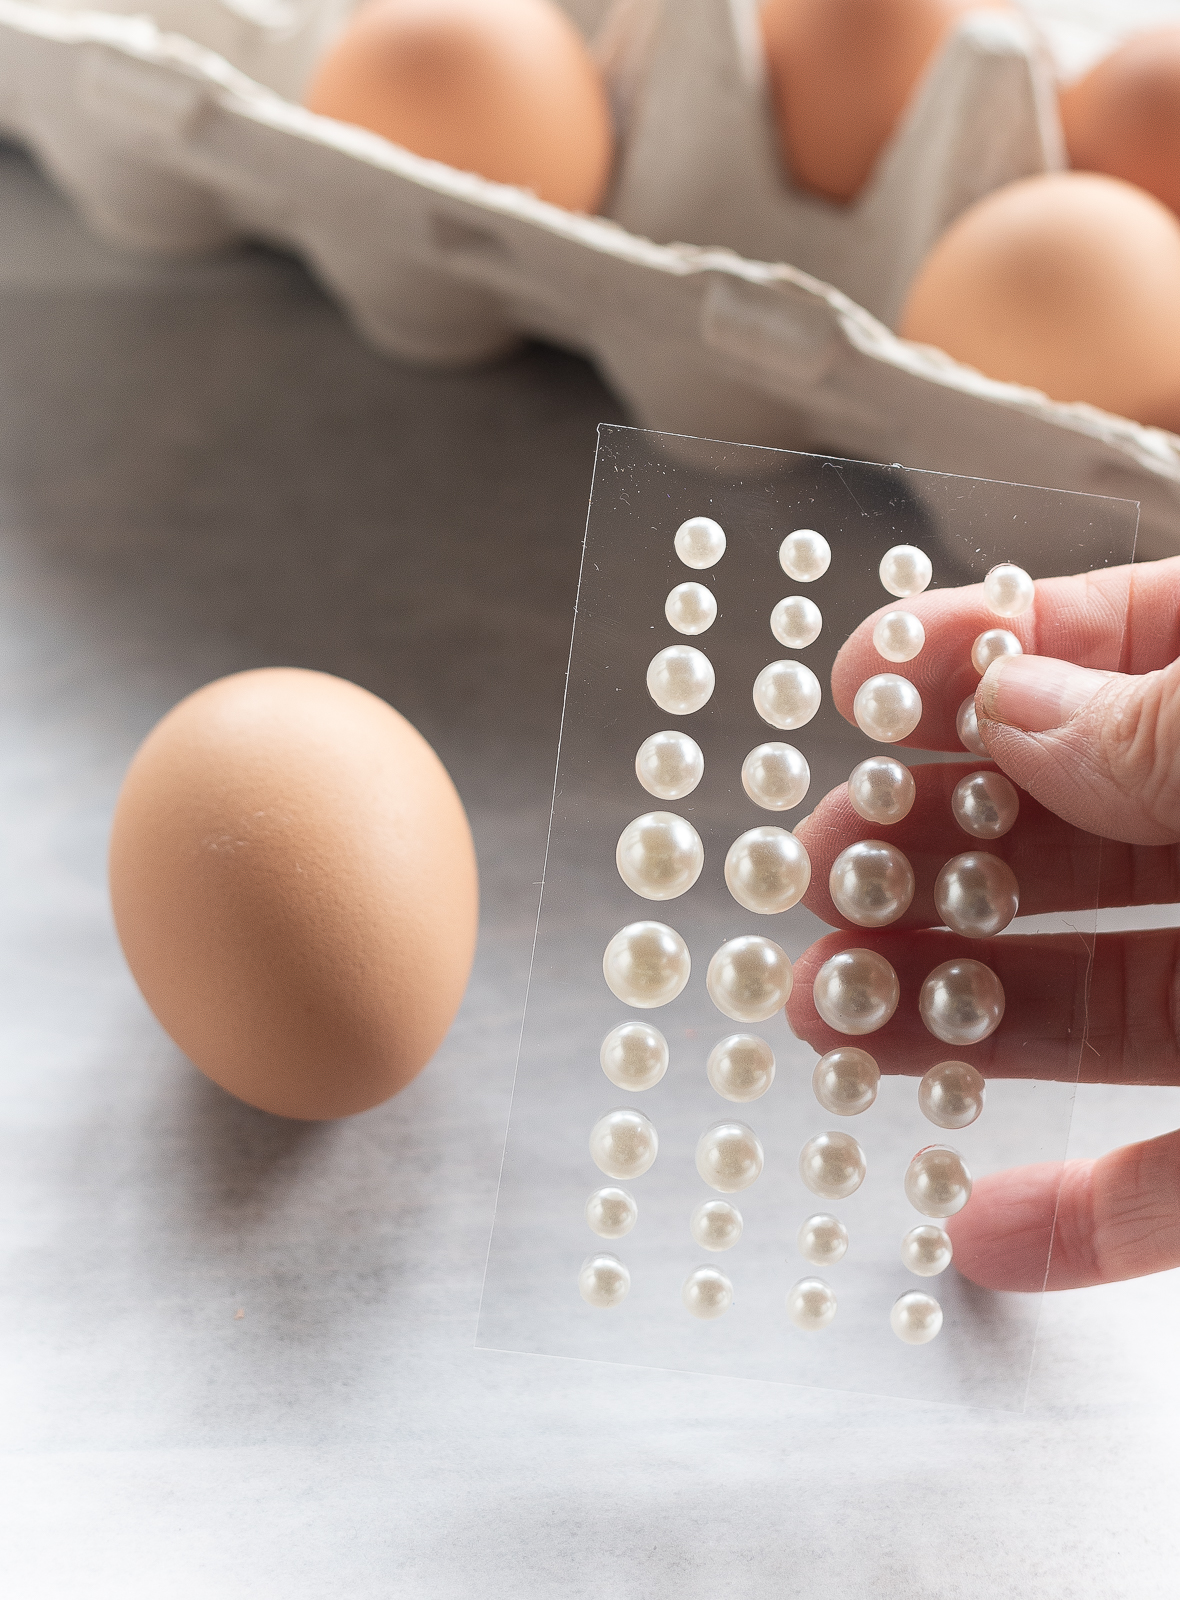
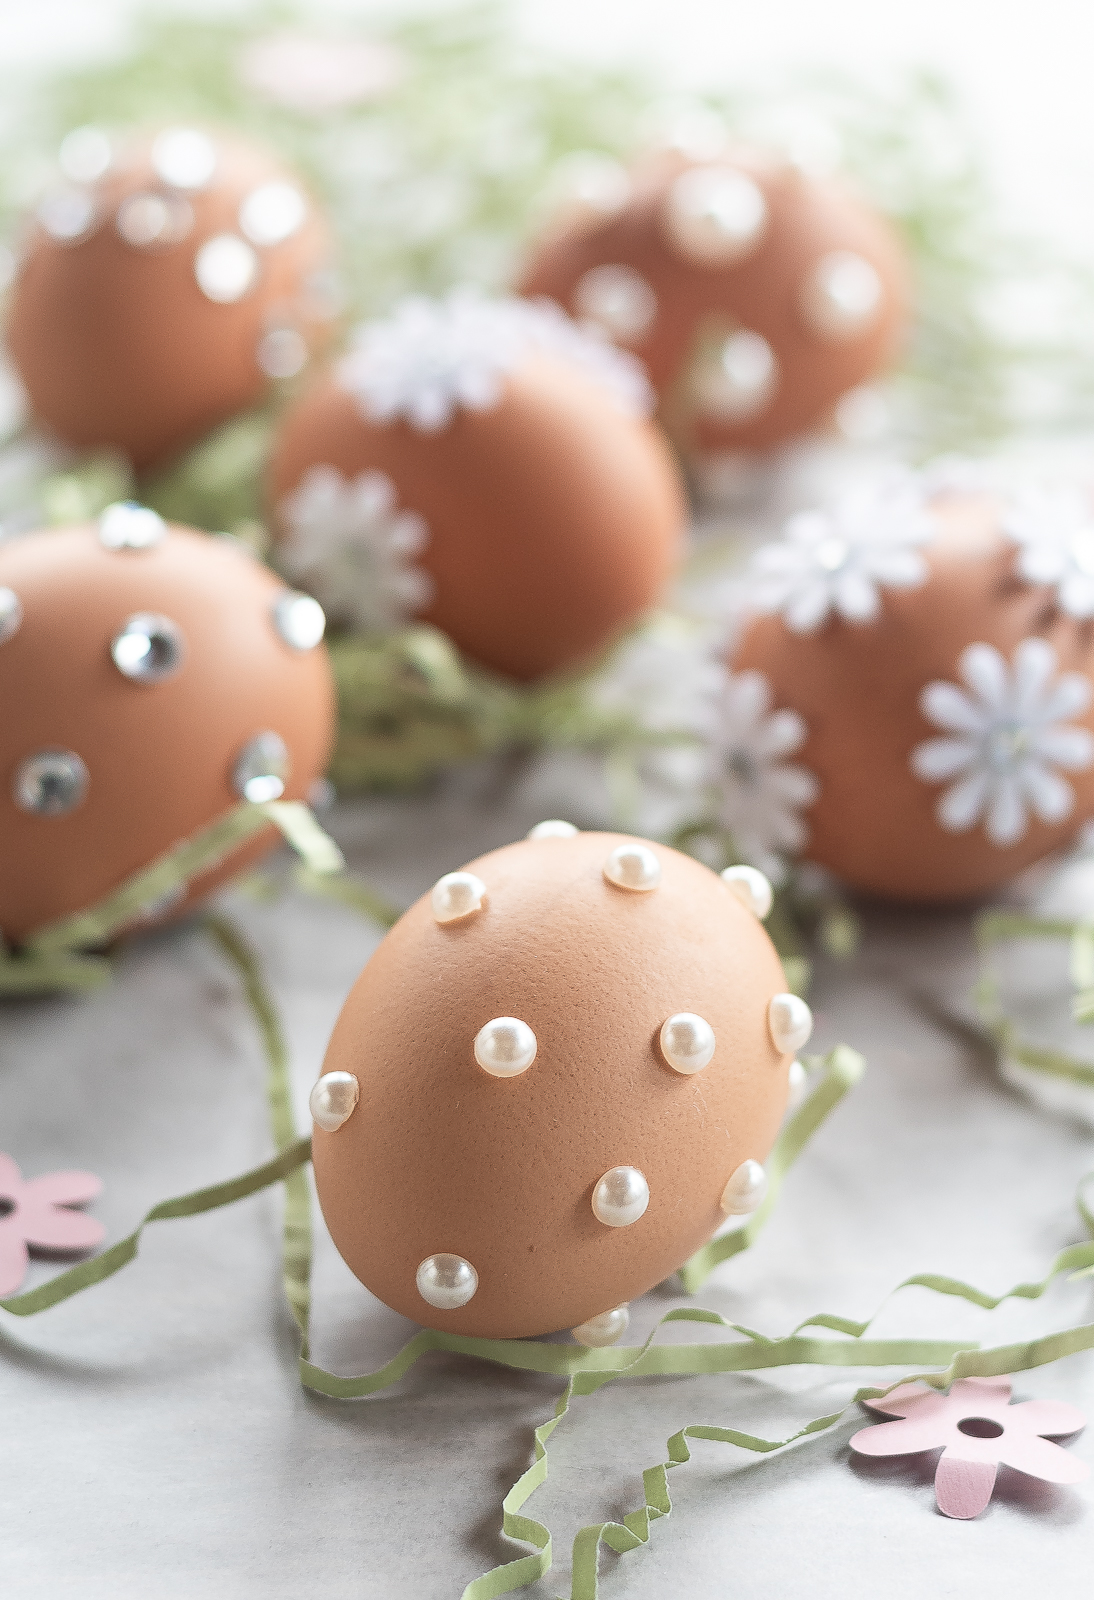
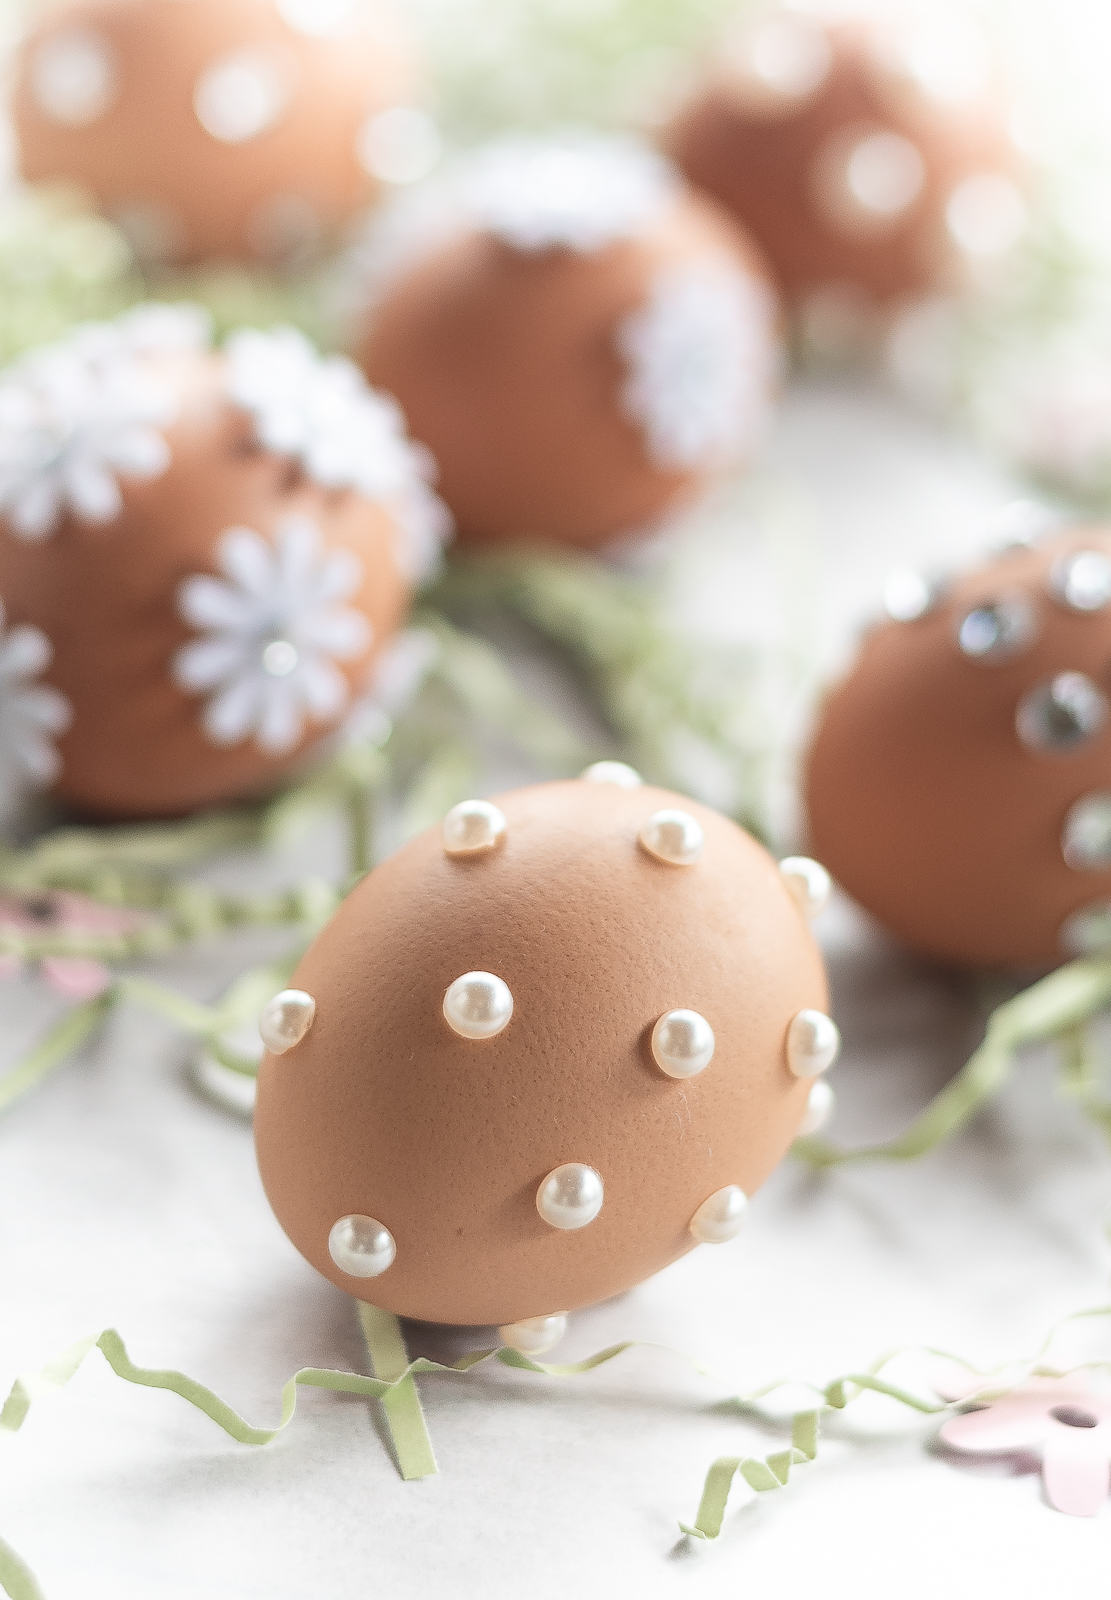
Repeat previous steps, but this time with self-adhesive half-pearls.
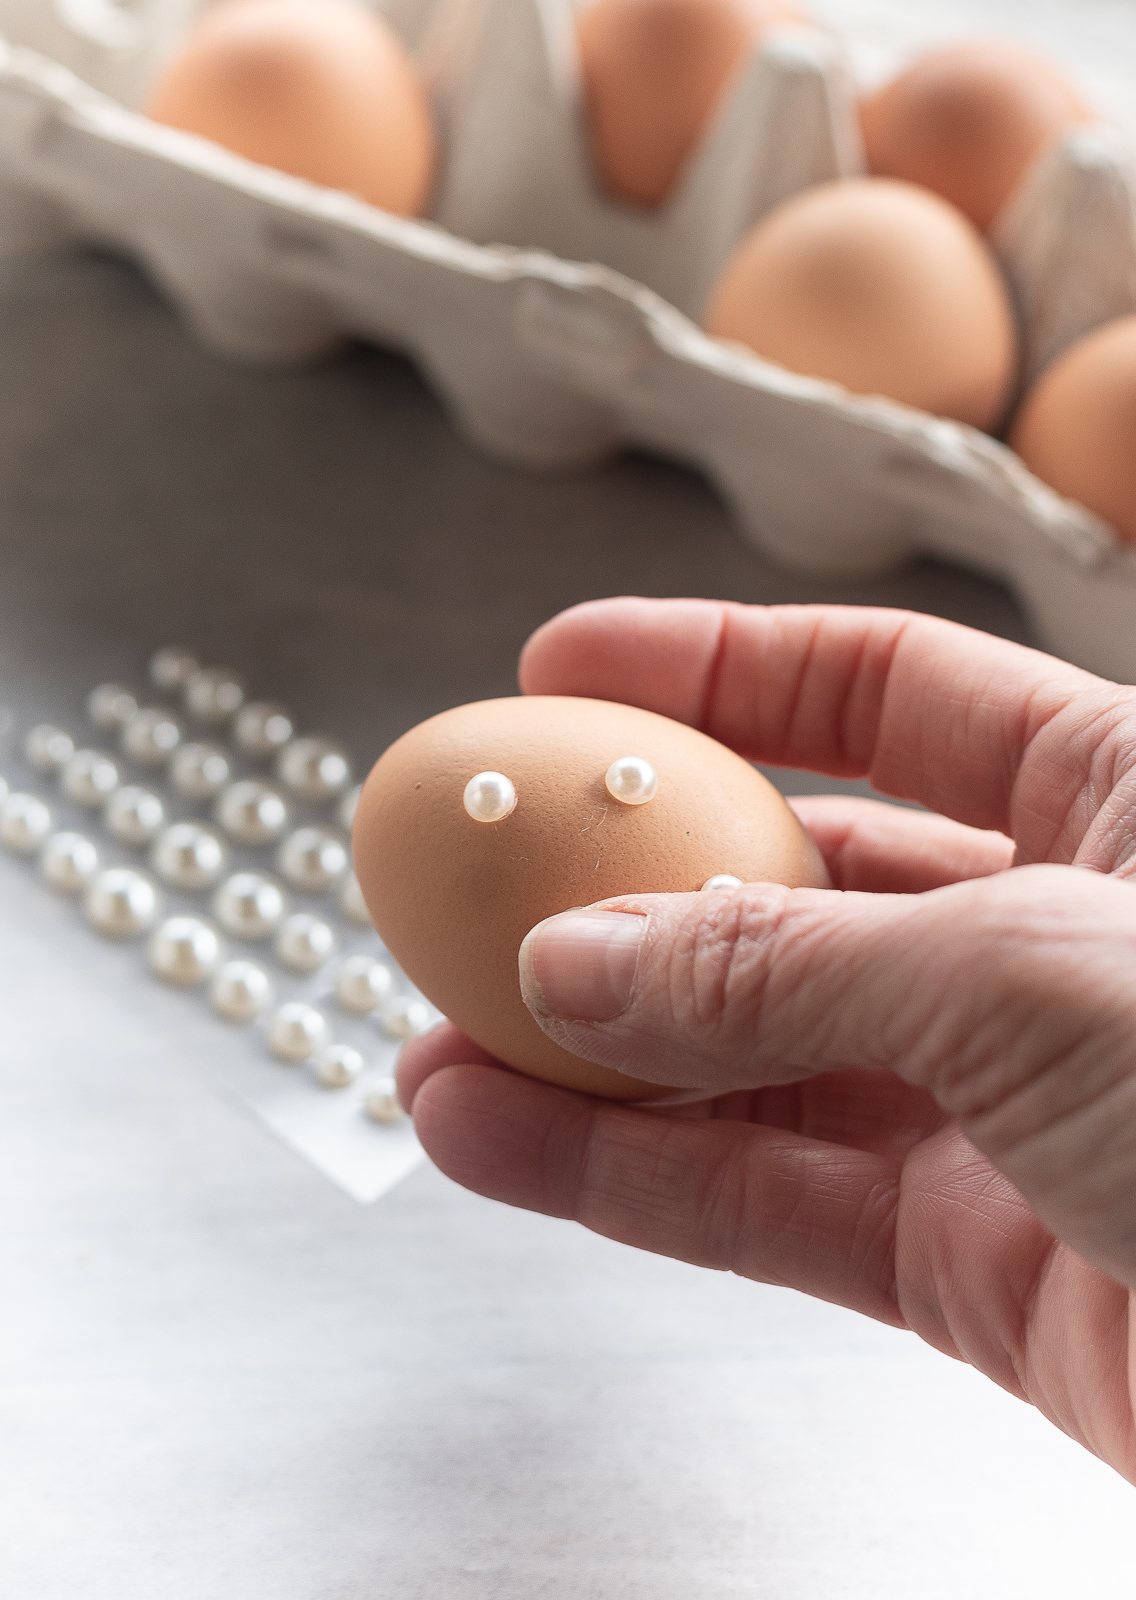
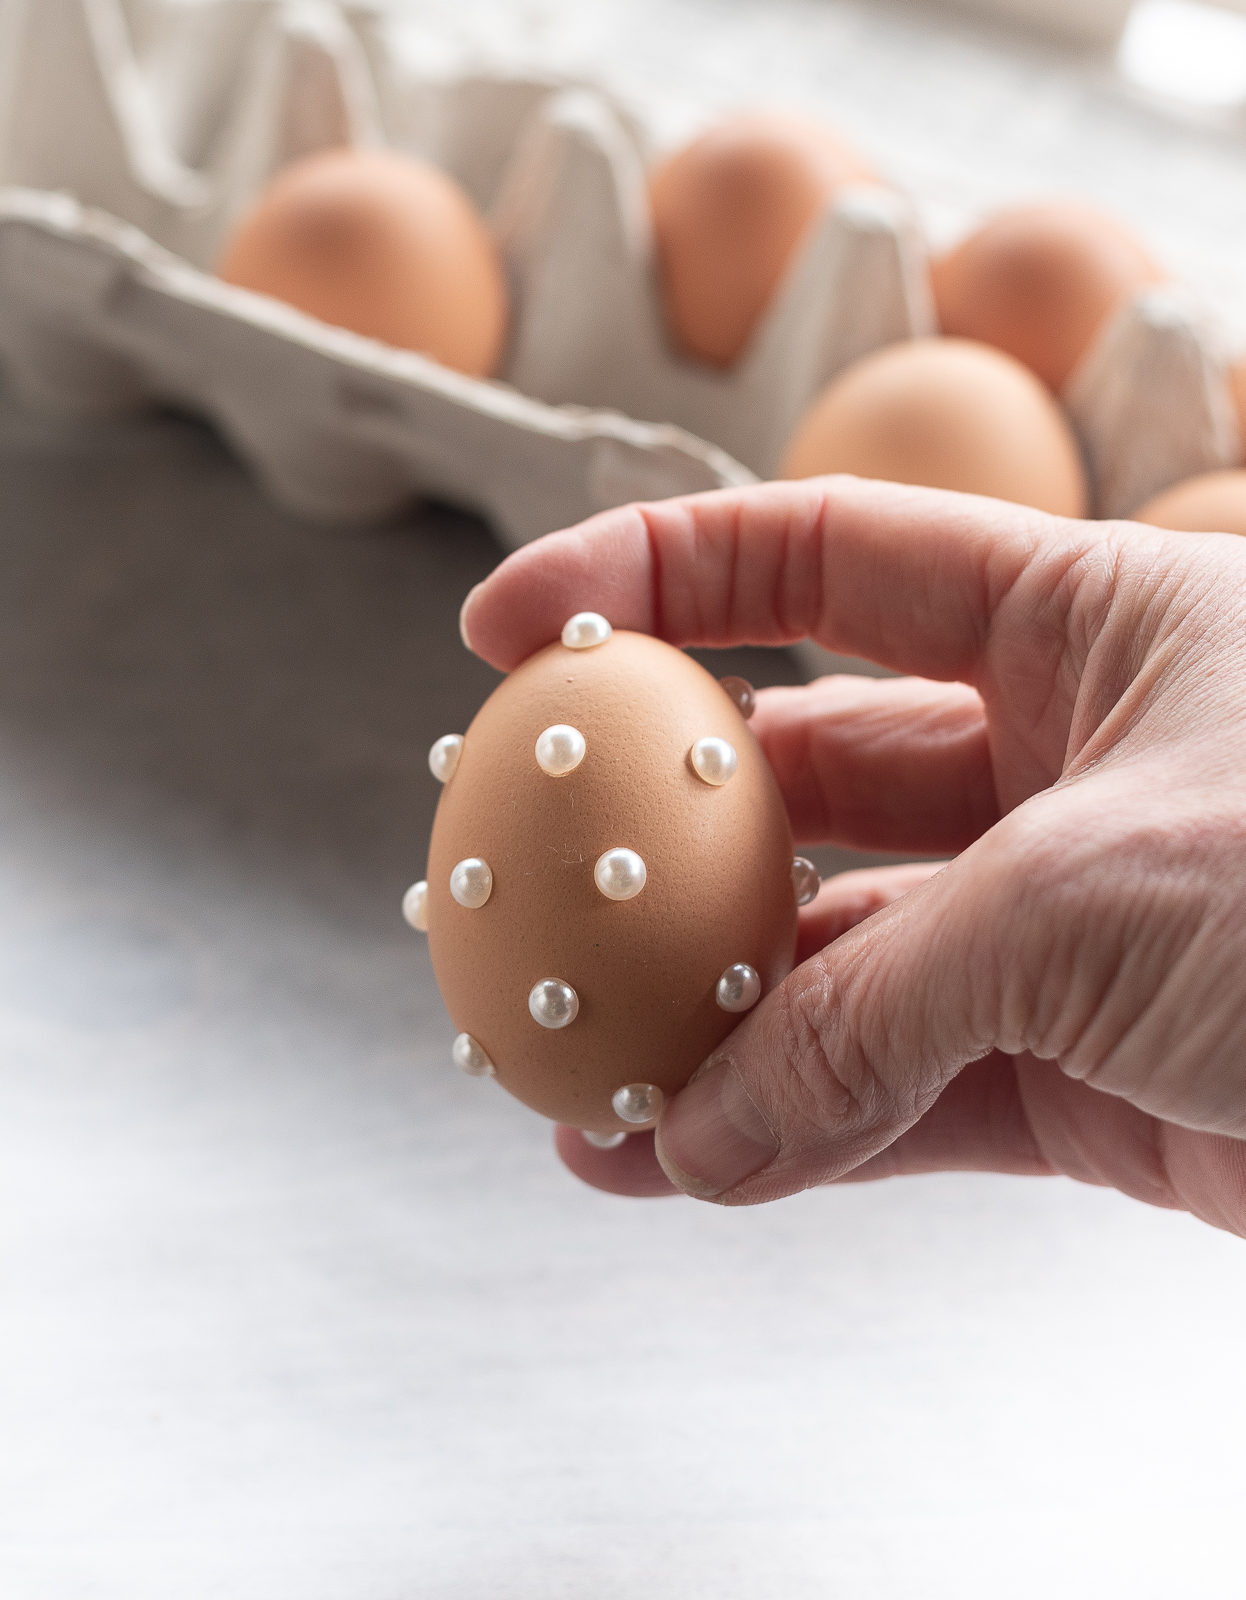
And voila! Again! Super simple.
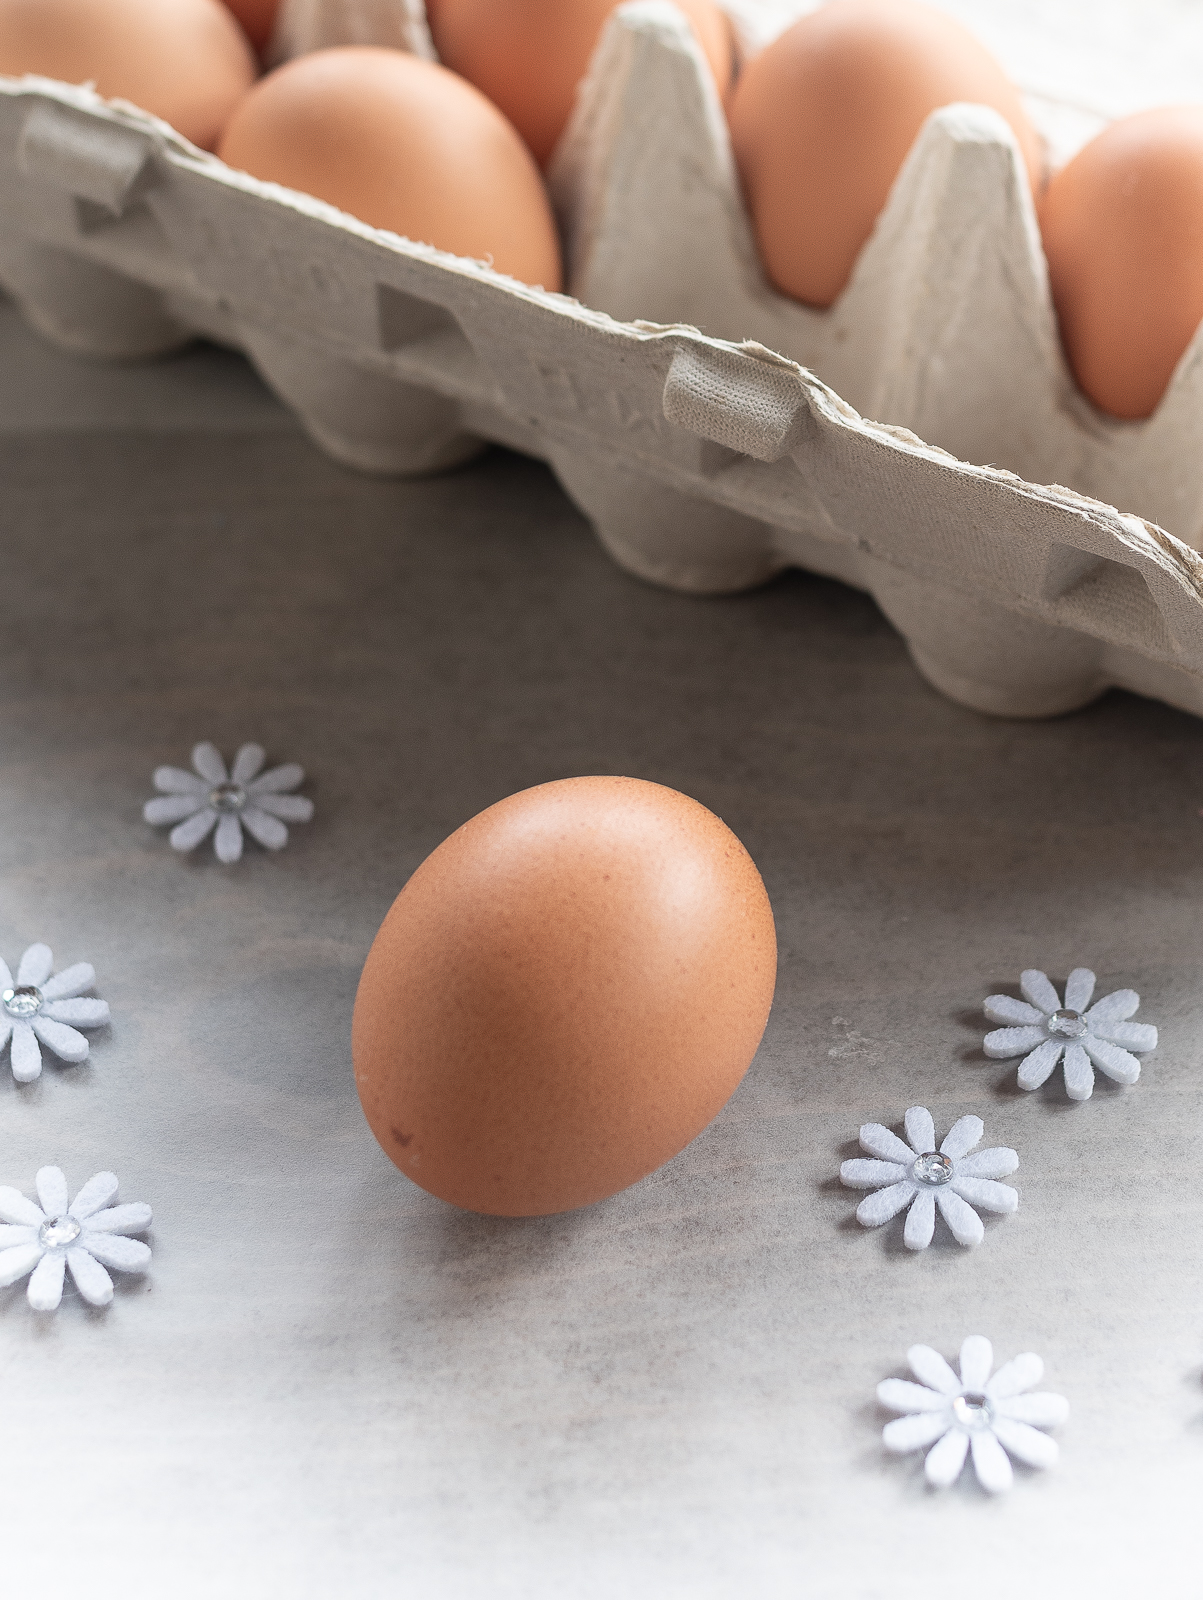
The daisies weren’t self-adhesive …
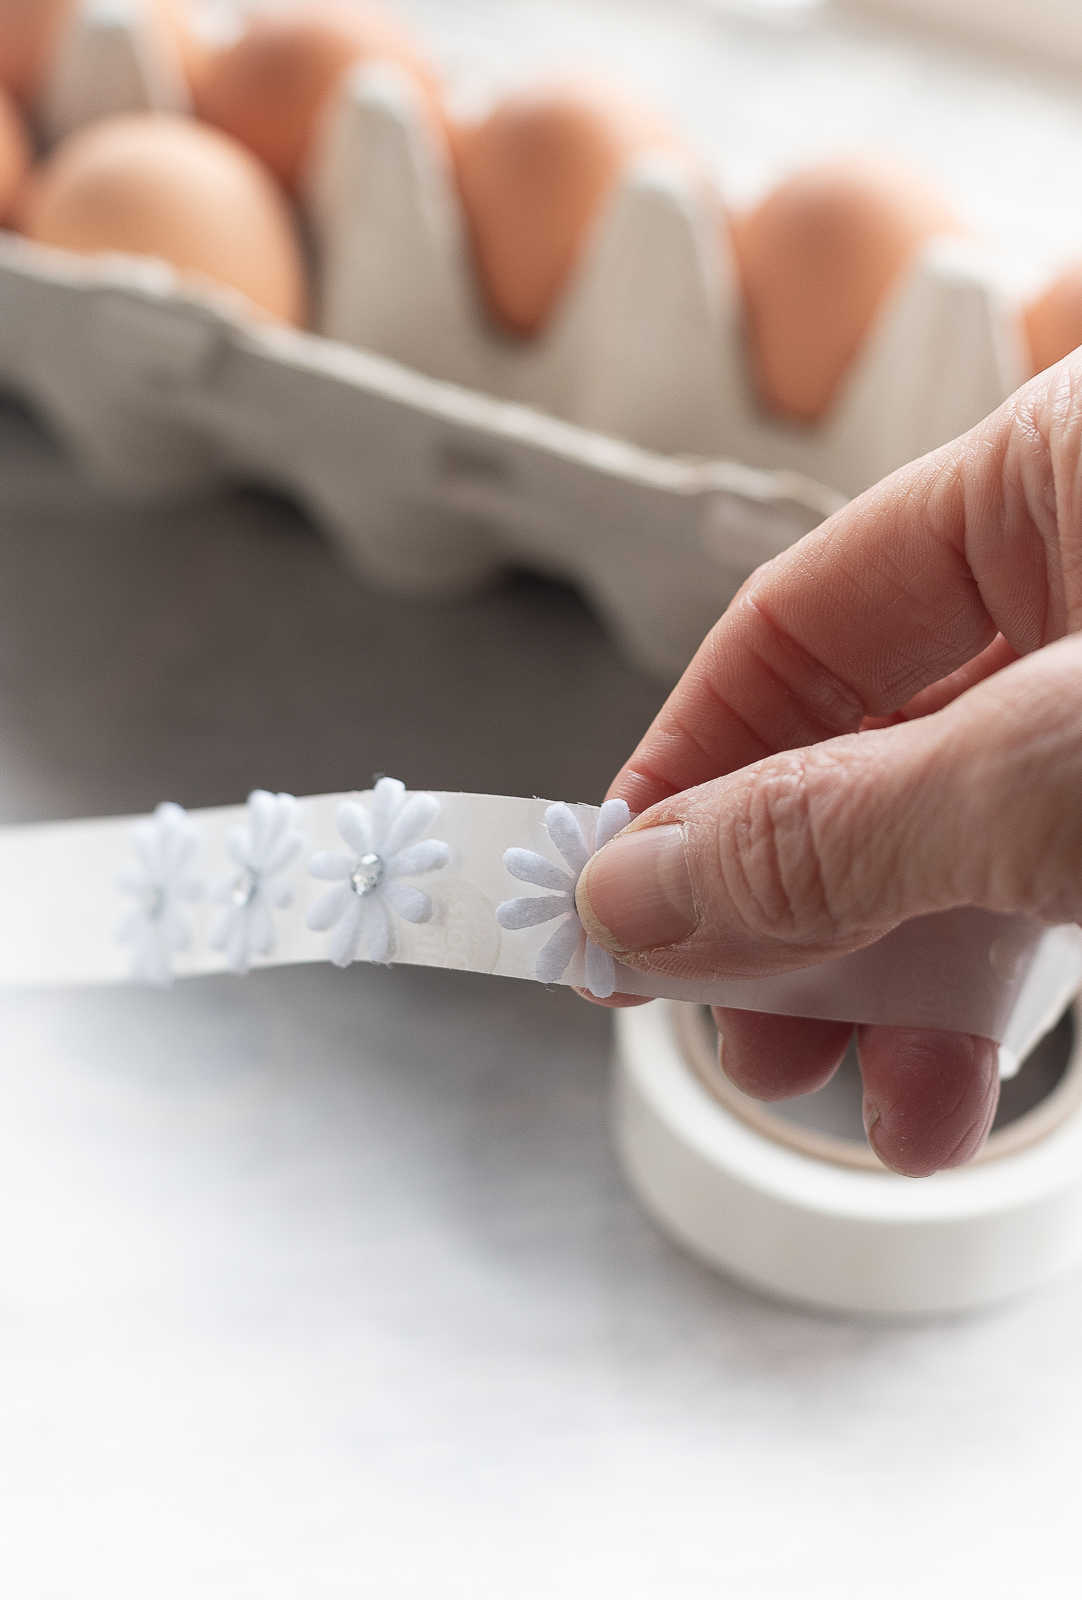
… so I used mini glue dots. I found it worked best to press the daisies onto one side of the two-sided glue dots first. And then peel them off and attach to the eggs.
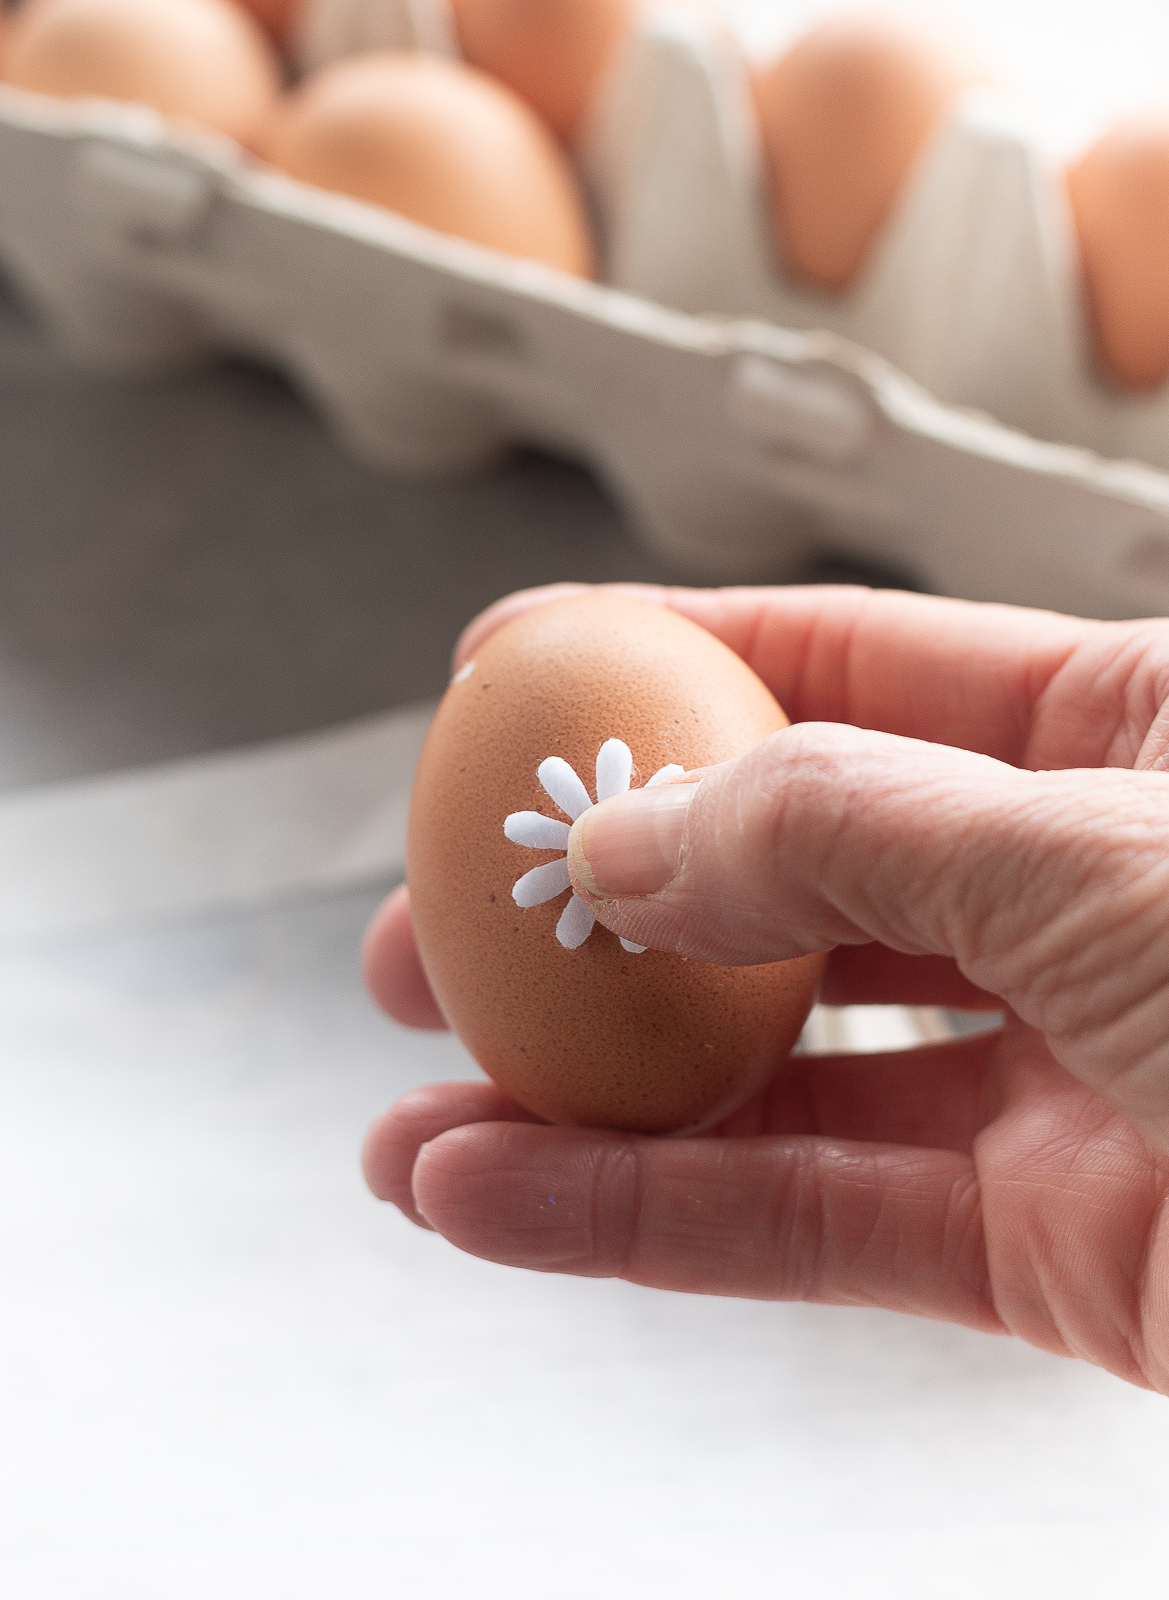
Like so.
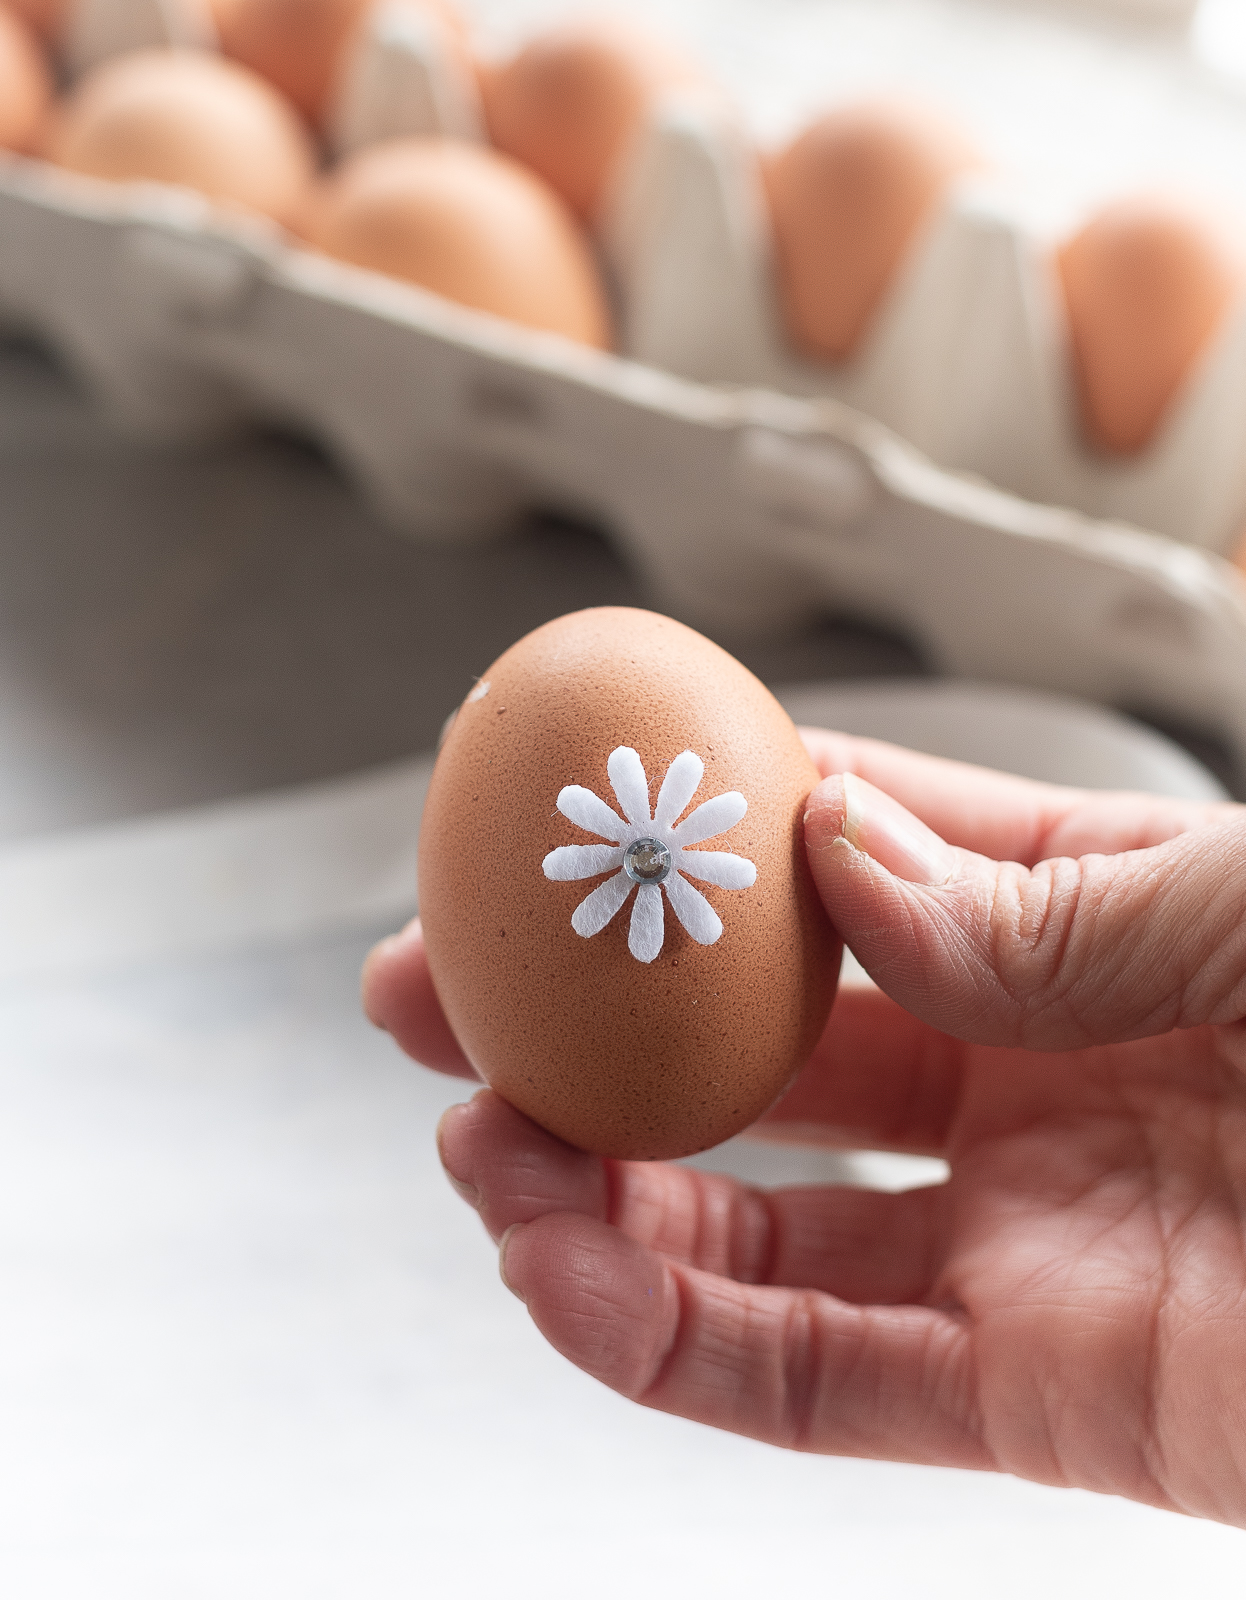
(It’s when I tried to first add the glue dot to the egg and then attach the flower that I cracked the egg. Twice.) 😉
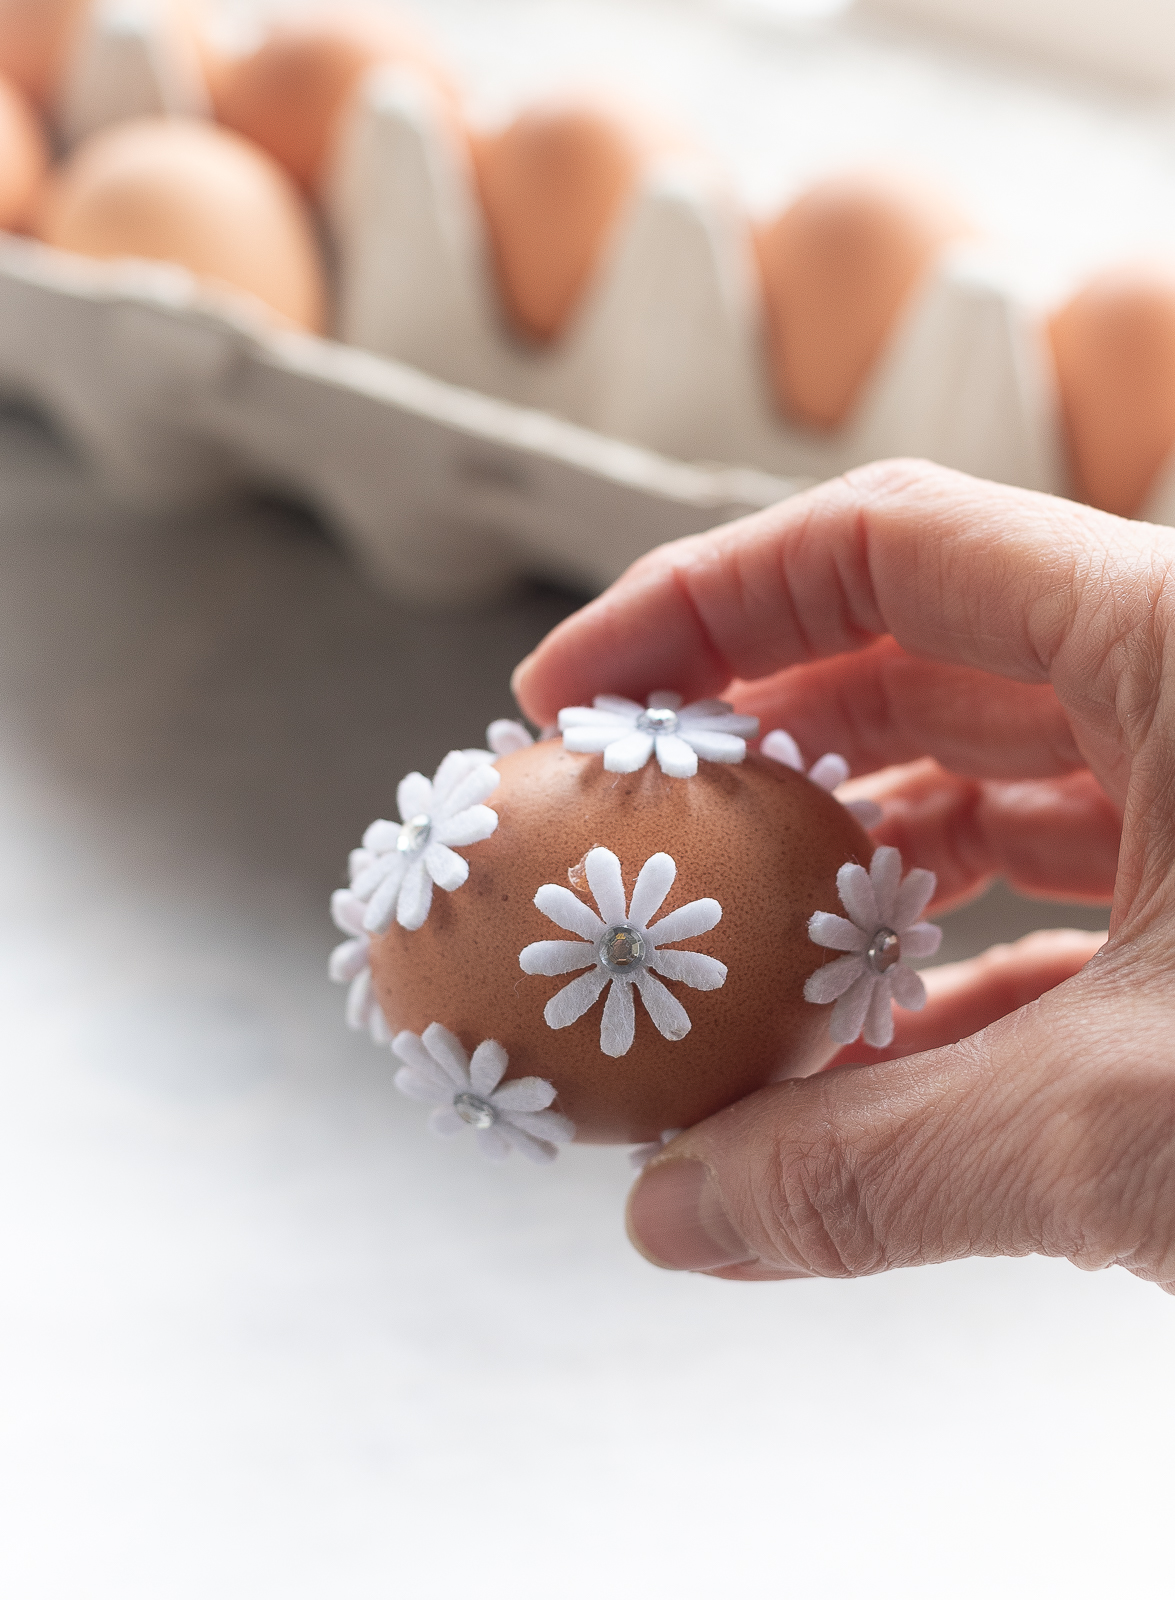
I created an all over pattern …
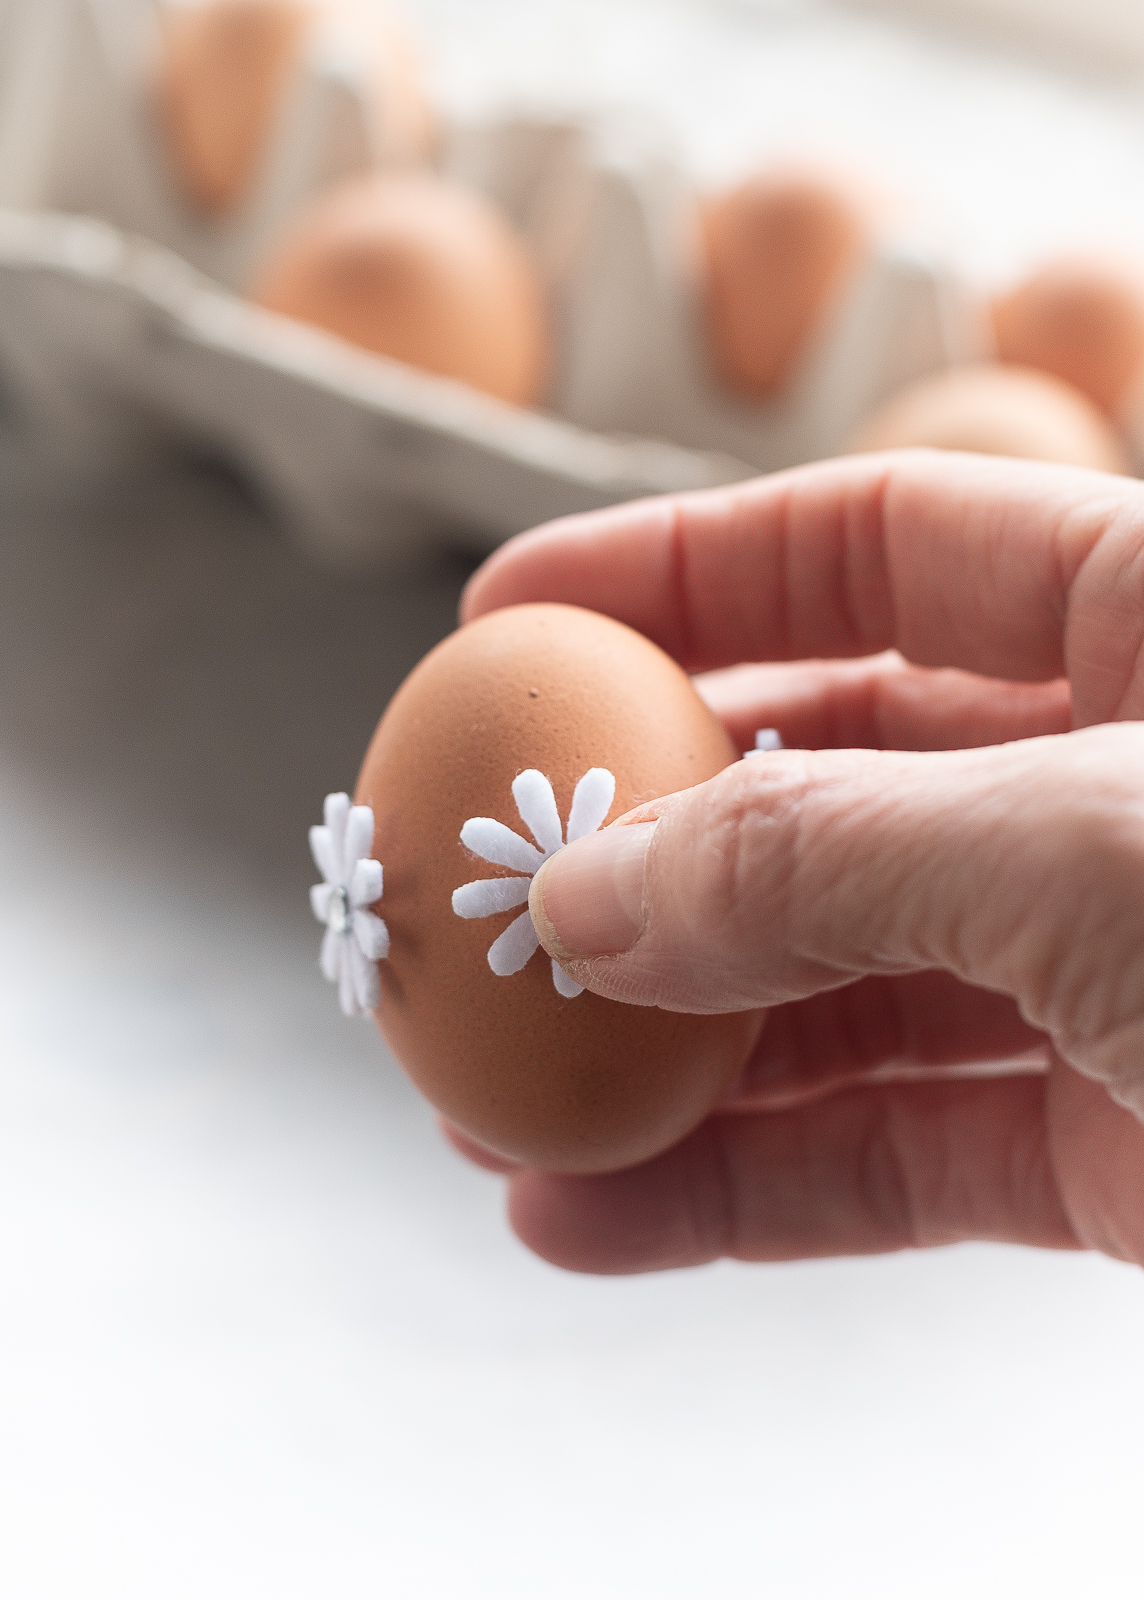
… and a single row pattern.
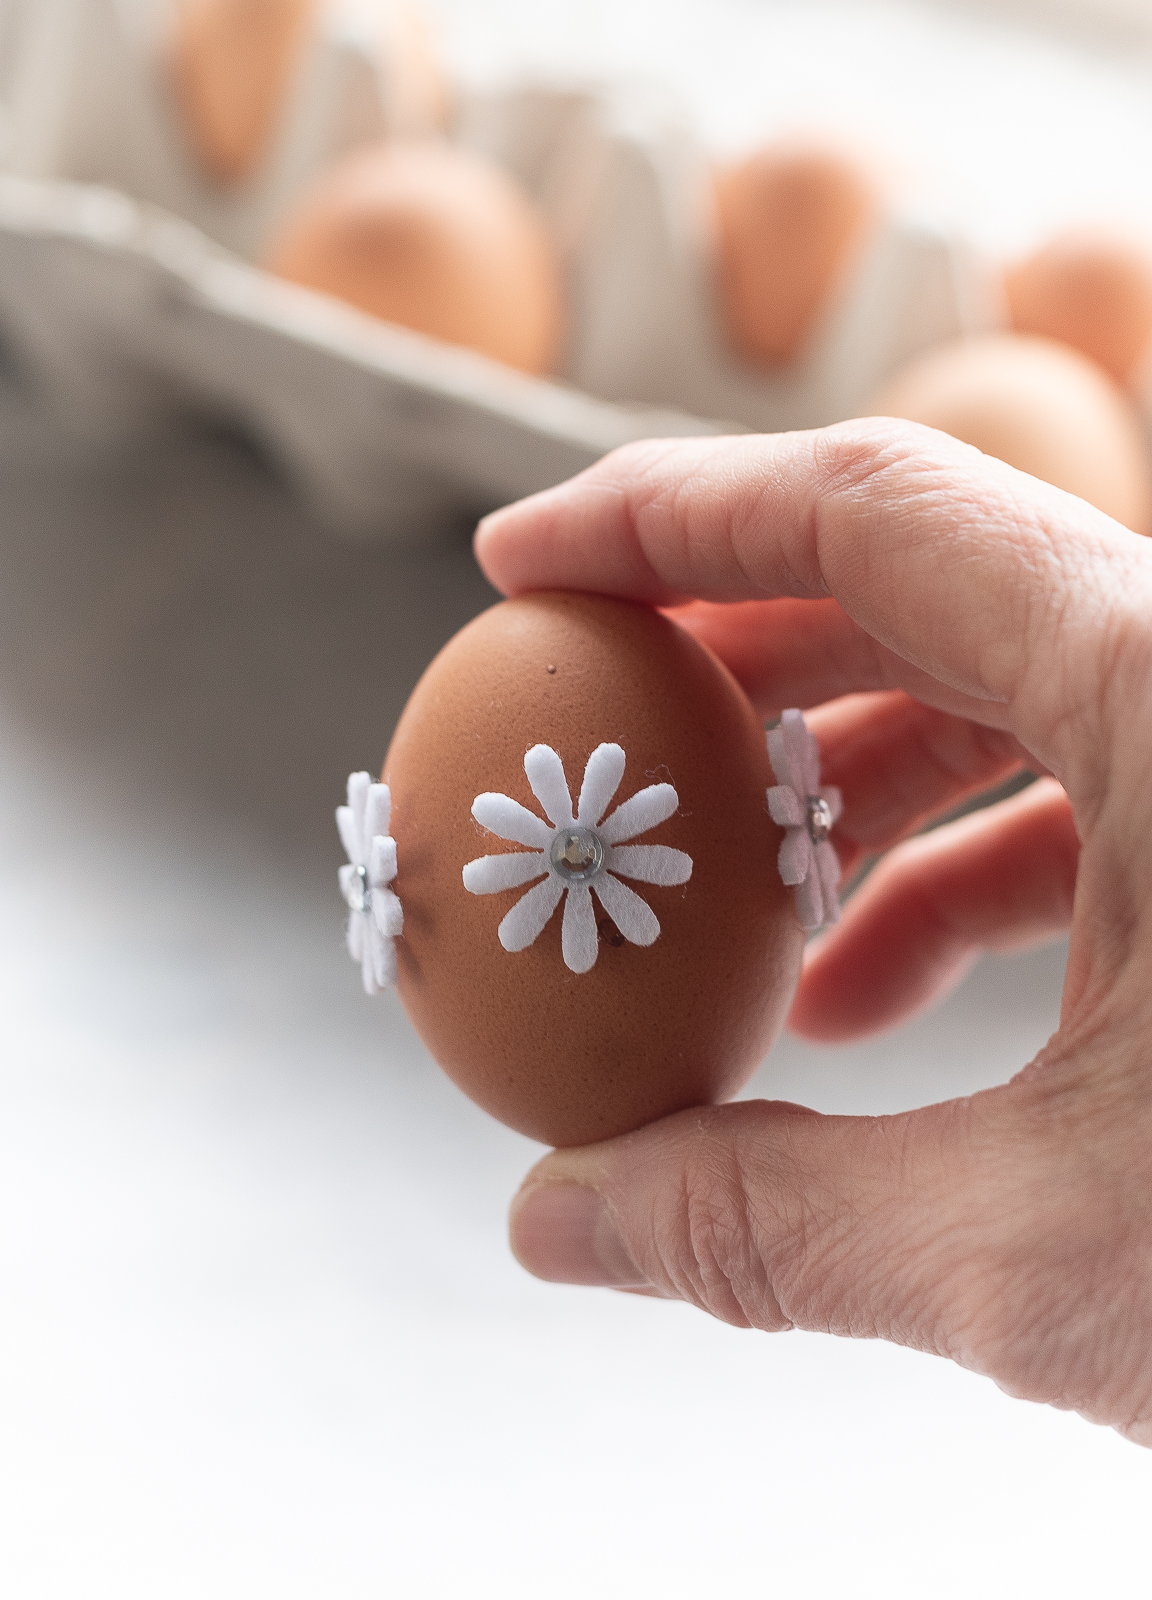
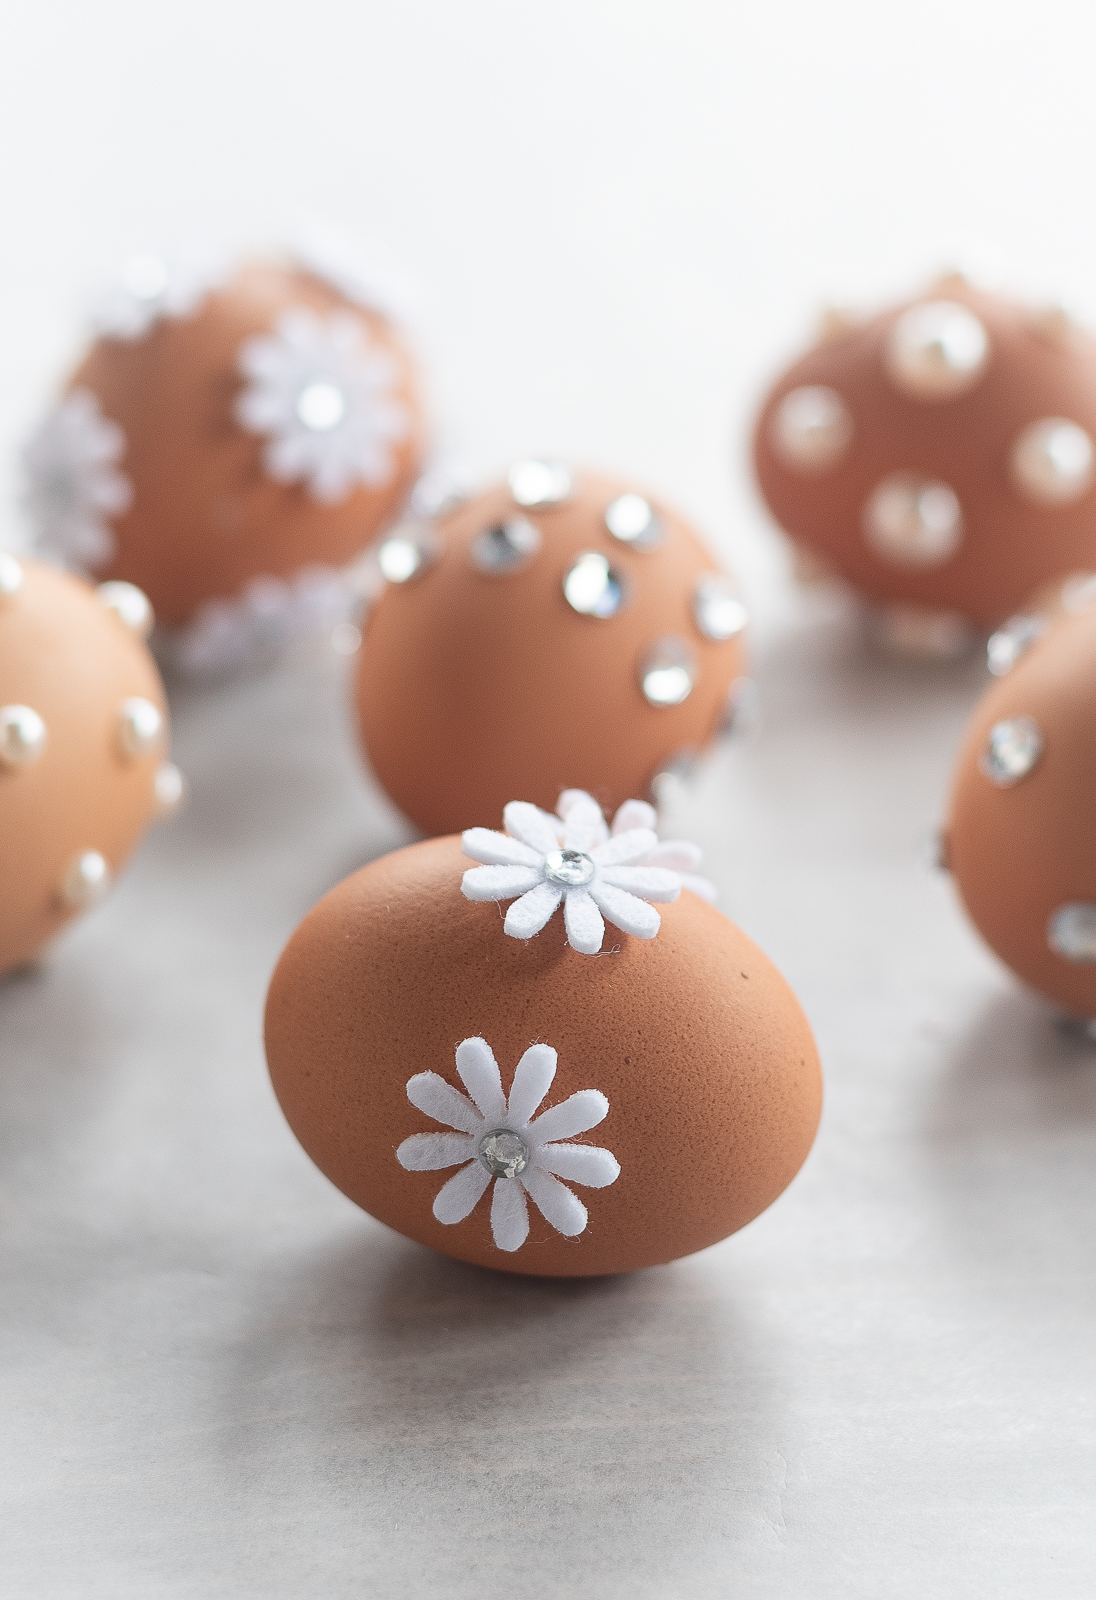
And that’s it. Now your easy to make rhinestone, pearl & flower Easter eggs are ready for their close ups!
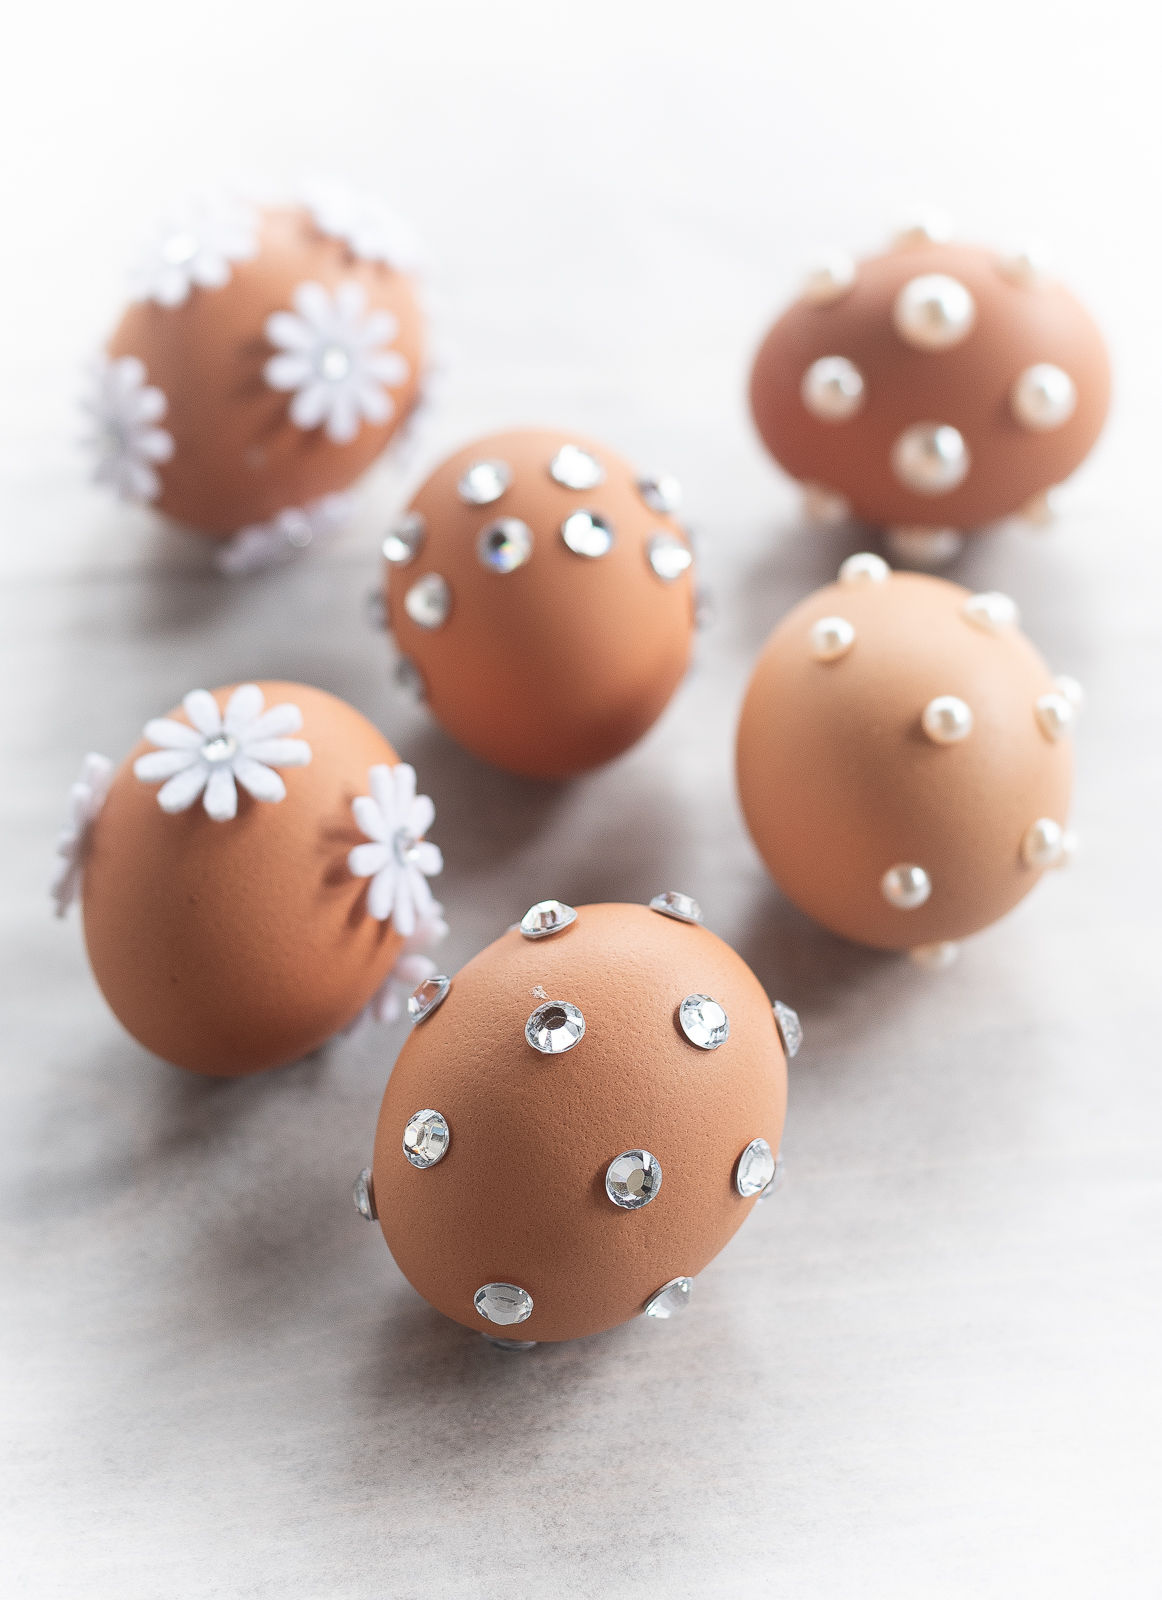
Pin It!
You Might Also Like:
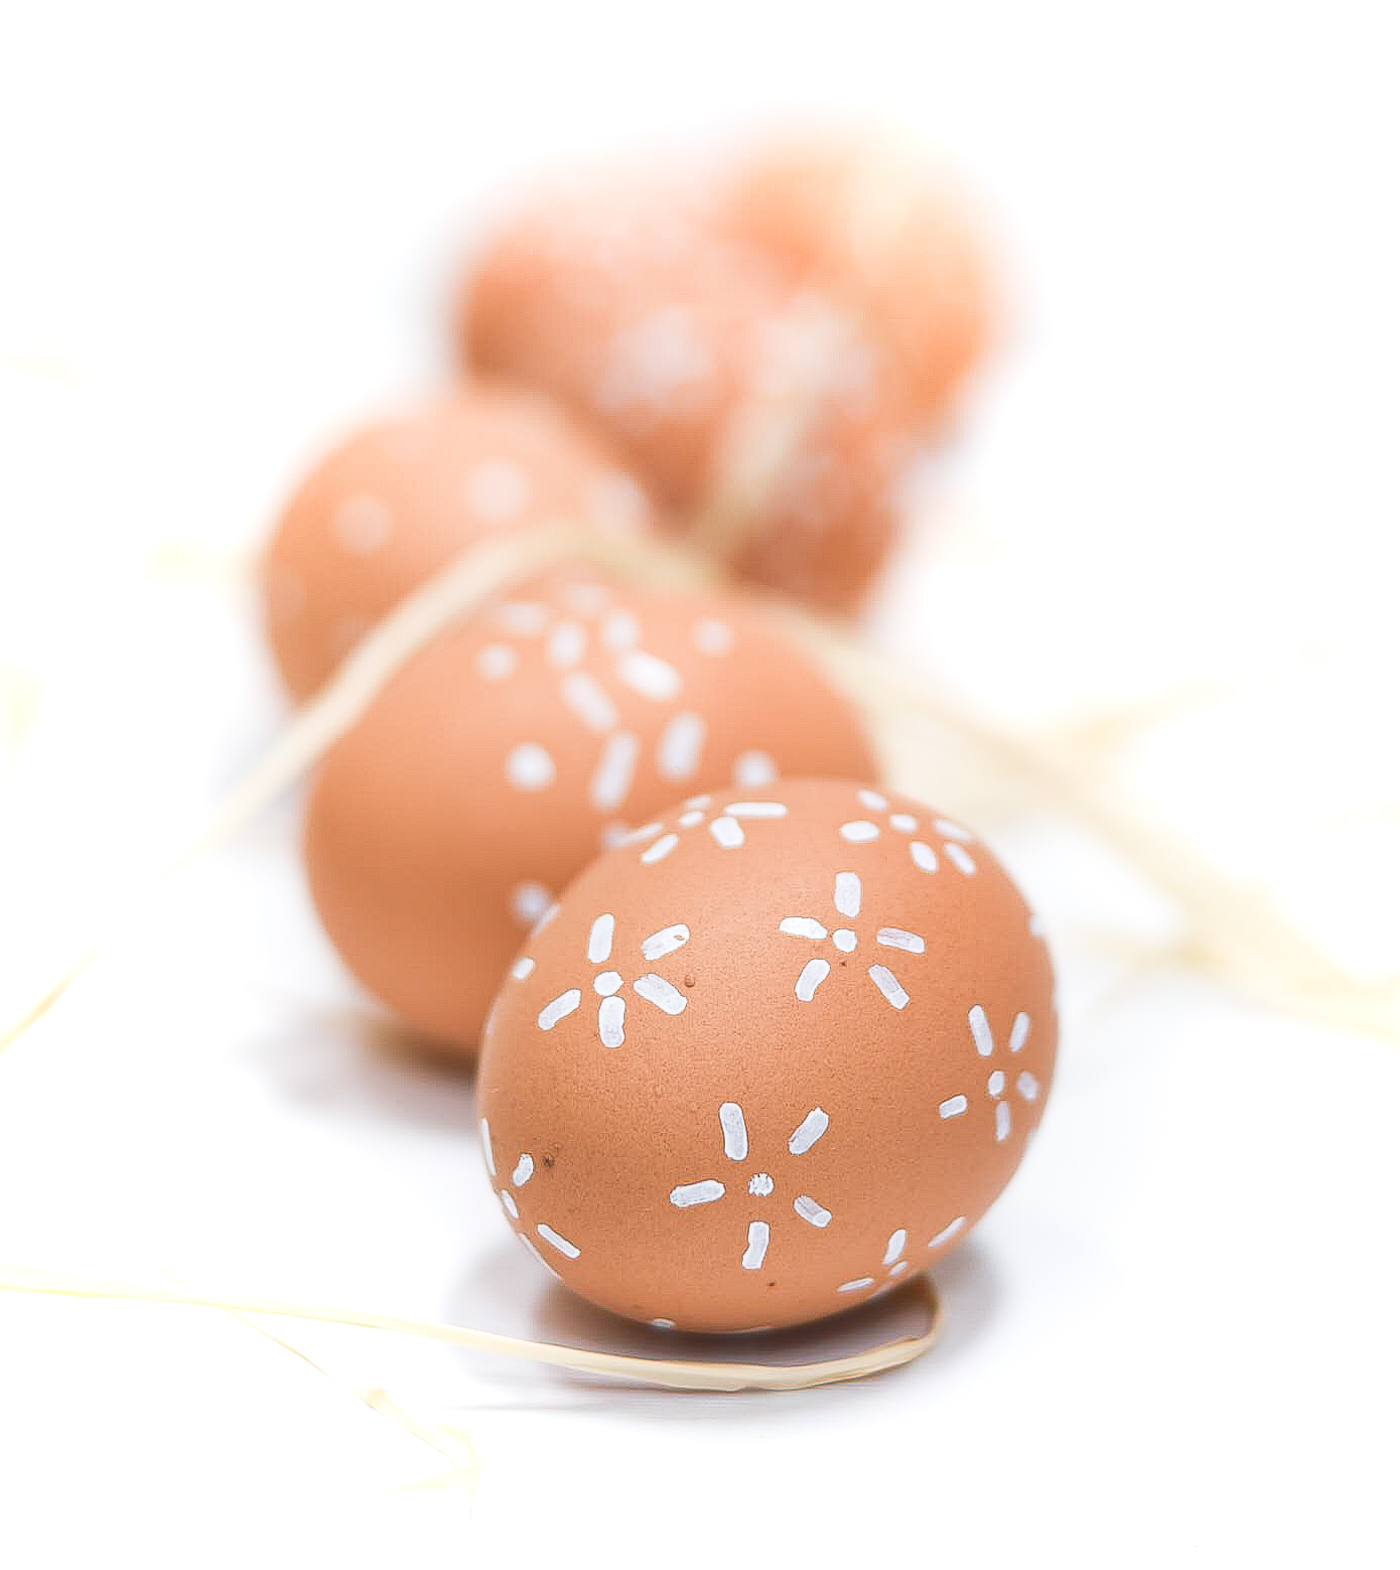
Paint Pen Easter Egg Decorating

So beautiful. I agree that the brown eggs really make these pop. I learned how to blow eggs a few years ago (empty them out), so I might do that so I can decorate with these pretty eggs year after year. Pinning to share and save this! Visiting from Love Your Creativity linkup.
I’m featuring you this week when the next To Grandma’s house we go link party starts! Thanks for sharing with us
What a great idea for no mess Easter Egg Decorating. Thanks for sharing with Create-it Link Party.
These eggs are stunning! I love them. Thank you for sharing your talent with us on Farmhouse Friday. I’ll be featuring it tomorrow. Hope you continue to link up. pinned
The eggs are very pretty and I love how easy it is too.