Jute Twine Pumpkins – No Carve Pumpkin Craft Ideas.
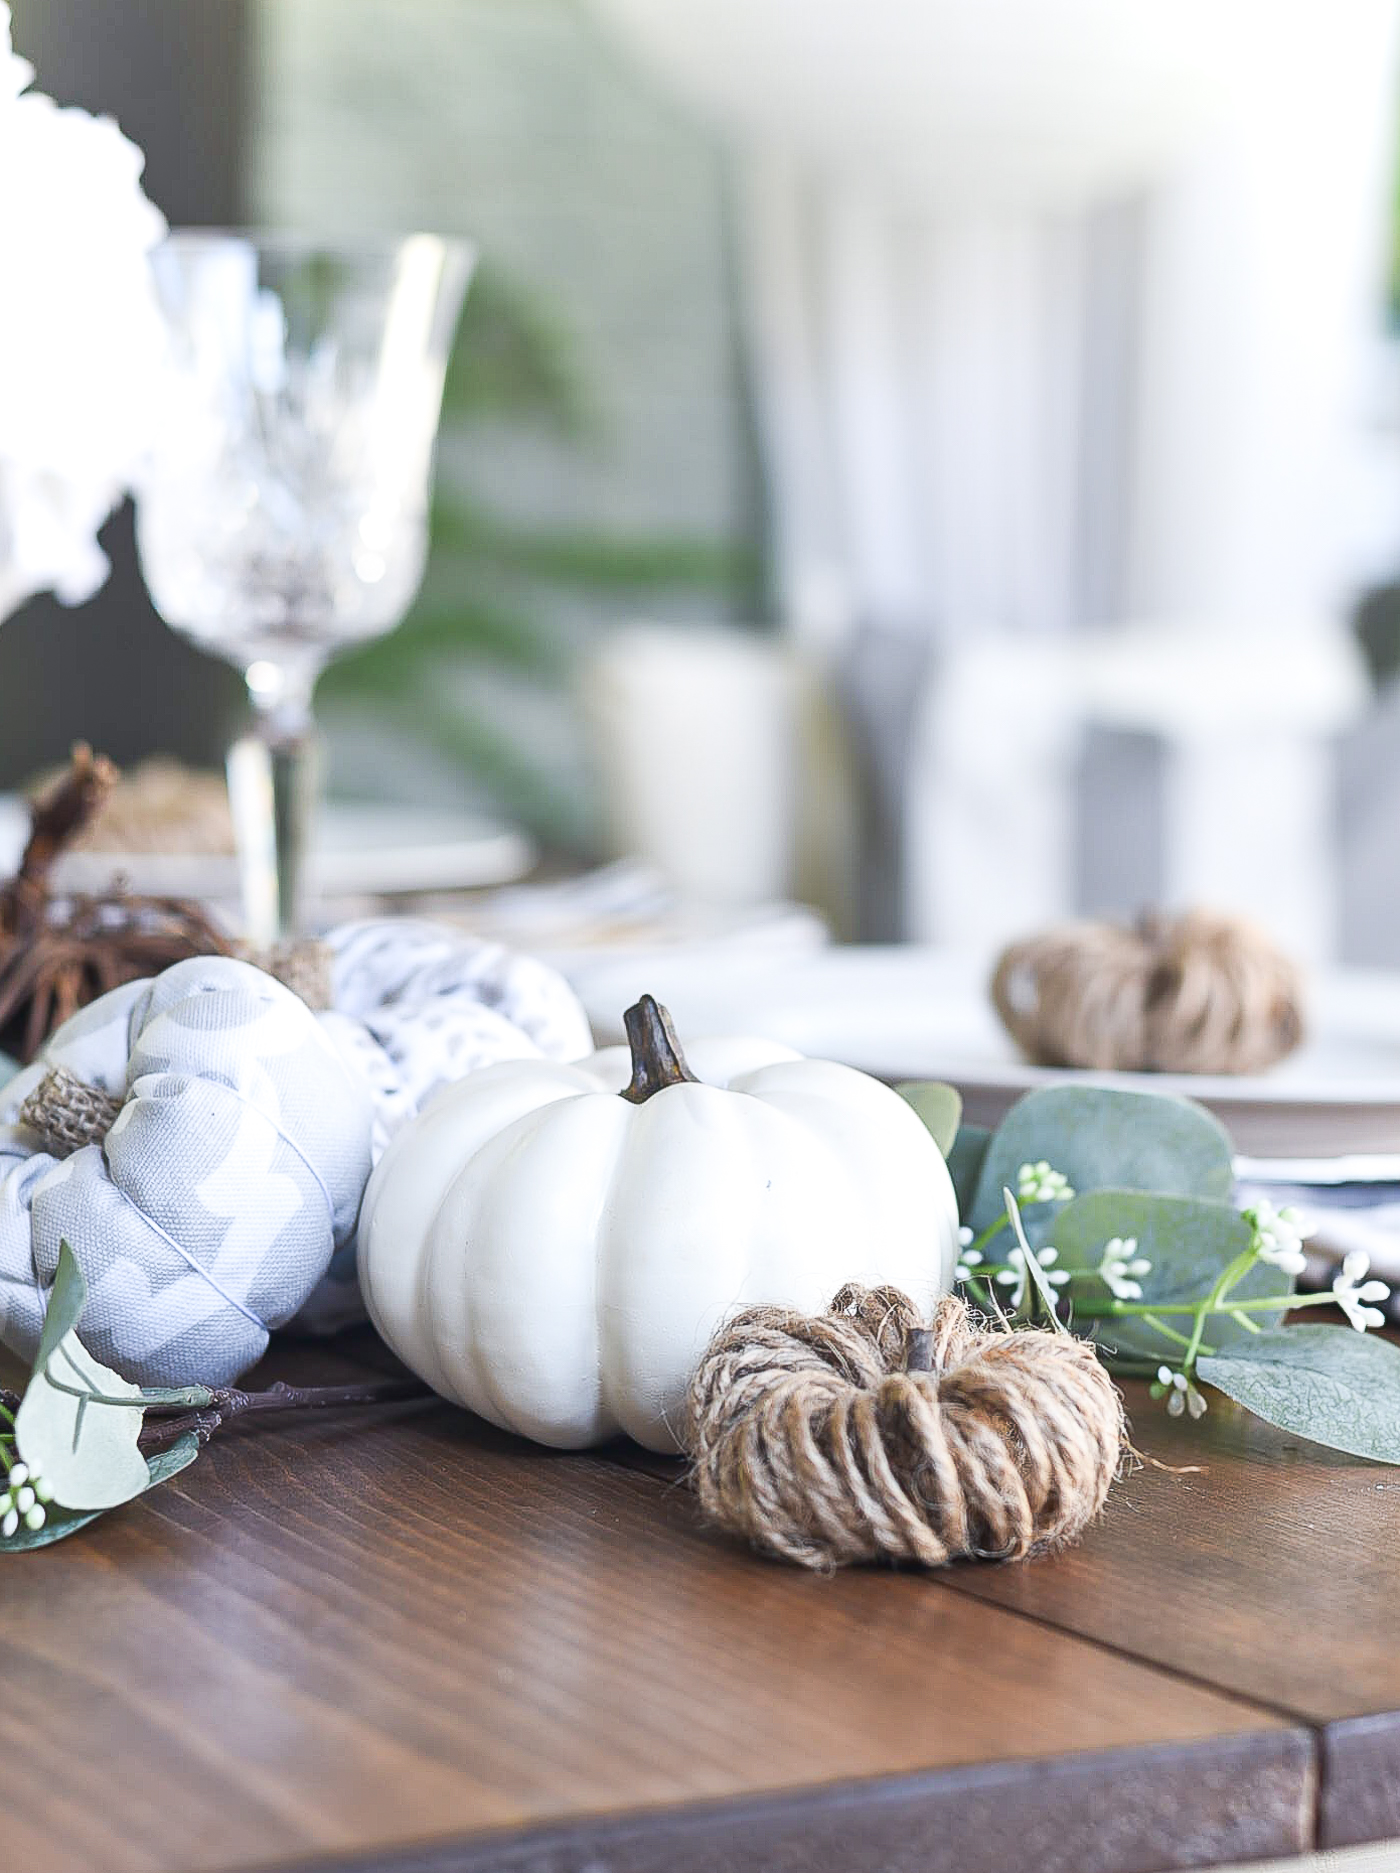
Not that I’m counting — I’m soooo 1000% counting! — but this is my sixth craft project using what I already have at home.
I’m so amazed at myself!
And, yes, I’m 1000% patting myself on the back!
I seriously didn’t think I could keep this up. That after a project or two I would ultimately give in and dash off to the craft store. But no. I’m really pulling this off.
And, yes, I’m 1000% humble bragging!
Total aside, I’m seriously saving so much in gas money too!
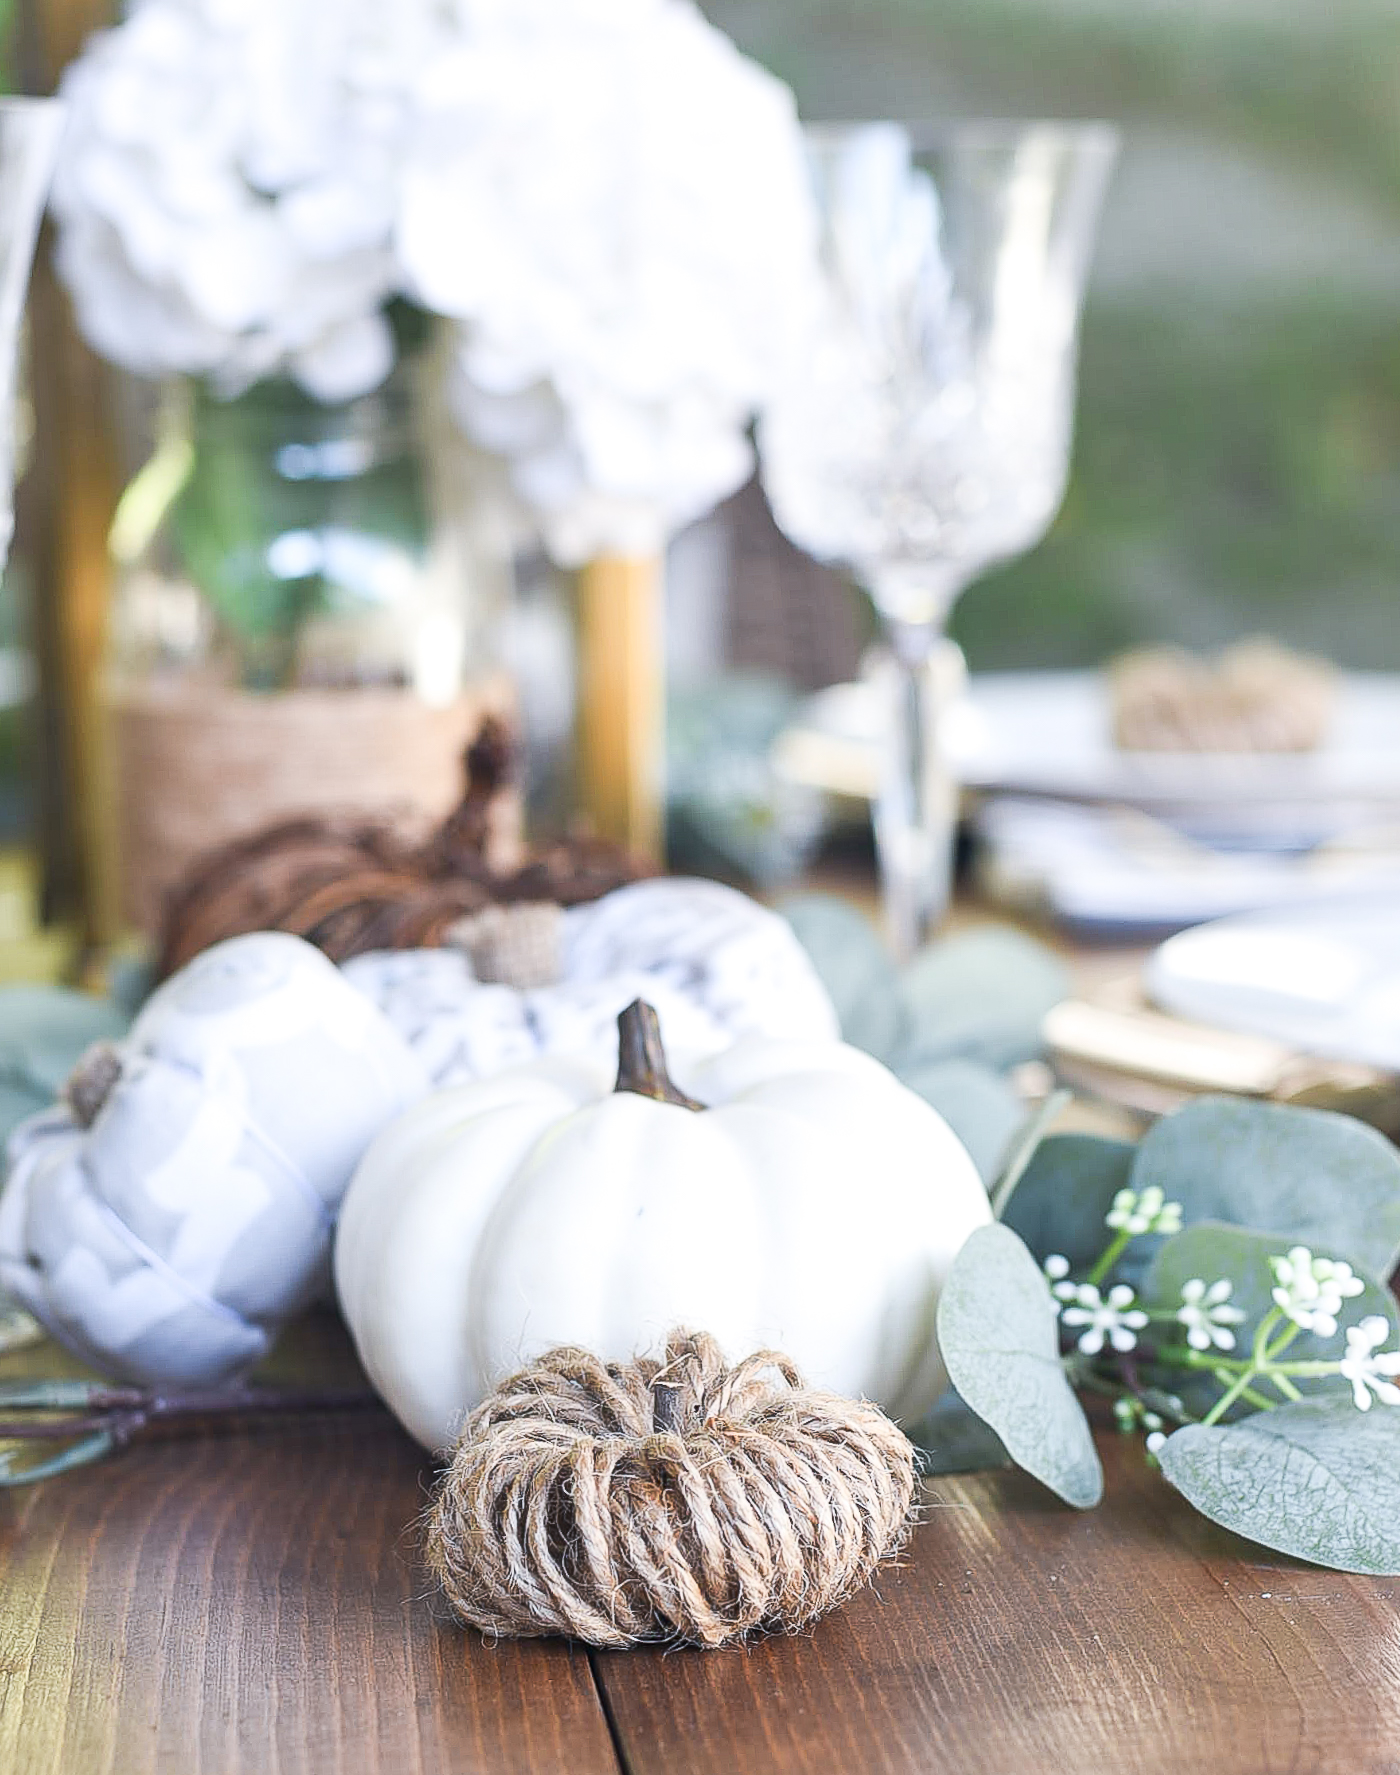
But aren’t these little jute twine pumpkins just glorious?
And when was the last time I ever used the word glorious on this blog? I’m thinking 1000% never.
I’ve been watching some YouTube videos (and when I say watching, I mean binging) of a travel Vlog from a couple who live in Wales. And they generously use the word glorious.
And lush.
And posh.
And delightful.
And I 1000% love all those words and need to incorporate them into my vocabulary. Stat.
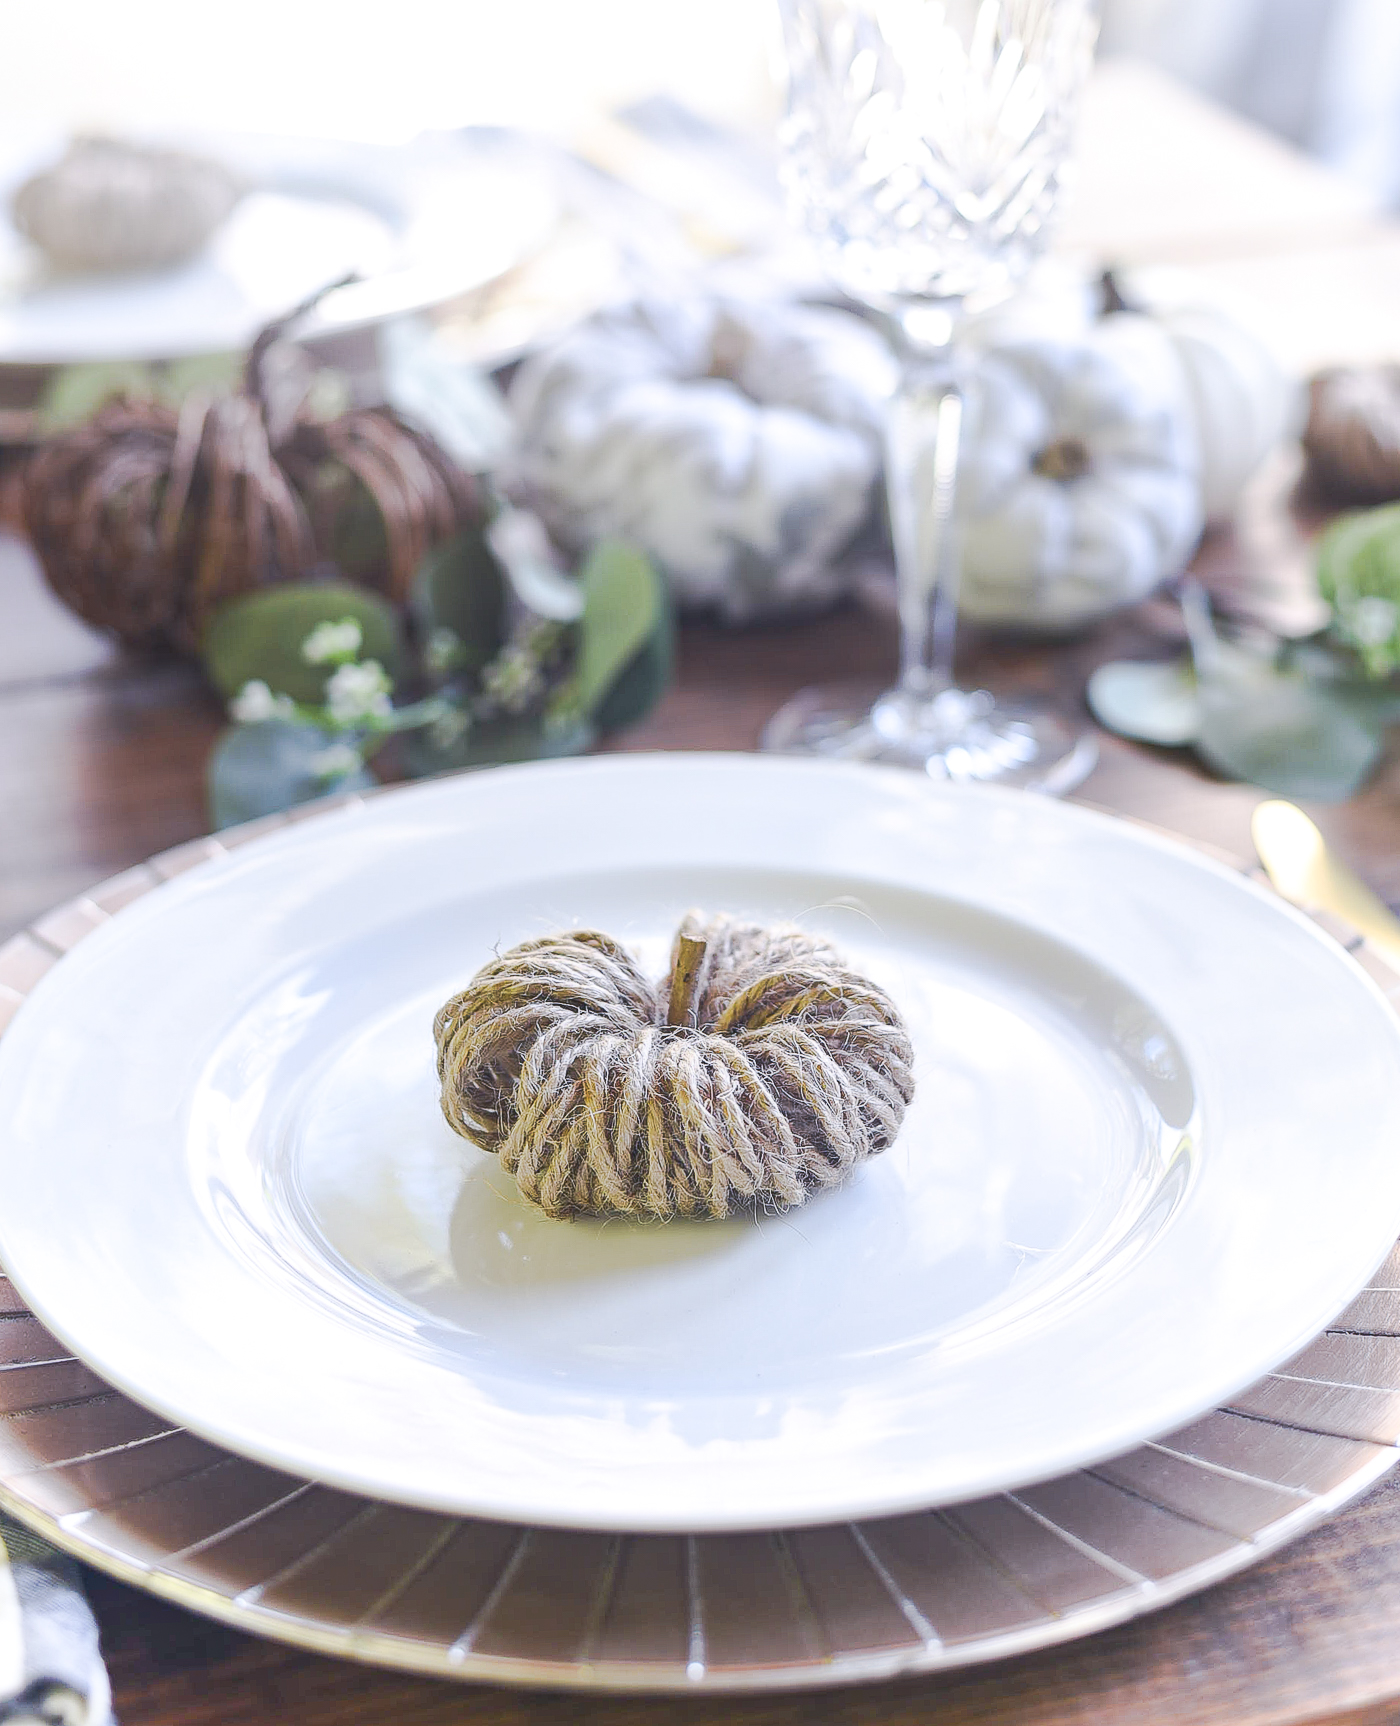
In the meanwhile, I’ll just share how you can make your very own delightful, glorious, lush and posh jute twine pumpkins.
And they’re 1000% easy to make!
How To Make Jute Twine Pumpkins
Materials*
Ruler or Yardstick
Tape
Scissors
*includes some affiliate links.
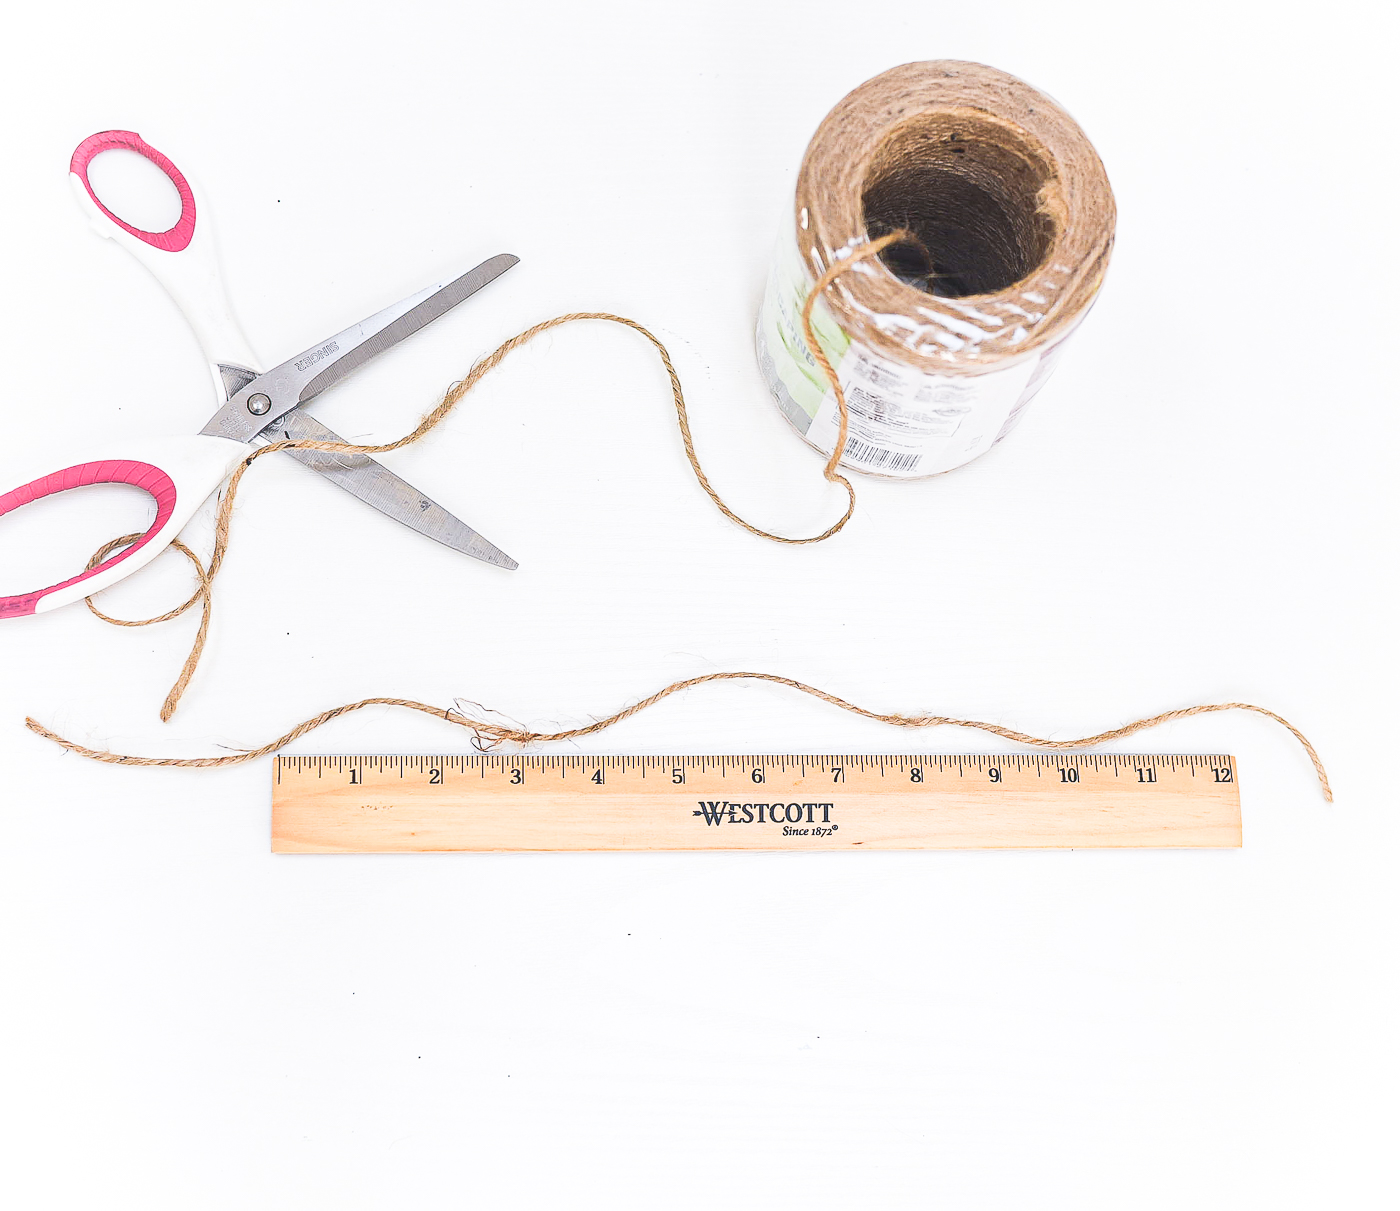
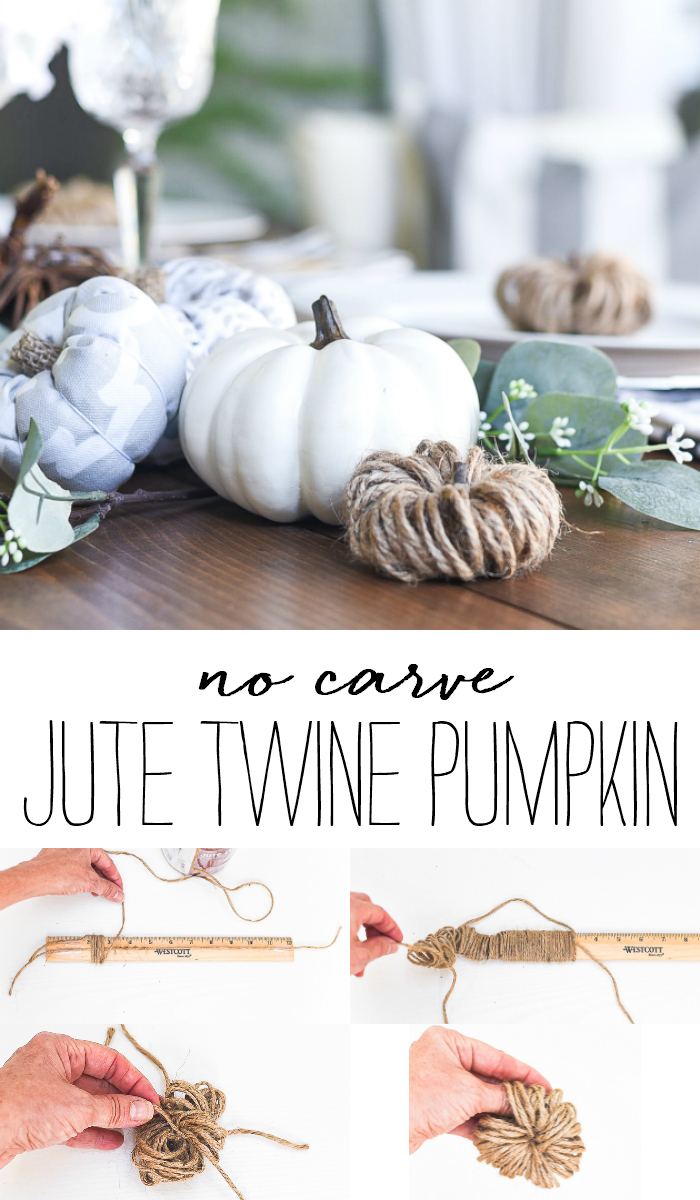
Cut a length of twine that is slightly larger than 12″
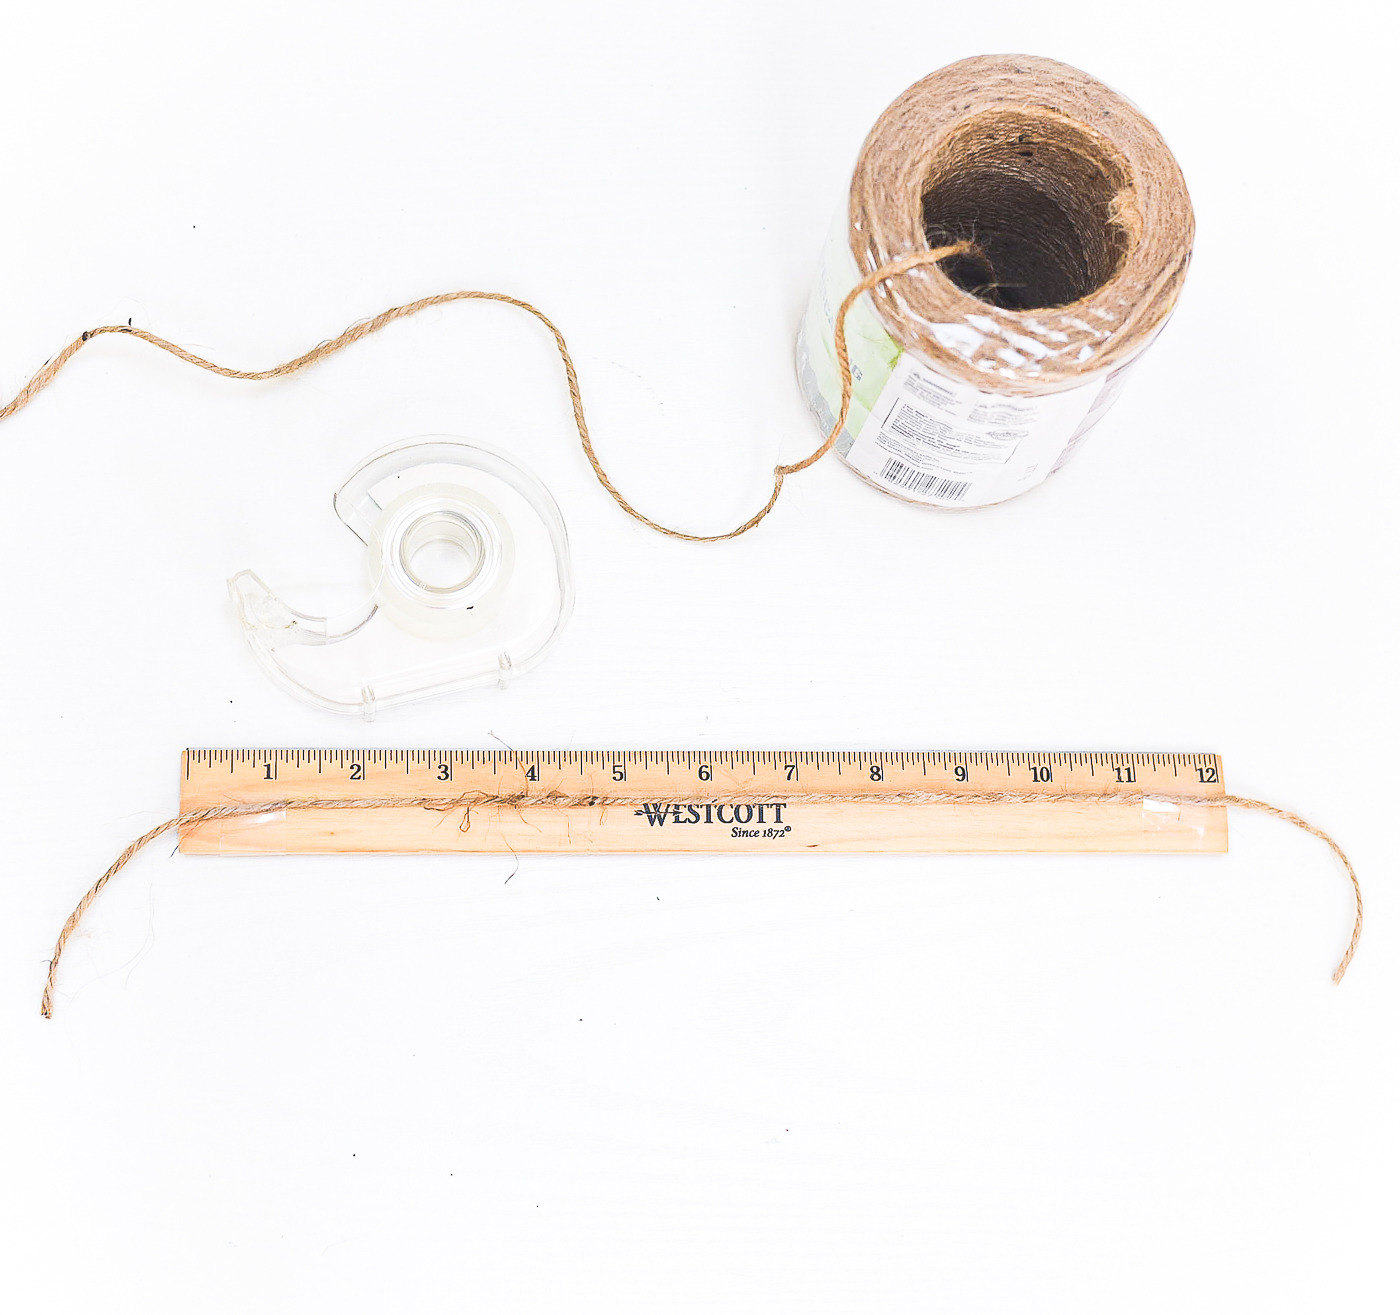
Tape down both ends to ruler.
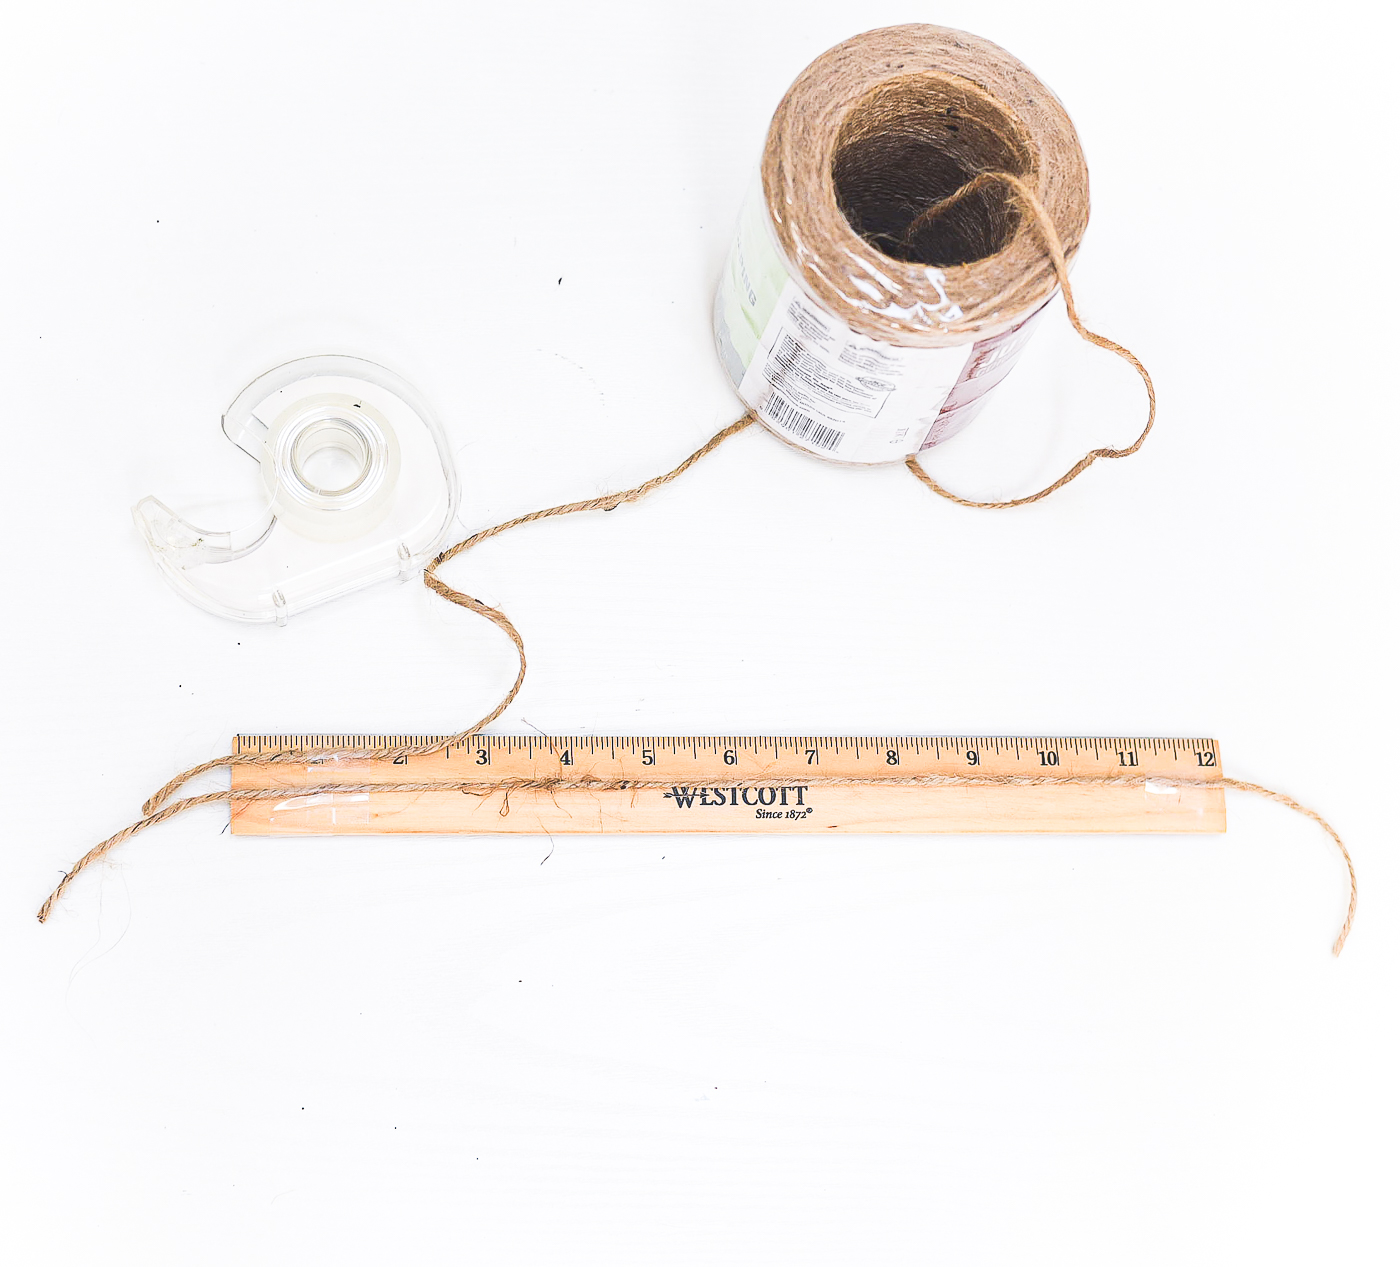
Tape a new length of twine to ruler (I didn’t cut this piece and just un-spooled as needed from the twine spool).
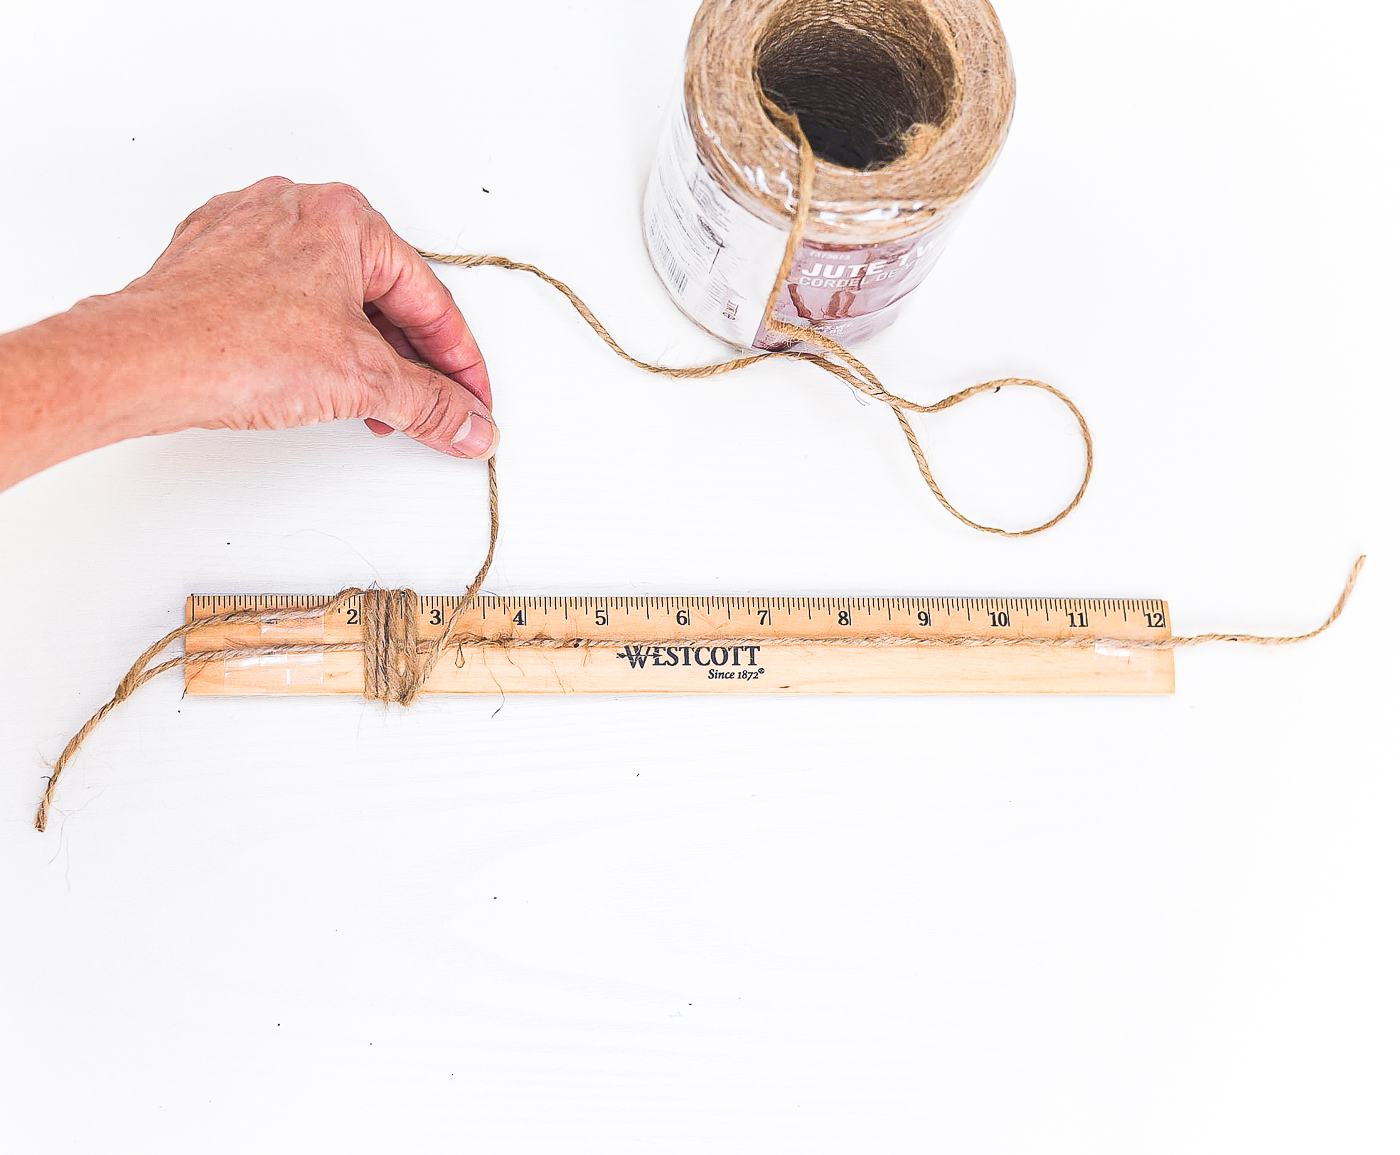
Wrap twine around the ruler (not too tight or it will be impossible to remove from ruler!).
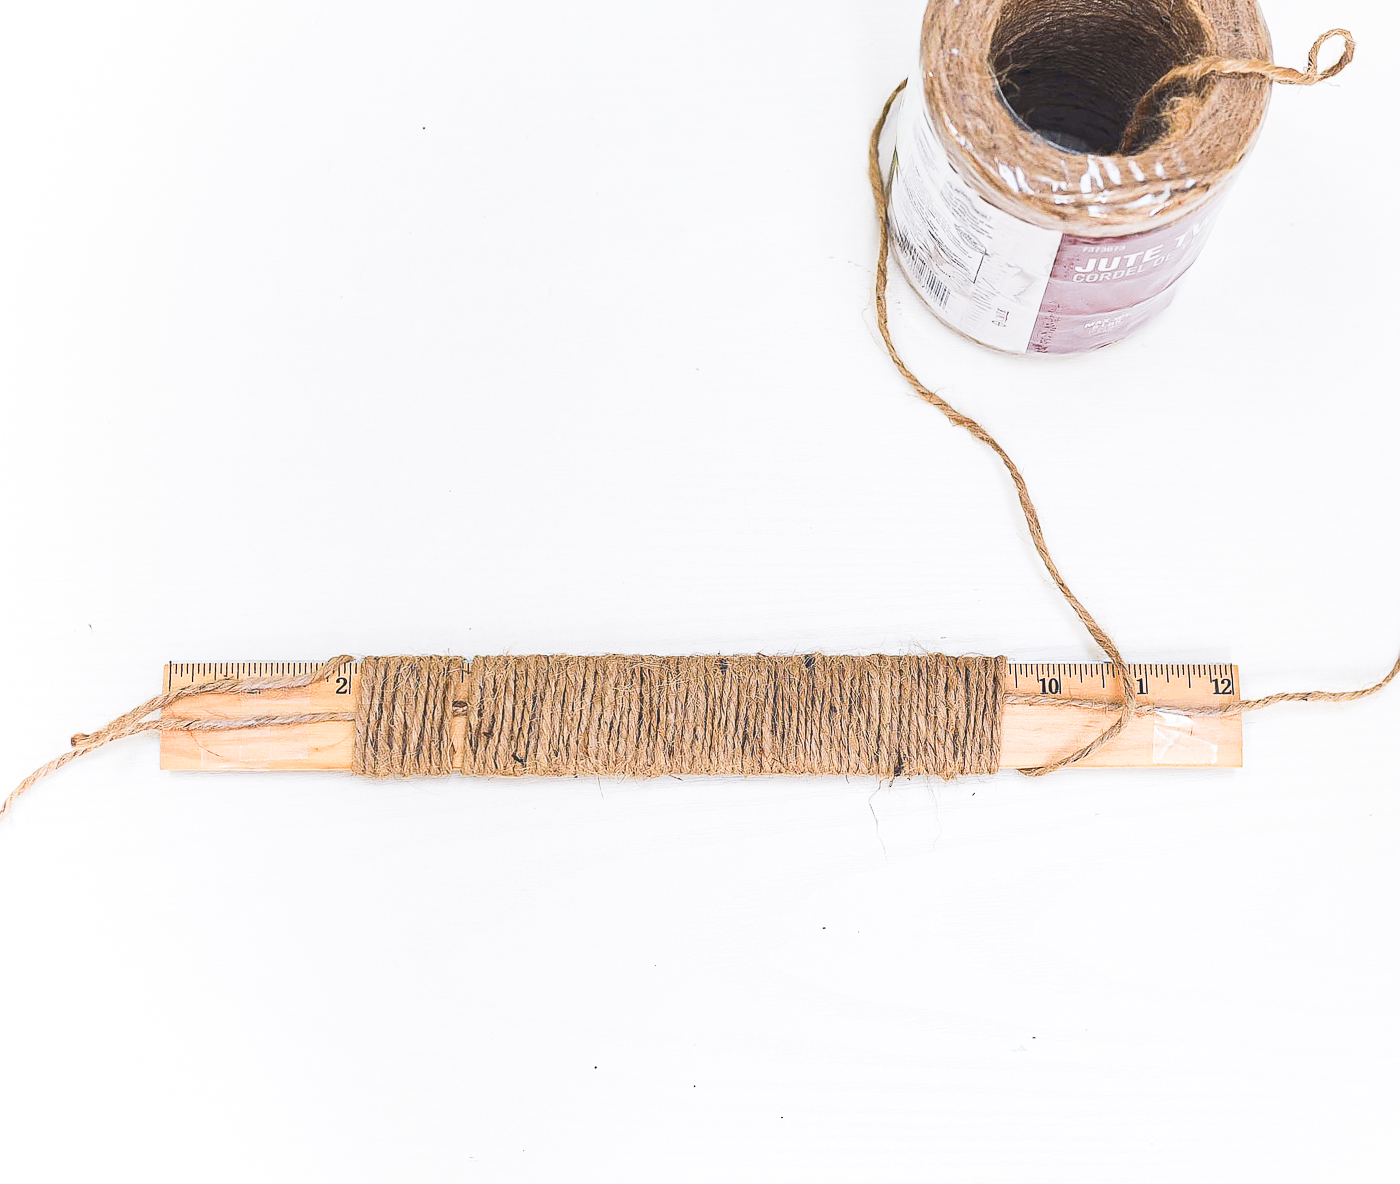
Continue to wrap until you have a little over 9″
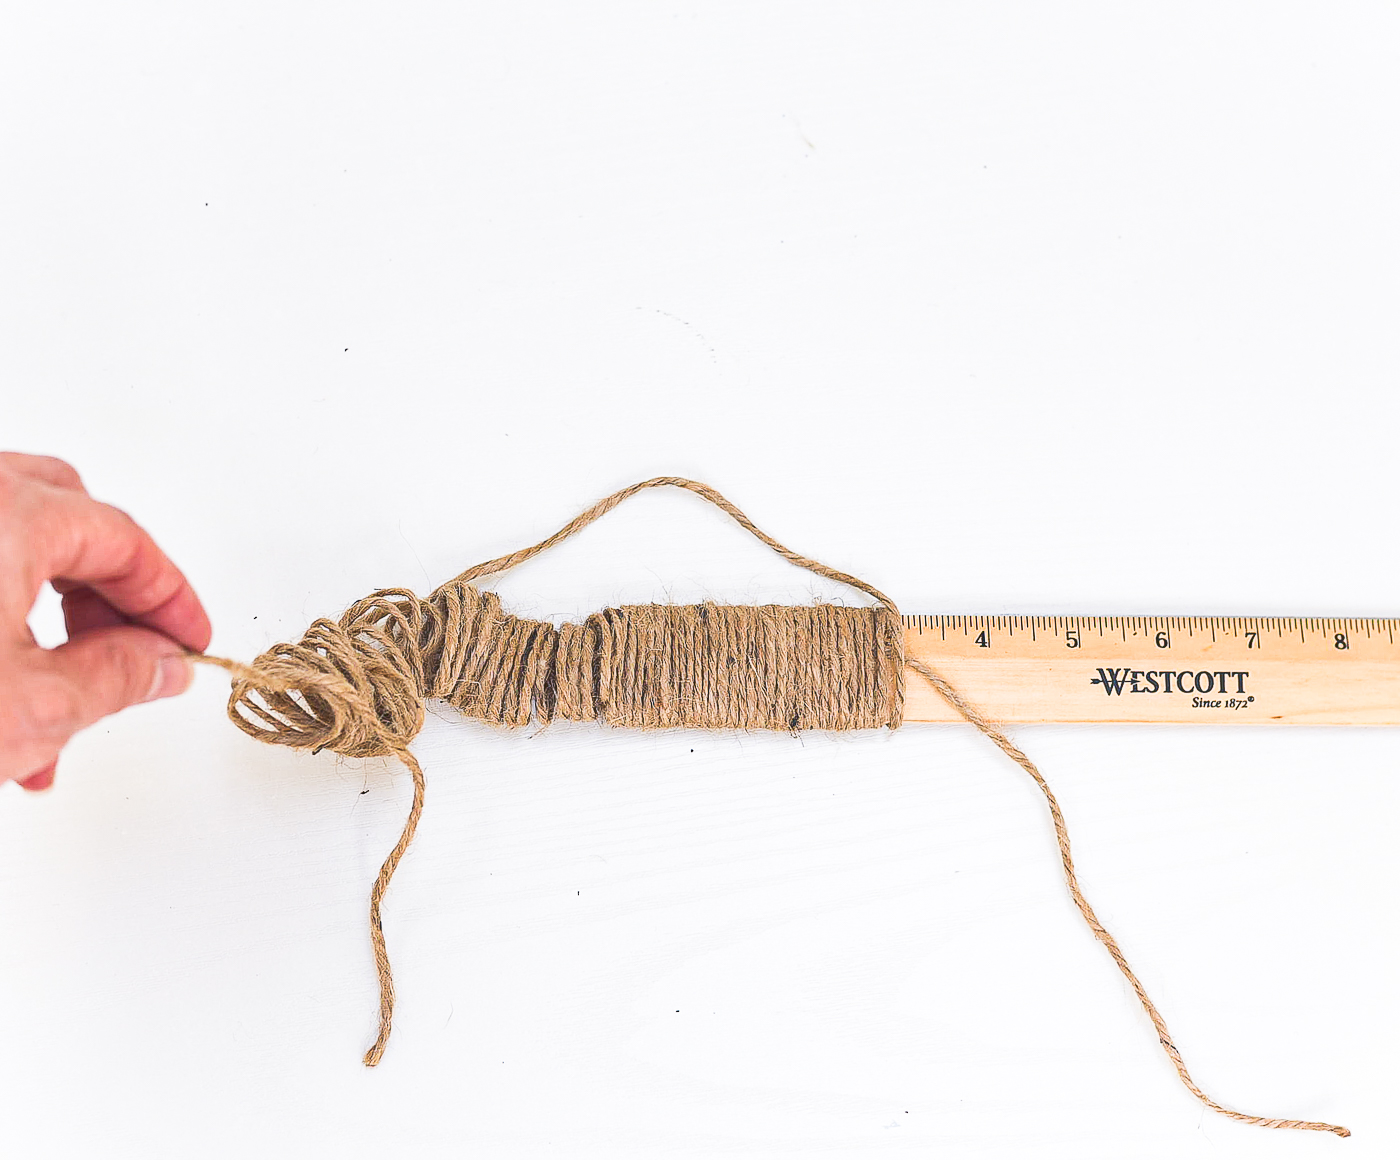
Gently remove from ruler (make sure to first untape all ends and to keep hold of the original 12+ inch length of twine taped to both ends of the ruler.
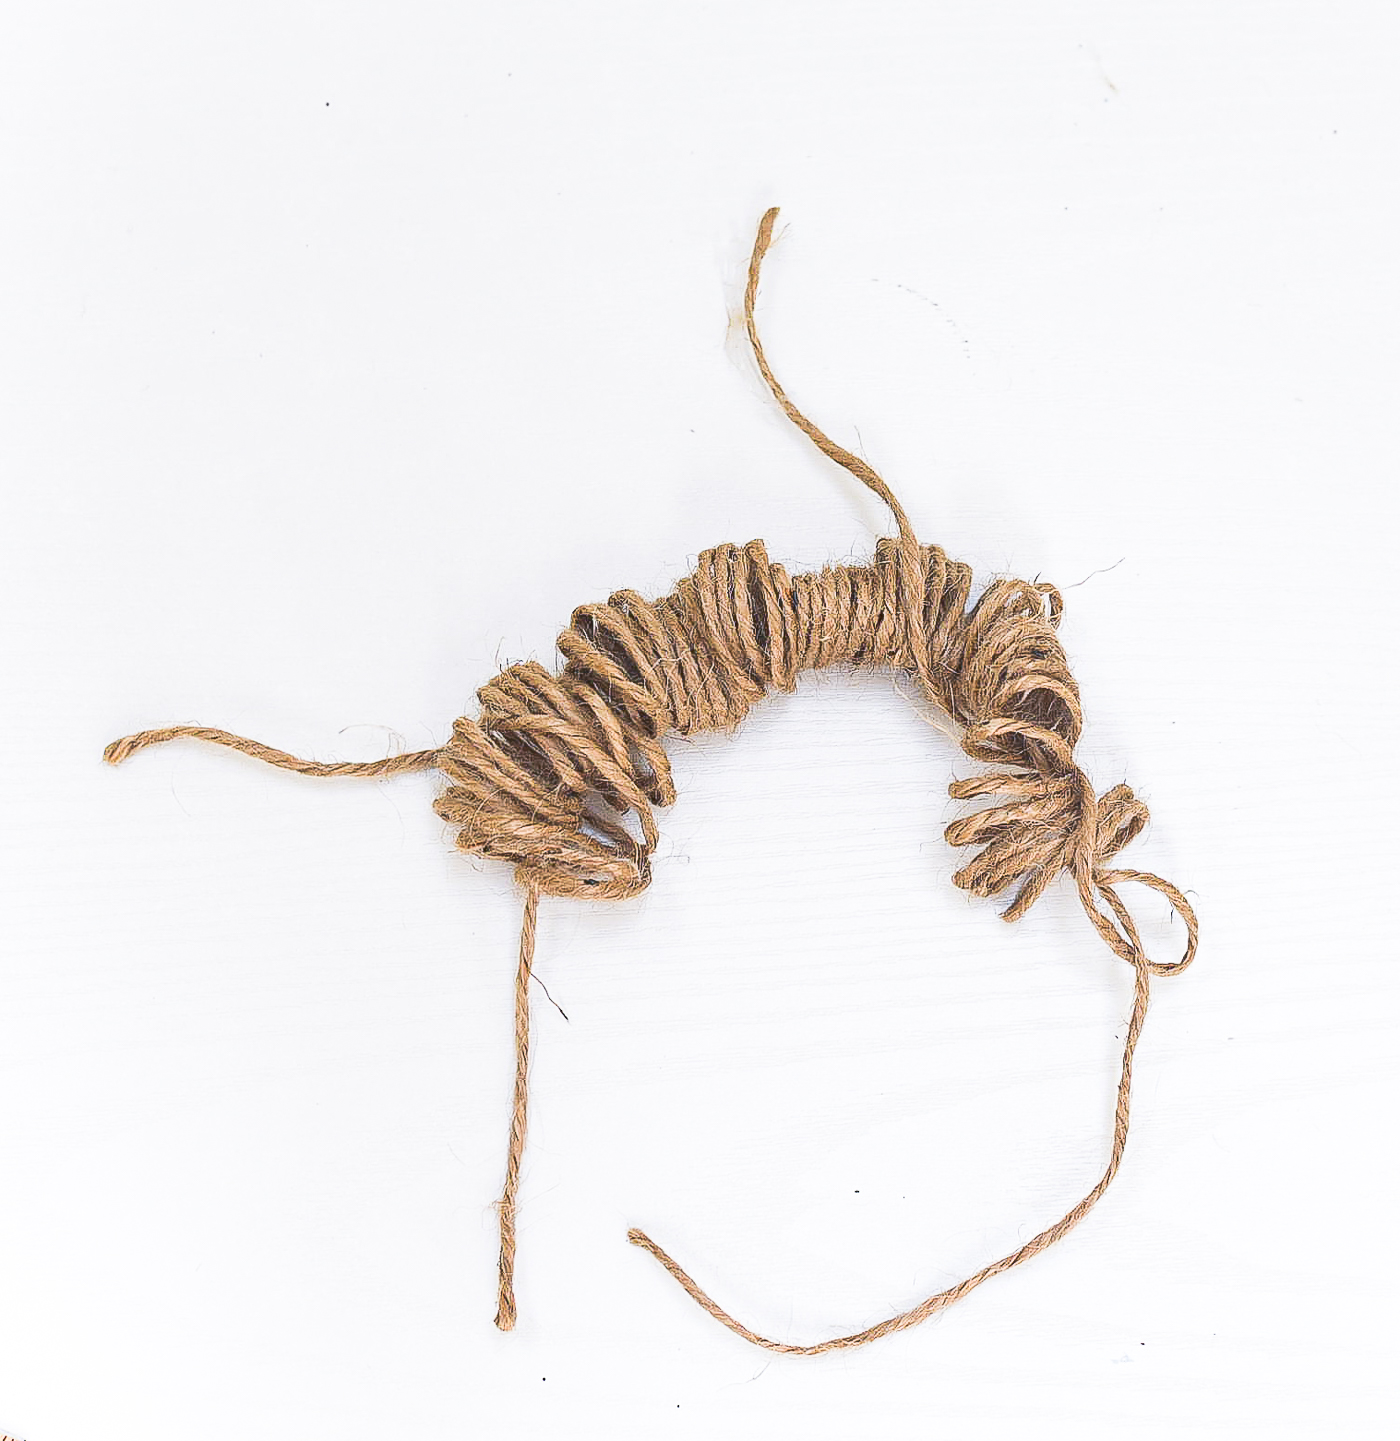
Like so.
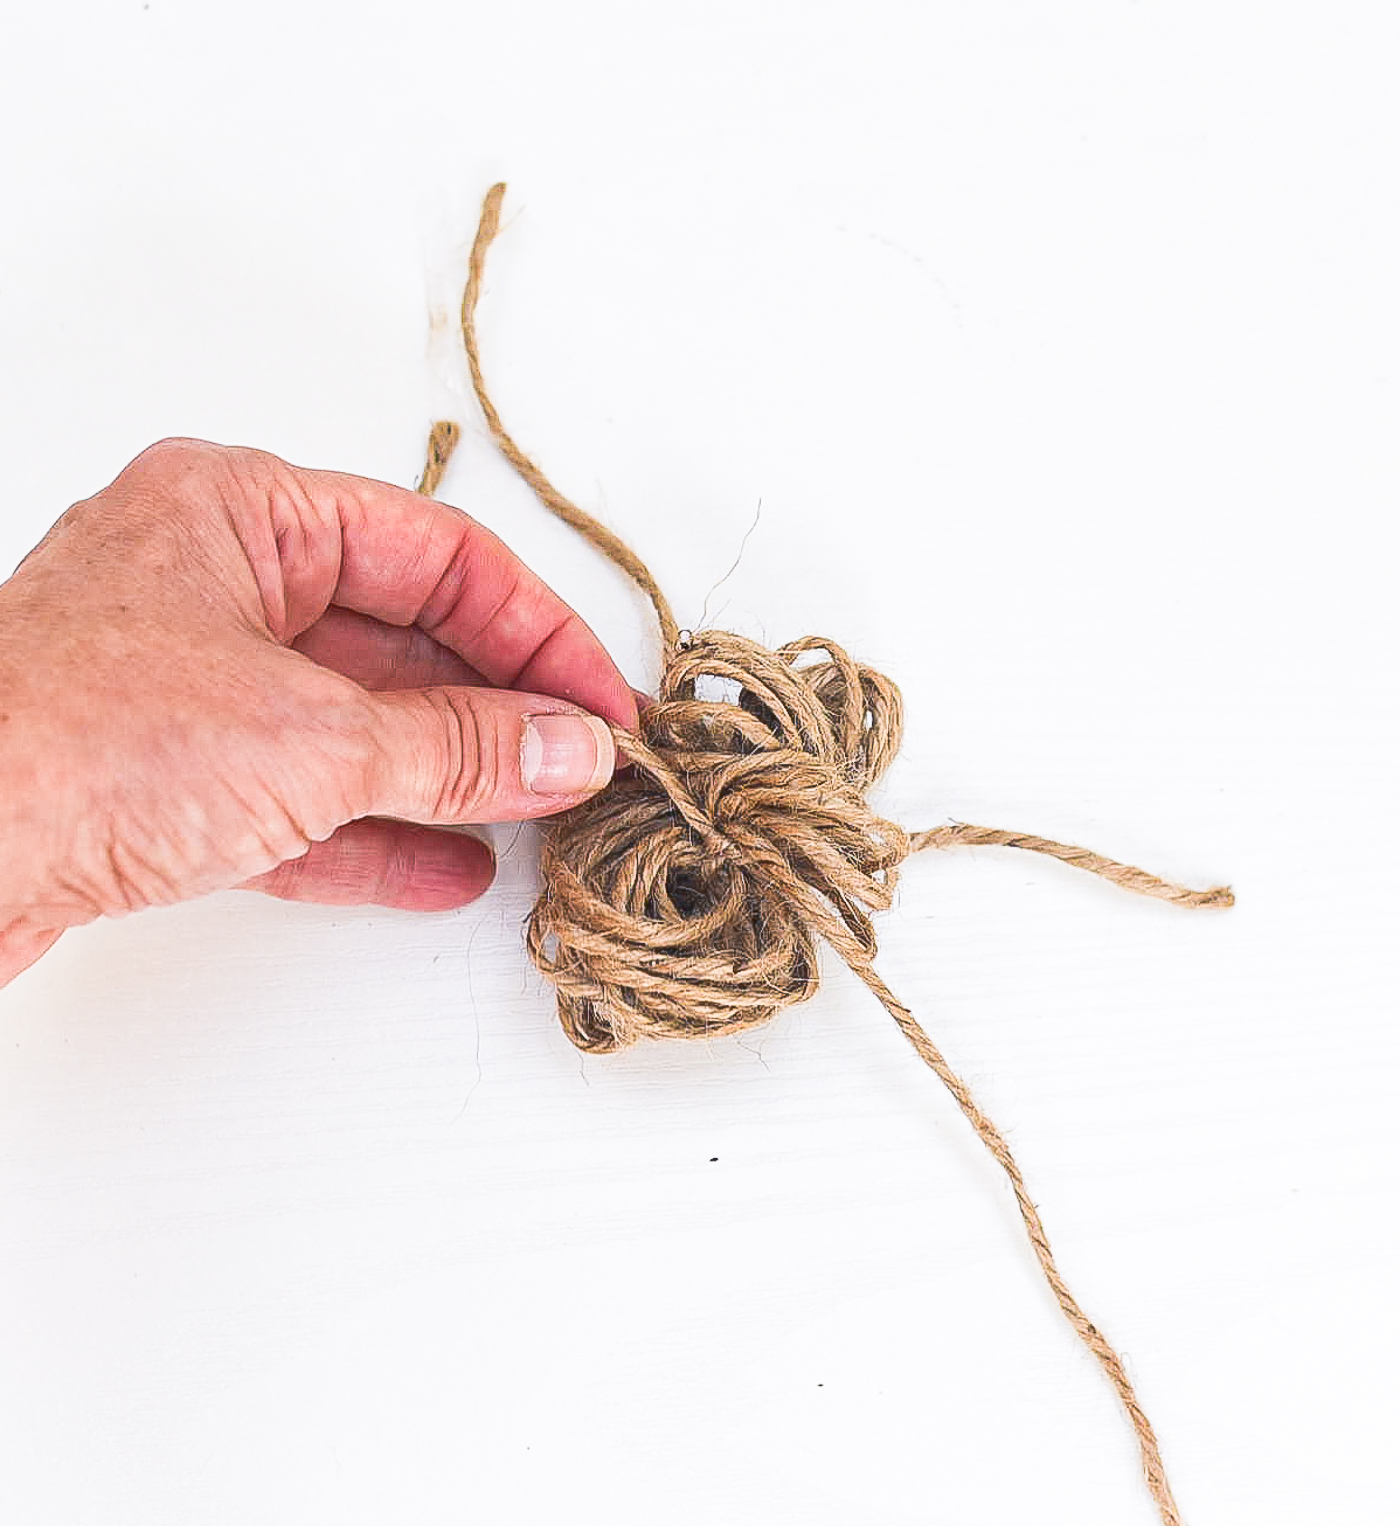
Tie a knot using the two ends of the original length of 12+ inches of twine. Pull tight.
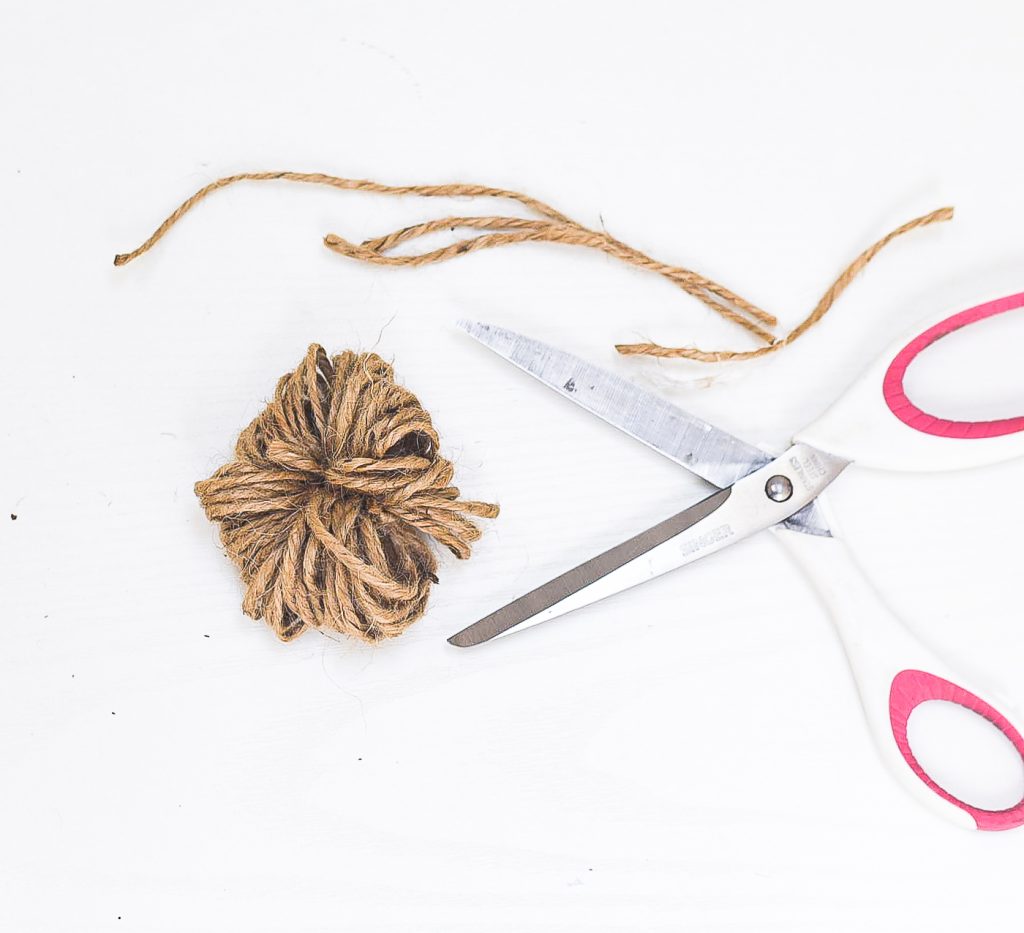
Also tie a knot using the two loose ends of the twine used to wrap the ruler. Don’t pull too tight when knotting to keep the pumpkin “loops” a consistent size.
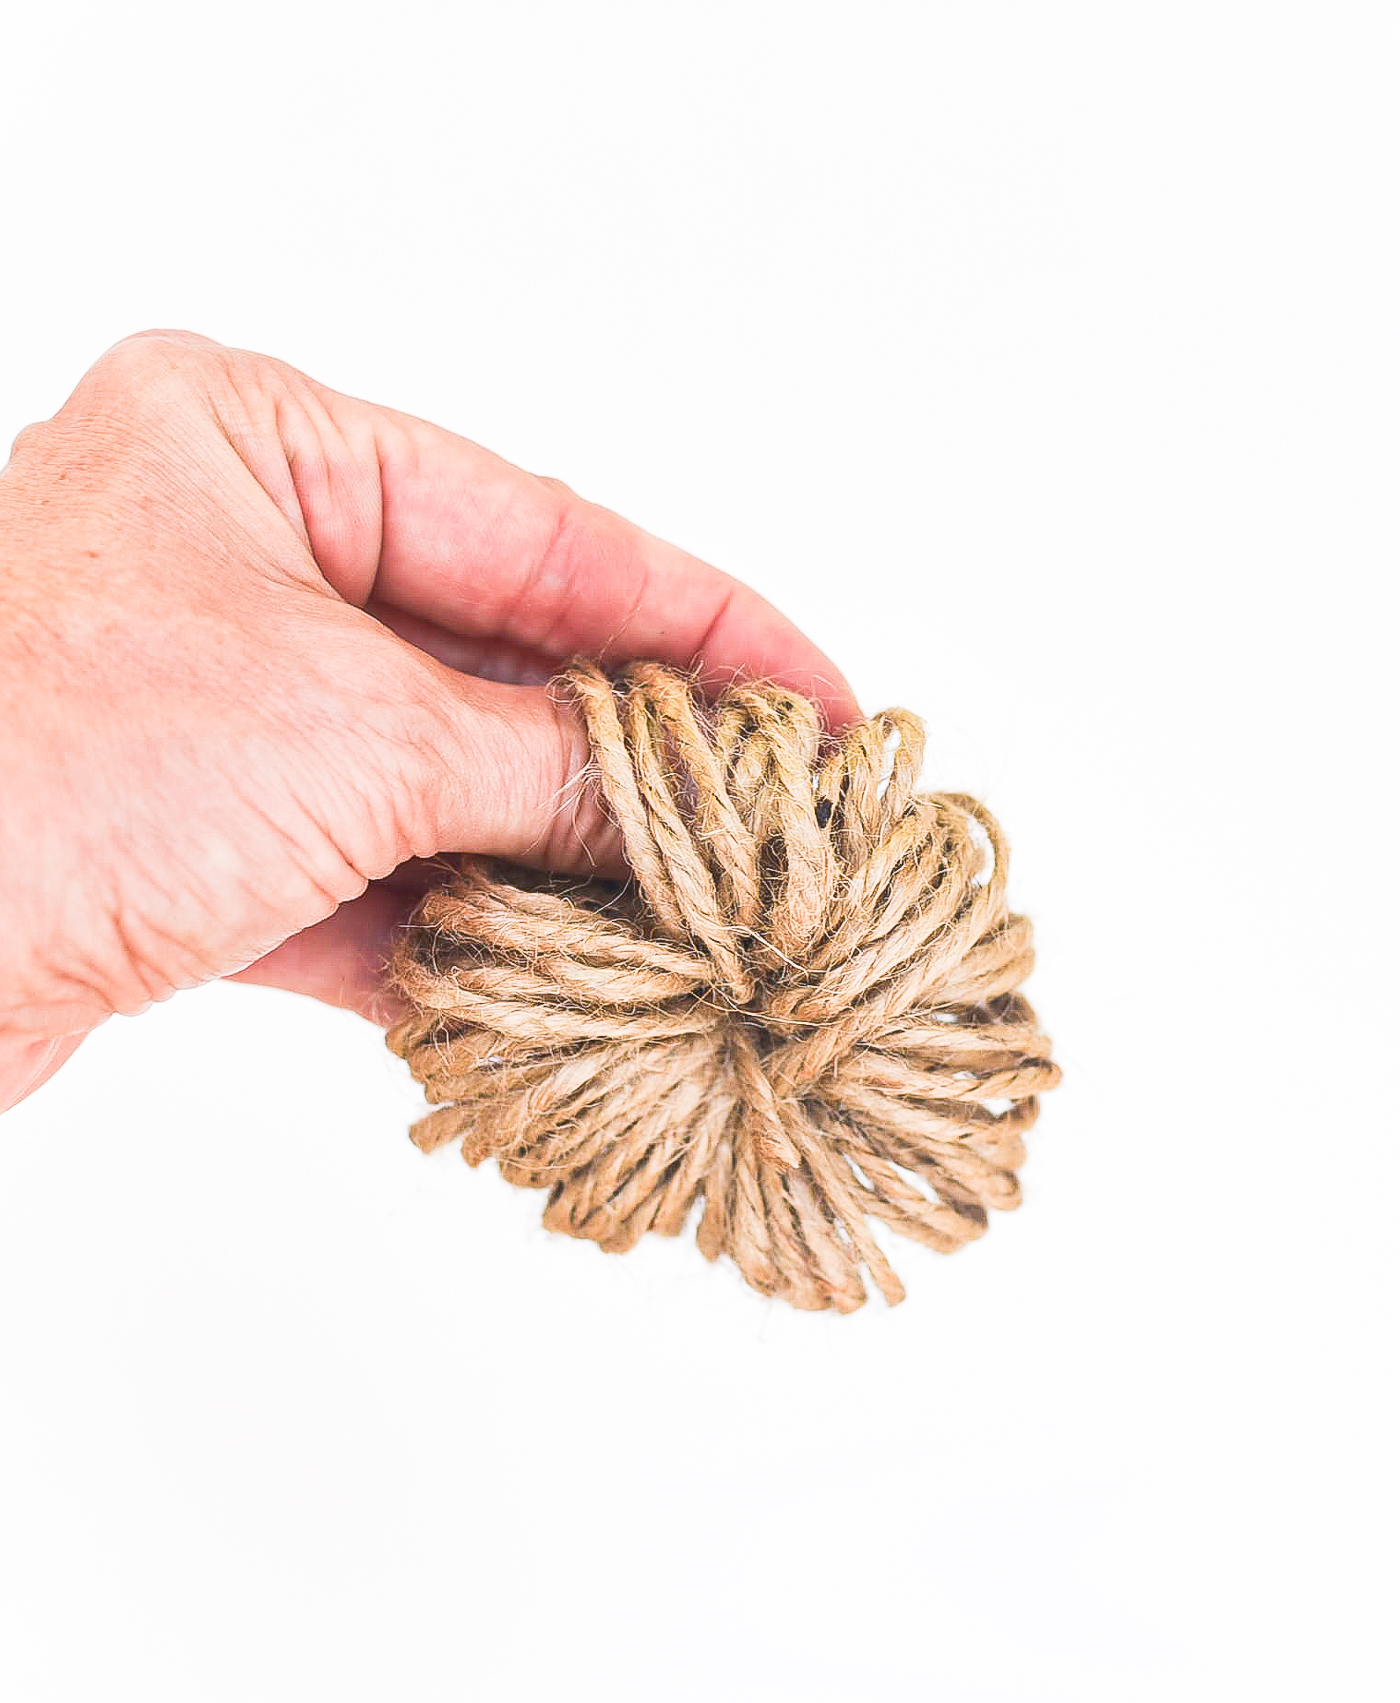
Use fingers to shape the pumpkin.
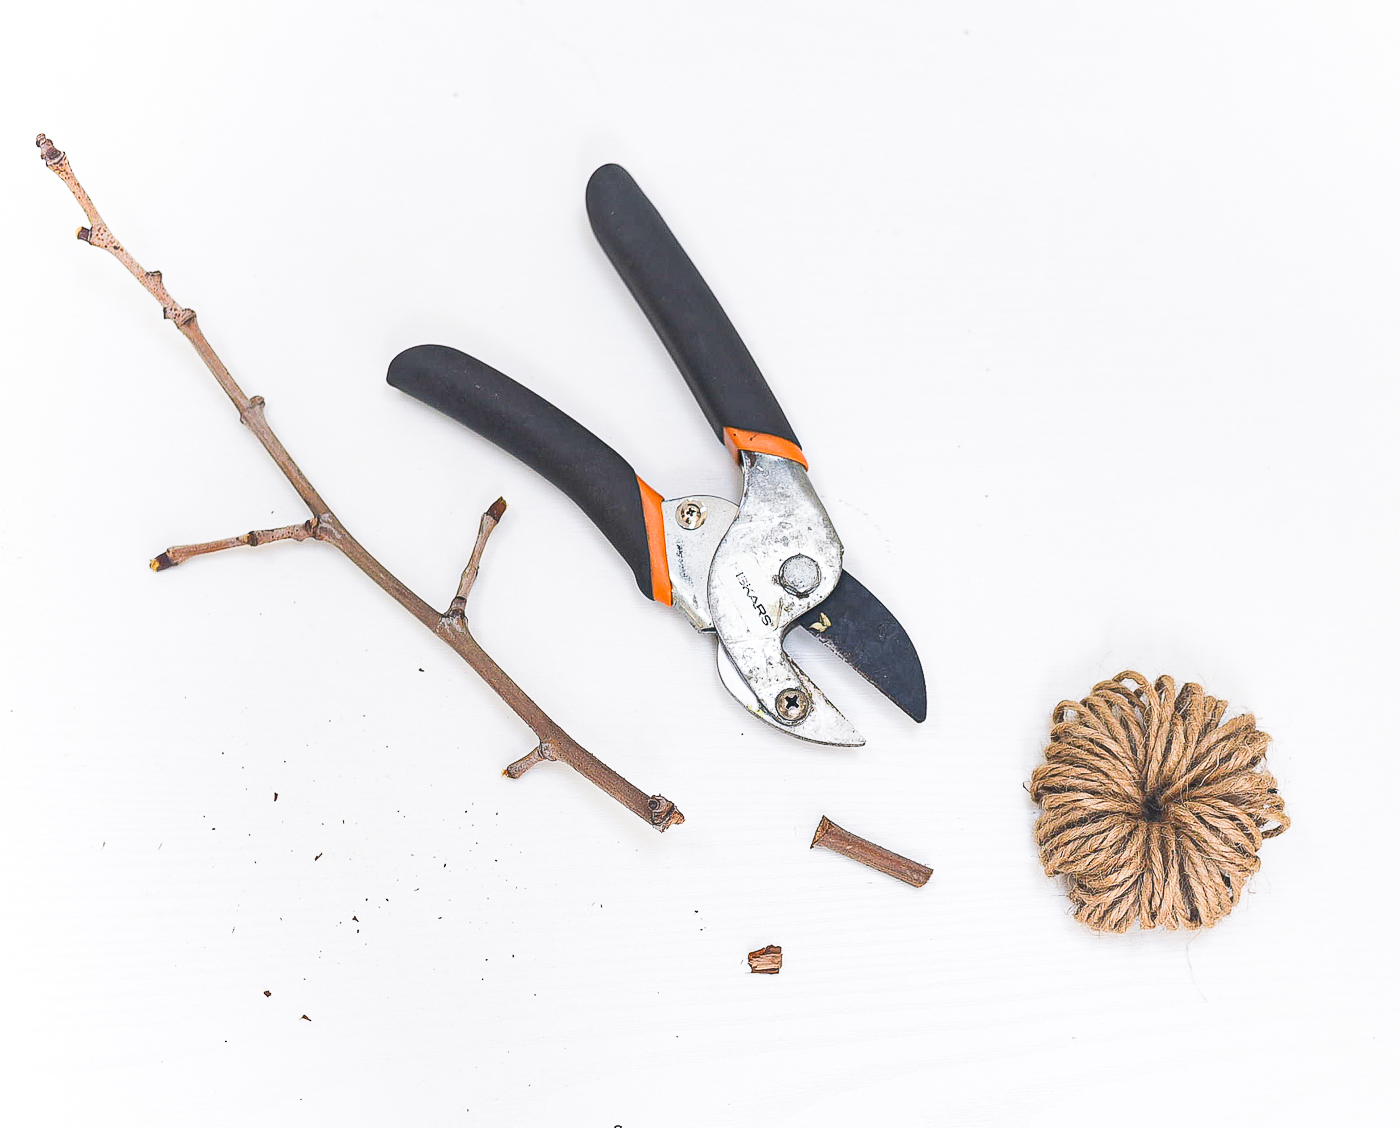
Find a stick in your front or back yards and cut a length for the stem.
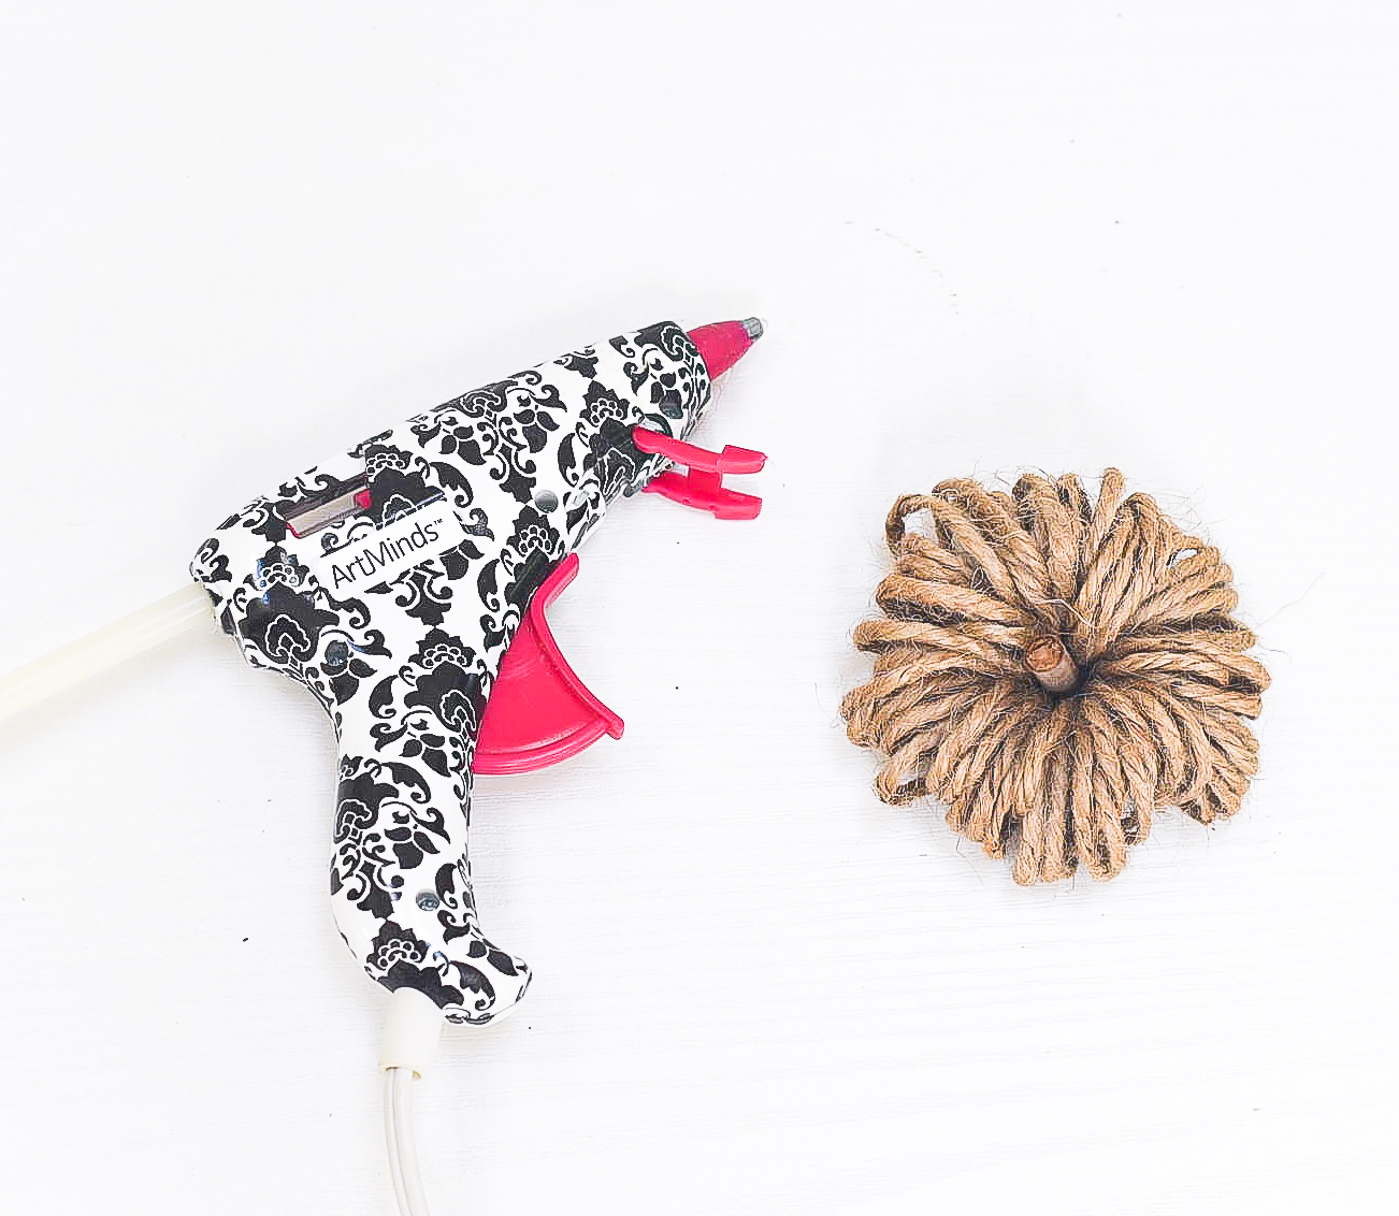
Hot glue gun in place.
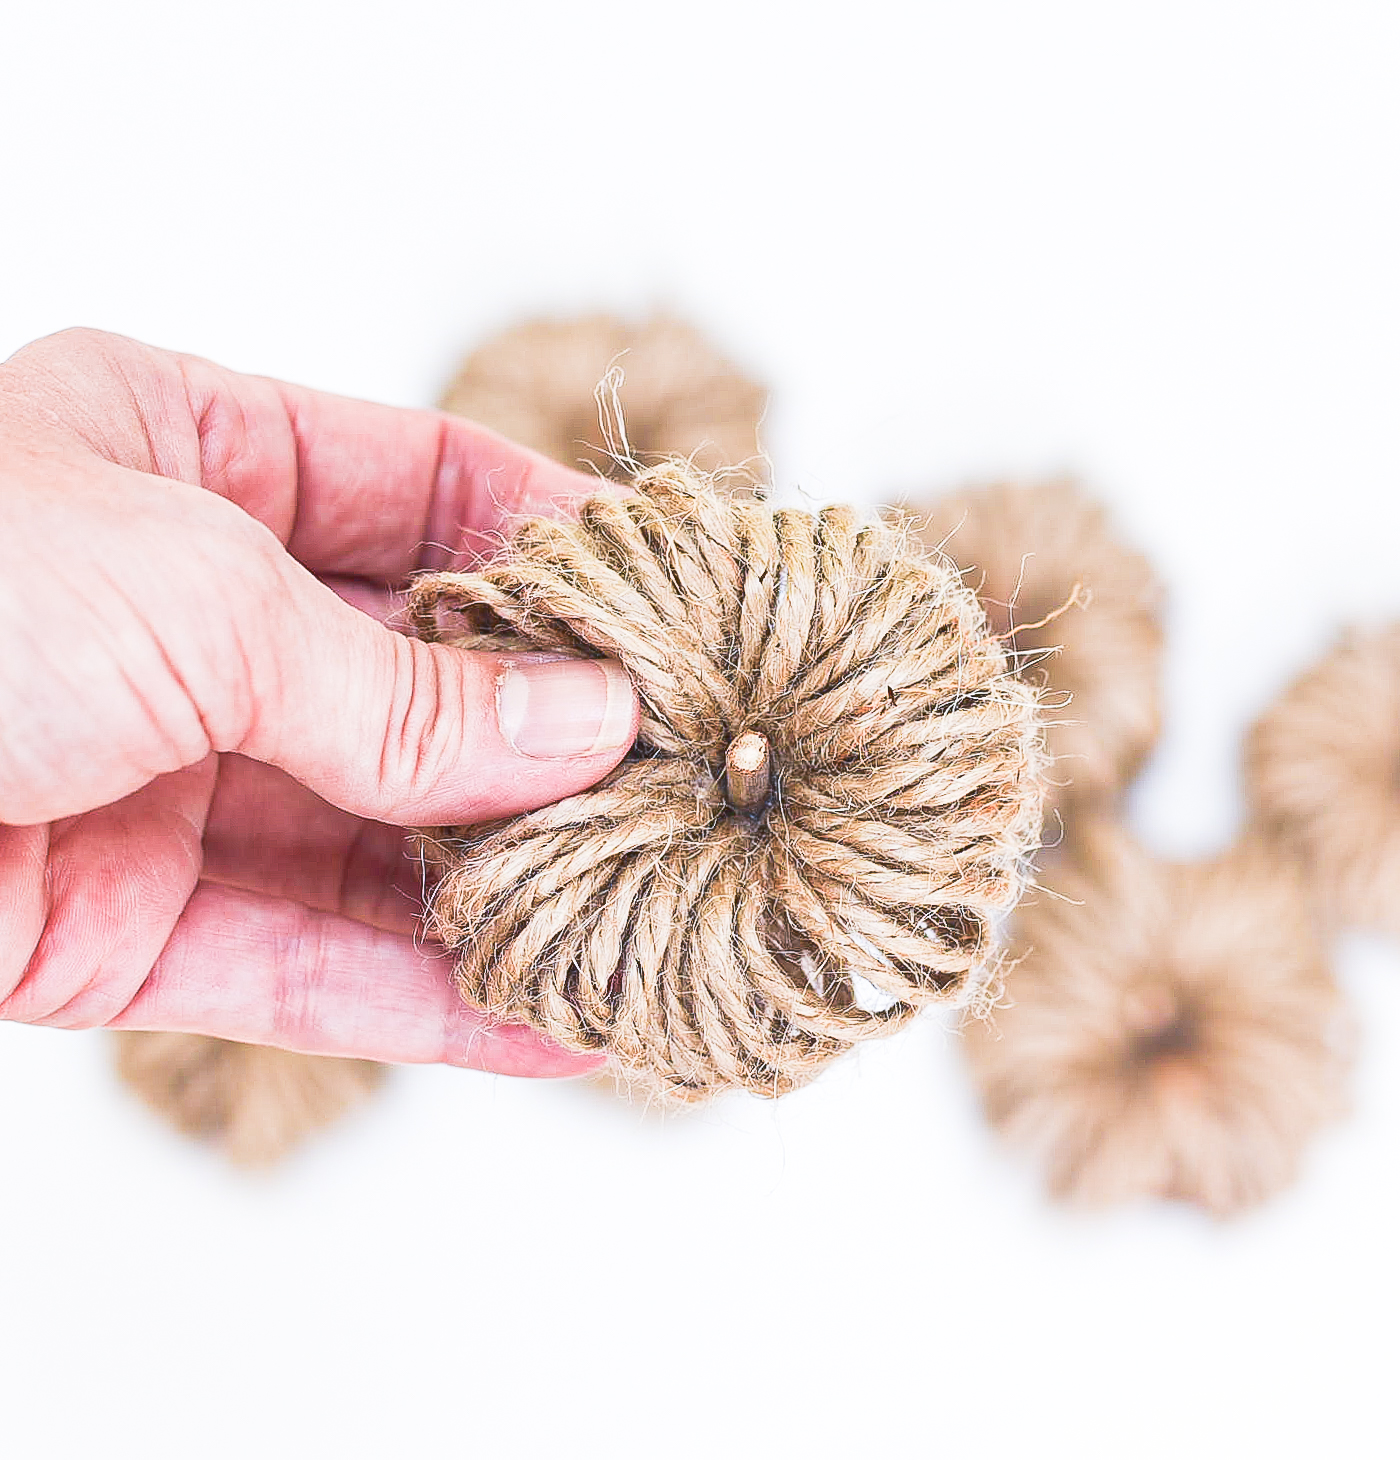
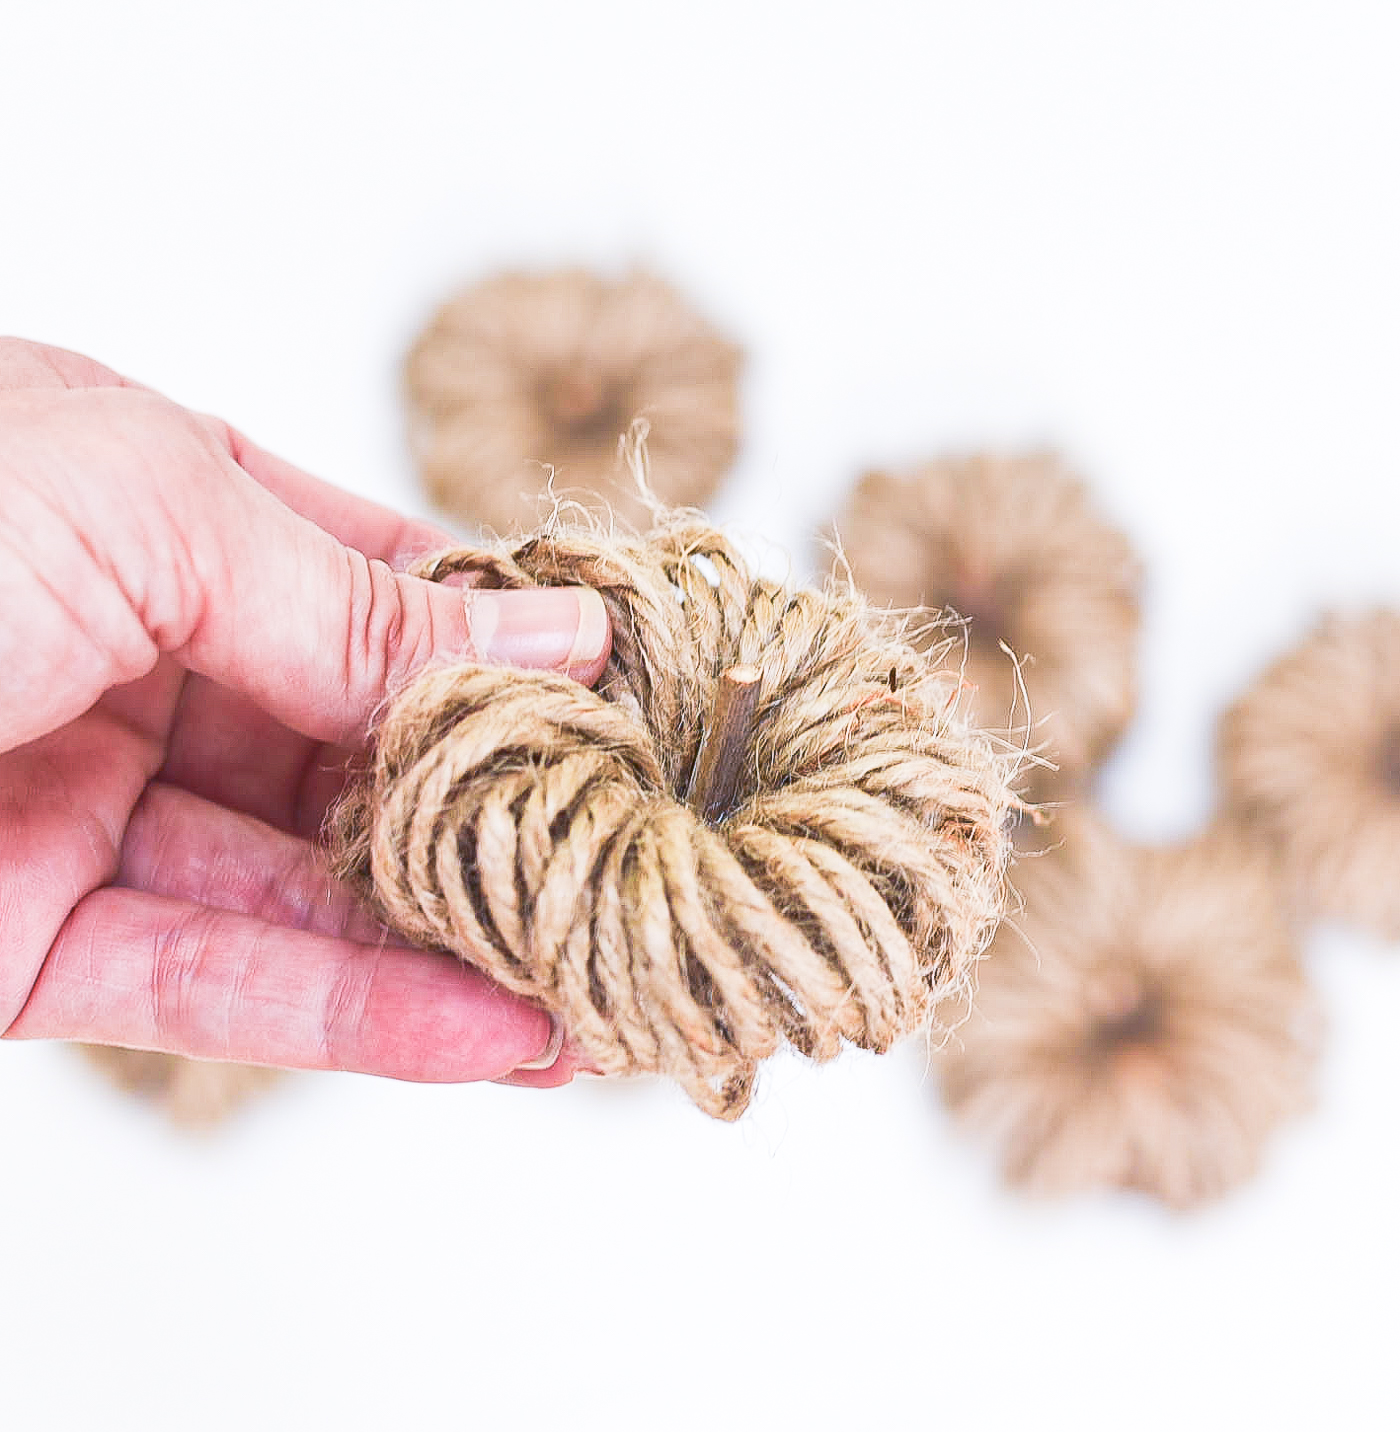
And you’re done!
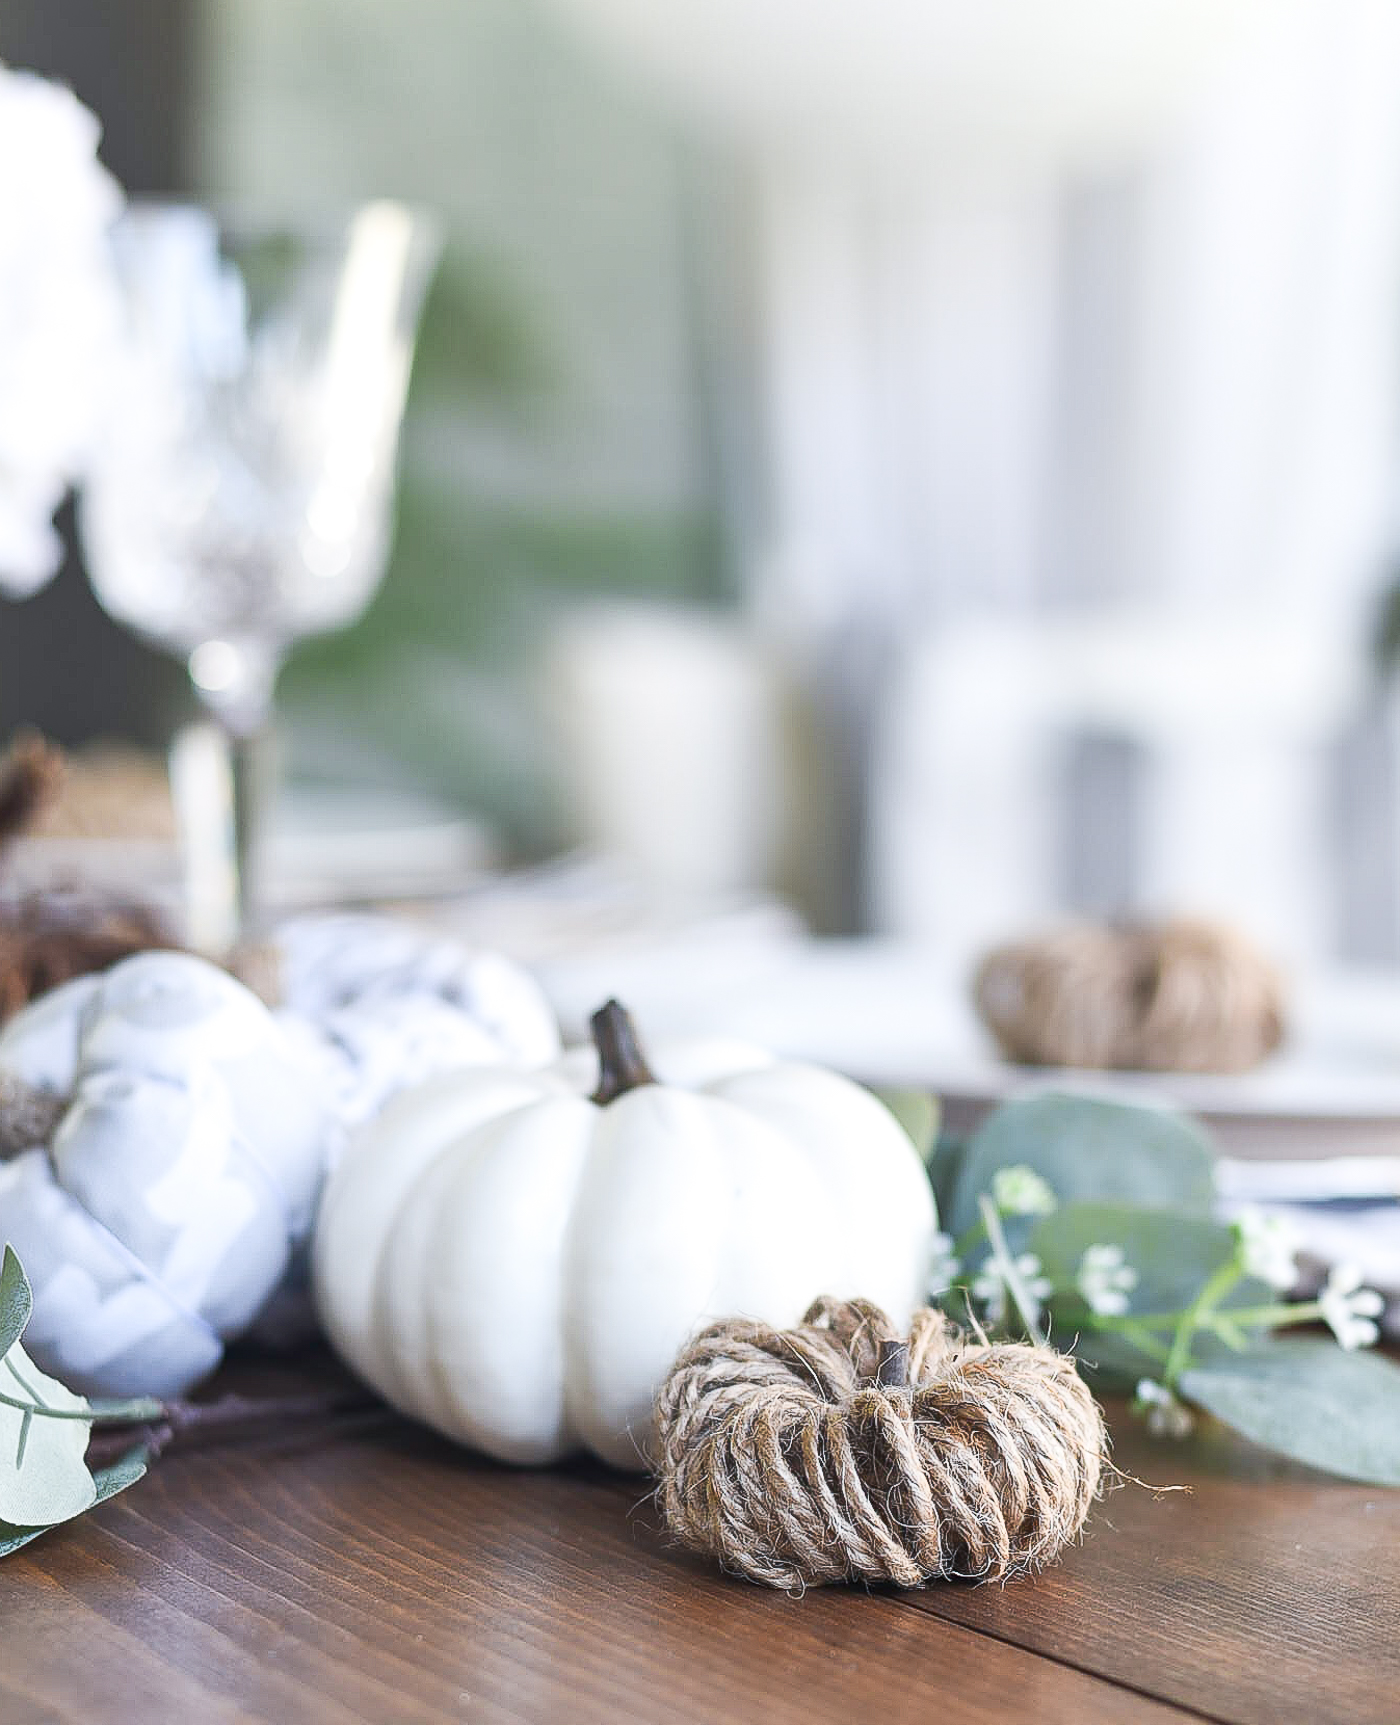
The finished pumpkin – made using a ruler – measures about 2.75″ to 3″ in length.
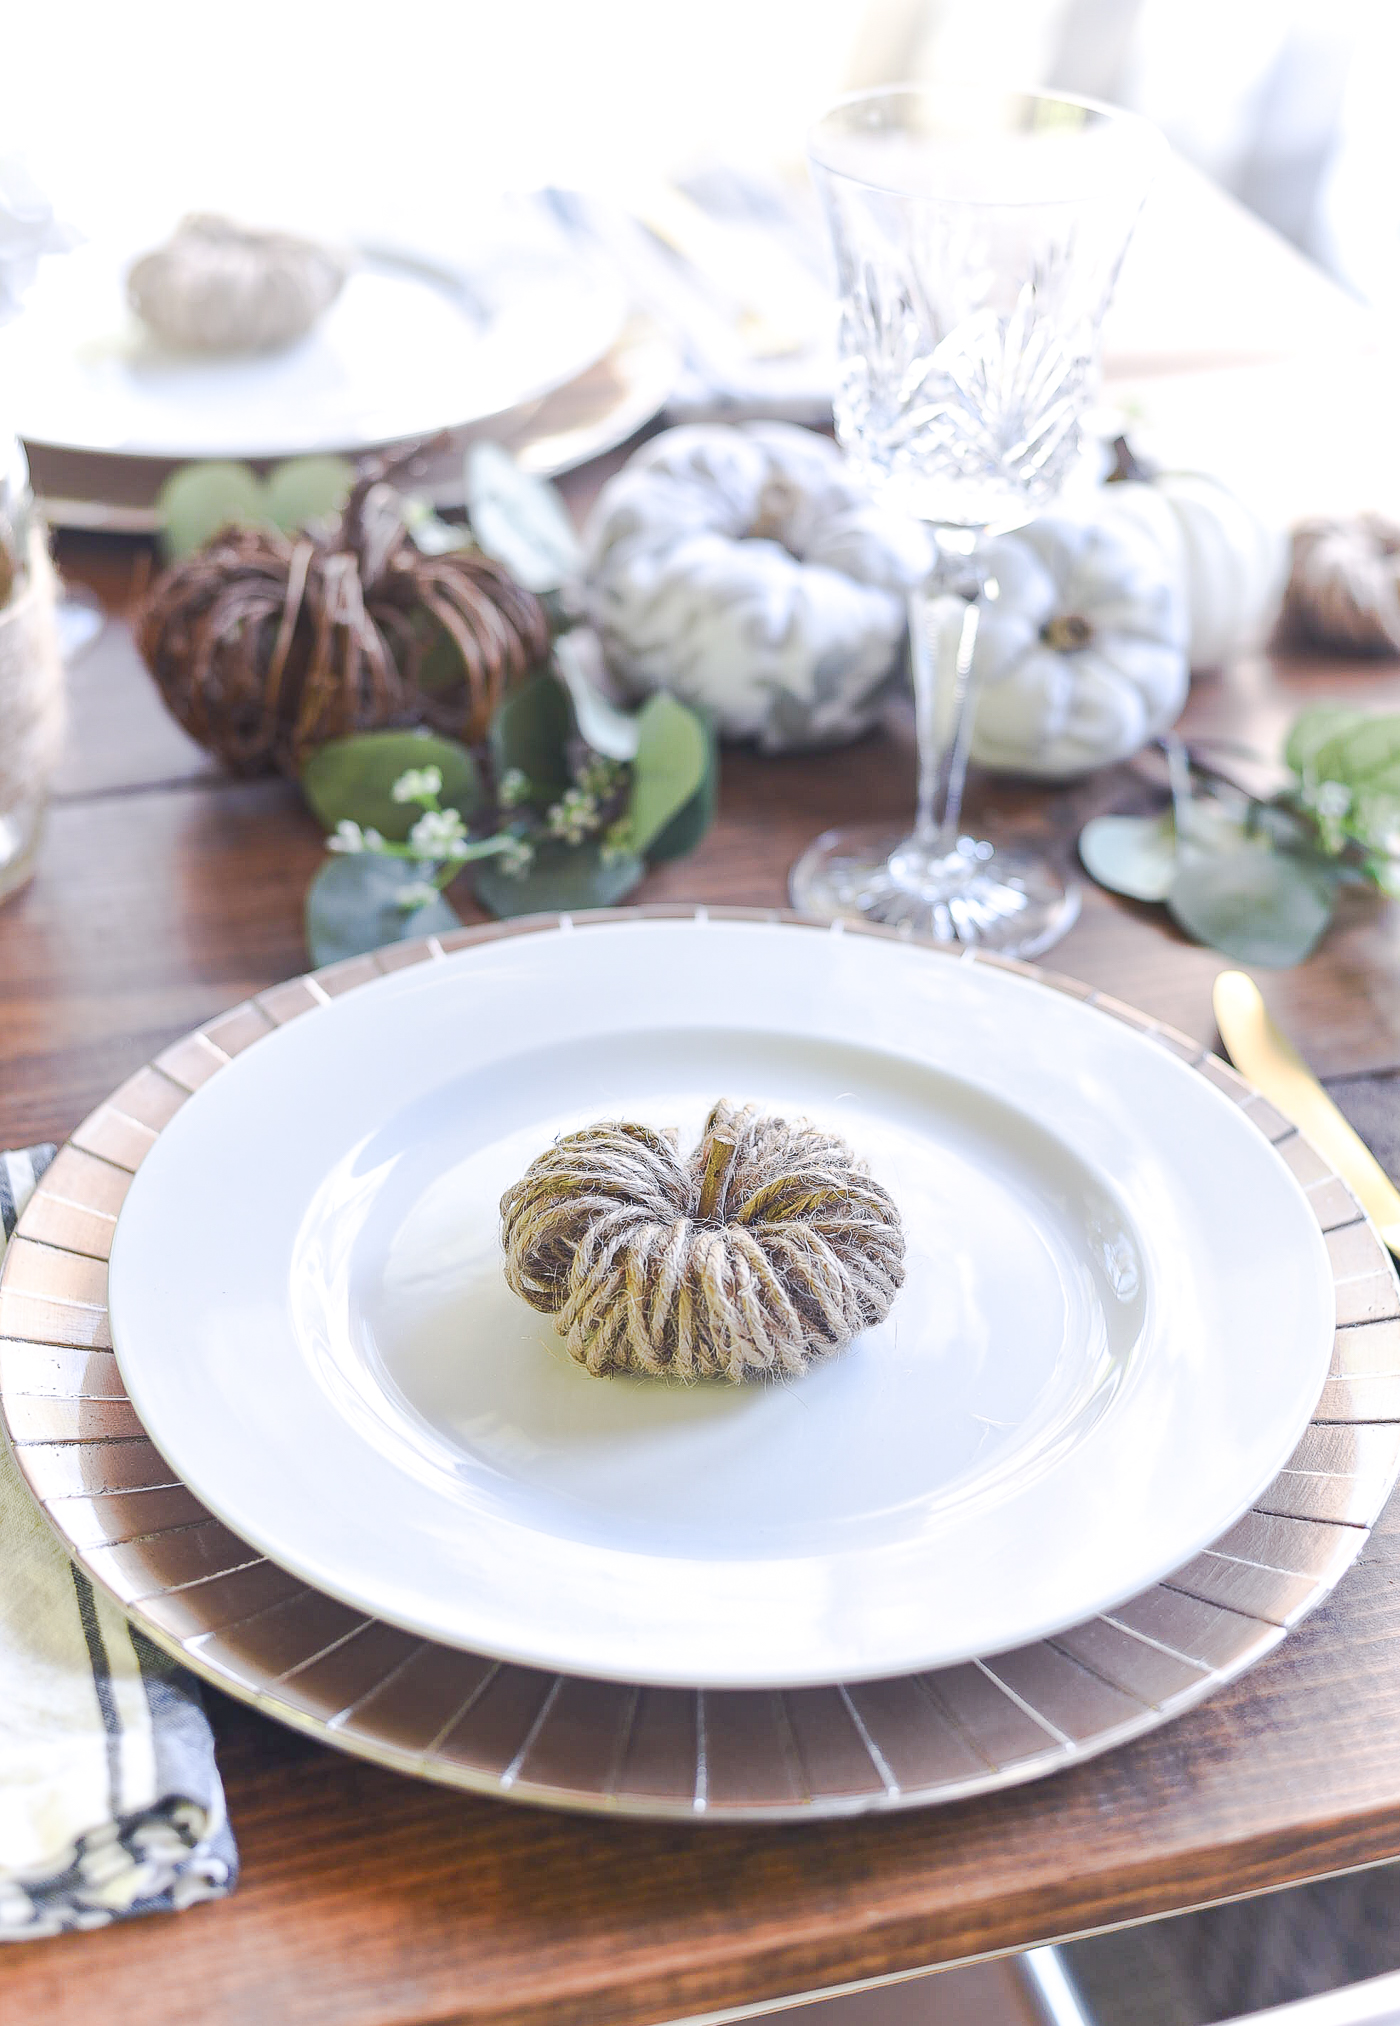
I also made some using a yardstick. These little pumpkins measure about 3.5″ to 4″ in length.
I’m 1000% excited to dive into my craft stash to see what else I can make using what I have!
🙂
Pin It!
You Might Also Like These No Carve Pumpkins Ideas:
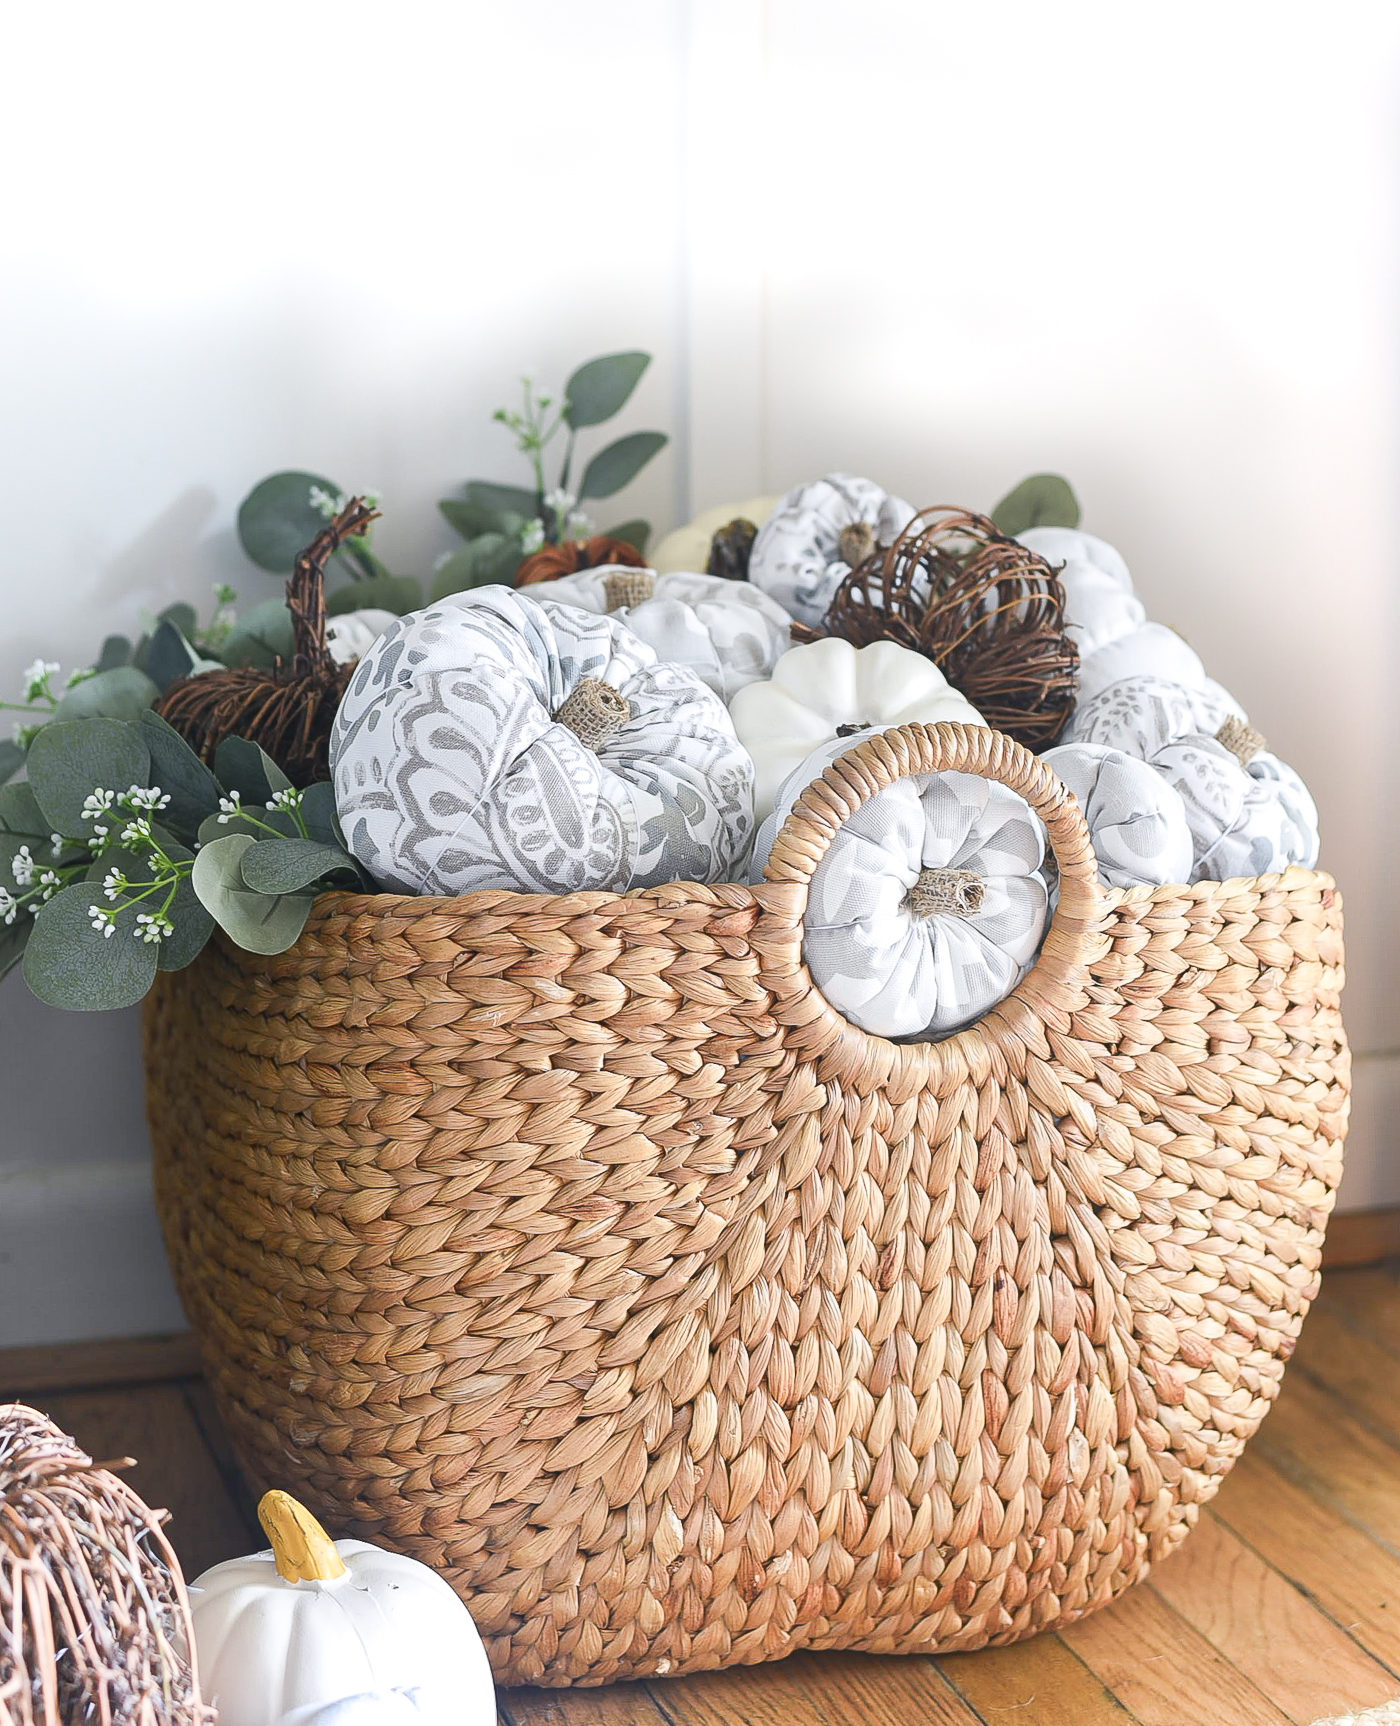
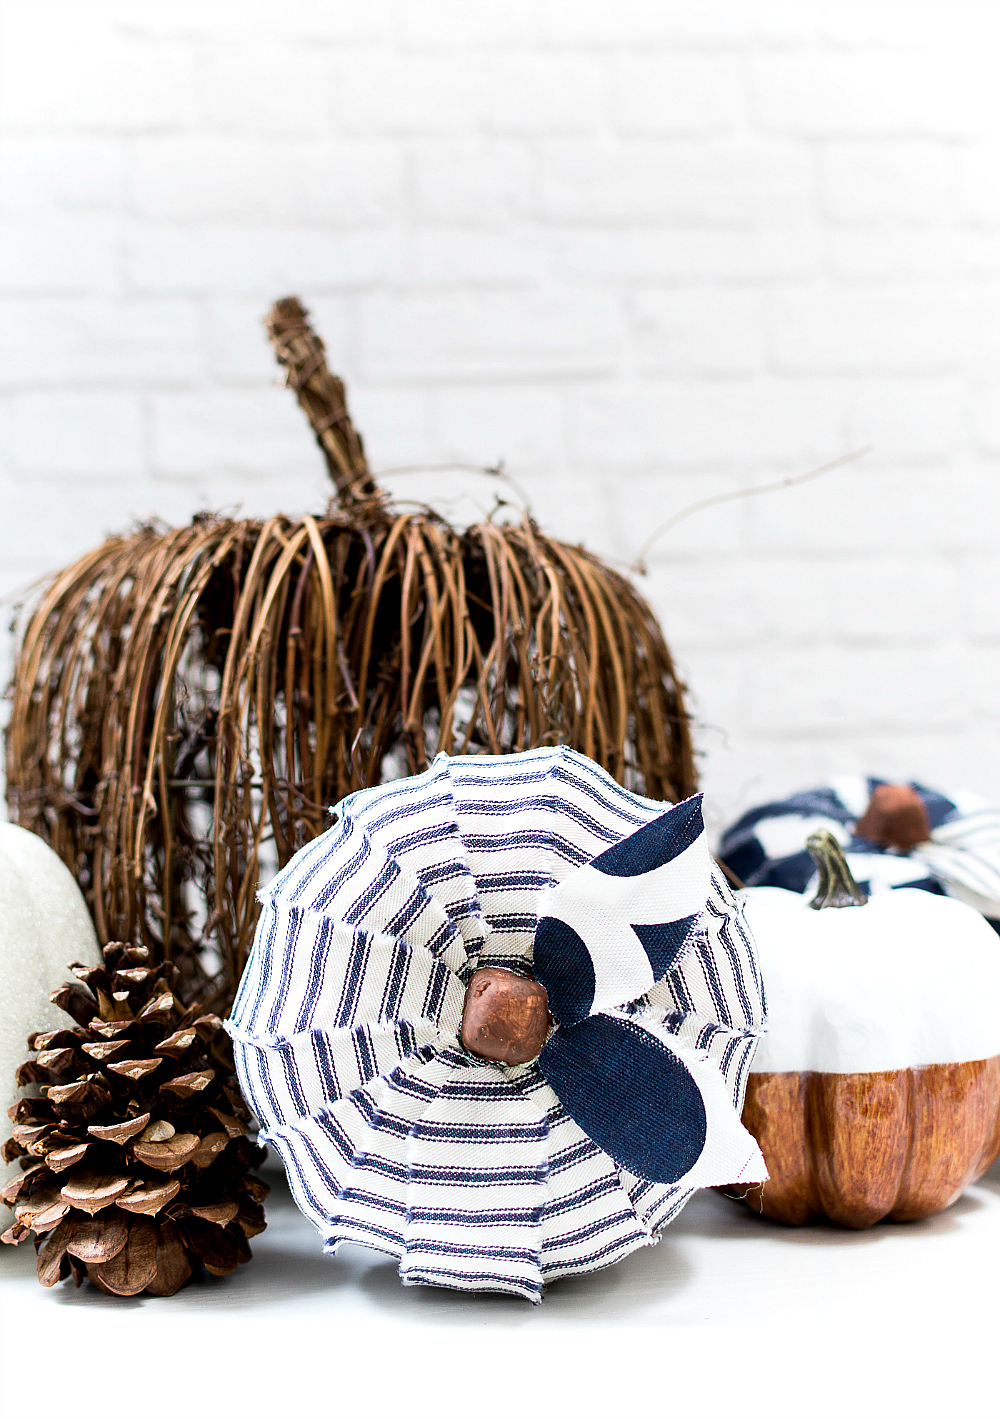
Fabric Scrap Dollar Store Pumpkins

These are super cute too! Love your pumpkin crafts! Great instructions too!
Adorable and you make it look so easy to make. I’m inspired to make them. Thank you!
These are so simple to create! And if you get tired of them, it’s so easy to remove the twine and use the jars for a new craft! 🙂
Super cute ideas for DIY pumpkins.
Happy fall,
Kippi