No Carve Jeweled Pumpkins – Glam Pumpkin Craft Idea.
My front porch is sad. And empty.
It’s naked.
I really, really want to decorate it. I really, really want to put my terracotta pumpkins out there. I really, really want to purchase some unique pumpkins in various colors, sizes and shapes from Trader Joe’s. Along with some mums.
But I’ve been holding out.
And now the neighbors are showing me up. Big time. They’ve pulled out their A game this year …
You see, I decided early in the summer that this is the year I’d give my porch a refreshing coat of paint.
It’s chipping. And looking pretty run down.
But as the summer progressed, I progressively came up with excuse after excuse of why I need to wait until next week to paint it.
It was too hot.
It was too rainy.
It was too close to our vacation and I didn’t want to potentially leave the project half finished.
It was too close to taking Molly to college and I was distracted with all that entailed.
It was too expensive so I’ll just wait for a Sherwin Williams sale/coupon.
And next week turned into months …
… and eventually a whole new season!
All too soon my next week excuses will include a) it’s too cold and; b) it’s snowing!
But I’m going to be totally serious here: NEXT WEEK I’ll be painting that front porch.
And when it’s dry, I’ll be decorating the bejeezes out of it!
Watch out neighbors.
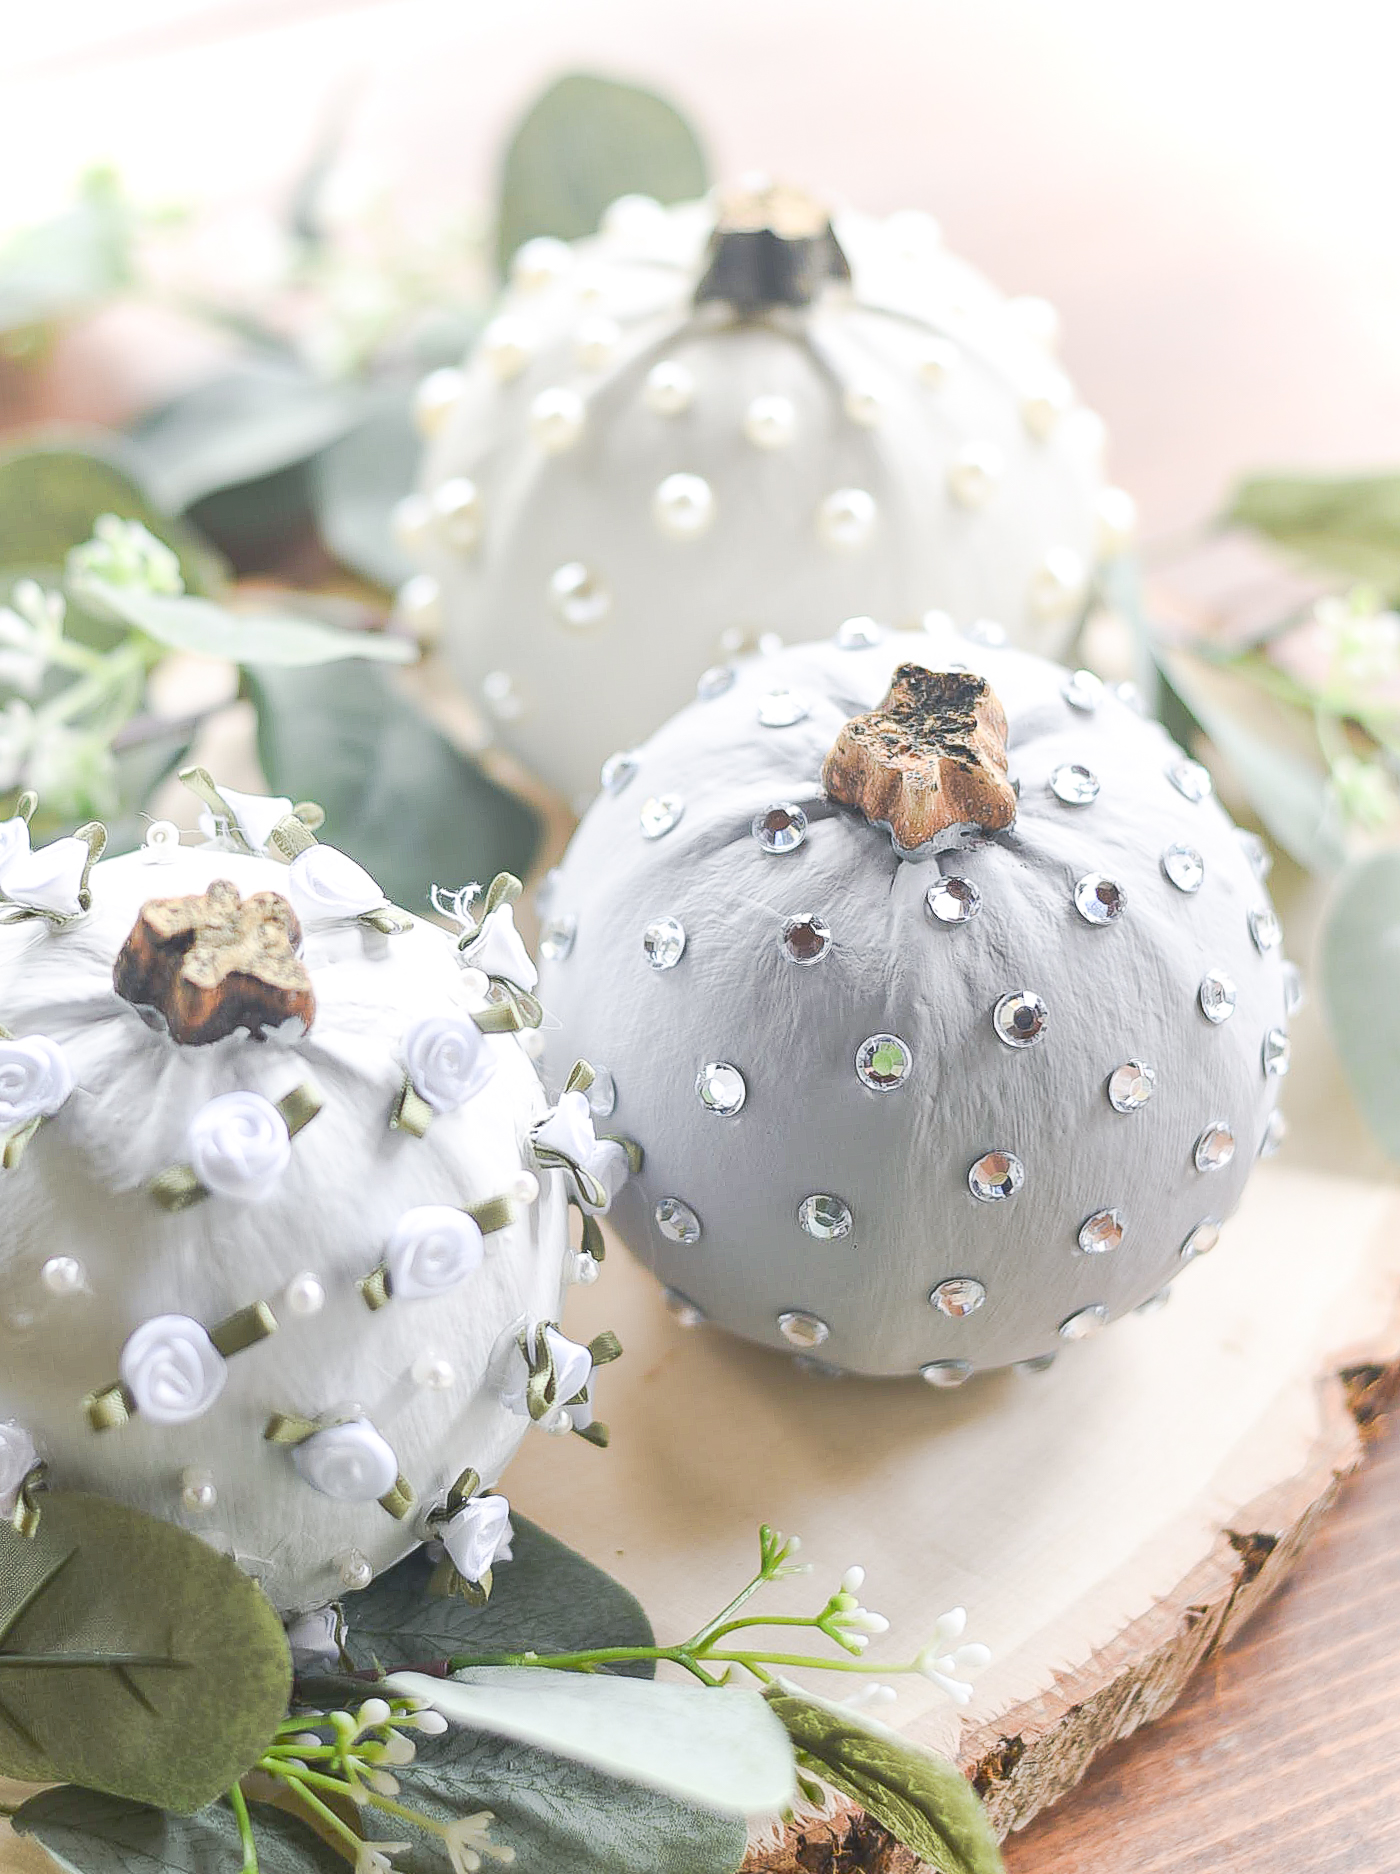
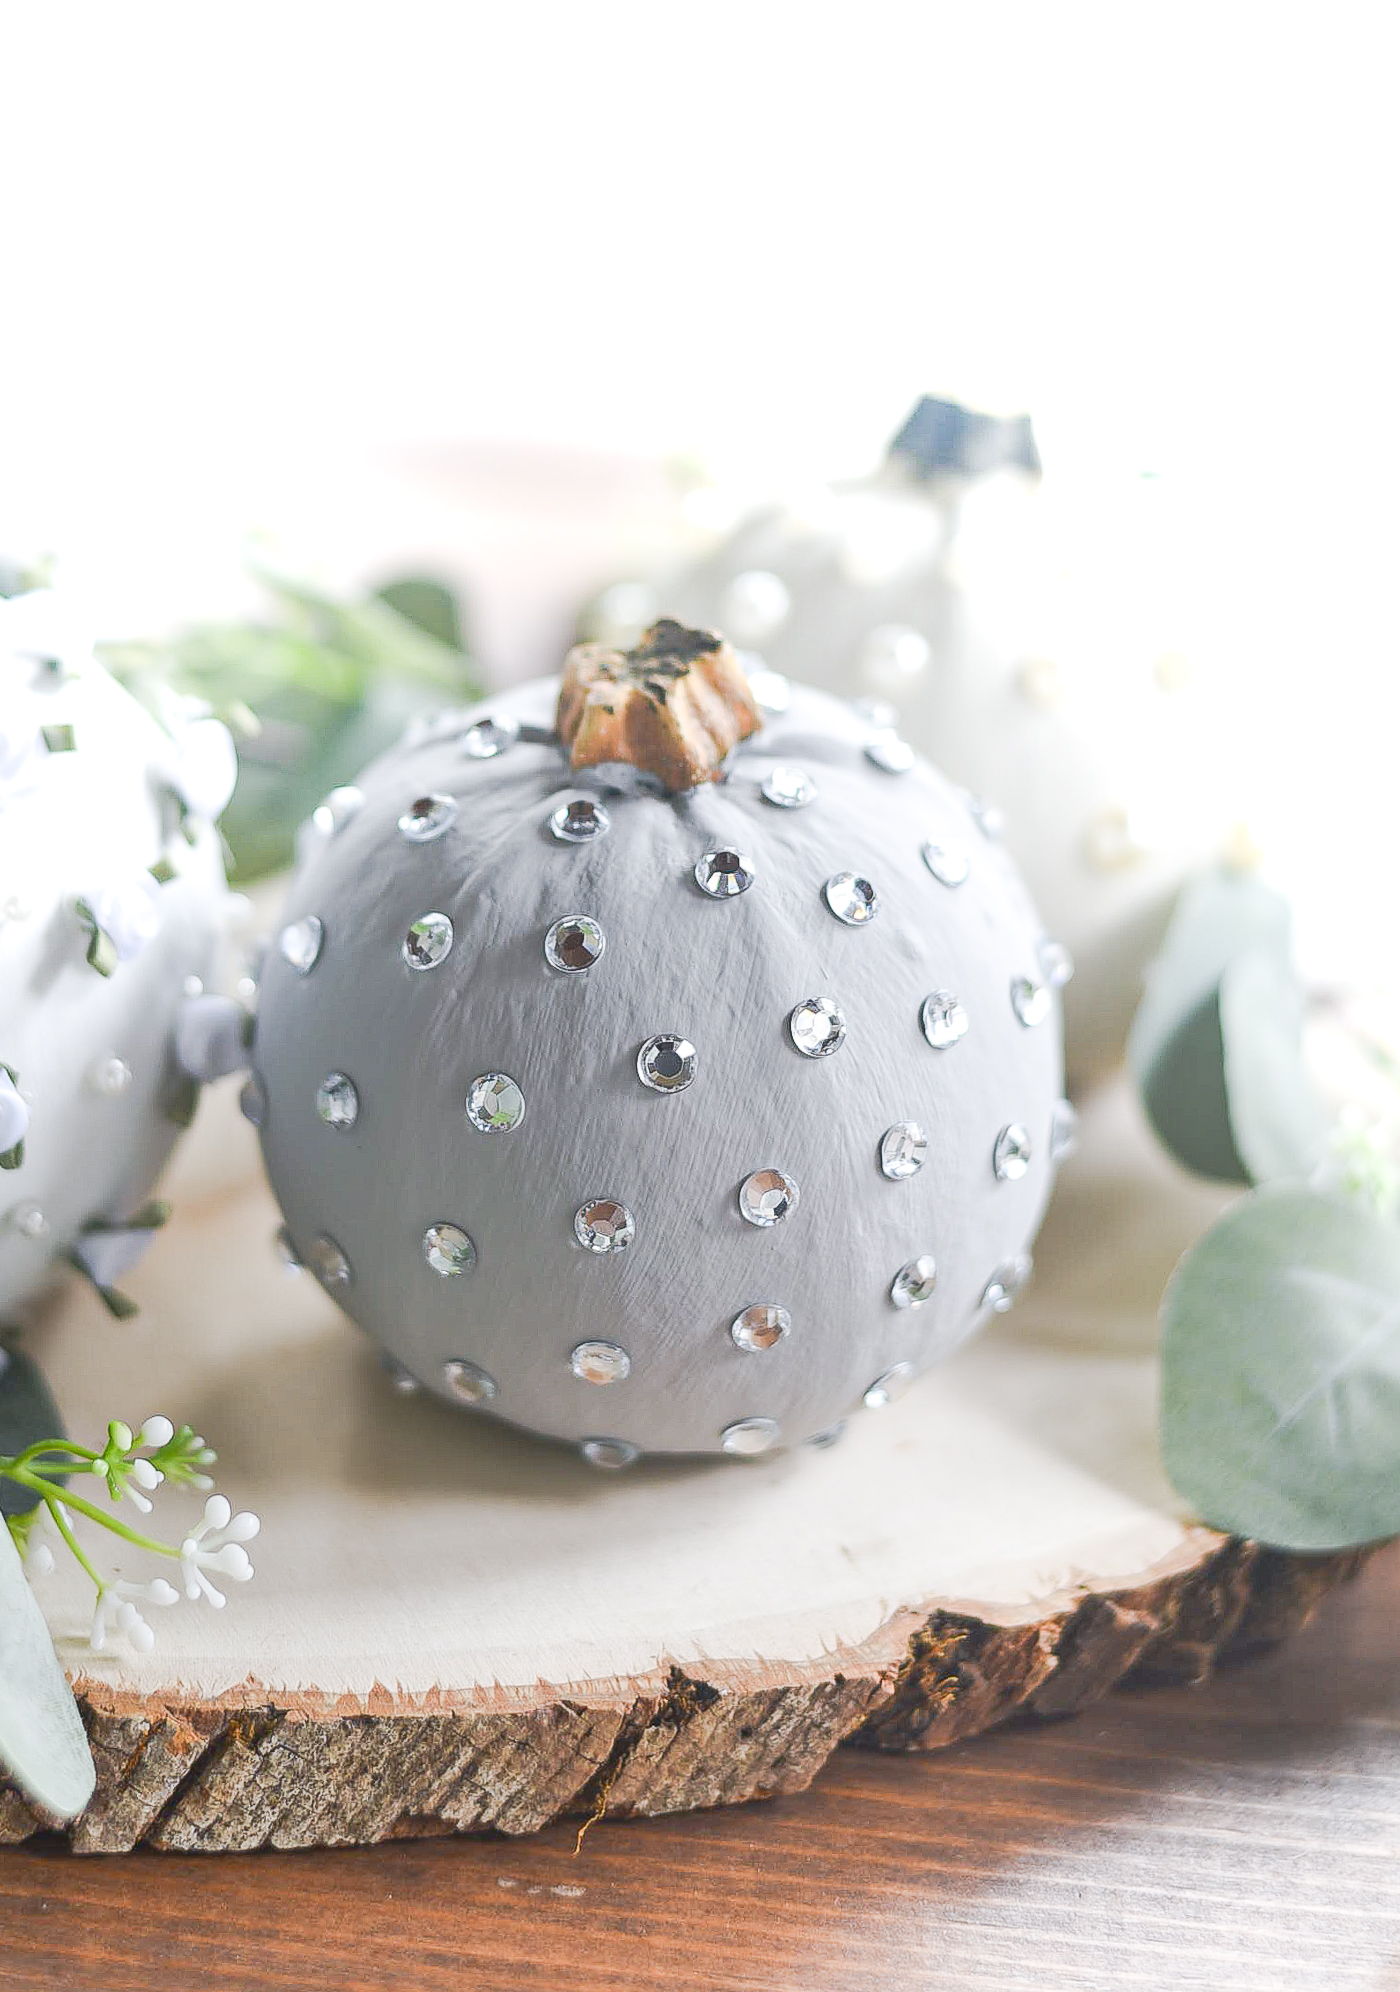
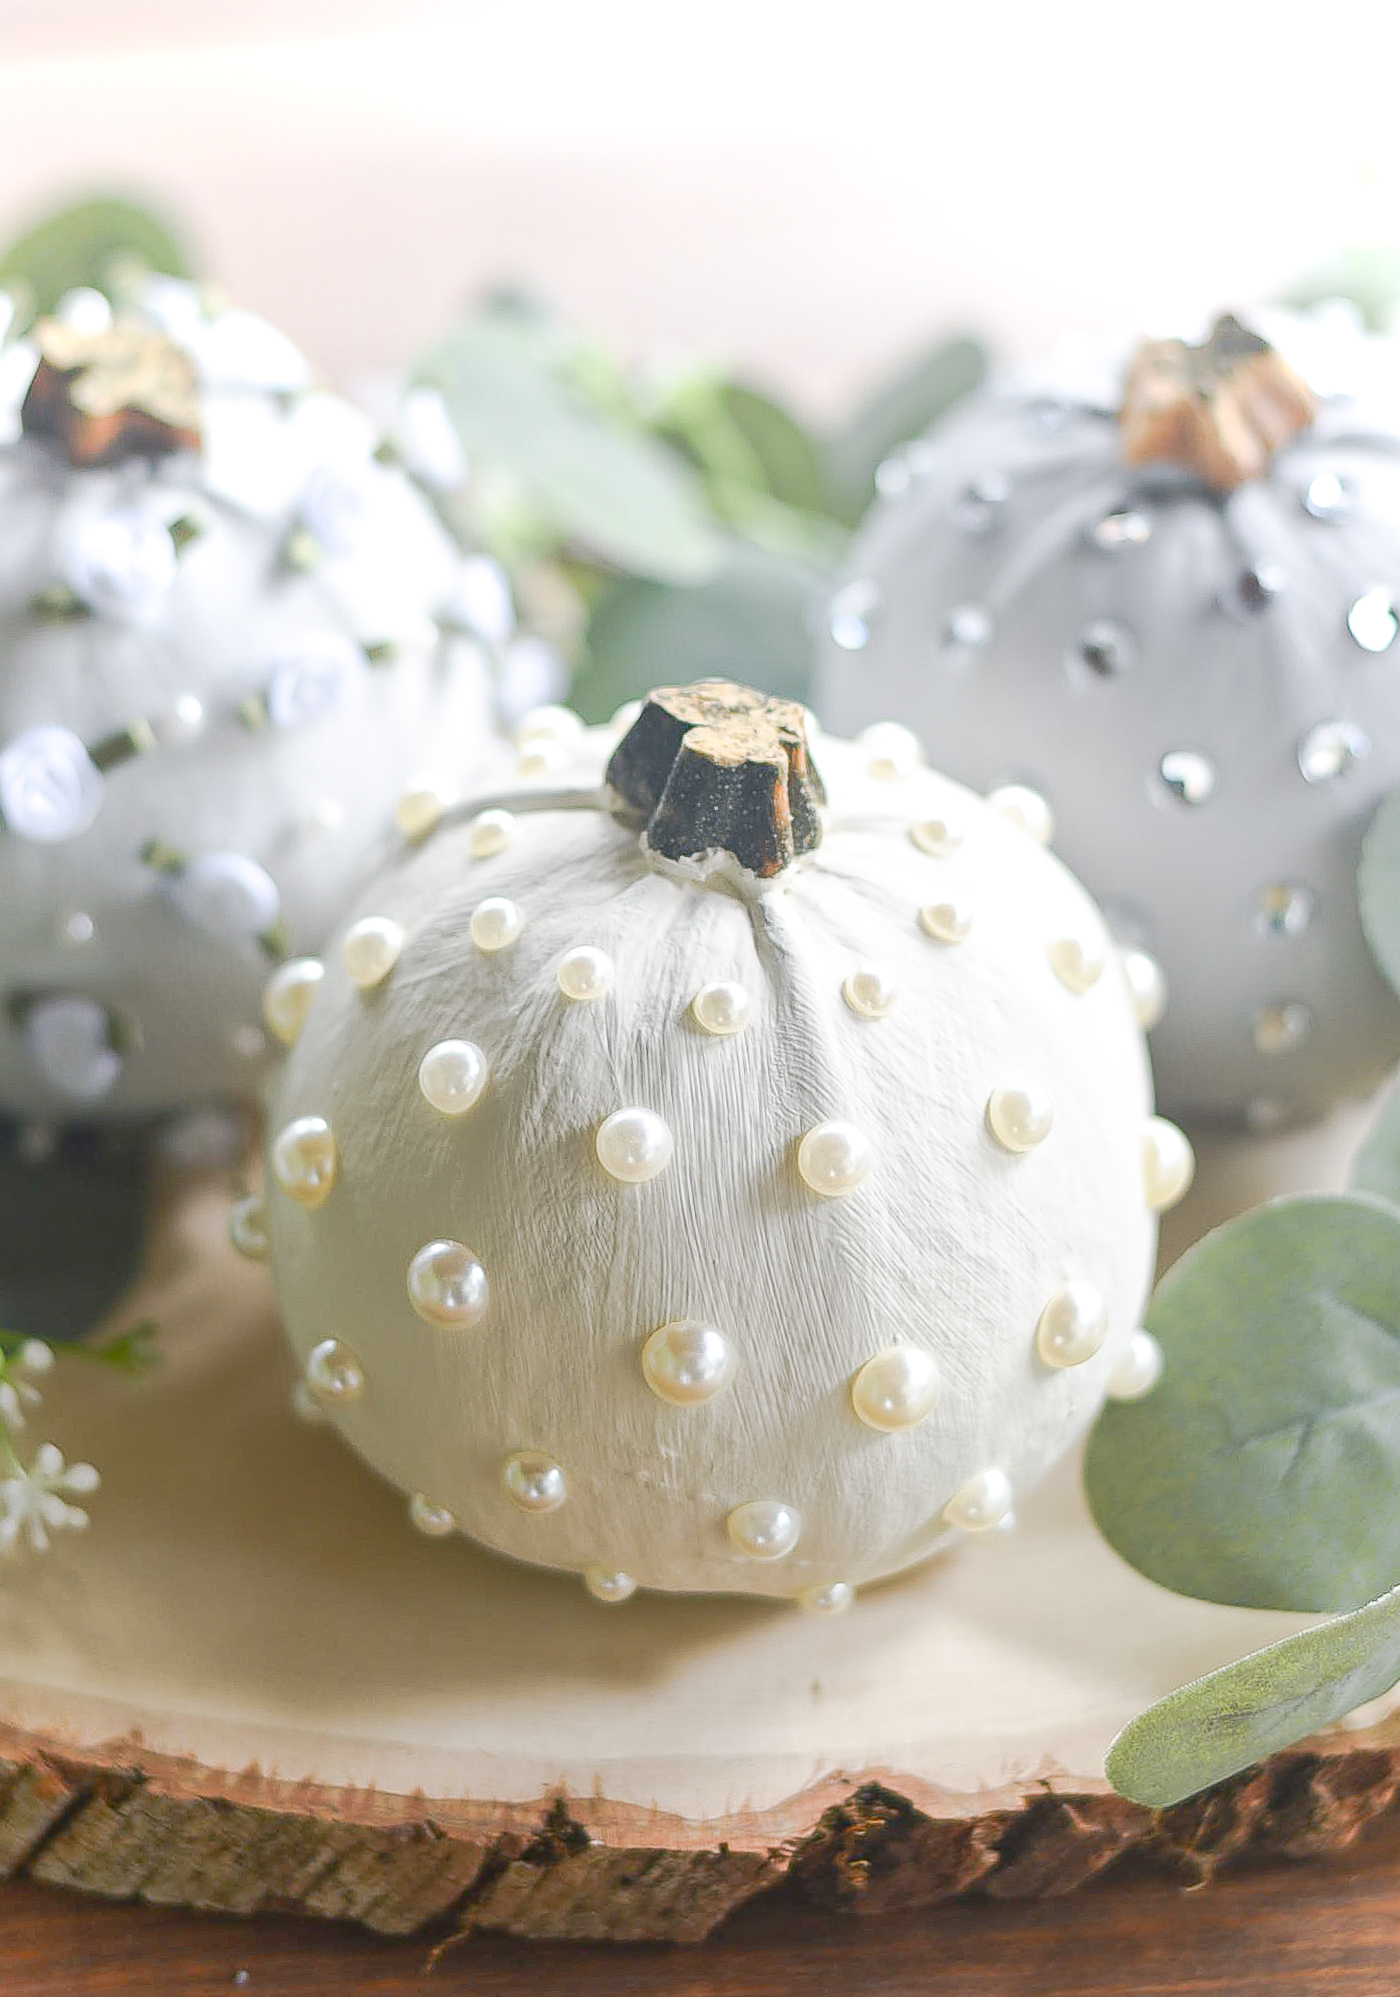
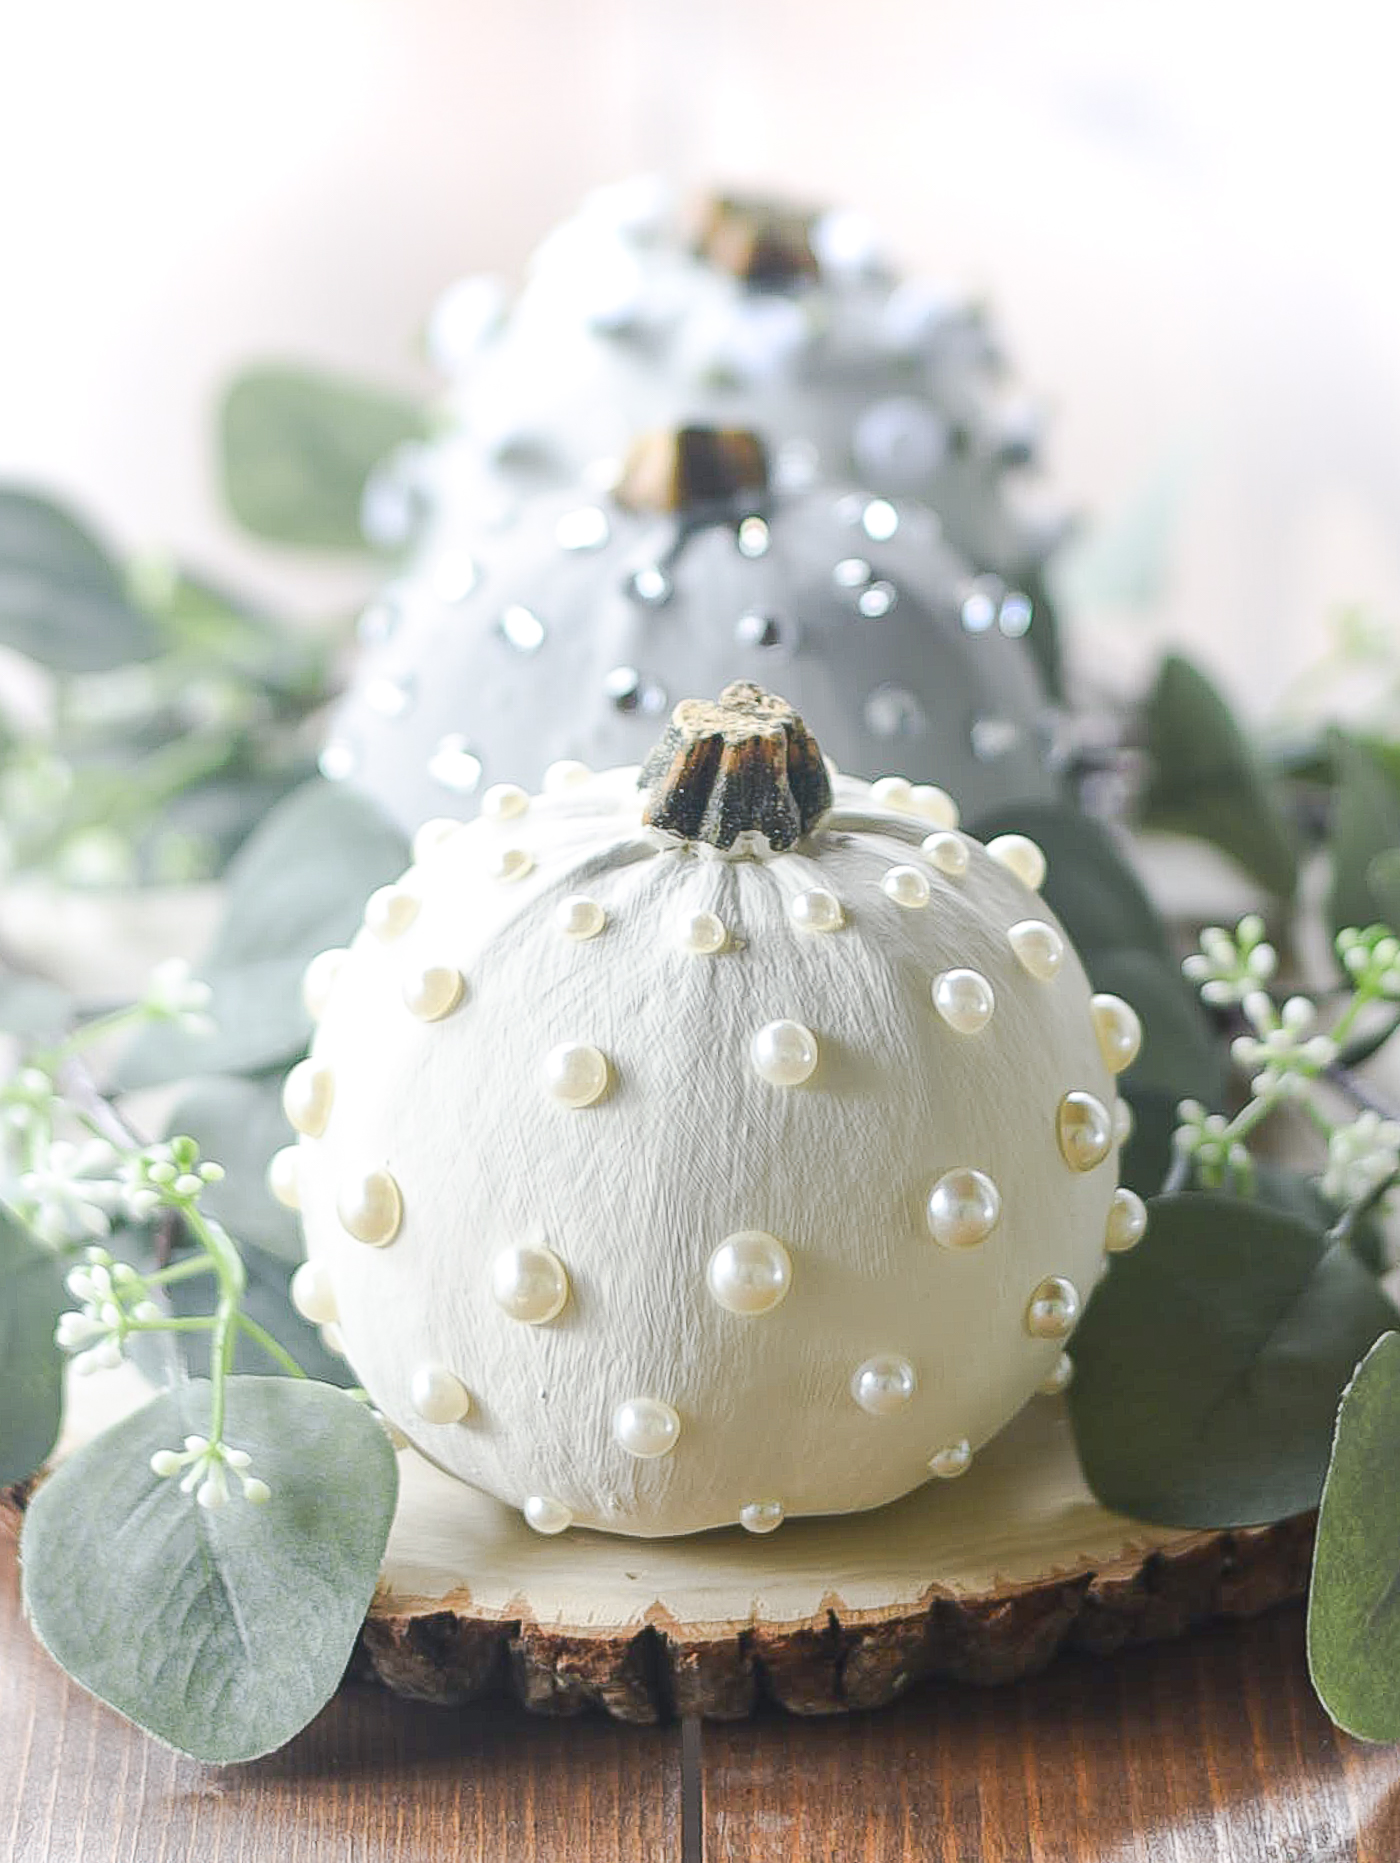
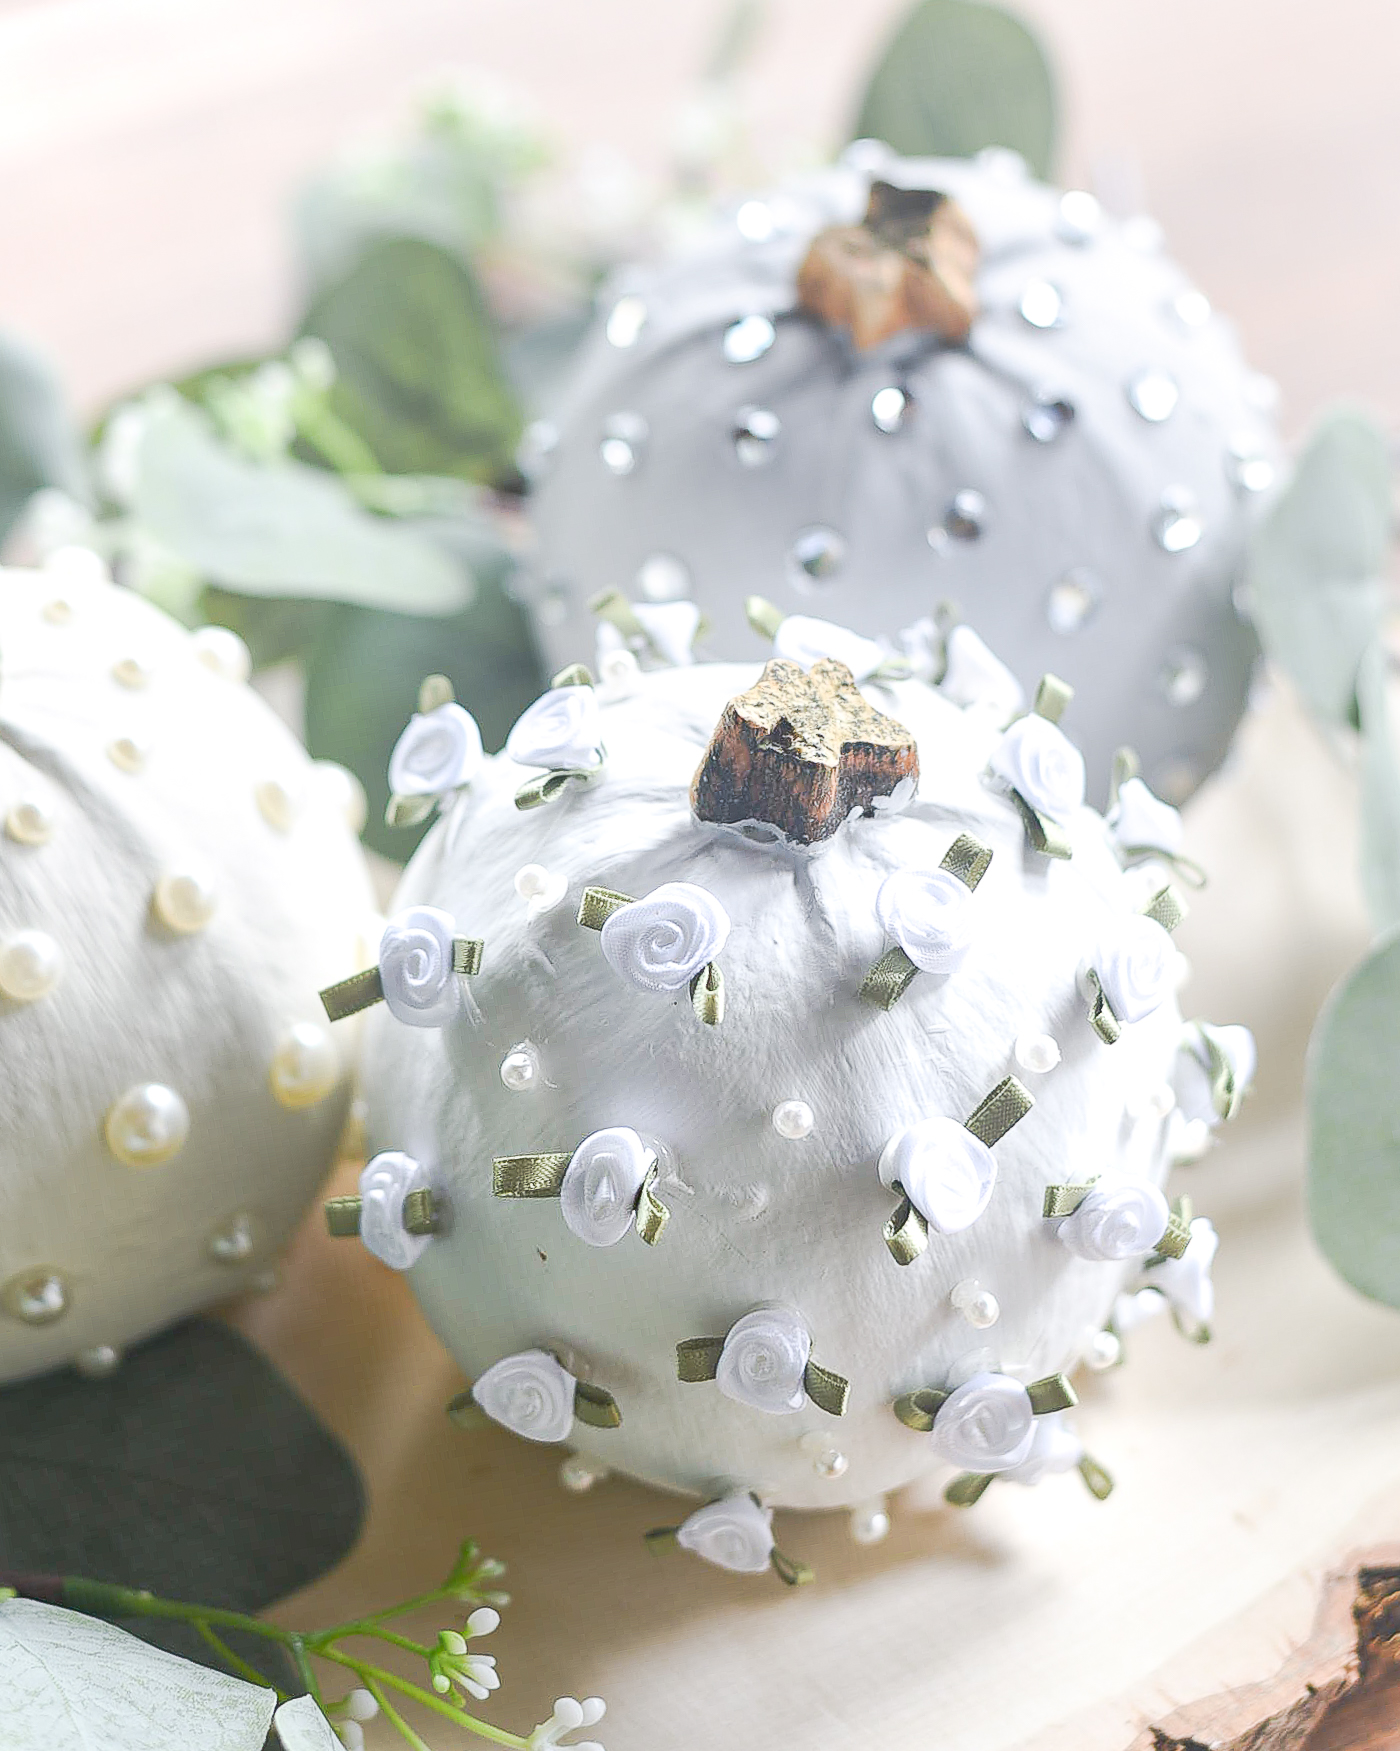
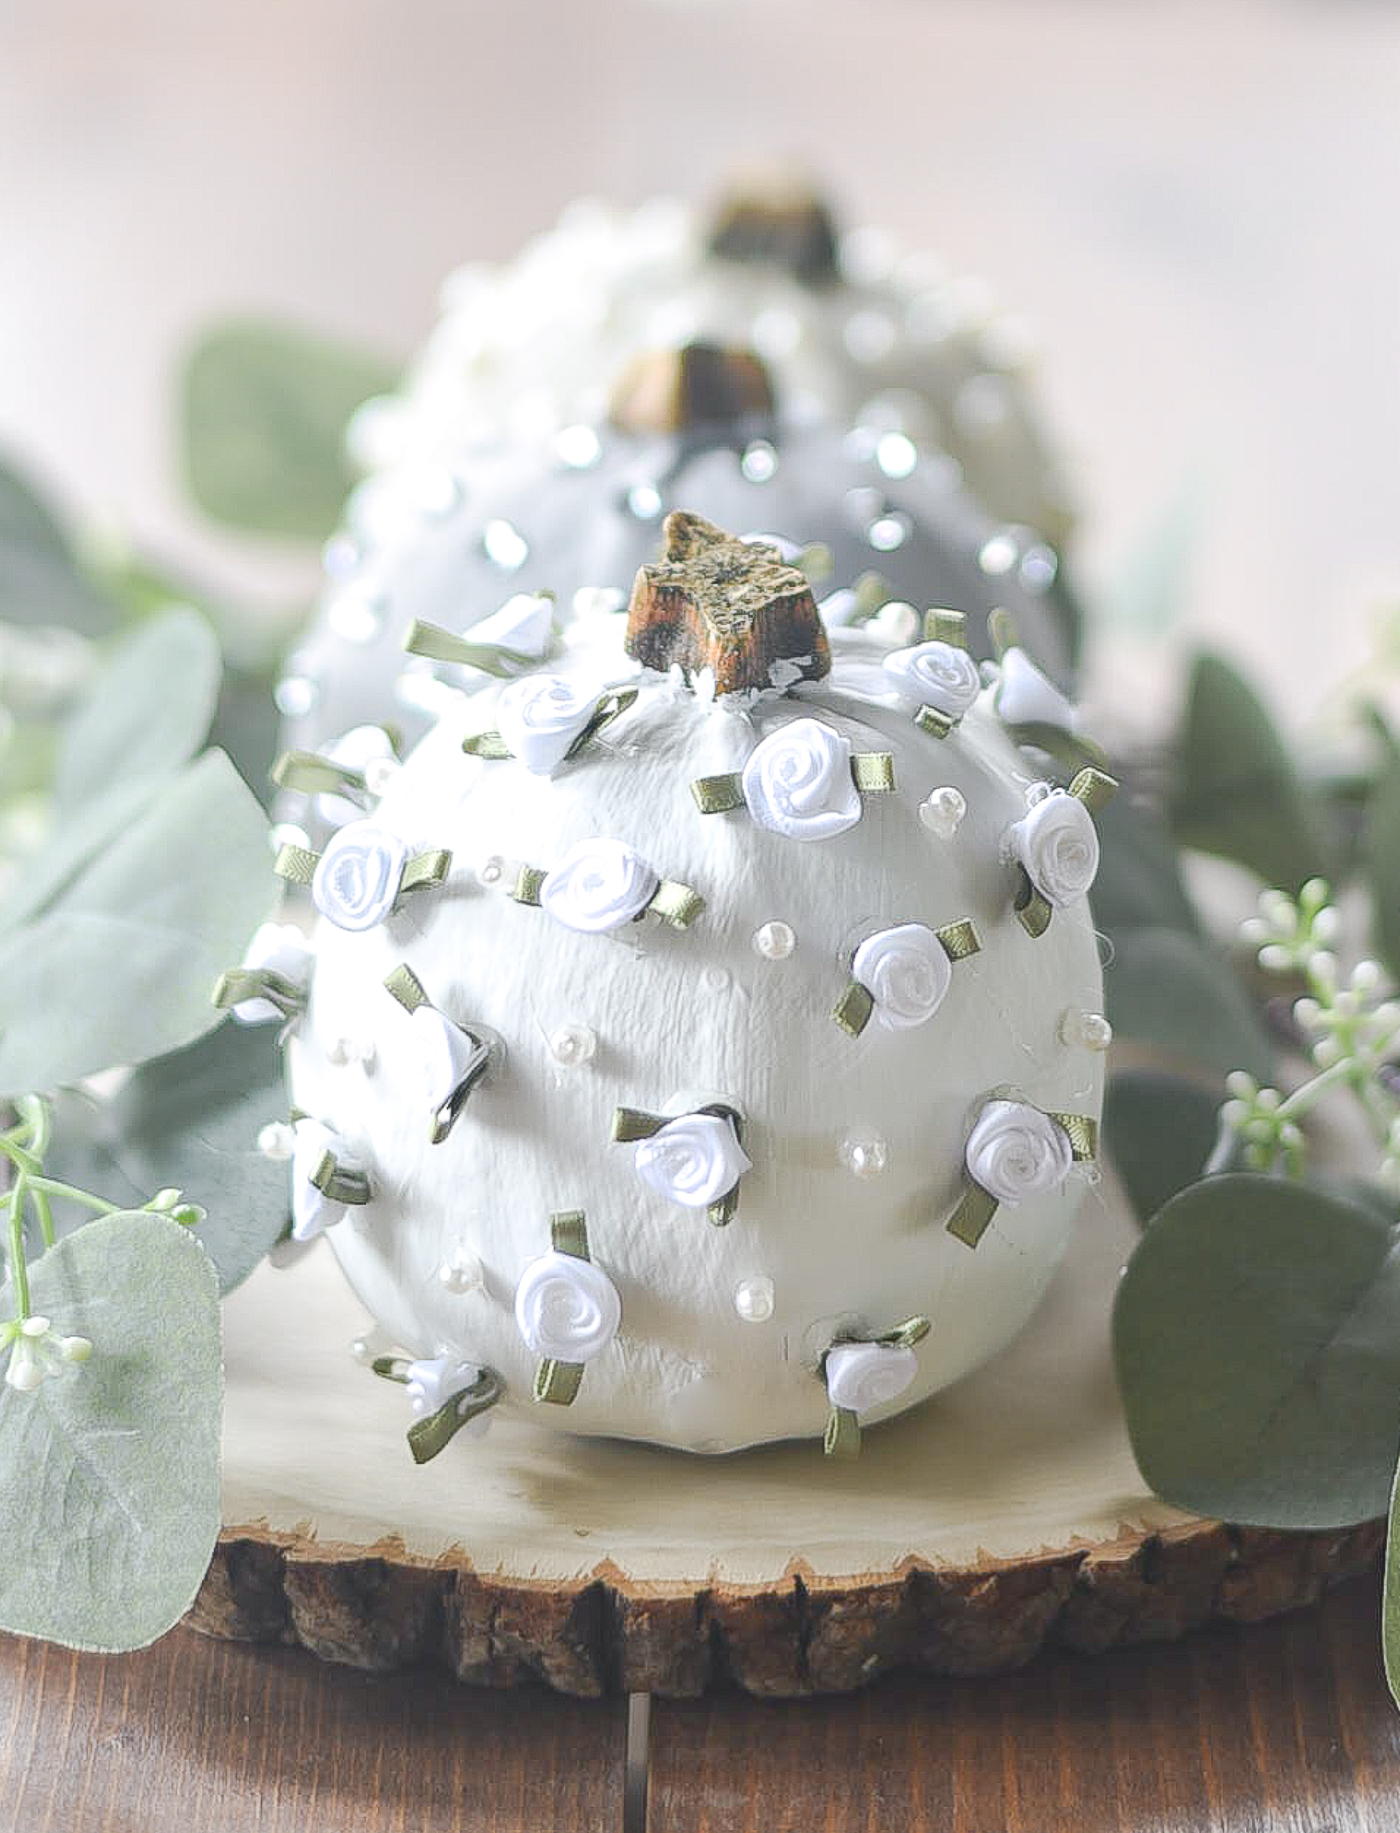
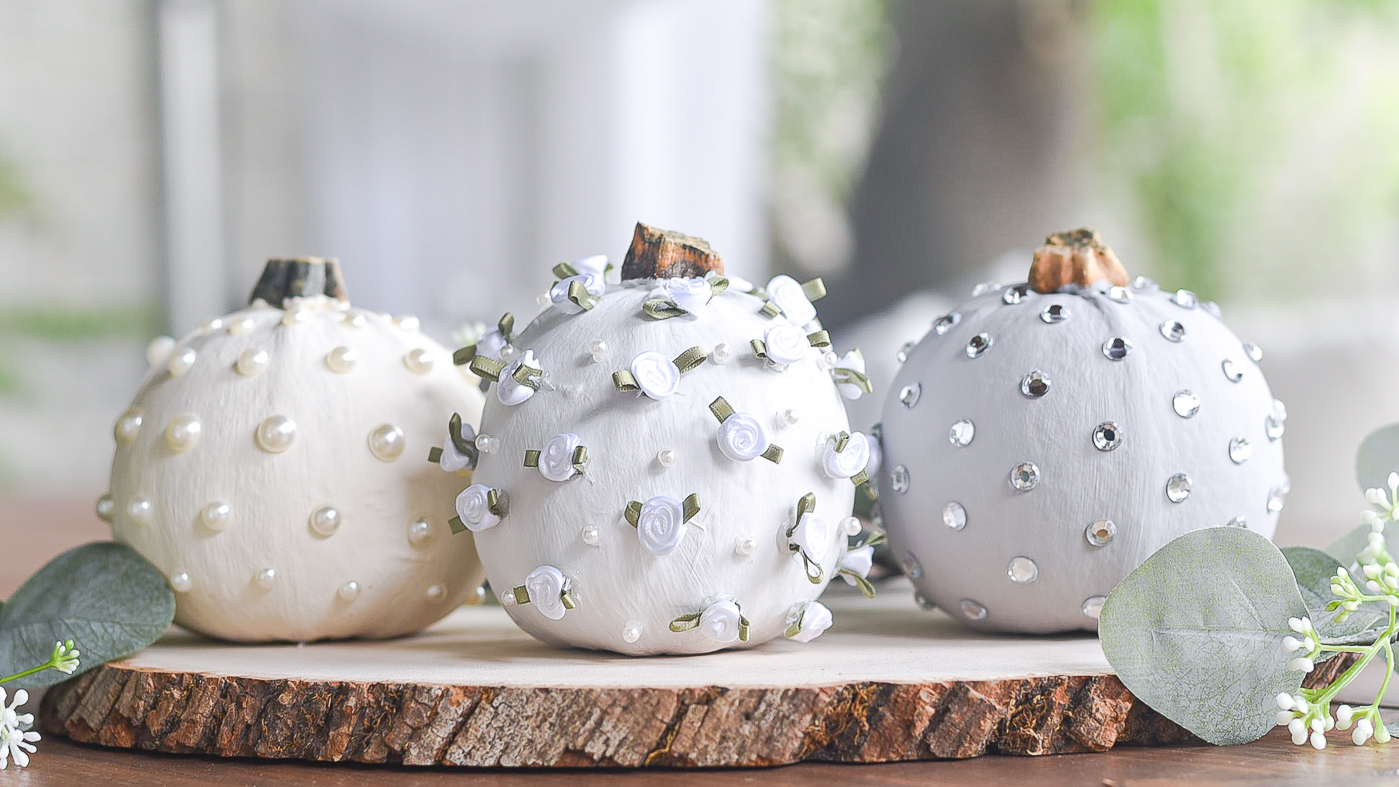
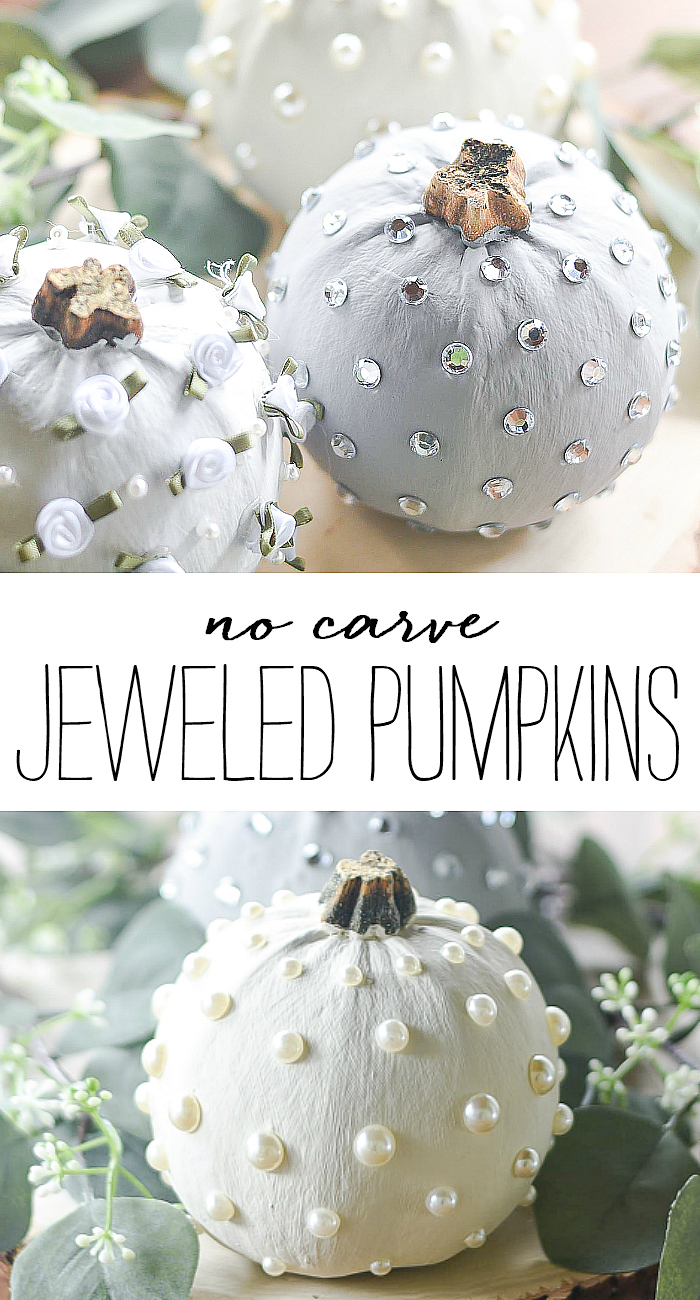
In the meanwhile, I’ve been having some no carve pumpkin fun. Remember those little orange pumpkins I used for my orange, black and white table setting (see here). I decided to dress them up with some crystals, pearls and roses …
How to Make No Carve Jeweled Pumpkins
Materials*
Pumpkins (found mine at the grocery store)
Paint – White, Off White/Cream, Gray – I used Rustoleum Chalked Paint
Glue Gun
Tweezers
*includes some affiliate links.
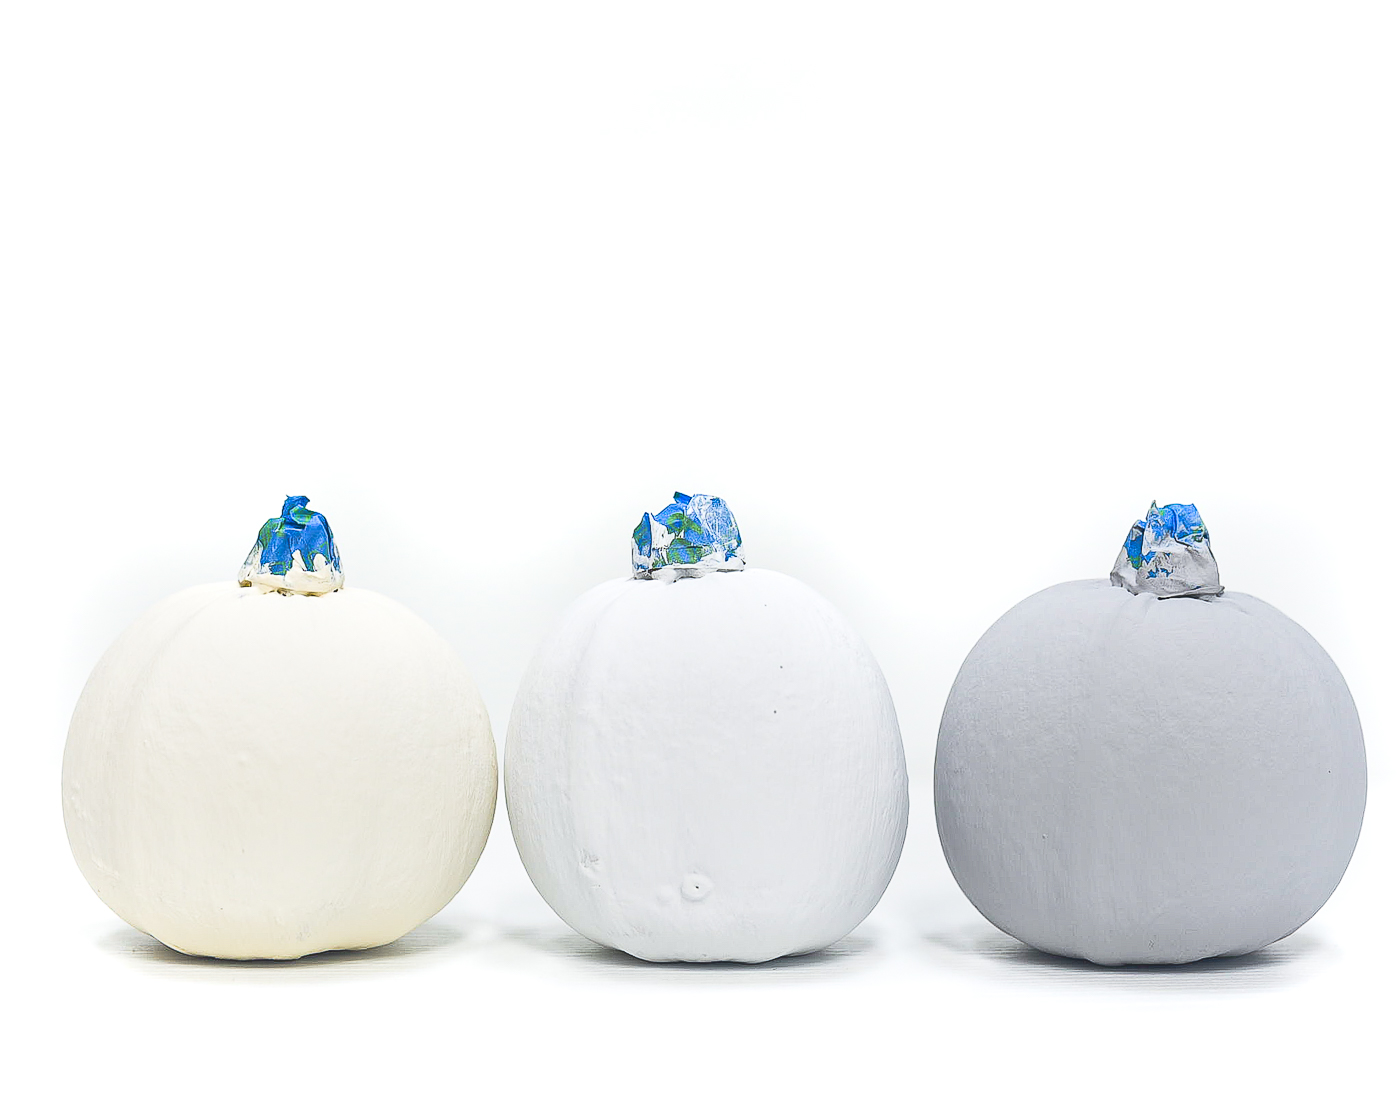
Tape stems and give your pumpkins two coats of paint. I used chalk paint because a) I like the matte finish and; b) it dries quickly!
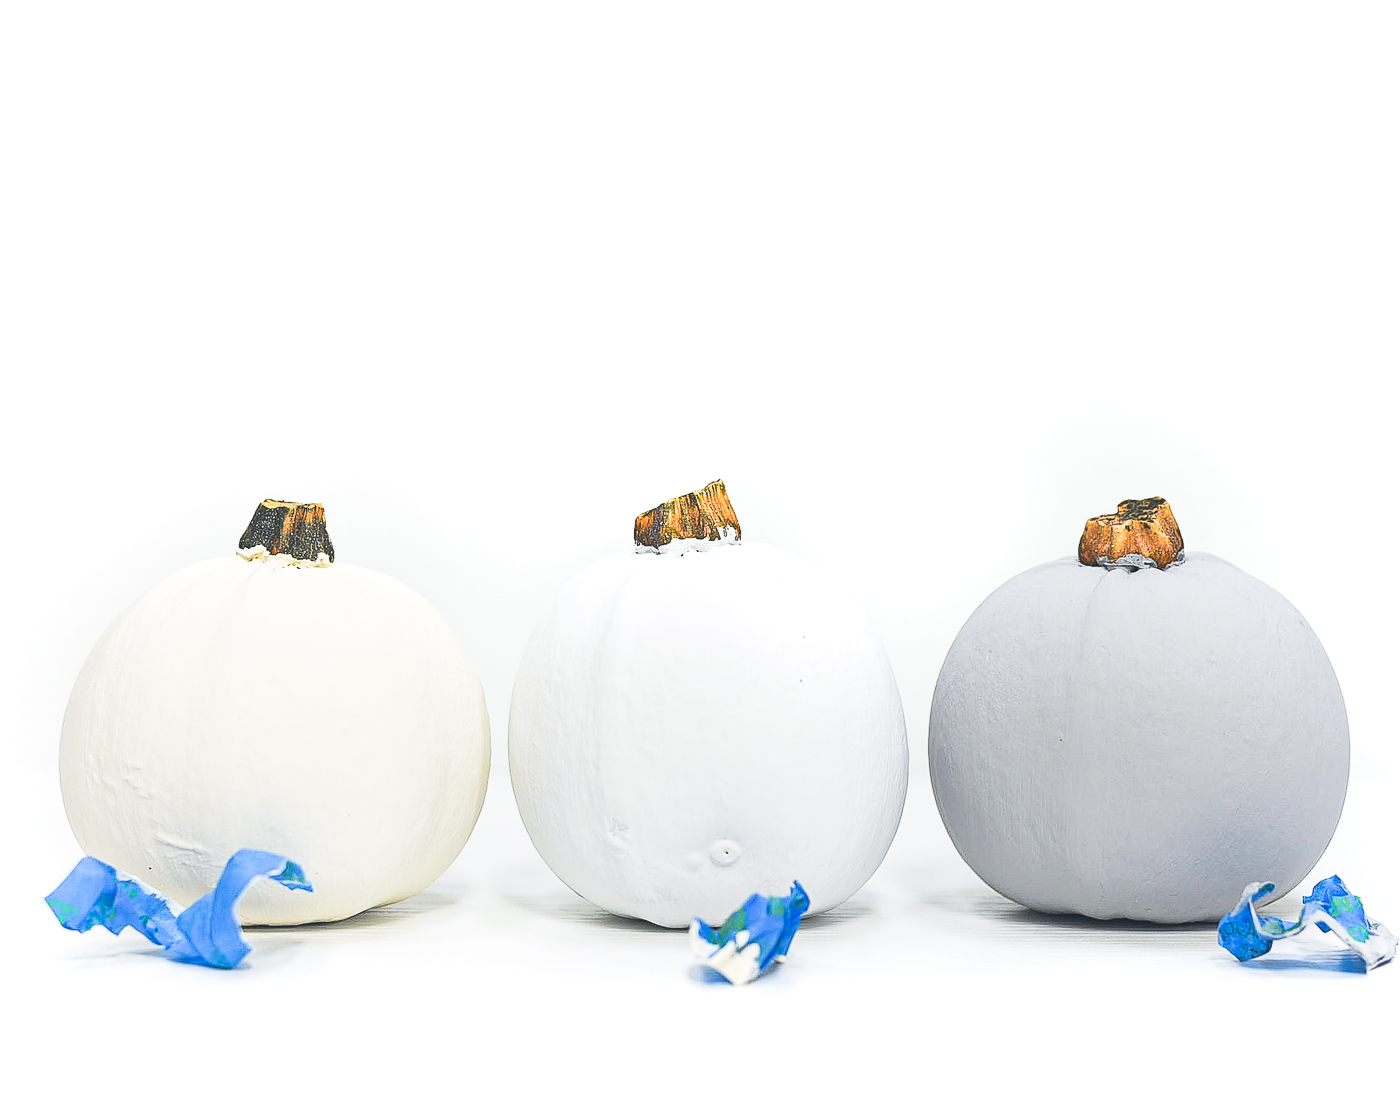
Remove tape. At this point I was going to spray them with matte sealant but I forgot. Ah well. Since these pumpkins are real, they’ll be tossed soon!
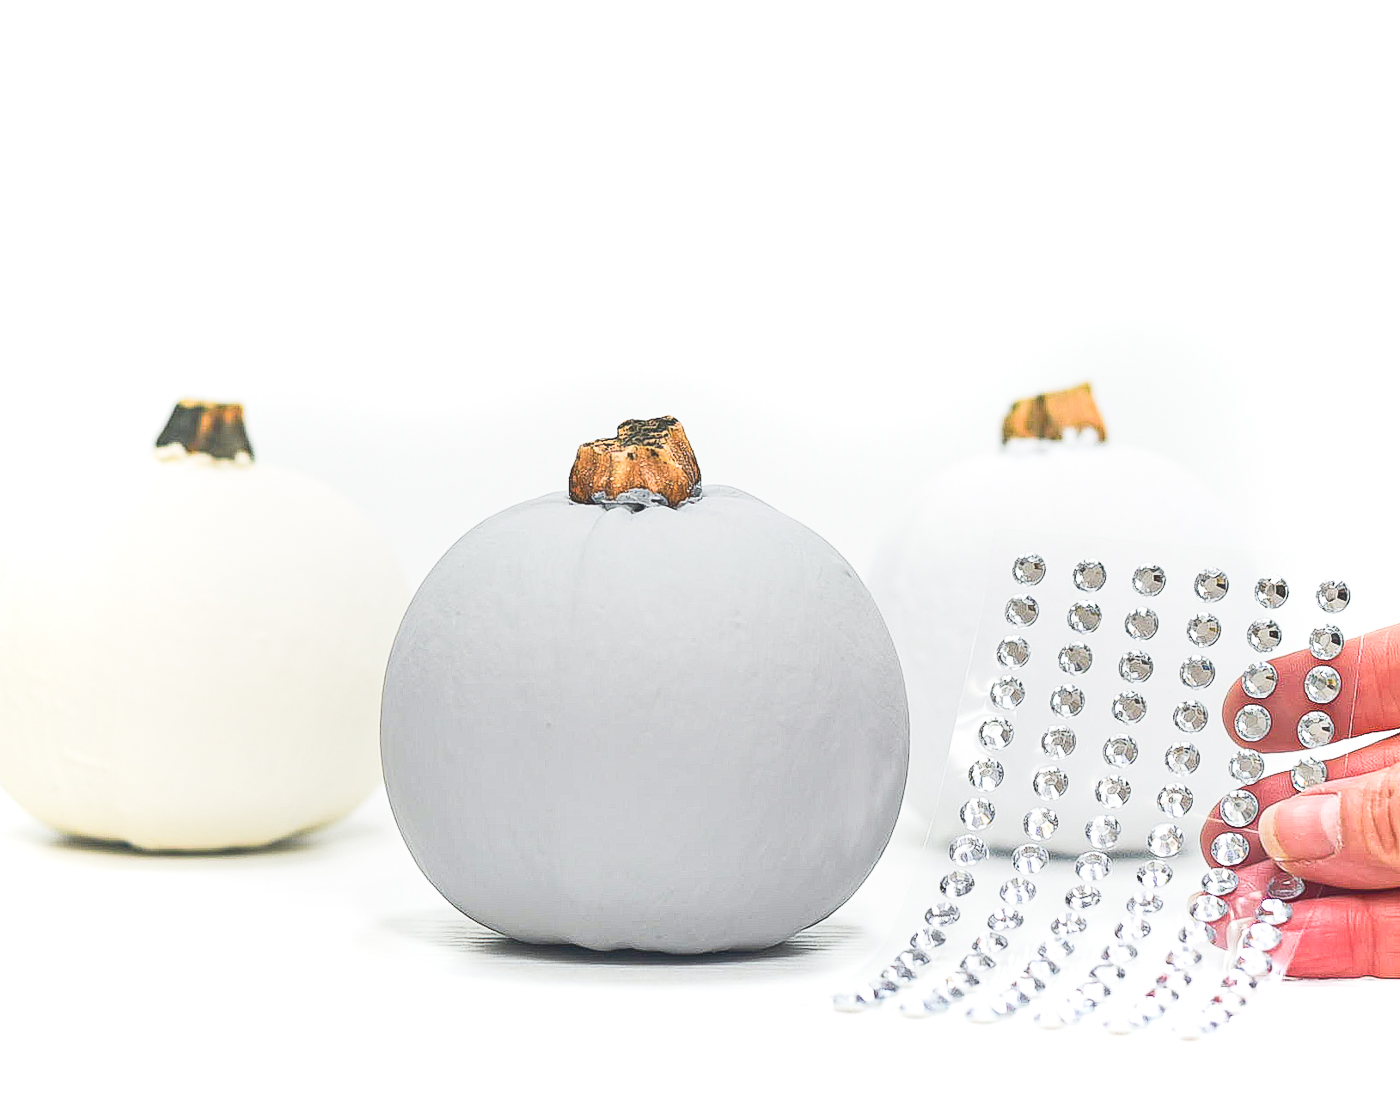
Grab your stick-on rhinestones …
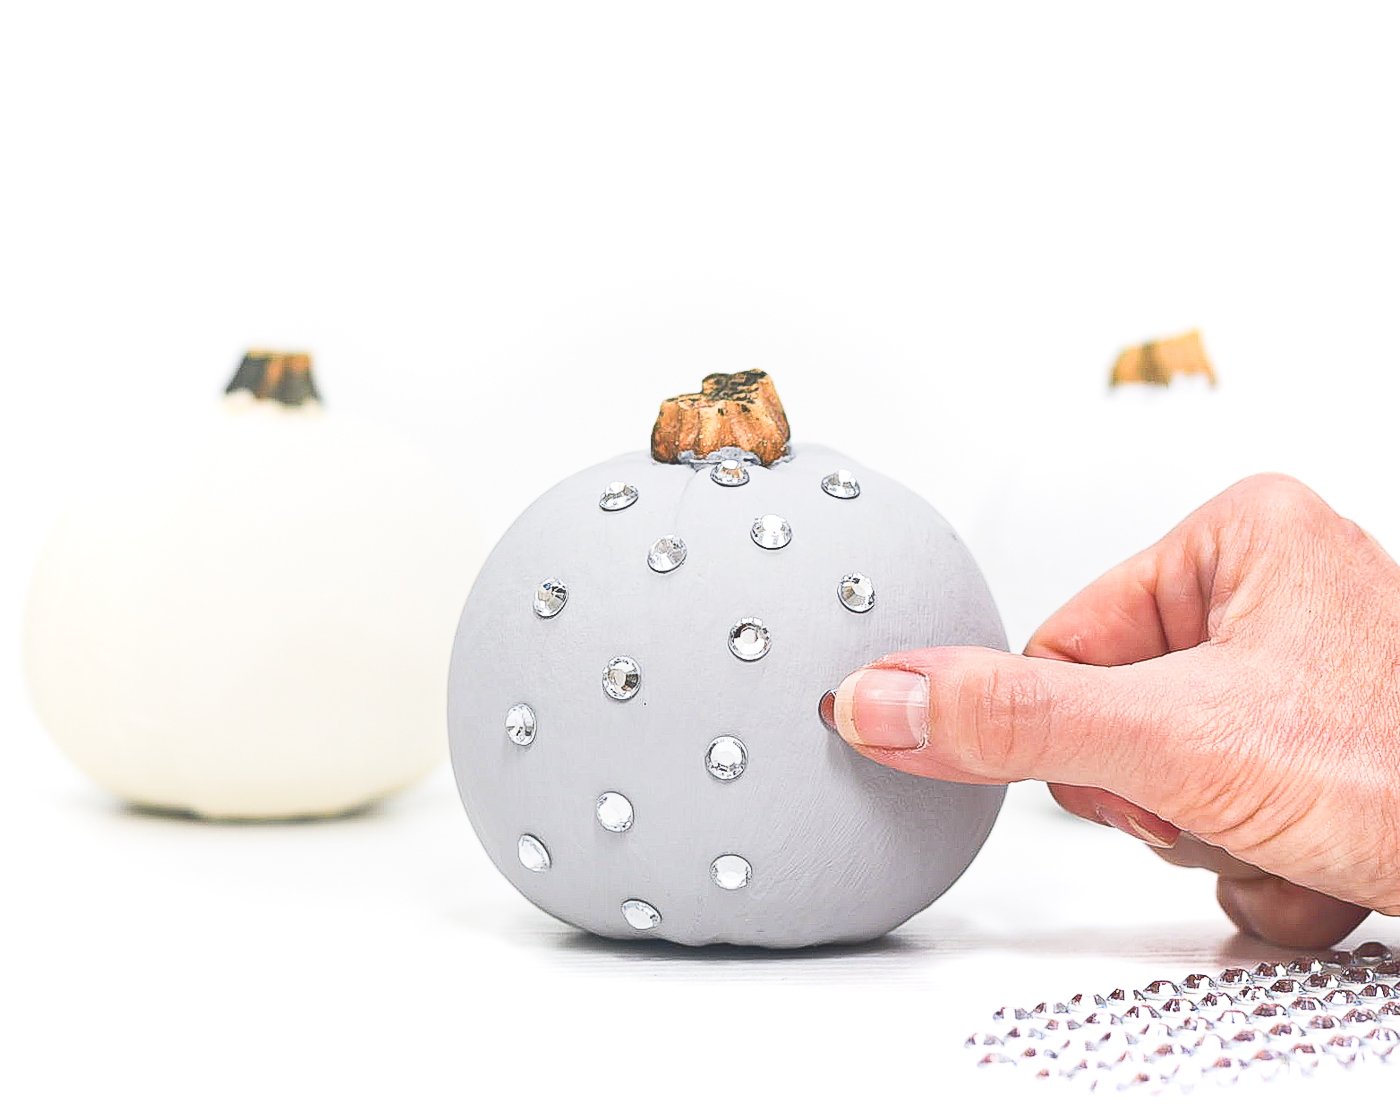
and start sticking on! I just eyeballed spacing.
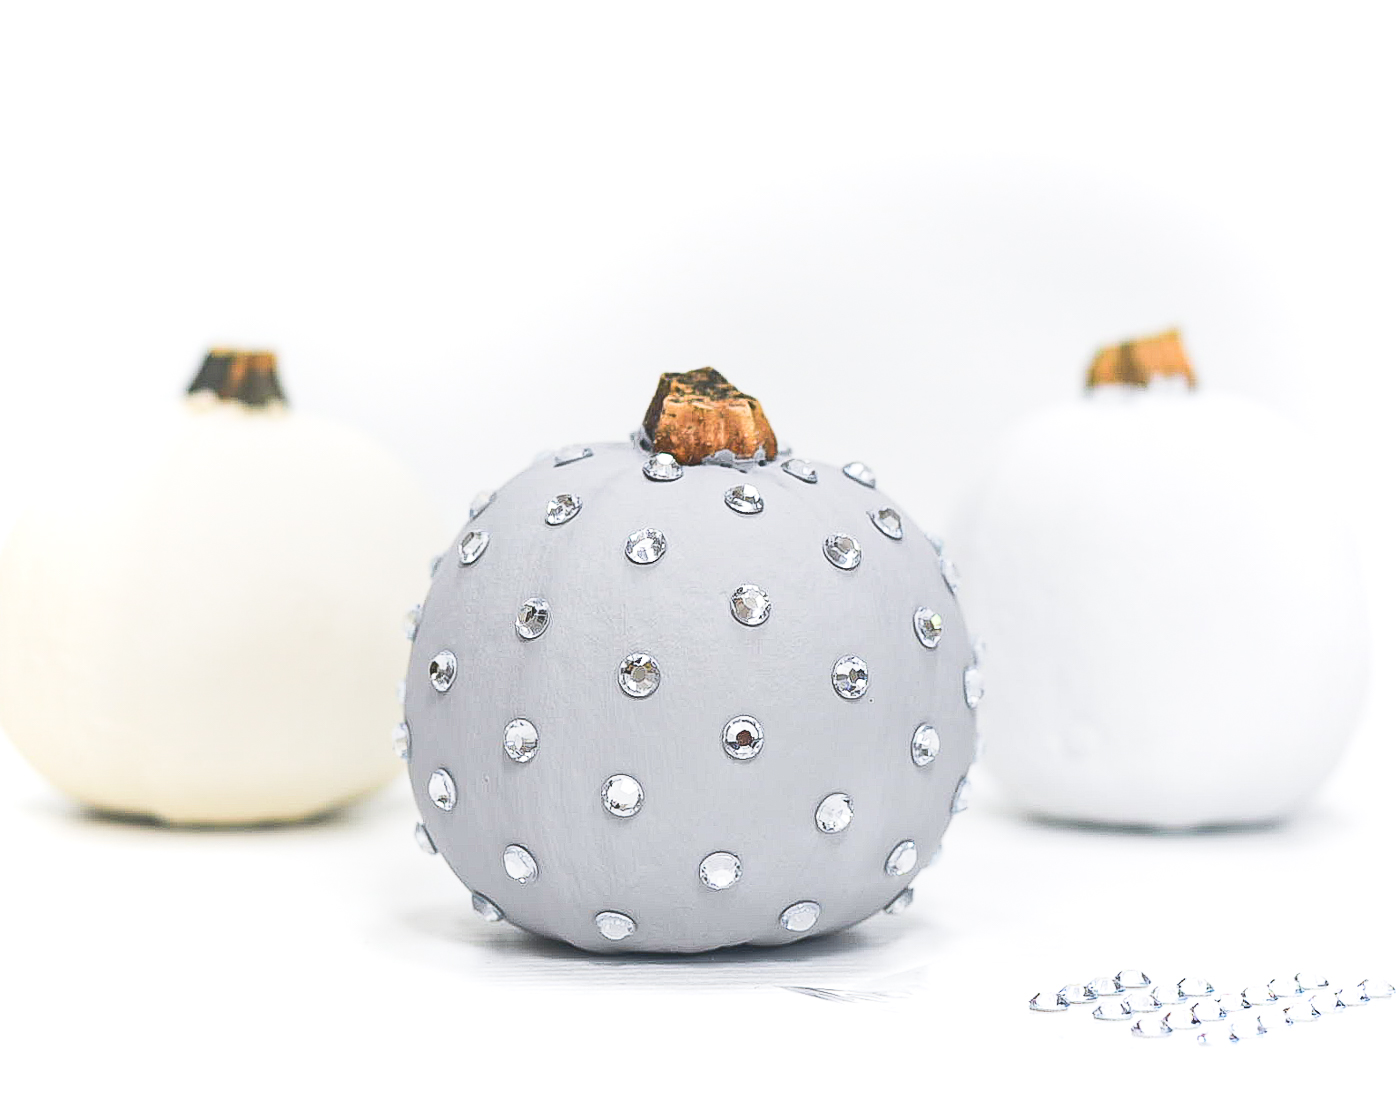
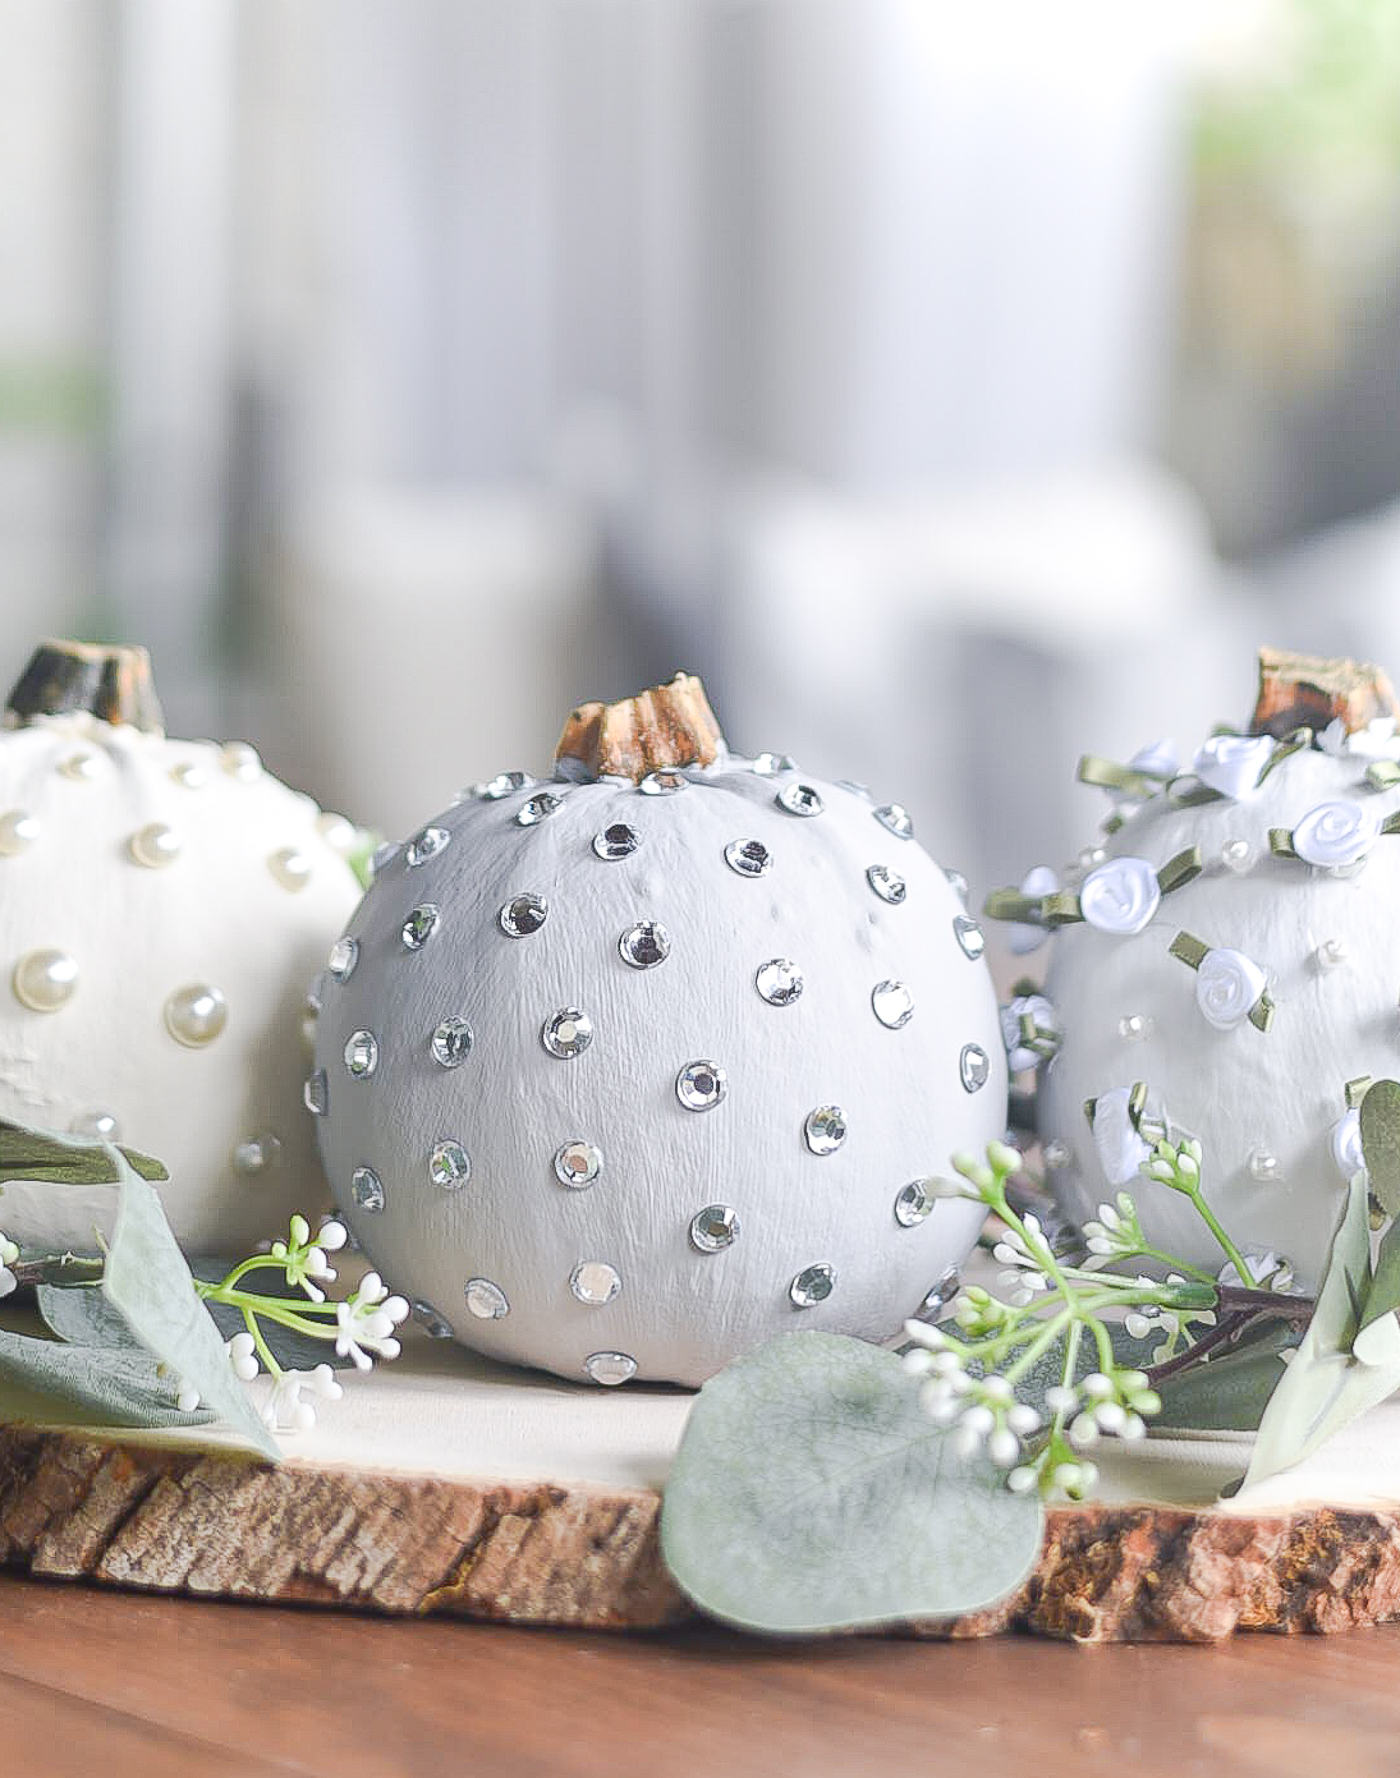
The Jersey in my is loving the glam!
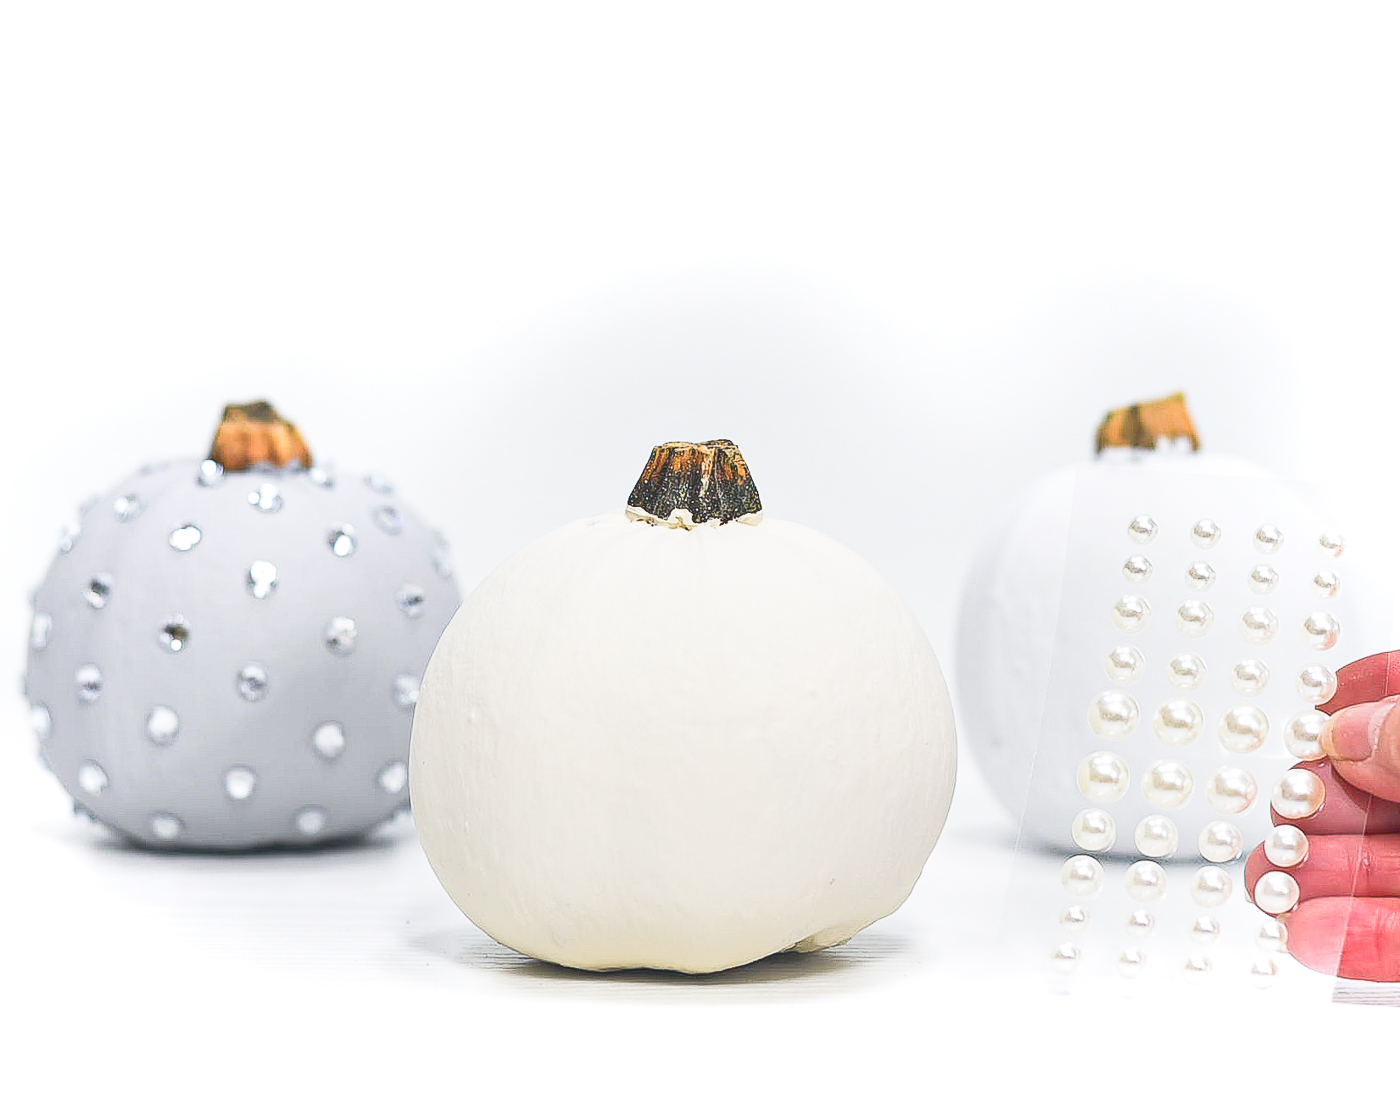
Now grab those stick-on pearls …
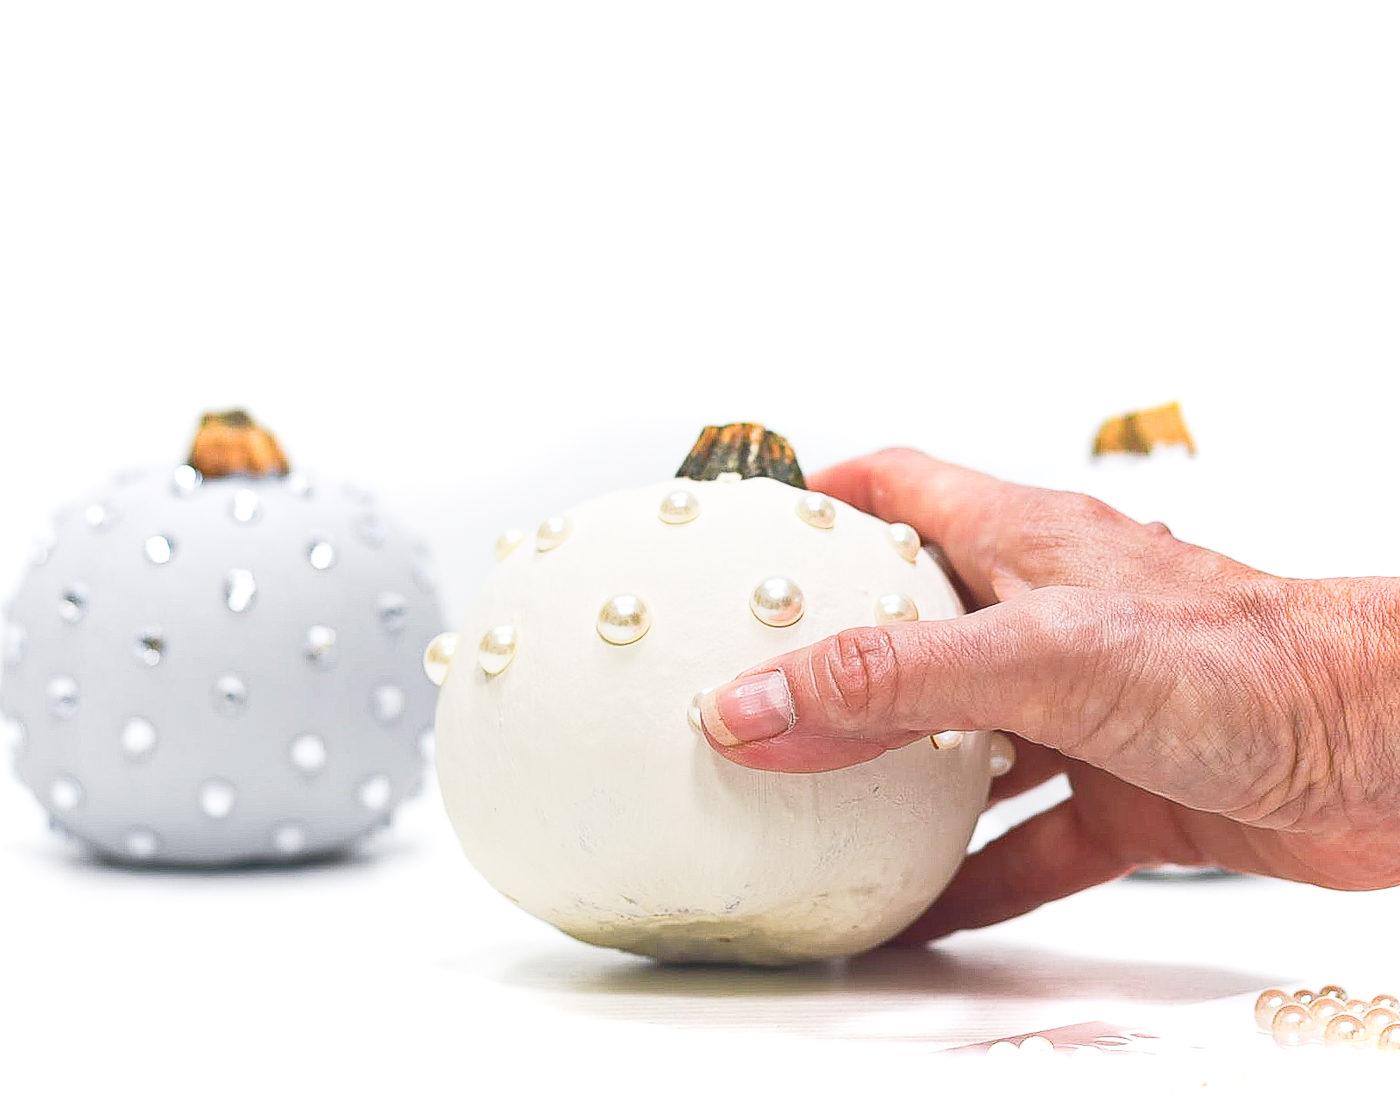
and start sticking on!
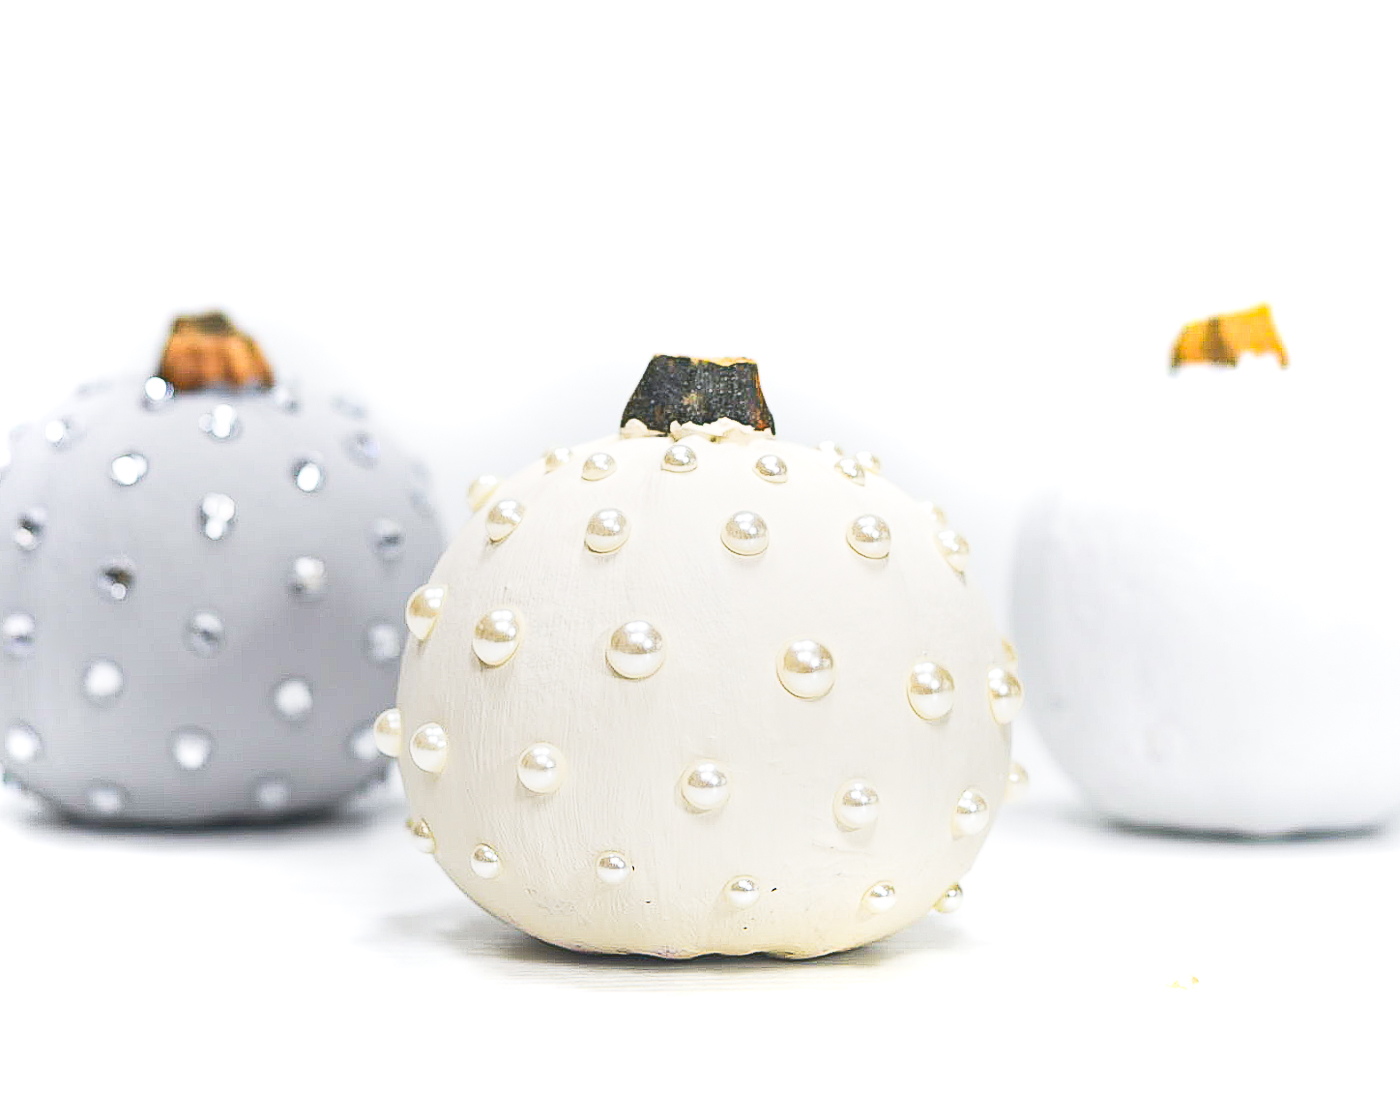
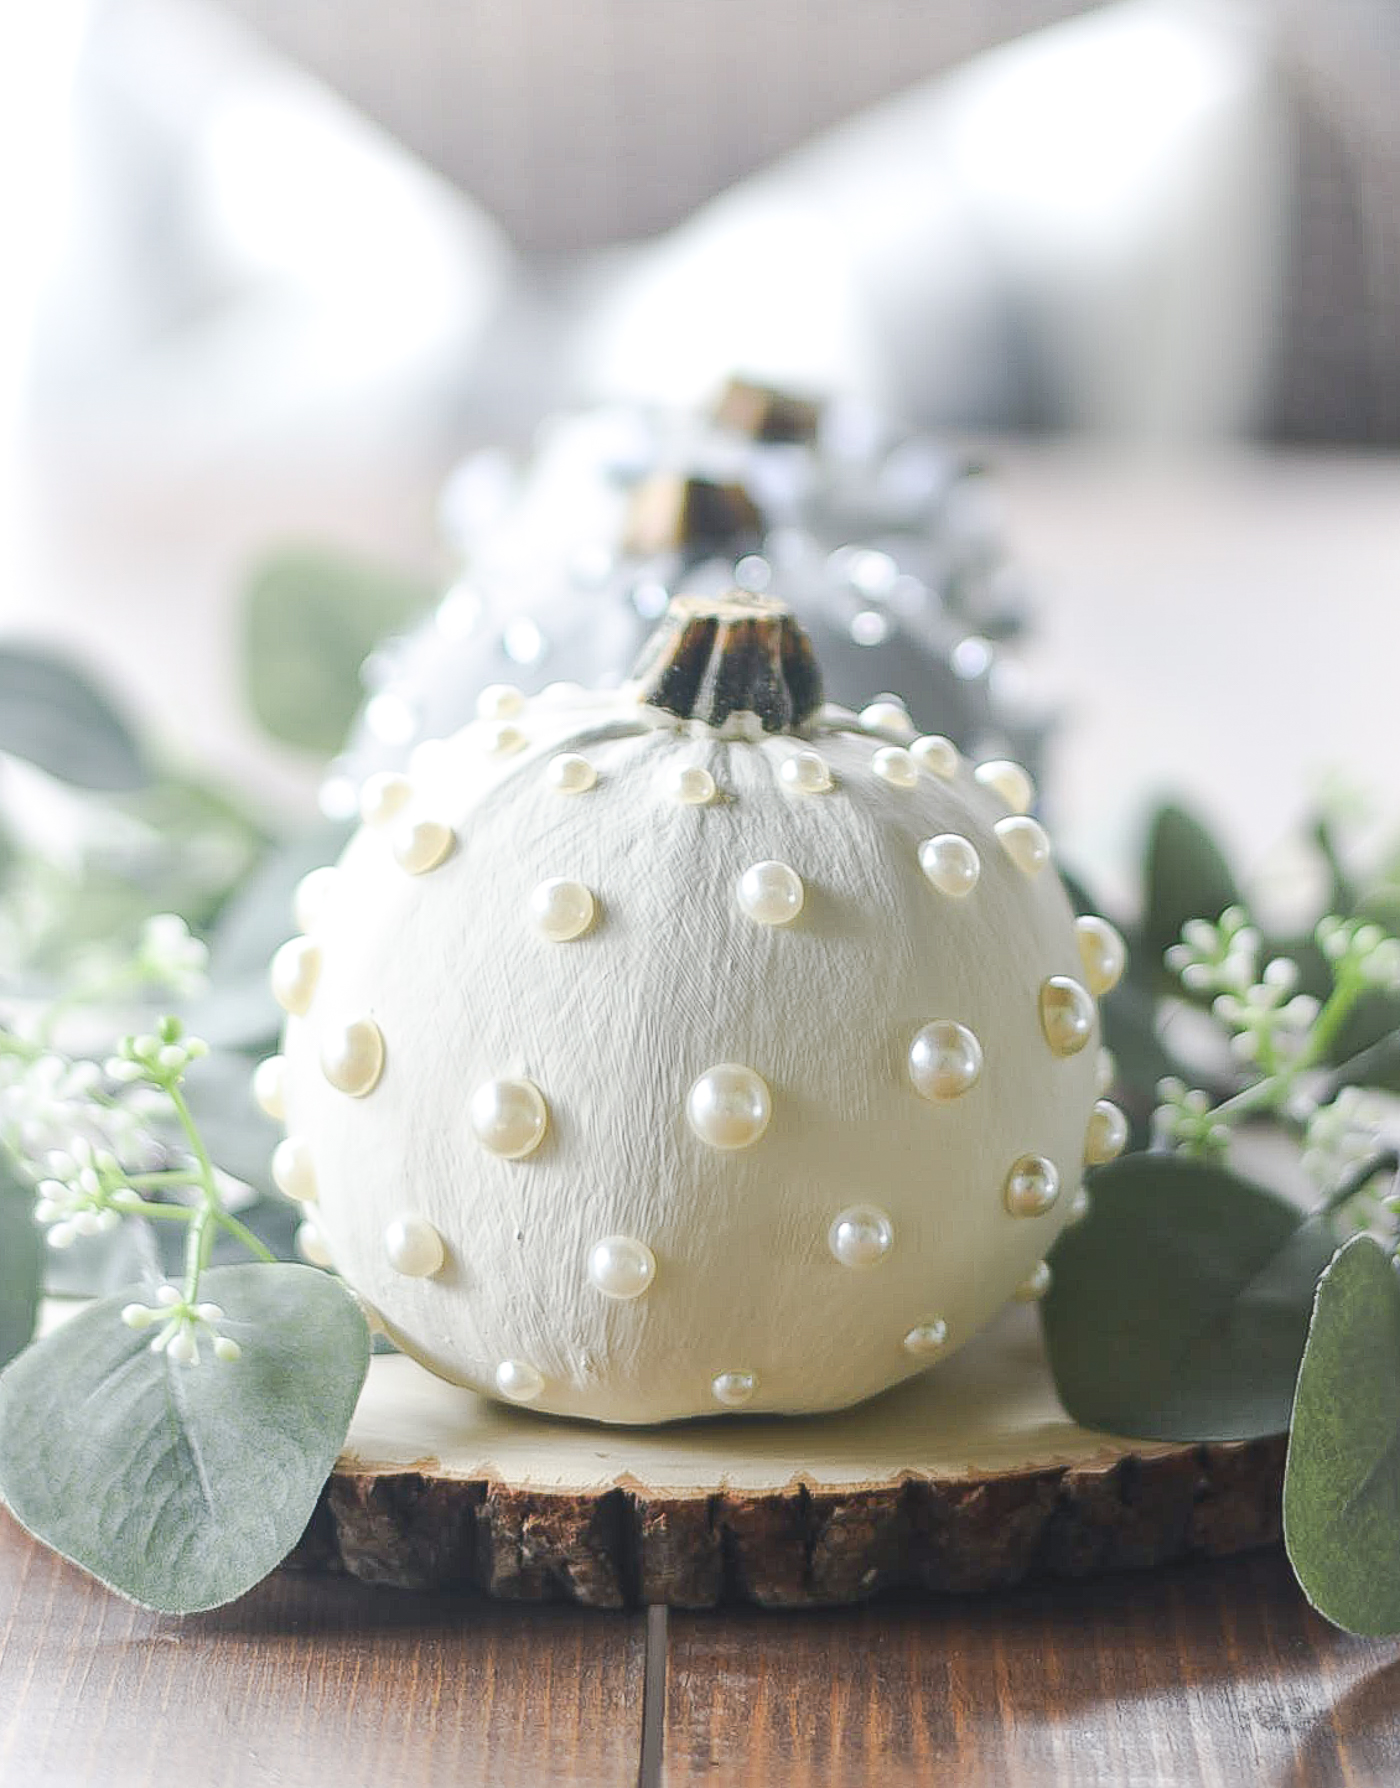
Reminds me of my pearl necklace!
Which reminds me, when is that cardigan and pearls style trend coming back? I think it’s time for a revival!
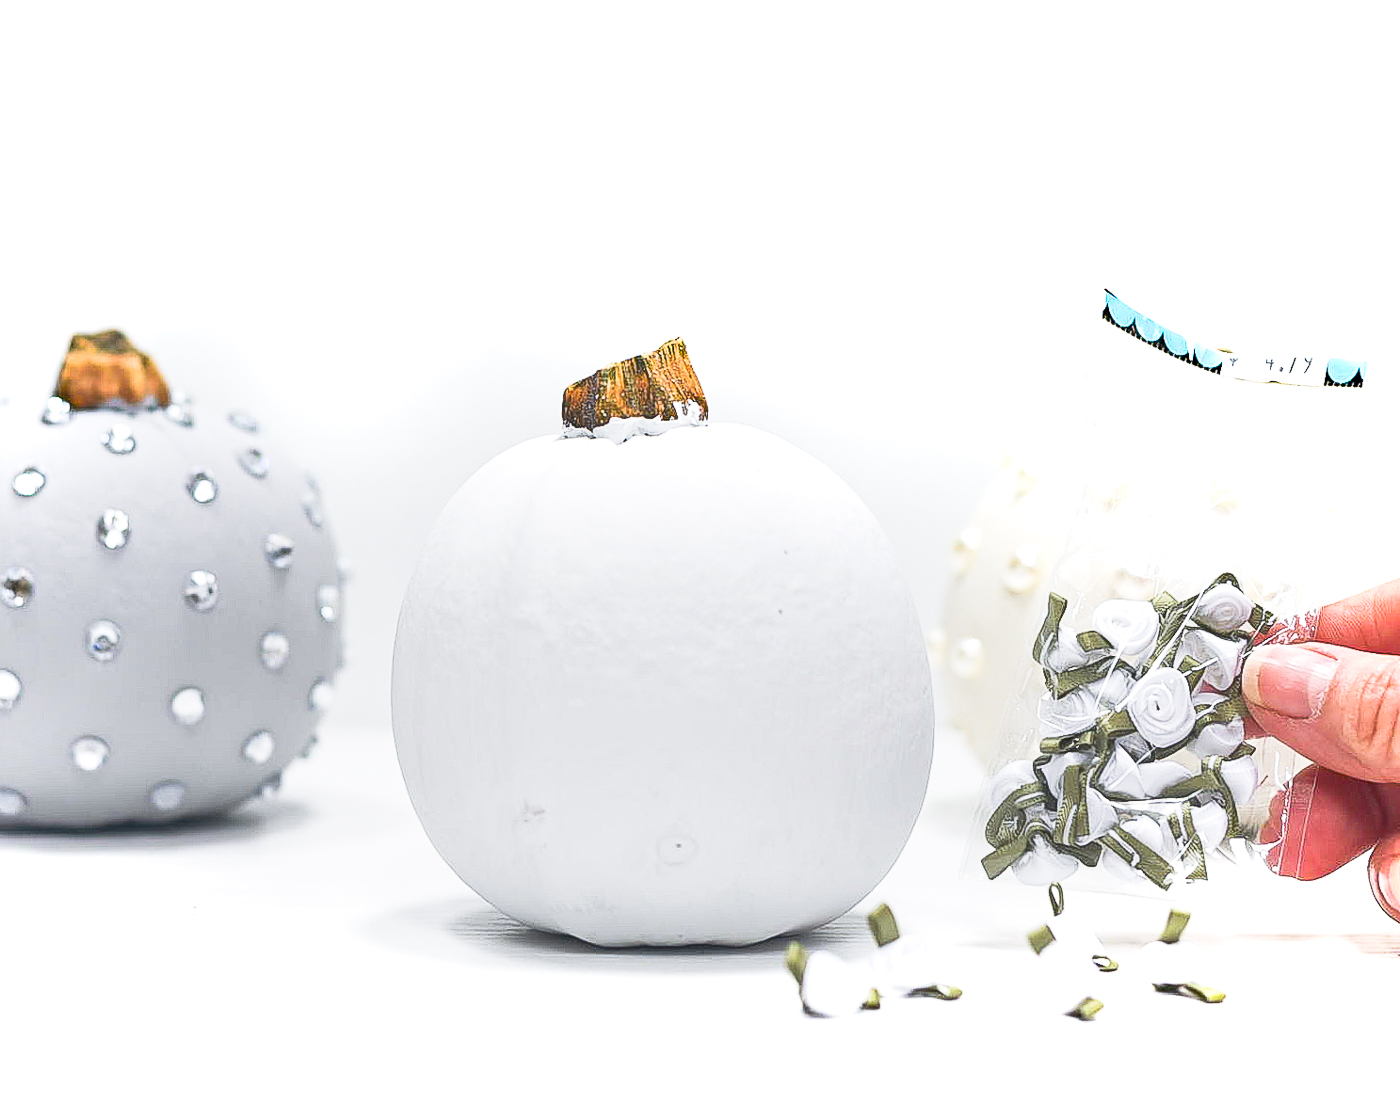
Next up are the silk mini roses and pearls. I used to sew these onto the collars of onesies for my nieces to dress them up!
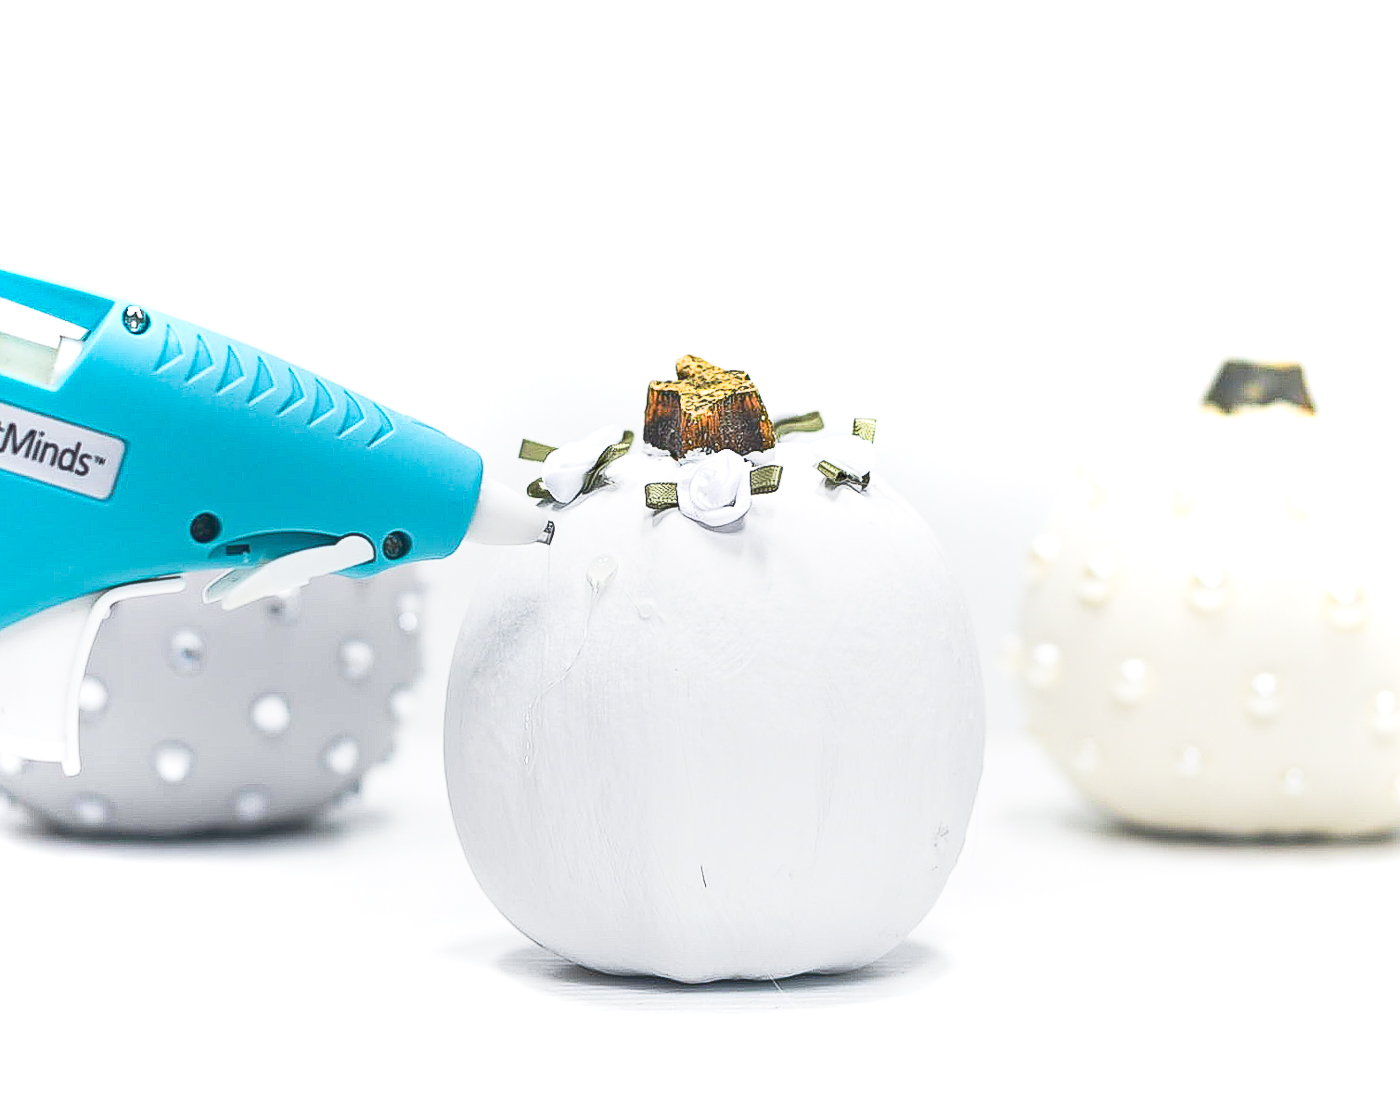
You need a hot glue to apply these.
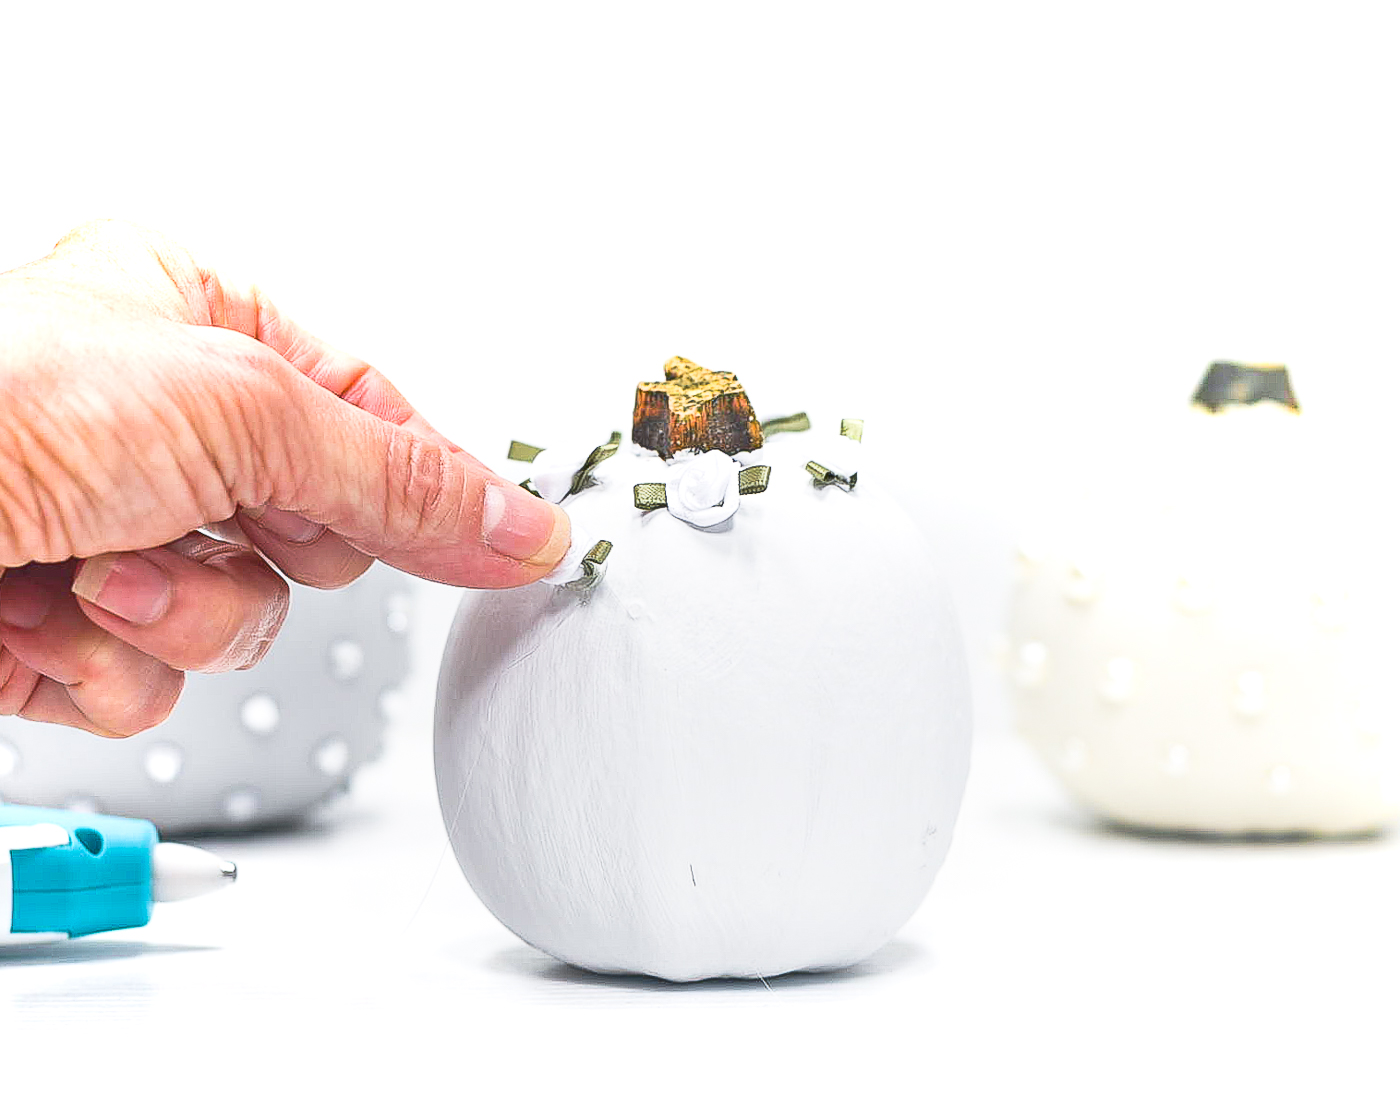
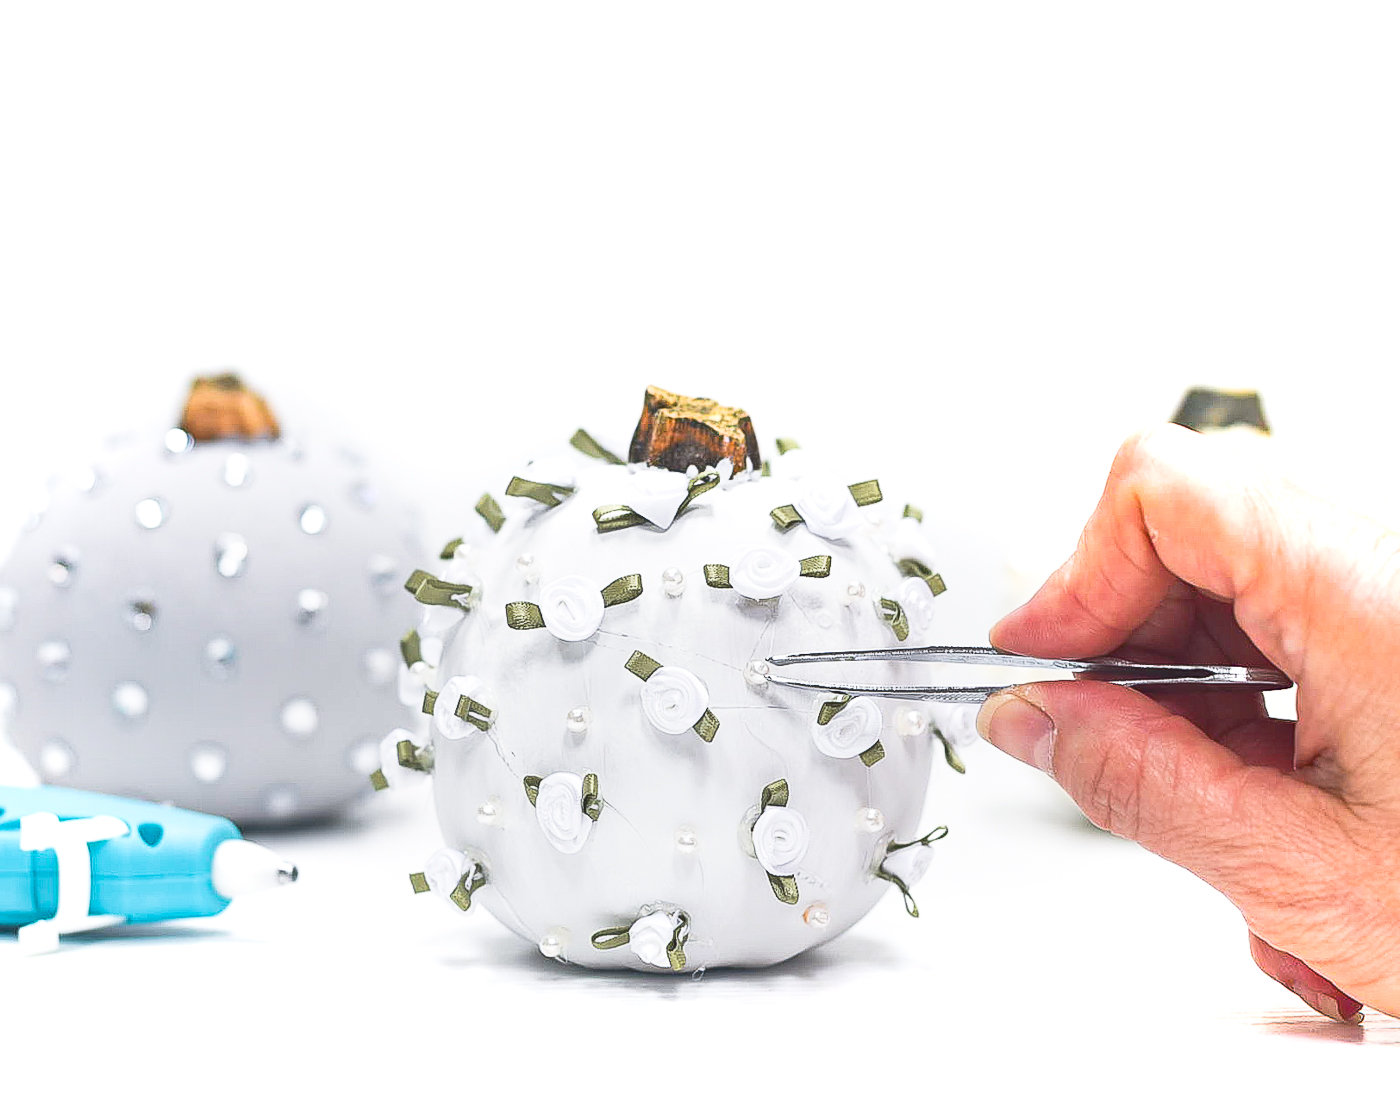
For the little pearls, I used hot glue and tweezers to affix them.
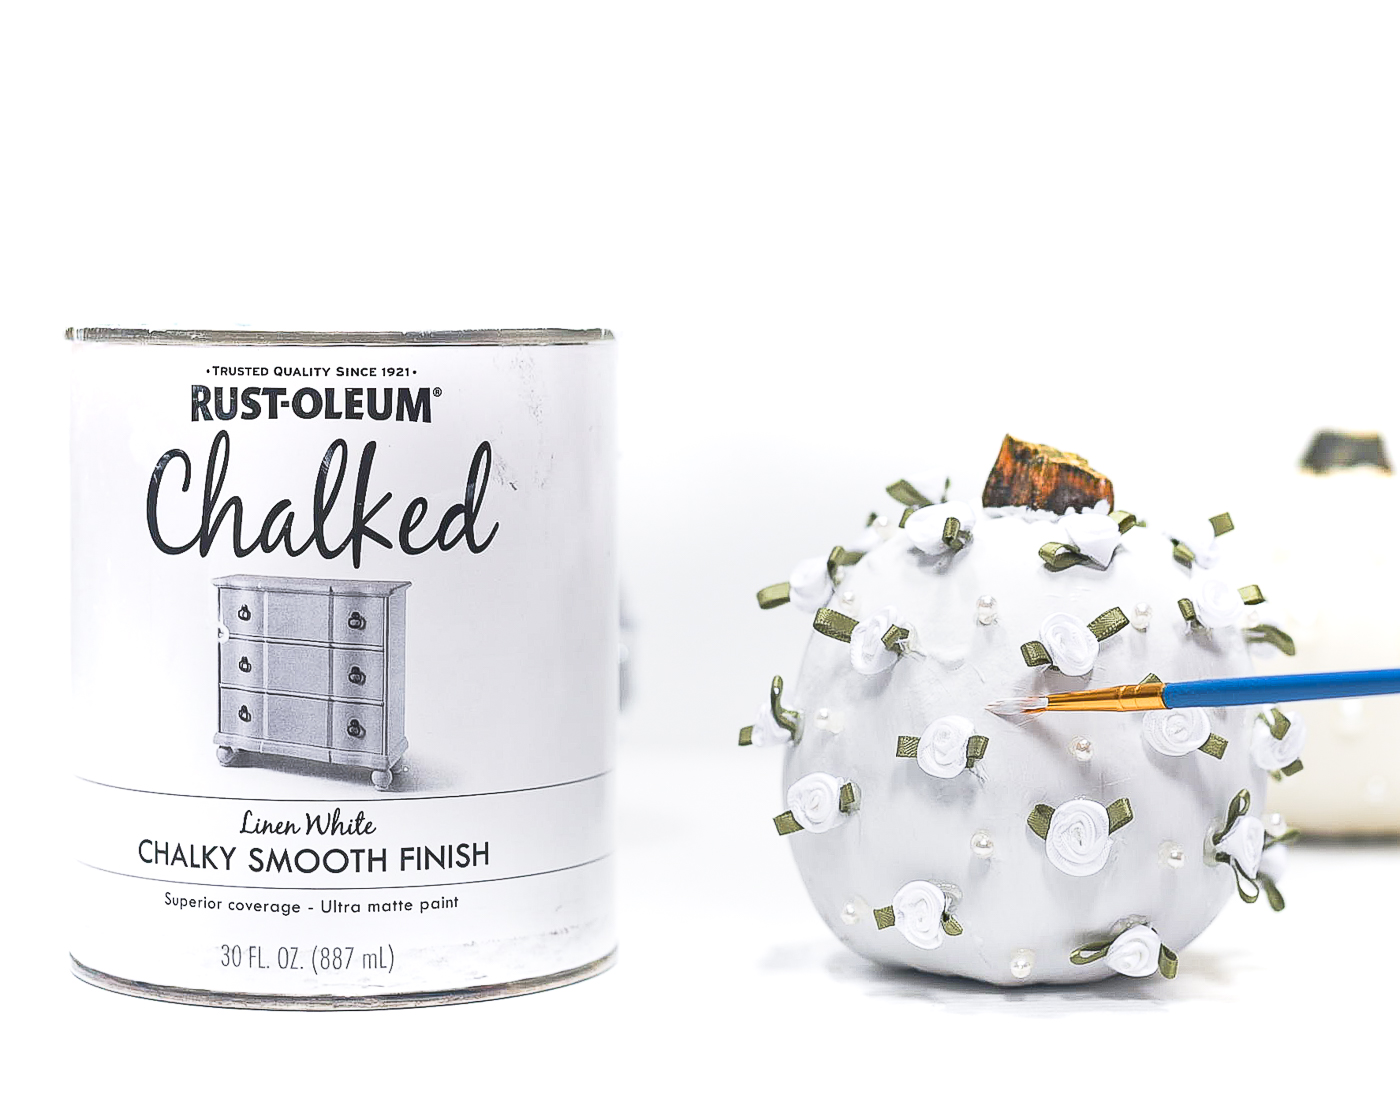
I then I need to do a little paint touch up!
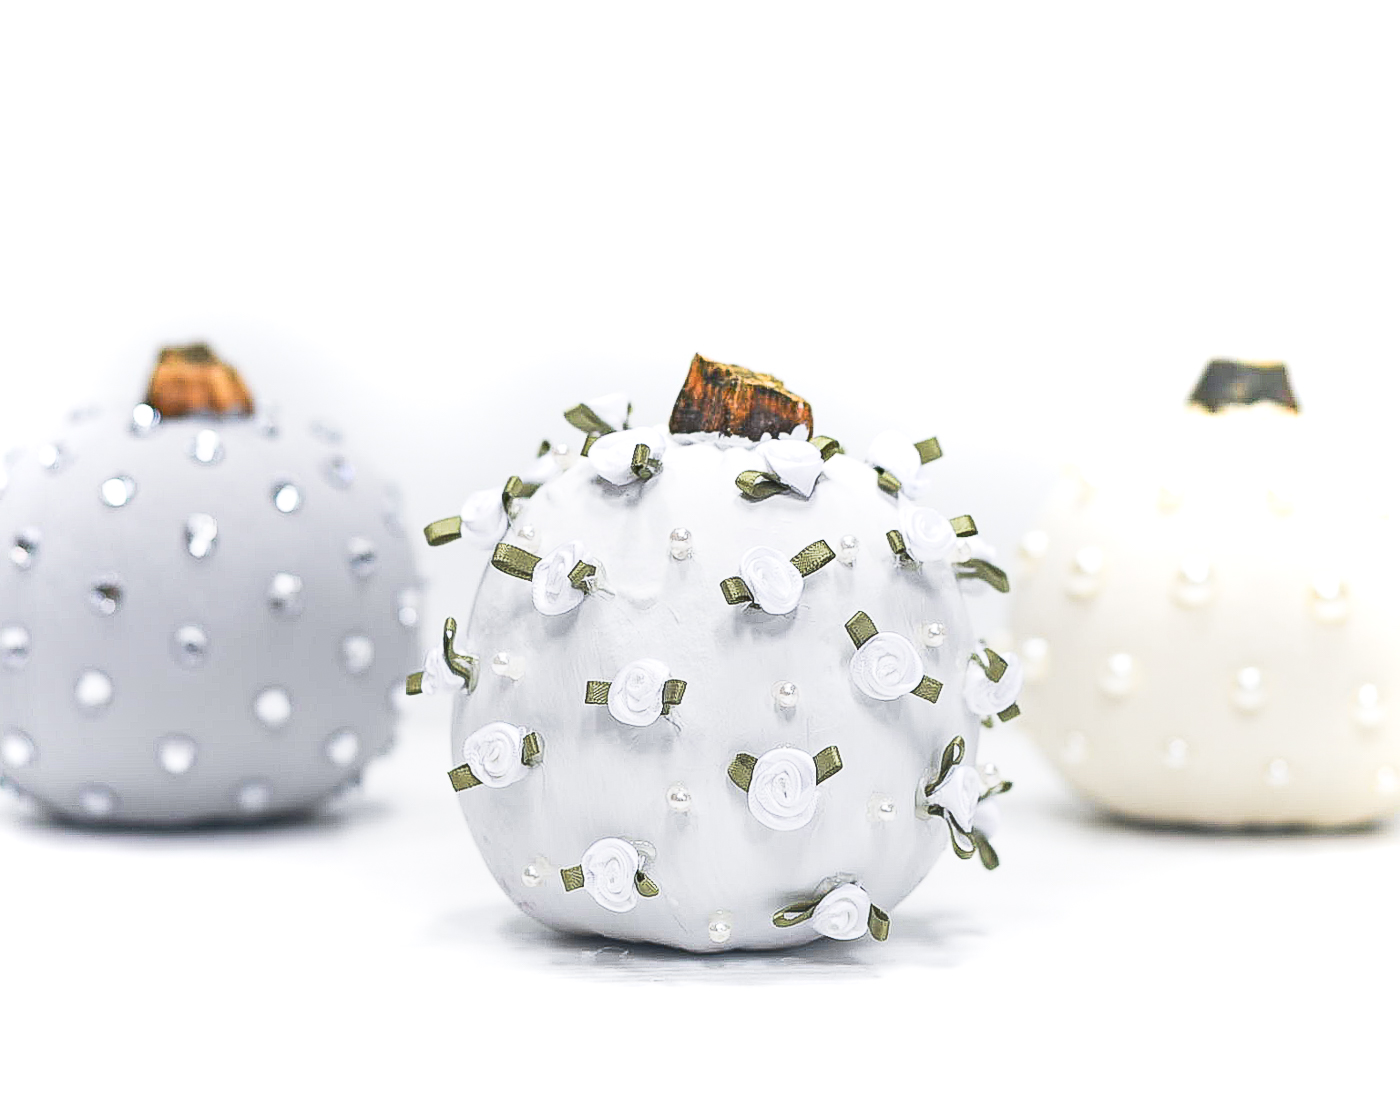
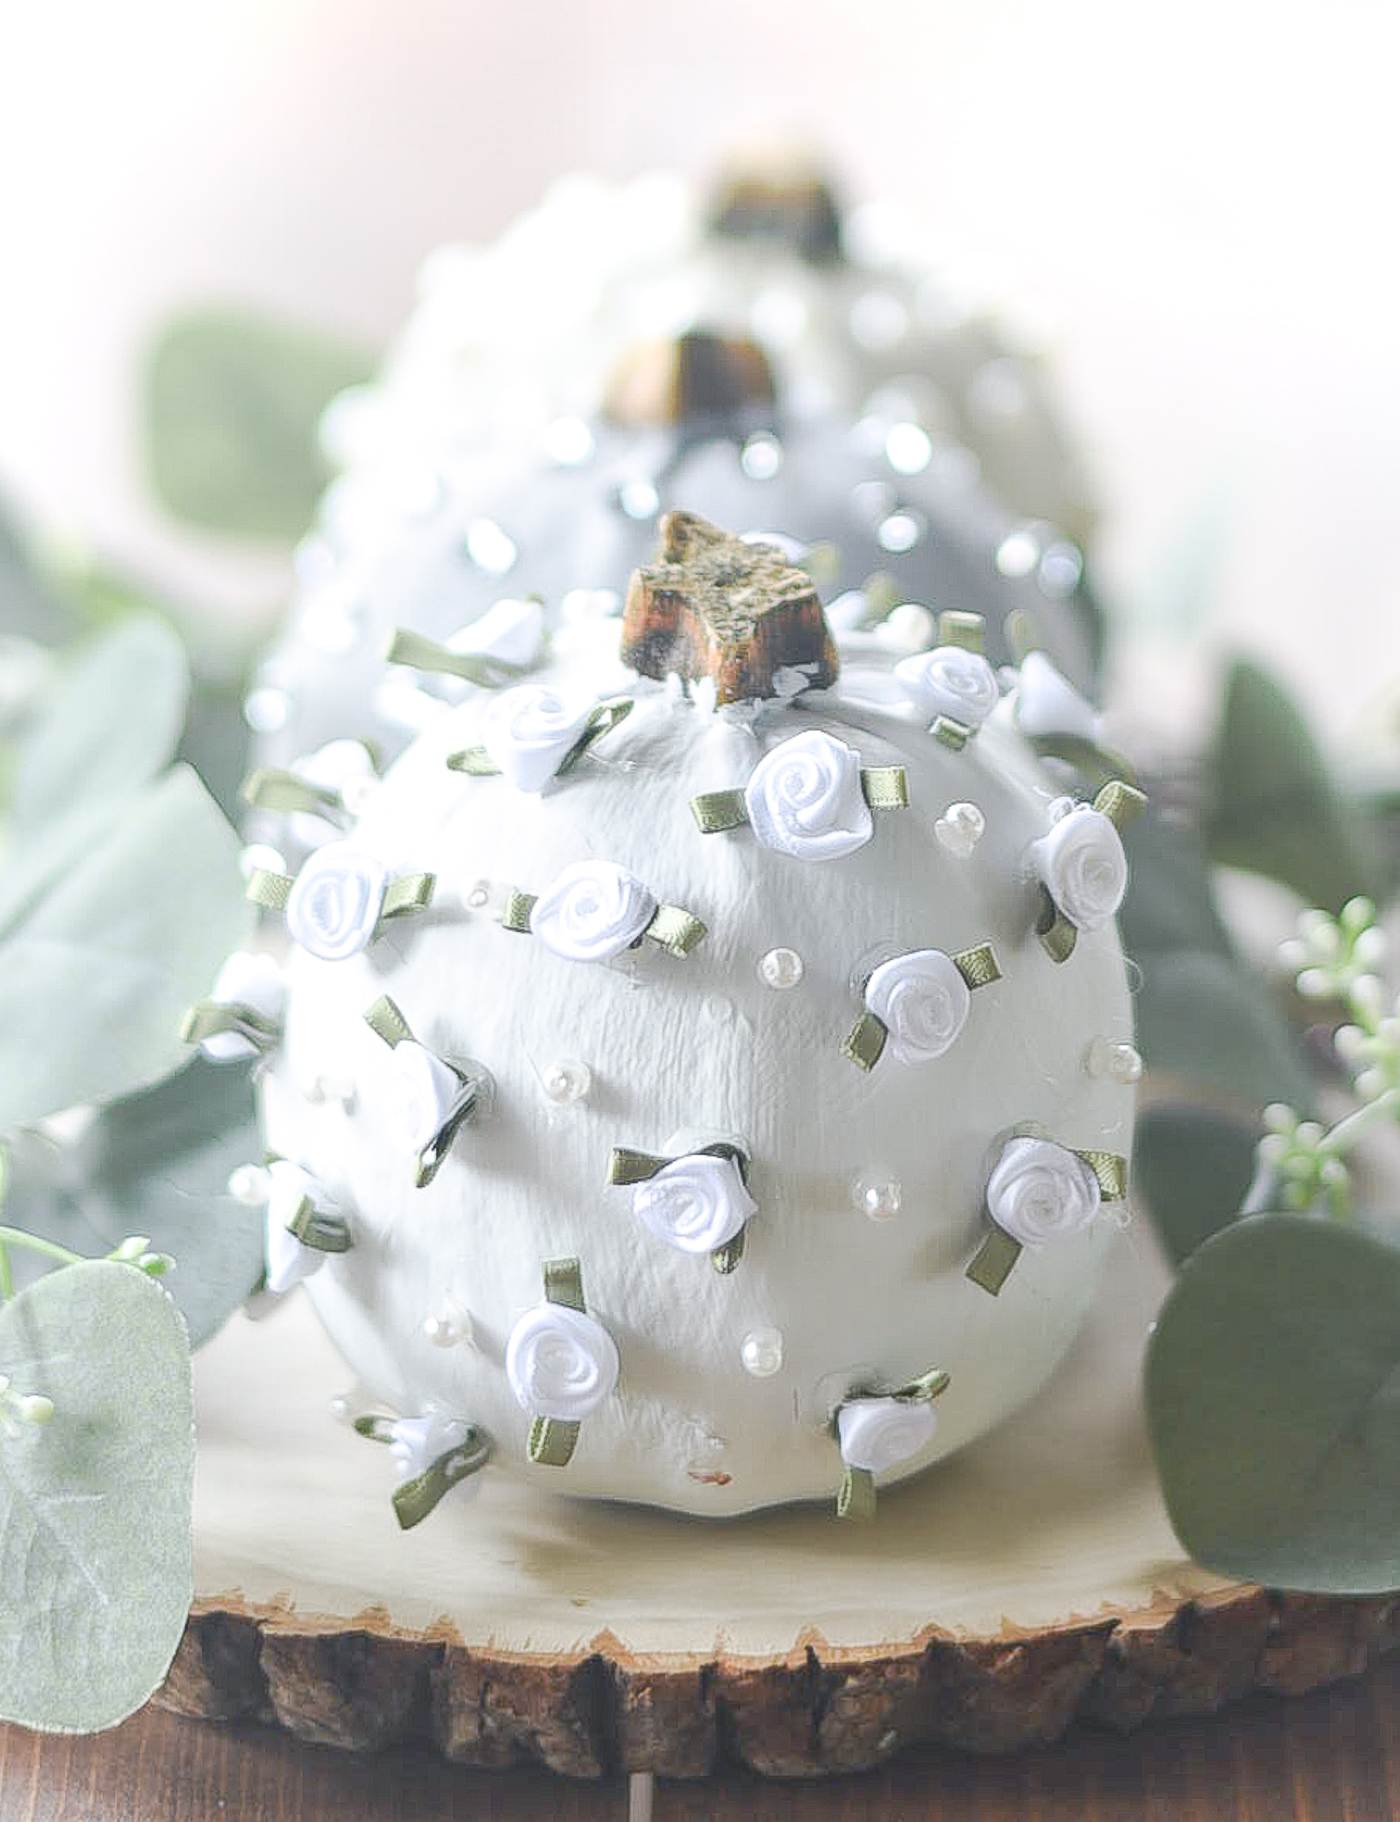
So cute!
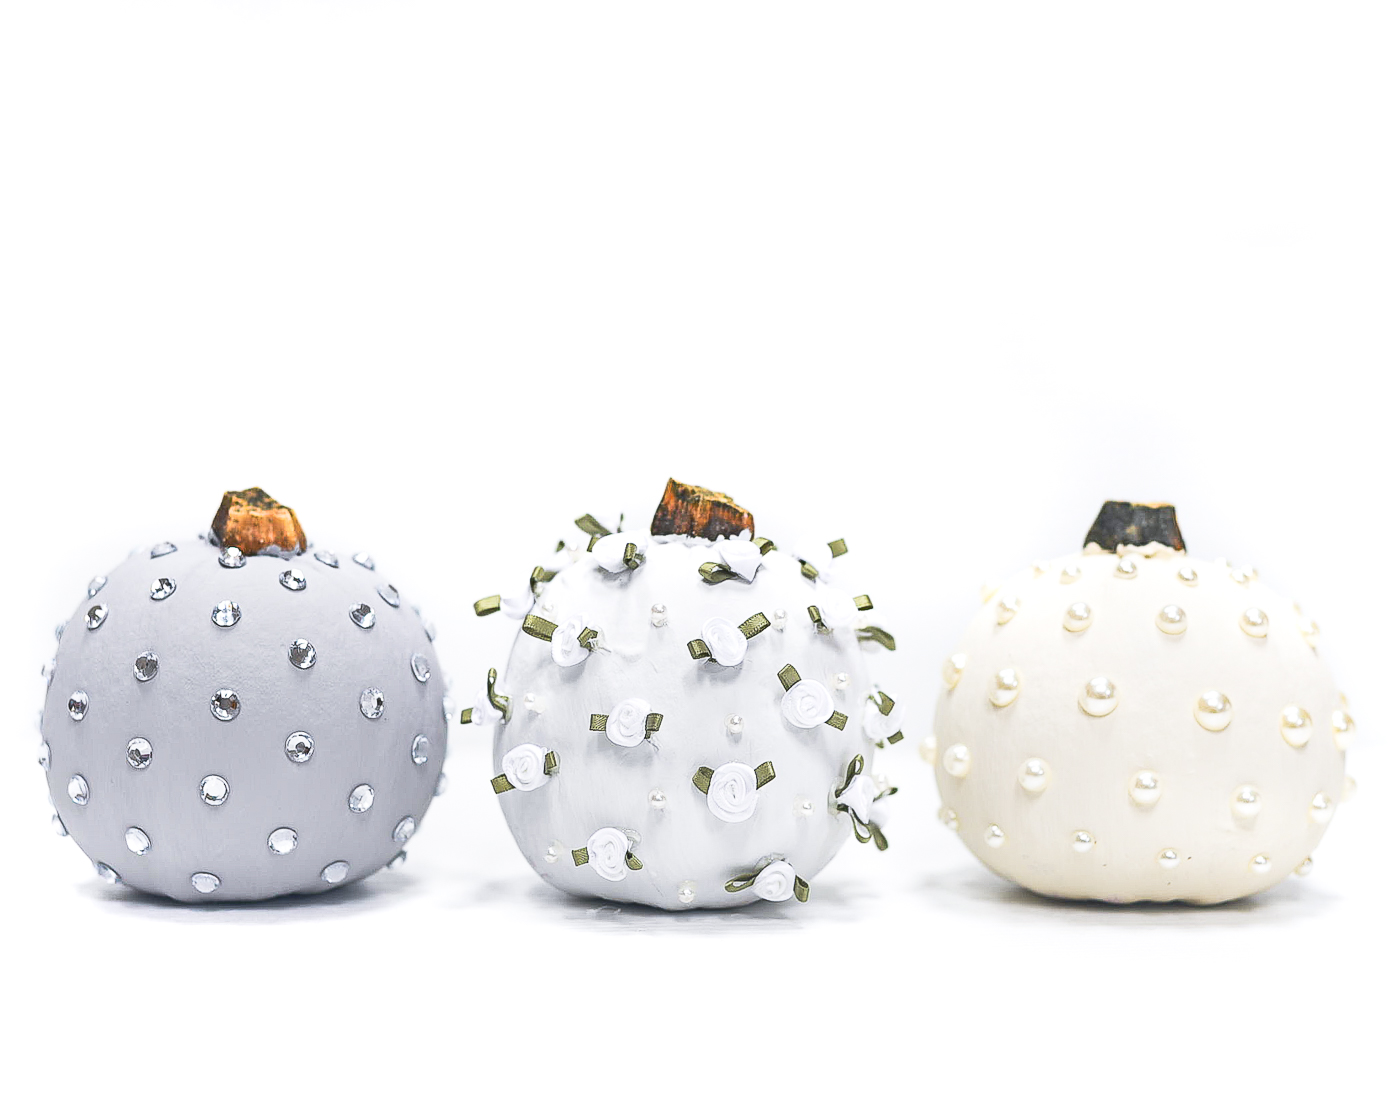
If only these were waterproof, I could put them on the soon-to-be-painted-next-week-pinky-swear front porch and really razzle dazzle my neighbors!
🙂
Pin It!
You Might Also Like:

Totally relate to the project “good intentions!” Can’t wai to see the painted porch.
So so pretty, I hope you pull off all those embellishments when they finally need to get thrown away !! Keep them in a pot for next year! And good luck with the porch decorating 😀
oh my goodness, these glammy pumpkins are the cutest ever! How fun they’d be for a Fall wedding or shower. I’d be using faux pumpkins because i wouldn’t want to ever throw these out!
Girl… I thought these were FABRIC until I read the post! (Seeing them all over link parties this week… had no idea!) So pretty!
What a beautiful project Linda!
Congrats – you are one of our Featured Guests at Inspire Me Monday at Create With Joy! 🙂
Beautiful fall decor! Thanks for sharing with us at the Snickerdoodle Link Party! This will be one of my features this Saturday!
These are gorgeous! would be perfect for a fall wedding! thanks so much for sharing on craft schooling Sunday!
These are so pretty and I love how simple they are to make! Pinned 🙂
Thank you for the lovely comment and the pin!!! 🙂