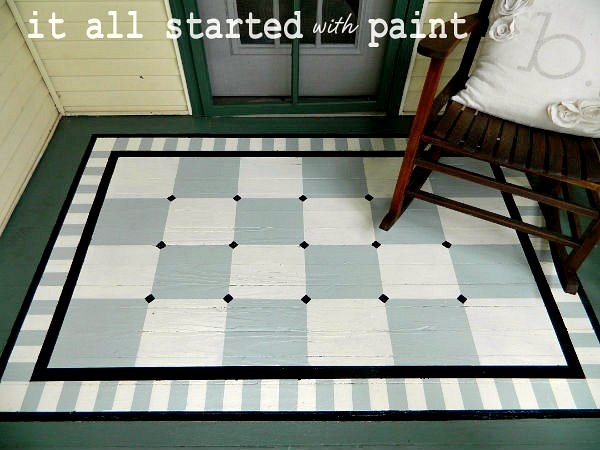
Tutorial on how to paint a diamond pattern porch rug – no math needed! 🙂
I’ve never been an obsessive check the weather forecast kind of person. I never planned my days based on weather. I’m a realist. Weather is fickle. Weather is tricky to forecast. Especially when trying look ahead three or four days. I just take it day-to-day.
But that all changed in October.
I became that person. The weather obsessed. I channeled my inner male and maniacally checked the weather forecast. Starting with the Chicago Tribune each morning. Followed by a Google weather forecast search. Followed by a check of the weather app on my iPhone (installed, by the way, by my husband).
Followed by me looking out the window. Then opening the door …
And most days during the month of October I brandished my fists at the sky. Because the weather refused to cooperate. Rain and cold was followed by more rain and more cold. And I needed warm and dry. For at least three consecutive days. For this project …
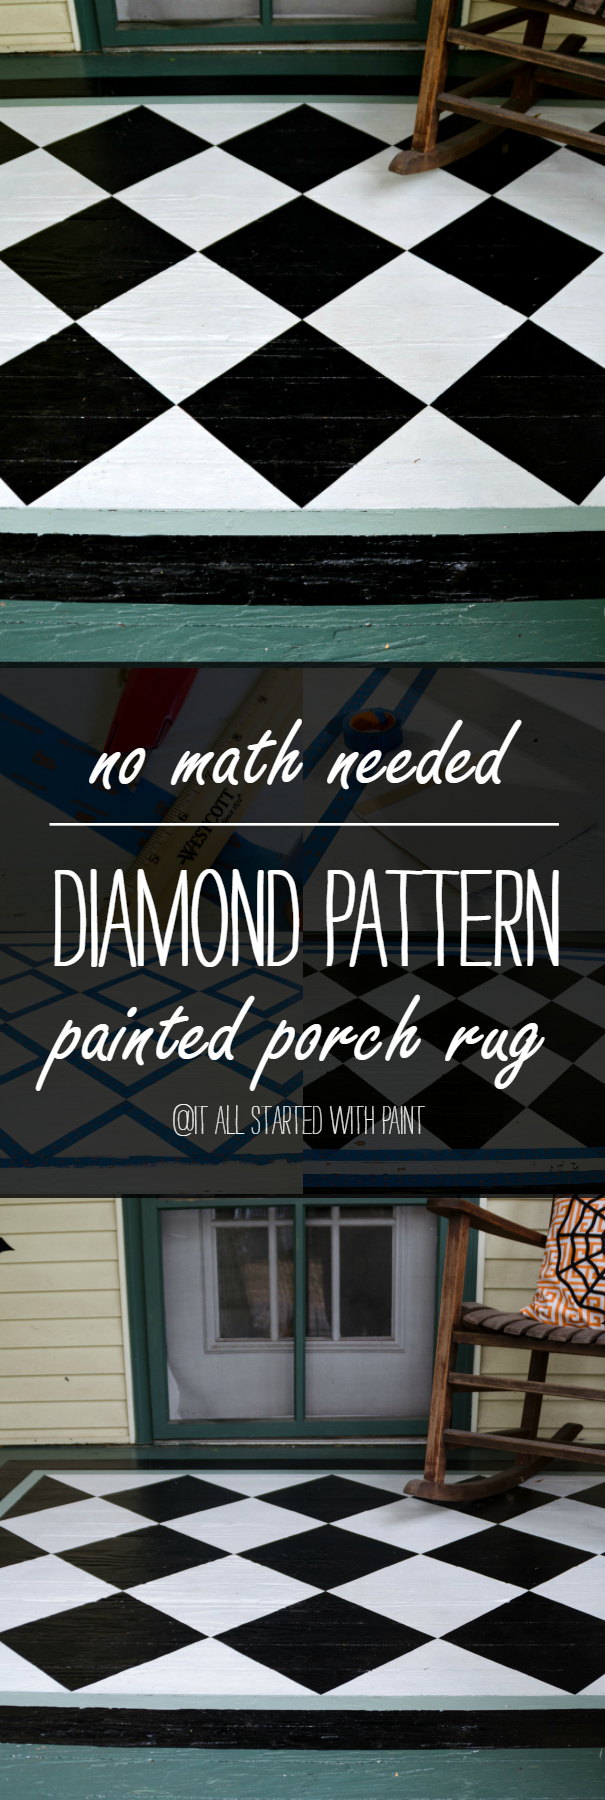
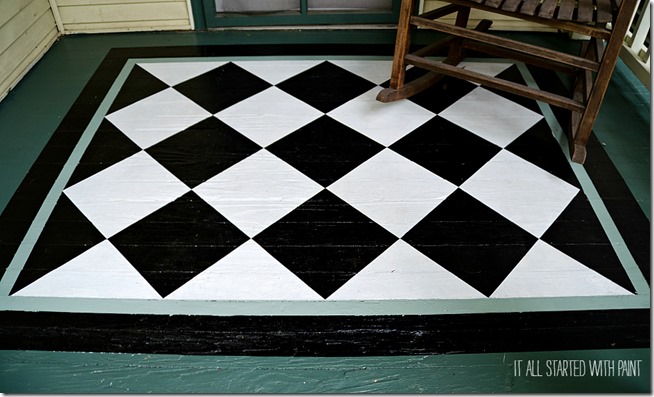
My new painted on porch rug.
And as the end of October neared, I was in a panic. I know from past experience that once Halloween passes, this project would have to wait for Spring. Because post-Halloween traditionally starts the slow long March into the Chicago winter. A winter that could last long beyond the first day of Spring. And I didn’t want to wait for a date long beyond the first day of Spring to embark on this project. You see, my once-beautiful painted on porch rug was looking very, very sad …
and in need of an immediate do-over.
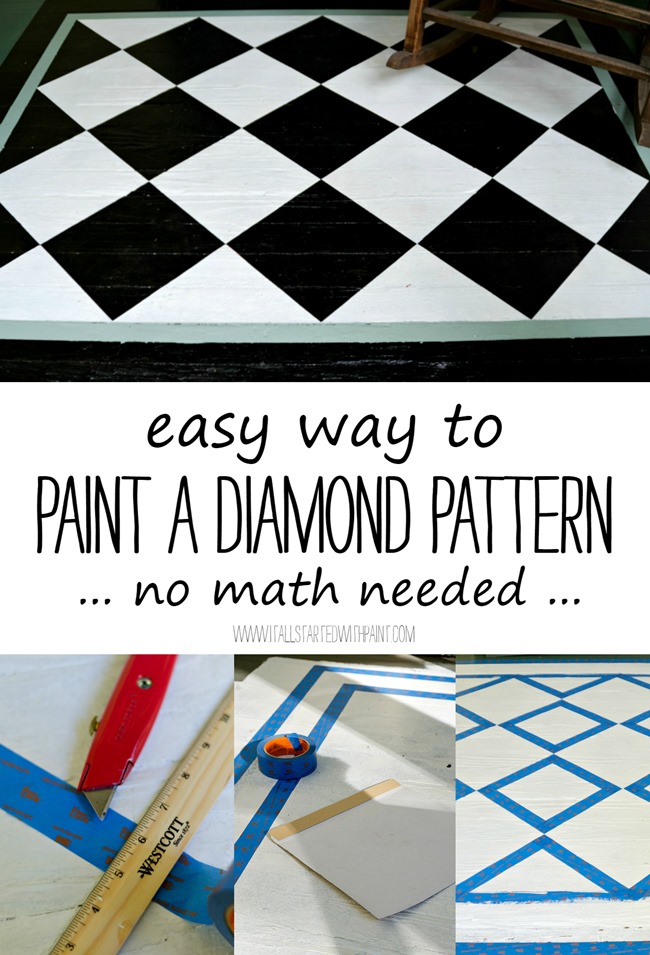
And just when I was getting ready to throw in the towel, the clouds parted. The skies cleared. The temperatures warmed up. And Chicago was treated to one last gorgeous, sunny, dry, and warm weekend. Giving me a window of opportunity to create a brand new painted on porch rug design. Diamonds. And I created this pattern with no mind-bending math needed. Because I used a template …
How To Paint A Diamond Pattern Porch Rug
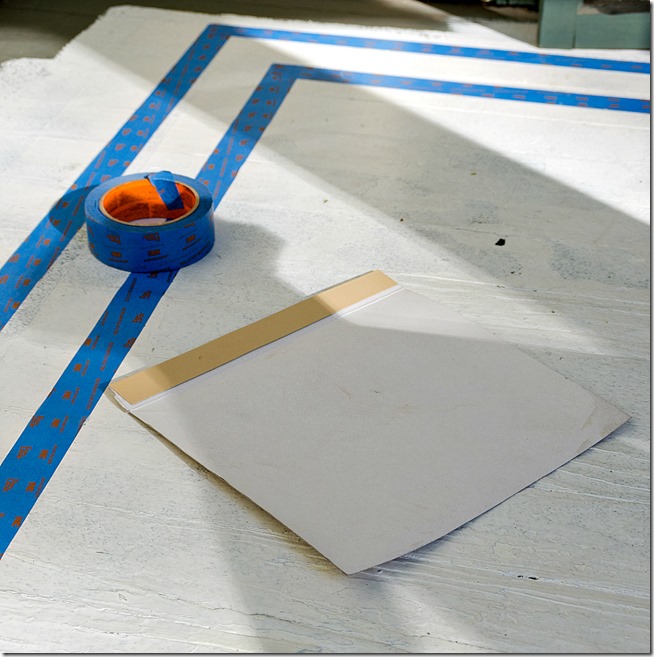
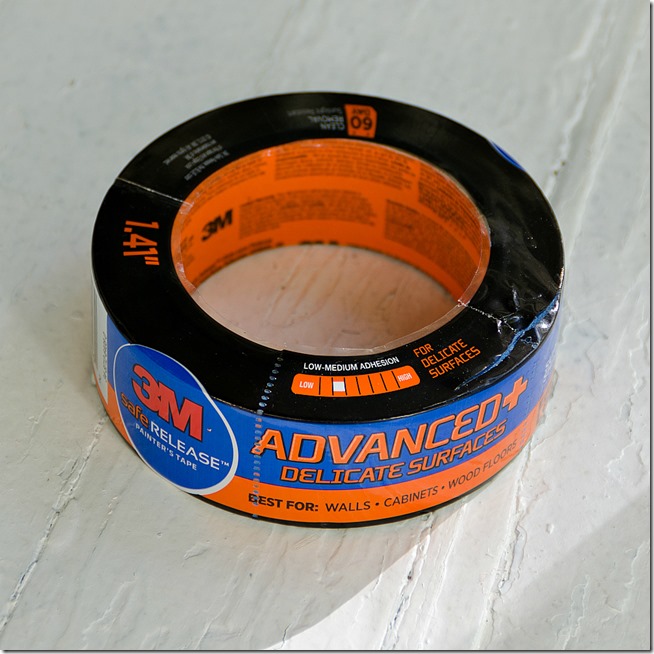
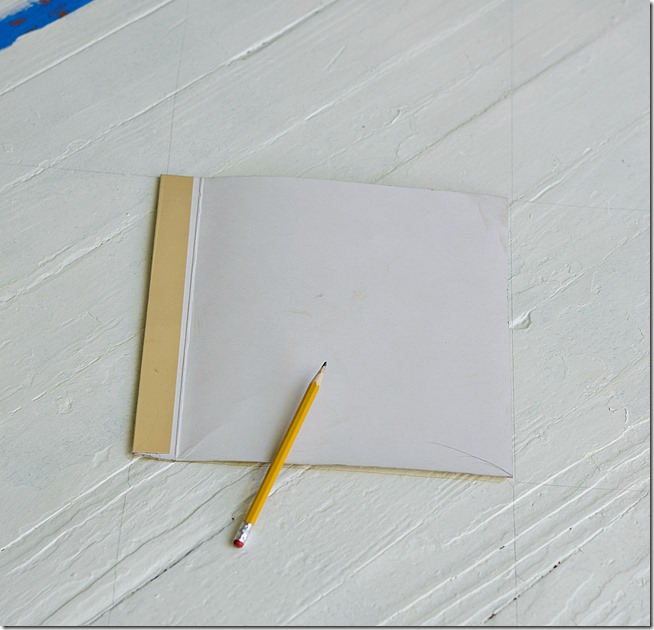
All I did was cut a square out of an old shoe box and turned it on its side. Then I marked it from point to point with a pencil to determine the length and width of the porch rug before pulling out my 3M™ Safe-Release™ Painter’s Tape Advanced+ Delicate Surfaces with Edge-Lock™ Paint Line Protector 2080…
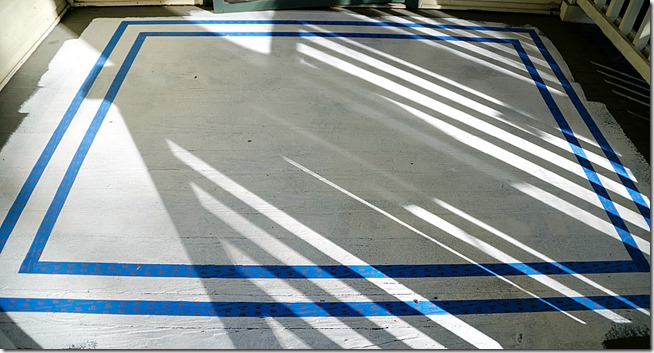
… and taping off the outer border.
I did go back one more time with the template to double-check dimensions. And had to adjust by an inch or so on the length and width. So I HIGHLY recommend this step.
For the interior diamonds, I simply used a pencil to trace around my template …
… lining up the corners of the diamonds.
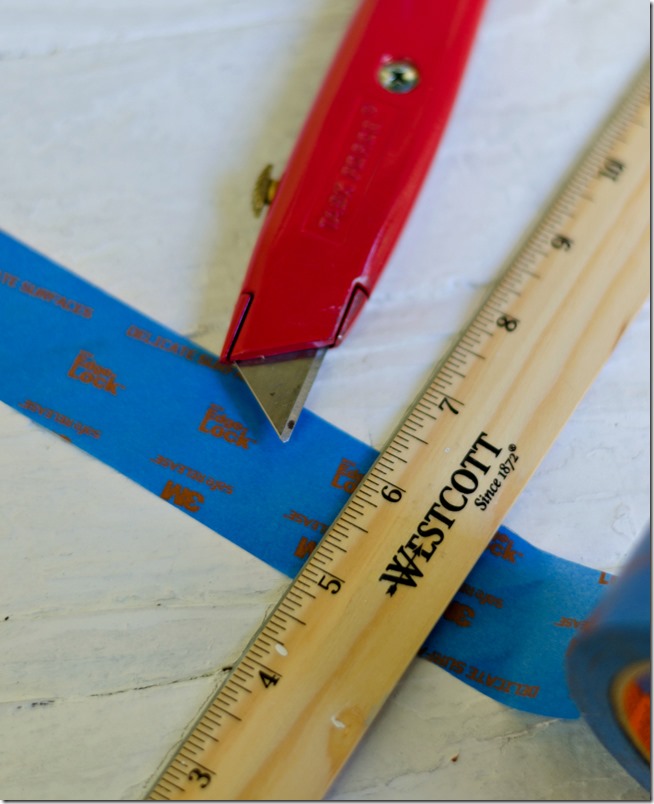
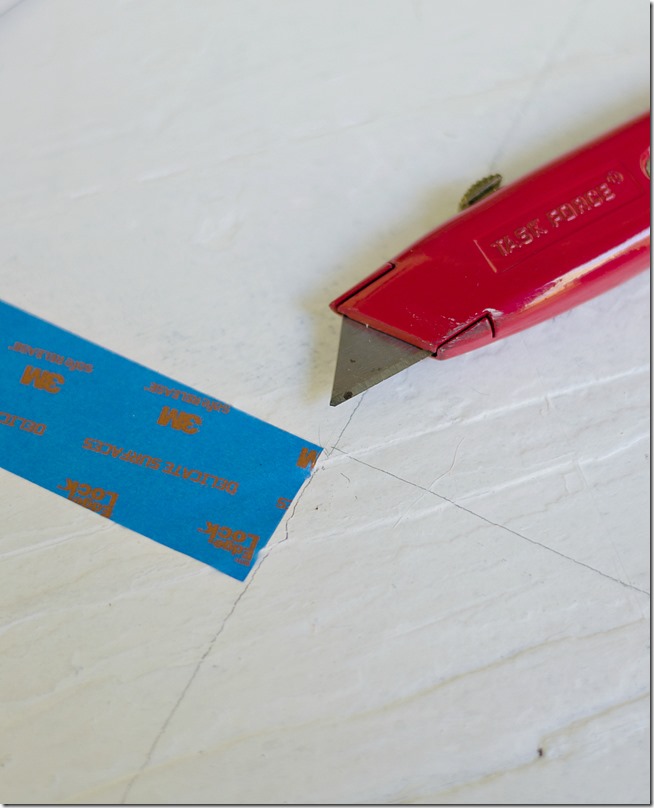
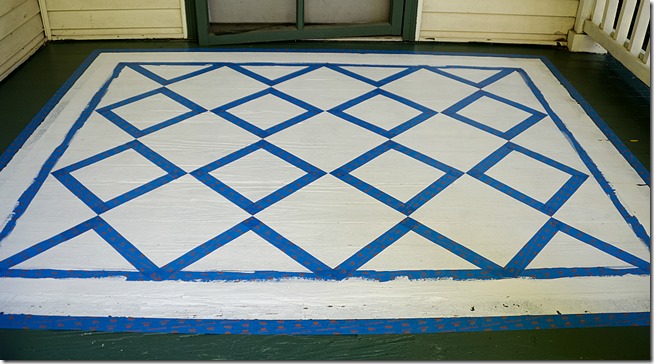
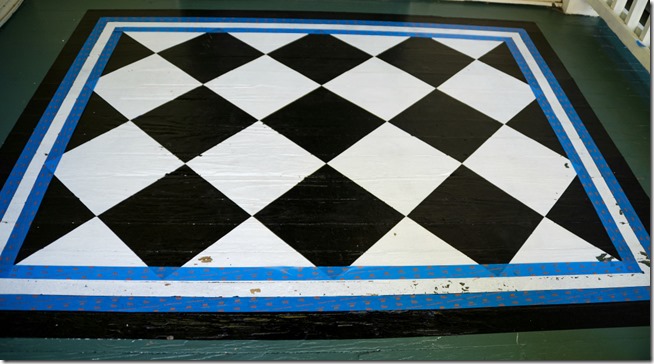
I then used my 3M™ Safe-Release™ Painter’s Tape Advanced+ Delicate Surfaces with Edge-Lock™ Paint Line Protector 2080 to tape off the squares that would stay white. I used a ruler and razor …
to get a nice clean edges …
Once it was all taped up …
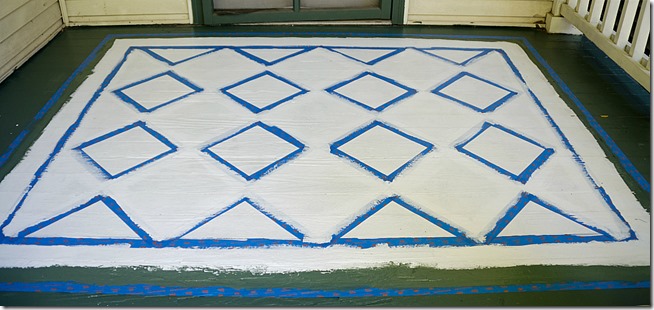
I gave the edges along the diamonds and the outer border that would be painted black a coat of white. This is a trick to get even cleaner lines when you remove the tape.
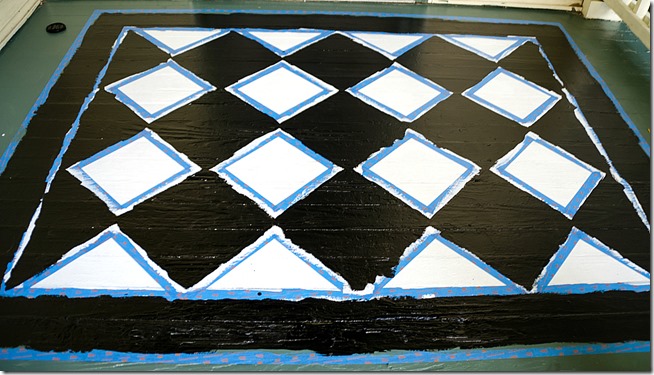
Now it was time to paint black.
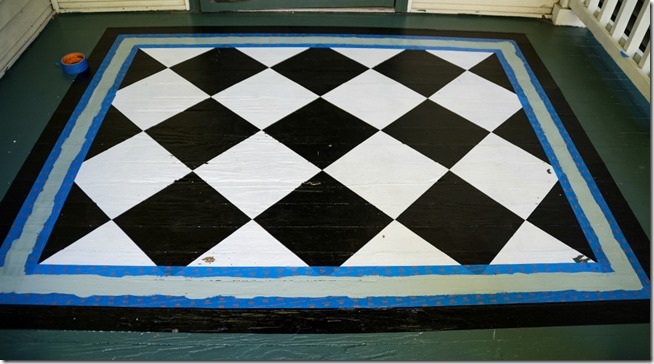
The final step was to add a green inner border. So, after 24 hours I taped it off and used an old credit card to seal the edges…
before painting it green. I lightened up the green color a bit by adding a touch of white.
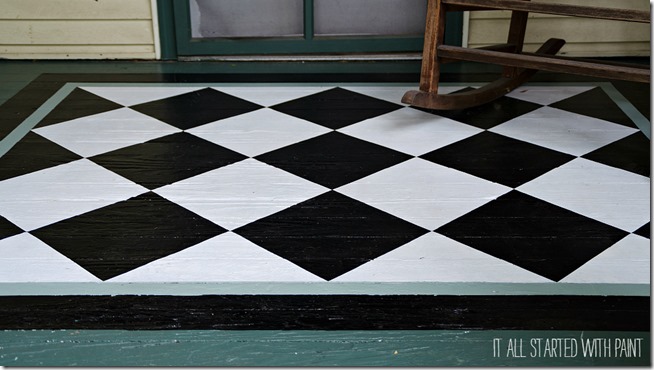
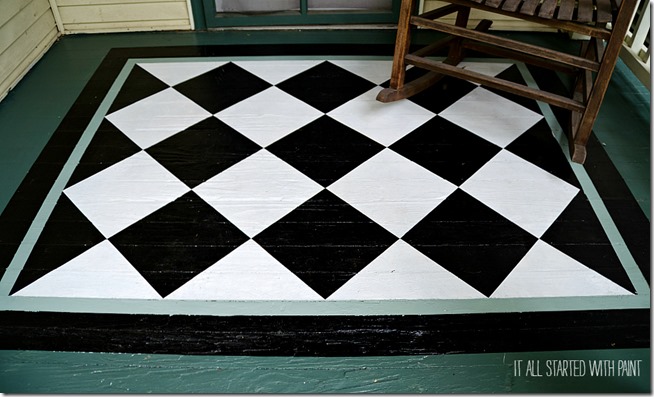
And voila!
Now, I did give it a few touch ups here and there. I was working on a rough surface, after all. And, in an ideal world, I would’ve given each coat a few days to cure before taping off and painting.
But I was racing against October weather in Chicago.
And the forecast wasn’t looking good …
![]()
Linda
P.S. I was truly amazed at how wonderful the 3M™ Safe-Release™ Painter’s Tape Advanced+ Delicate Surfaces with Edge-Lock™ Paint Line Protector 2080 worked on this project. Seriously. I was holding my breath each time I removed the tape, immediately followed by some jumping up and down for joy when my edges were revealed as super sharp paint lines!
You Might Also Like:
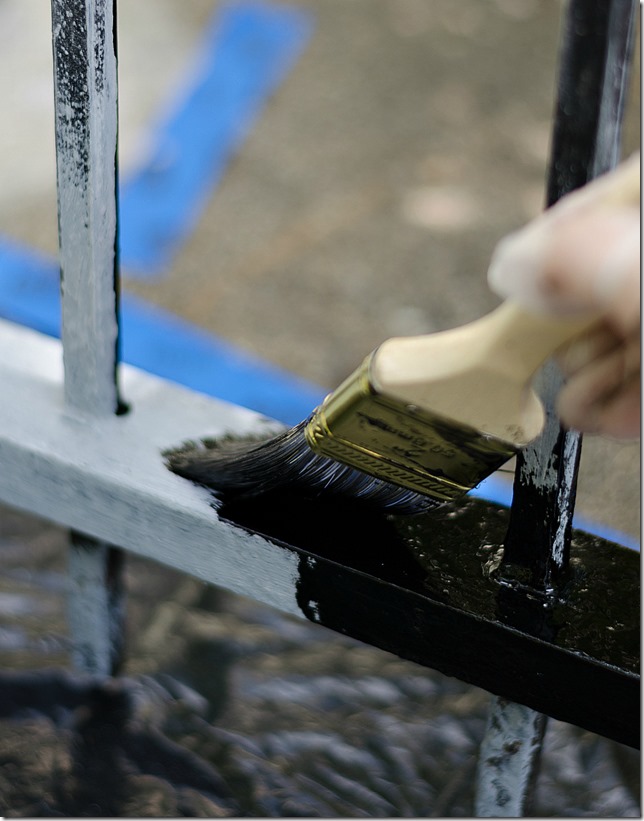
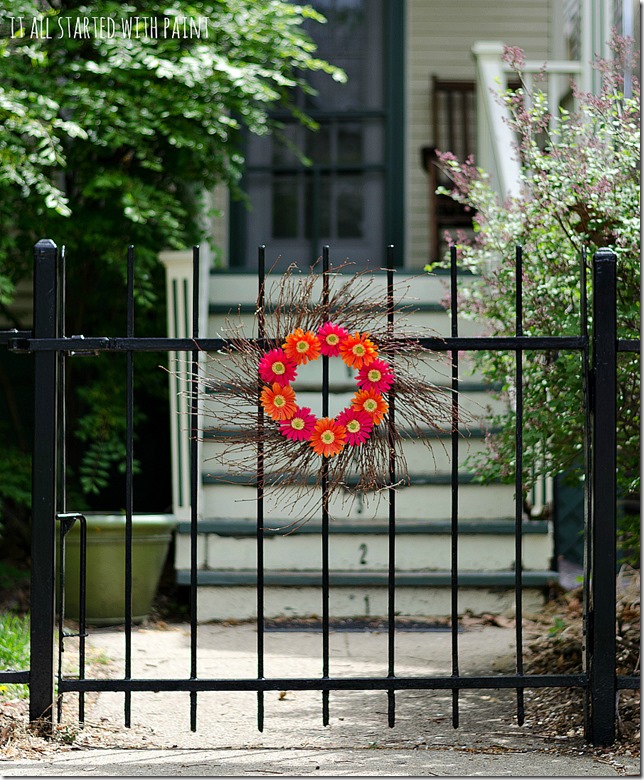
How To Paint Wrought Iron Fence
I am proud to be a 3M- sponsored blogger, and, as part of my responsibilities, I get the opportunity to evaluate new products from 3M DIY. Opinions are my own and additional product used in the project were selected by me.
For more great DIY tips visit 3M:
3M DIY Website | 3M DIY Twitter | 3M DIY Facebook | 3M DIY Pinterest


That is absolutely gorgeous. I totally envy you. I would love to do that to my covered patio
but alas I no longer have that kind of energy. LOL But I will look at yours and enjoy. Beautiful job.
Linda, I am obsessed with black and white check and have been putting off painting a rug on my cement patio until I decide on the perfect look…with your stunning painted porch rug as my inspiration, I will be doing this next summer! Whoa…
Thank you! I’m so happy to help!!! 🙂 Linda
Did you retape before doing the black? I’m confused. Otherwise you would have an unpainted, tape-width area in each diamond – correct?
I didn’t re-tape and am not sure how to explain better than in the post and pictures?
What did you use for base a vinyl rug or canvas
I painted it directly onto the porch.
Help! I’m confused by the no-math part! How did you decide on the size of the squares? Did you decide on the size of the square and then measure to see how many would fit in the space you wanted to paint? Or did you measure the space and then divide to find the number of squares of a certain size? Looks wonderful, and I can’t wait to try this on my deck. I’m about an hour away in NWI, so I get the whole weather issue! Thanks!
Sorry for the late response! I did measure the space first and made sure that the outside rectangle would be a even number (length and width) and divisible by the total number of squares that would fit within the space. I just kind of fudged and played around with it. But it also helped to cut out a paper diamond and then mark it off within the larger rectangle.