Remember when I shared my struggles keeping up with my to do list last week?
Well, it’s happened again. In fact, it has snowballed out of control …
gaining speed and strength as it careens down the hill. Turning into an avalanche of half-finished projects and a mounting stack of Etsy shop orders.
I blame February.
The bleakest month of the year. A month that promotes hibernation. And book reading while snuggled under a warm blanket. With something warm … or wine’ish … by your side.
The only redeeming quality of February is it’s 28 days. Sometimes 29. Still better than 30 of 31 …
There’s also Valentine’s Day. For some. But not all. Many find it a brutal reminder that they’re lonely. And cold. Lonely and cold during the worst month of the year …
With all that said, I’m recycling an older post. One I recently linked up to my Hometalk account. And one that has sparked a lively conversation over there. Some good. Some bad. Some critical. Many opinionated.
Ah well …
But I did create a fun new pinnable graphic. With arrows. Which I promise to be your BFF if you pin to Pinterest …
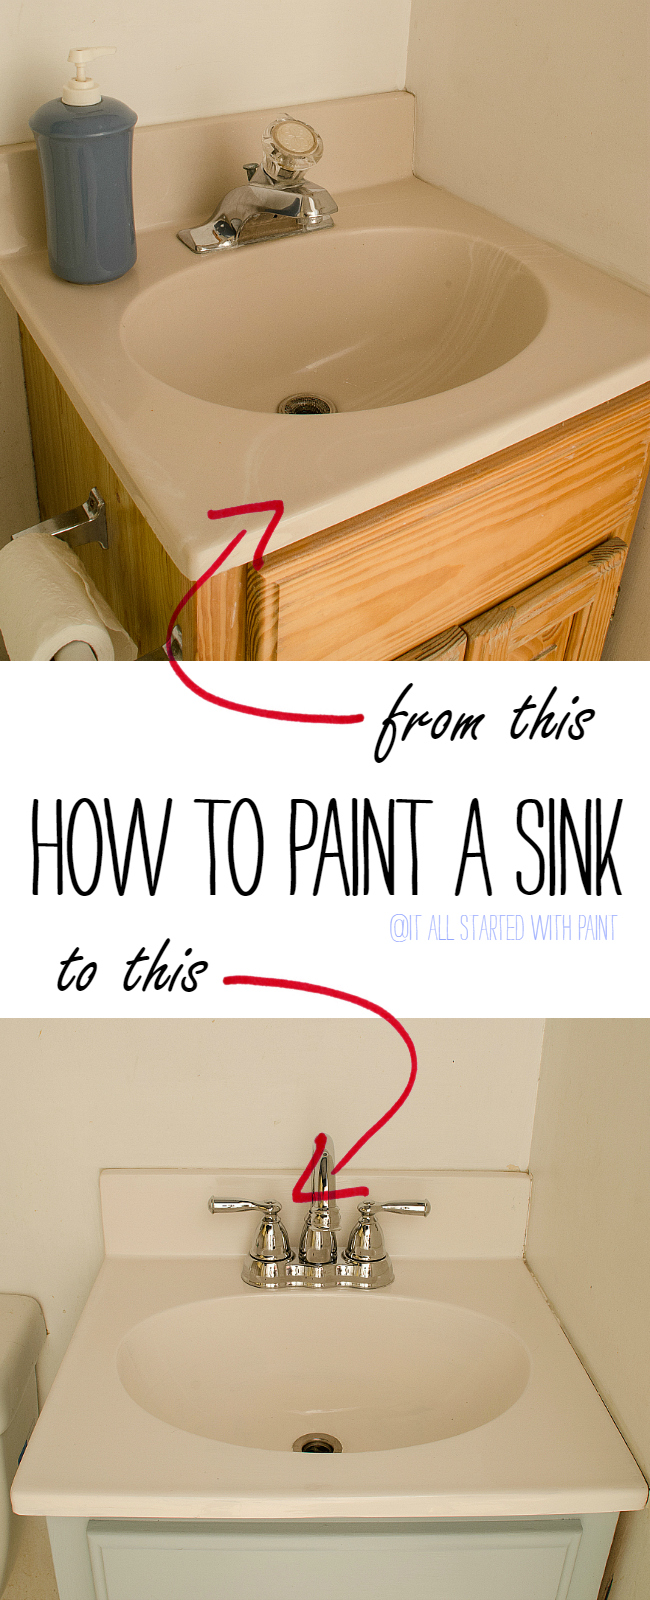
This isn’t the first time I’ve painted a sink. I’ve done it before …
before I was blogging.
Back when I was just a blog reader. A student of DIY blogs, if you will …
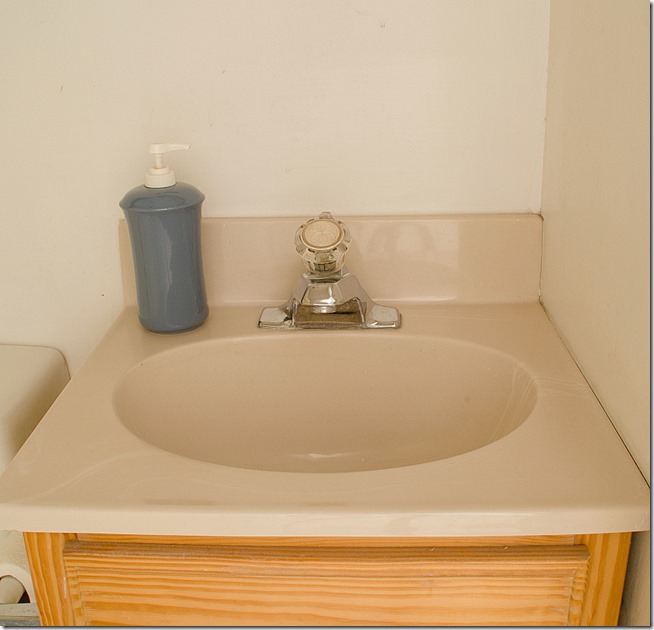
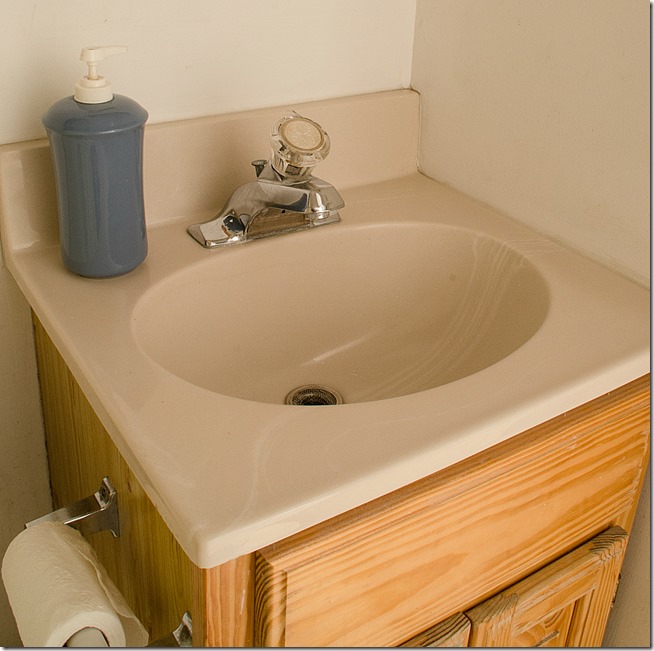
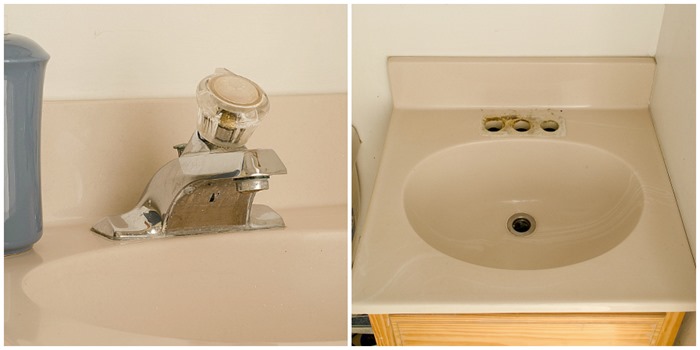
Had I known back then that I would start a DIY blog, I would have known to take a proper before picture. Like so.
Of my faux marble-look fiberglass bathroom sink in all it’s cringe-worthy glory …
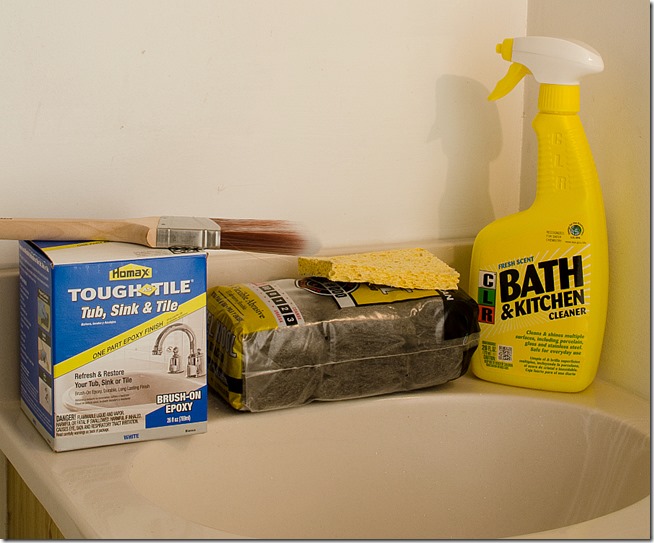
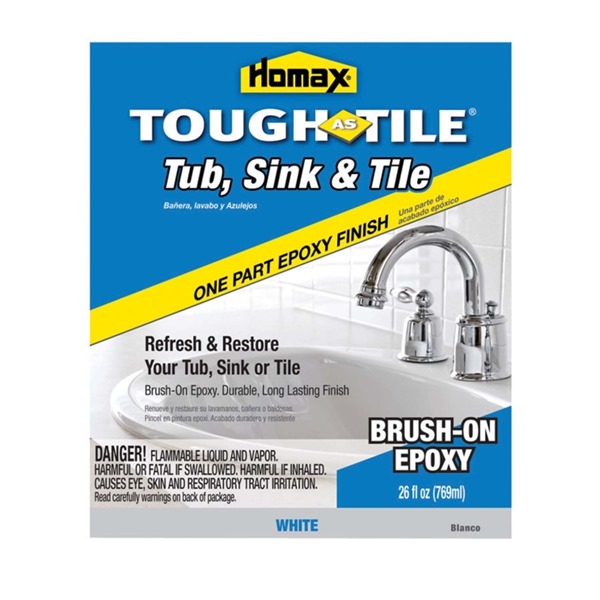
And if I had been blogging the first time I painted a sink, I would have know to take a picture of the supplies I used …
including the Homax Tough as Tile Tub, Sink & Tile brush-on epoxy.
And I would have known to tell you that you can find Homax Tough as Tile at Ace Hardware. And I would have given you the link at acehardware.com and I would have told you to just click here …
Finally, if I had been a blogger the first time I painted a sink, I would have taken step-by-step pictures along the way …
but I didn’t take any pictures the first time I painted a sink.
Luckily I’m a blogger now. And luckily, I’m an Ace Hardware blogger now and they generously provided me with that Homax Tough as Tile product so I could paint that hideous sink up there in those cringe-worthy before pictures.
How To Paint A Sink
Step 1: Read the Instructions.
Carefully. I’m serious. Because I did read the instructions and there was mention of a Homax cleaning solution to use on the sink. Well, I only had the brush-on epoxy paint. Luckily I’m an Ace Hardware blogger so I could turn to Ace Hardware’s expert spokesperson, Lou Manfredeni. And he said that I could prep the surface for the epoxy paint using CLR or Pine Sol.
Step 2 (Optional): Remove the Faucet.
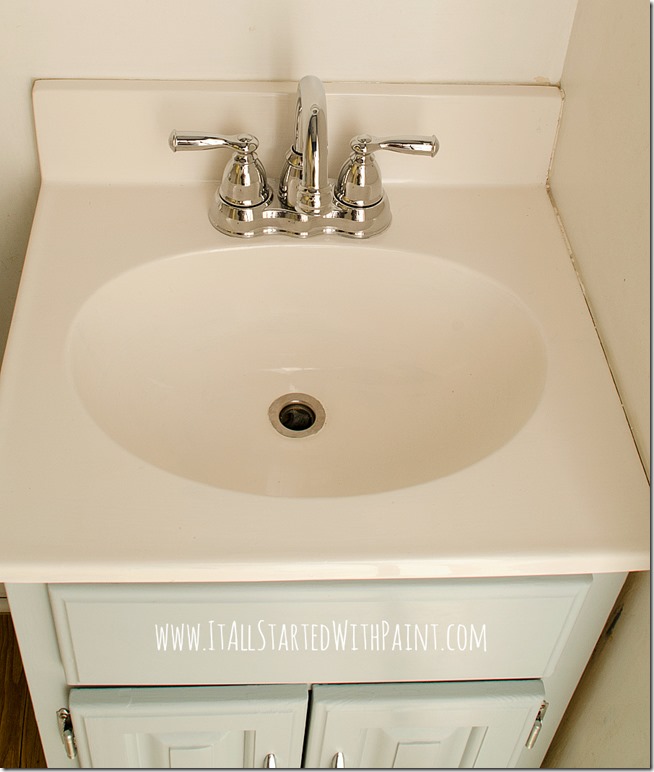
Ace Hardware generously gave me an beautiful Moen Banbury Two Handle Bathroom Faucet in a chrome finish to replace our sad, sad, old faucet. So we took the old one out …
… and let me tell you, that old faucet didn’t want to go. Once again I must thank my husband for tackling this less than pleasant job …
If you don’t plan to replace the faucet, you can just tape it off with painter’s tape before applying the Homax Tough as Tile epoxy.
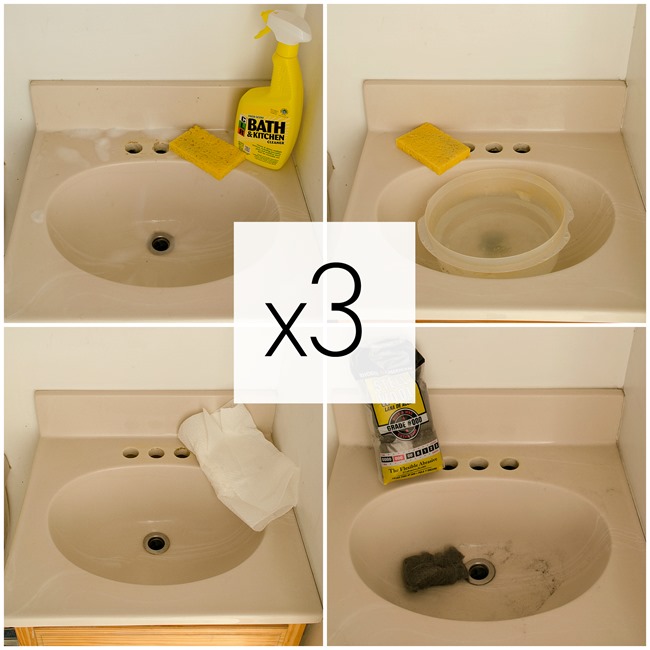
Step 3: Clean the Surface.
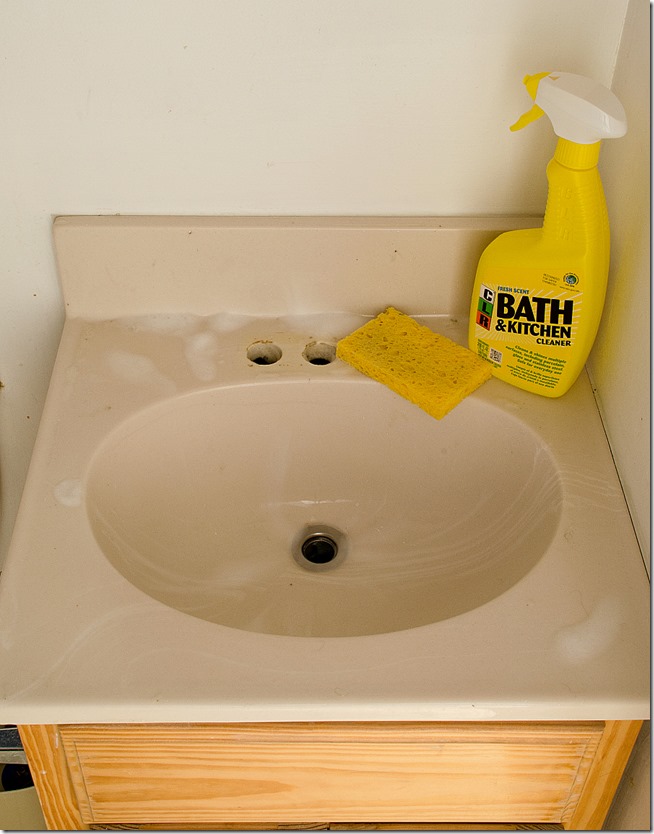
The instructions can’t stress enough the importance of surface preparation. Give the sink a really good scrub down. I used CLR.
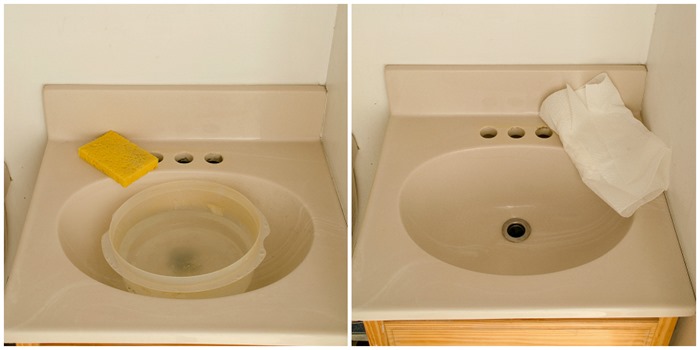
Rinse and dry.
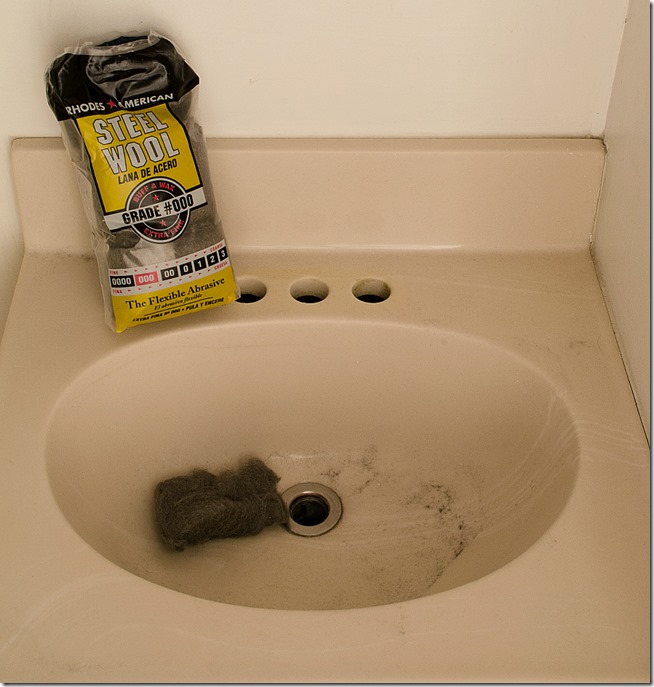
Step 4: Scour with Steel Wool (Grade 000)
Use small circular strokes to scour the surface with grade 000 steel wool …
Rinse and dry.
Step 5: Repeat Steps 3 & 4 a Total of 3 Times.
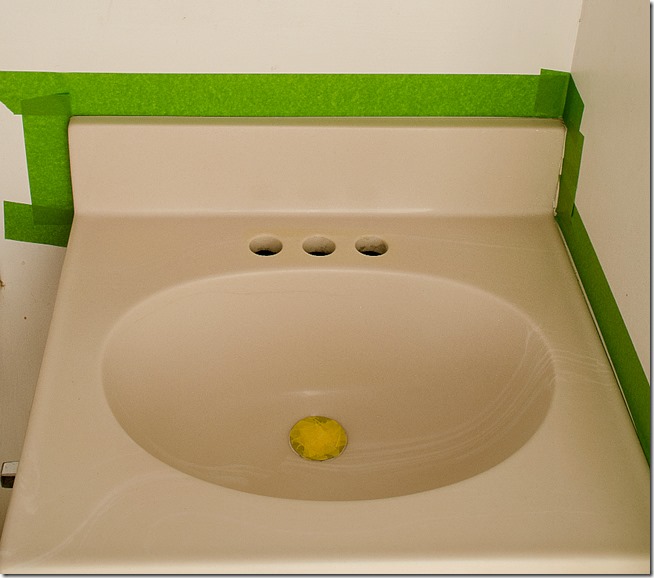
Step 6: Tape Off Area.
Using painter’s tape, tape off drain and area around sink that you don’t want painted.
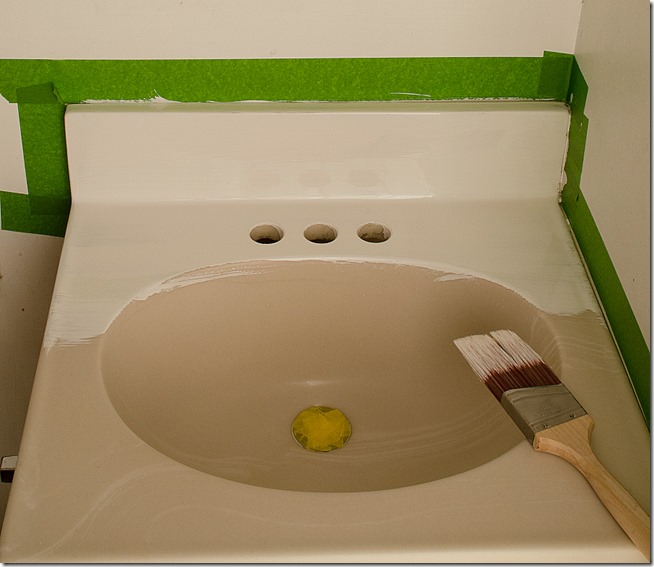
Step 7: Paint First Coat.
Carefully stir epoxy. You don’t want bubbles to form. Use a nylon bristle brush to apply in long clean strokes.
Don’t overload brush. A thinner layer is better.
I also go back over to make sure the strokes start at one end and end at the other.
For the sink basin, I applied in a circular pattern starting at the top rim and proceeding down to the drain.
Step 8: Apply Second Coat.
The second coat needs to be applied 2-4 hours after the initial coat. If more than 4 hours have passed, allow the paint to cure for 72 hours before applying the second coat.
Also, if drips or runs appear in the first coat, let cure 72 hours and then use your 000 grade steel wool to scour them away. Rinse and dry before applying the second coat.
Step 9: Final Cure and Use.
Do not remove the painter’s tape until the epoxy has fully cured for a minimum of 72 hours.
To care for the surface, use non-abrasive non bleach cleaning products and a soft sponge or cloth.
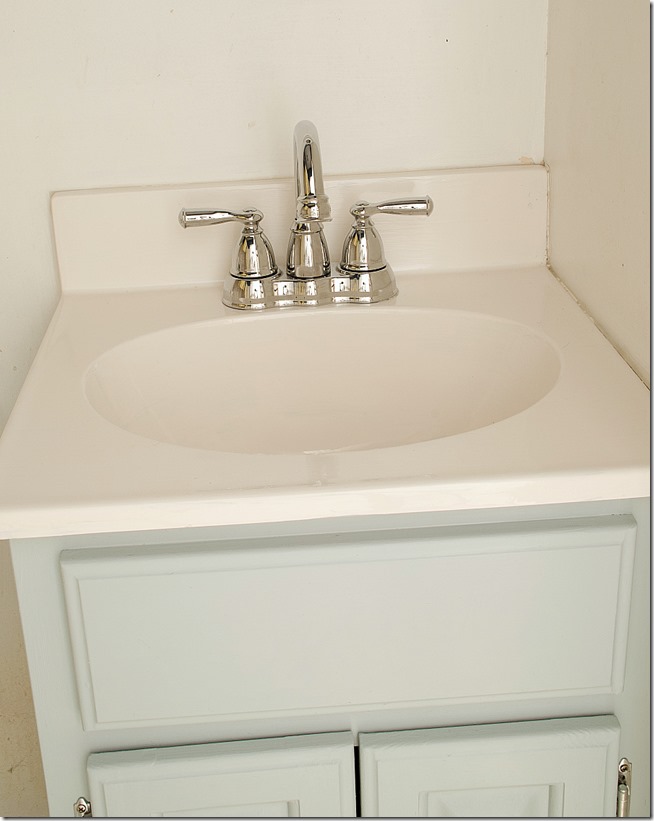
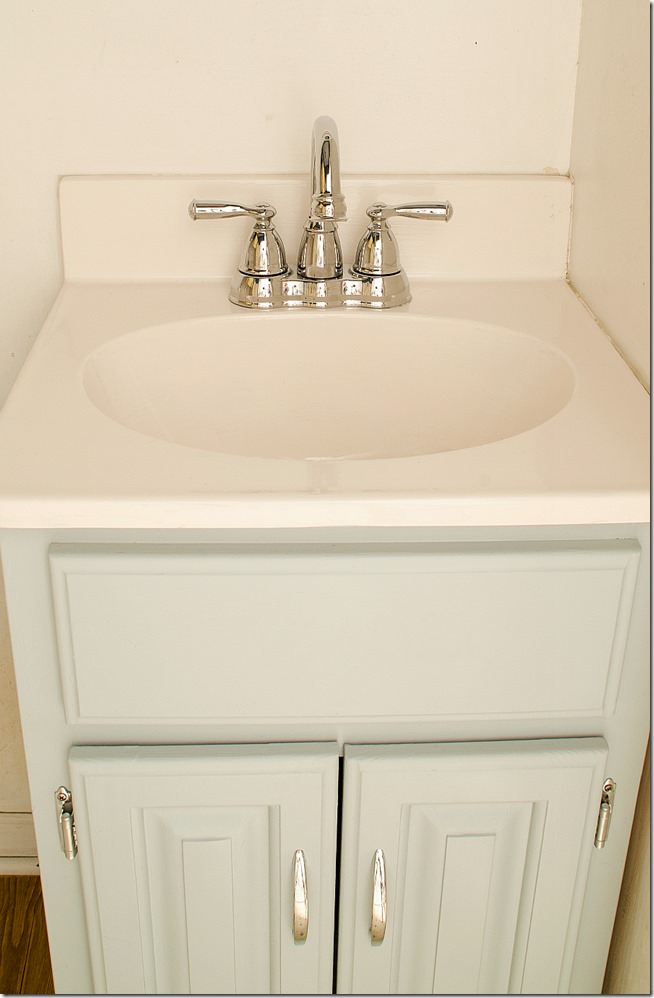
Now, can I just tell you how much I’m loving this solution? So much easier and less expensive than pulling out the vanity and buying a new vanity and hiring a plumber and contractor to install the new vanity …
it almost makes February feel bearable …
🙂


oh wow. i had no idea that you could paint that surface. looks much fresher. how has it held up?. only 8 more days left to get the rest of the list done.
Wow! What a change! Great job, Linda!
Thanks!!! 🙂
What a awesome idea! Jo
It’s amazing what a difference it makes. I love the colour you painted the cabinet btw.
Thank you! It’s Clark + Kensington in Lucky Charm. Same color as the walls, but on the cabinet it reads a bit more blue. I just used the flat latex paint and then sealed with a coat of clear wax. It’s one of my favorite changes in this space! 🙂
February is a curse. My life has gone to hell in a handbasket. How has the sink held up? I have one that is a good candidate.
It’s held up pretty well – especially when faced with two teenagers! I have another one I did in 2011 that could probably use another coat pretty soon. A few scratches here and there. But sooooooo much better than the before!
🙂
It looks great! Is the basin plastic? Would a small roller produce a smoother finish than a brush?
The enamel is self-leveling so I don’t think a roller vs. brush would make a difference. I recommend following the instructions on the packaging.
What do u have to do to other sink before you add another coat when you get ready to do it. ? Ty
Not sure about your question? I give a full tutorial on how to prep the sink on the blog post.
What I meant was ,since there is a touch up kit what do you need to do to prepare your tub if you have already done a full paint job. If you are doing a patch , it’s not feasible to sand the whole tub again.