Painted Pumpkin Mason Jars – Fall Mason Jar Craft Ideas
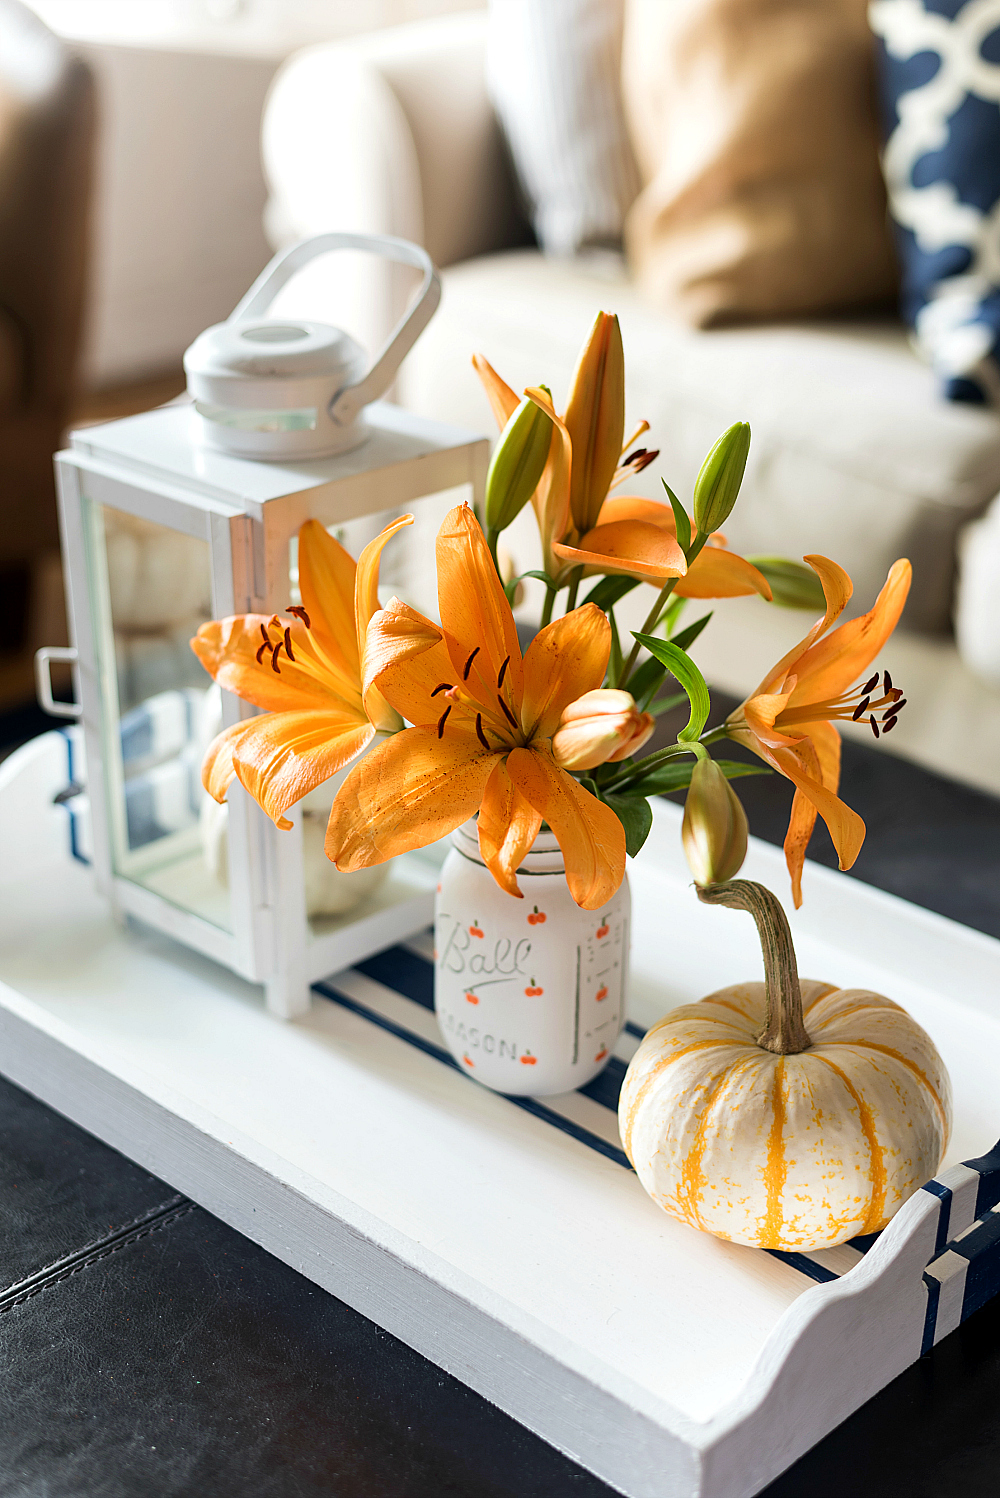
In my alternate universe Linda world, my house would be permanently and perpetually clean and organized …
without lifting a finger.
The cleaning fairies would get it done (quietly) while we slept soundly in our freshly laundered and fluffed beds.
Oh, and my house would be self-purging too. 🙂
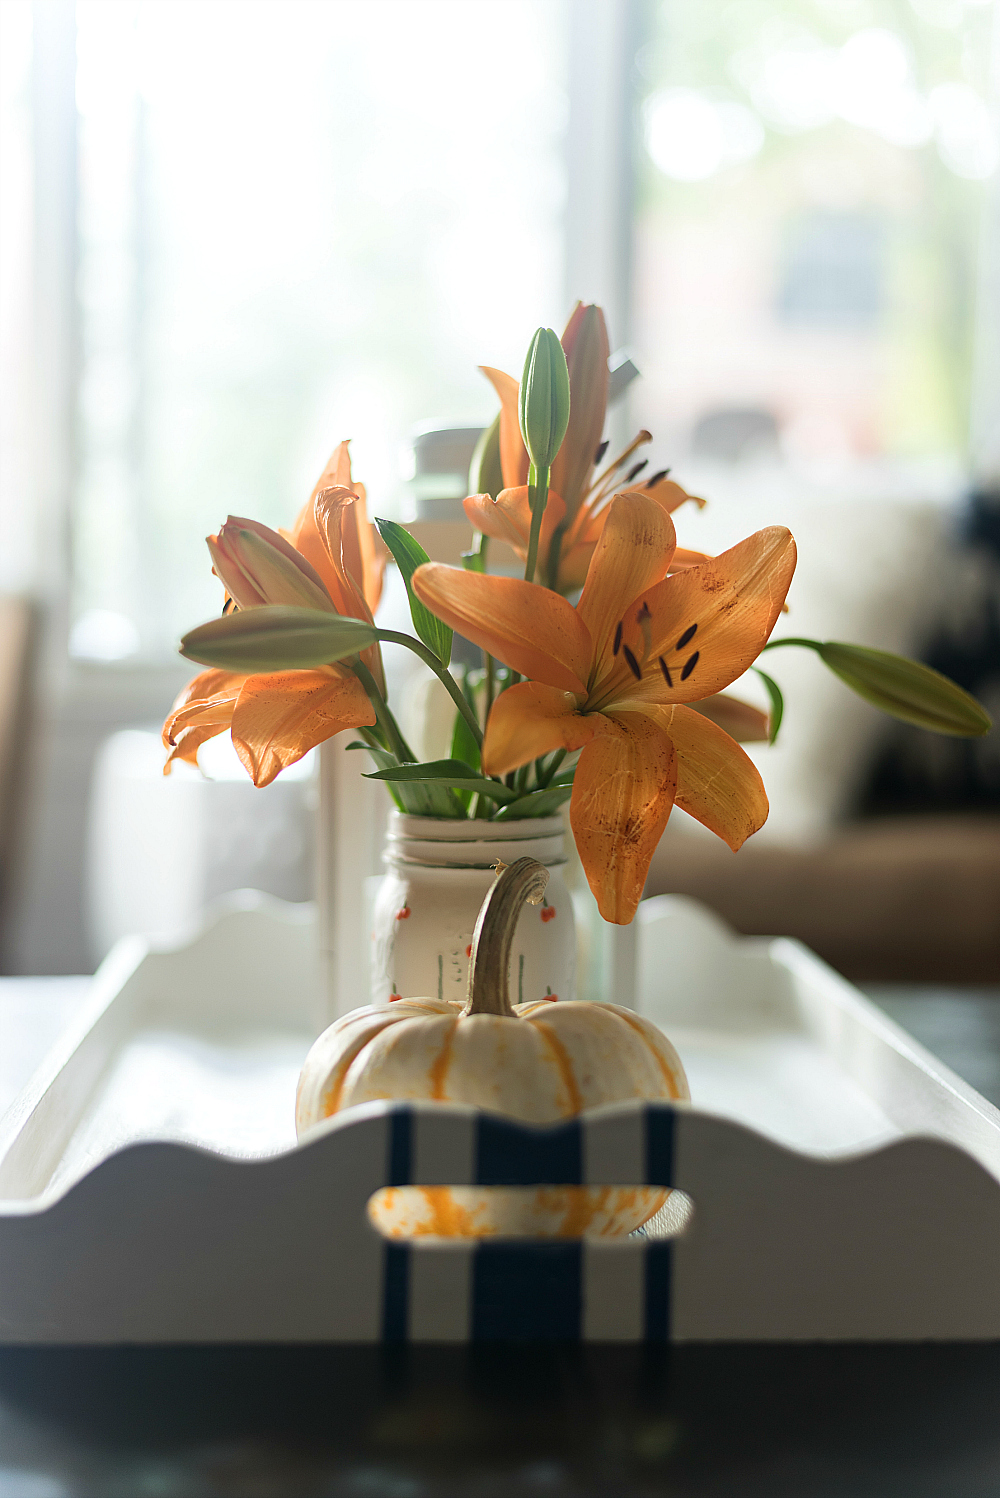
In my alternate universe Linda world, my weight would never fluctuate …
no matter how little or much I ate. Or how little or much I exercised.
It would just readjust nightly as my house is cleaned by the cleaning fairies while I slept soundly in my freshly laundered and fluffed bed.
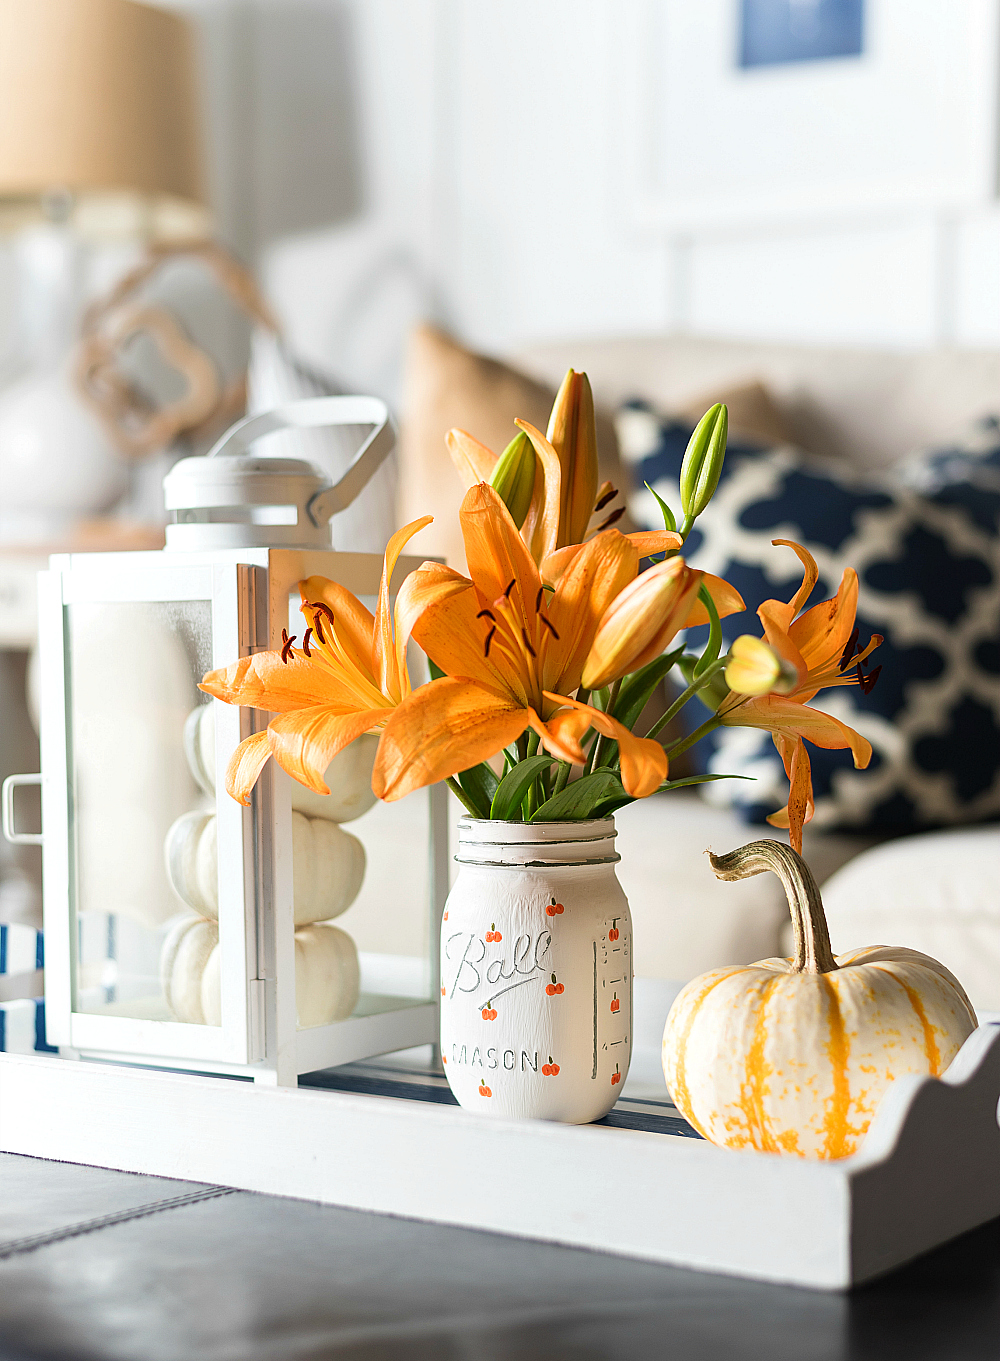
In my alternate universe Linda world, I would age backwards until I reached 30 (no full-on Benjamin Button here) while I retaining the hard-earned knowledge, experience and wisdom of my 54 years.
Don’t you love how I just called myself wise? Ha! 🙂
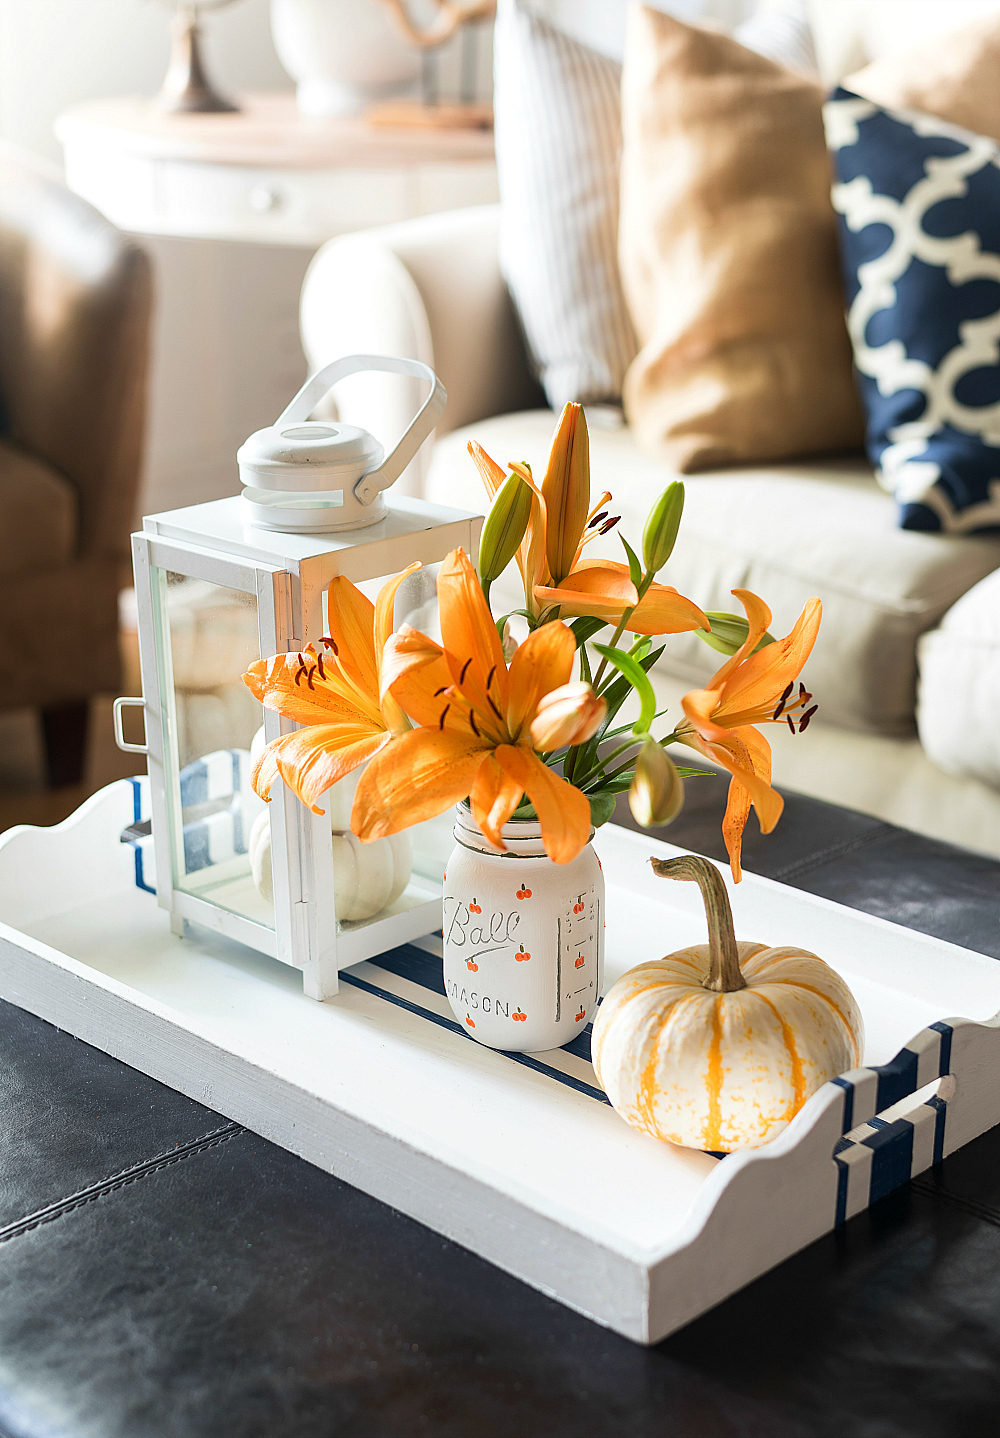
And in my alternate universe Linda world, this blog would run like a well-oiled-machine …
replete with monthly editorial calendars.
Calendars that would be mapped out to make sure there is a mix of posts alternating from crafts and decor to recipes and mason jars. With some Chicago (and my) life mixed in.
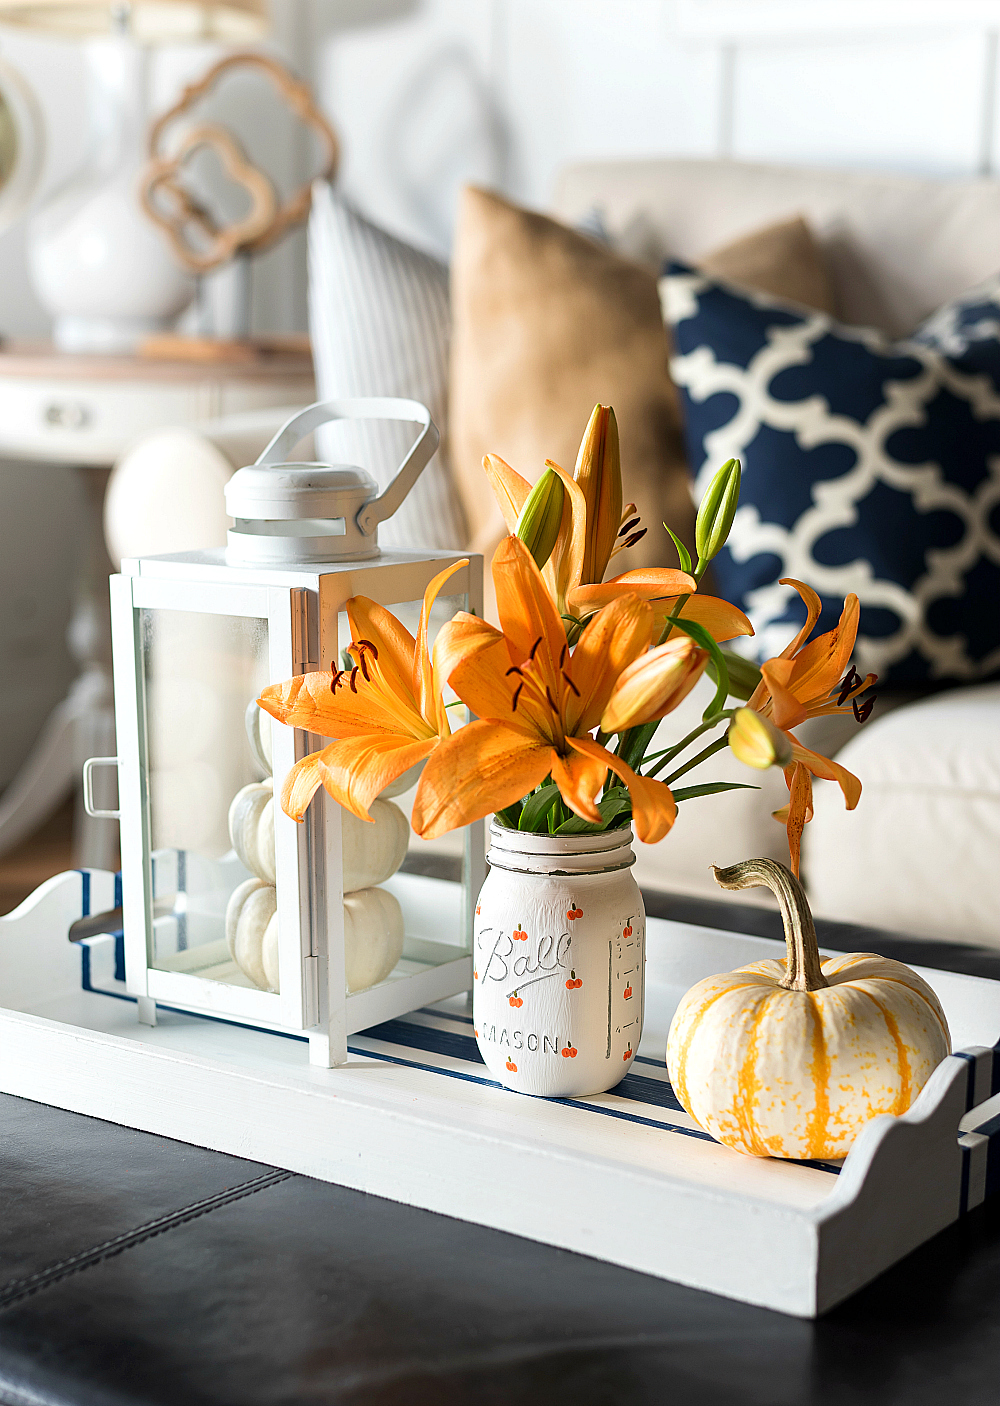
But, alas, I’m real world Linda. And that is the world I live in. A world in which things like this happen …
where I publish back-to-back mason jar craft projects.
Sigh.
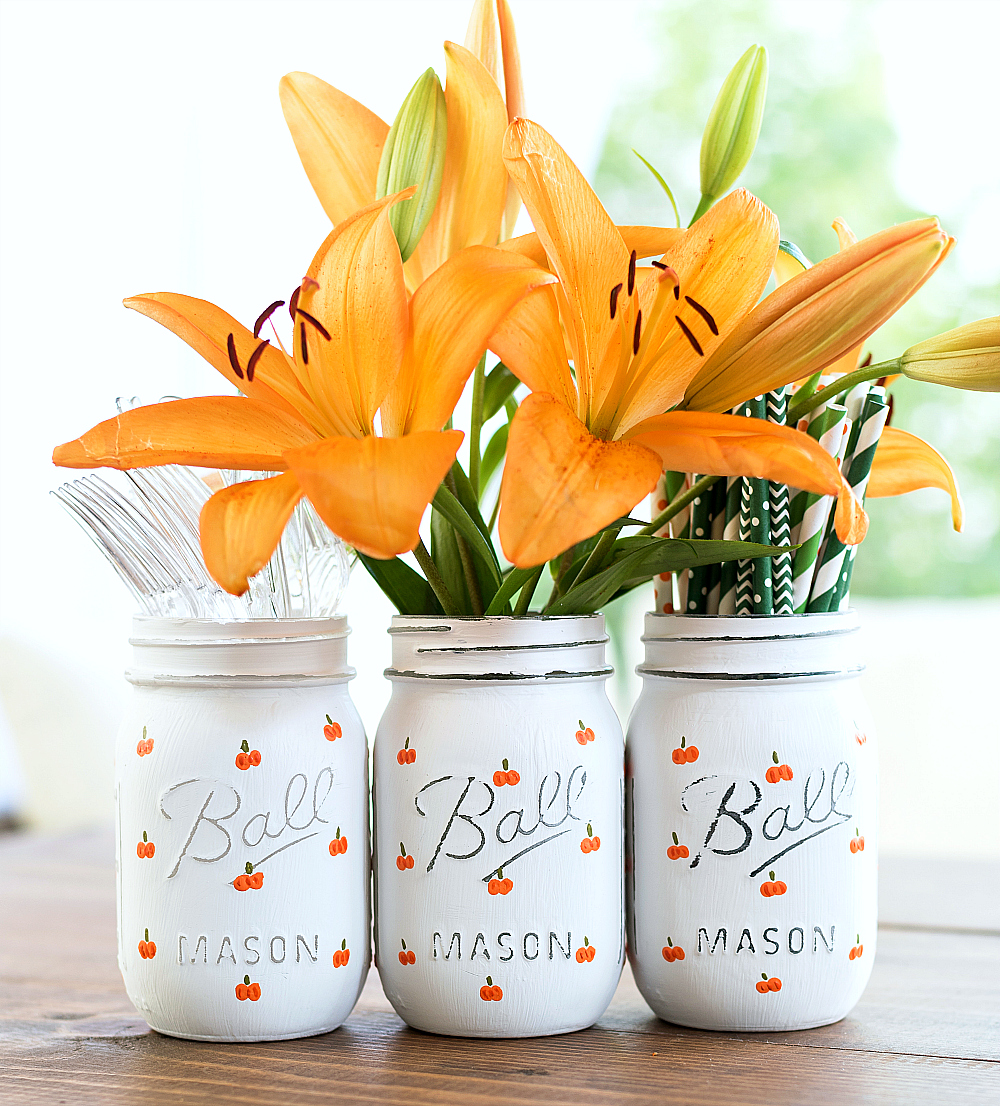
But I really need to share these painted pumpkin mason jars today. Mostly because they’re so cute. Mostly because they’re so timely (with a listing up at my Etsy shop to arrive in time for Halloween festivities). And mostly because they’re so done …
as in completed, staged, photographed and edited. 🙂
How To Make Painted Pumpkin Mason Jars
Materials*
Pint Size Regular Mouth Mason Jars
Paint Brushes
Folk Art Pure Orange Craft Paint
Folk Art Forest Moss Green Acrylic Paint
Design Master Clear Coat Sealant (my go-to sealant)
*affiliate links included.
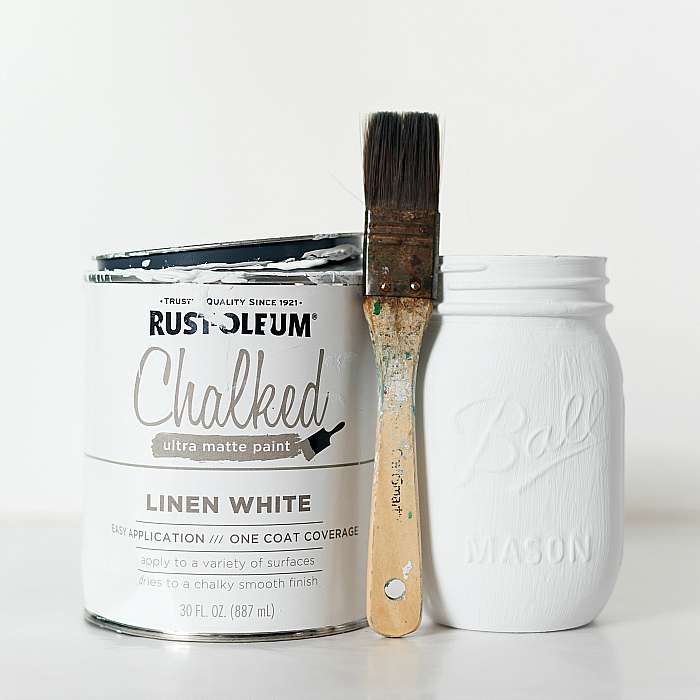
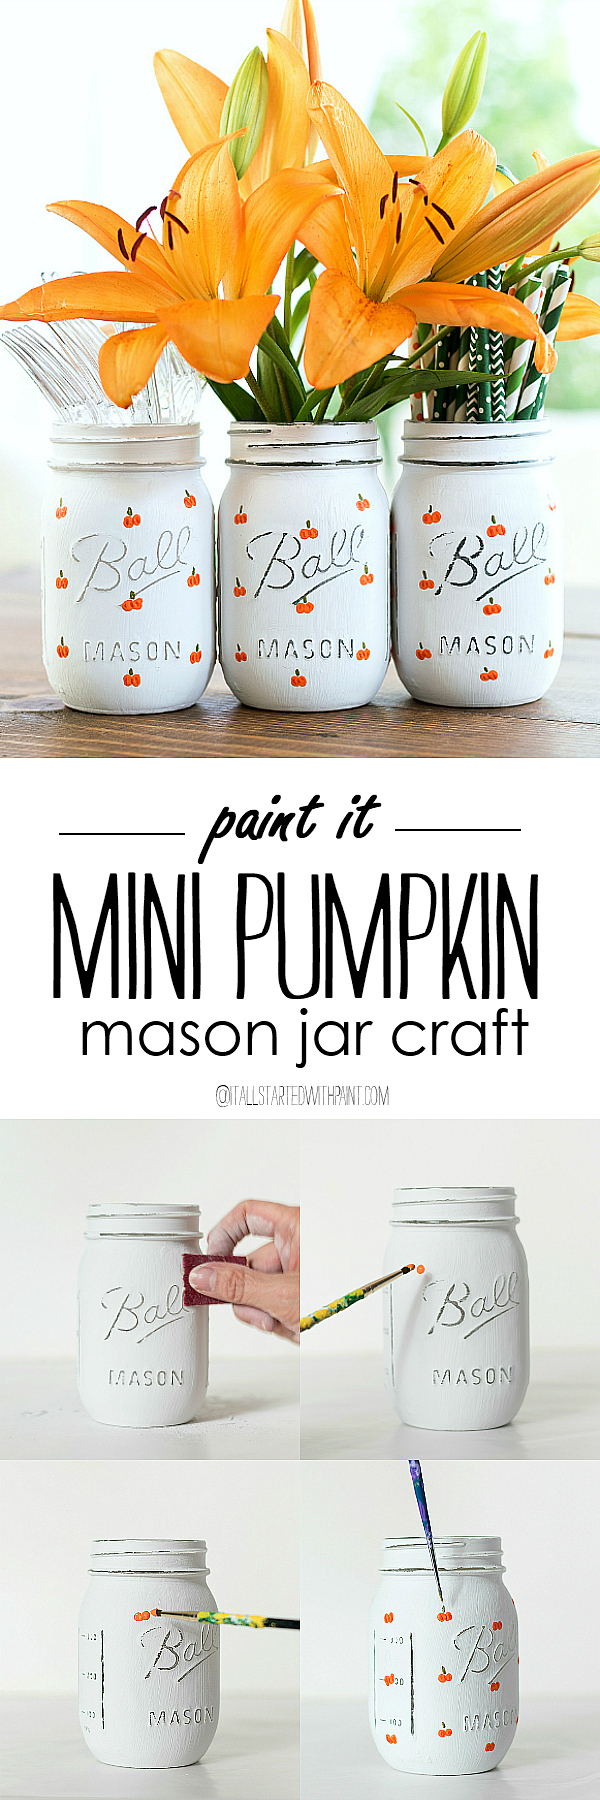
Give your jar two coats of white paint. Let dry completely between coats.
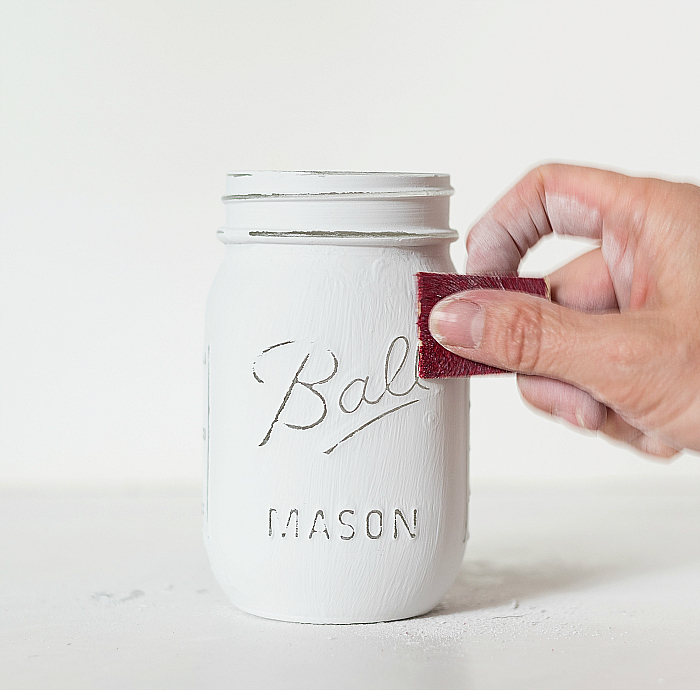
Dry overnight. Distress lightly using 80 grit sandpaper over raised areas on jar.
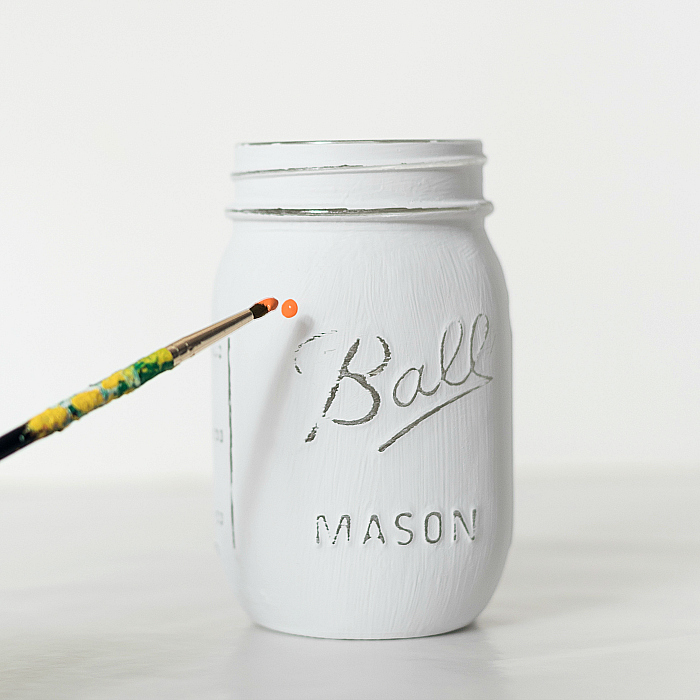
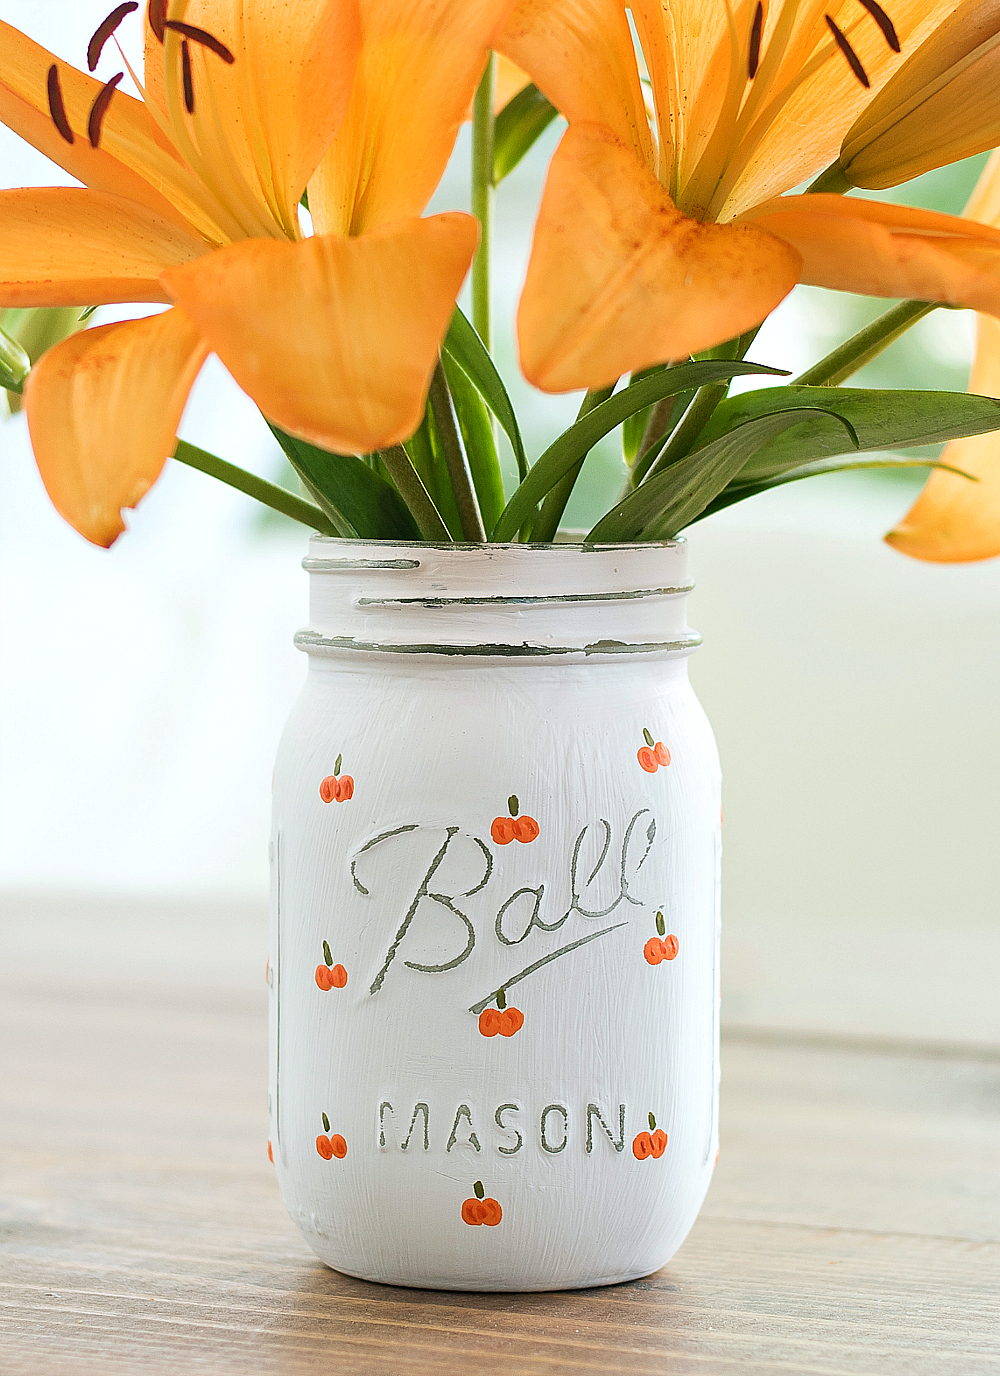
Using paint brush, add orange dot (using FolkArt Pumpkin acrylic paint).
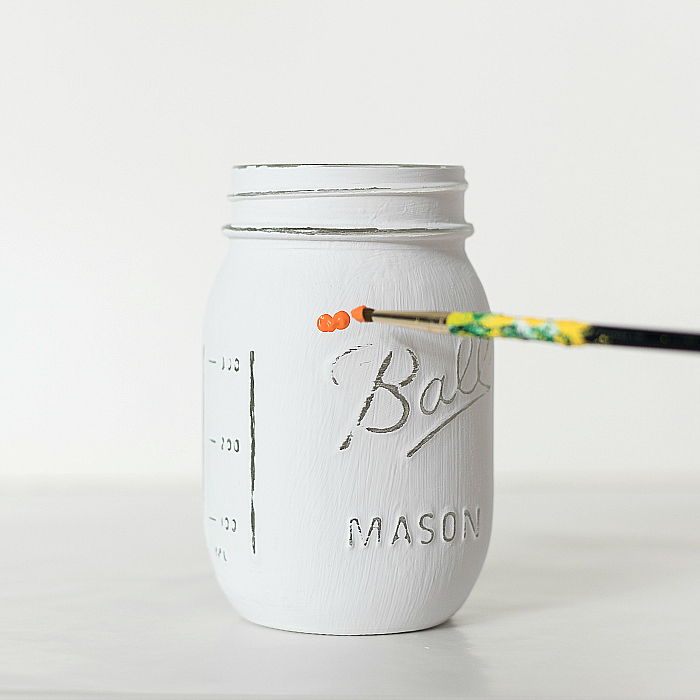
Add second dot of FA Pumpkin touching first dot. This forms your mini pumpkin shape.
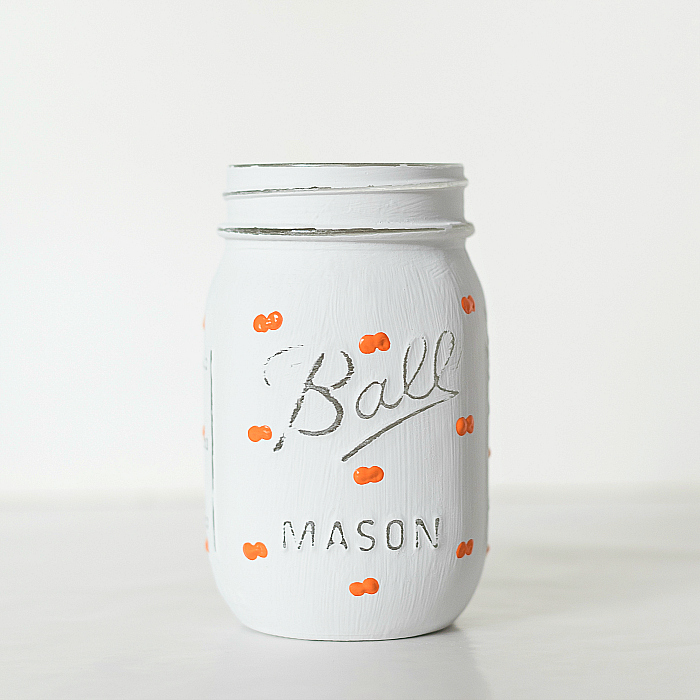
Repeat. Repeat. Repeat. Repeat. You get it … 😉
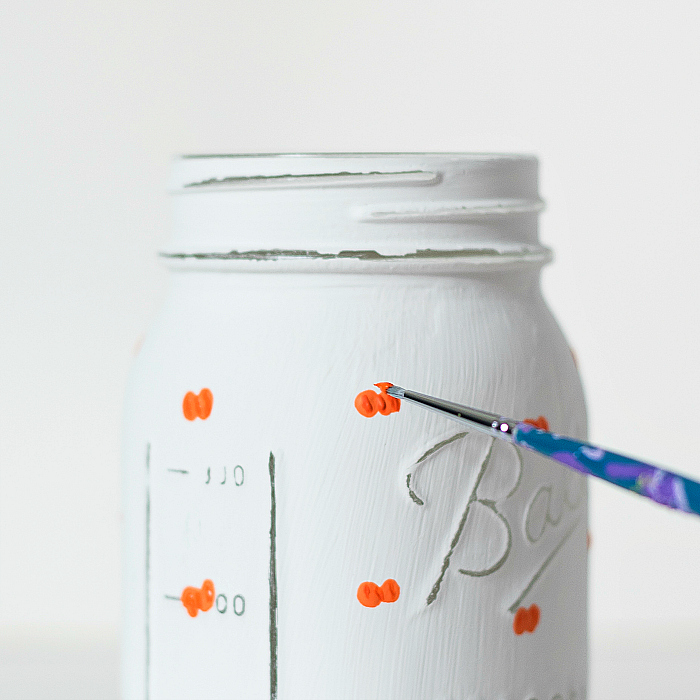
Using a thin tipped brush and FolkArt Pure Orange Acrylic paint, add three small lines to pumpkin. (This is optional to add a bit of depth to pumpkins).
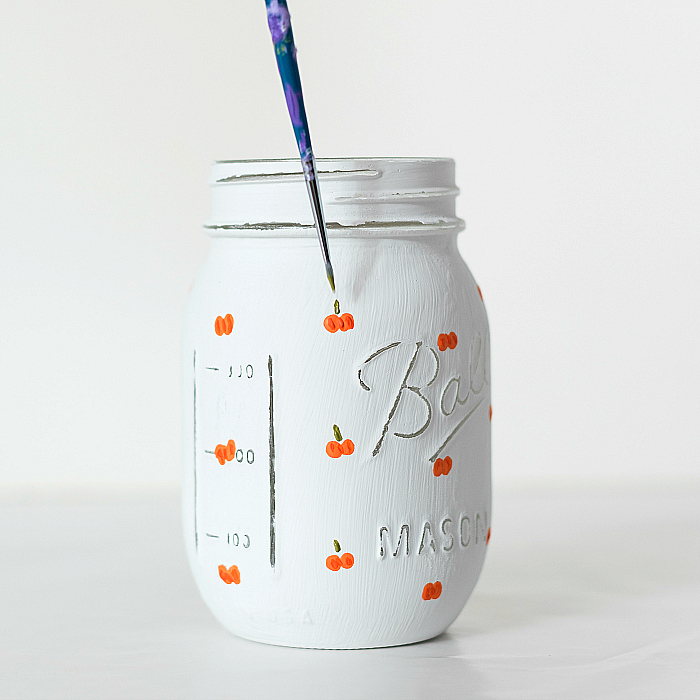
Using thin-tipped paint brush and FolkArt Forest Moss Acrylic paint, add stems to each pumpkin.
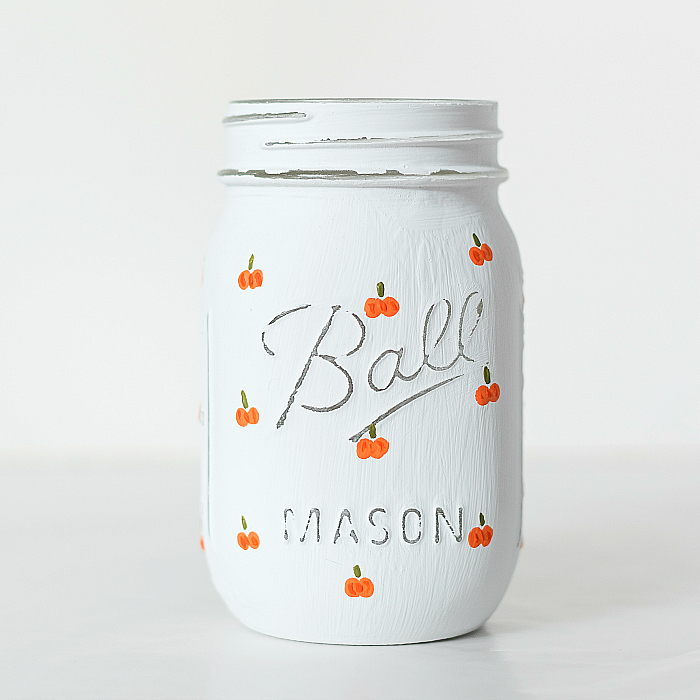
Repeat. Repeat. Repeat. Repeat. You get it … 😉
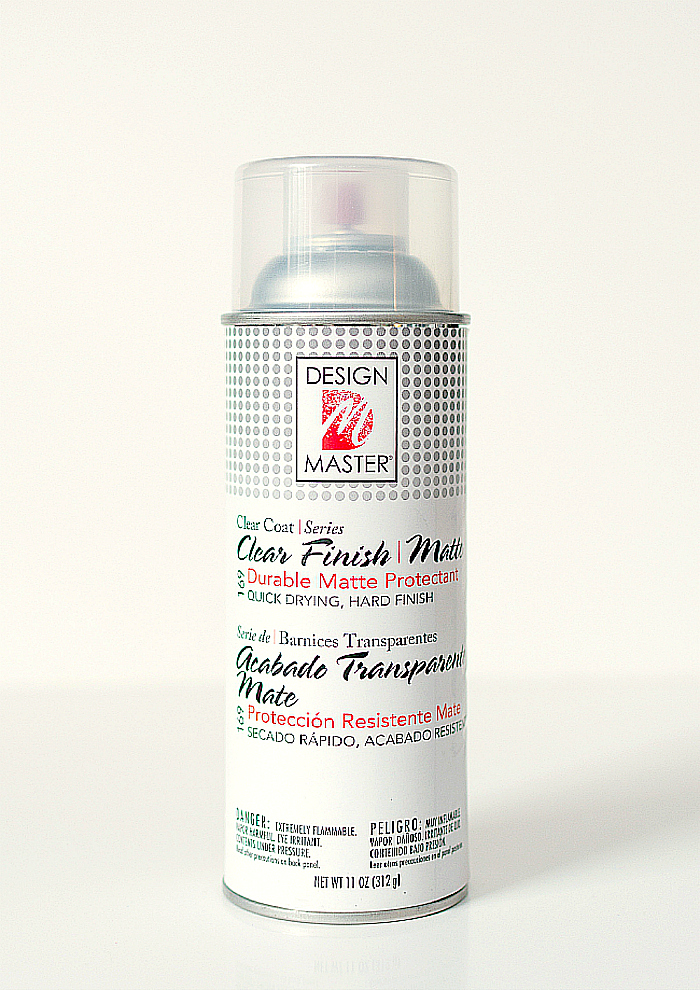
Finish with matte clear coat spray. Design Master is my go-to because it doesn’t discolor and/or add yellow sheen to jars.
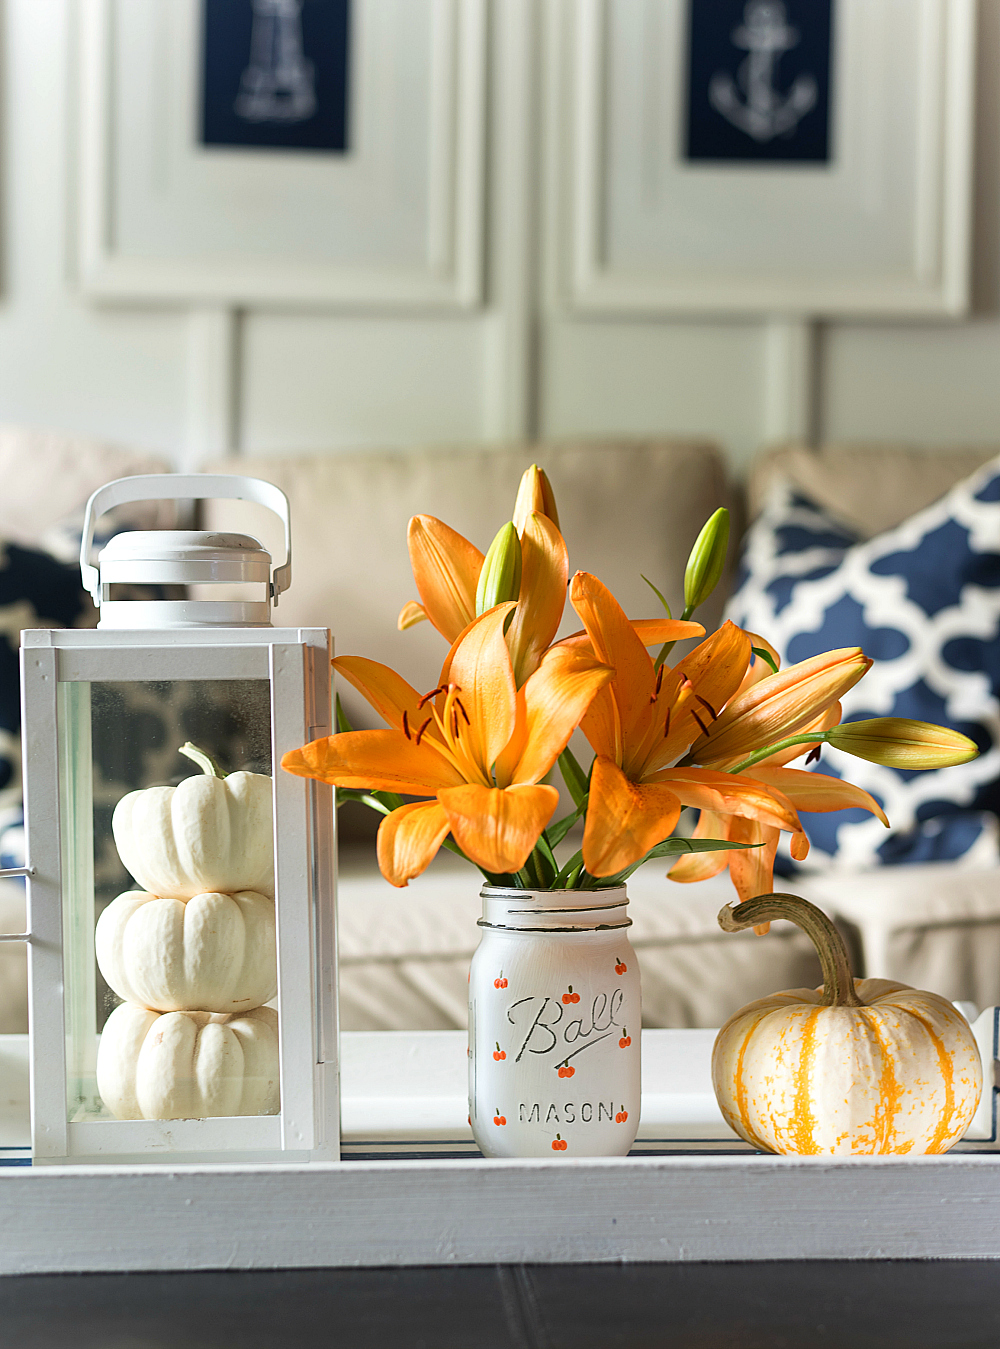
Welcome to Linda’s real world. 🙂
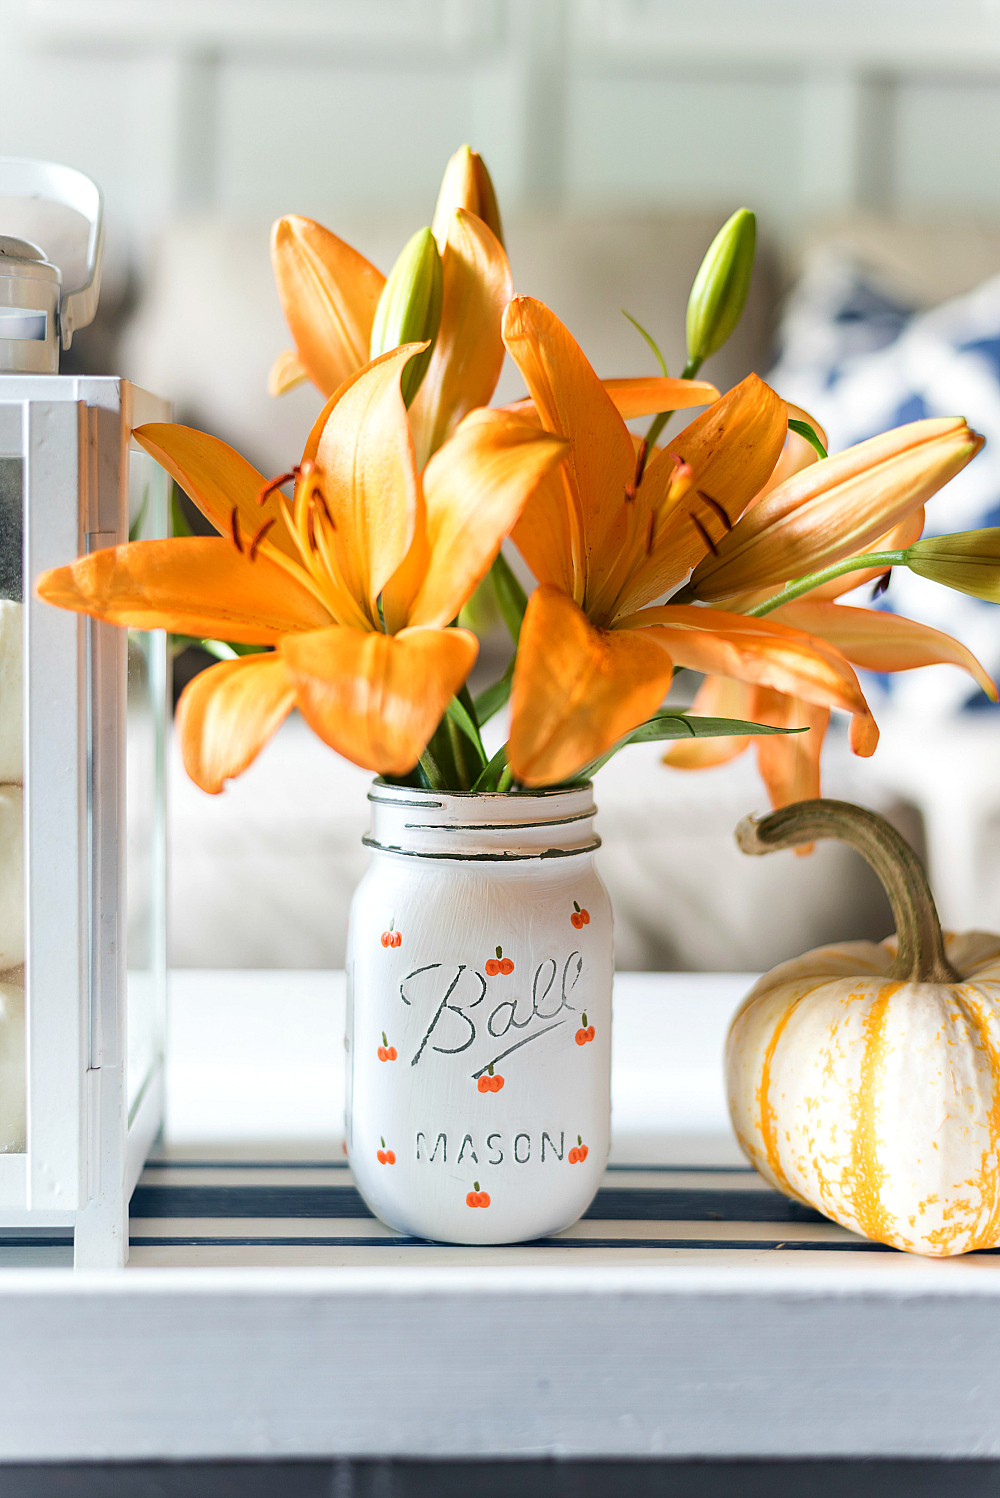
If you prefer for real-world Linda to make these for you, click here for the listing at my Etsy shop.
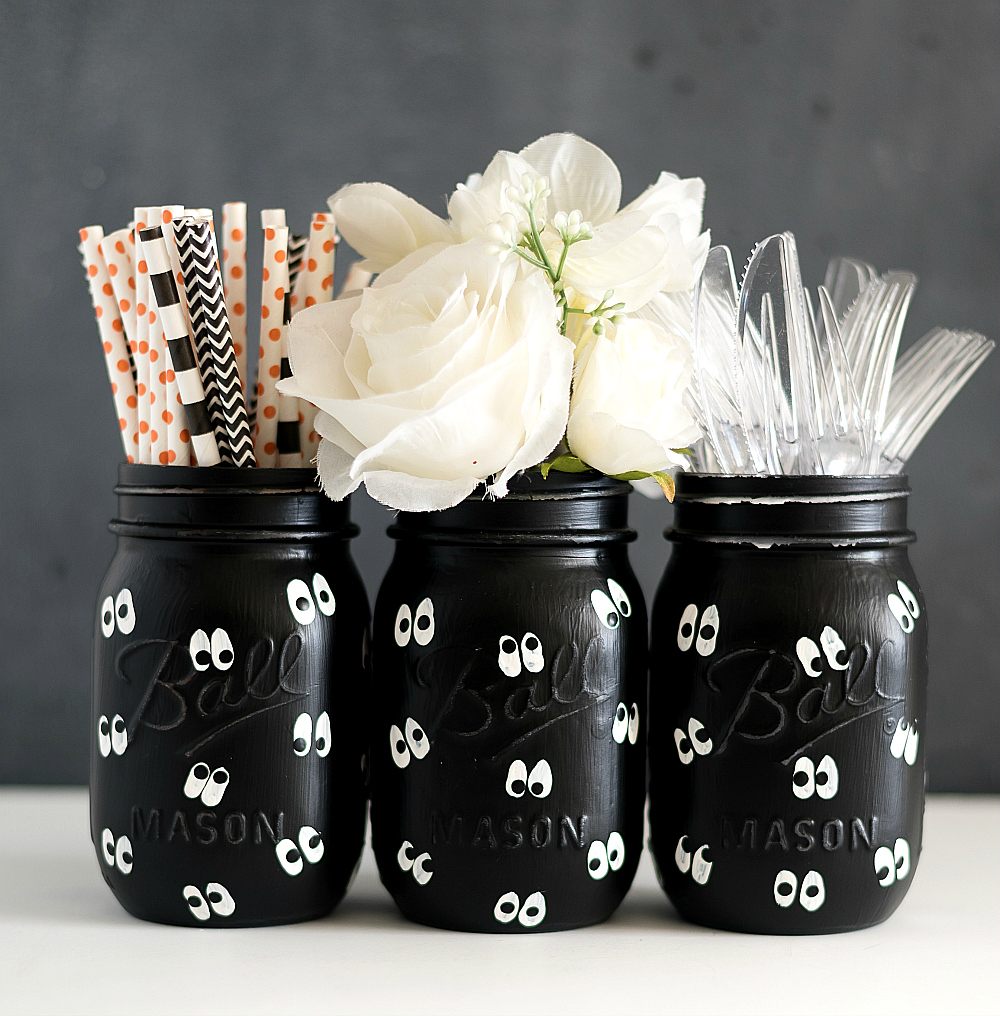
And if you’re looking for something a little less subtle, I also have this Google Eye mason jar set at the shop soon. Click here for the listing …
Pin It!
You Might Also Like:
Sharing: | Between Naps on the Porch |

I wish I had that perfect world too!! Your pumpkin mason jars are perfect though!! So cute!
Thank you! And, yes, I do dream of that perfect world as I watch the dust bunnies blow across the floor … 🙂 Linda
Lol I have tried to get a passport into that perfect Kris World too where the same magic happens but so far have been denied that passport!!!! Ahhh would that not be wonderful. Love your sweet pumpkin mason jar. So cute. Happy rest of the week.
Hi Linda, The jars are very cute and the tiger lilies are beautiful. Mine bloom in the summer, so it was nice to see them used in an autumn themed project. You can put up mason jar projects as often as you like. They’re always a treat!
Those are really cute and the pumpkins are small enough that they look easy to make even for beginning painters.