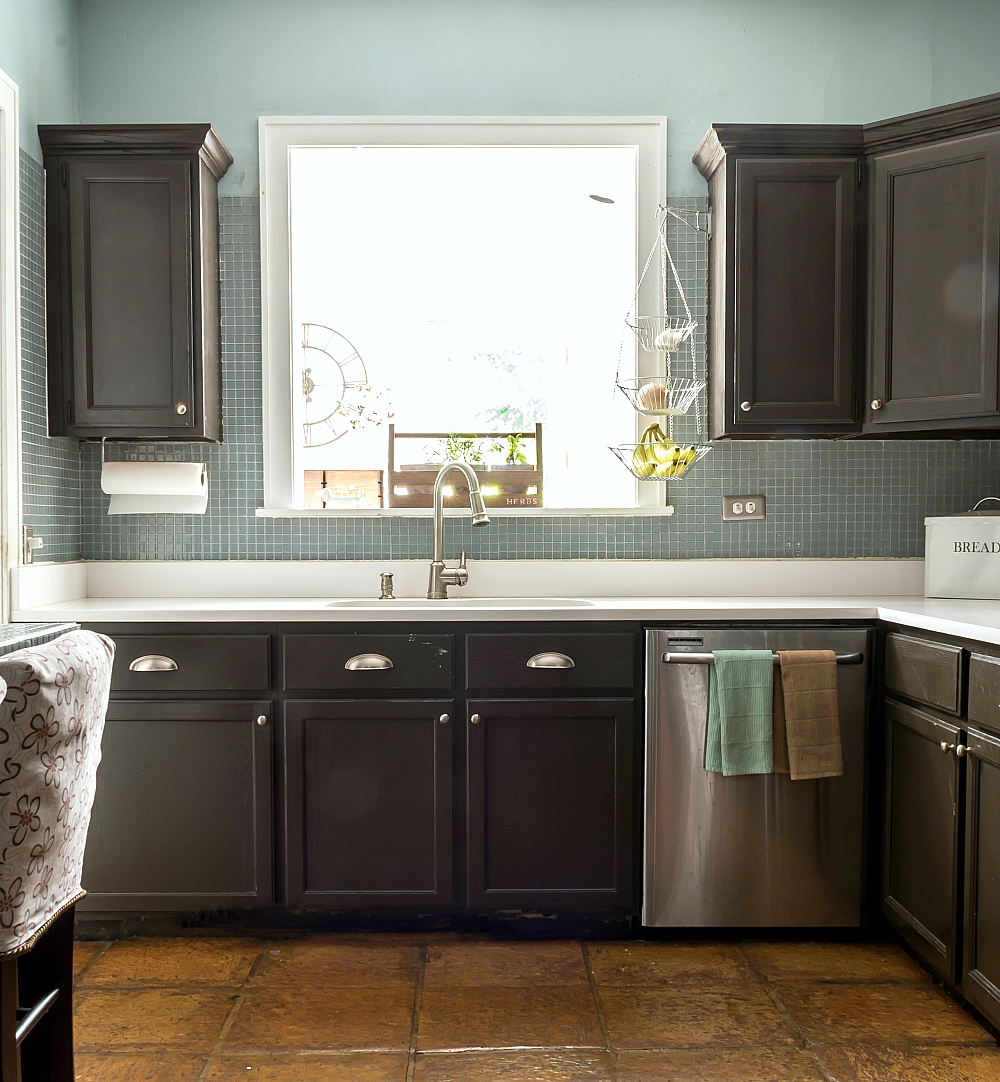
And so it begins. Again.
Somewhere … some time … somehow(!) … I’ve come full circle. I find myself standing in the middle of the kitchen with a paint brush in one hand and a sample size paint tester in the other. And as I watch two eerily similar looking shades of gray-blue paint dry on the wall, I flash back to 2010 when it all started. With paint. Literally.
That first go around in the kitchen is what eventually led to the birth of this blog. The paint samples chosen clashed with the cabinets. So those were painted too. But the painted builder grade oak clashed with the counter tops. So those were tossed out and new counter tops were installed.
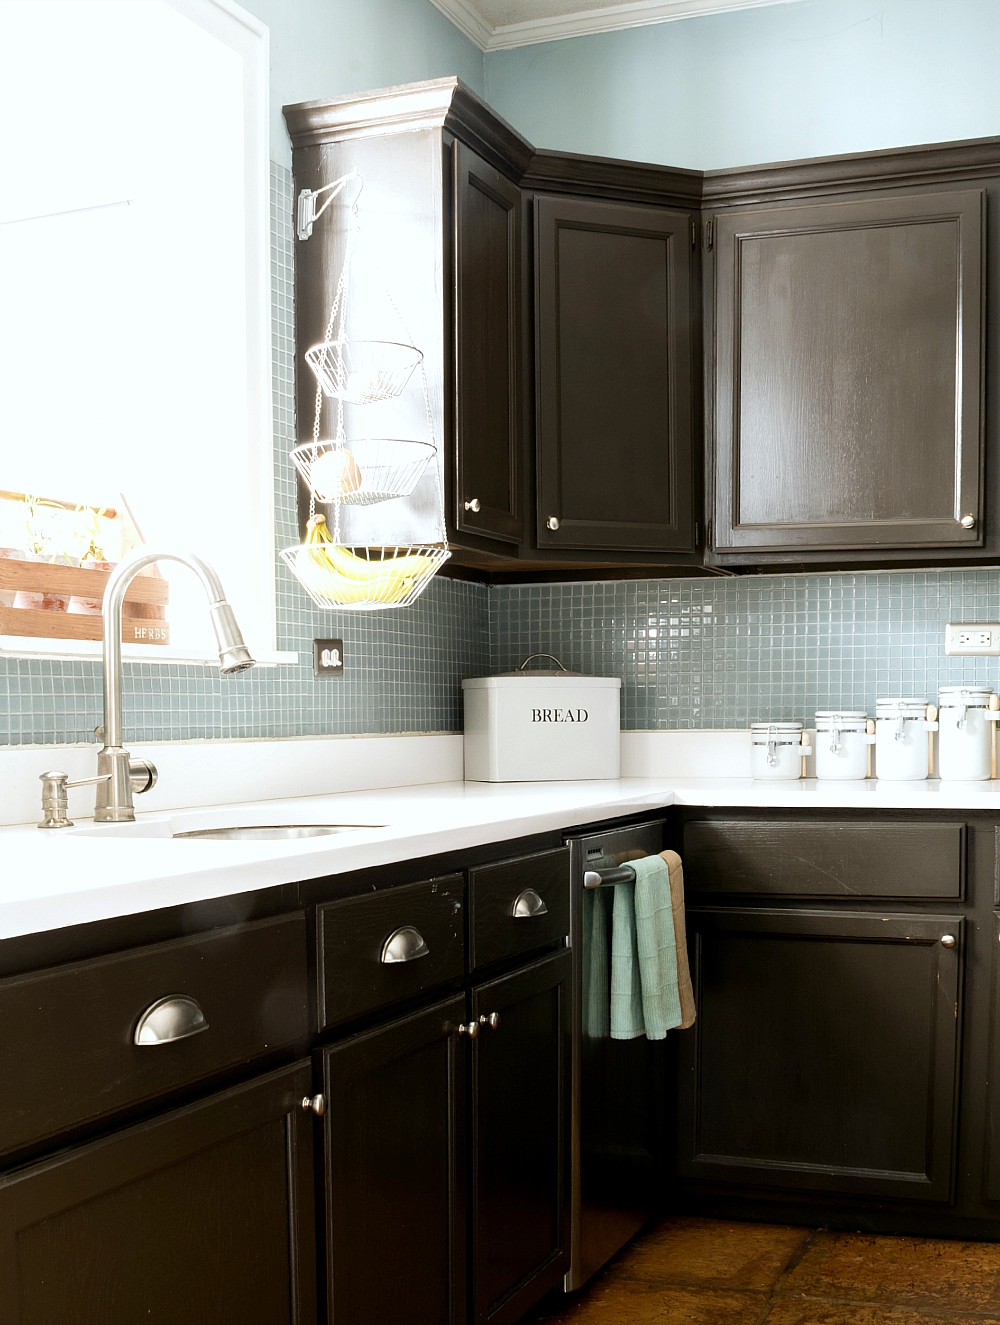
What was supposed to be a simple room refresh with paint turned into a much more elaborate and time-consuming remodel that greatly exceeded my then-limited DIY skill set.
This time around, I have no plans to call in reinforcements. Well, except perhaps my friend Kim who I have on stand by in case my plans to extend the cabinet tops turns into a disaster of splintered wood and misaligned crown moulding.
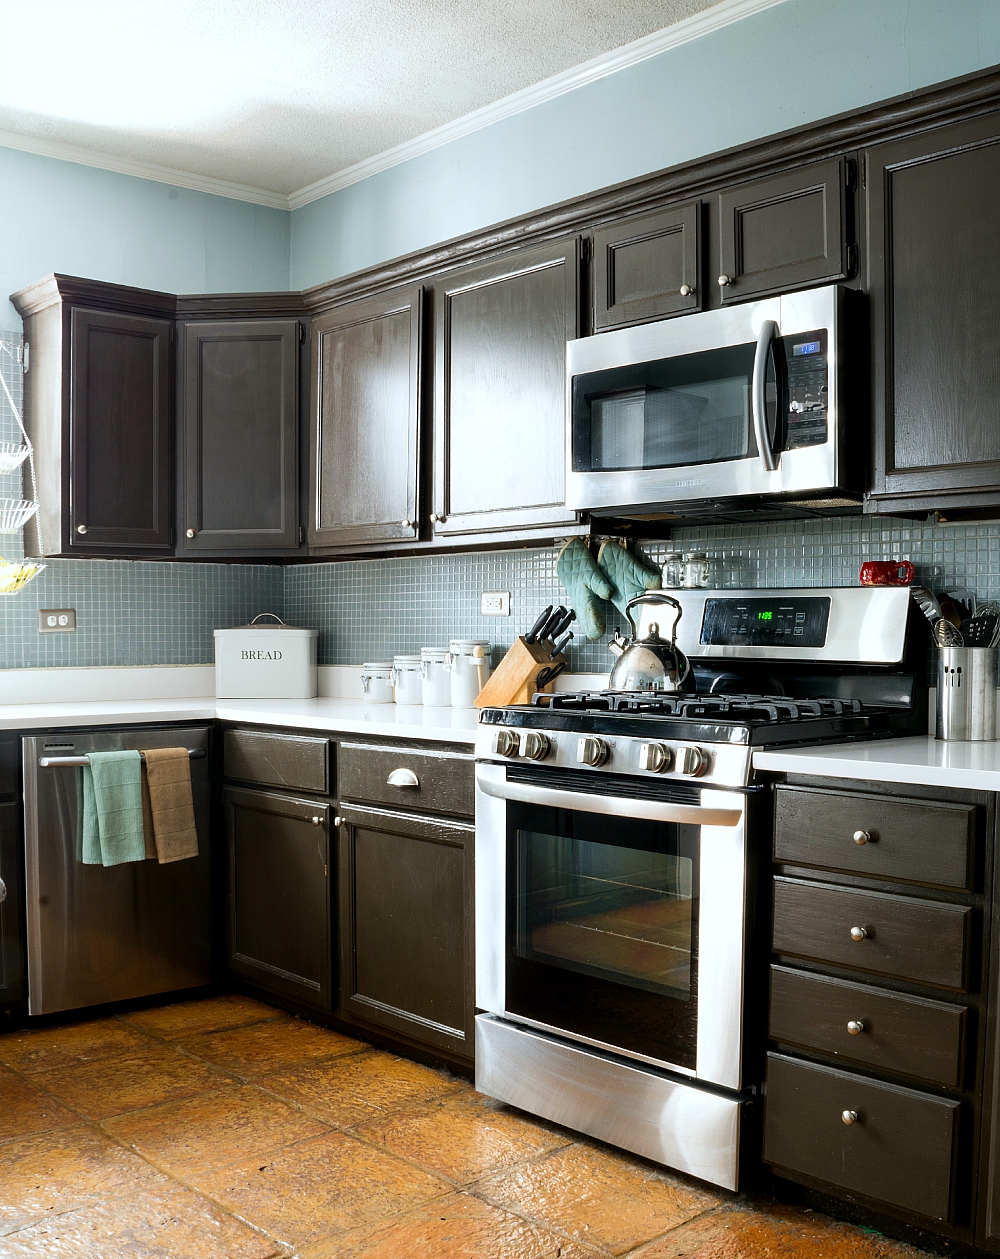
And in return, I will pay Kim in laughs and Dunkin Donuts and as many glasses of wine she would like to imbibe. Or is it imbue? Either way, the wine will be drunk (after the power tools are safely packed away, of course). 🙂
But in all fairness — with or without Kim’s help — I’m truly not doing this alone. I have, in fact, called upon my close friends and neighbors: the experts at Ace Hardware. I have been peppering (though some may say pestering) them with incessant questions about how best to get this project completed. Right on down to the teeniest, tiniest of details.
I kid you not.
I consulted my Ace experts on the best materials to use to protect my counter tops.
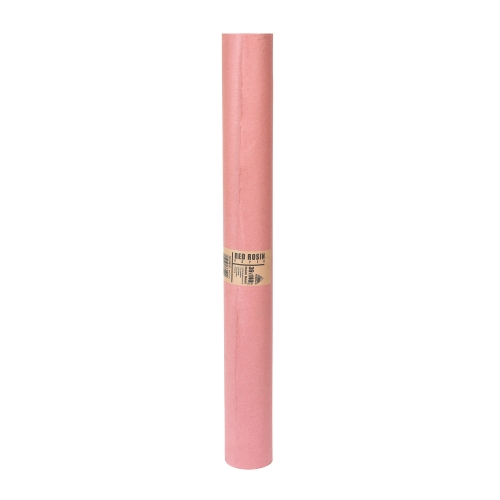
Trimaco® Red Rosin Builder’s Paper, in case you were wondering.
And how best to prep those cabinets for paint?
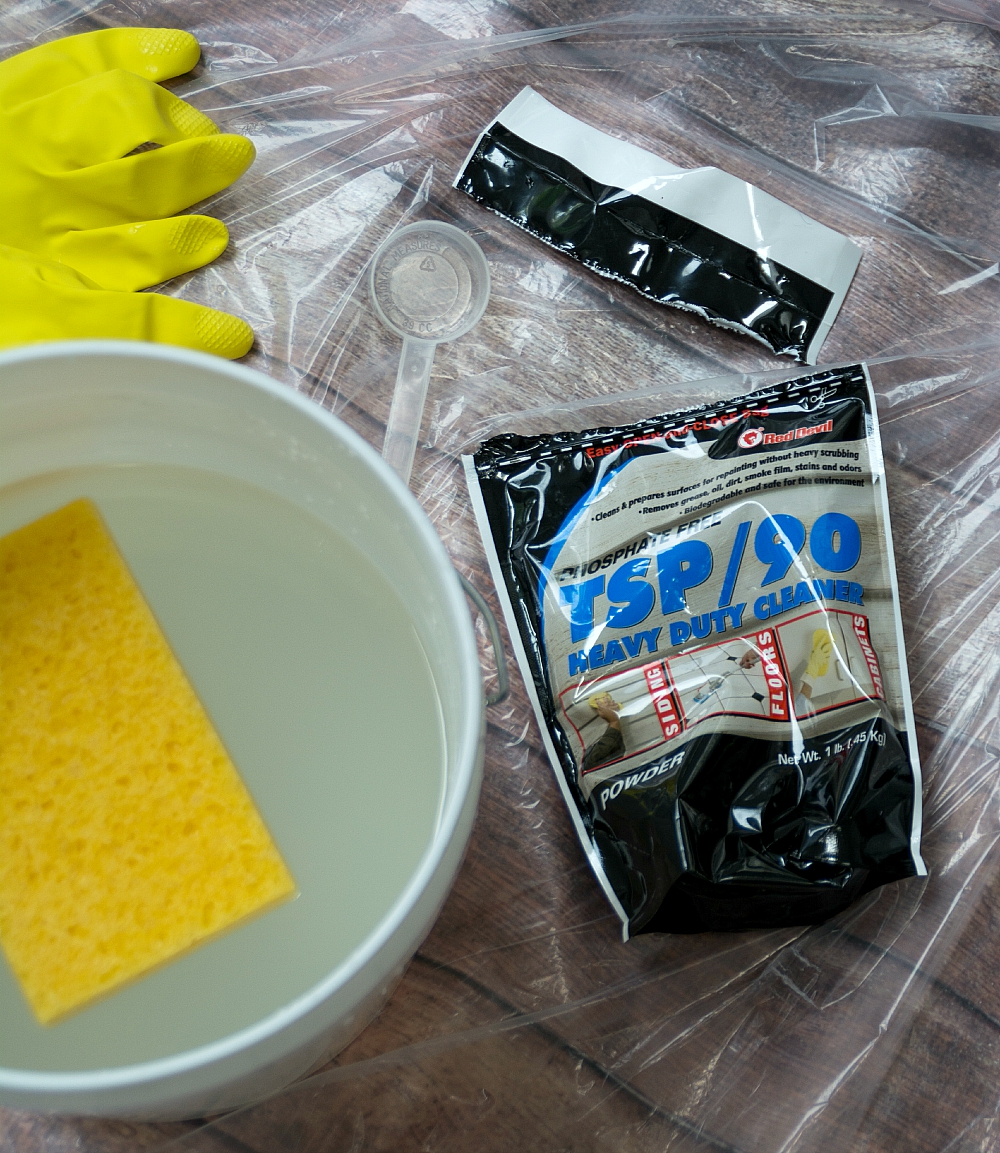
Red Devil 1 lb TSP/90 Heavy Duty Cleaner. It comes in a powder form. I followed directions and dissolved two heaping tablespoons in a gallon of water.
And I even consulted my Ace experts to find the perfect gallon bucket too! 😉
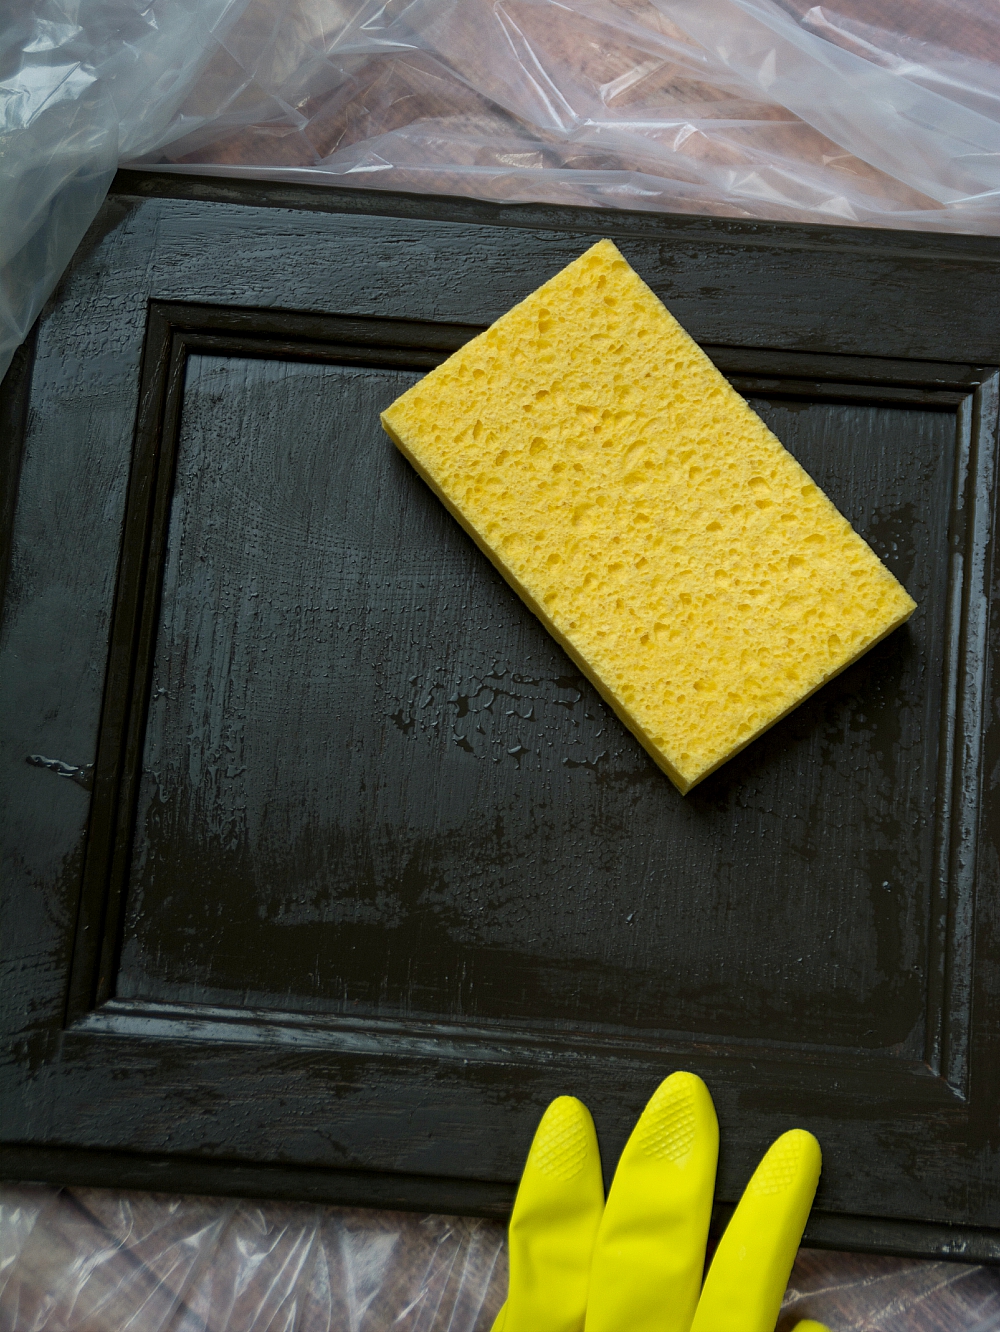
I simply submerged the sponge in the TSP solution and washed the fronts and backs of the cabinet doors. Then I rinsed the sponge thoroughly in the sink and washed again immediately.
After they dried completely (I gave them a day just to be extra sure), it was time to prime. And, yes, I consulted my Ace experts again to identify not only the best primer to use (Zinsser Bulls Eye 1-2-3 Primer Sealer Stain Killer) …
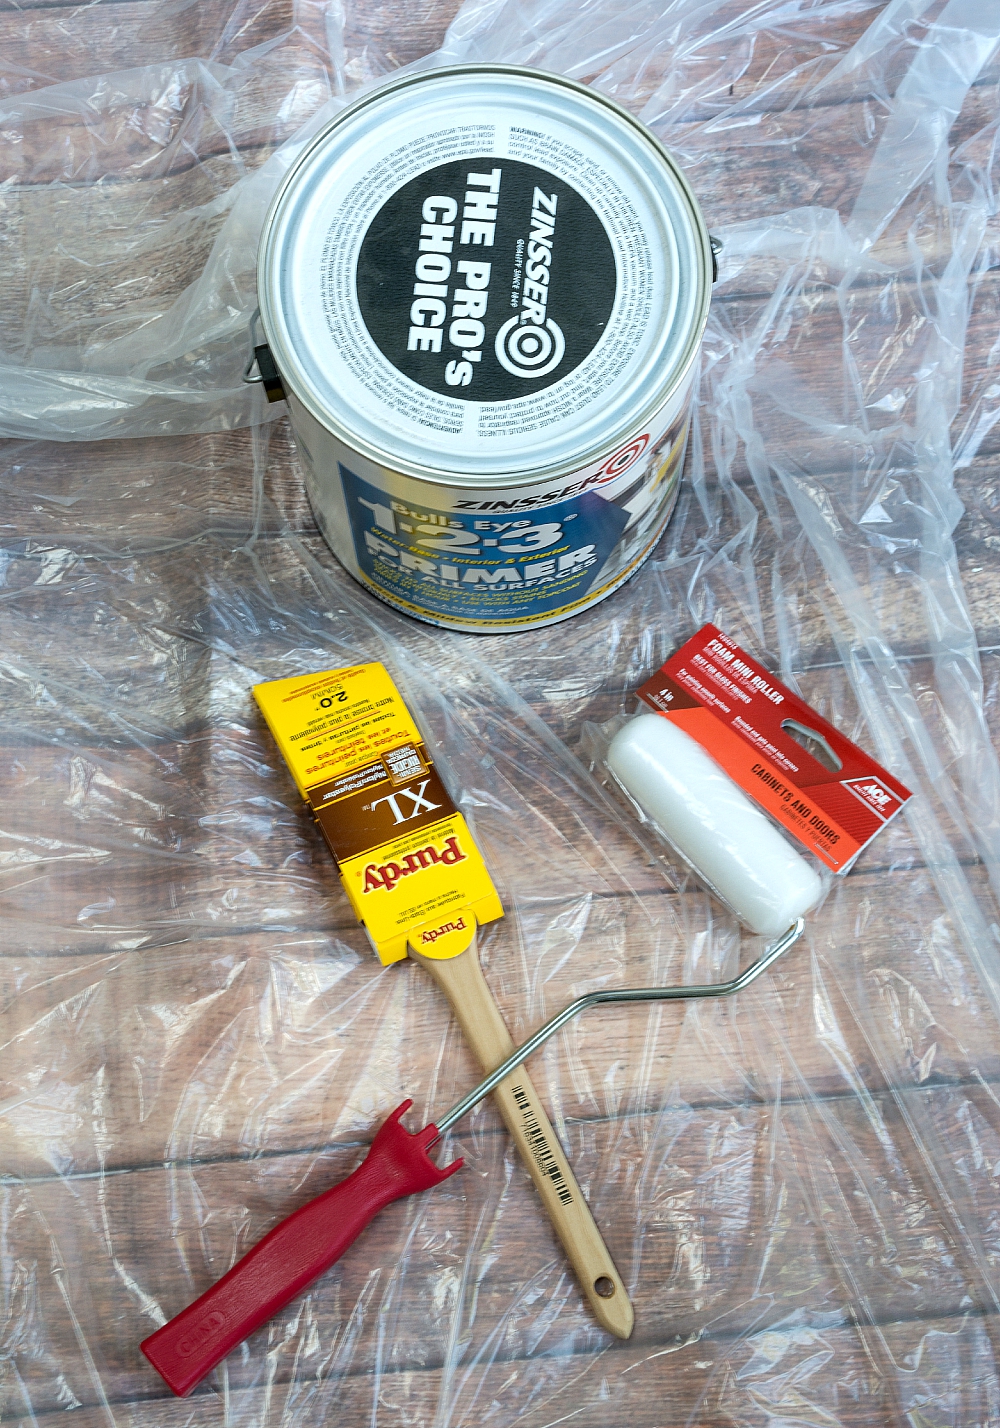
but the best tools to use to to apply that primer (angled Purdy paint brush & Ace 6in Mini Foam Roller With Frame).
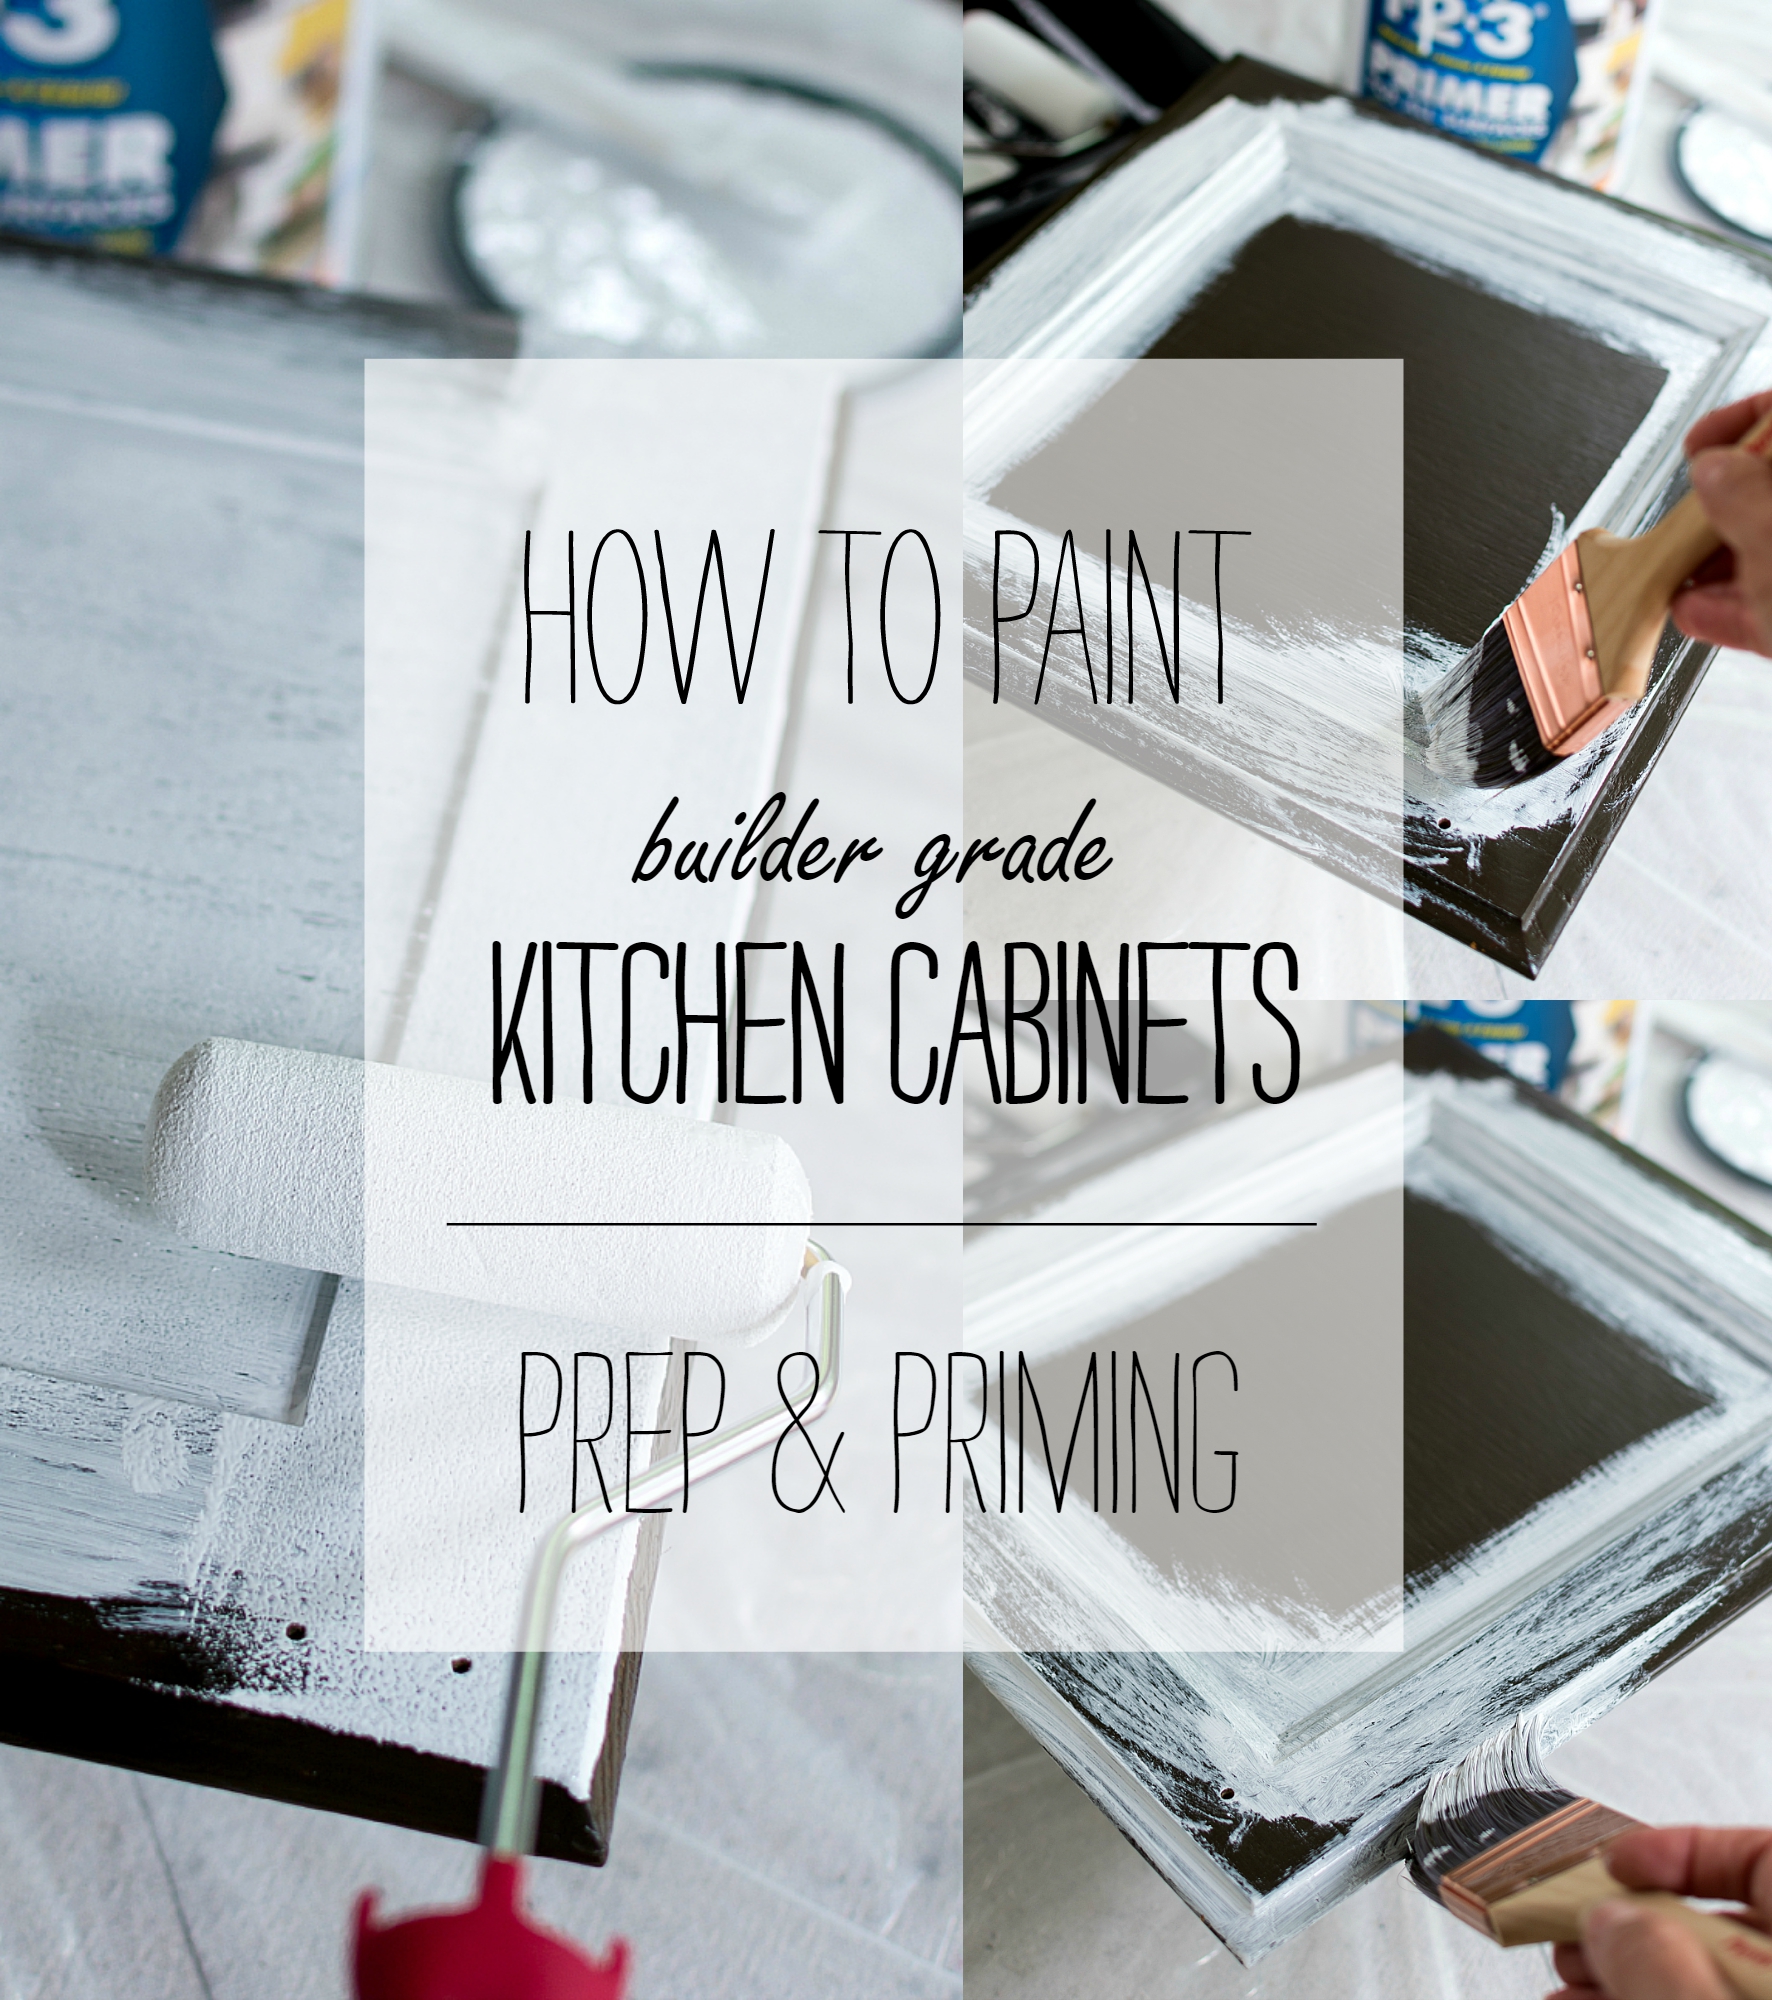
I started with the backs of the doors and, using my angled Purdy brush, applied a thin layer of primer at the points where the recessed panel met the raised edges.
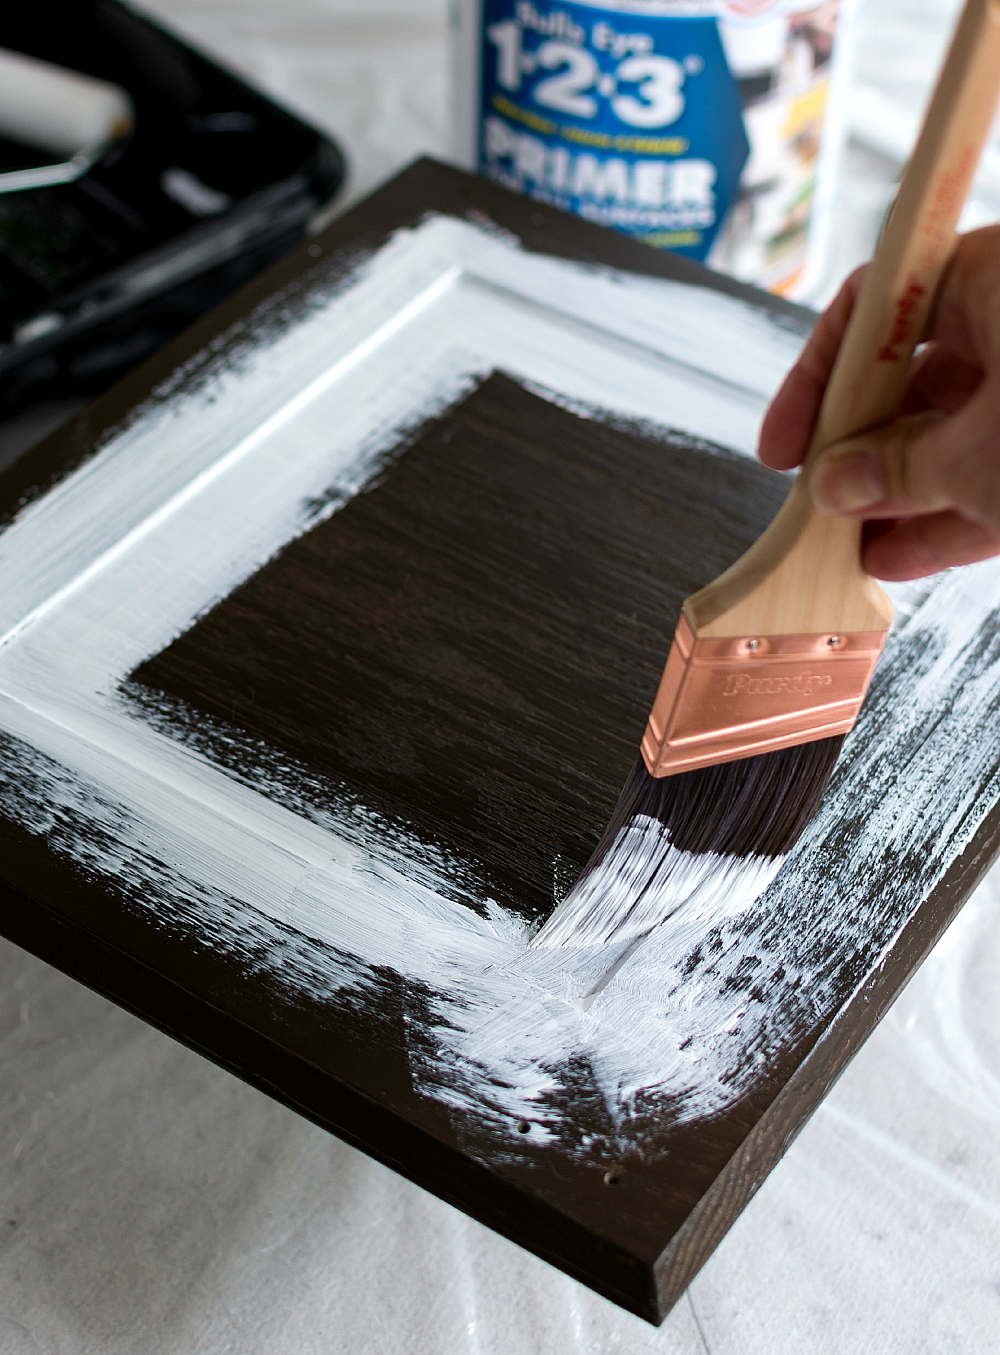
And then I used the brush to feather it out.
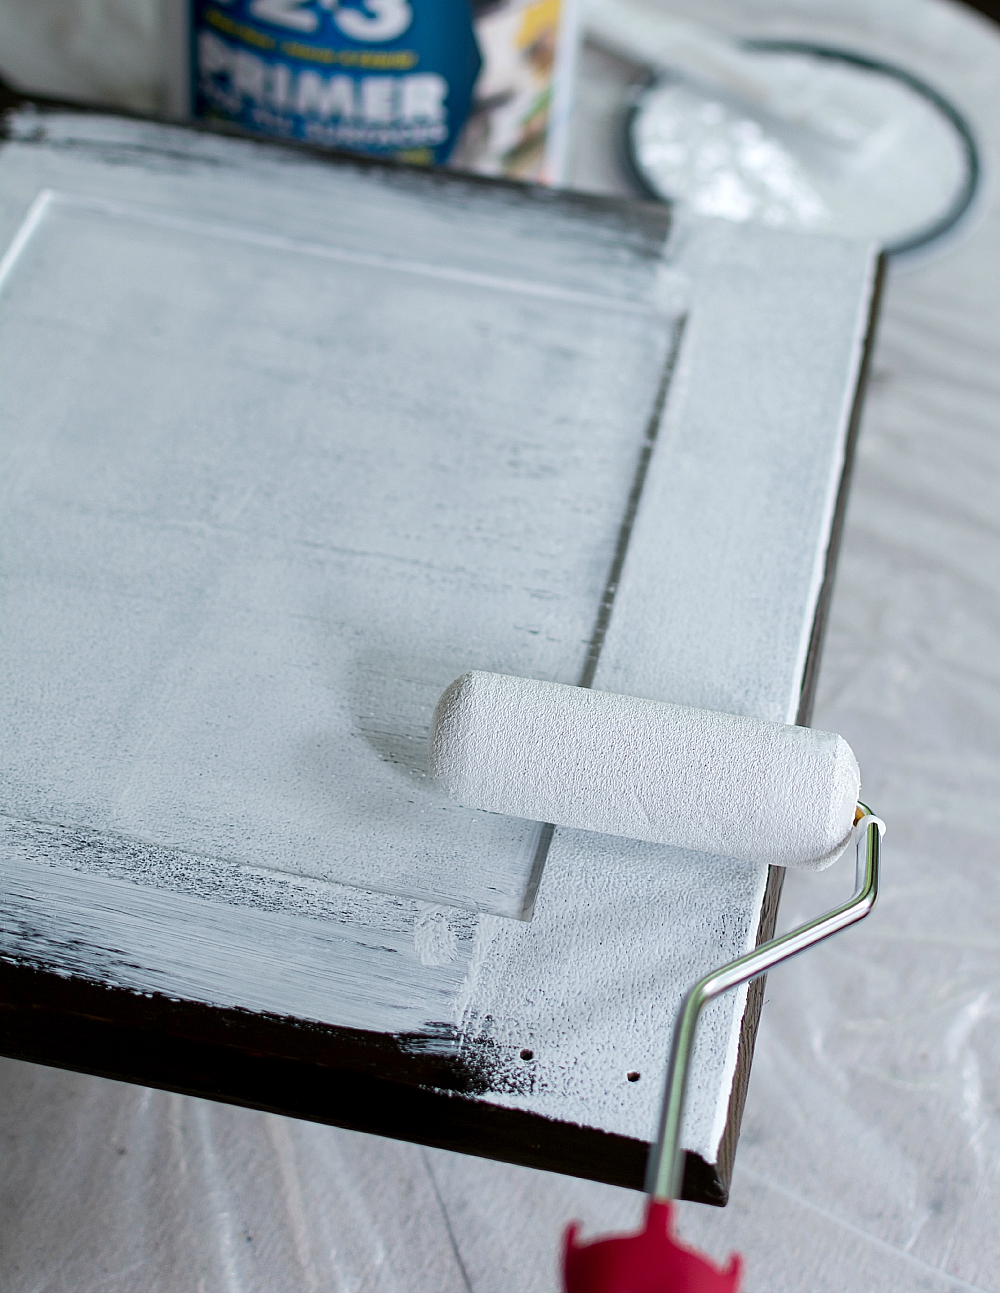
I immediately followed up with the small foam roller. You want to work with the paint while it’s still wet. And be sure to roll with the grain of the wood.
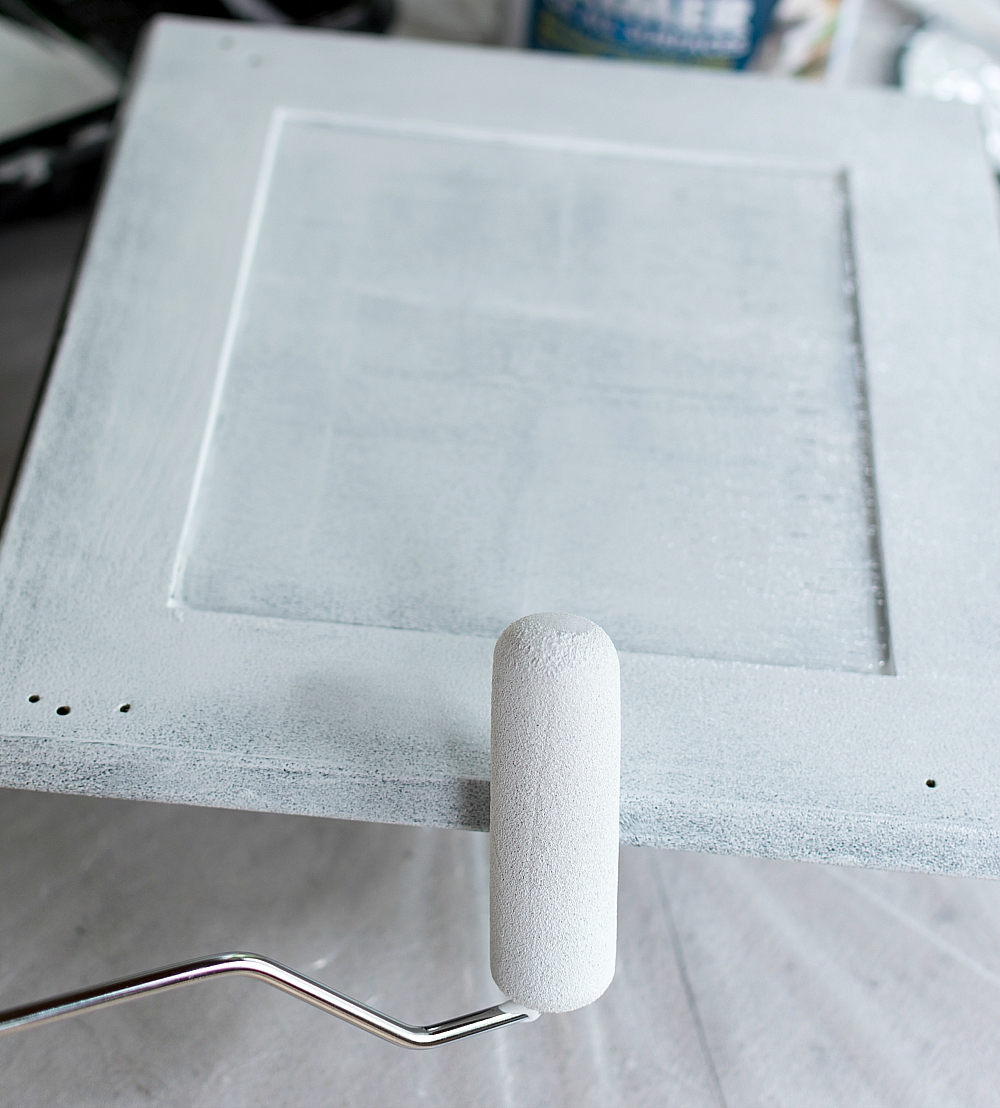
I also used the roller to add a thin layer to the edge of the door.
I gave them 24 hours to dry.
On day two, I flipped them over and used the same technique on the cabinet door fronts. Using the brush, I applied a thin layer of primer along the edges where the recessed panel and raised panel met.
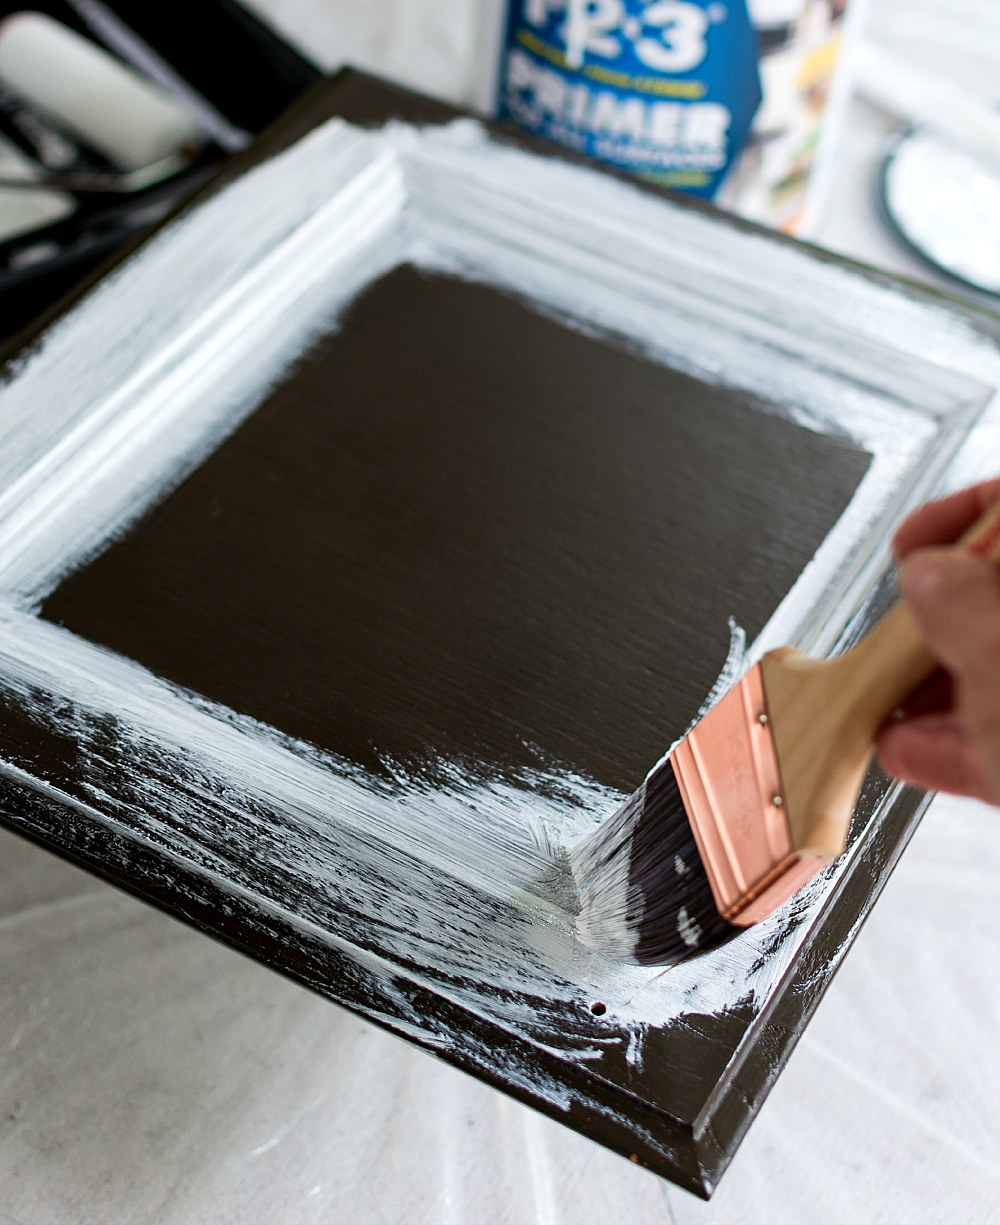
I also brushed primer along the edges.
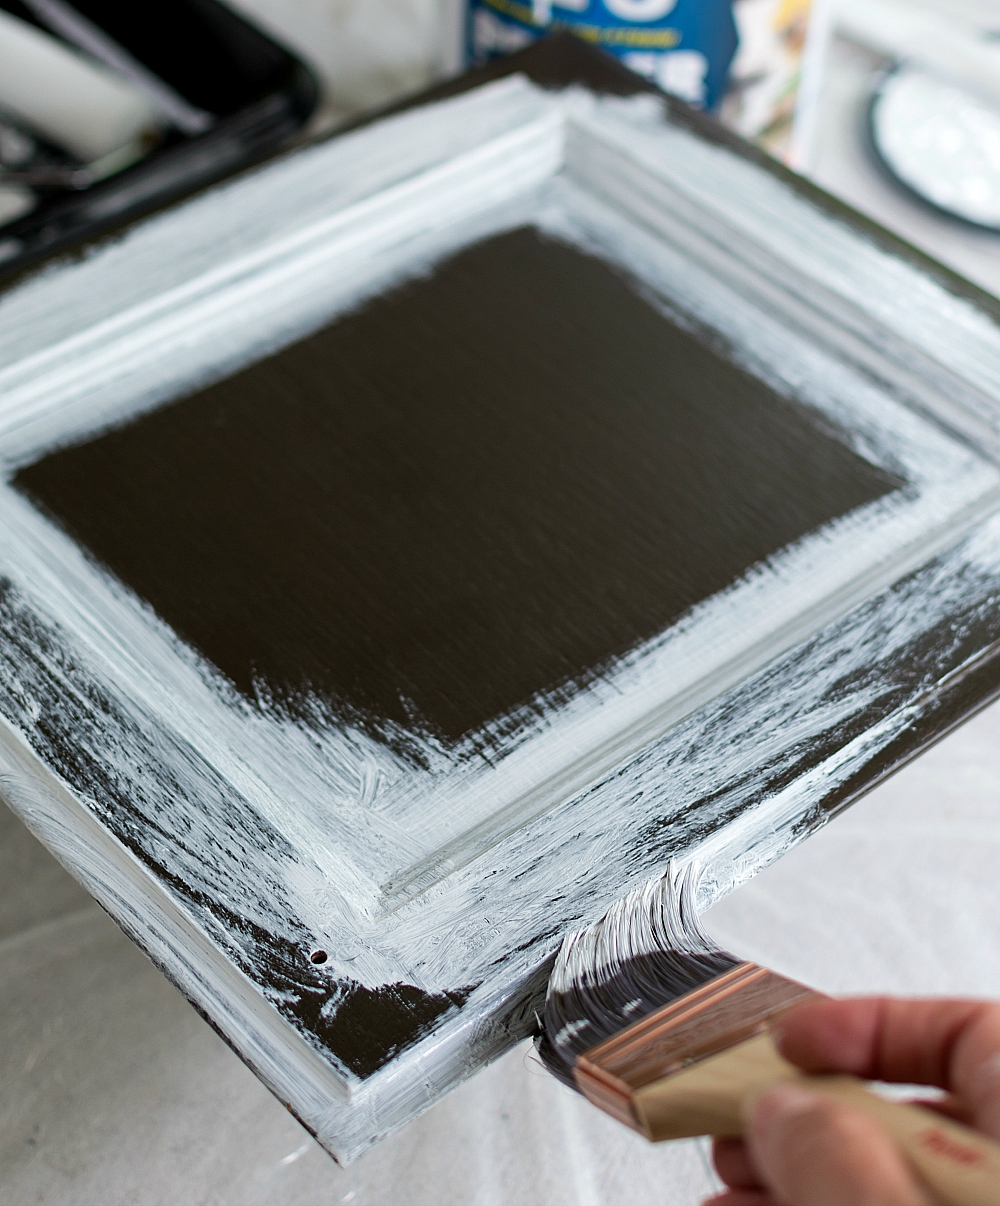
And followed up immediately with the foam roller.
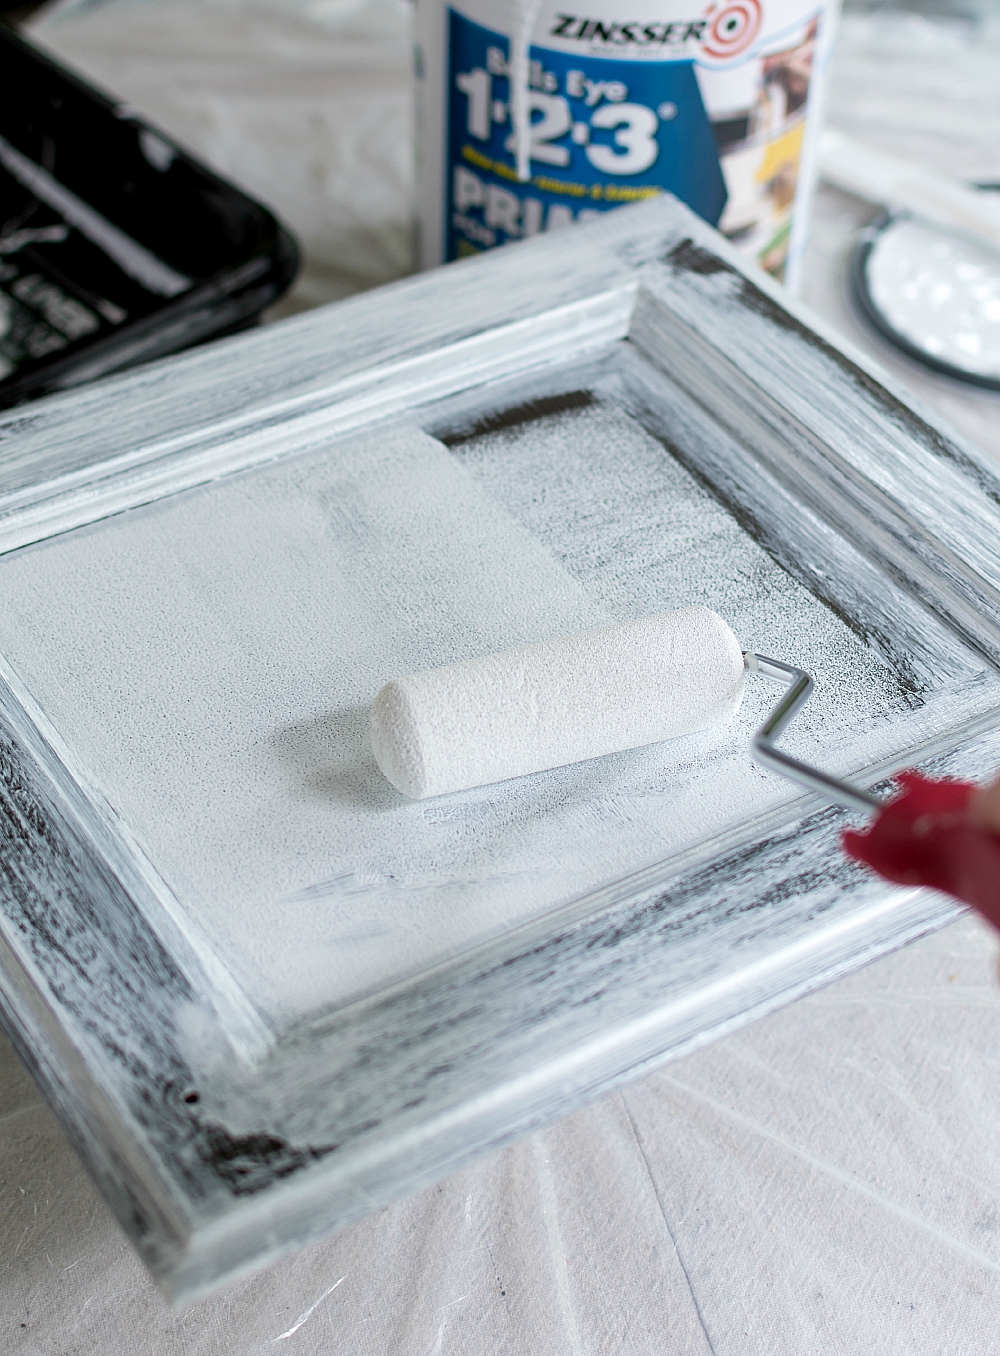
Rolling in the direction of the grain of the wood on the inside panel.
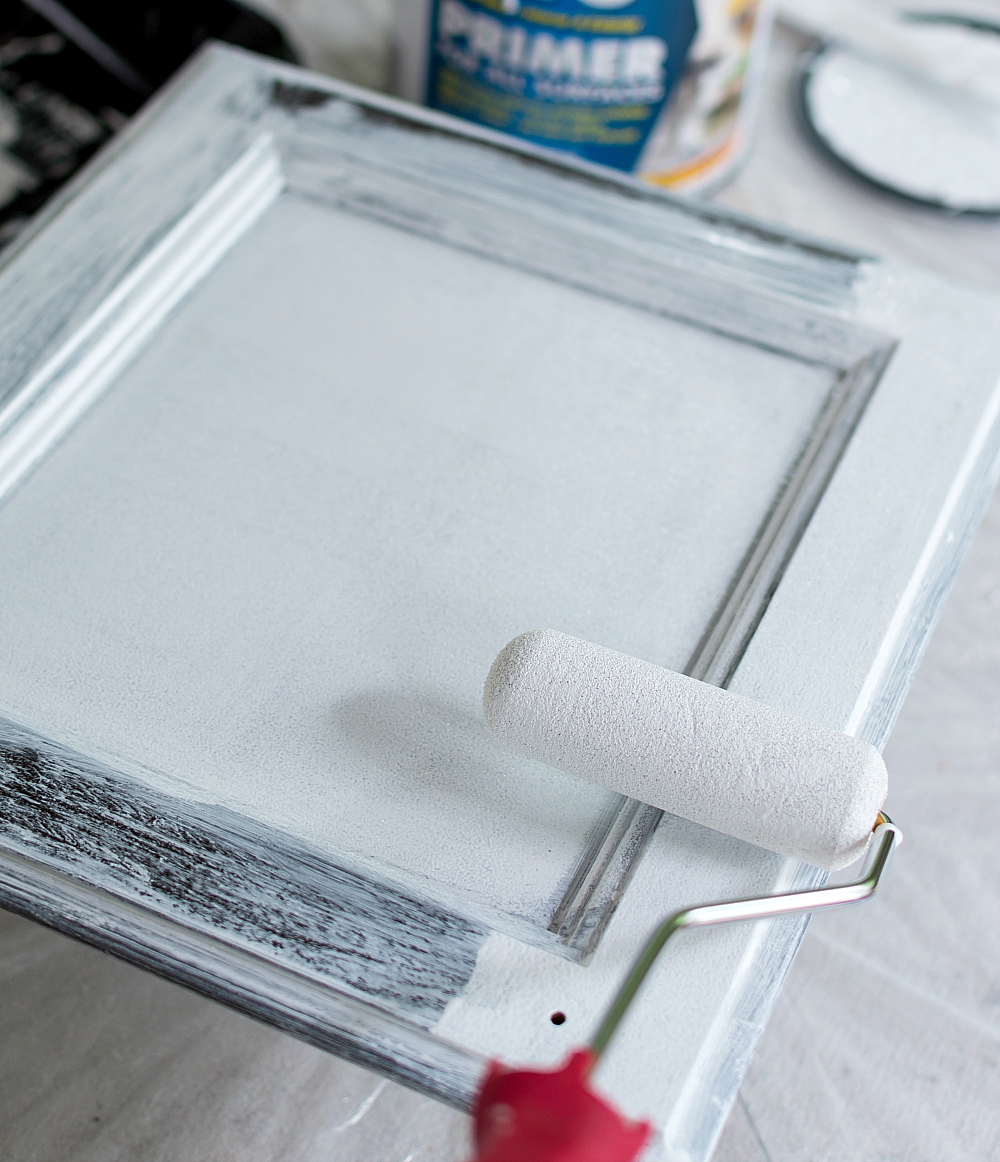
And outer panels.
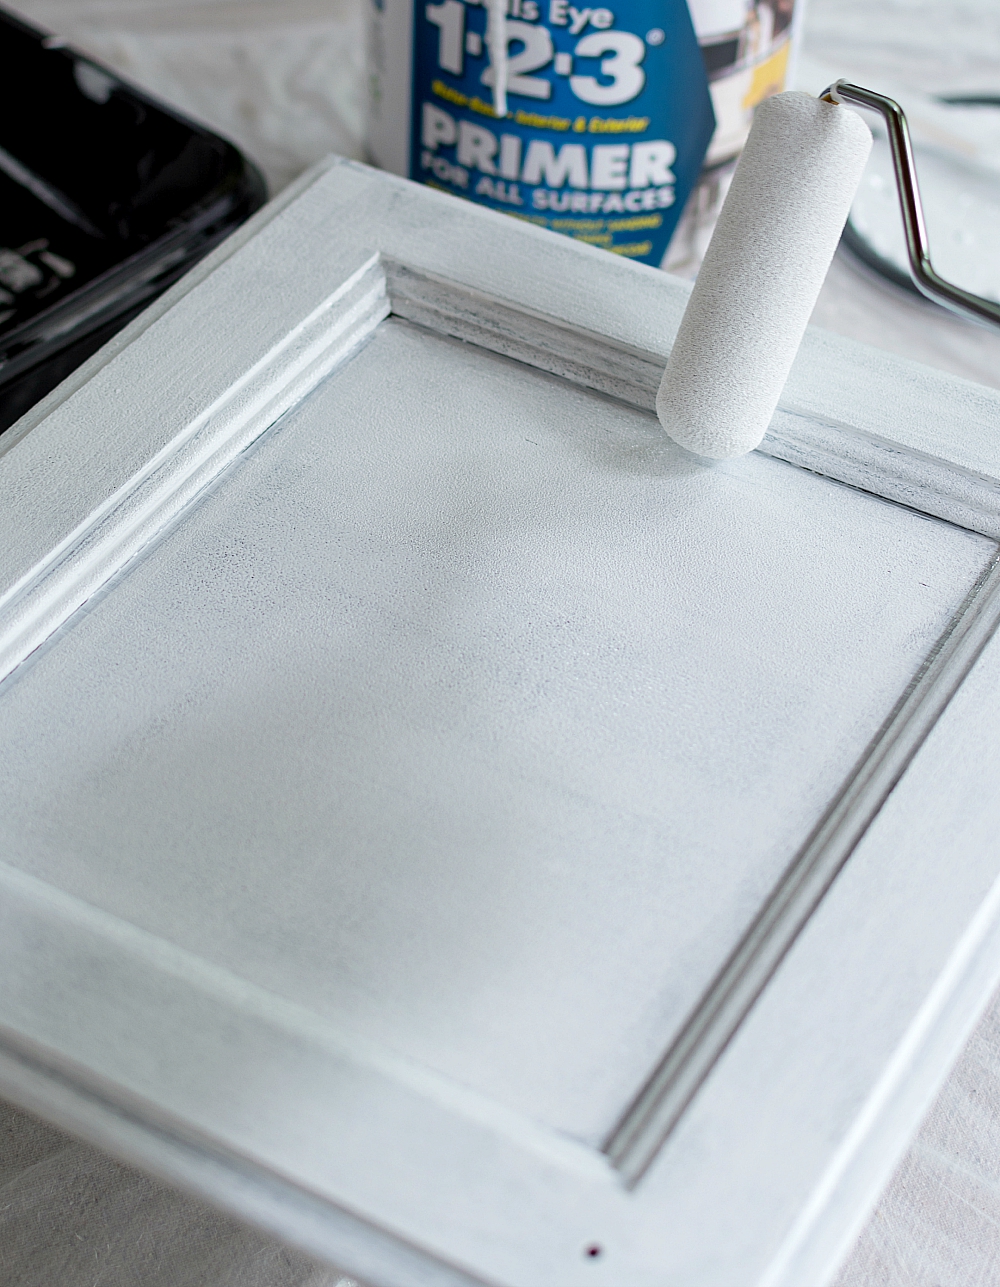
And inner …
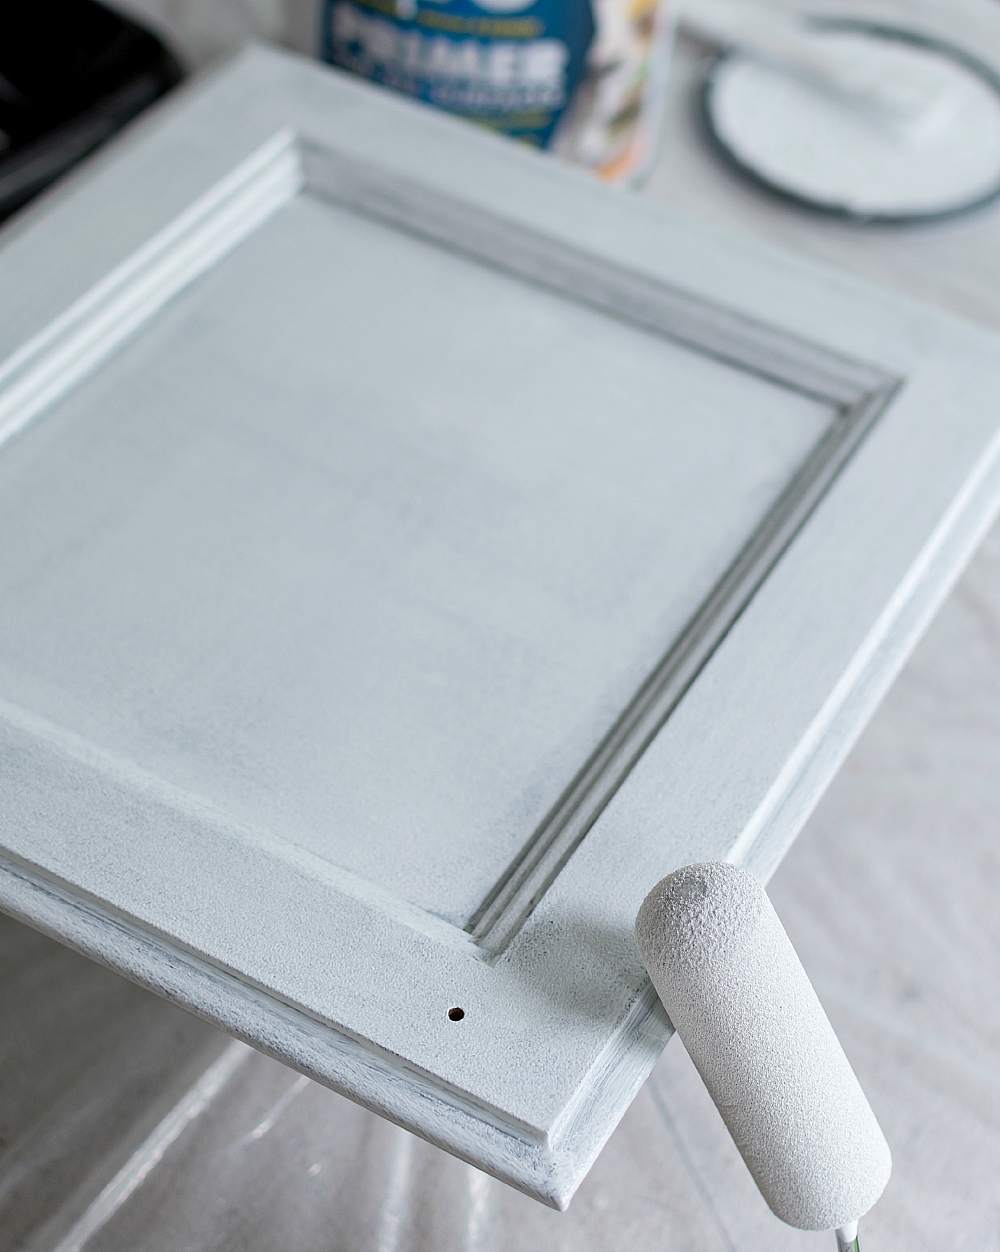
… and outer edges.
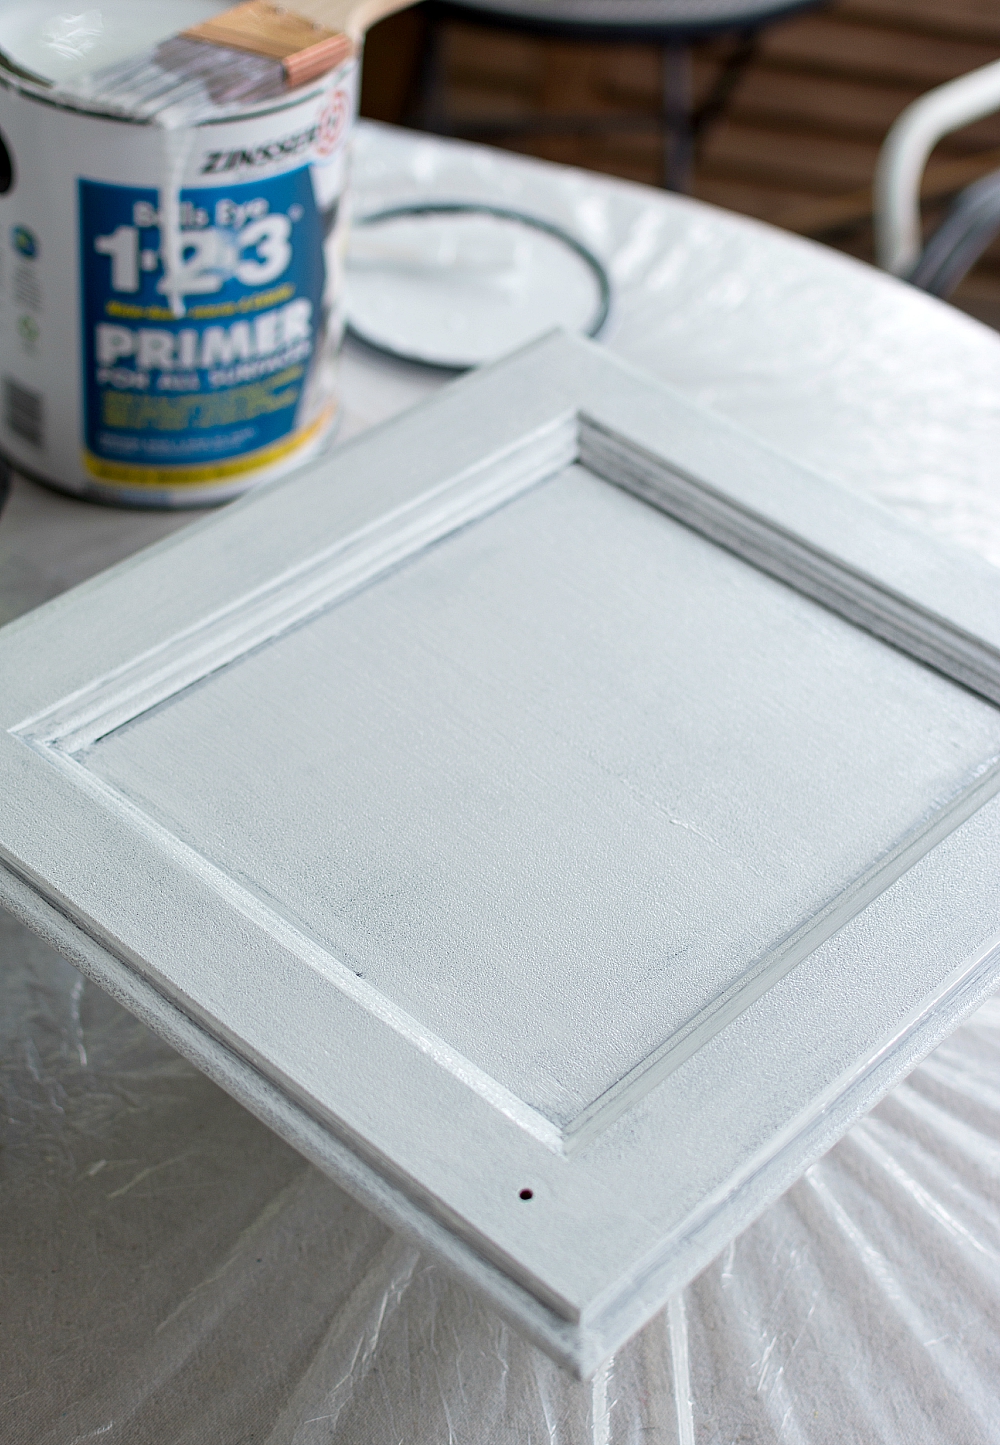
And now I’ll give them 24 hours to dry before lightly sanding and then painting them white. I plan to use a self-leveling paint and a paint sprayer. I’m thinking two coats will be needed …
as do my Ace consultants! 🙂
All I need to do now is pick the perfect white color among three eerily similar white paint samples.
Today’s post was written as part of my role as an Ace Hardware Blogger. I was compensated by Ace for this post and for the products used, but all opinions about the products used and about Ace Hardware are my own.
Sharing:
| Inspiration Monday | Live Laugh Rowe | Between Naps on the Porch |

oh this is exciting!!!!! can’t wait to see!
I’m still stuck on the part where you say you followed the directions. I need to work on that.
Can you come do mine too! They really need it and I just can’t seem to get myself motivated! Can’t wait to see how it looks!
I can’t wait, I really need to paint mine 🙂
White cabinets! Does this mean you’ve decided to keep those beautiful backsplash tiles? I soooooo love those tiles. They’re say summer to me. If my own kitchen tiles weren’t so newish and perfectly okay, I would really consider using tiles like yours.
Yes, the blue tiles will stay for now. I’m hoping combined with the white and some new moulding I plan to add to the tops of the cabinets that it will give the space a more coastal, beachy feel! 🙂
*They say*….Sorry for the typos. I’ve just got home from day surgery and the general anesthetic still has my brain fuddled.
i know you don’t want to hear this but your kitchen was fabulous before the prep but will be super fabulous when you are done. I can hardly wait till you finish. Prepping is a lot of work.
I would probably get advice I don’t want to hear…. like ‘NO Bliss, you cannot paint directly over the dirt’.
Your kitchen already is stunning, so now I cannot wait to see what’s next!!
So far, so GREAT! You’ve got this, girlfriend…and if not…I’ve got your back…(and a miter saw and more wine)! xx
I painted my builder grade cupboards a few years ago also, I am wanting to redo them, I think I will leave the bottom black and do the tops white. I am kinda digging that 2 toned look. Can’t wait to see what paint you choose.
I’ve been wanting to extend my cabinets, but I don’t have empty space like you do – which in my mind would be a better starting point. So you’re going all white are you?