Polka Dot Mason Jars DIY – How To Paint Mason Jars – Spring Craft Ideas with Mason Jars
When you live in a climate where winter could bring (1) subzero days with double-digit negative wind chills and; (b) snow accumulations that can bury a small dog or; (c) all of the above, you start to question “why?”
Why subject yourself to below freezing temps?
Why subject yourself to repeated snow falls that require repeated snowfall shovels?
And icy sidewalks?
And digging out your car?
Not to mention your small dog. 😉
The biggest why comes when you see people around you and online who have adapted to – and, dare I say, revel in – those cold, snowy temps. Sharing smiling pics of them and their families skiing and snowboarding and ice skating.
Which has you adding a “how” to that why. As in, how is skiing in freezing temps on a steep decline of snow enjoyable?
But then …
You get a hint of warmth one day. The sun is shining on your face. You can peel off a layer or two. Maybe leave those gloves at home.
And then …
Your husband informs you (like he does every year) that pitchers and catchers have reported to Spring training. And you remember why you endure months of cold and snow.
Because the anticipation of Spring is so, so sweet.
And as you walk around the neighborhood trying to get those 10,000 steps you see your neighbors migrating outdoors to soak up those 50 degree days. Strolling along the sidewalks of the main shopping district. And even eating outdoors(!).
Now that’s a bridge too far for me. Maybe (and that’s a debatable maybe) I’ll eat outdoors when it hits 70.
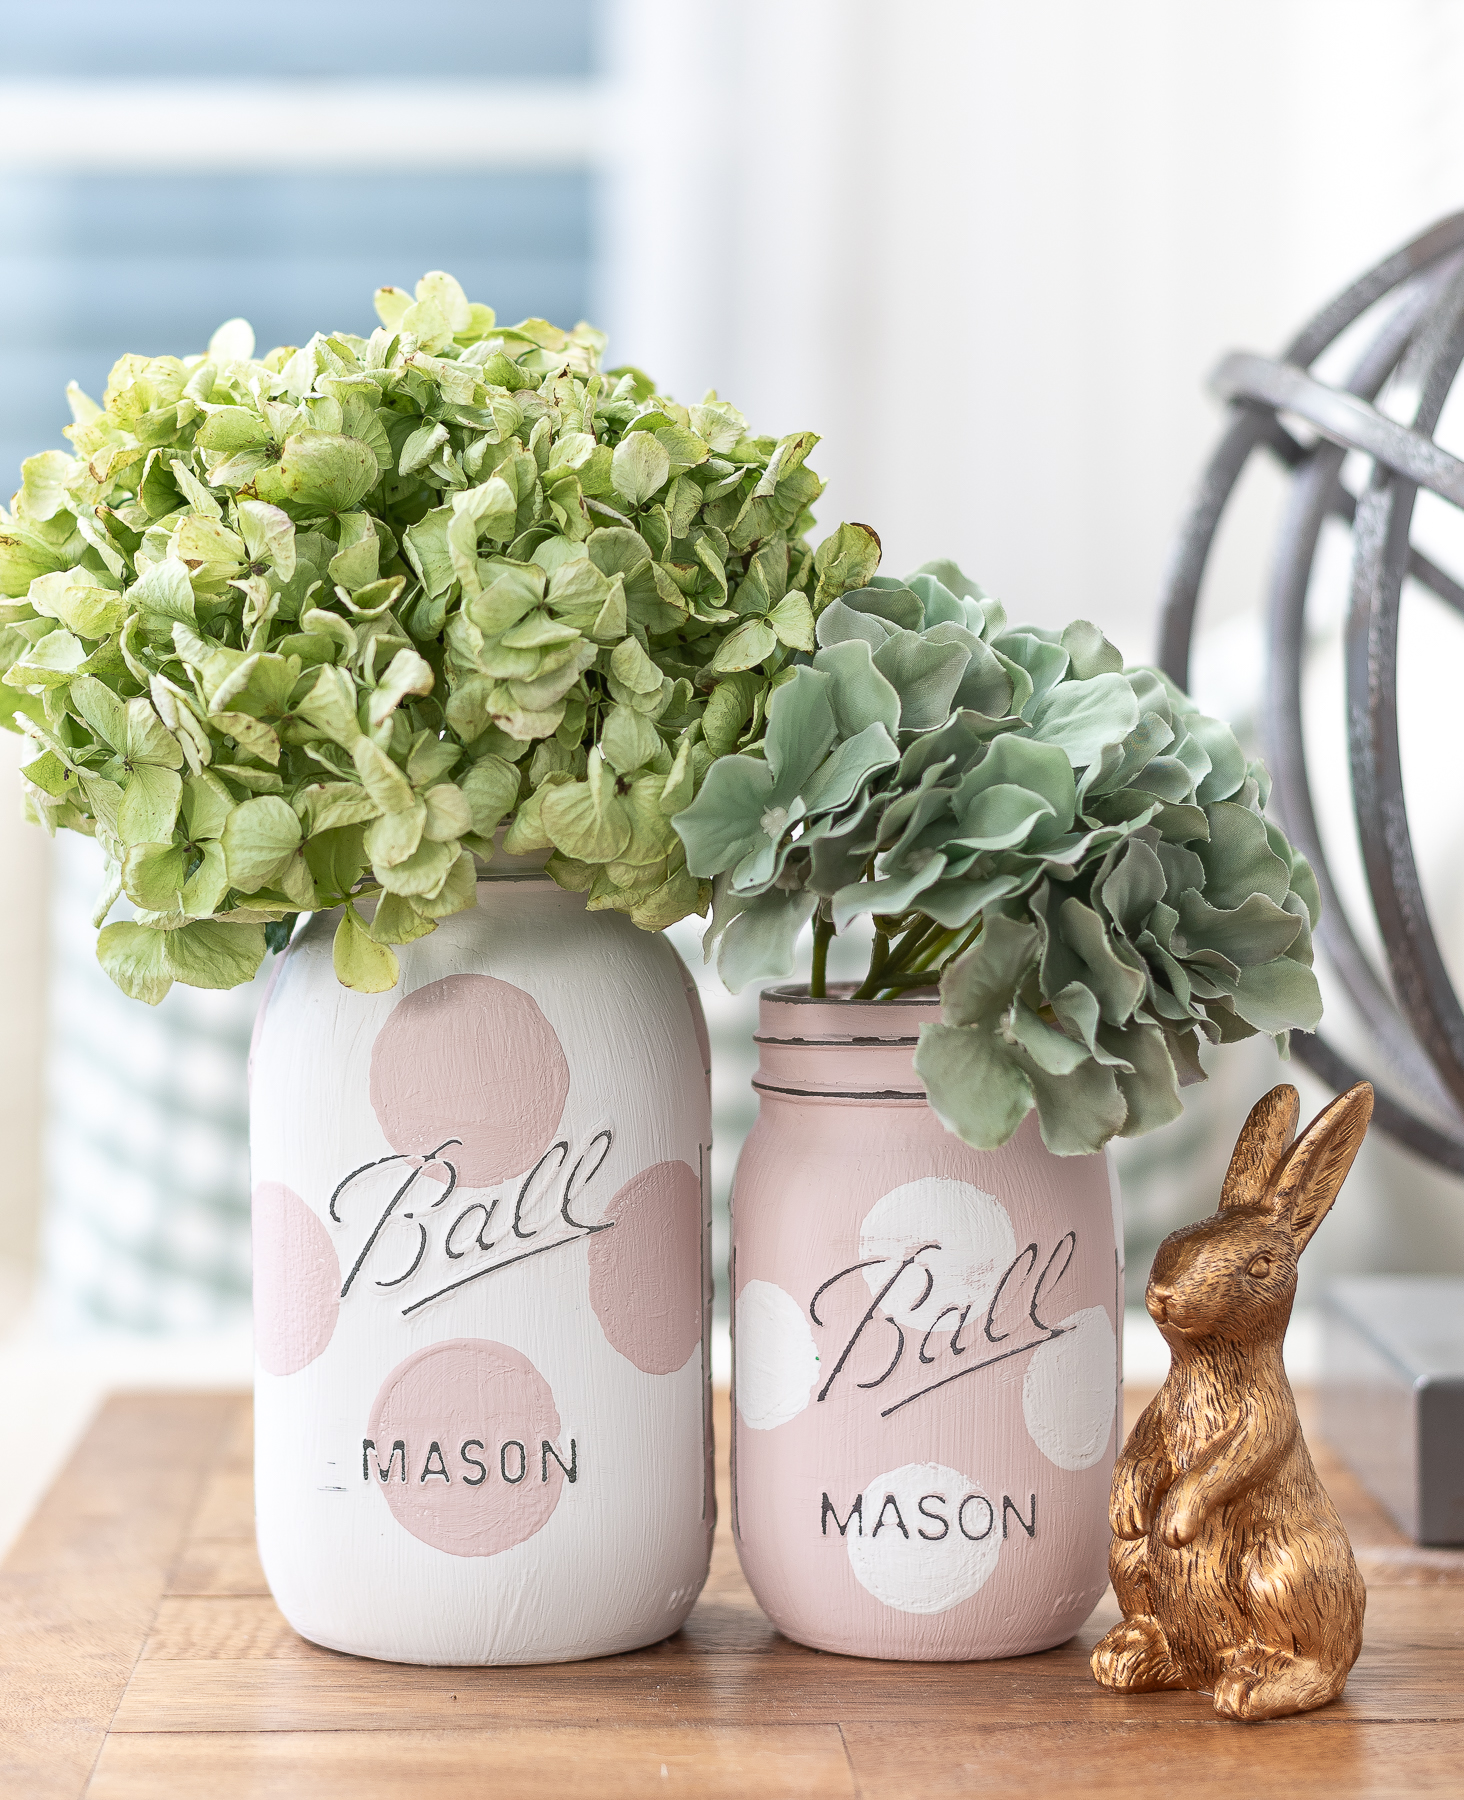
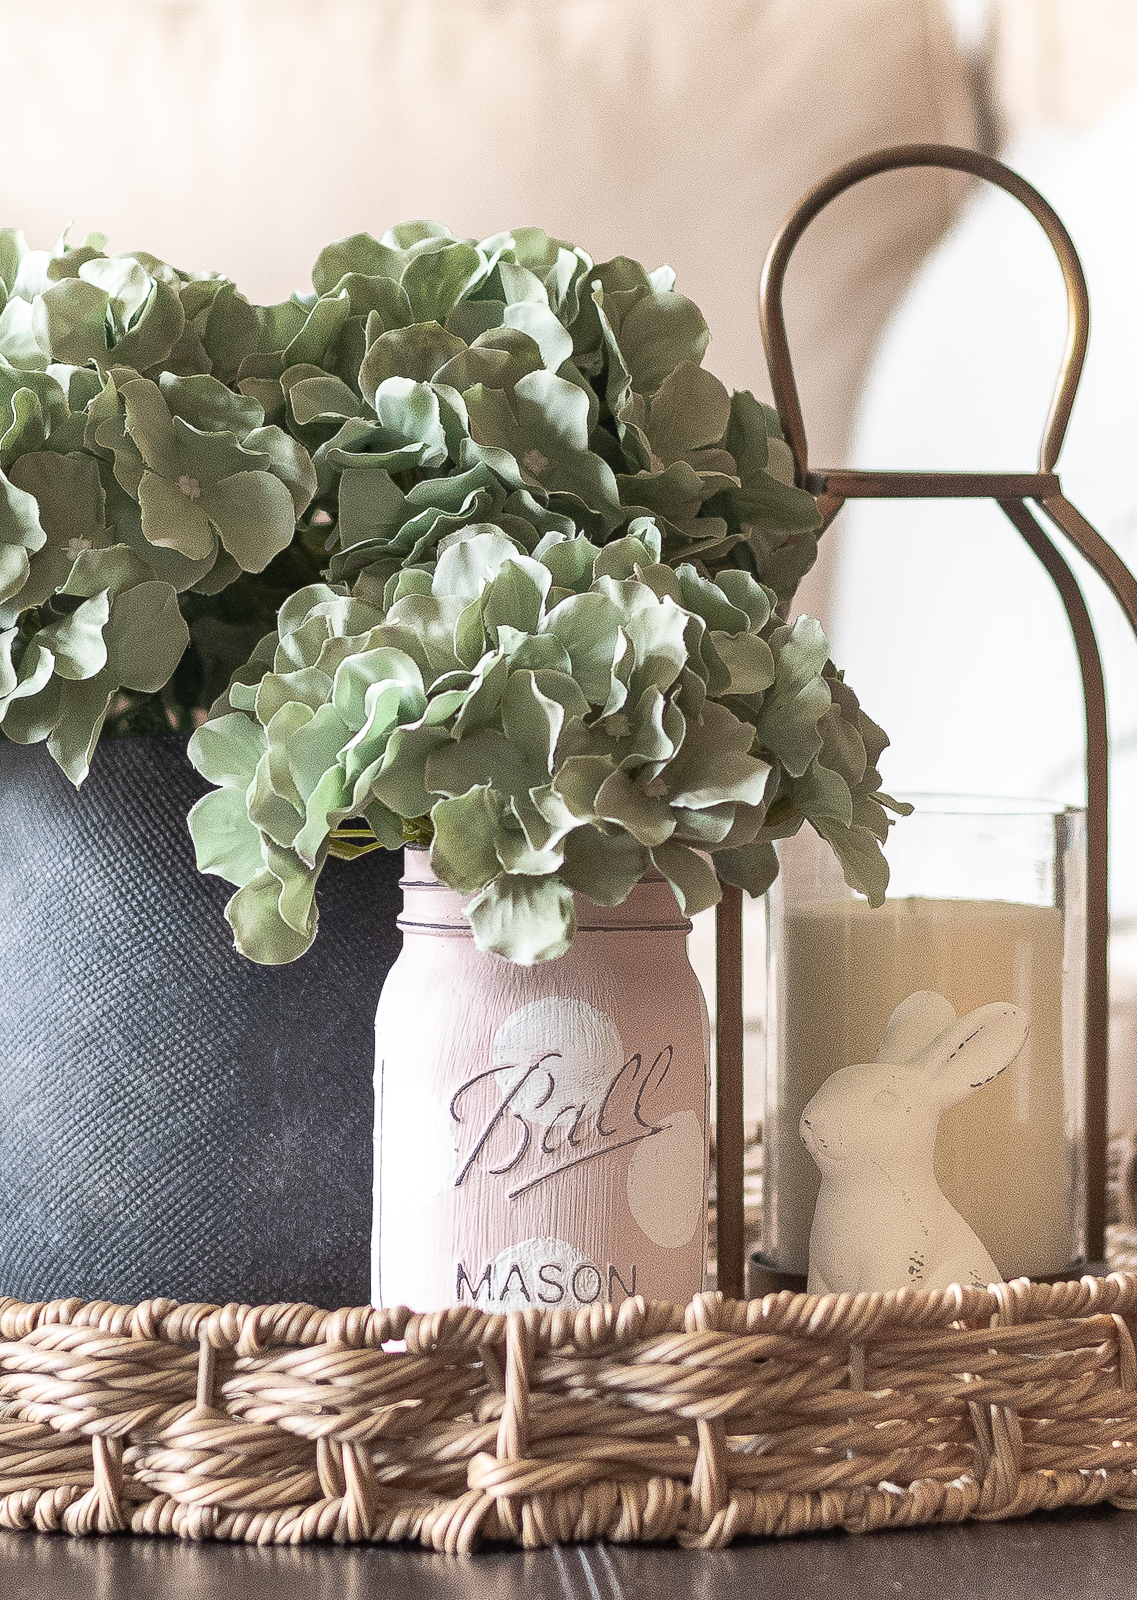
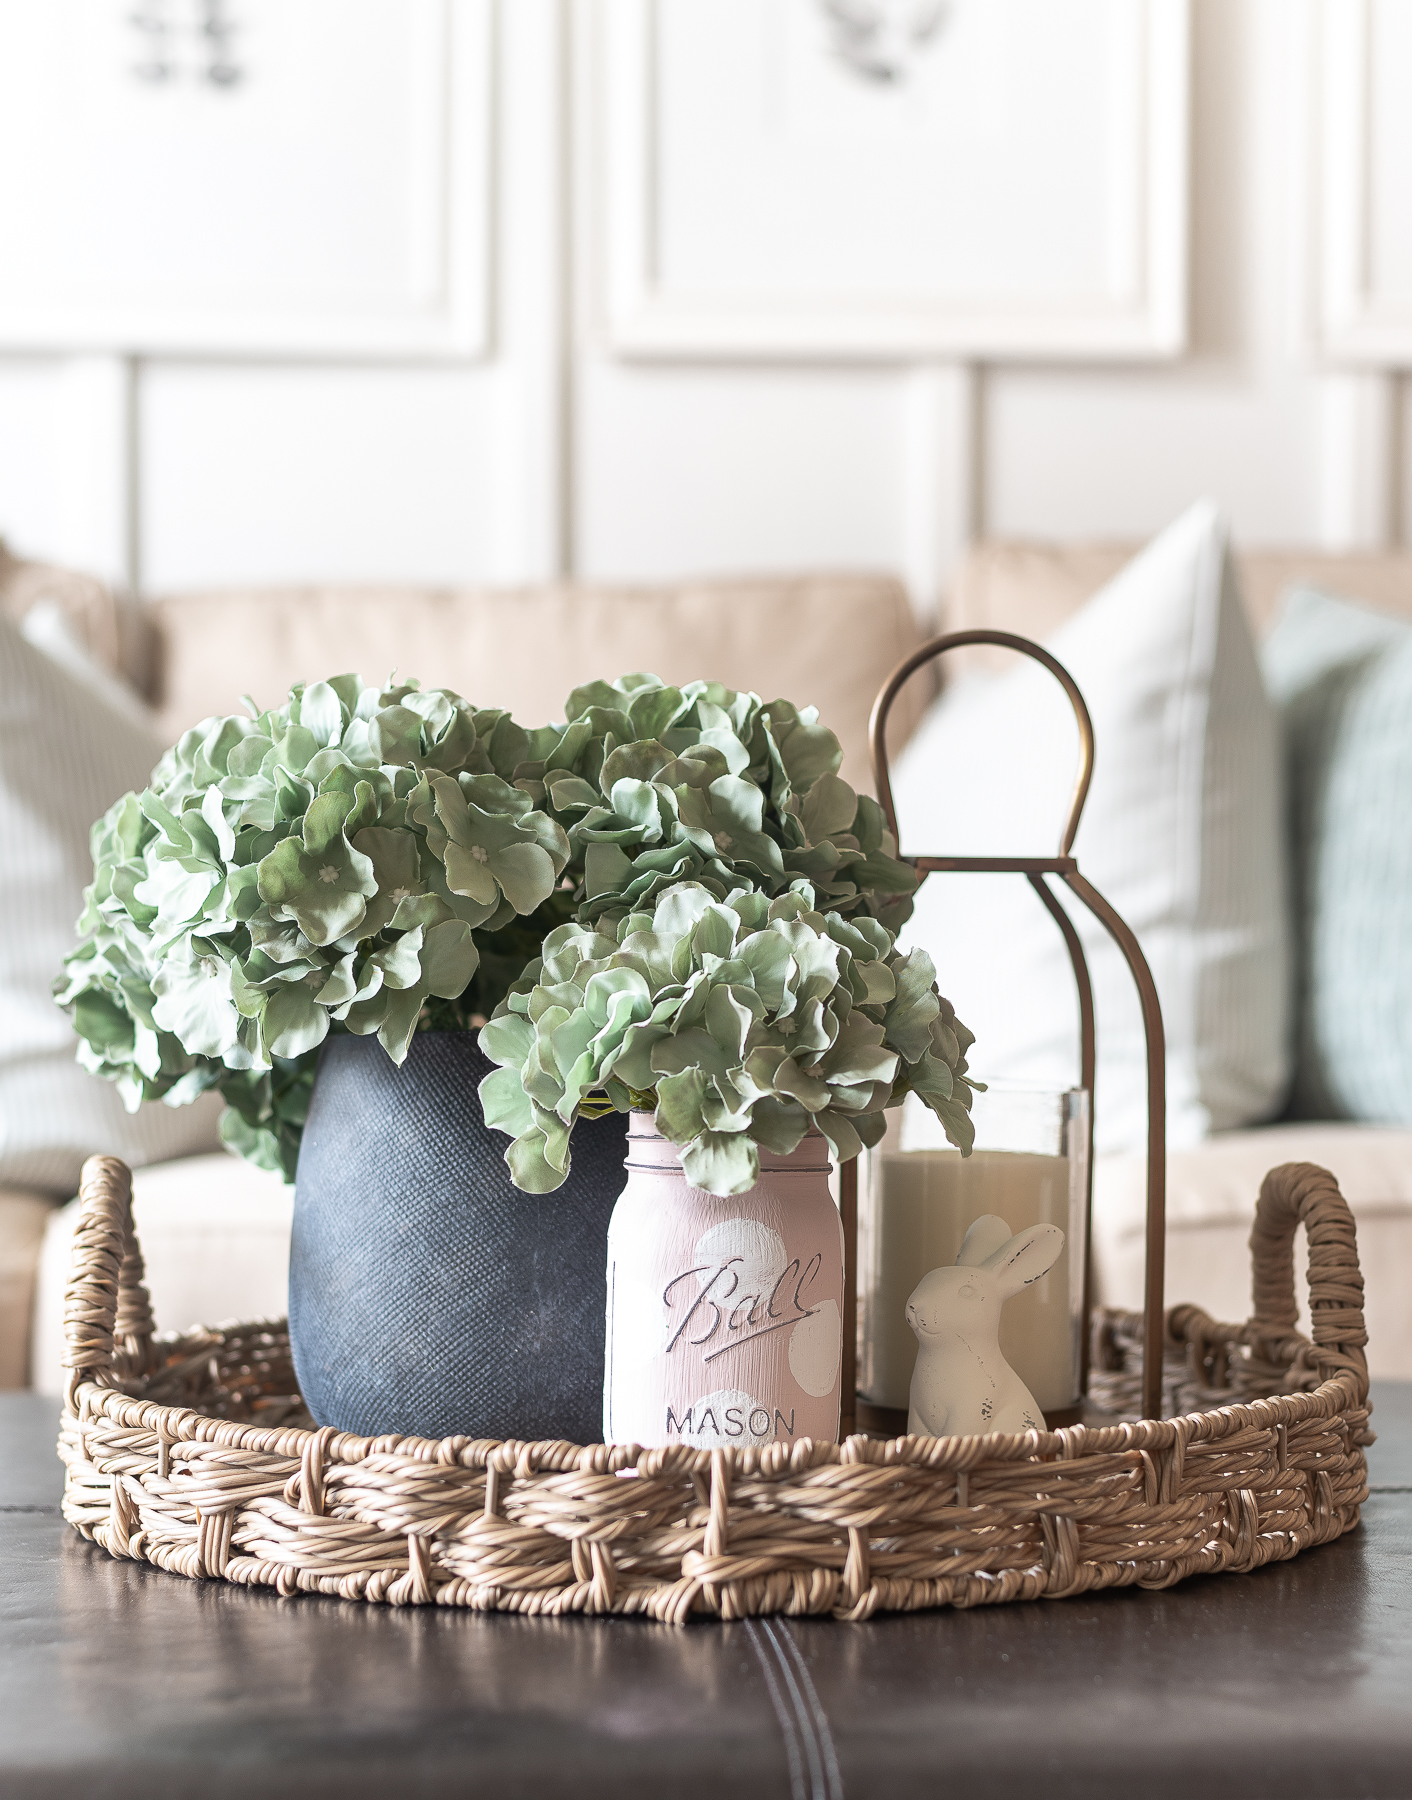
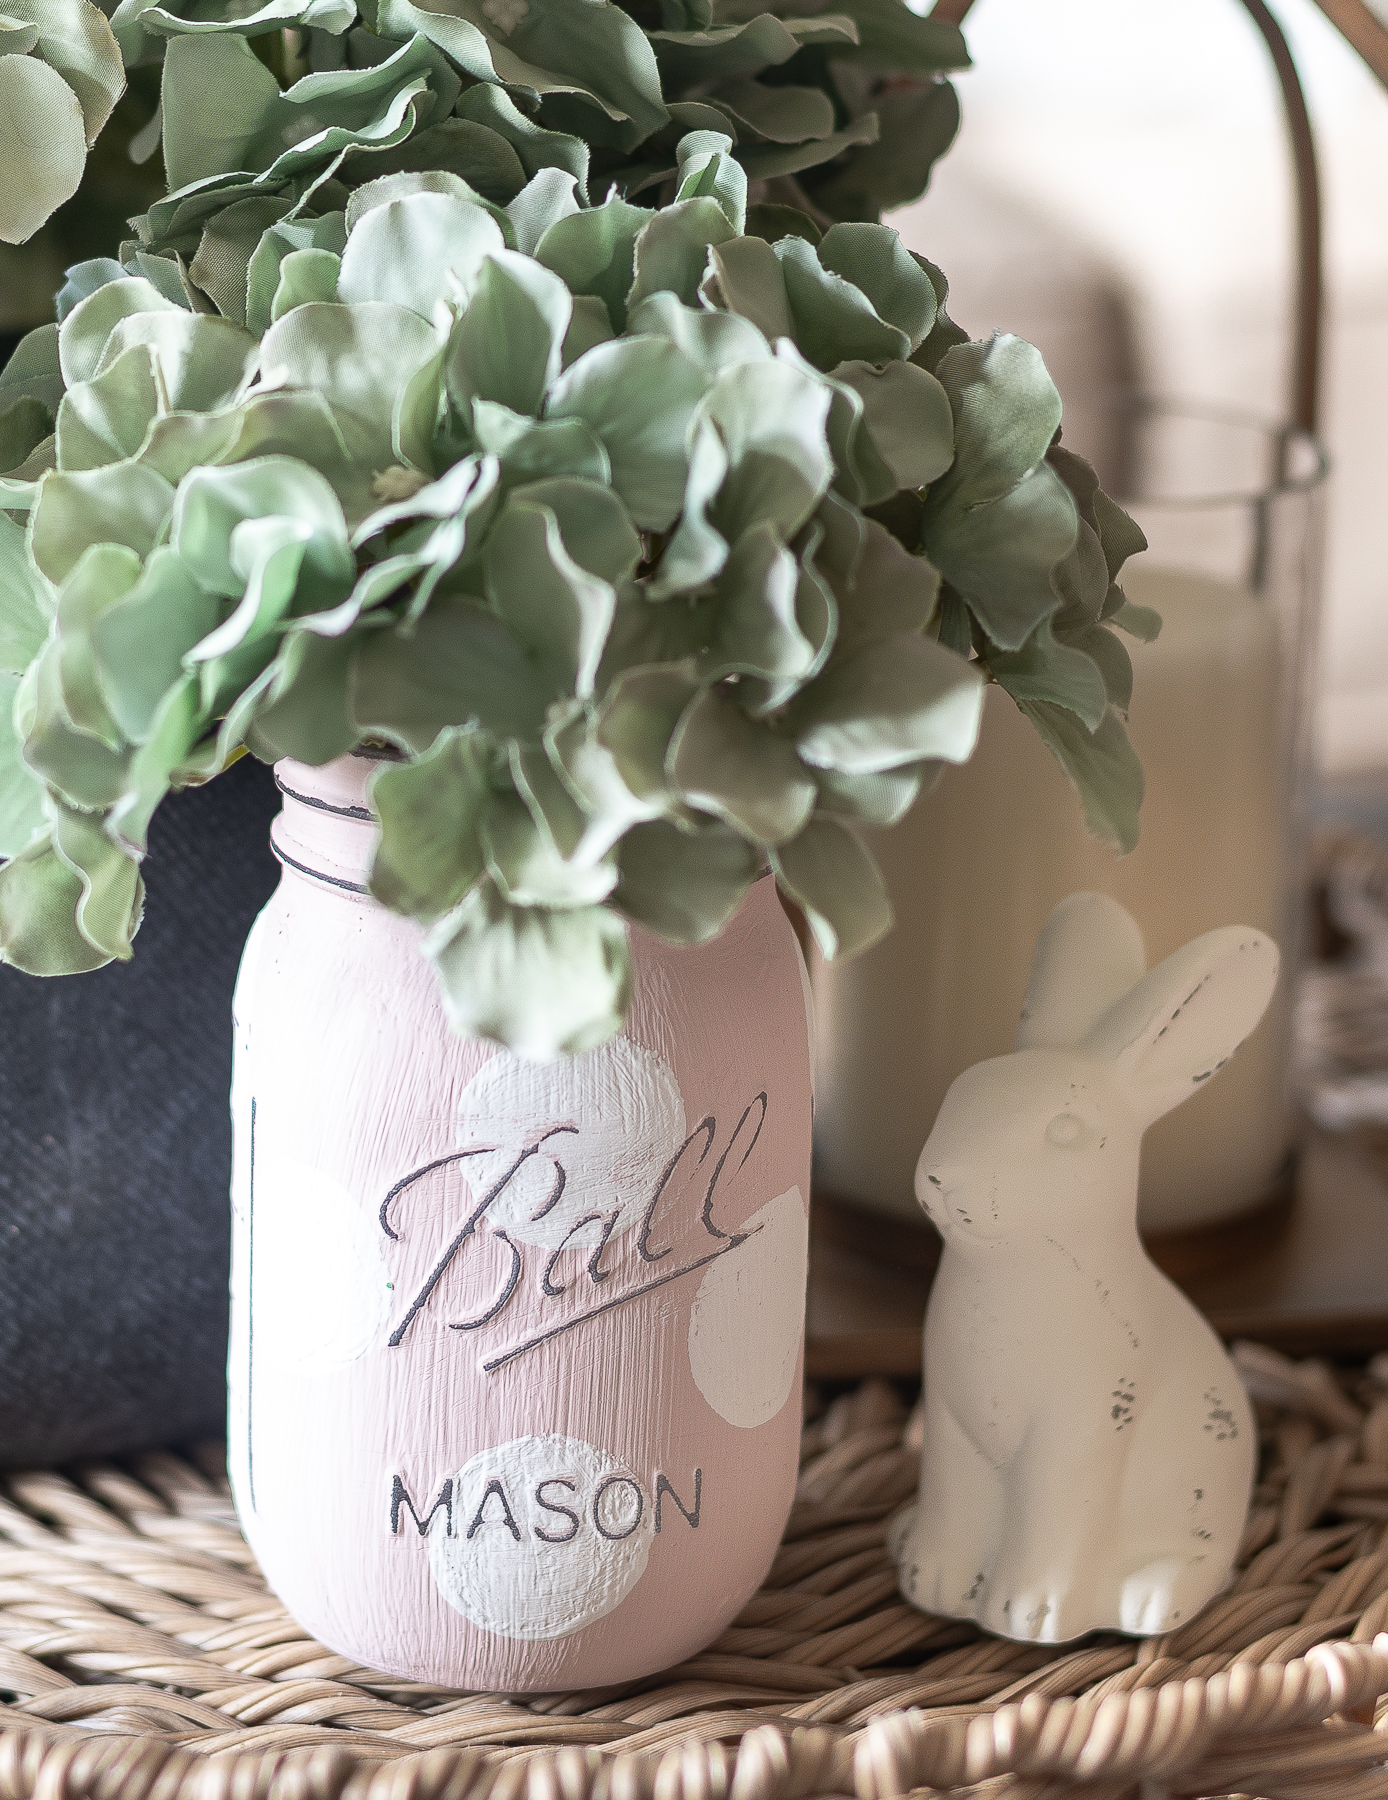
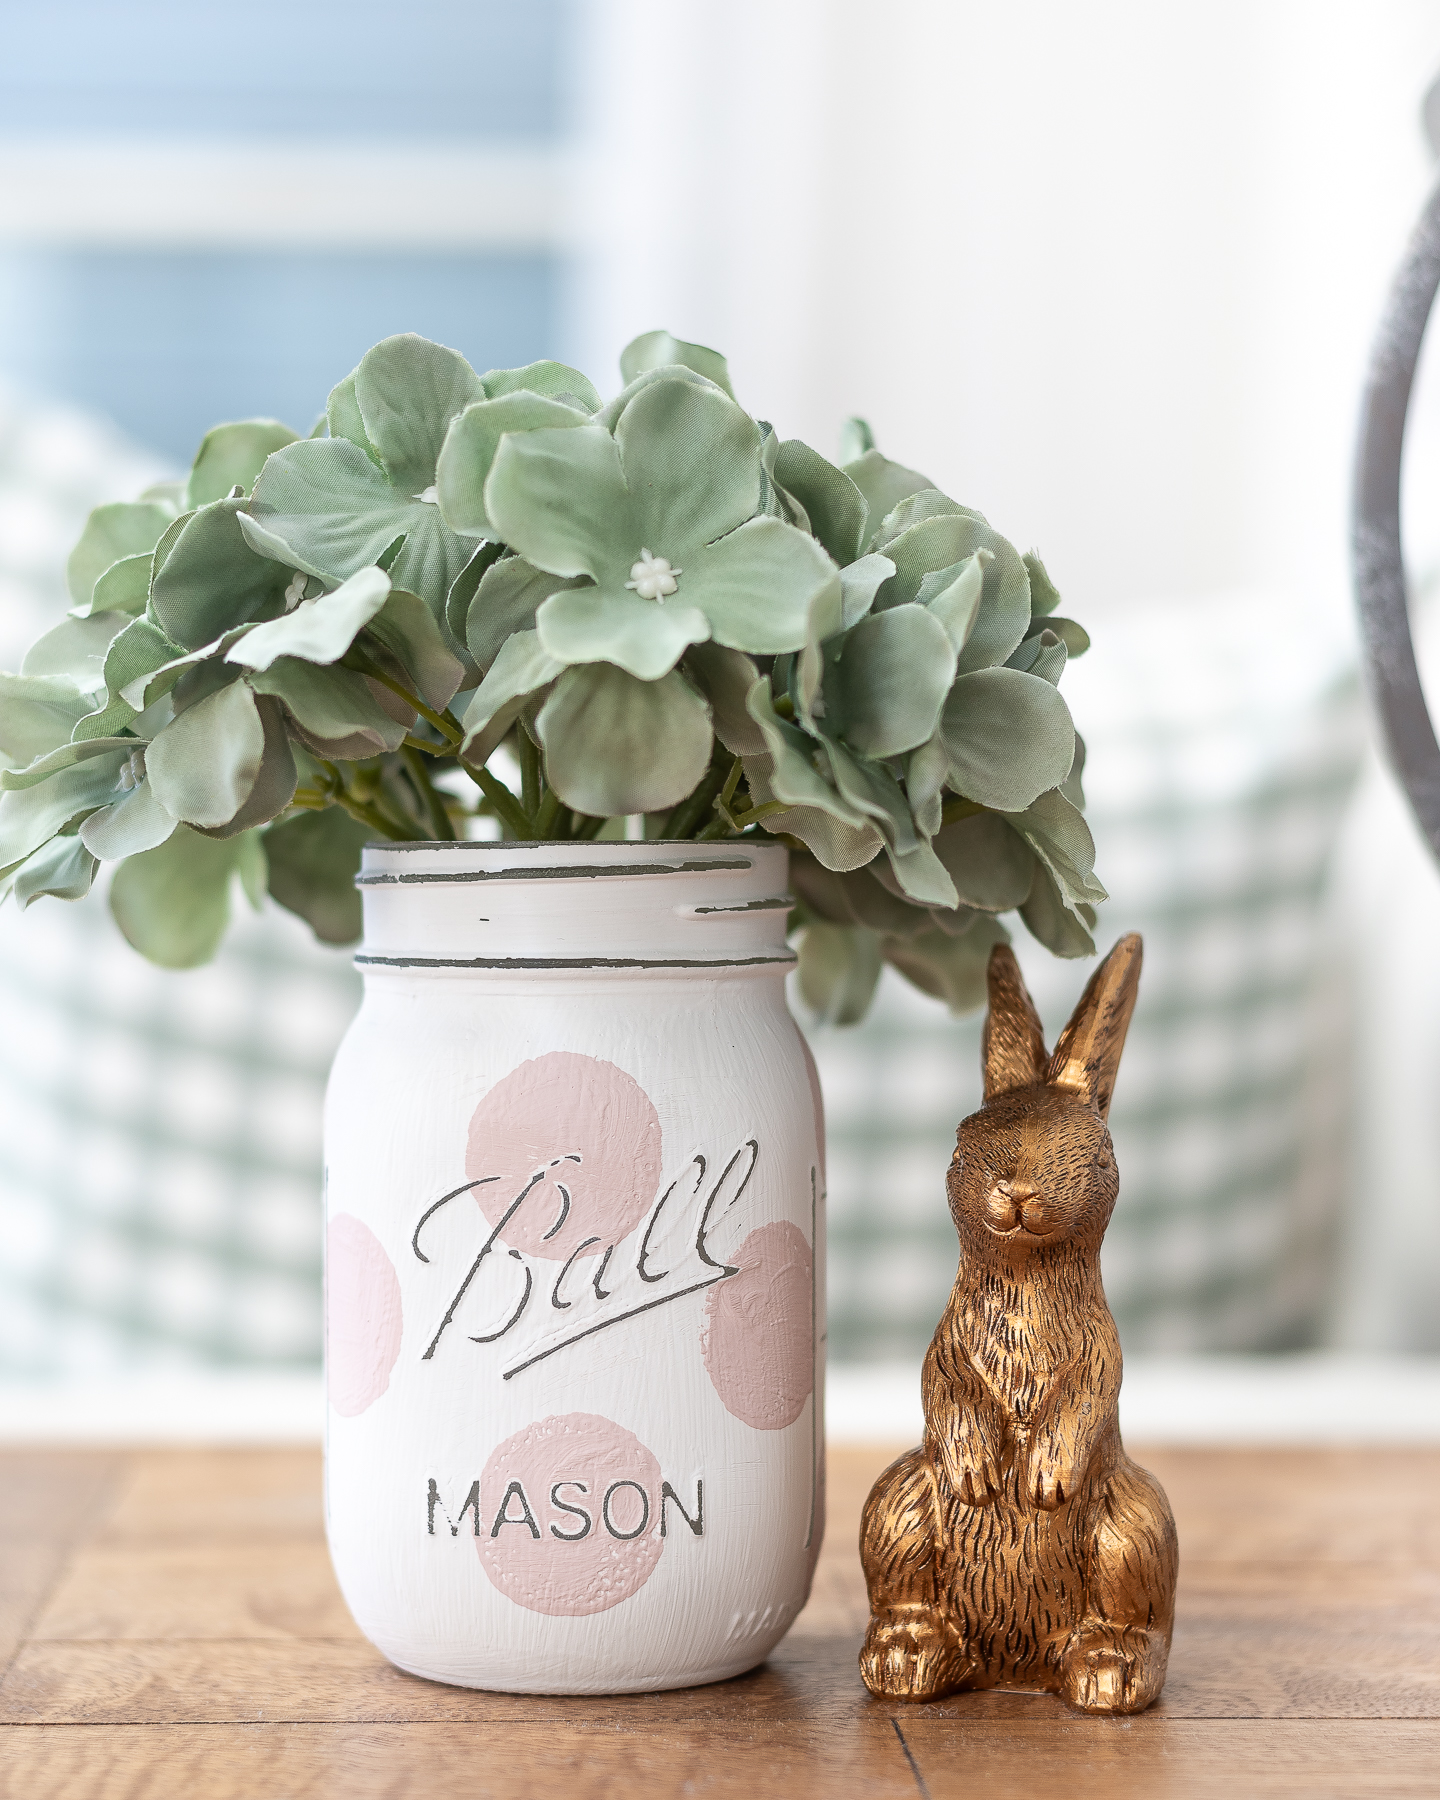
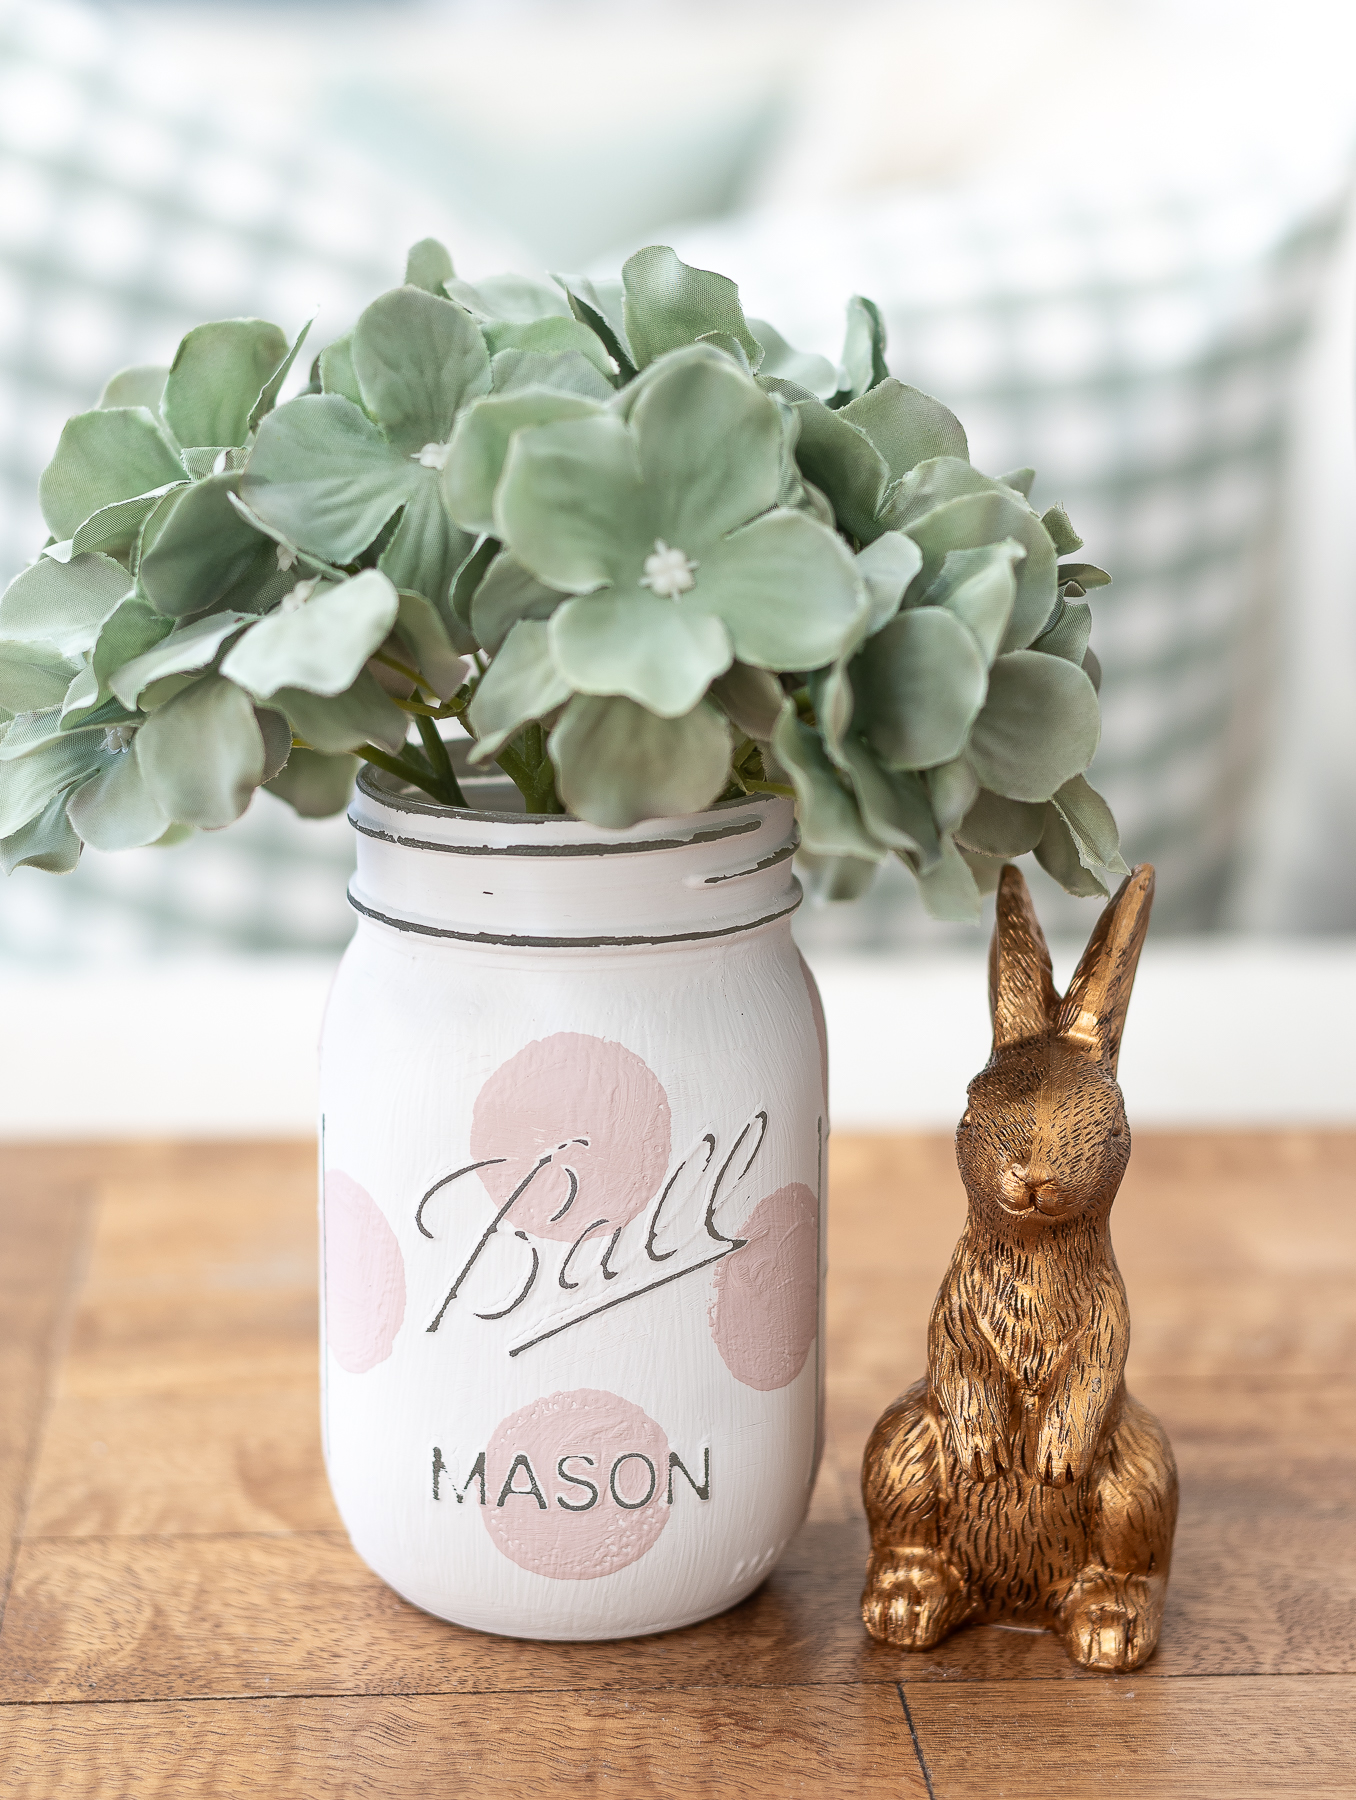
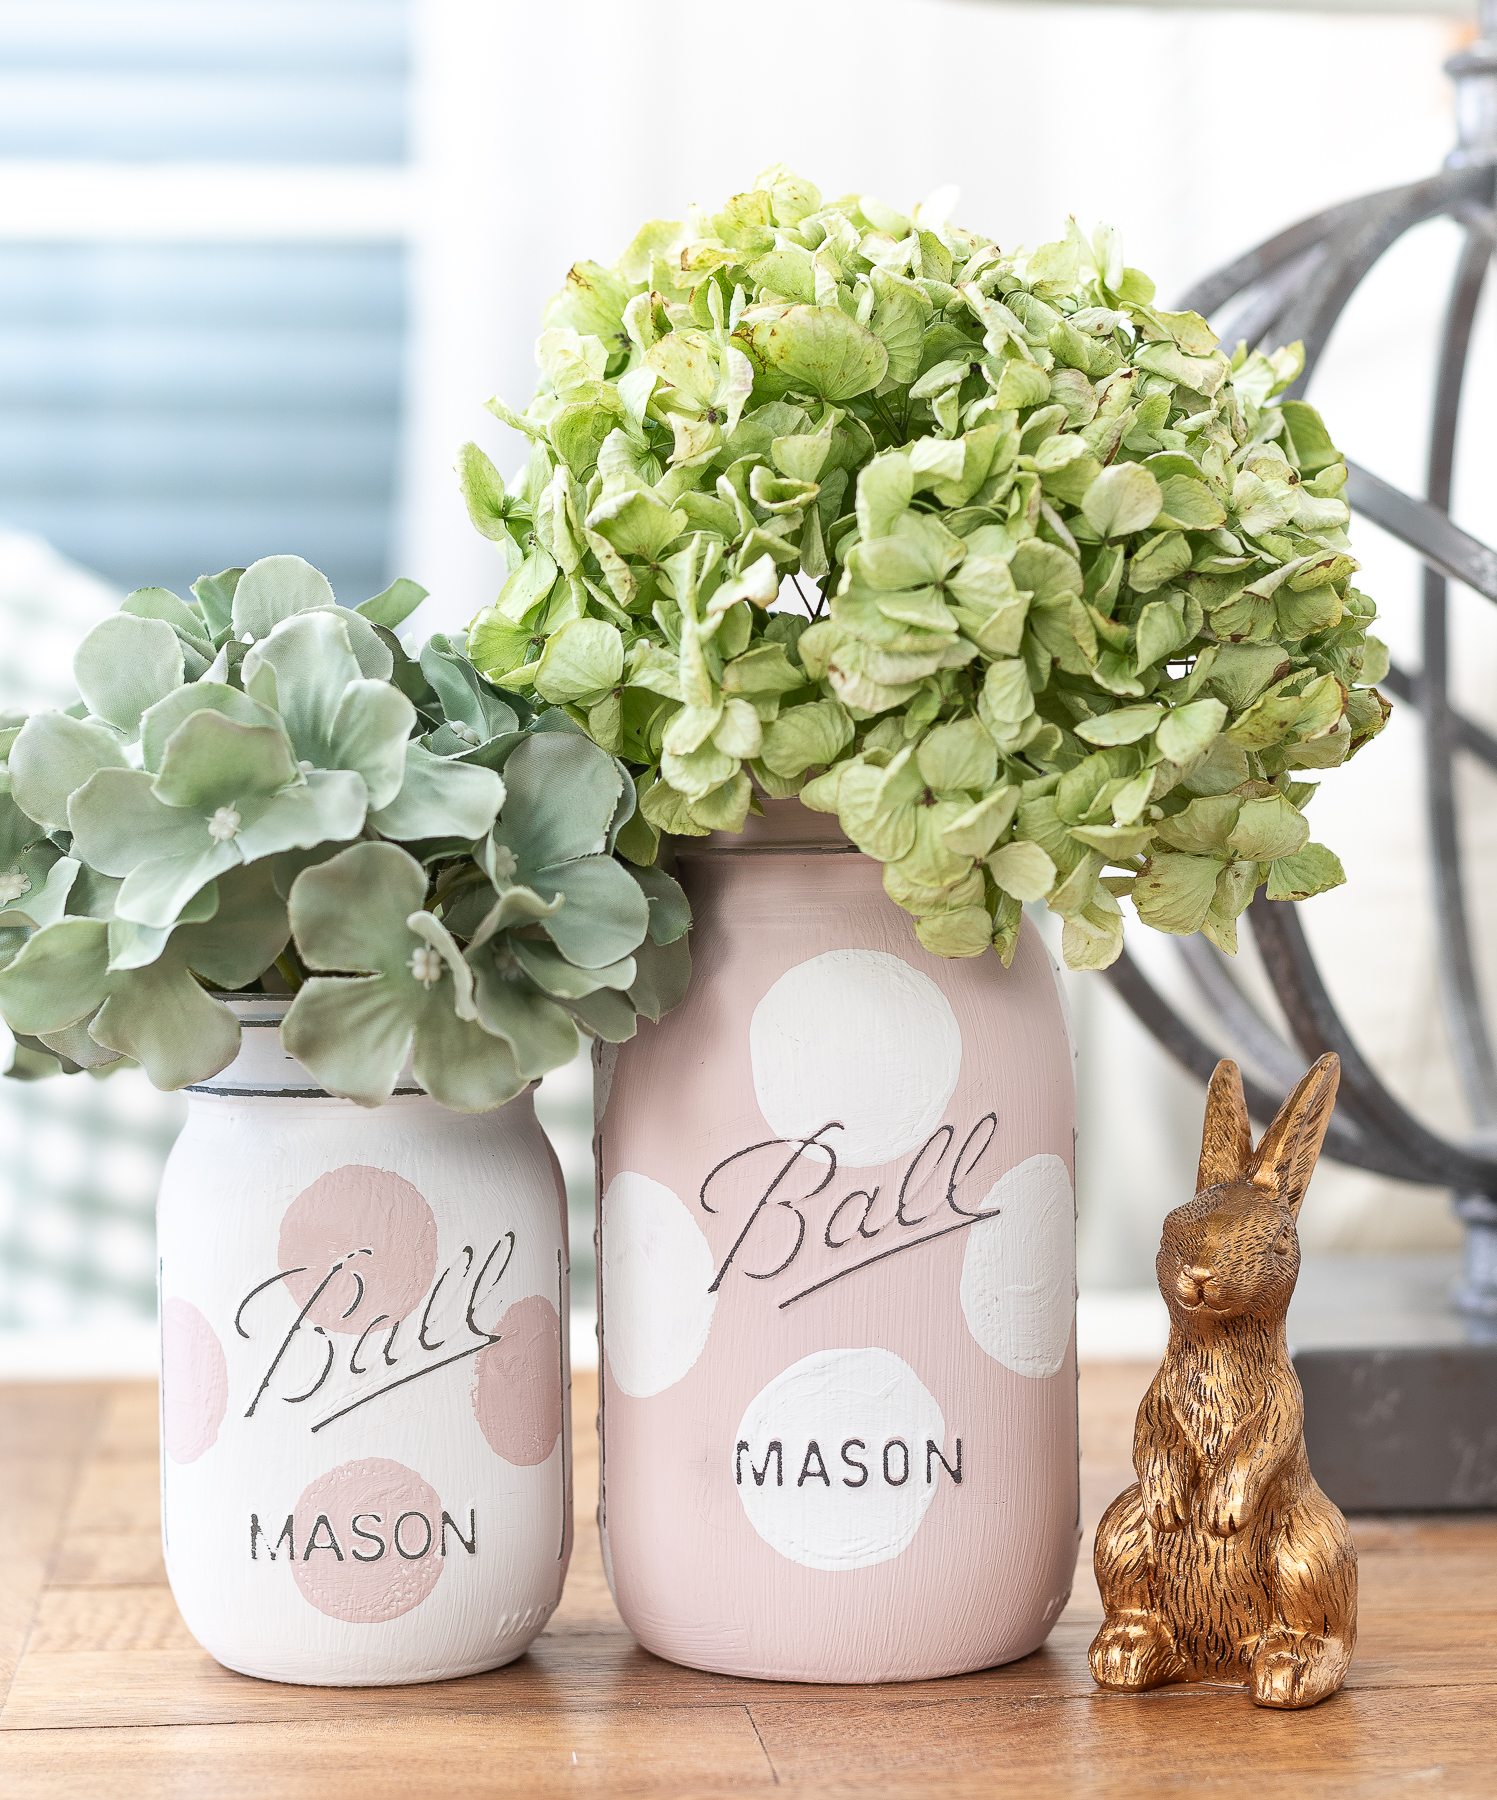
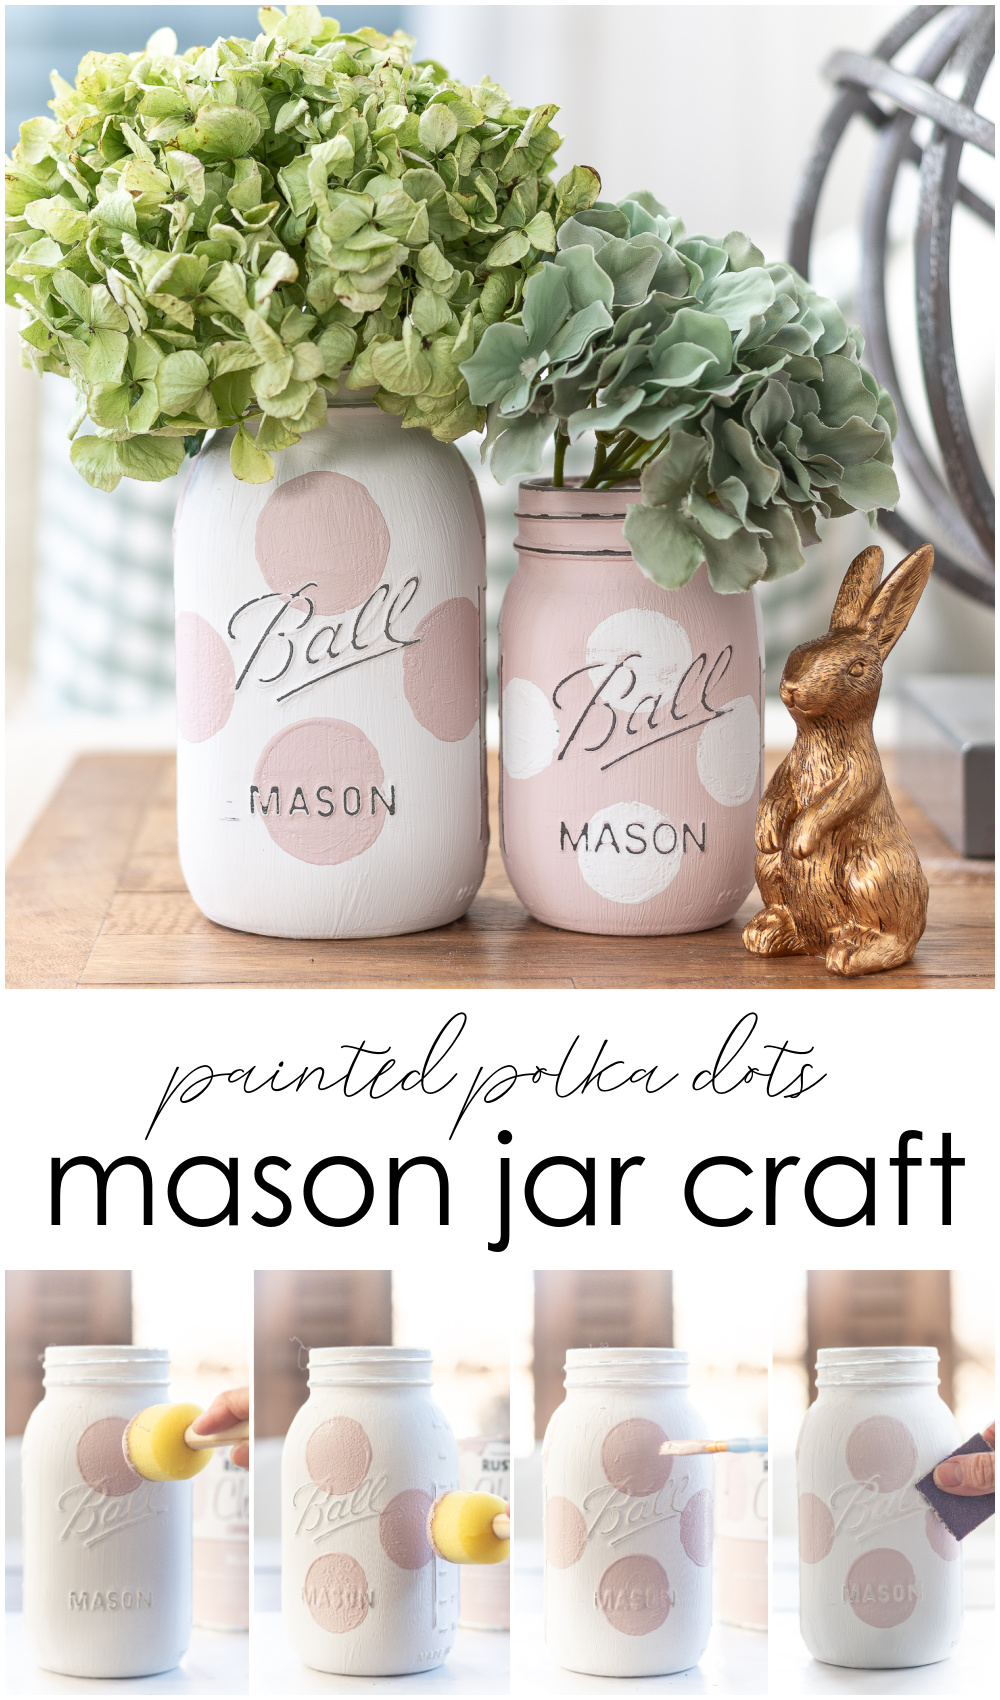
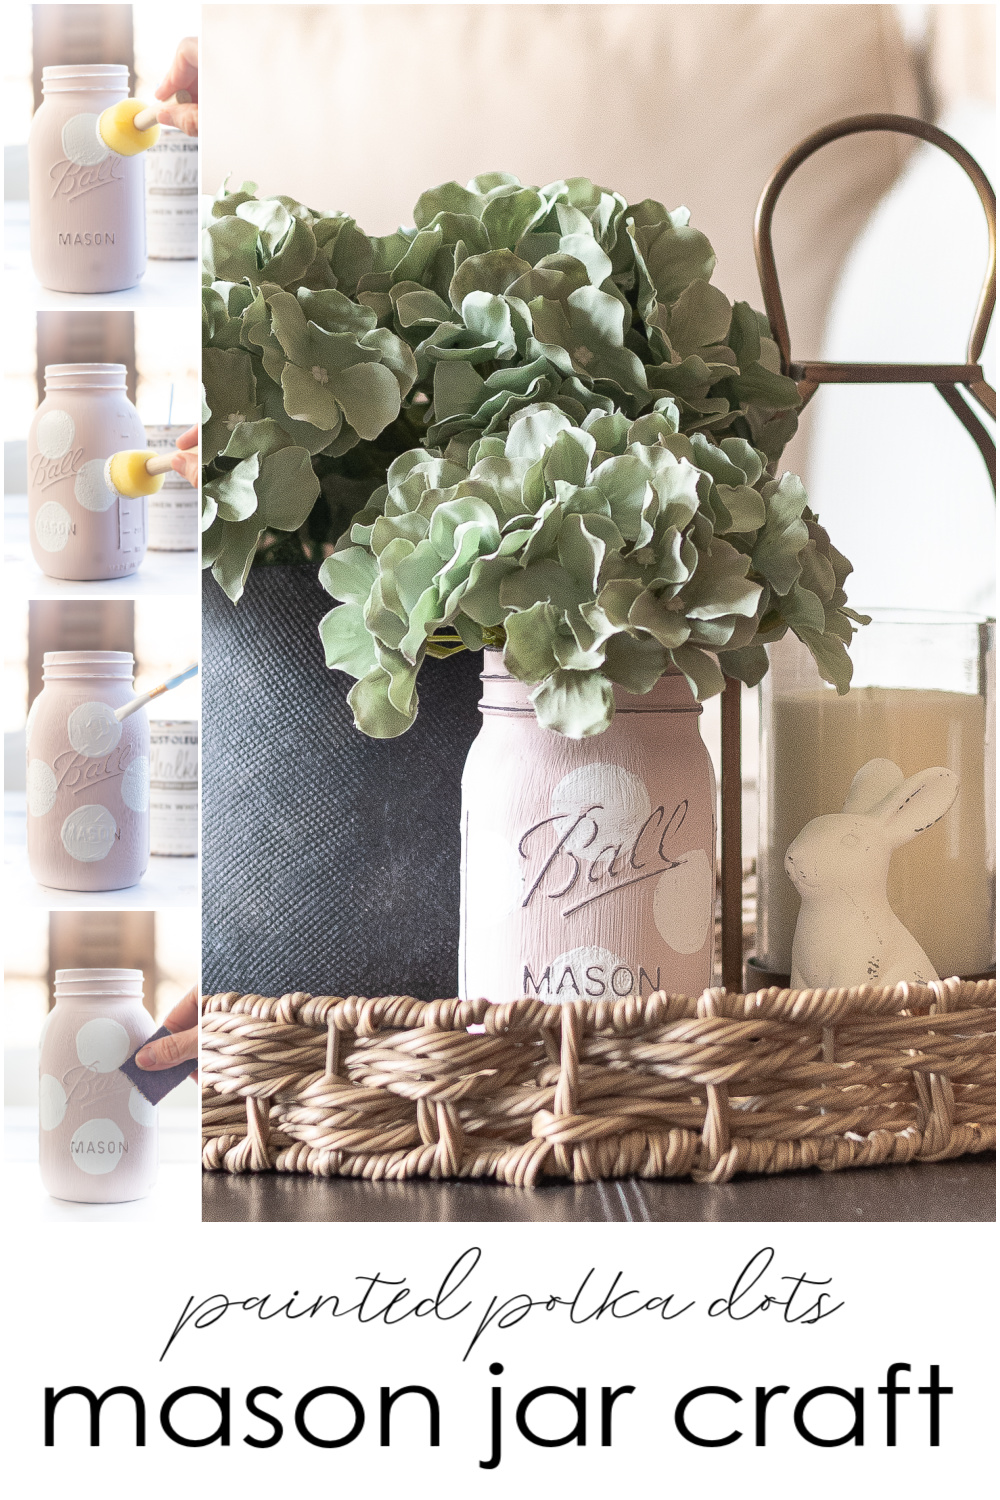
Those warming temps and sunnier days offer so much (needed) inspiration. And to prove that point, I was inspired to add some Spring to my home in the form of painted diy polka dot mason jars in blush pink and white.
How to Make Polka Dot Mason Jars
Materials*
Rustoleum Chalked Paint in Blush Pink
Rustoleum Chalked Paint in Linen White
Paint Brushes
*includes affiliate links.
Instructions
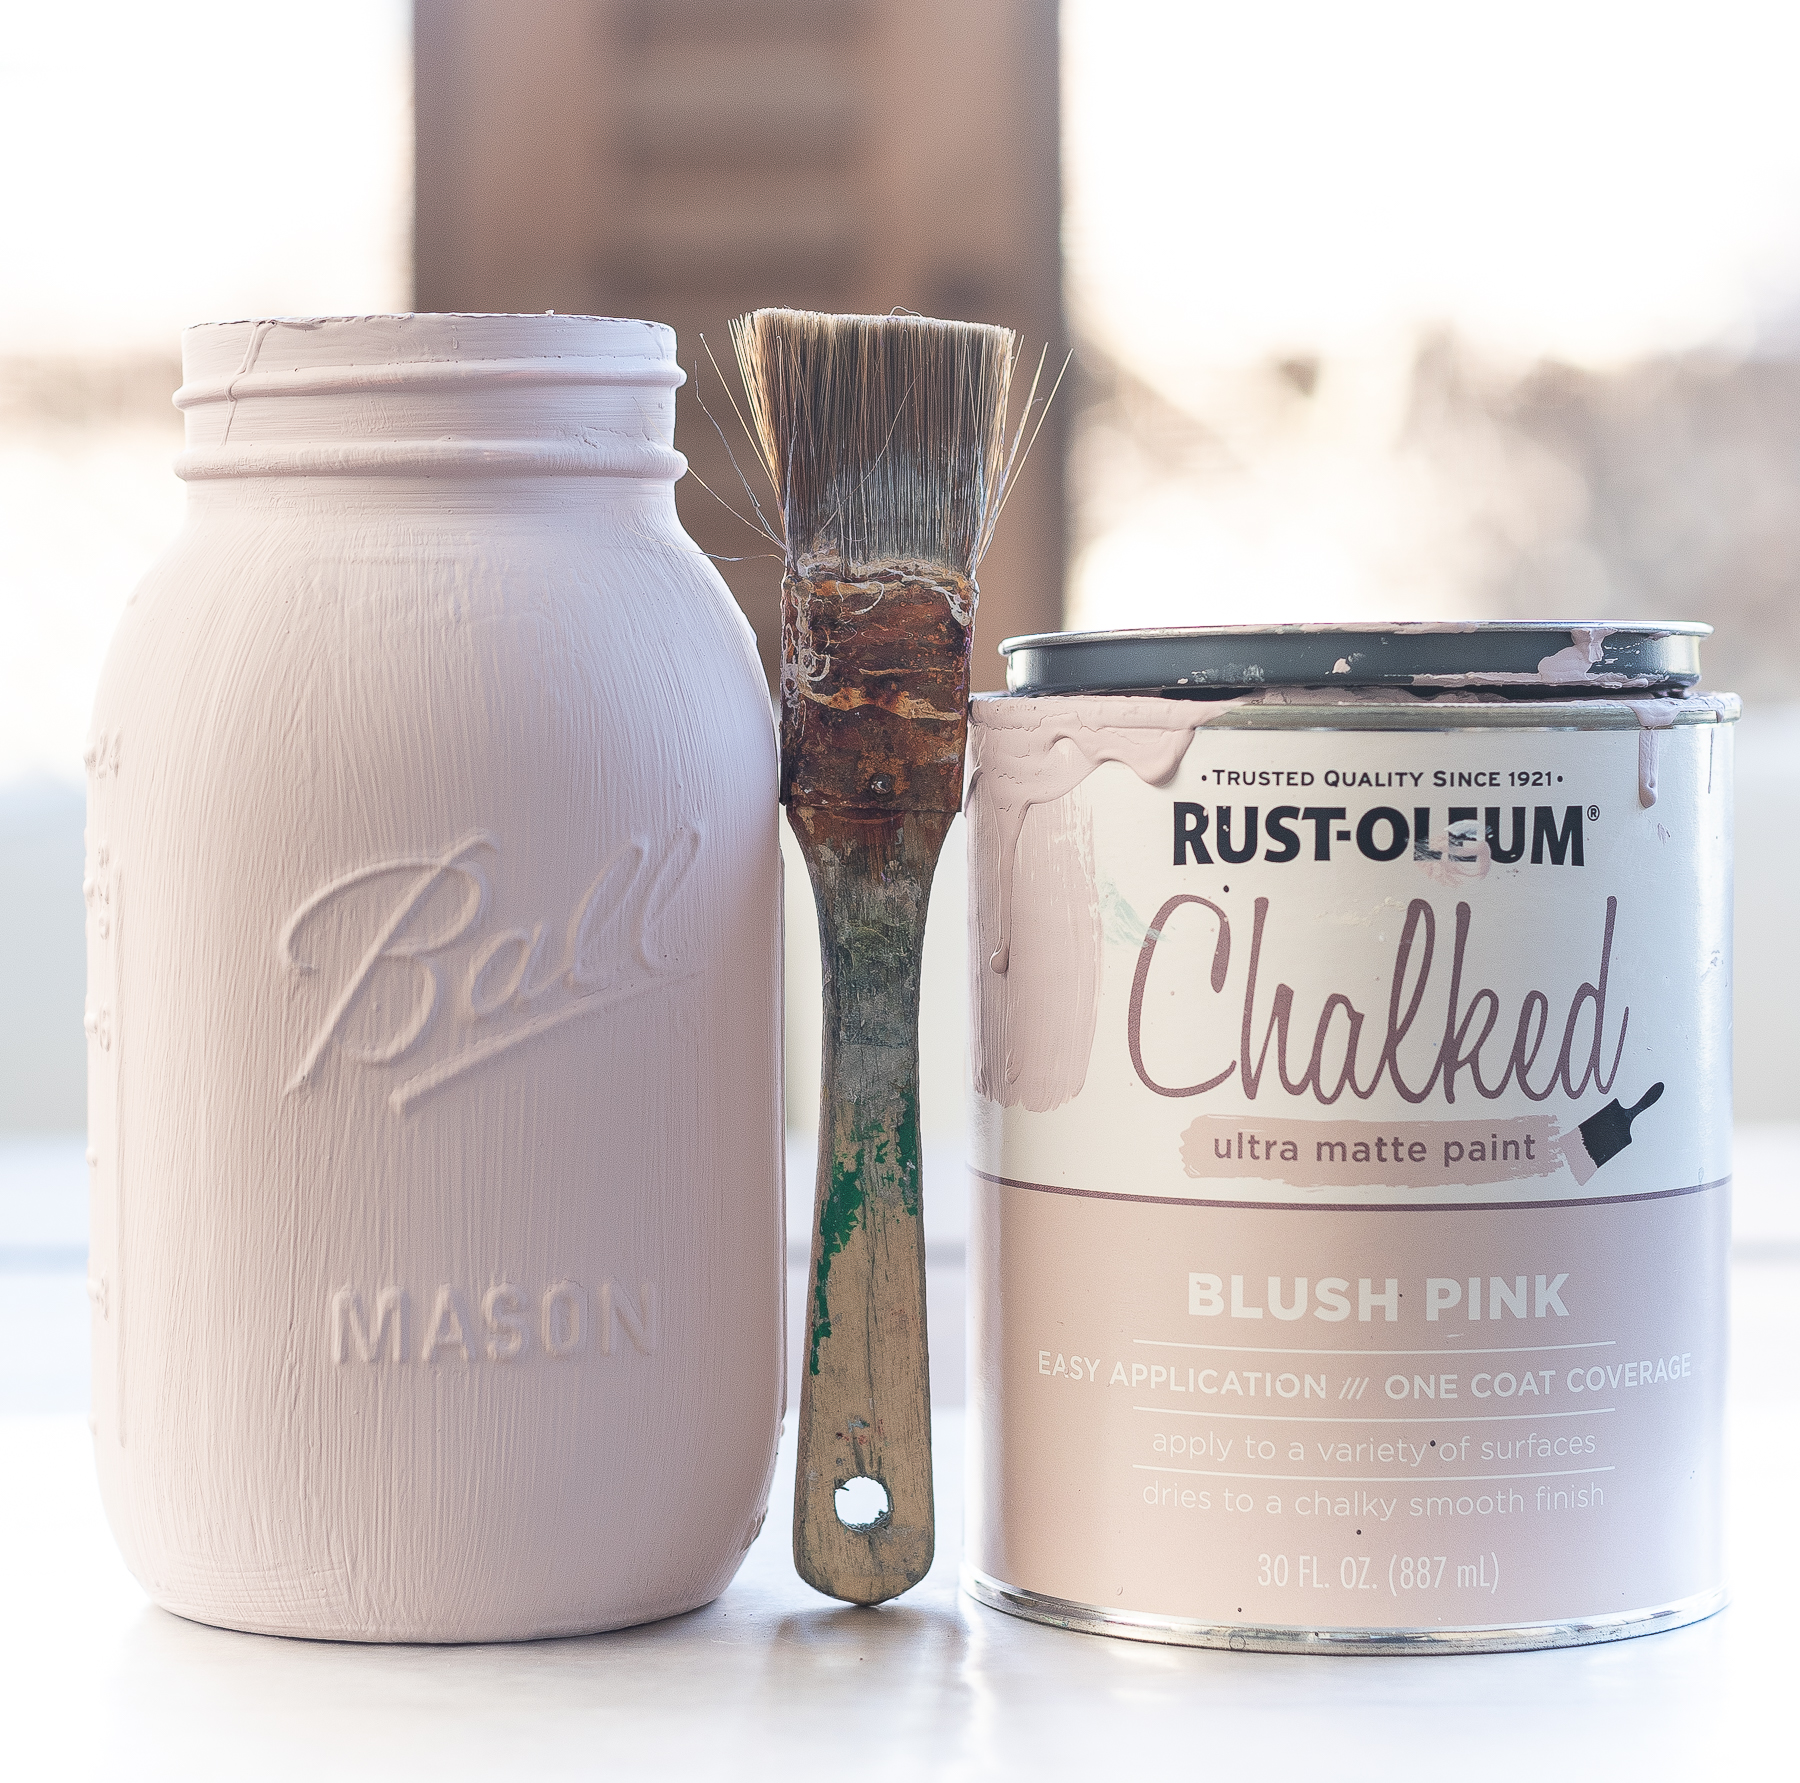
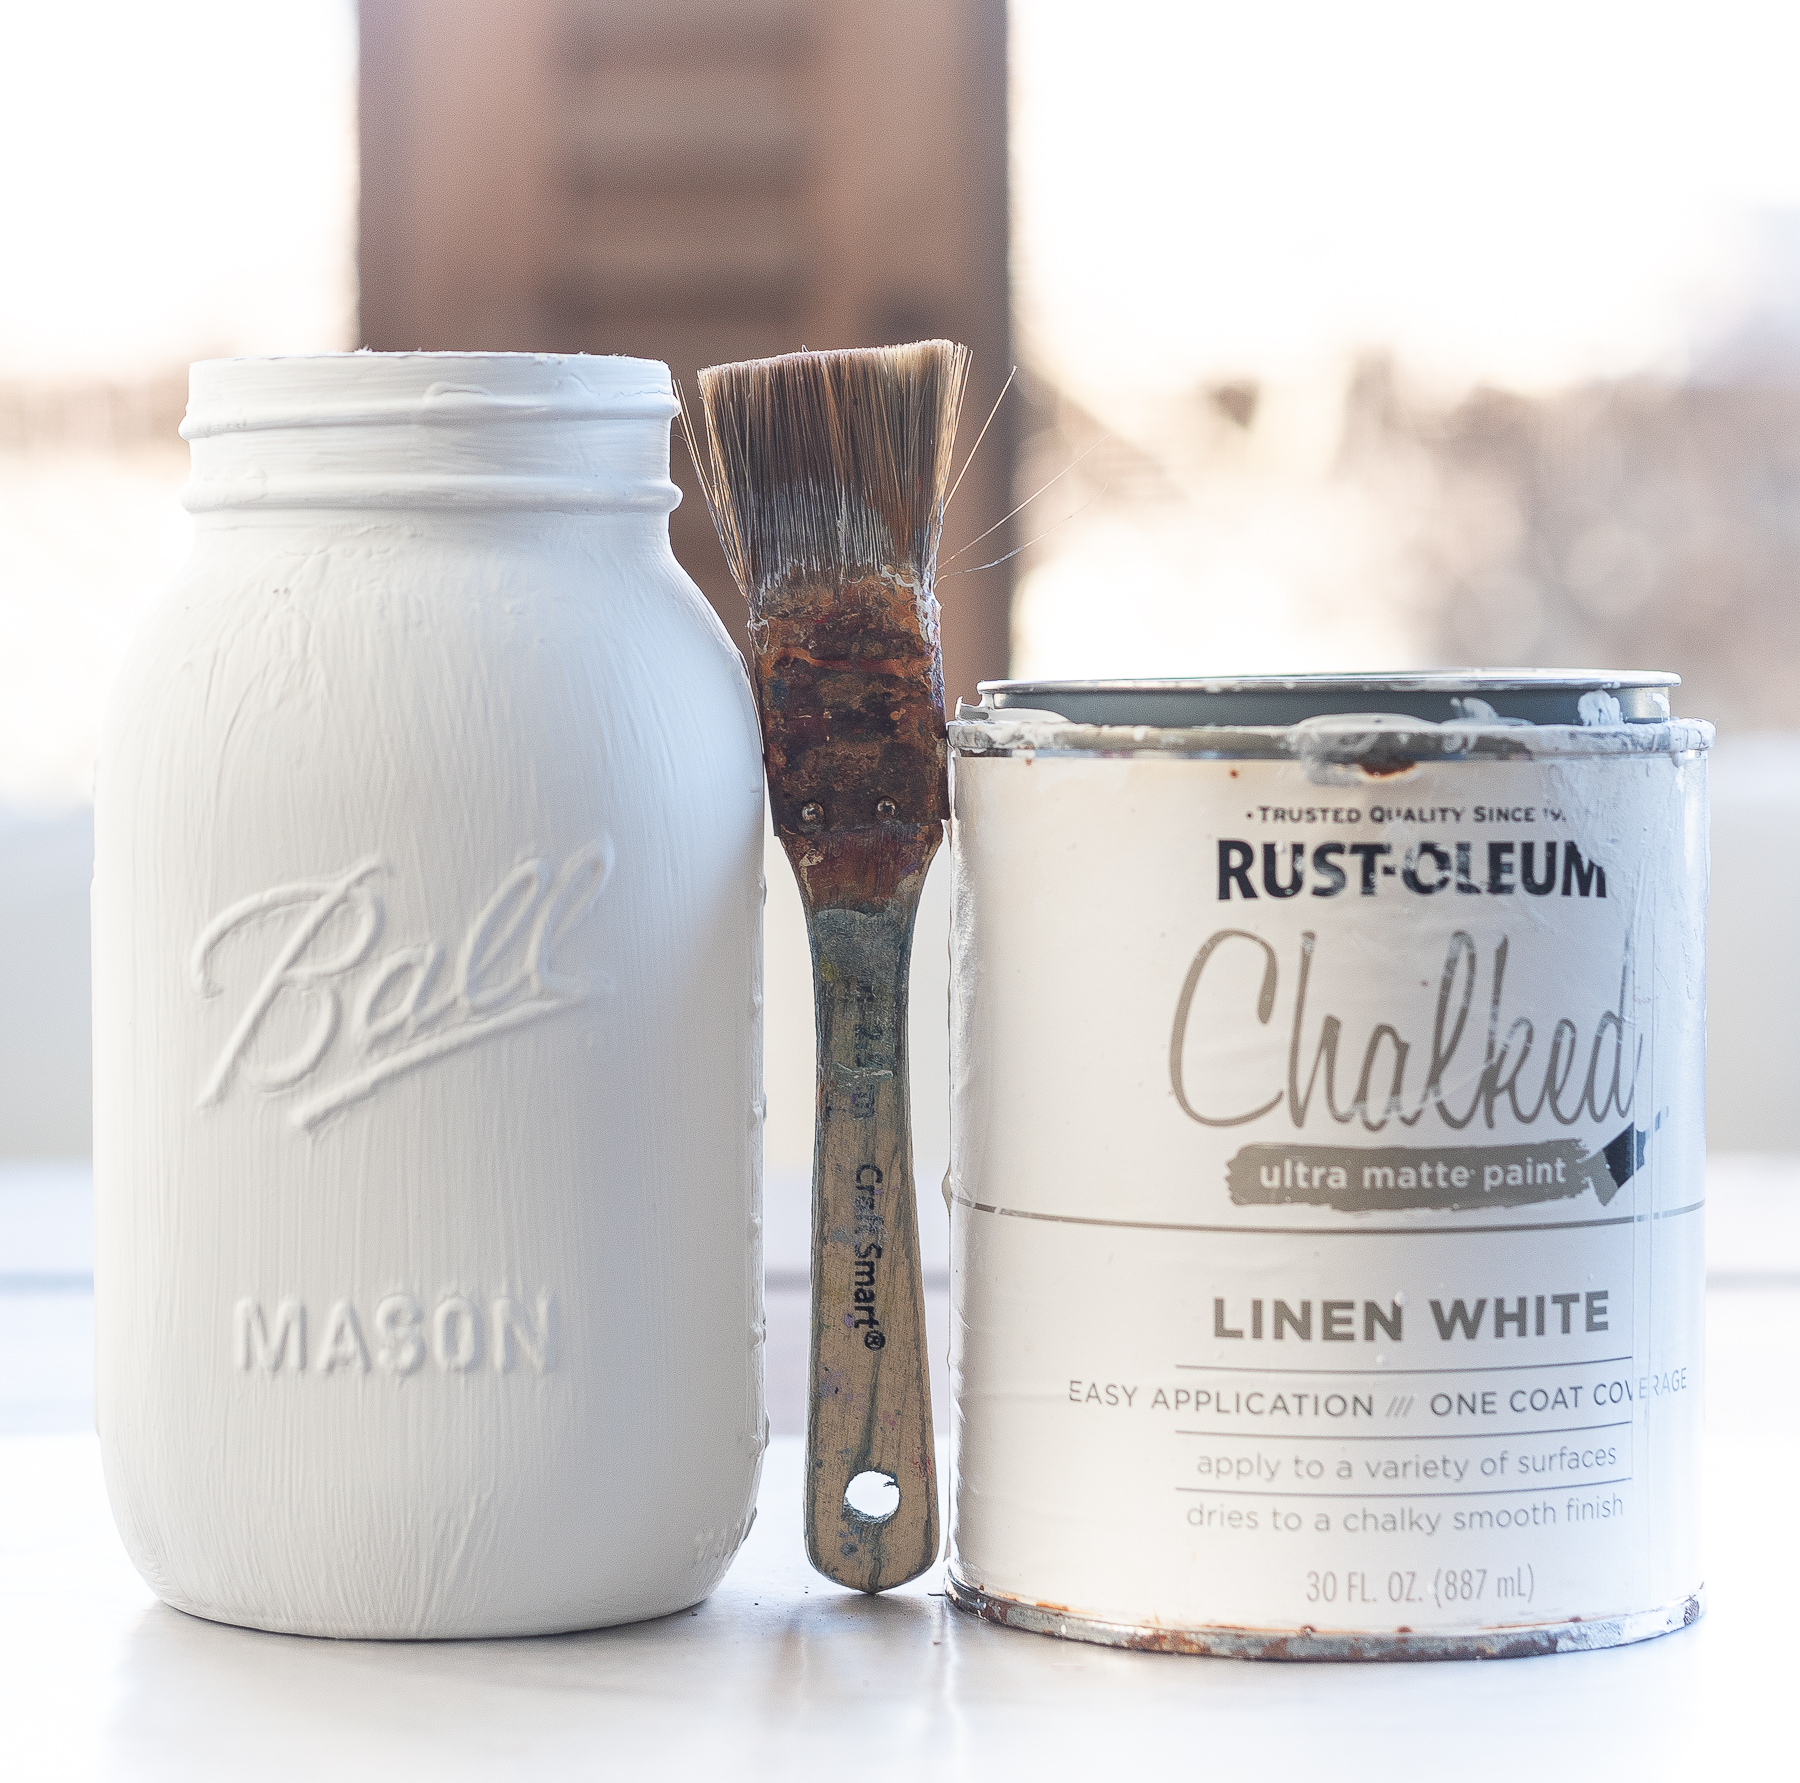
Give your jars two coats of paint. Let dry completely between coats.
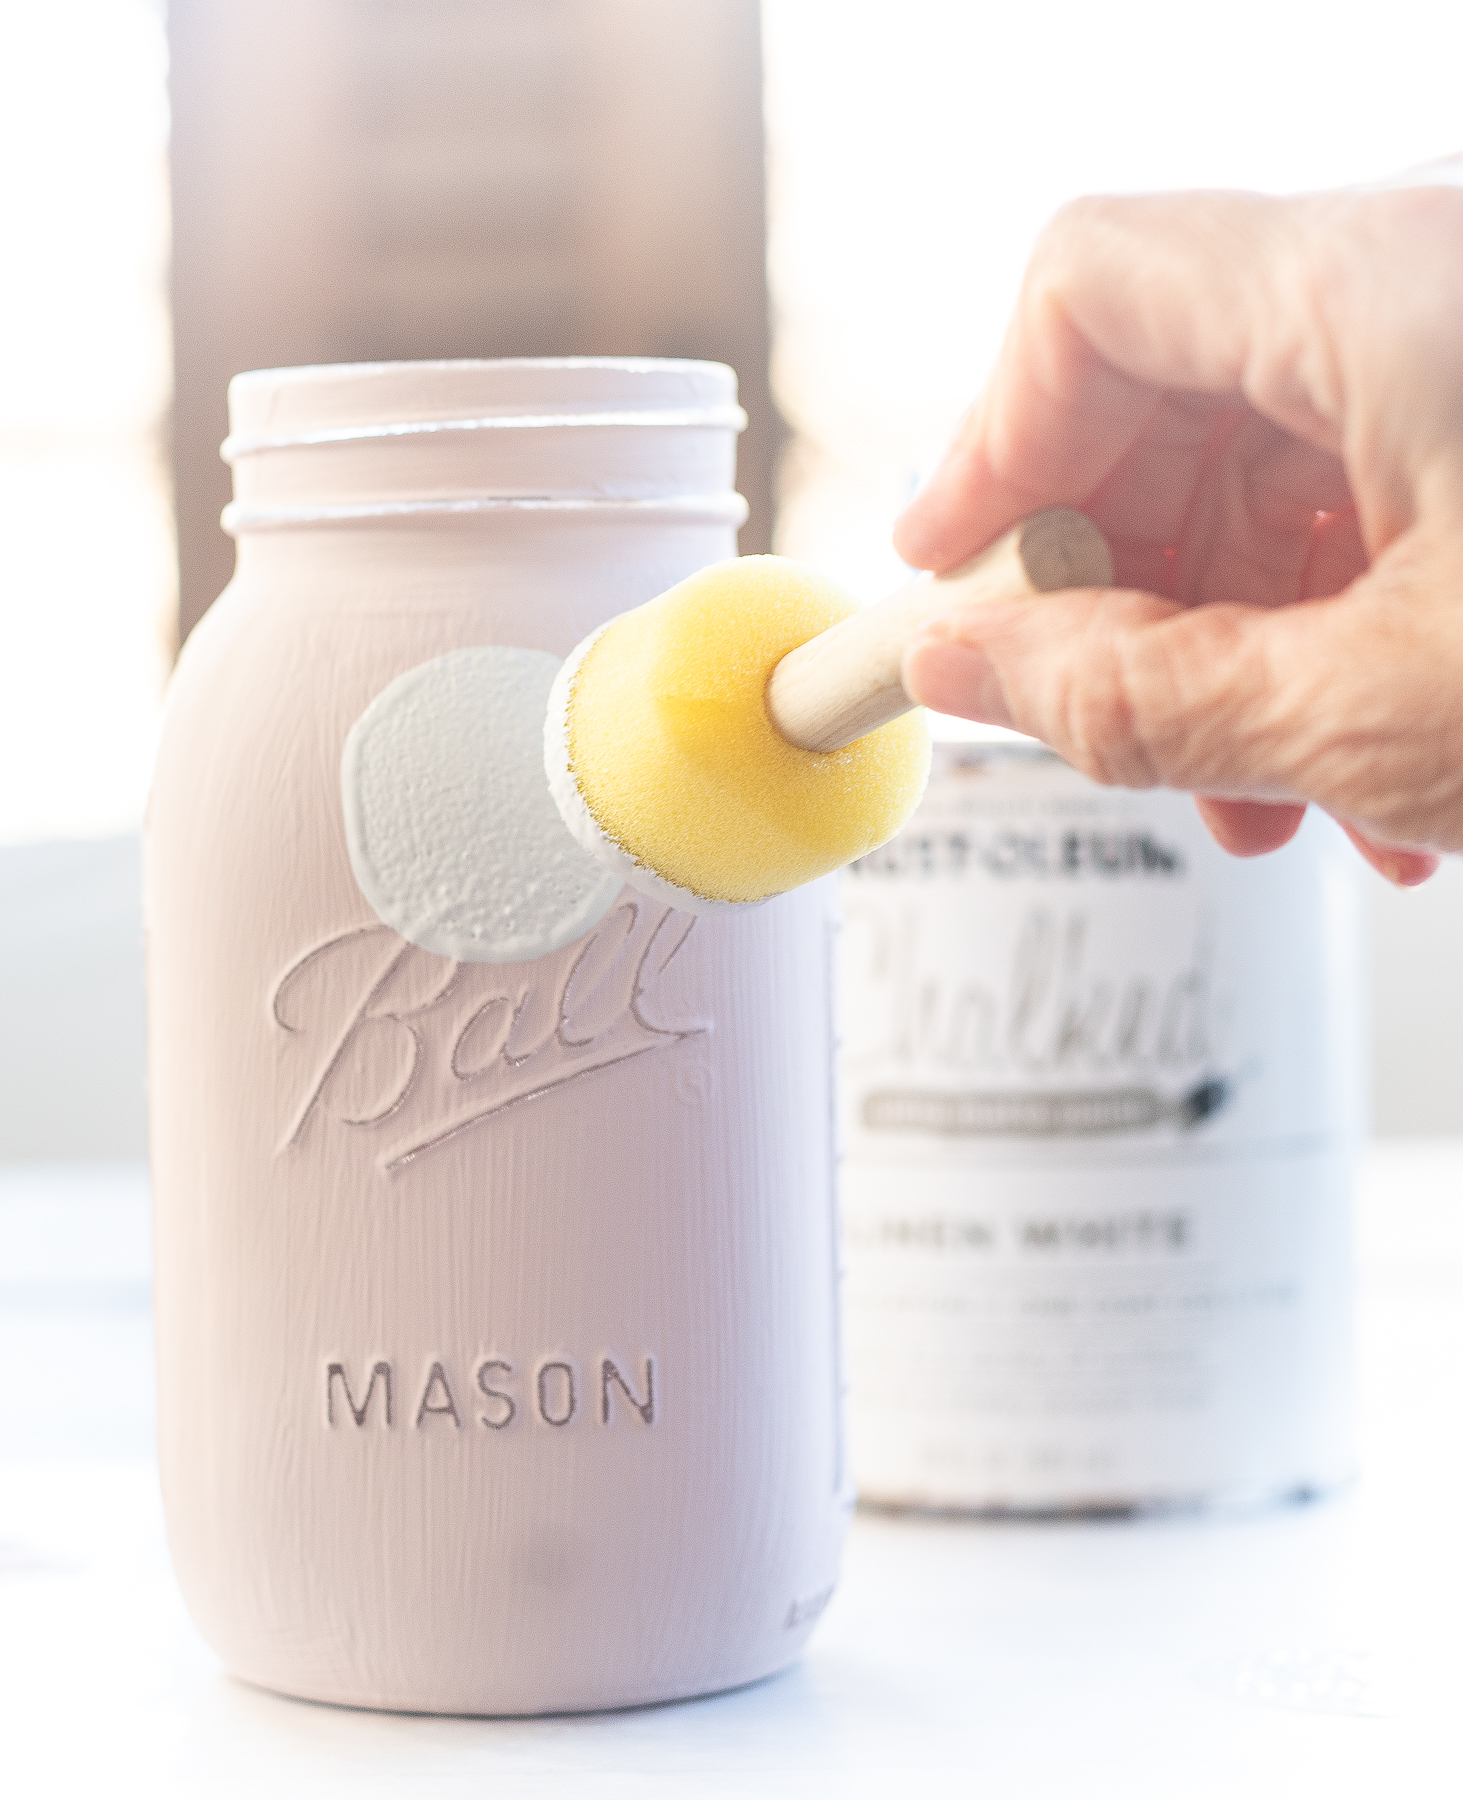
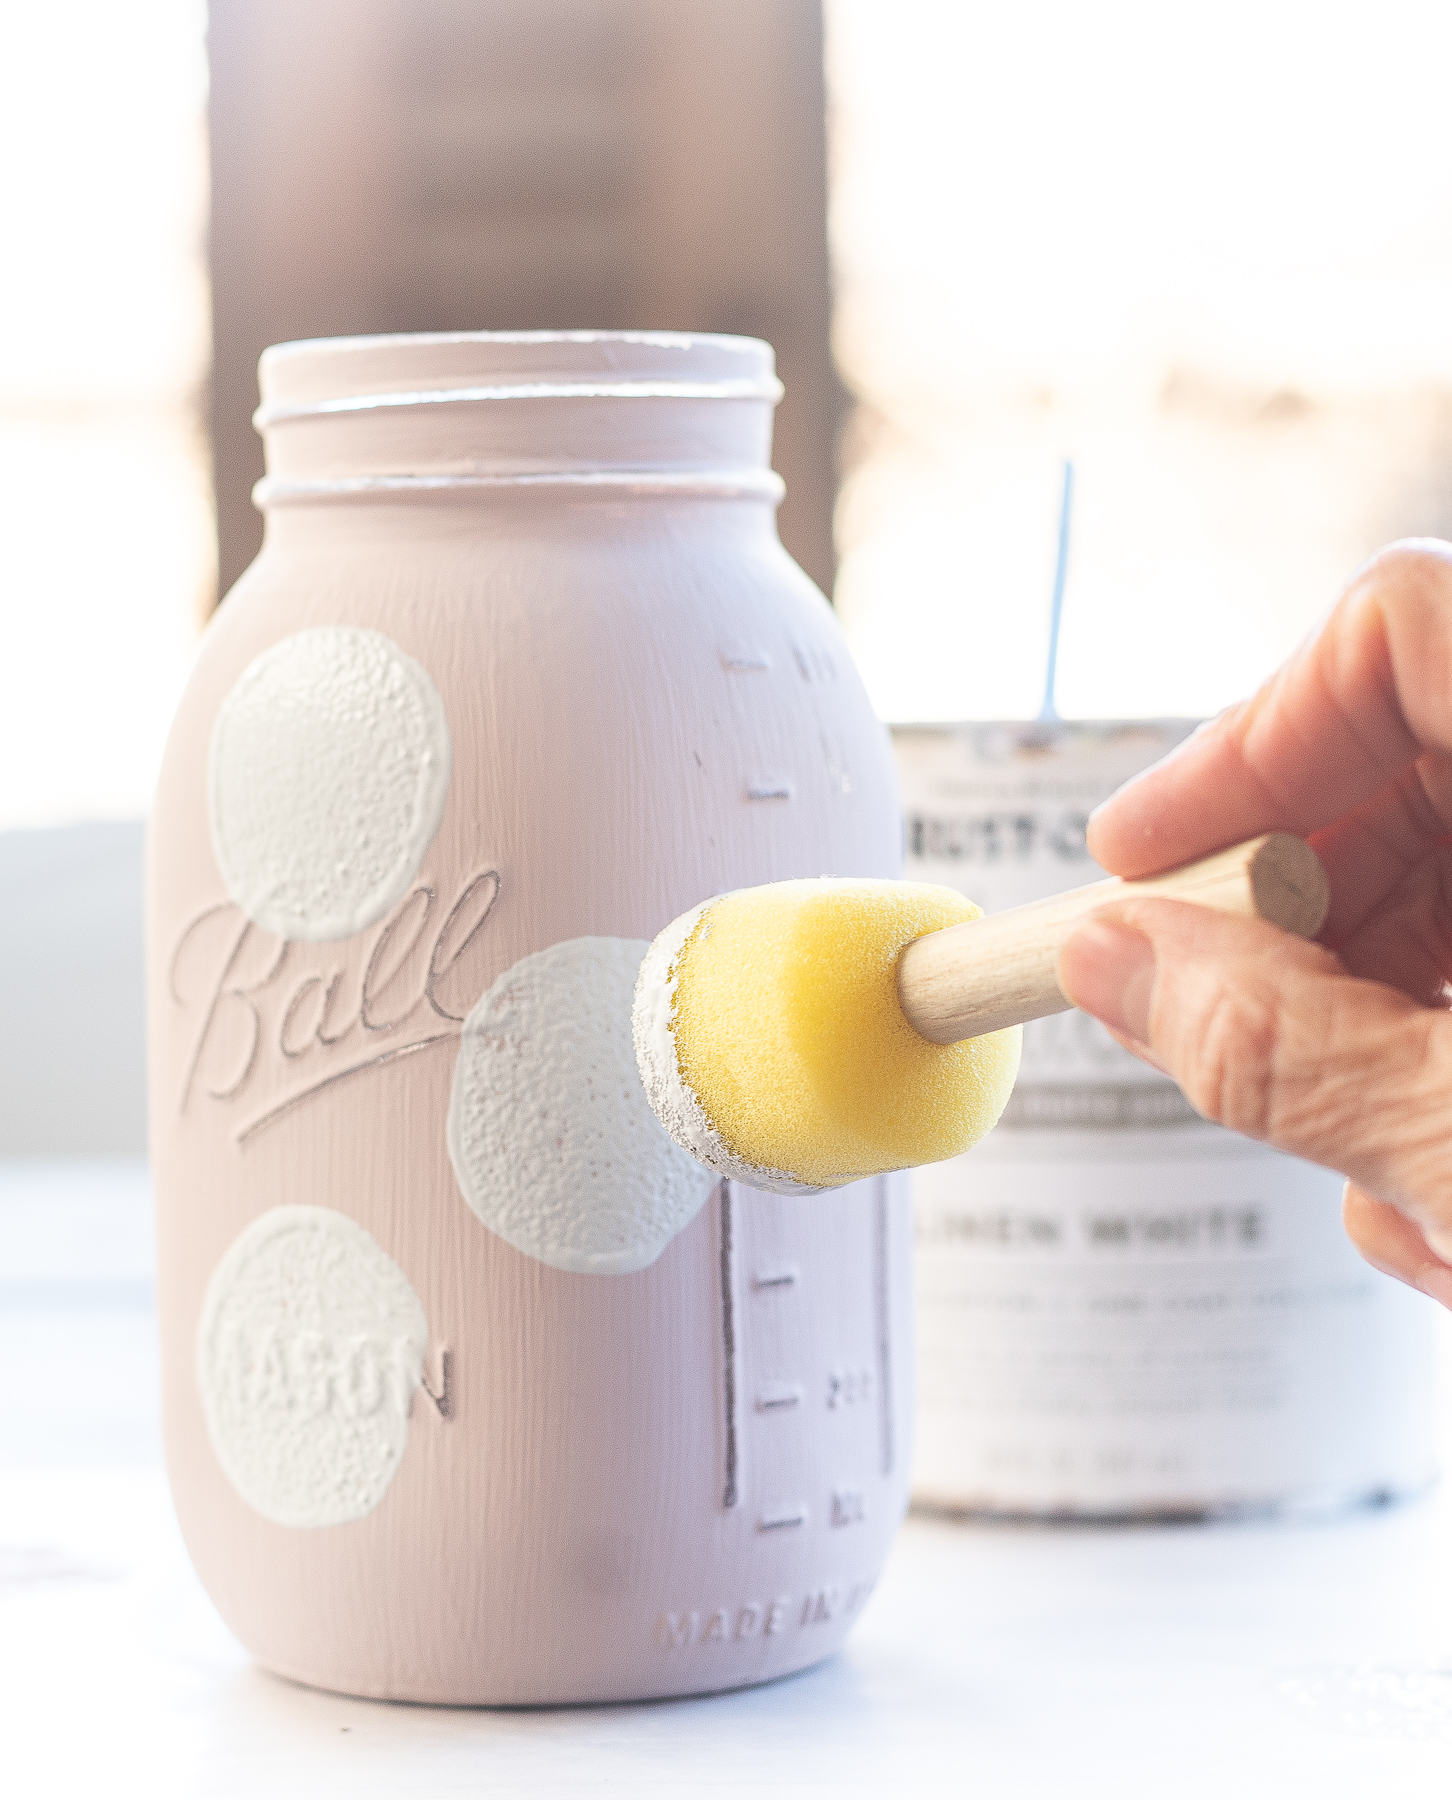
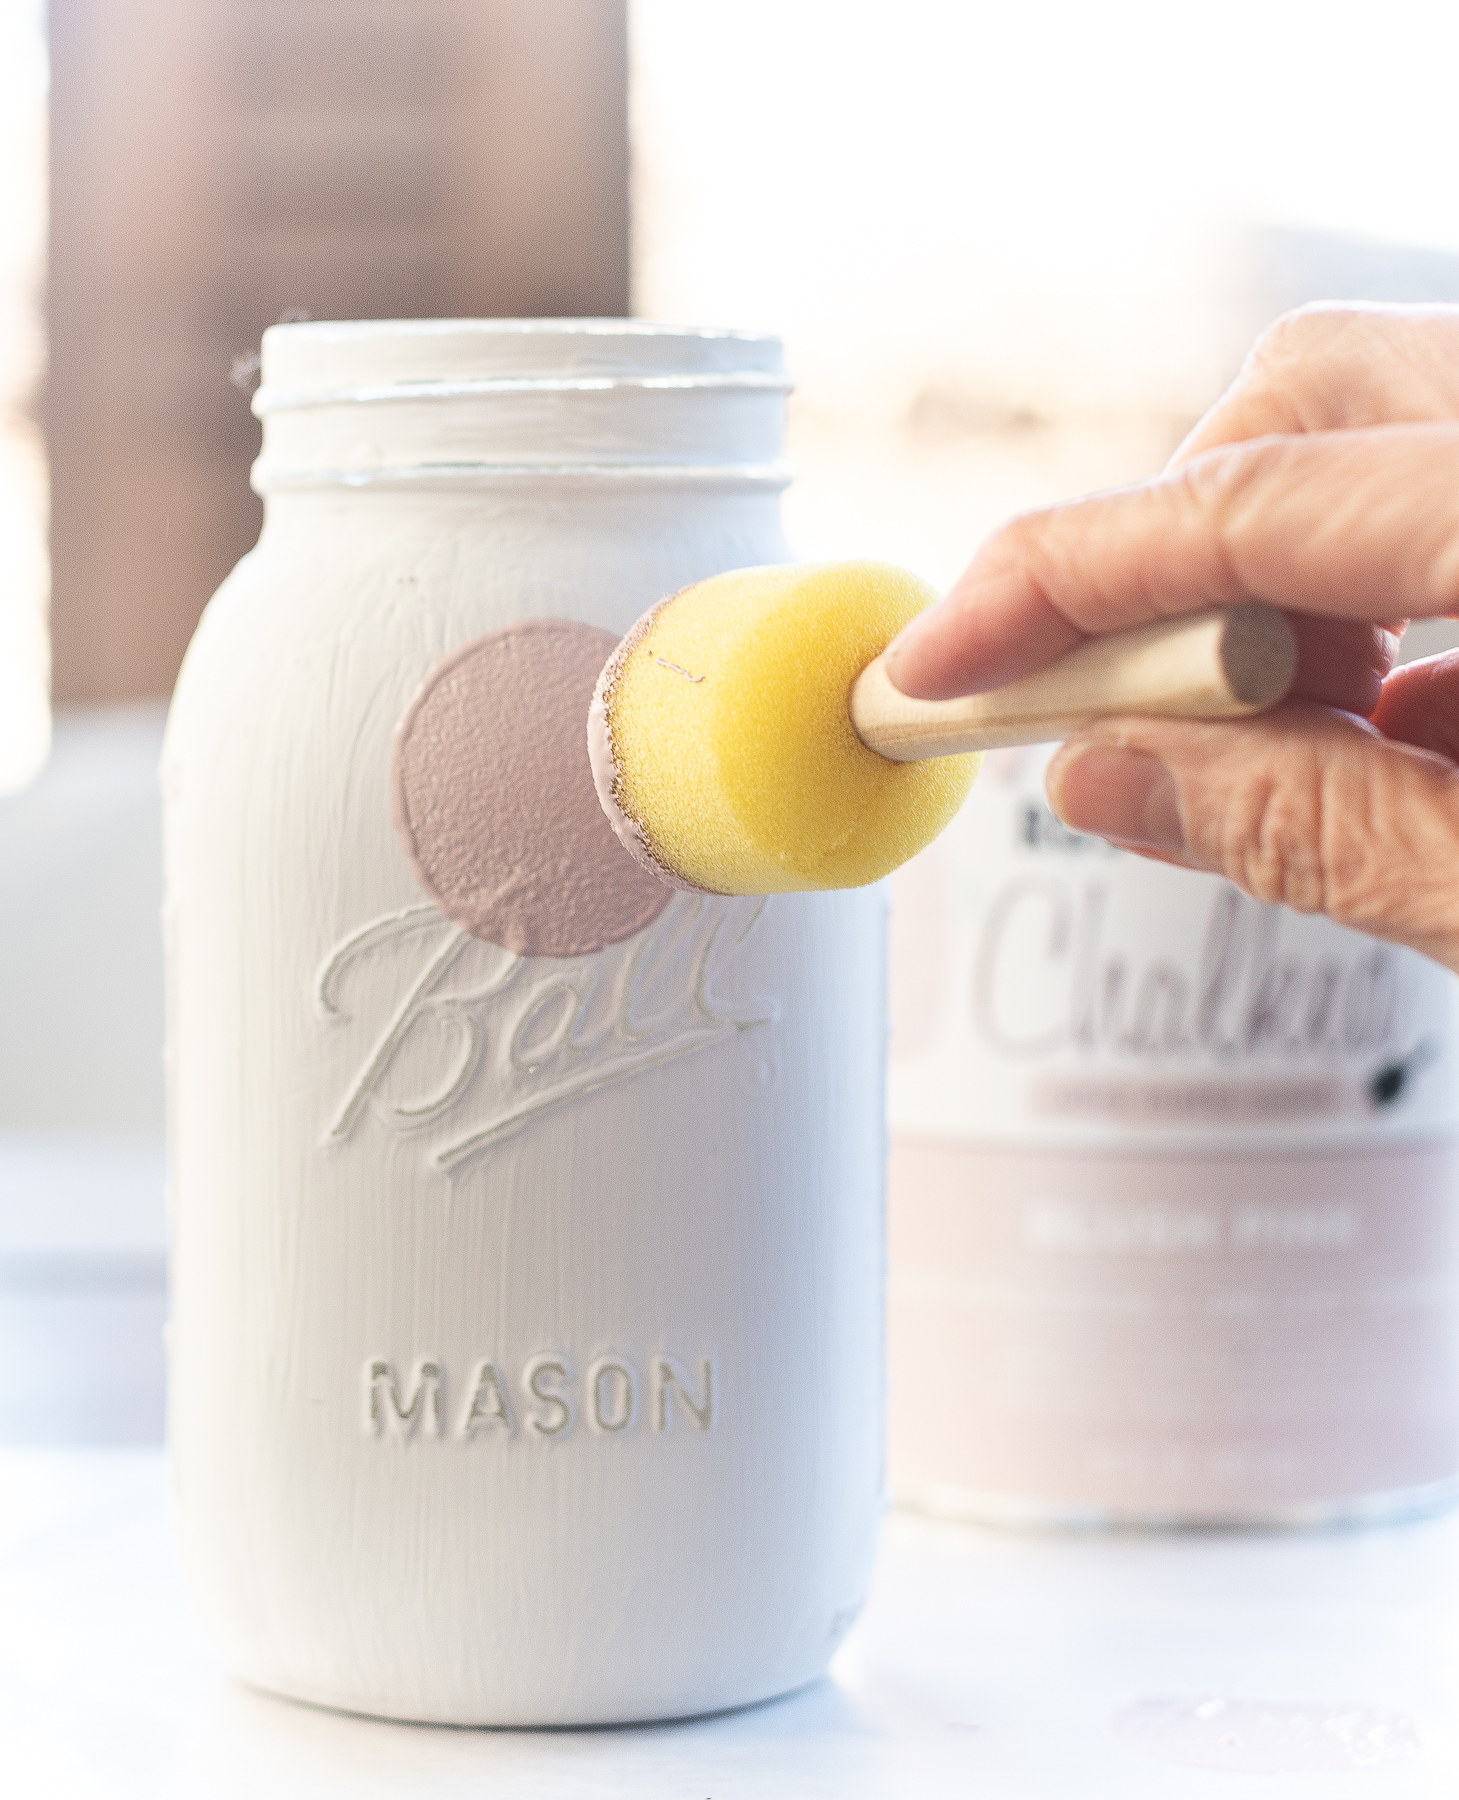
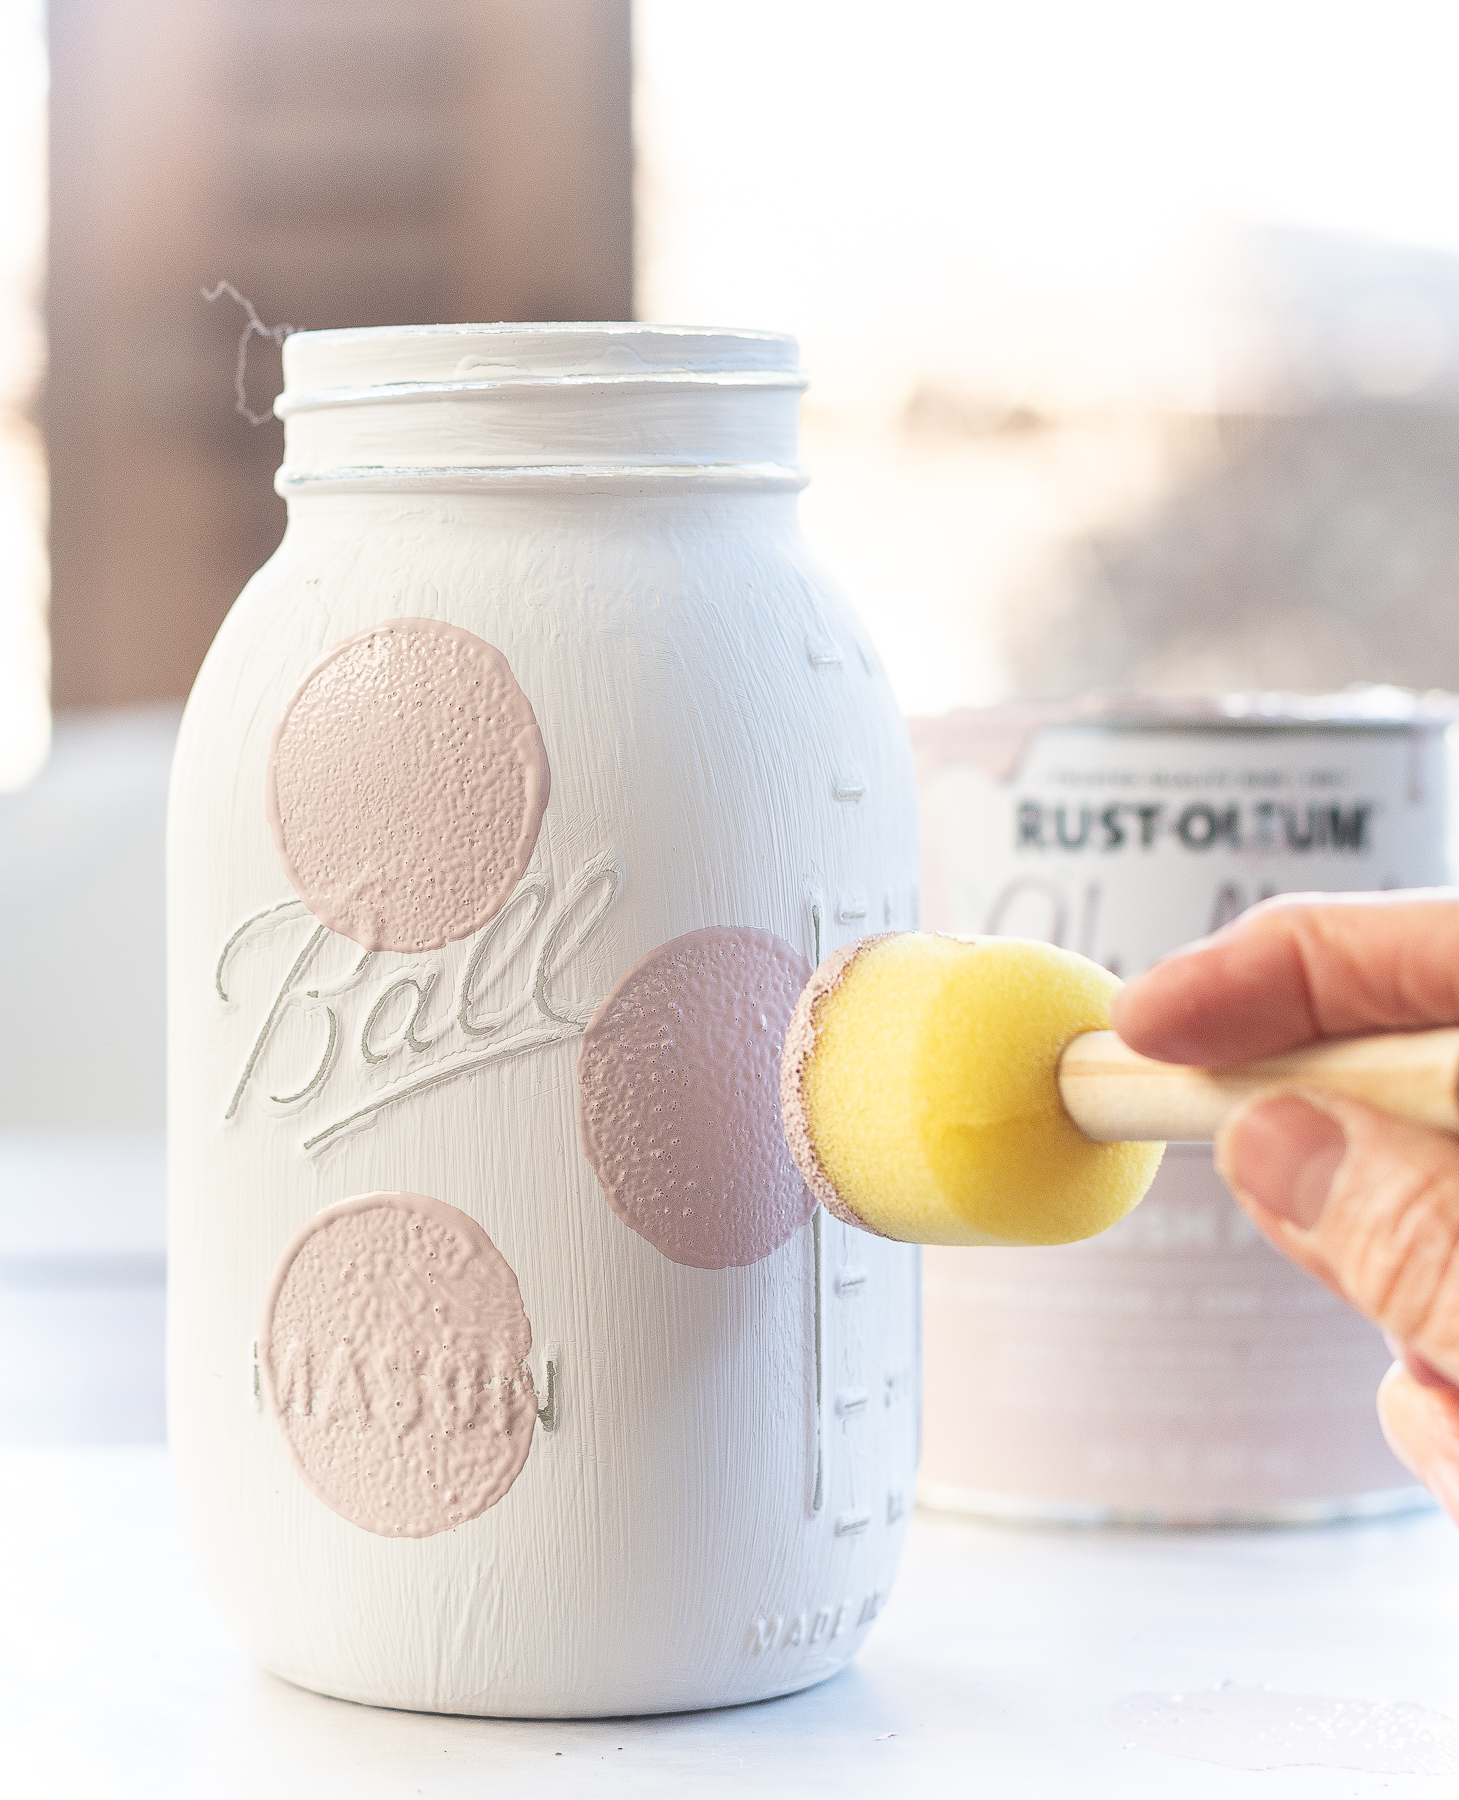
Use foam sponge stamp to create polka dots. Be sure to blot excess paint from the foam stamp first on a paper plate before stamping on jar.
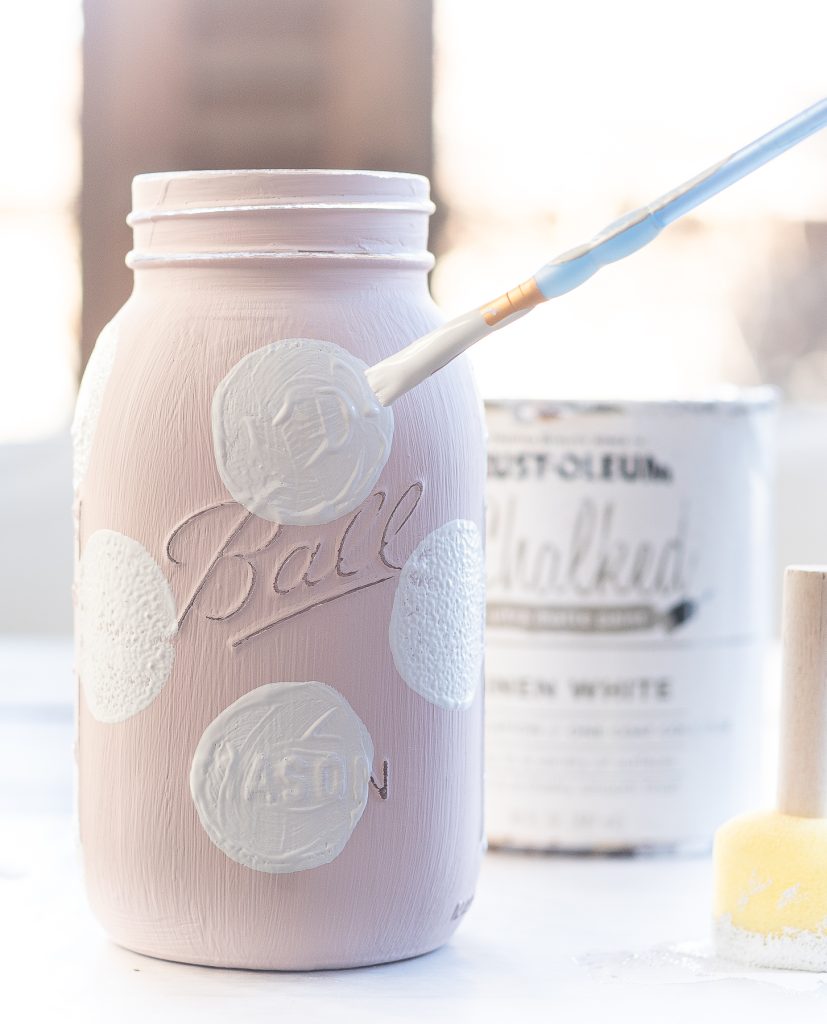
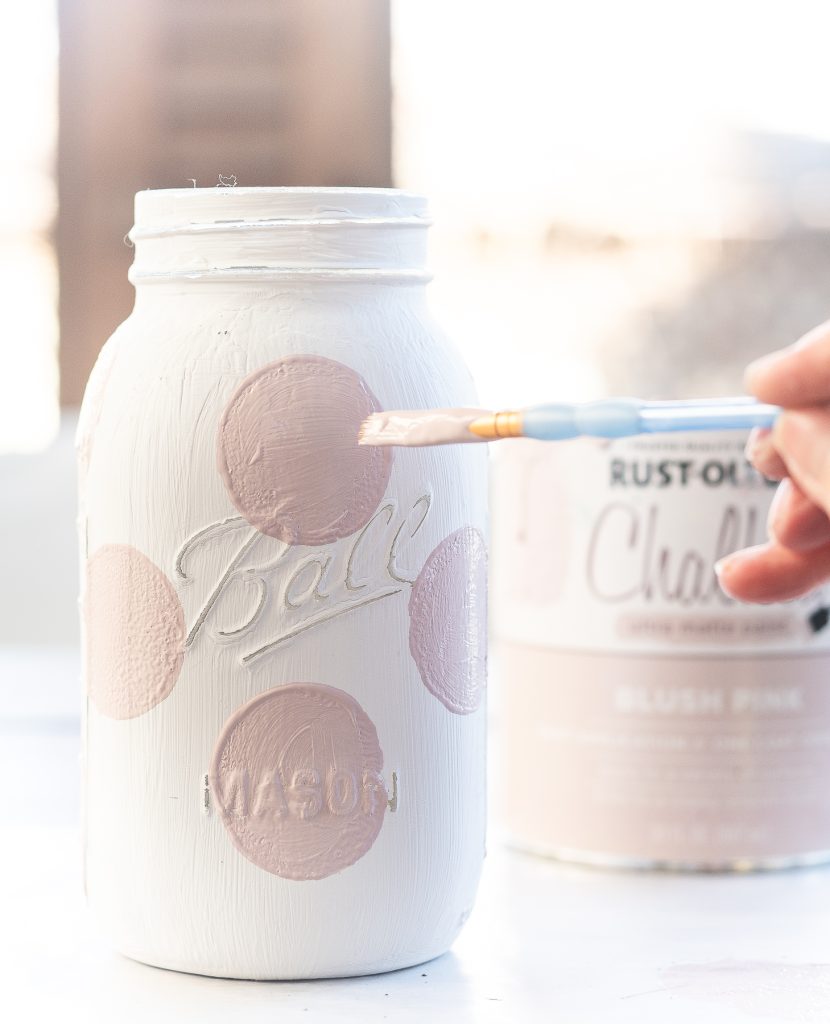
Use a paint brush to smooth out polka dots.
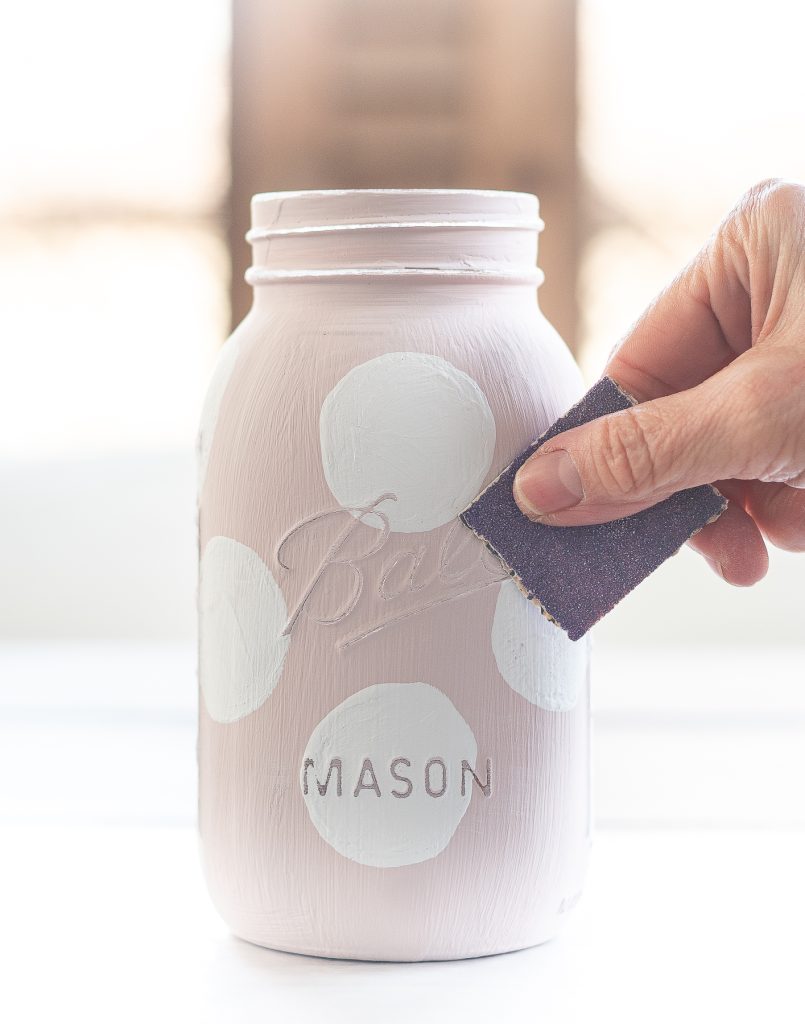
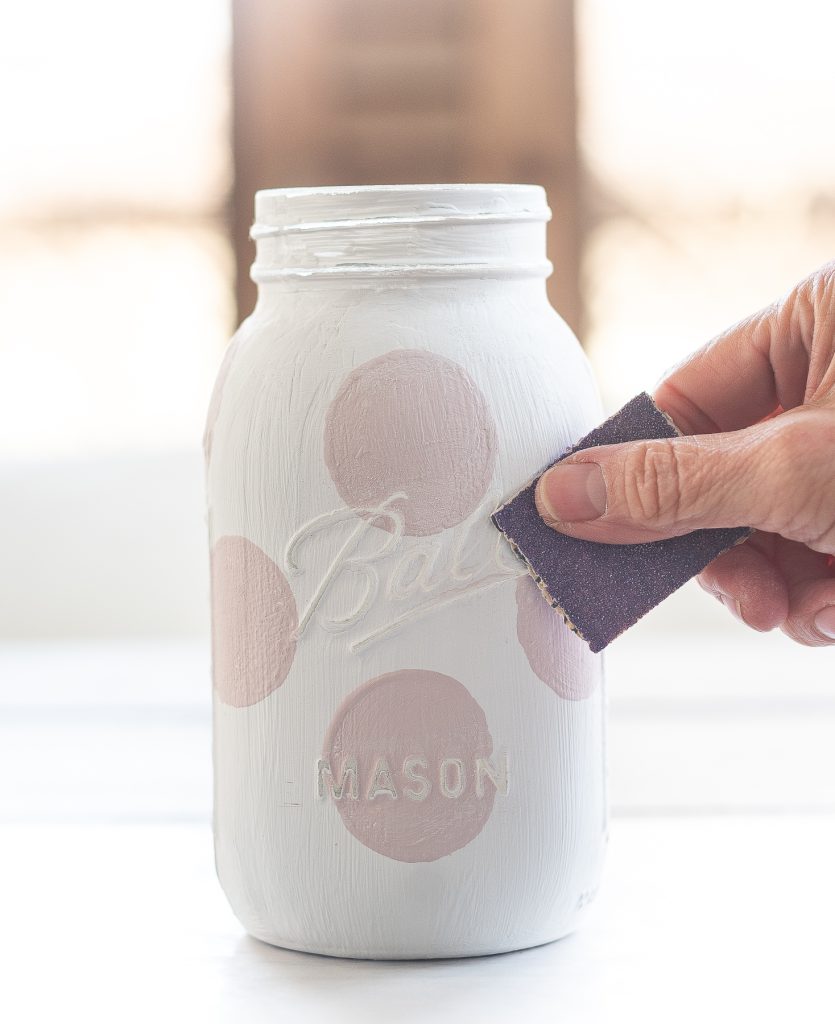
Once dry, use 80 grit sandpaper on raised lettering and areas on jar.
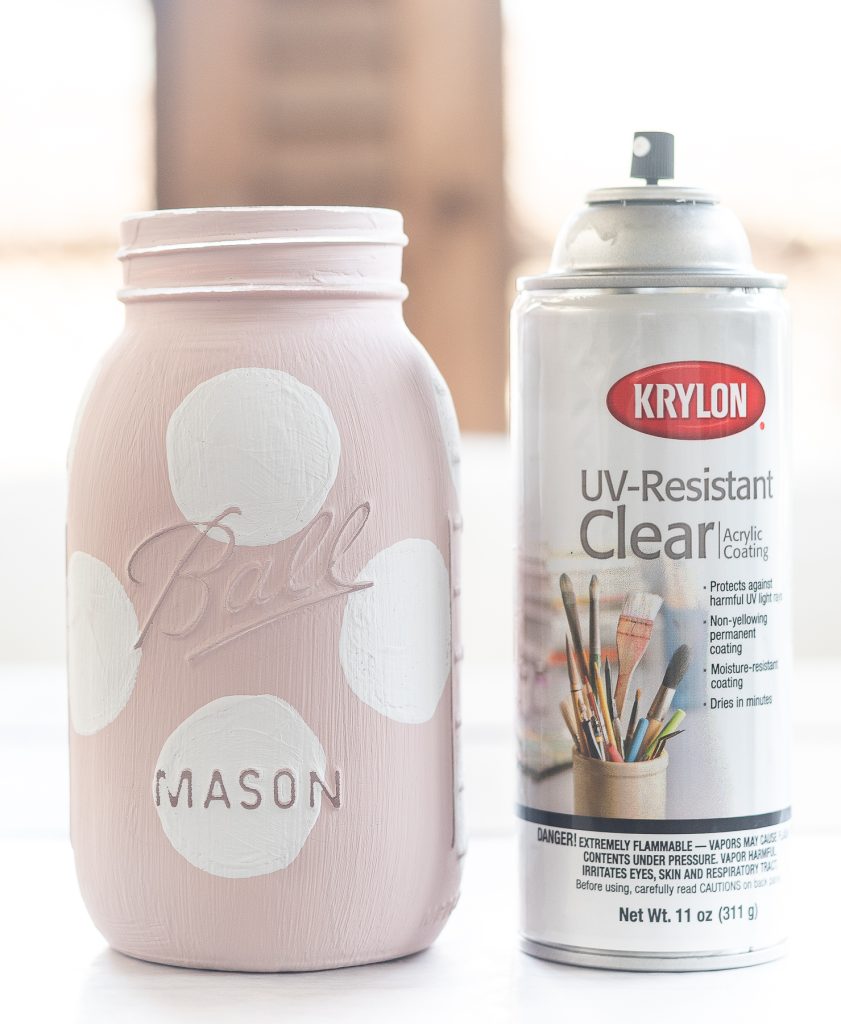
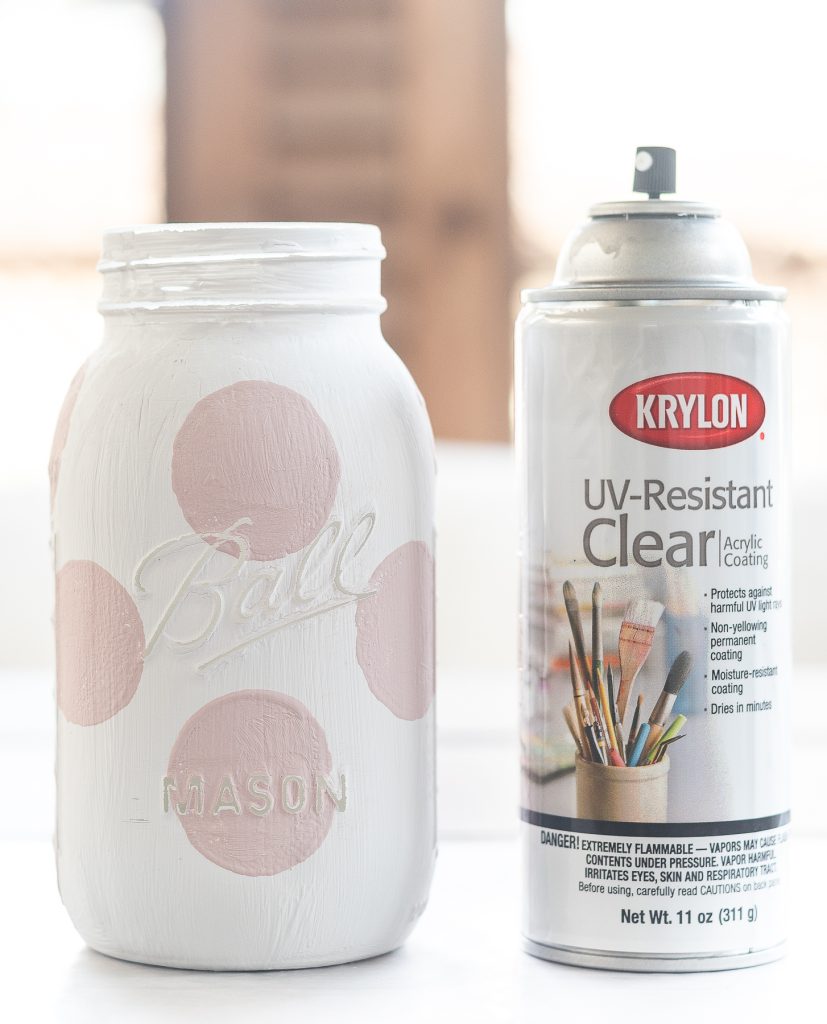
Finish with a coat of matte sealant.
Pin It!
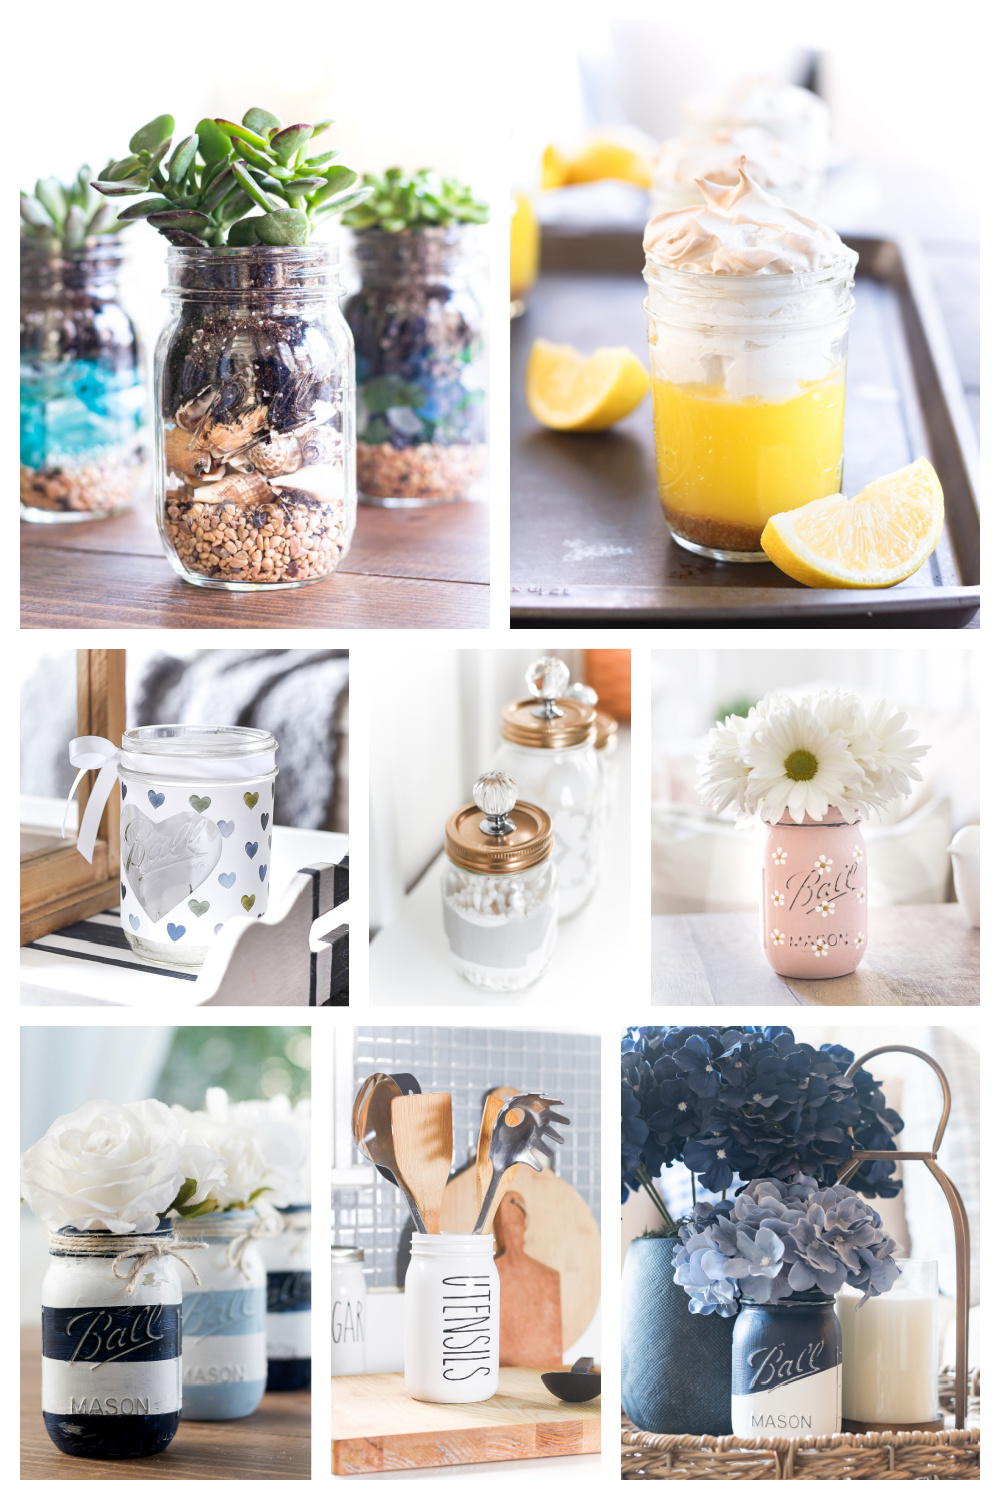
You Might Also Like:
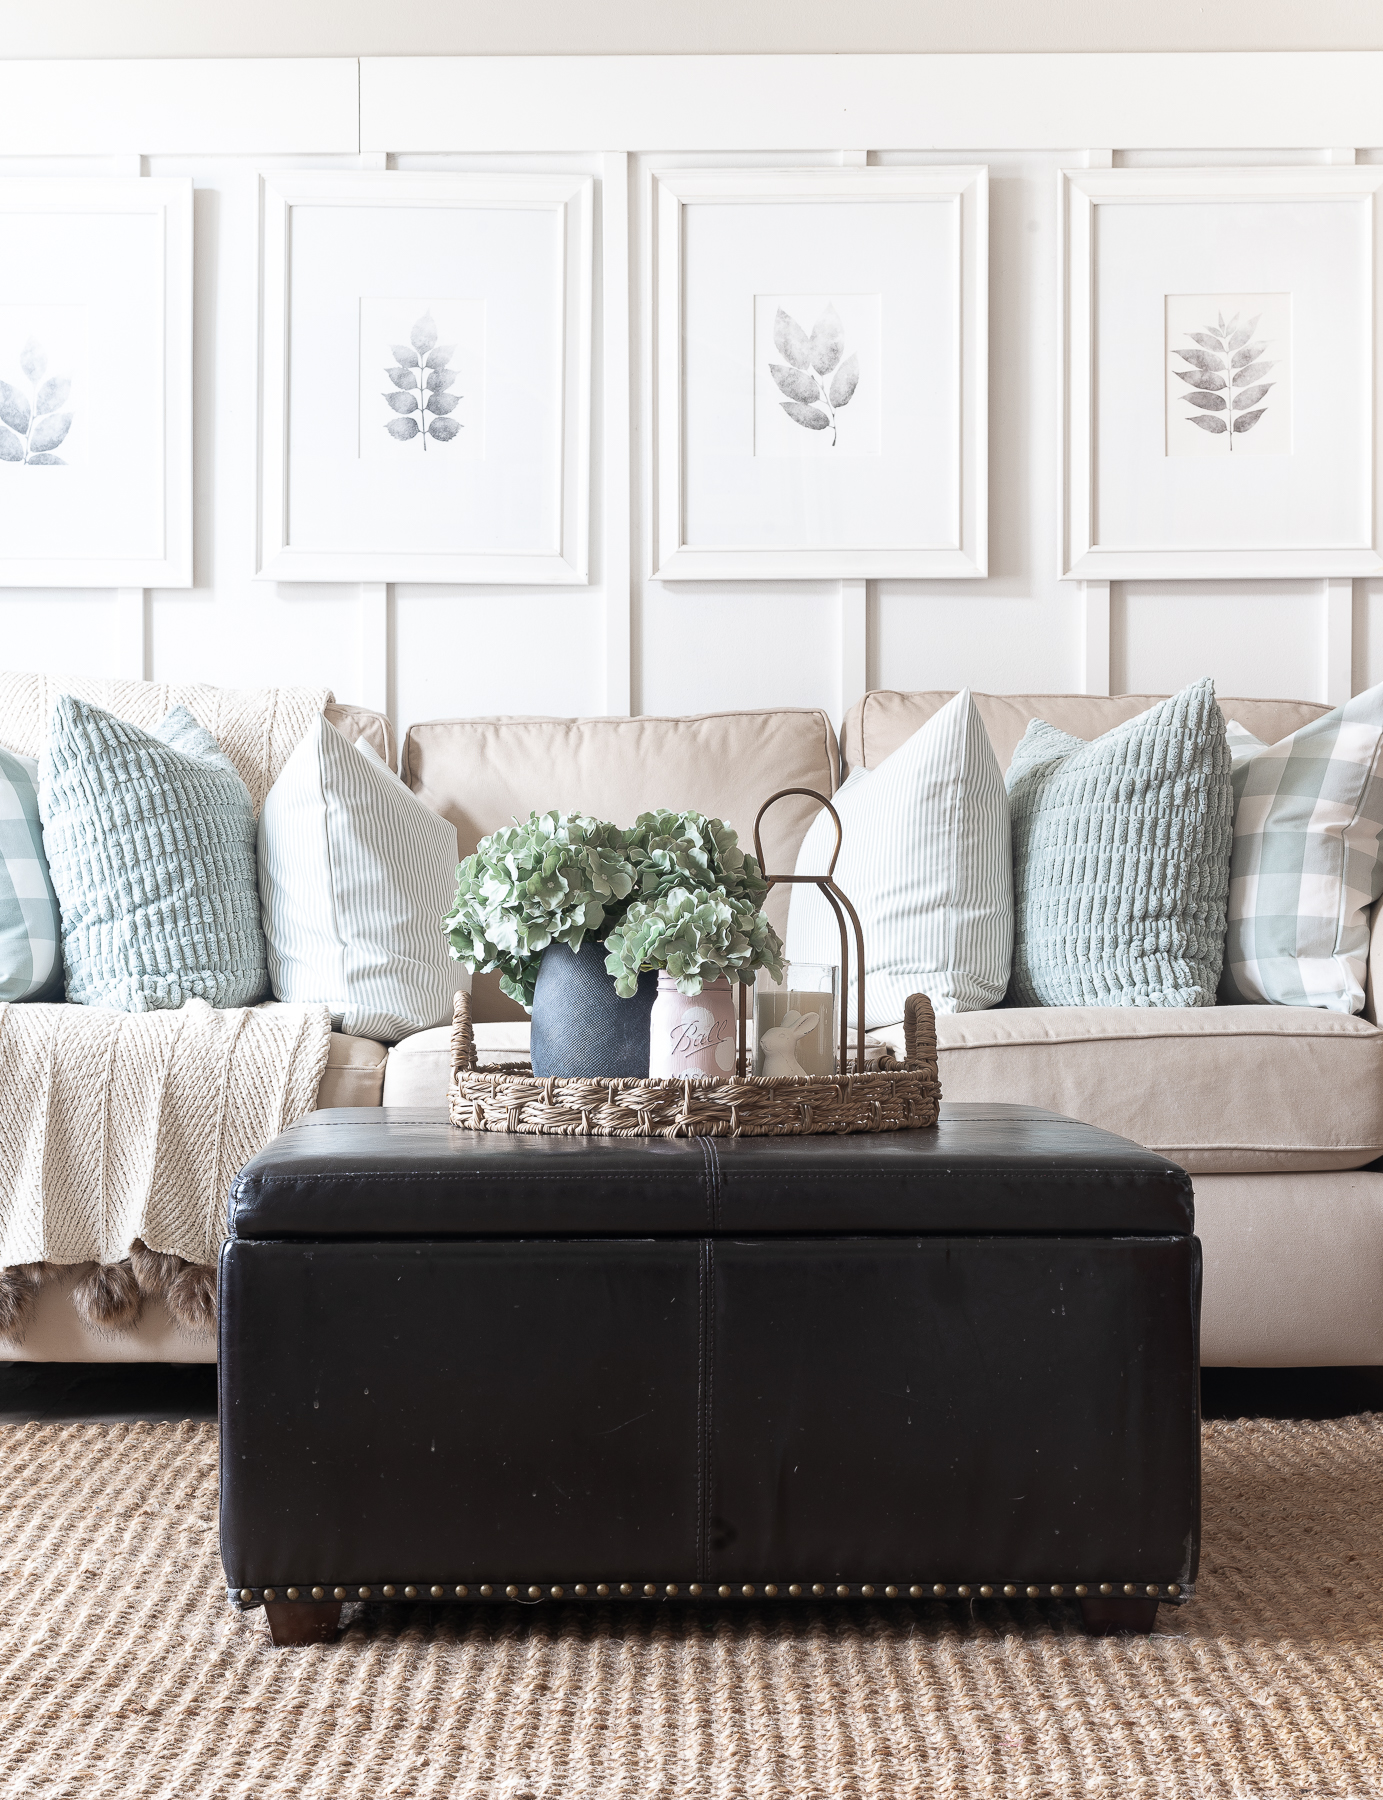
Spring Living Room in Greens & Blush Pink

These are beautiful!
oh! I love it! The jars are beautiful with dots <3
What are the plants that you used in them for picture?
Depending on the jar, for most of the pic (including the blush pink pint size jar on the wicker tray) I used faux hydrangeas I purchased on Amazon. Here’s the link: https://amzn.to/3P9Ha8T. For the pictures with the two jars next to the bunny, the larger jars have a real hydrangea that I found at the grocery store. Hope that helps!
🙂 Linda
These are absolutely beautiful! I love these so much. Thank you for linking up with Happy Hearts & Homes, I hope to see you again this week.