Rabbit Ears Napkin Fold for Easter – Bunny Nose Napkins DIY – Easter Craft Ideas
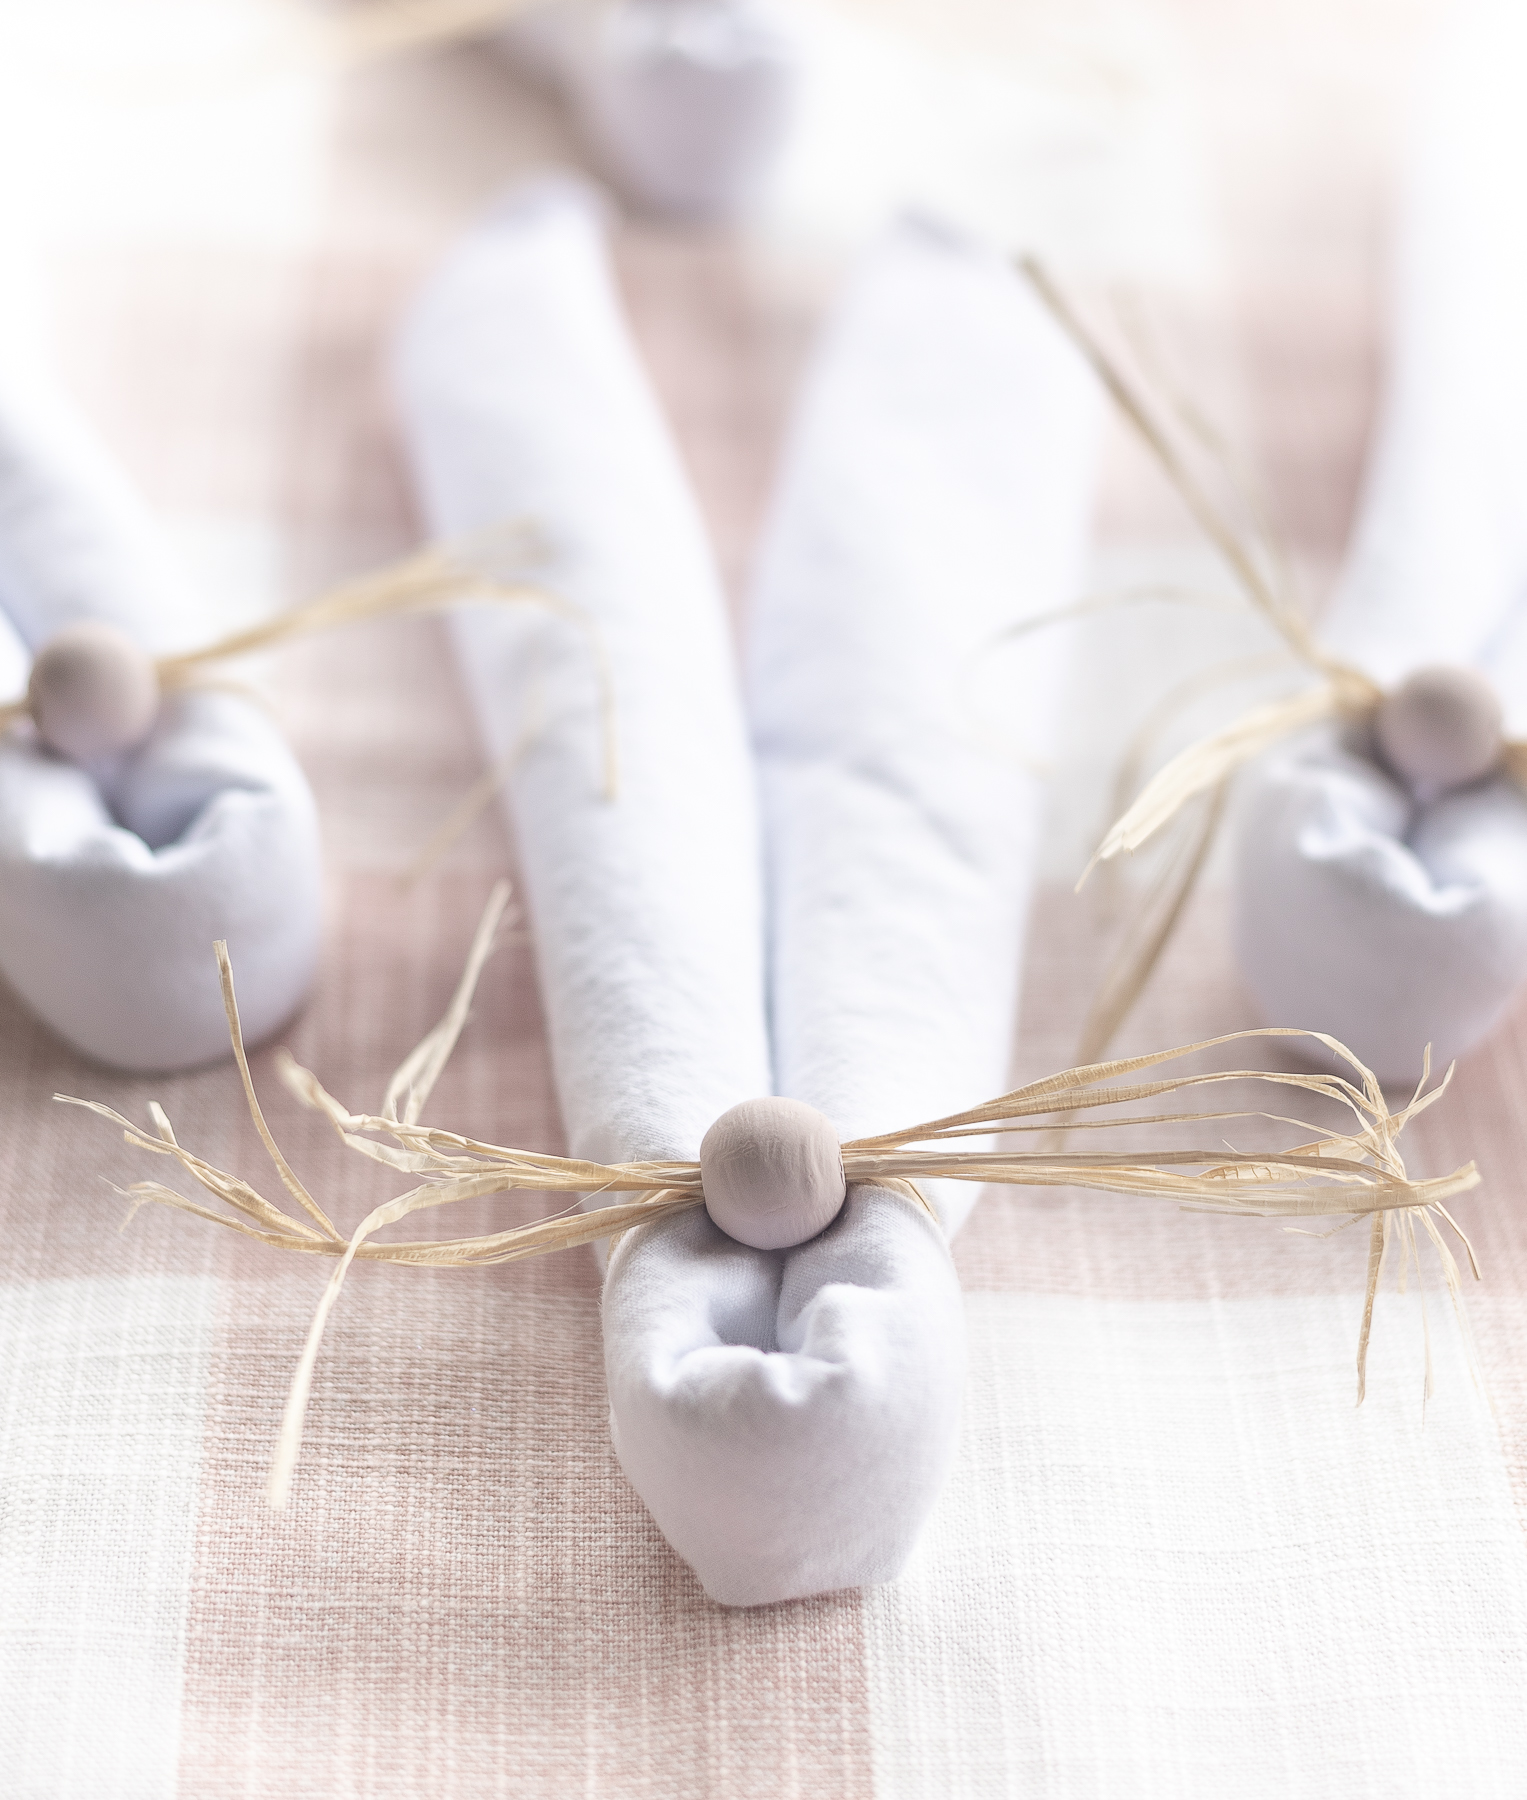
You know the saying, There are no new ideas?
Where do you think? Are you a believer? A doubter? An I don’t know-er?
Because (cynical me) was solidly rooted in the believer camp, until …
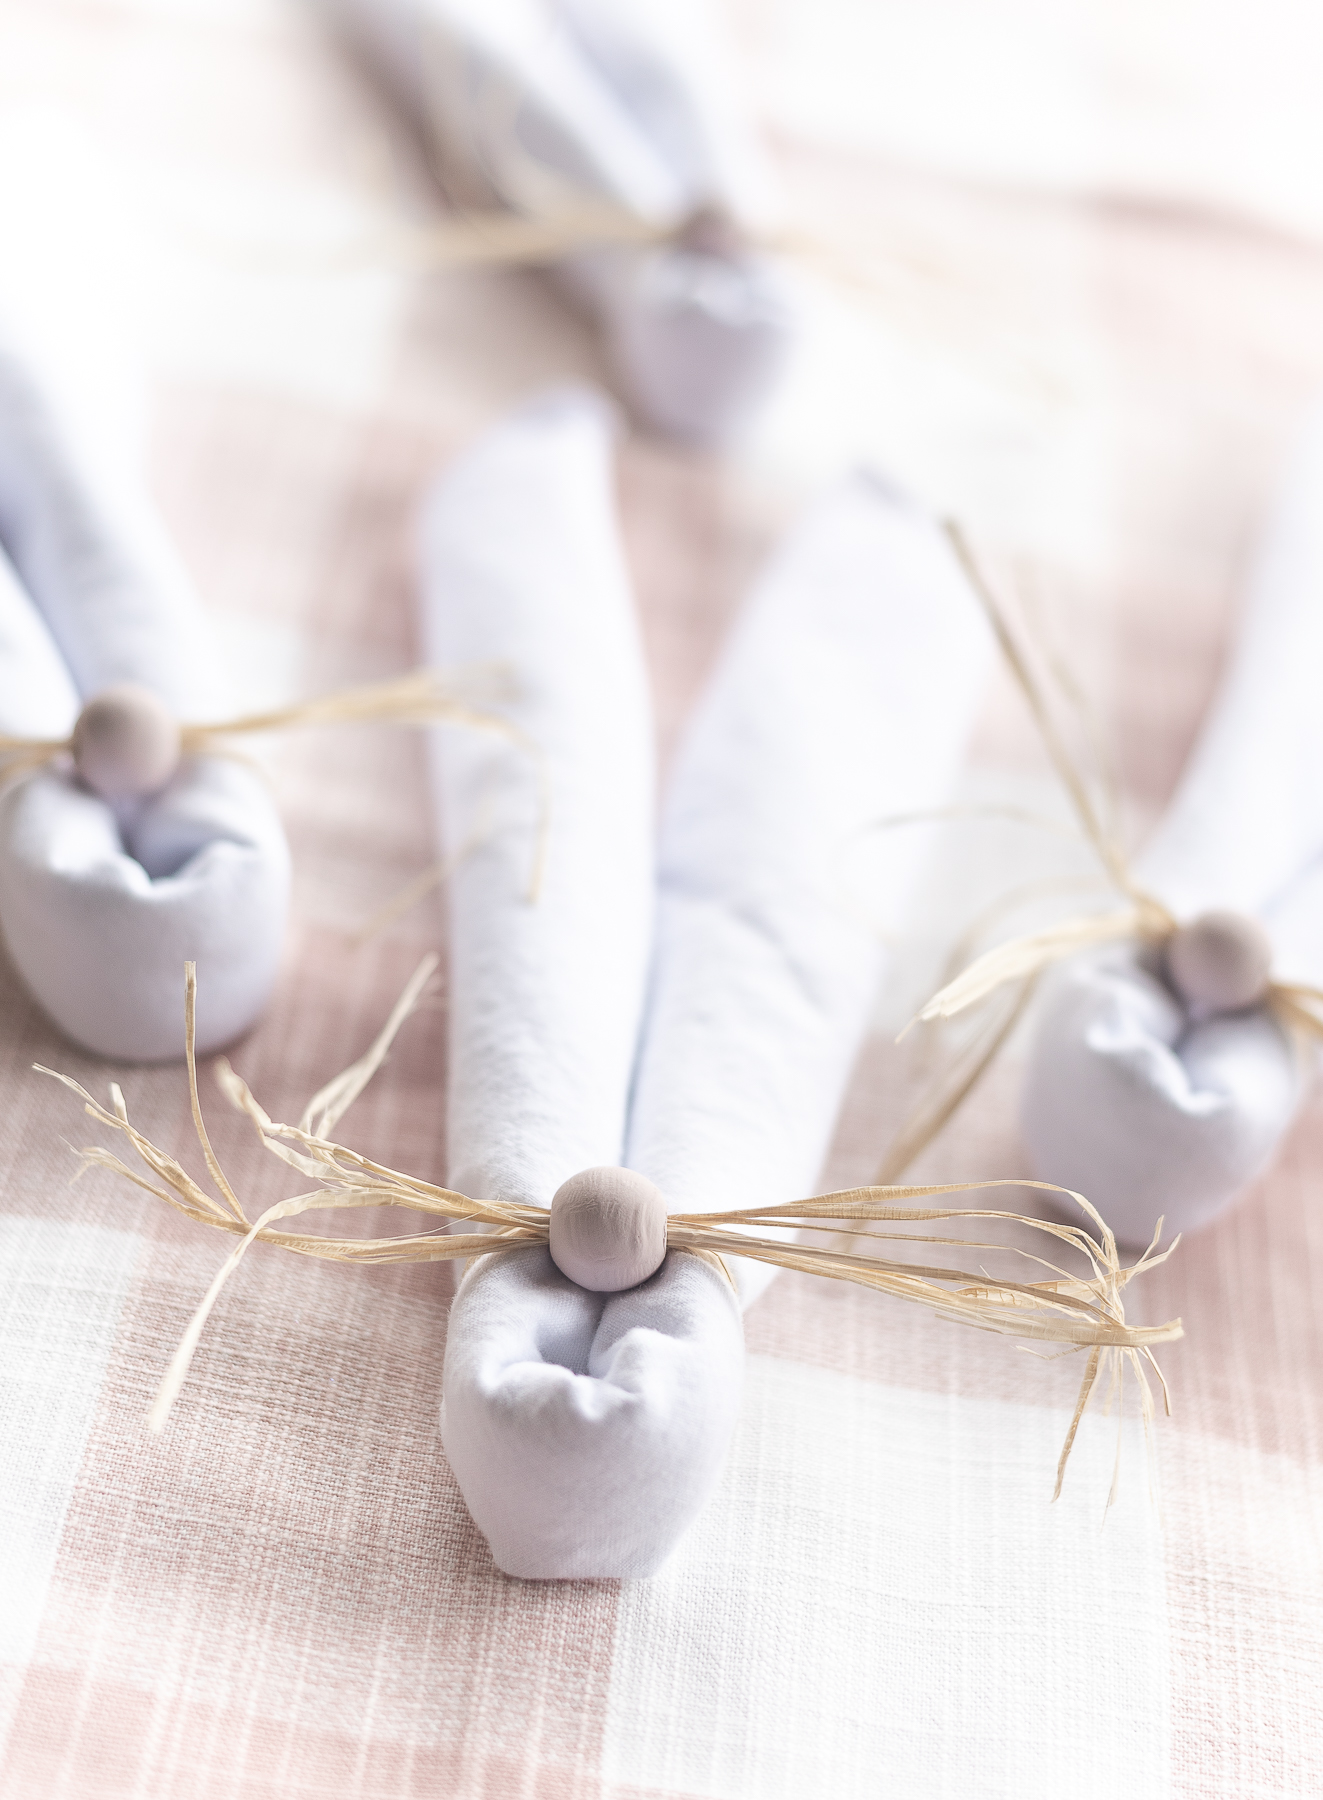
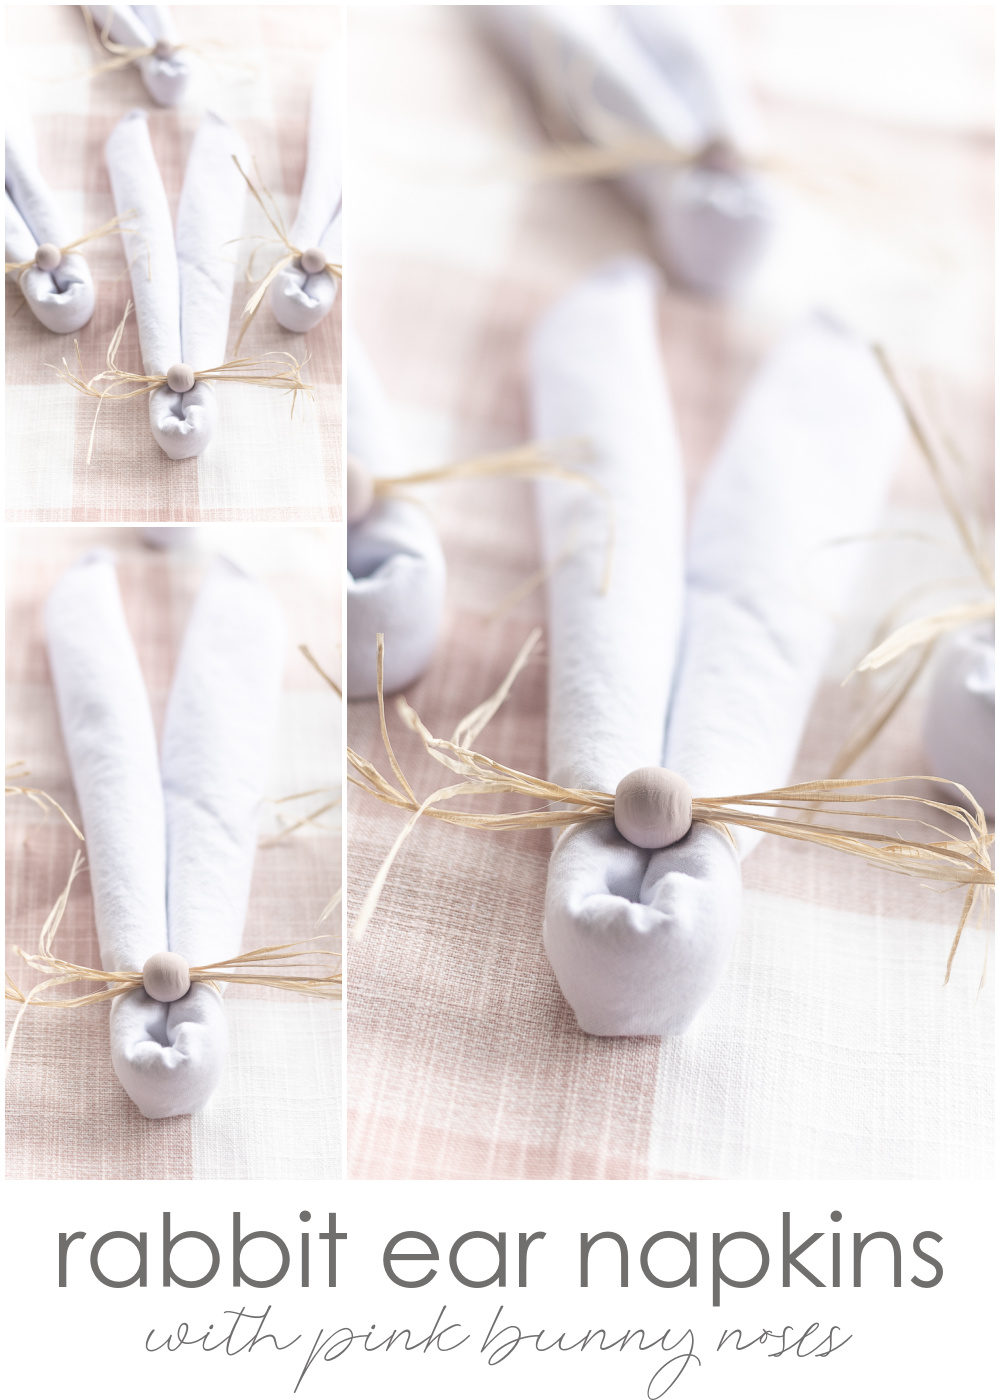
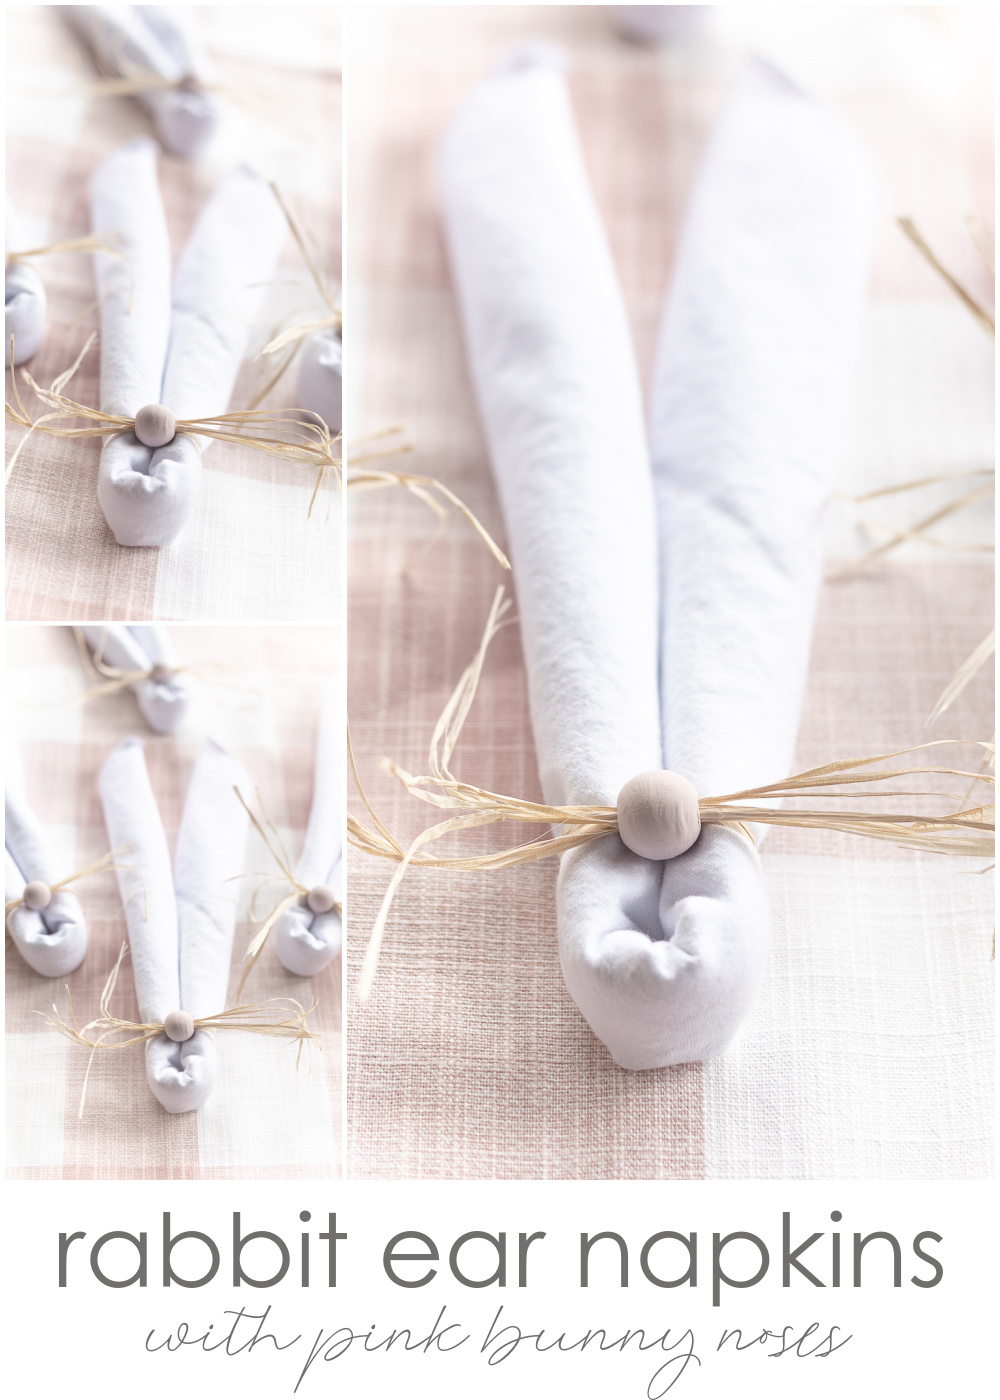
I spotted this idea: a rabbit ears napkin fold with a bunny nose.
And I don’t know why I insist on naming this both a rabbit craft and a bunny craft. Because a rabbit nose and a bunny nose are one in the same. And yet a bunny nose sounds so much more adorable.
I digress.
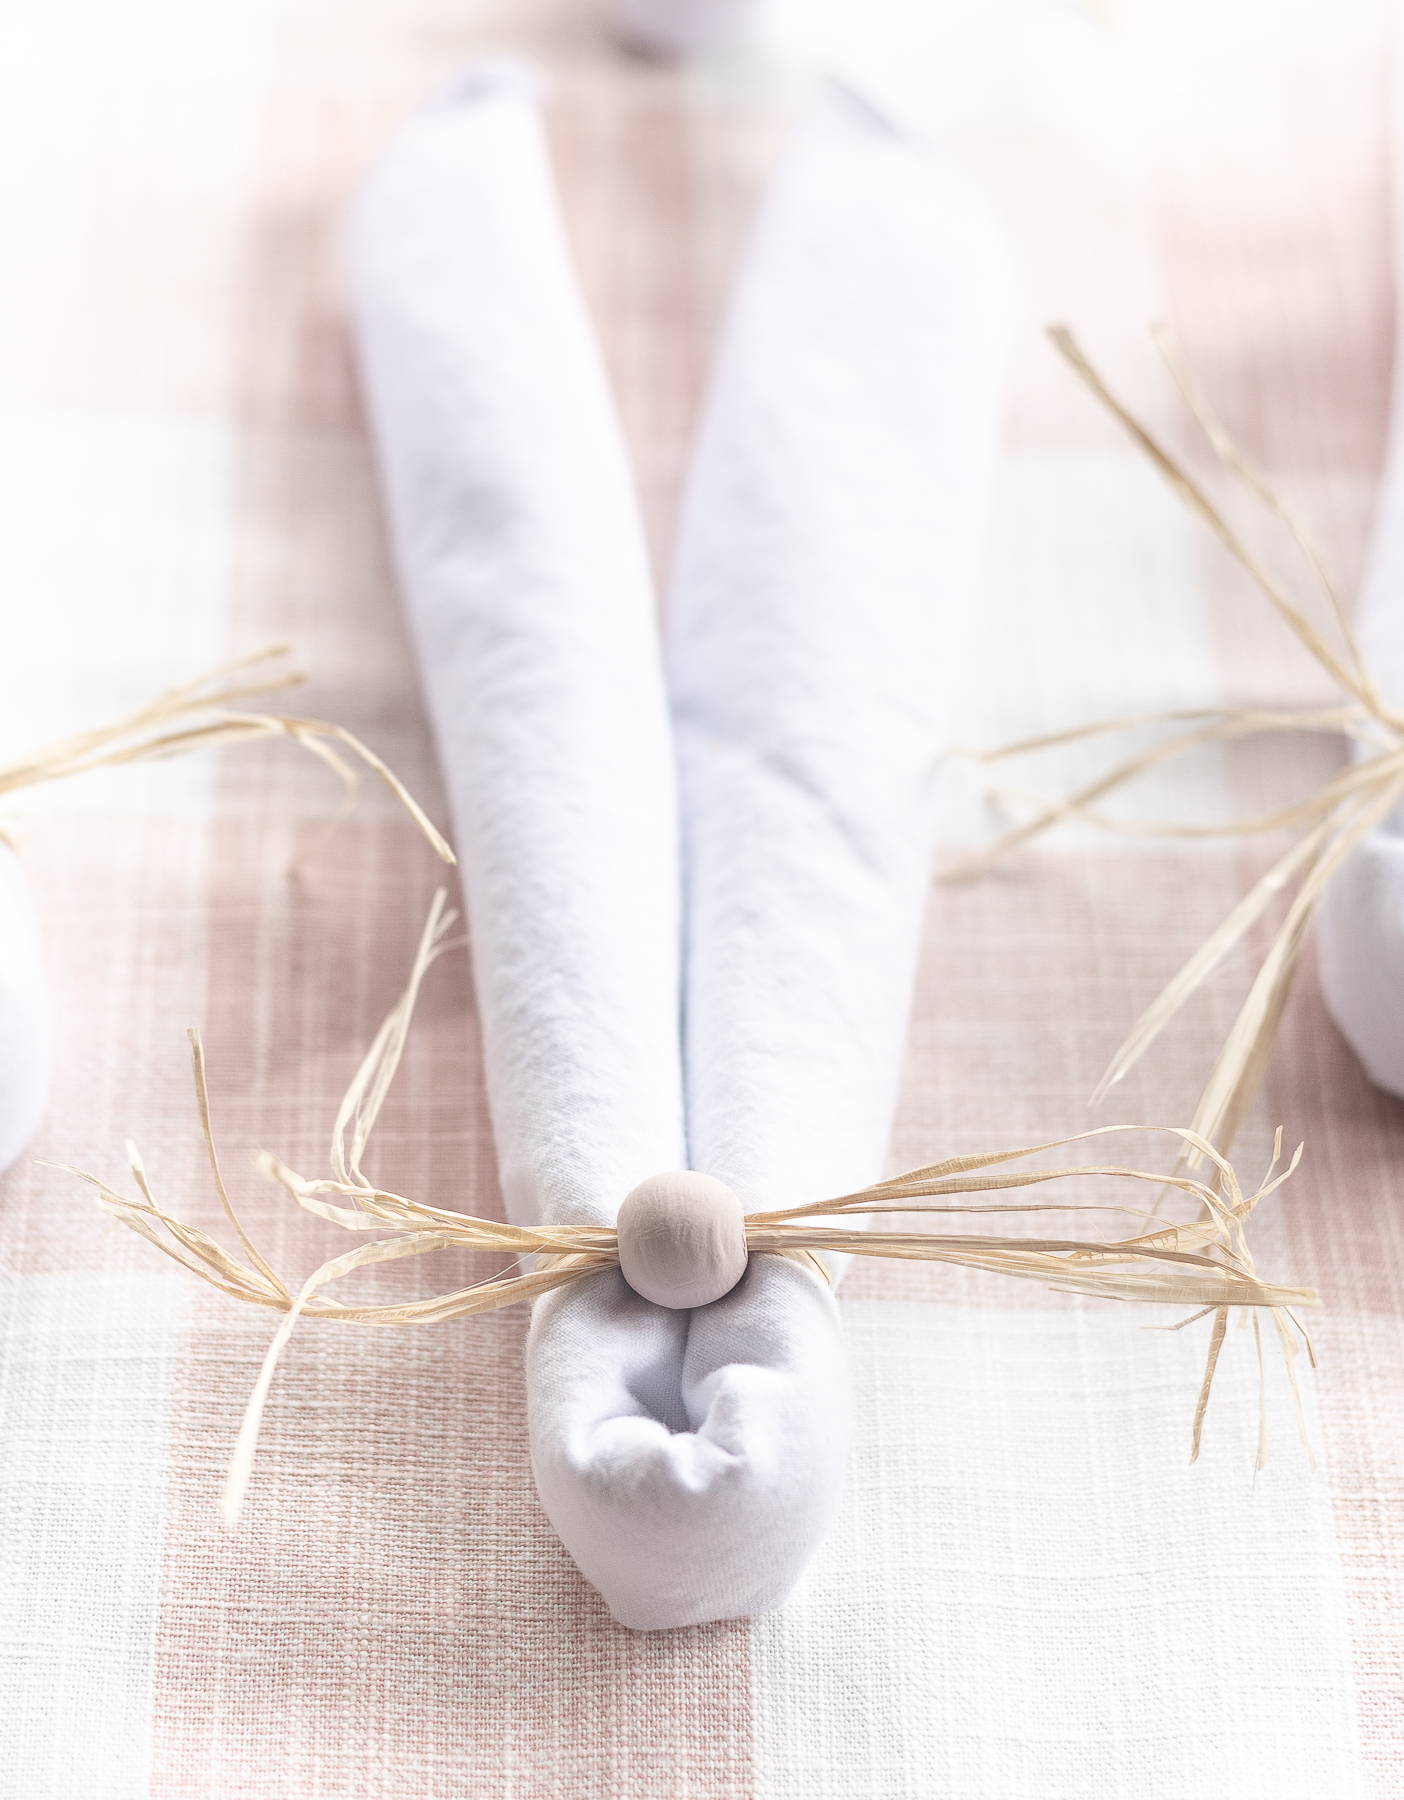
My point is I came across this idea in a Country Living round up of DIY Easter decorating ideas.
And I thought, oh this is just so cute. There must be a million variations of this project splattered all over the internet.
And Pinterest.
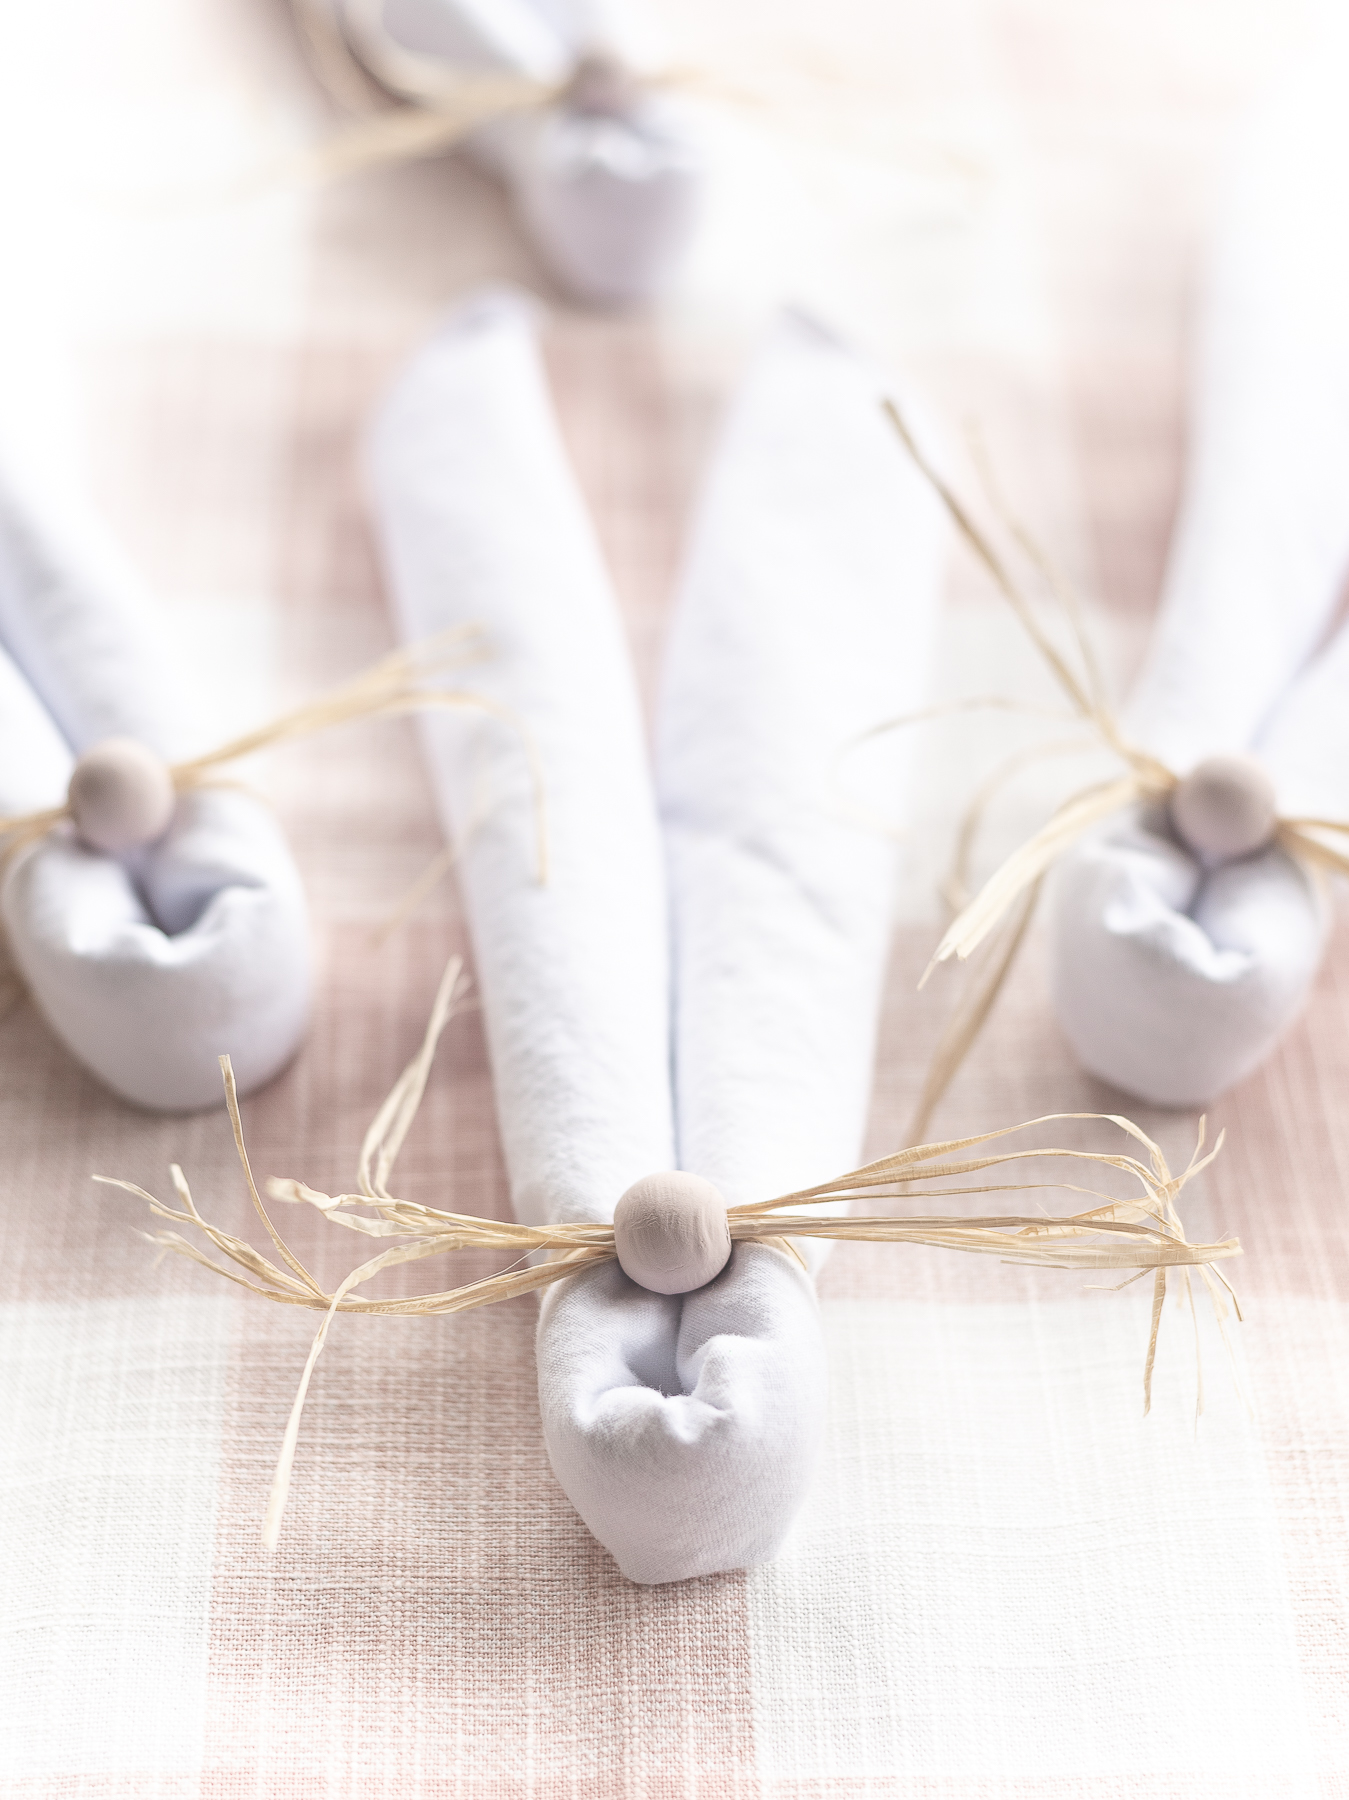
Nope.
I did, however, come across what I might call it’s “origin” story. Which consists of many, many Google images of a similar napkin fold to make the rabbit ears. But instead of a bunny nose, an Easter egg is inserted in the bottom loop area. Or U area?
Here’s a little sampling of that origin story Easter napkin fold idea.
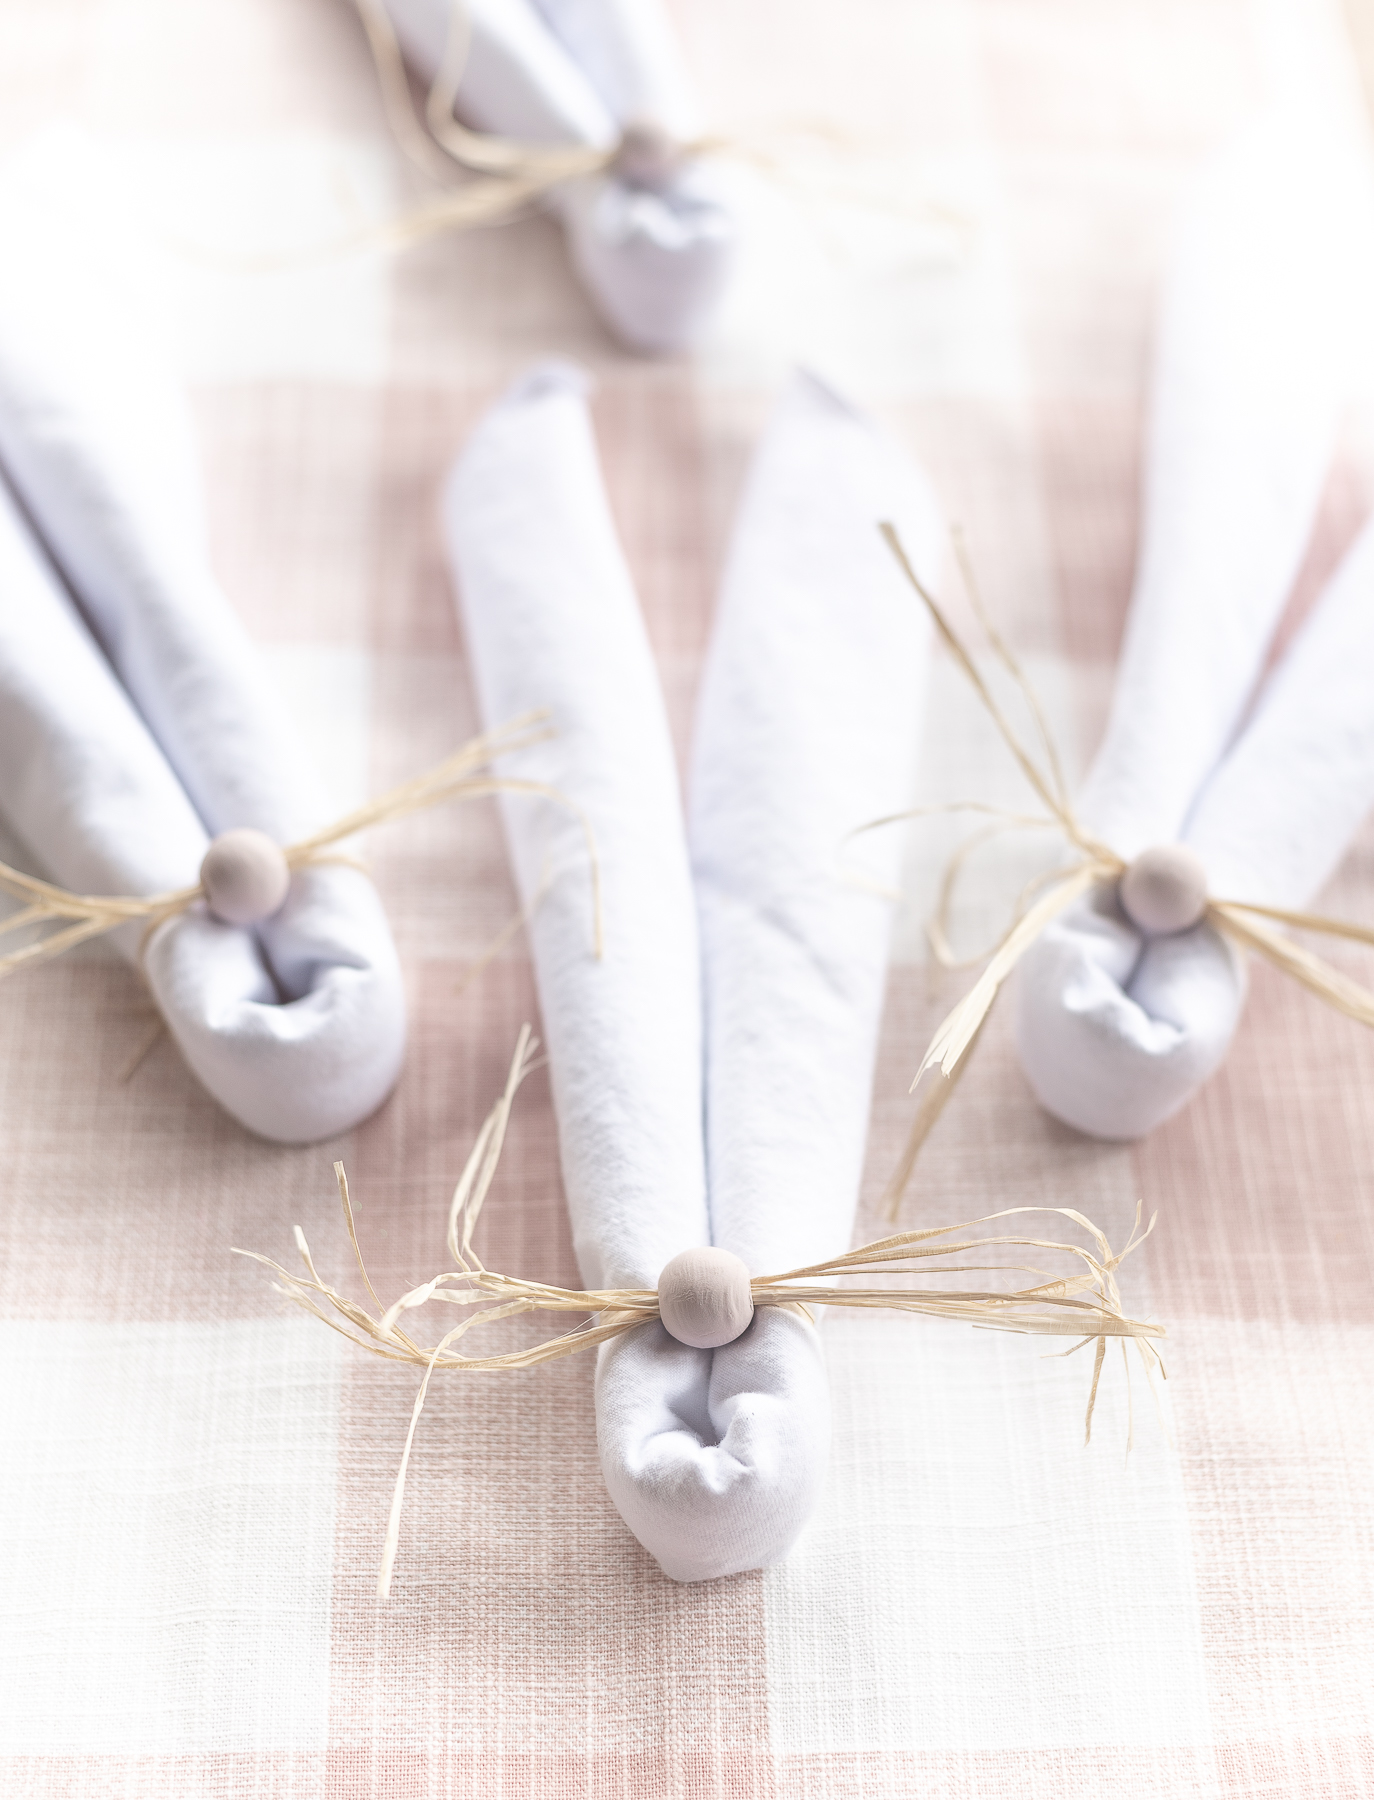
Though, it’s clear from all those Google images that the loop – or U? Or whatever it’s called — clearly needs to be a much larger than what I created to accommodate the egg.
But the most pressing question: Now that I uncovered the potential “origin” story of this craft, can it be considered a new idea? Or a variation on and old one?
Does this now make my original (cynical) believer hypothesis correct?
Are there really are no new ideas?
Rabbit Ears Napkin Fold with Bunny Nose How To
Materials*
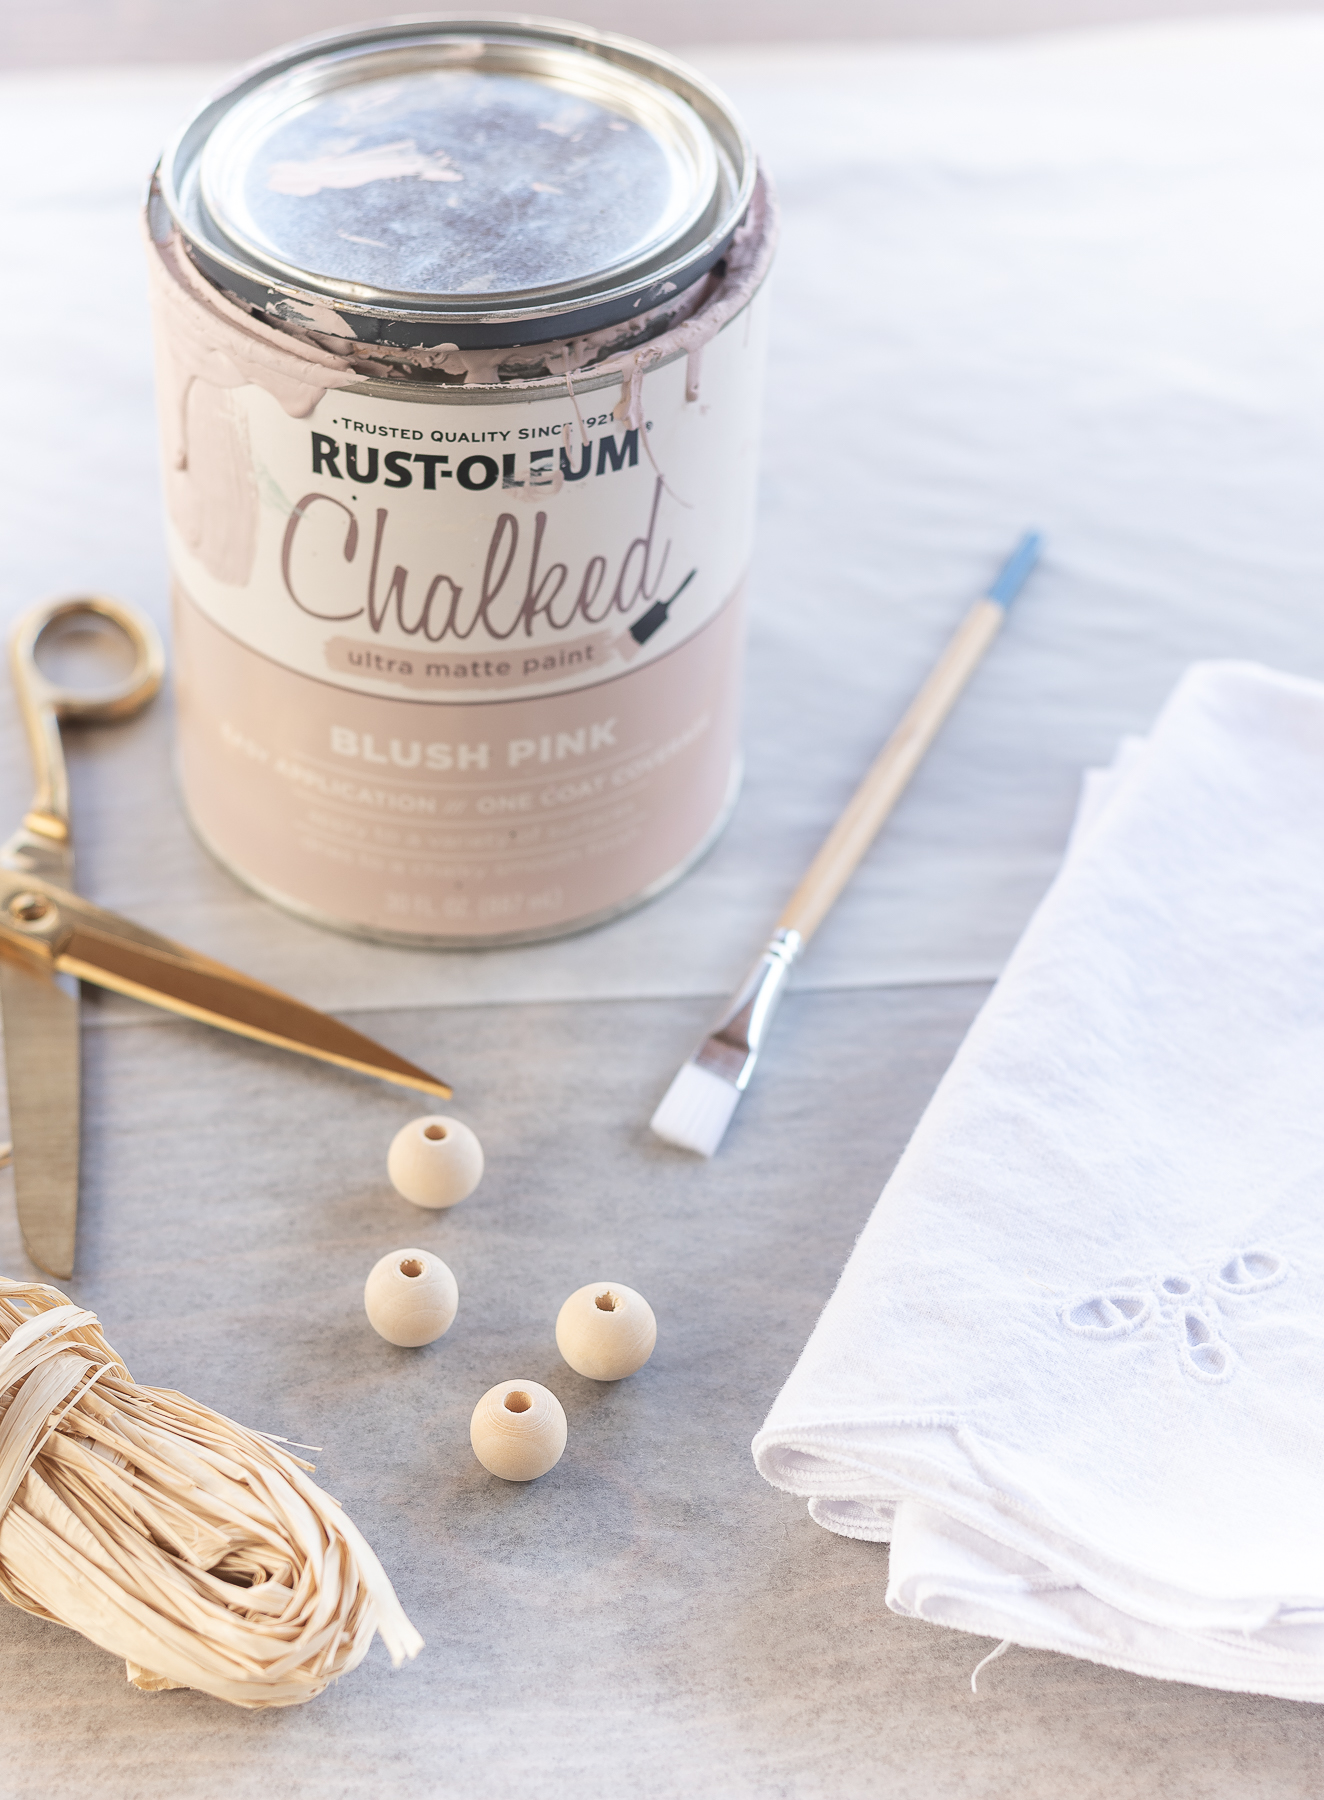
Pink Paint (I used Rustoleum Chalked Paint in Blush Pink)
Napkins
Paint Brush
Scissors
*includes Amazon affiliate links.
Instructions
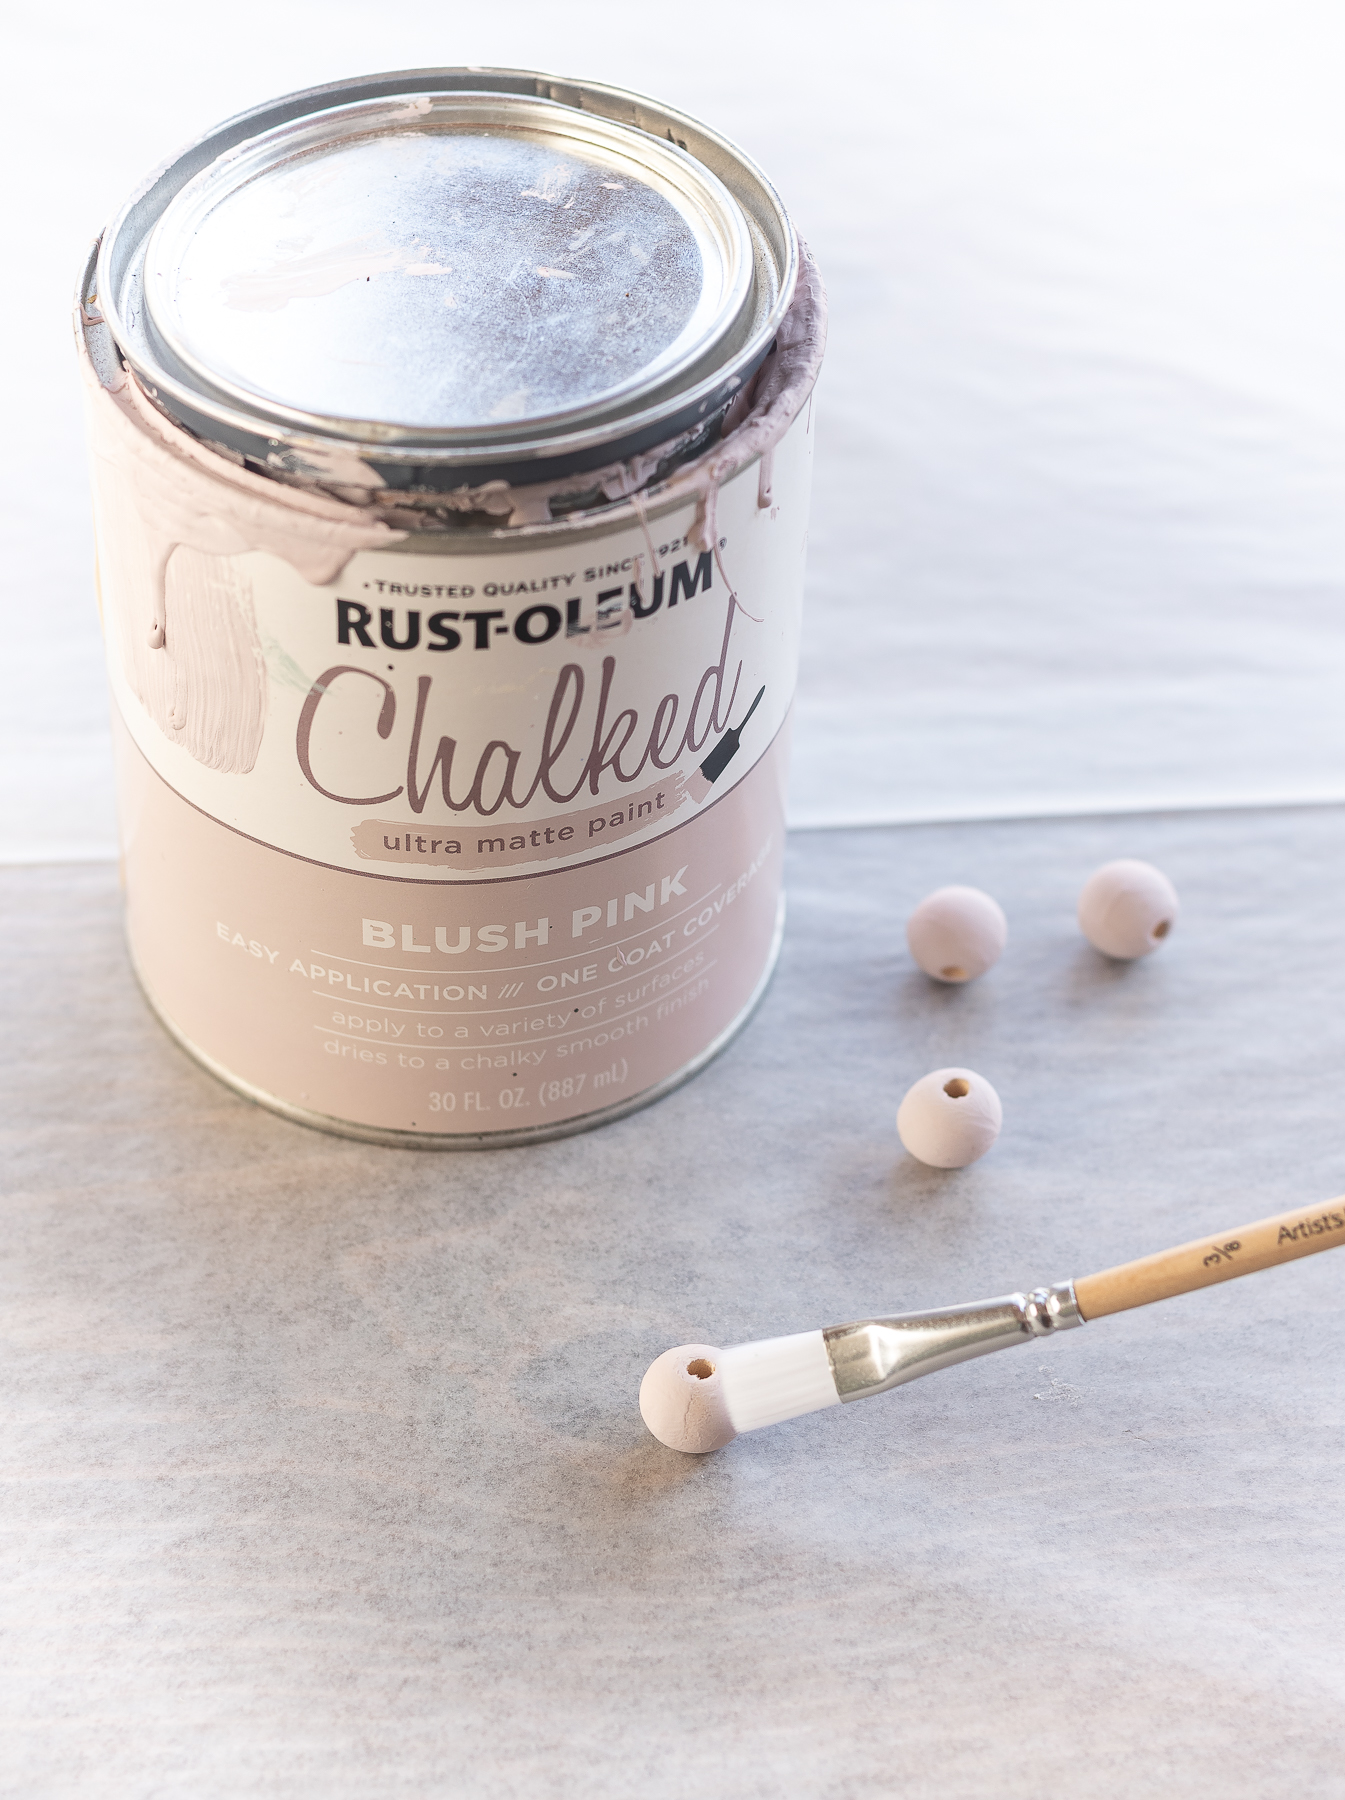
Paint your bead “noses” pink. I used chalked paint which dried very quickly and made painting beads much easier.
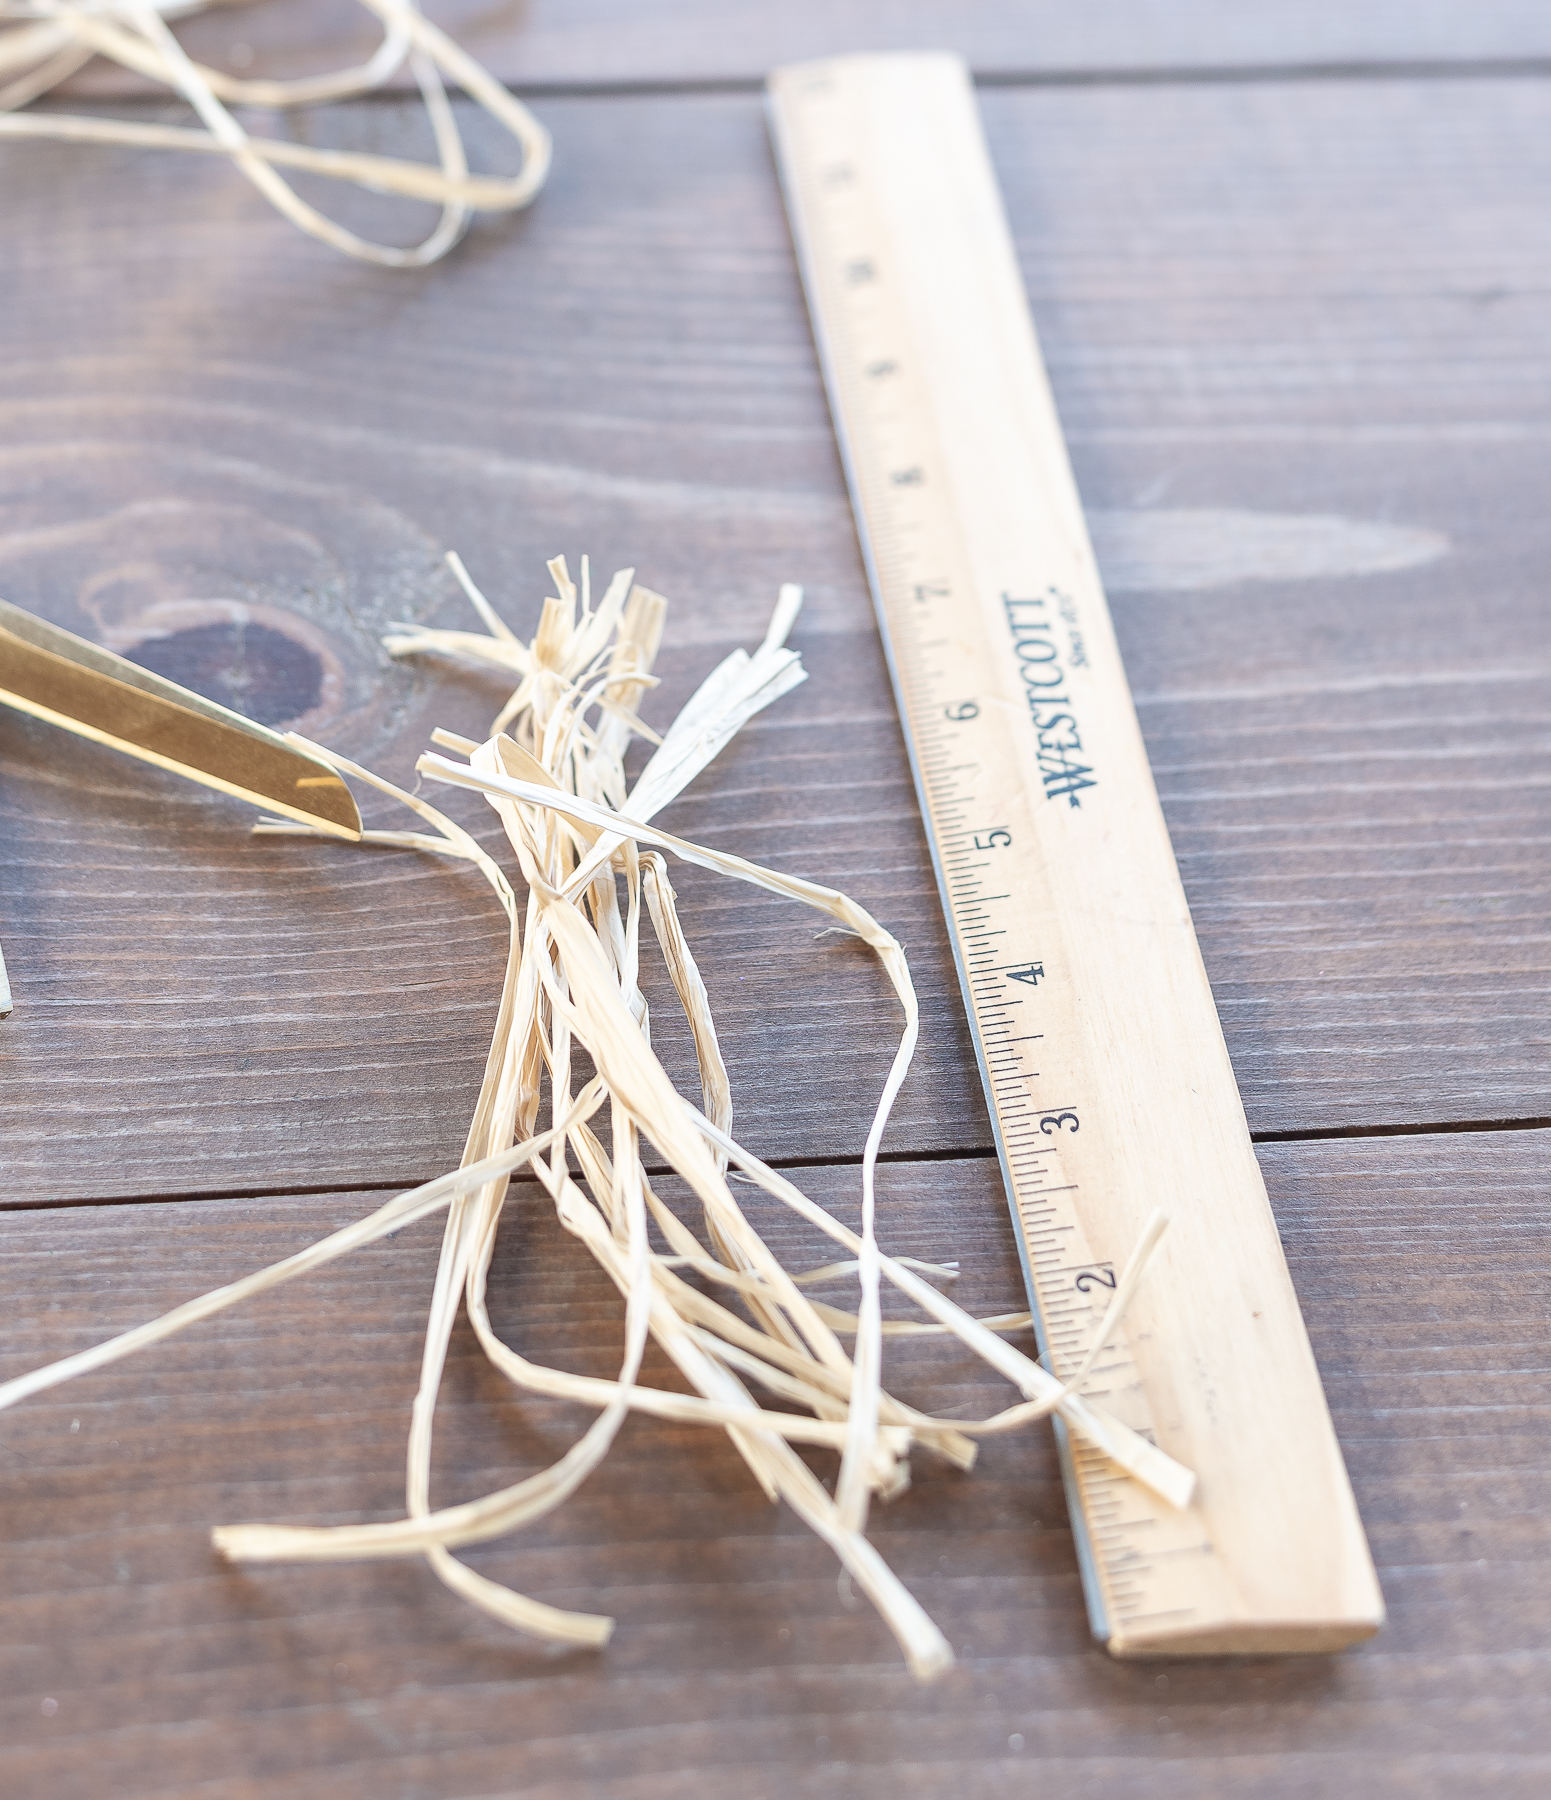
Cut 8″ lengths of raffia to serve as the bunny whiskers. I used 2-3 stripes each per nose.
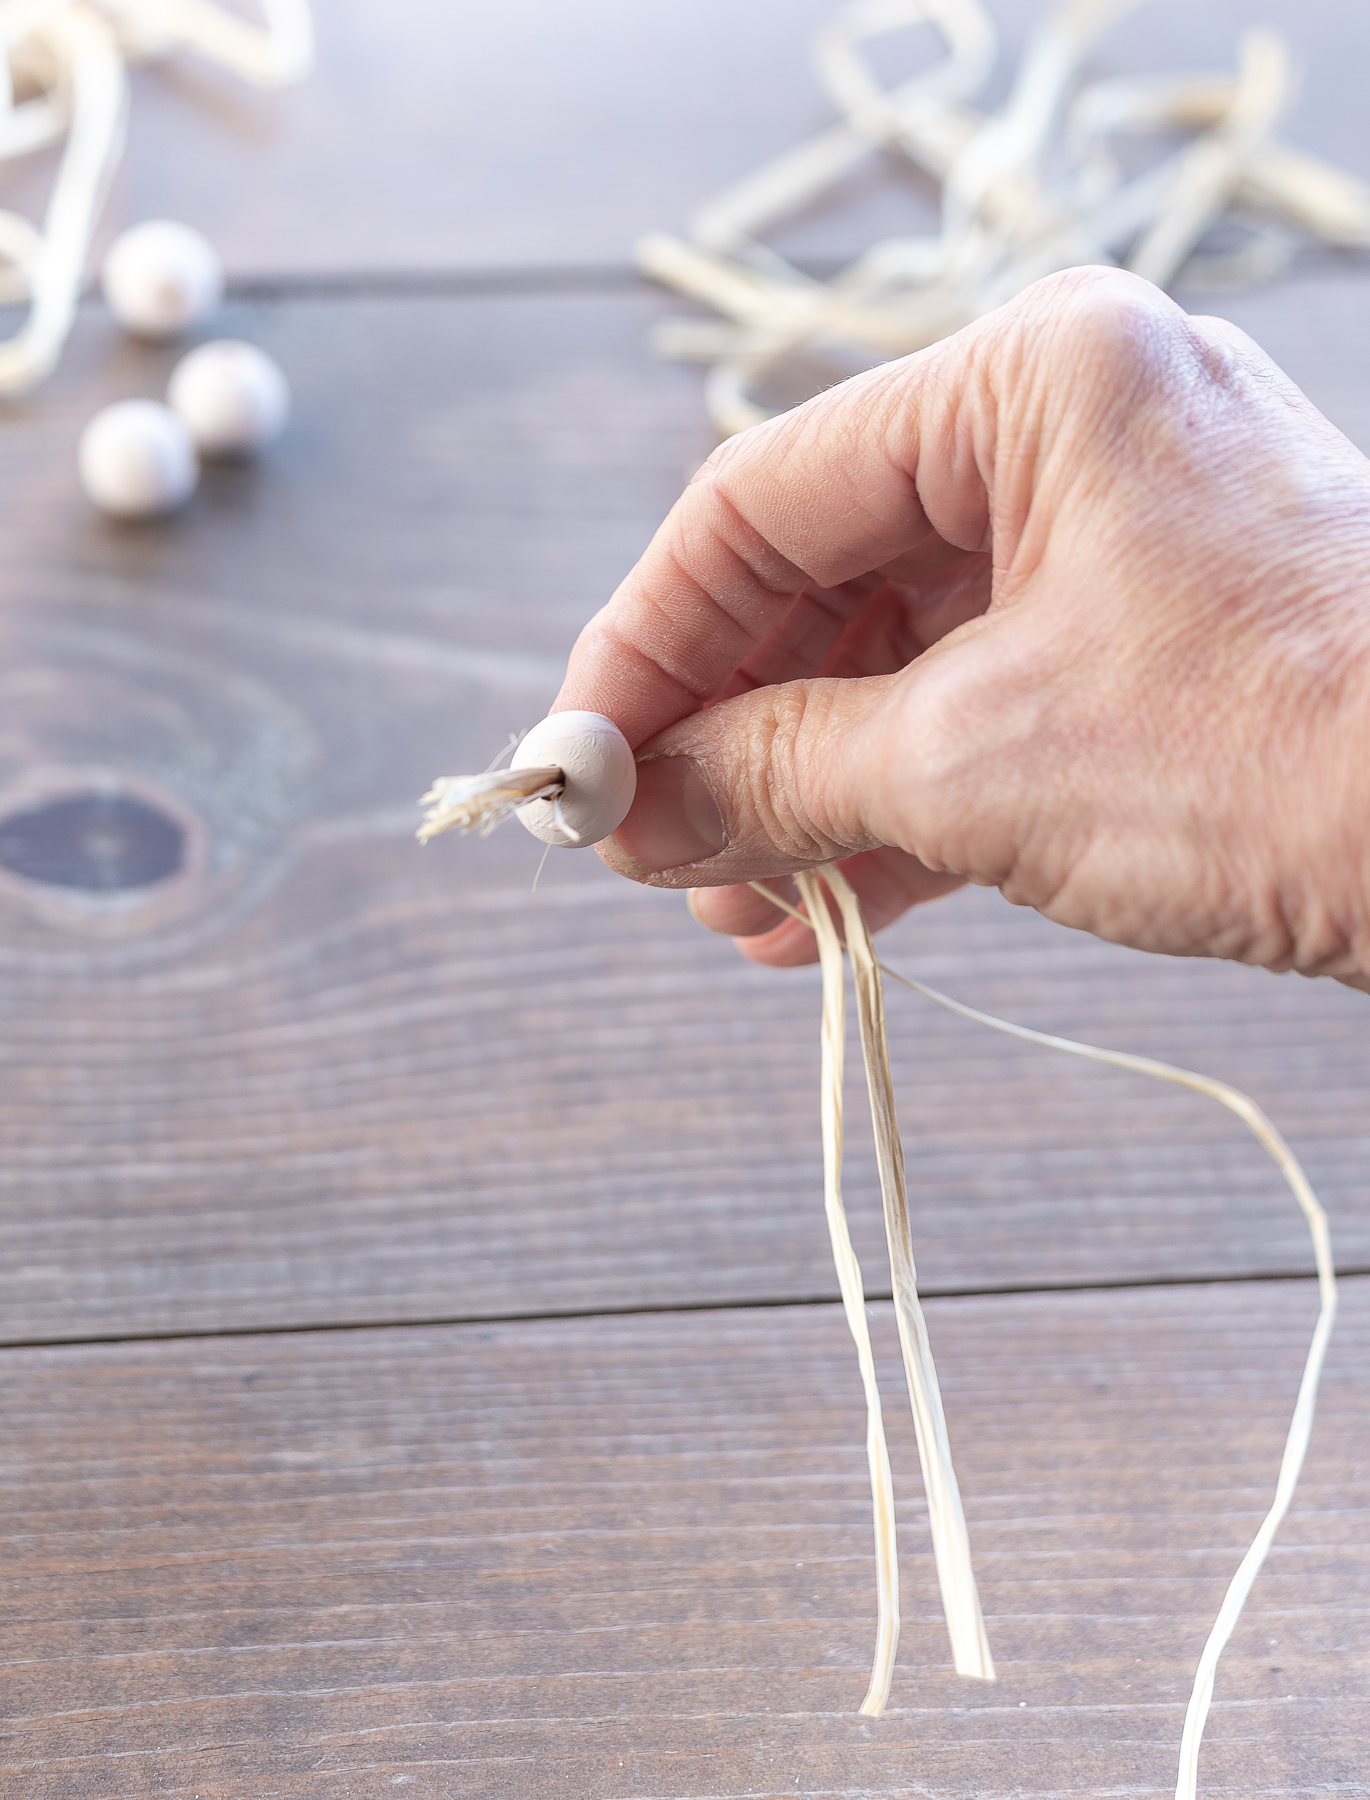
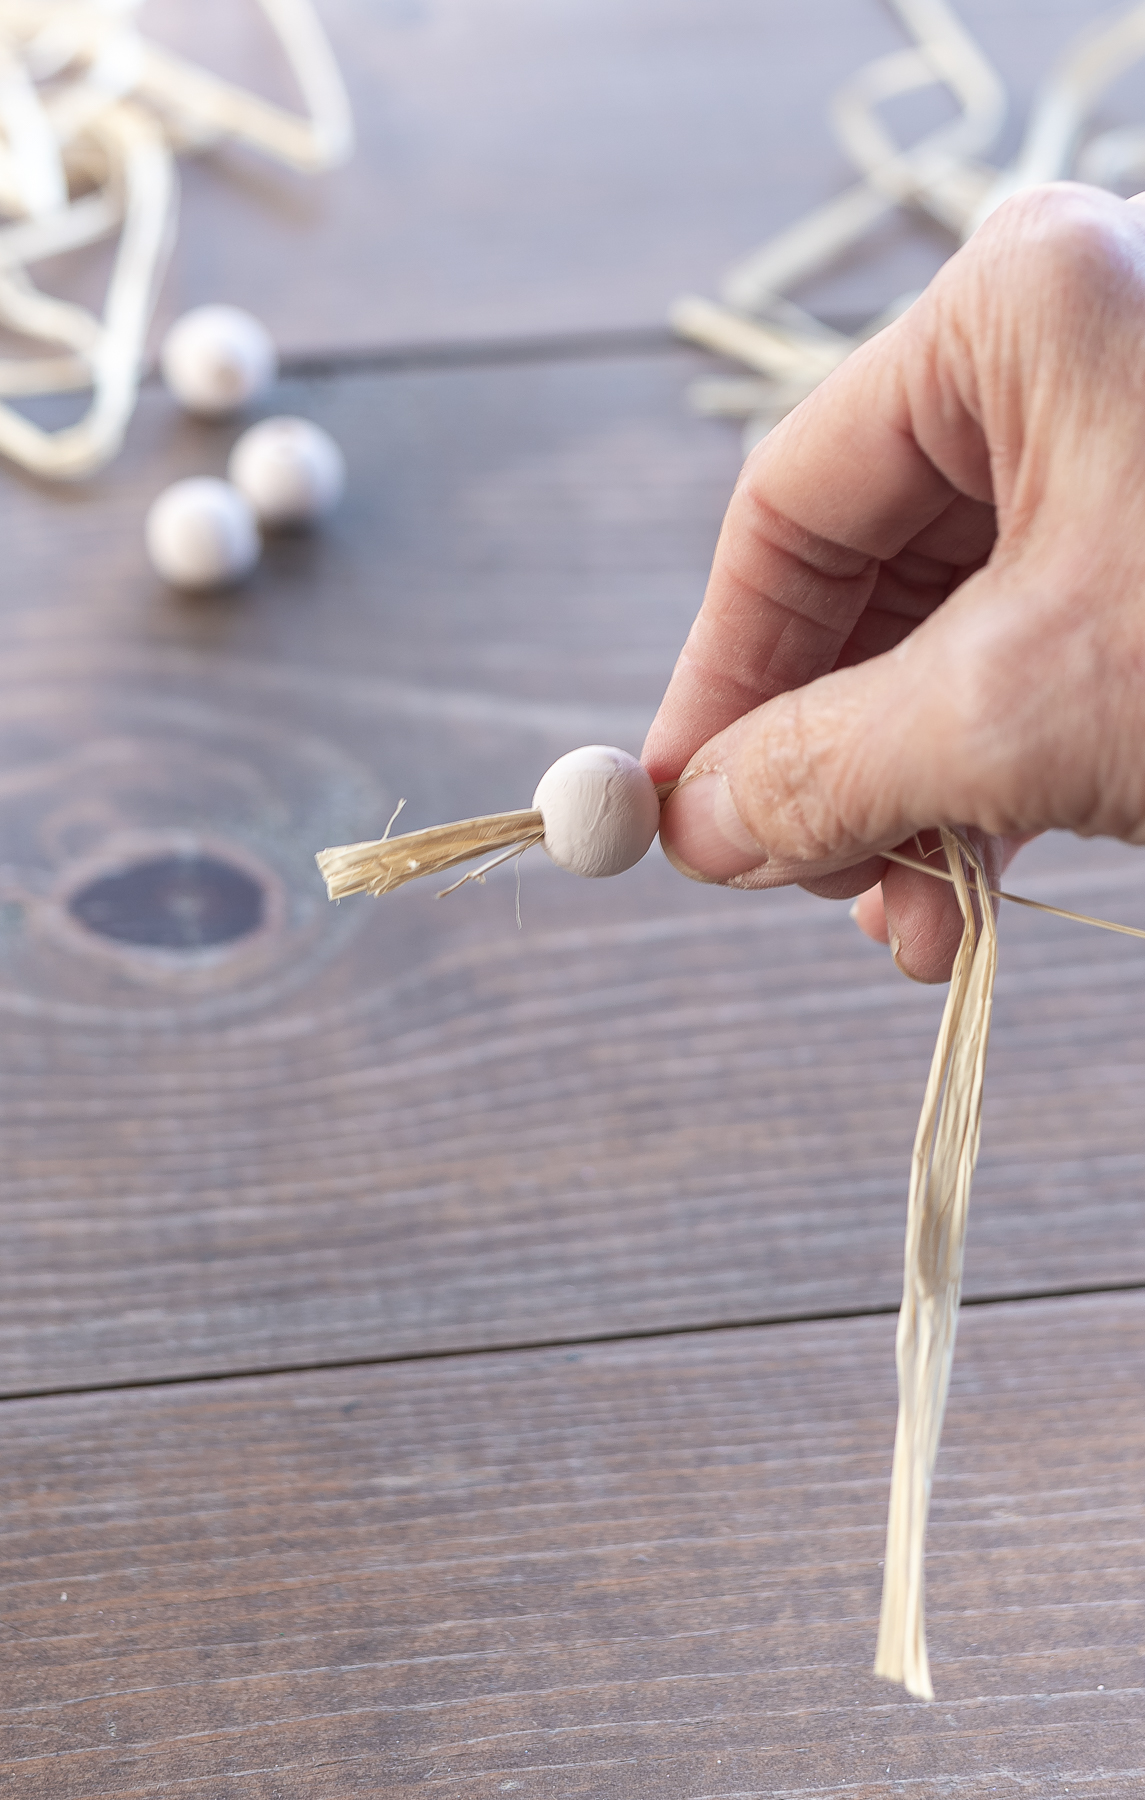
Before proceeding to the napkin fold (and after the bead is completely dry), let’s get the noses ready!
Start by feeding 2-to-3 of the 8″ lengths of raffia through the hole in the bead, along with one longer length of raffia that will be used to tied the nose to the napkin.
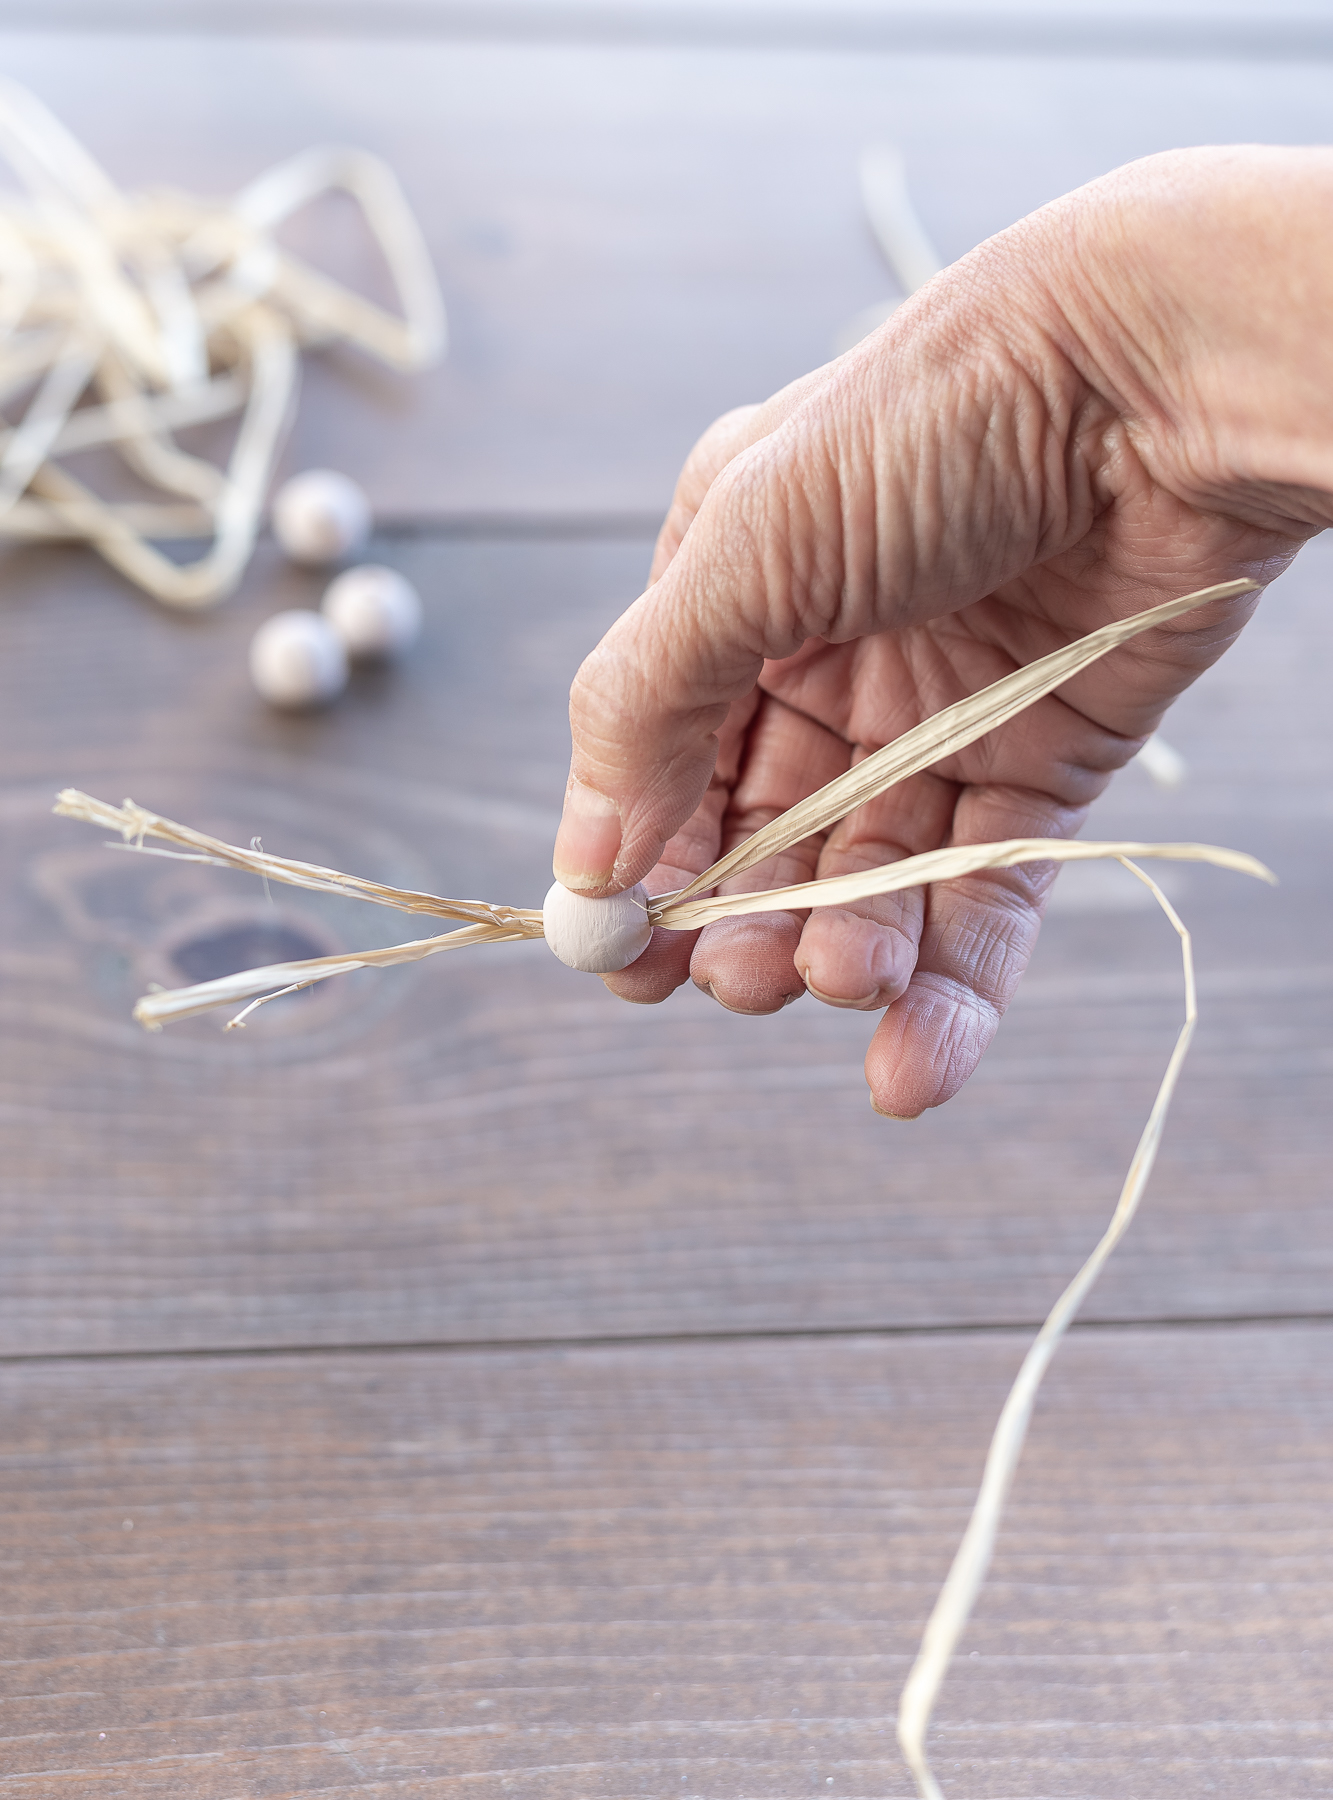
Even out the whiskers lengths.
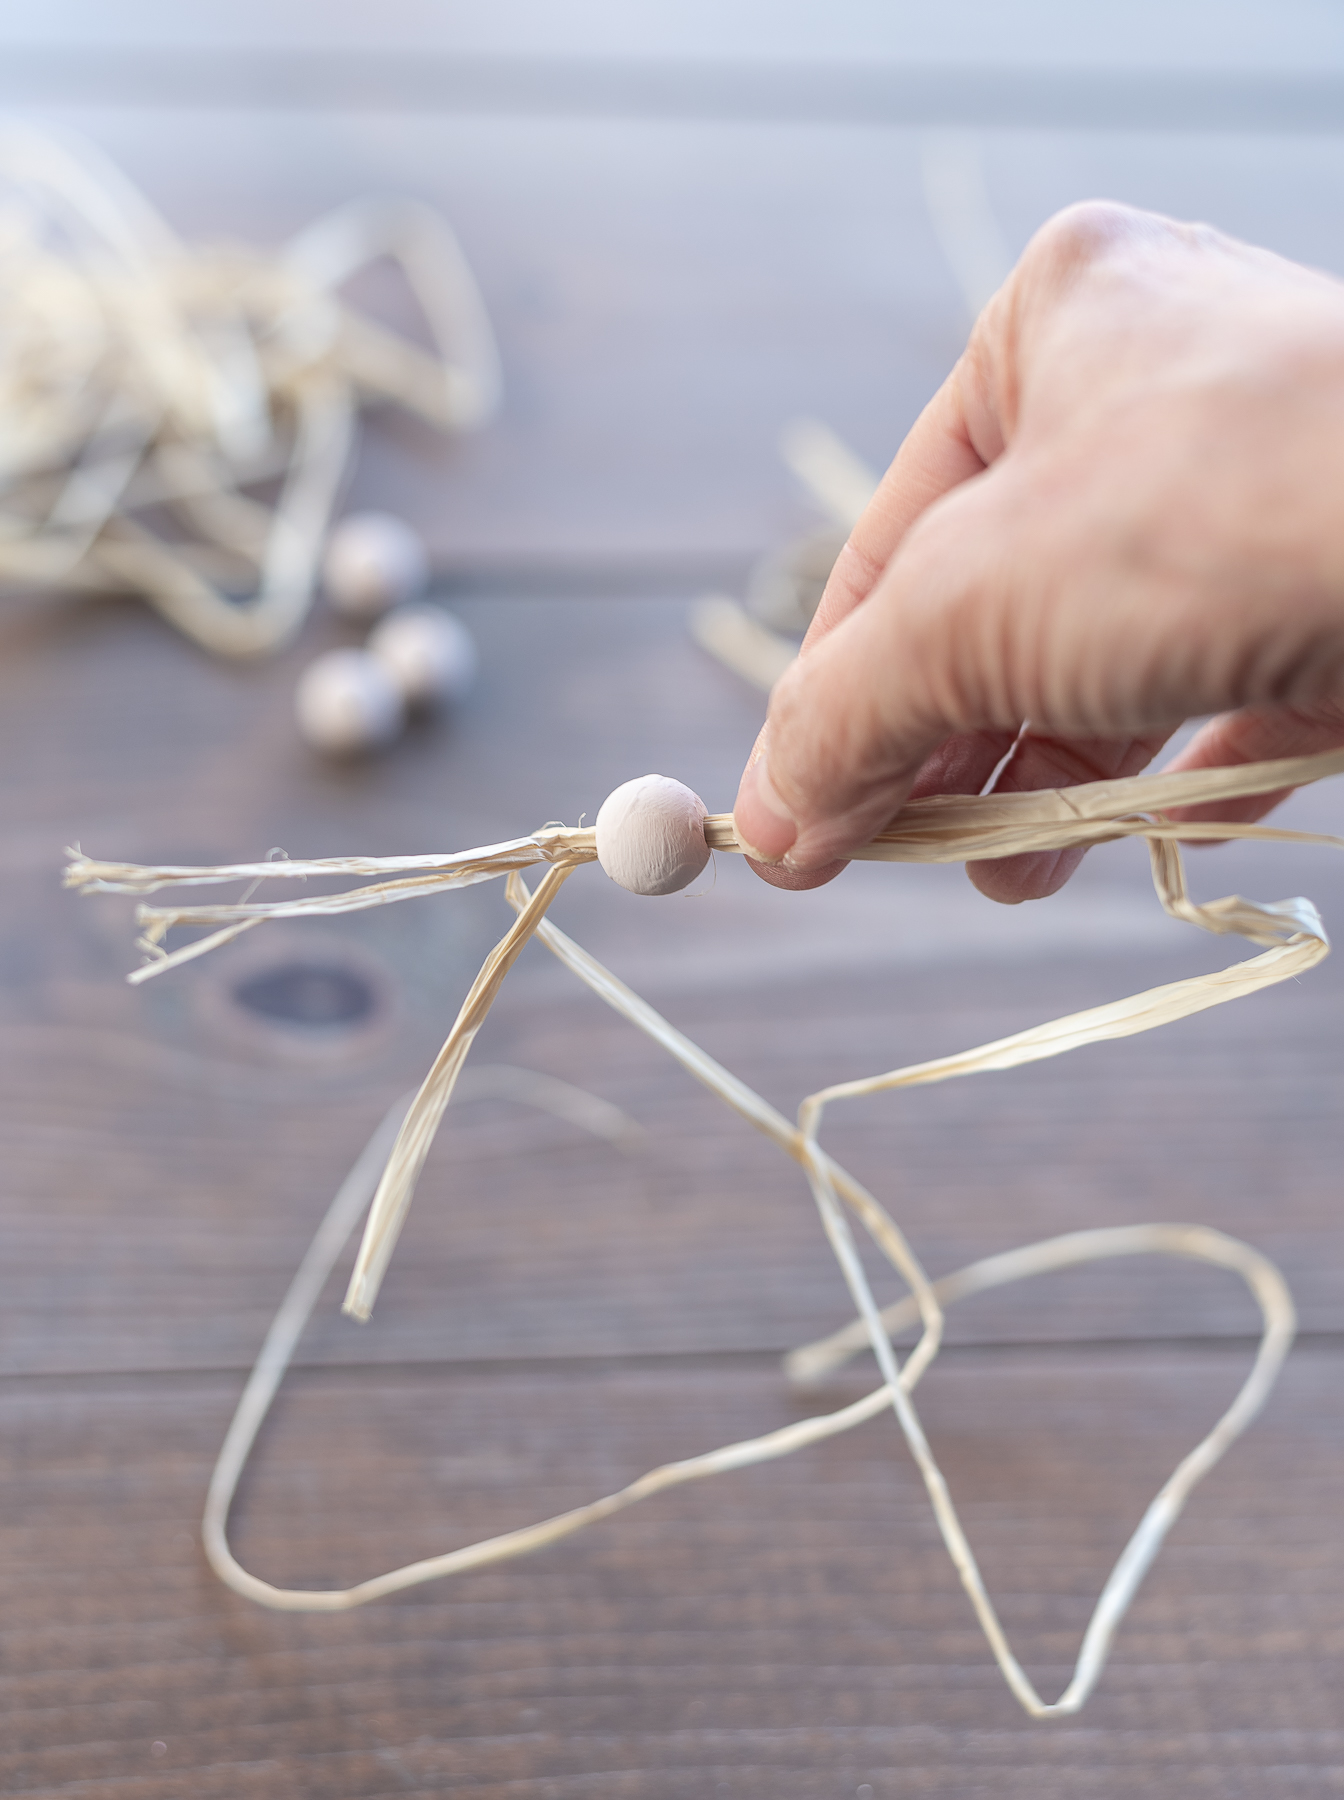
And then pull through the longer length of raffia until there are equal lengths on either side of the bead. Again, this piece of raffia will be used to tie around the folded napkin to secure the nose.
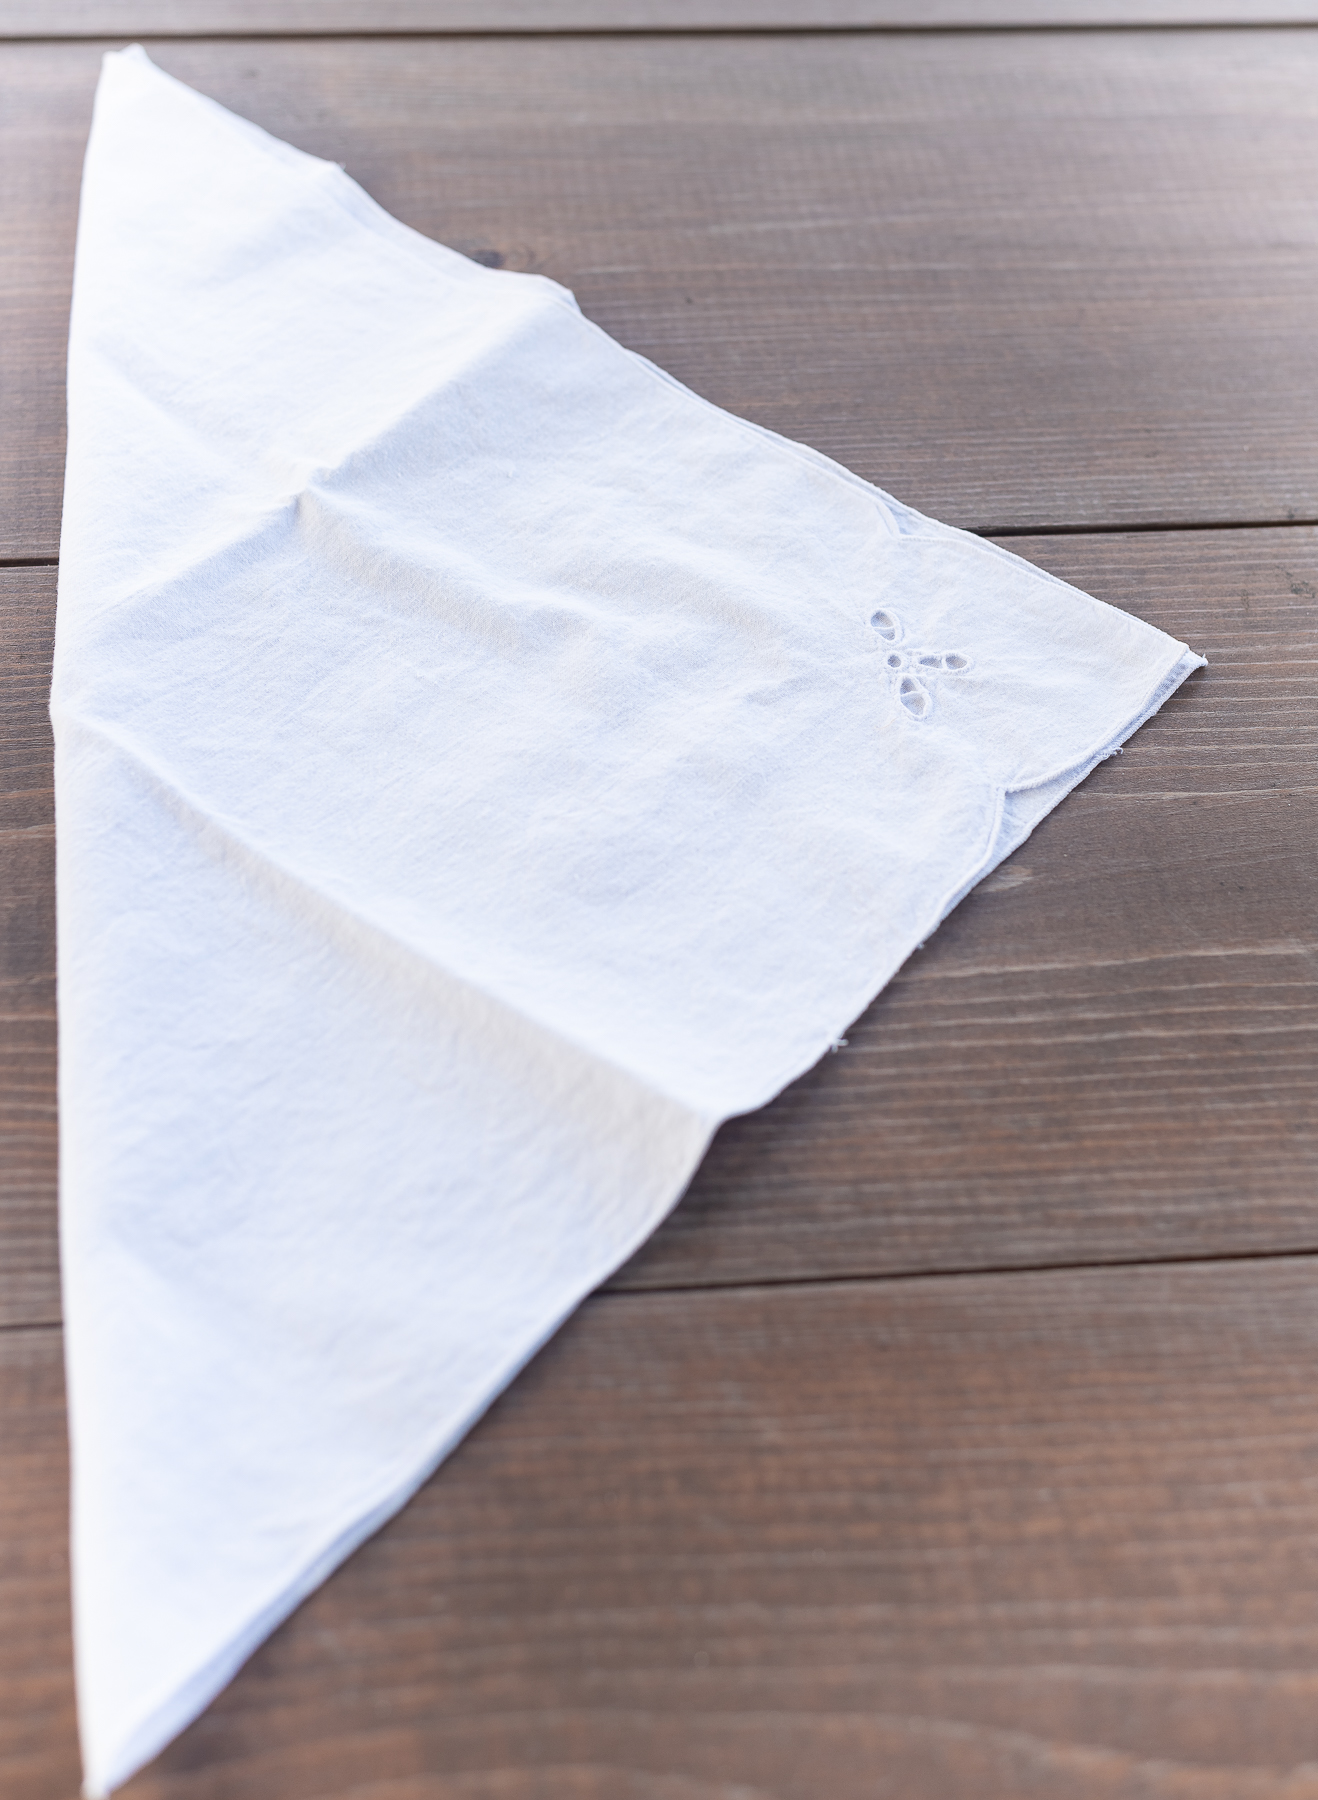
Now it’s time for the napkin fold. Start folding it into a triangle.
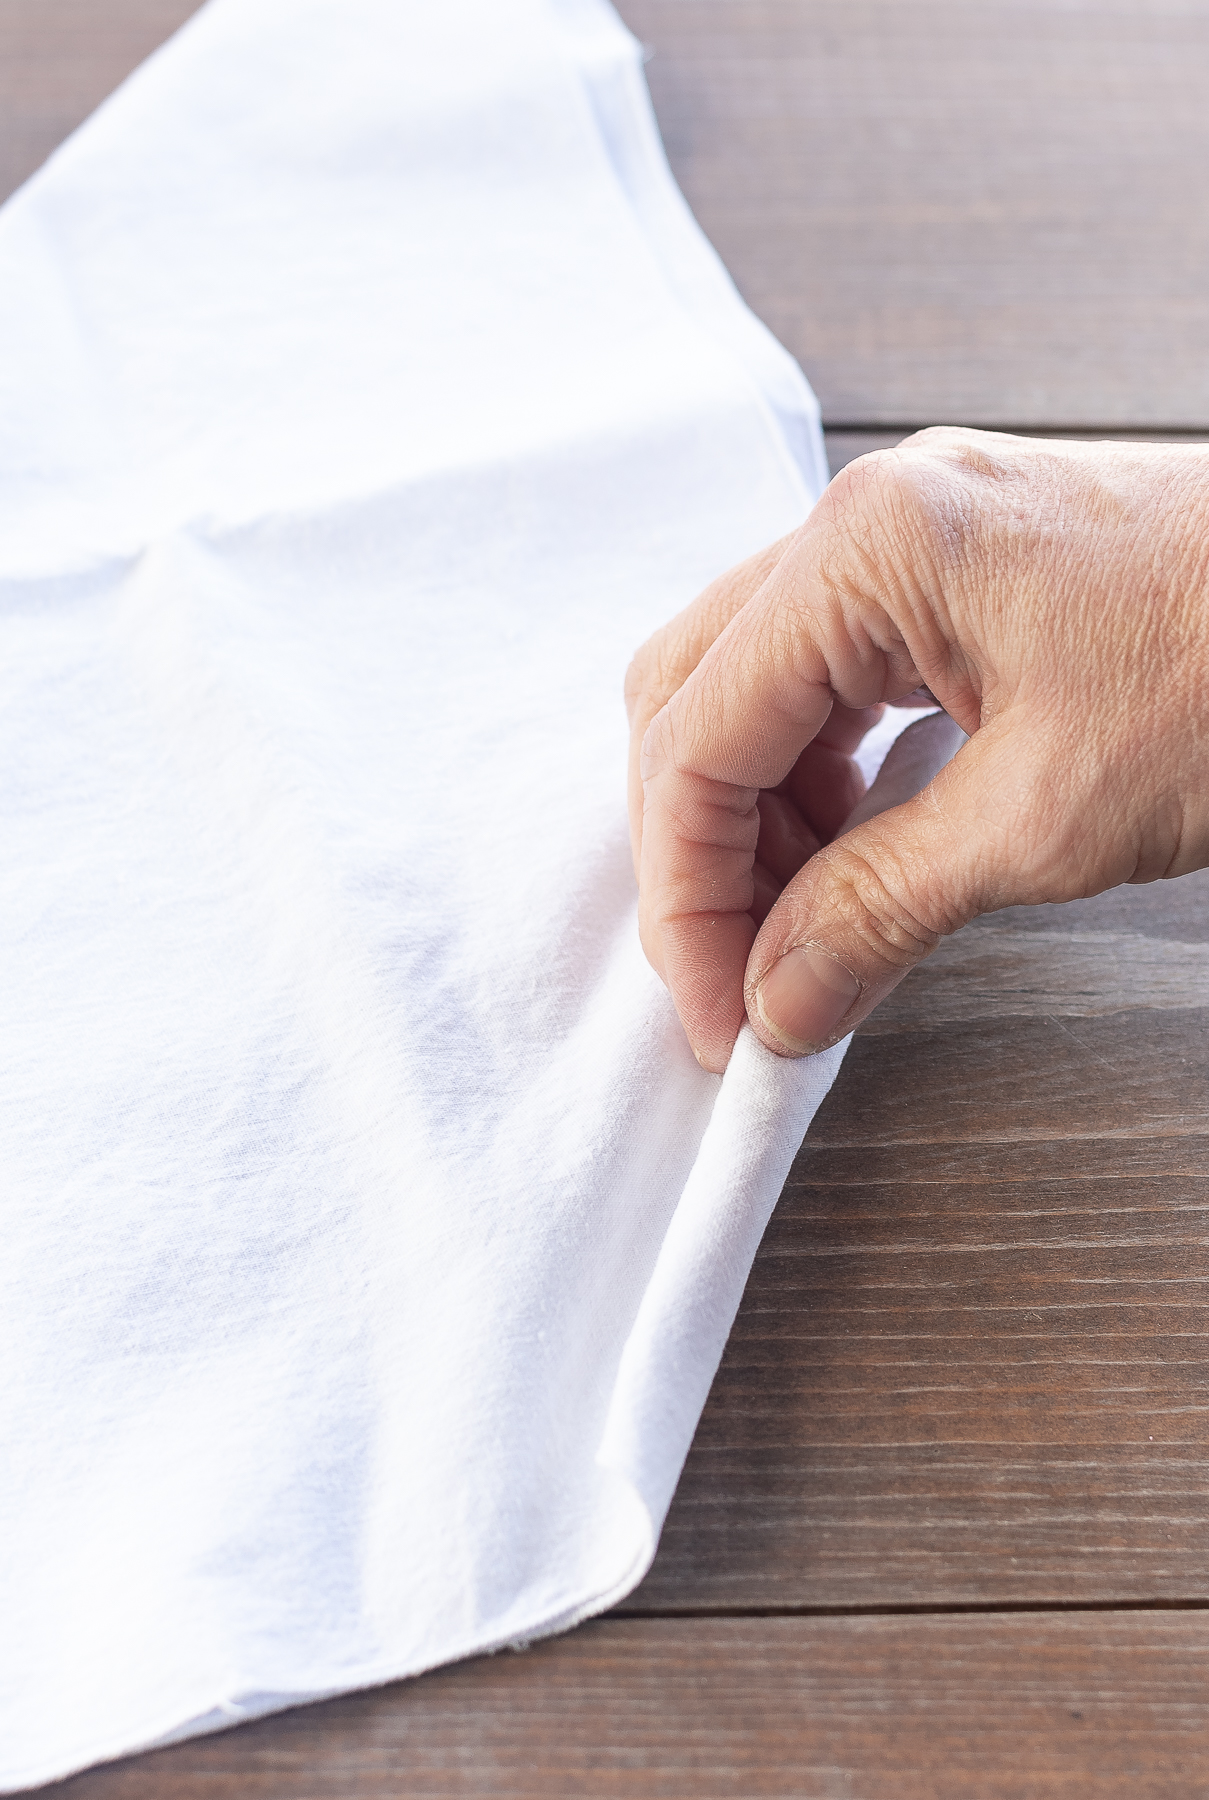
Starting at the small pointed center, roll the napkin …
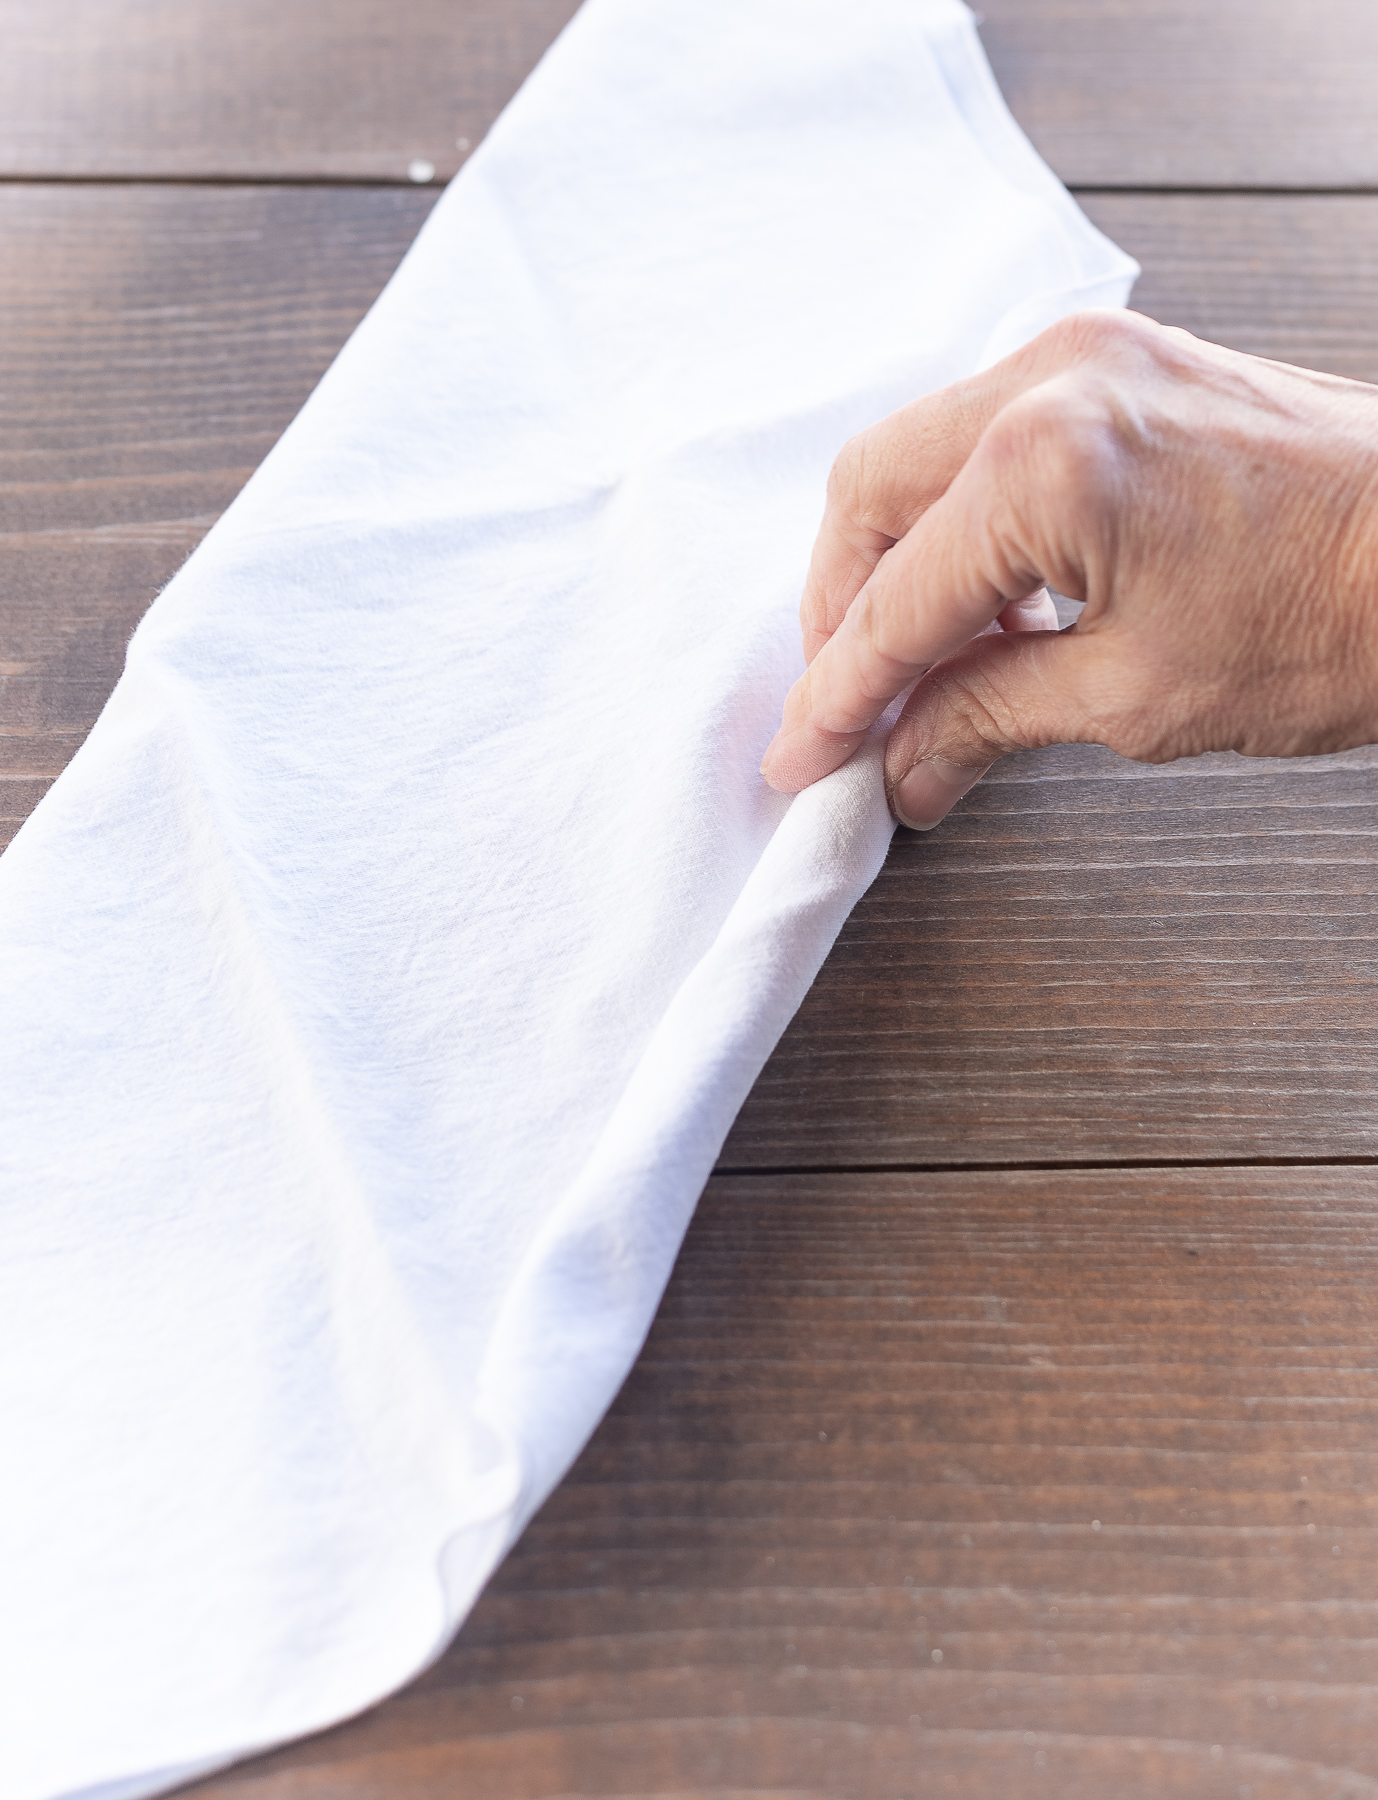
and roll …
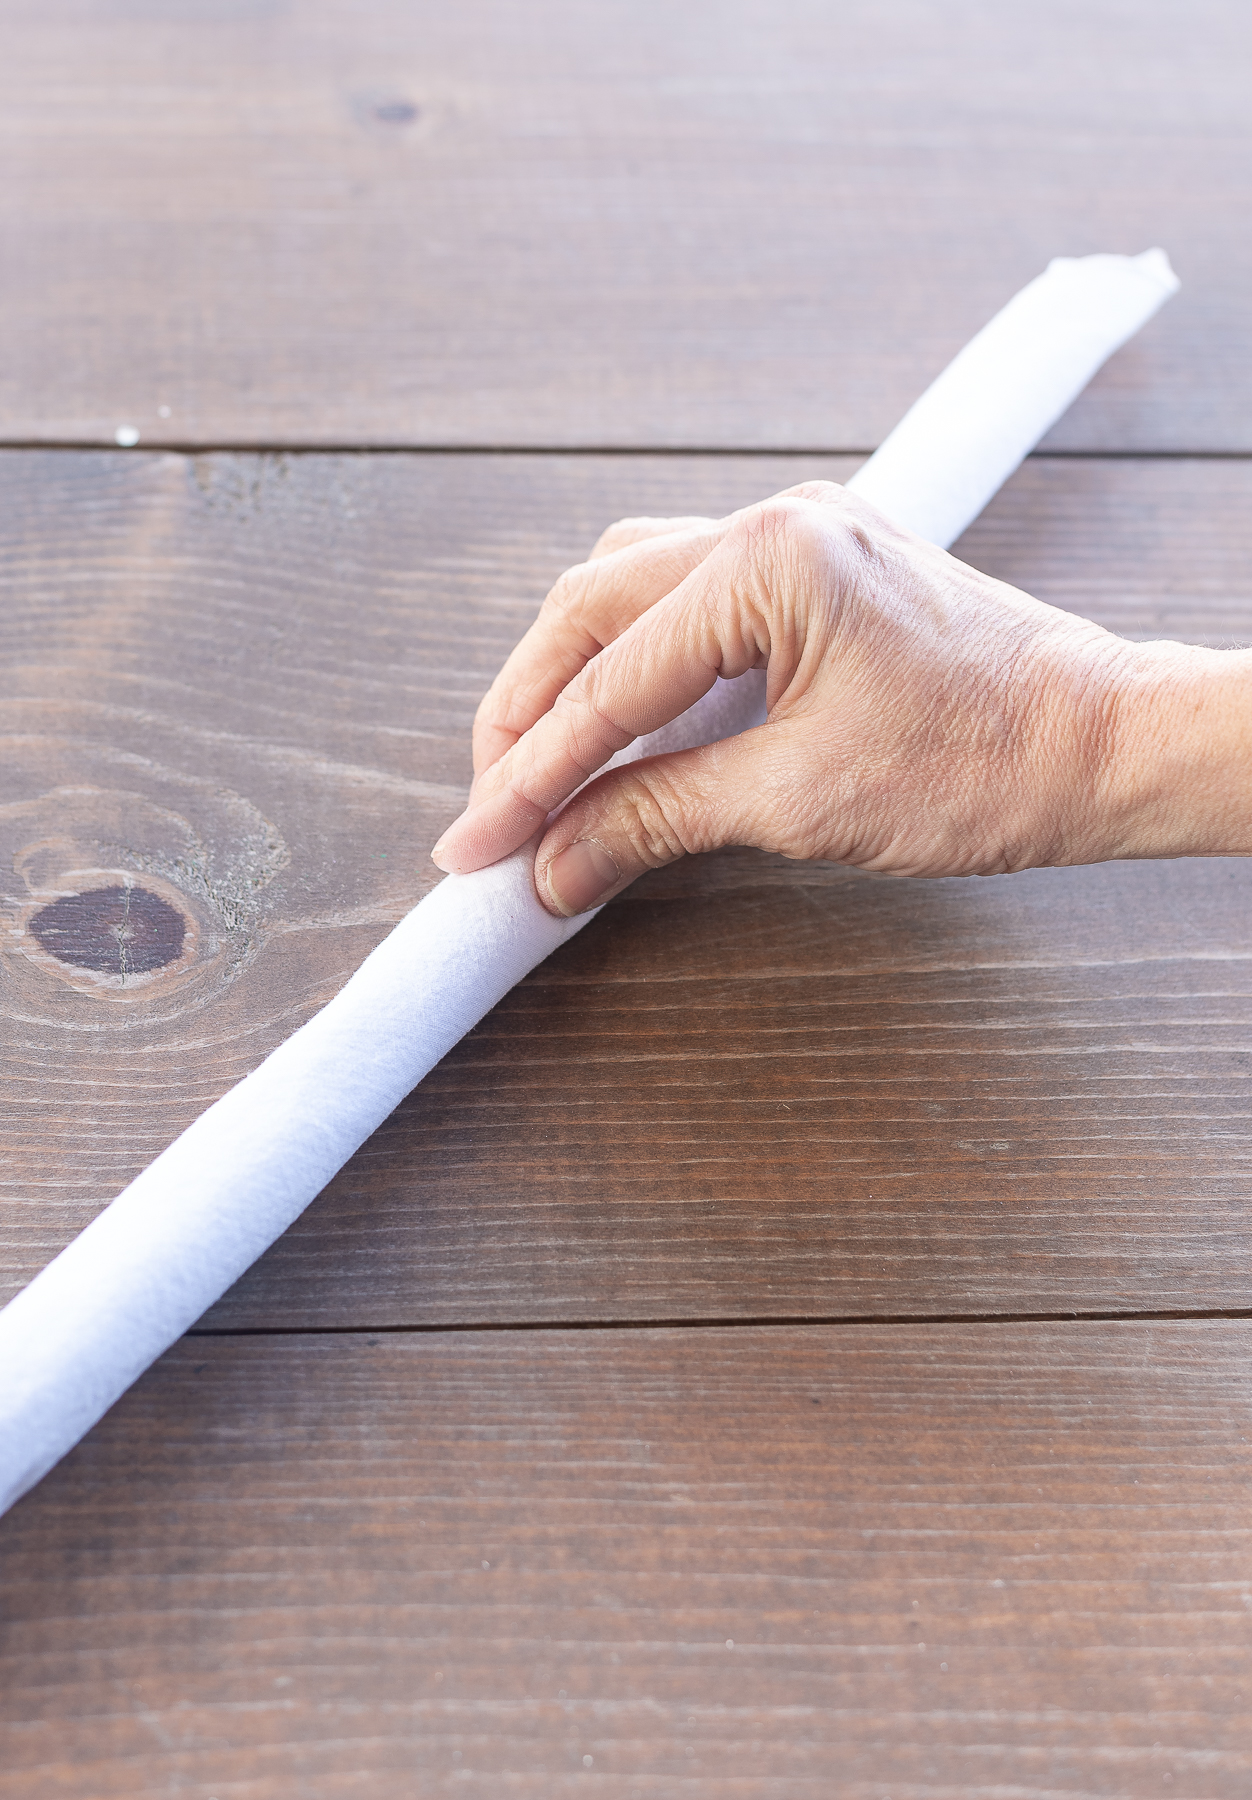
and roll.
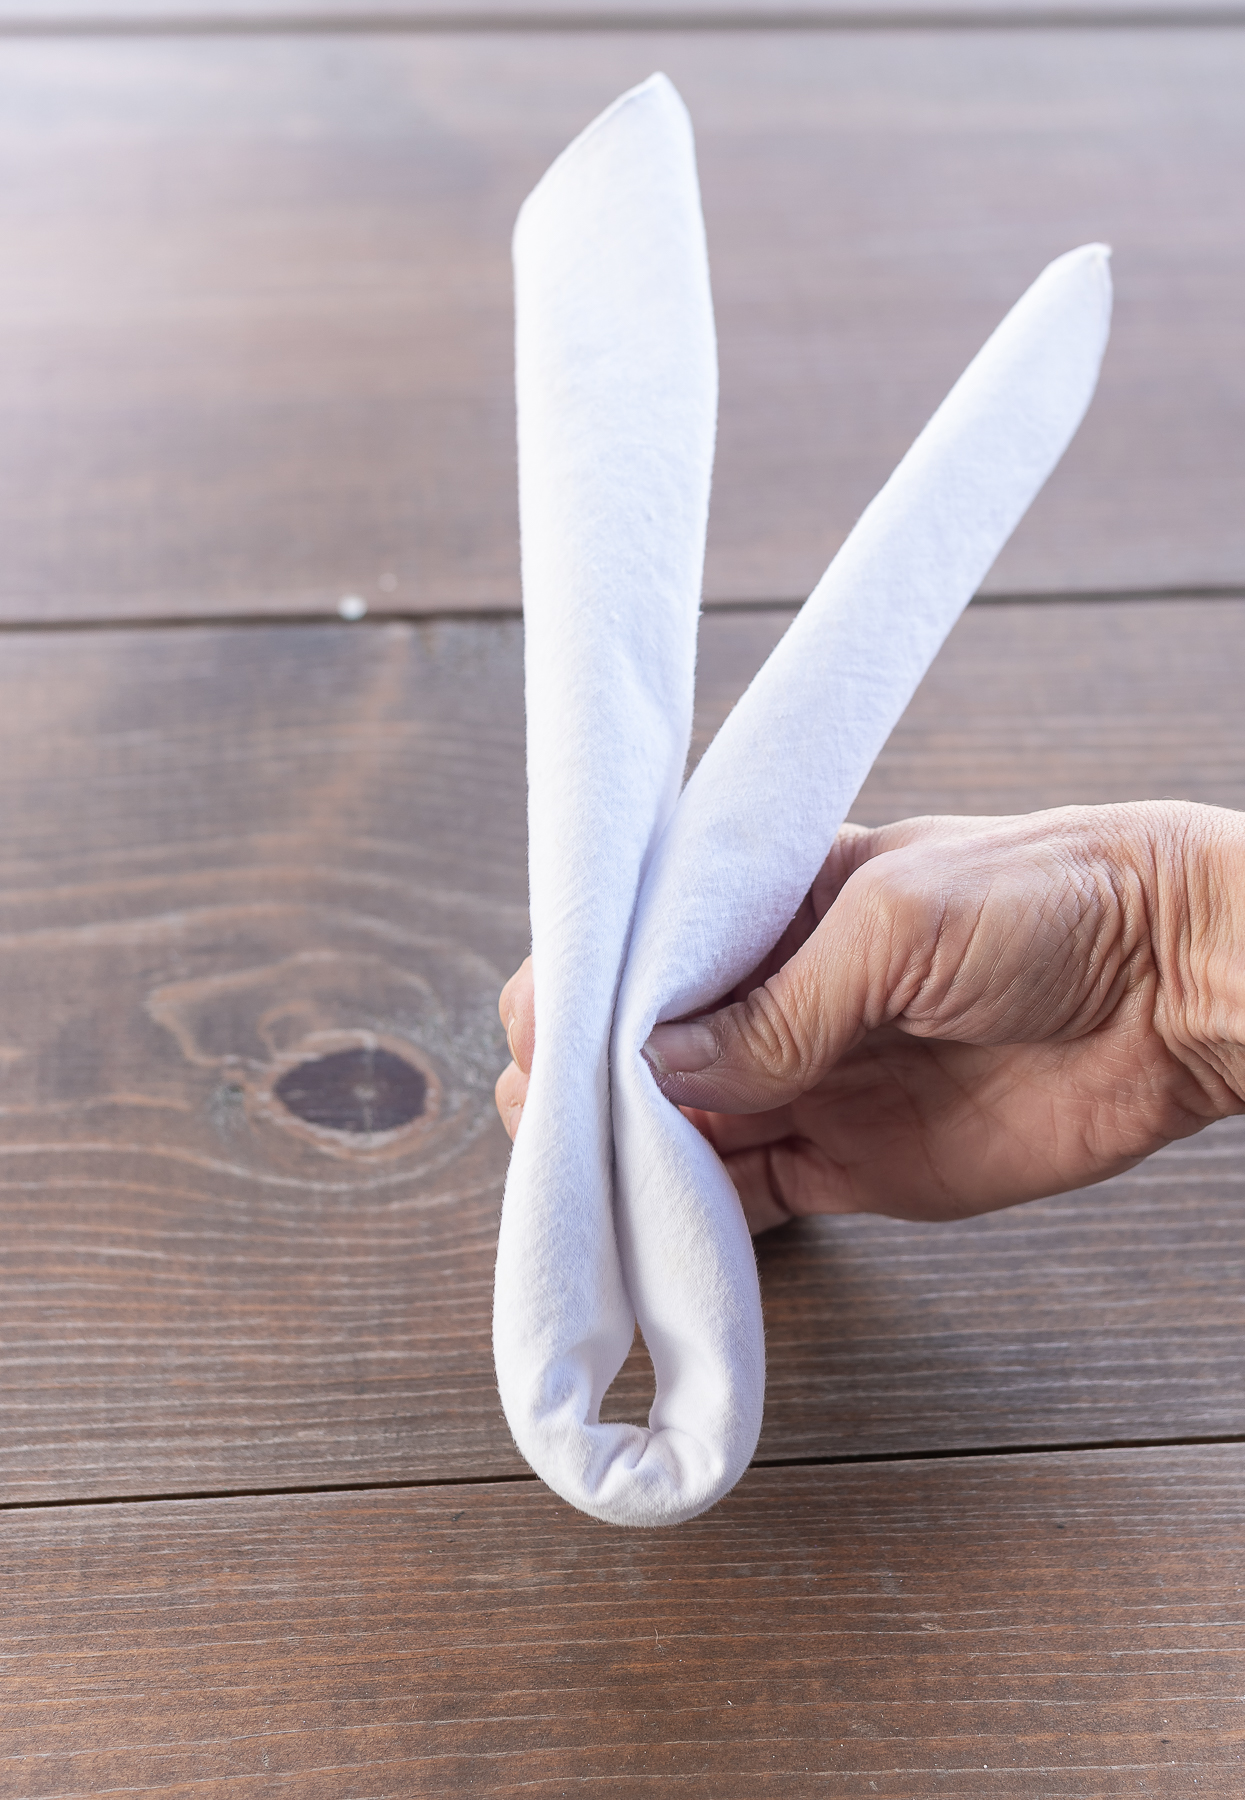
Now it’s time to make that loop. Or U. At the bottom of the napkin. Make sure that the “ears” are of equal length.
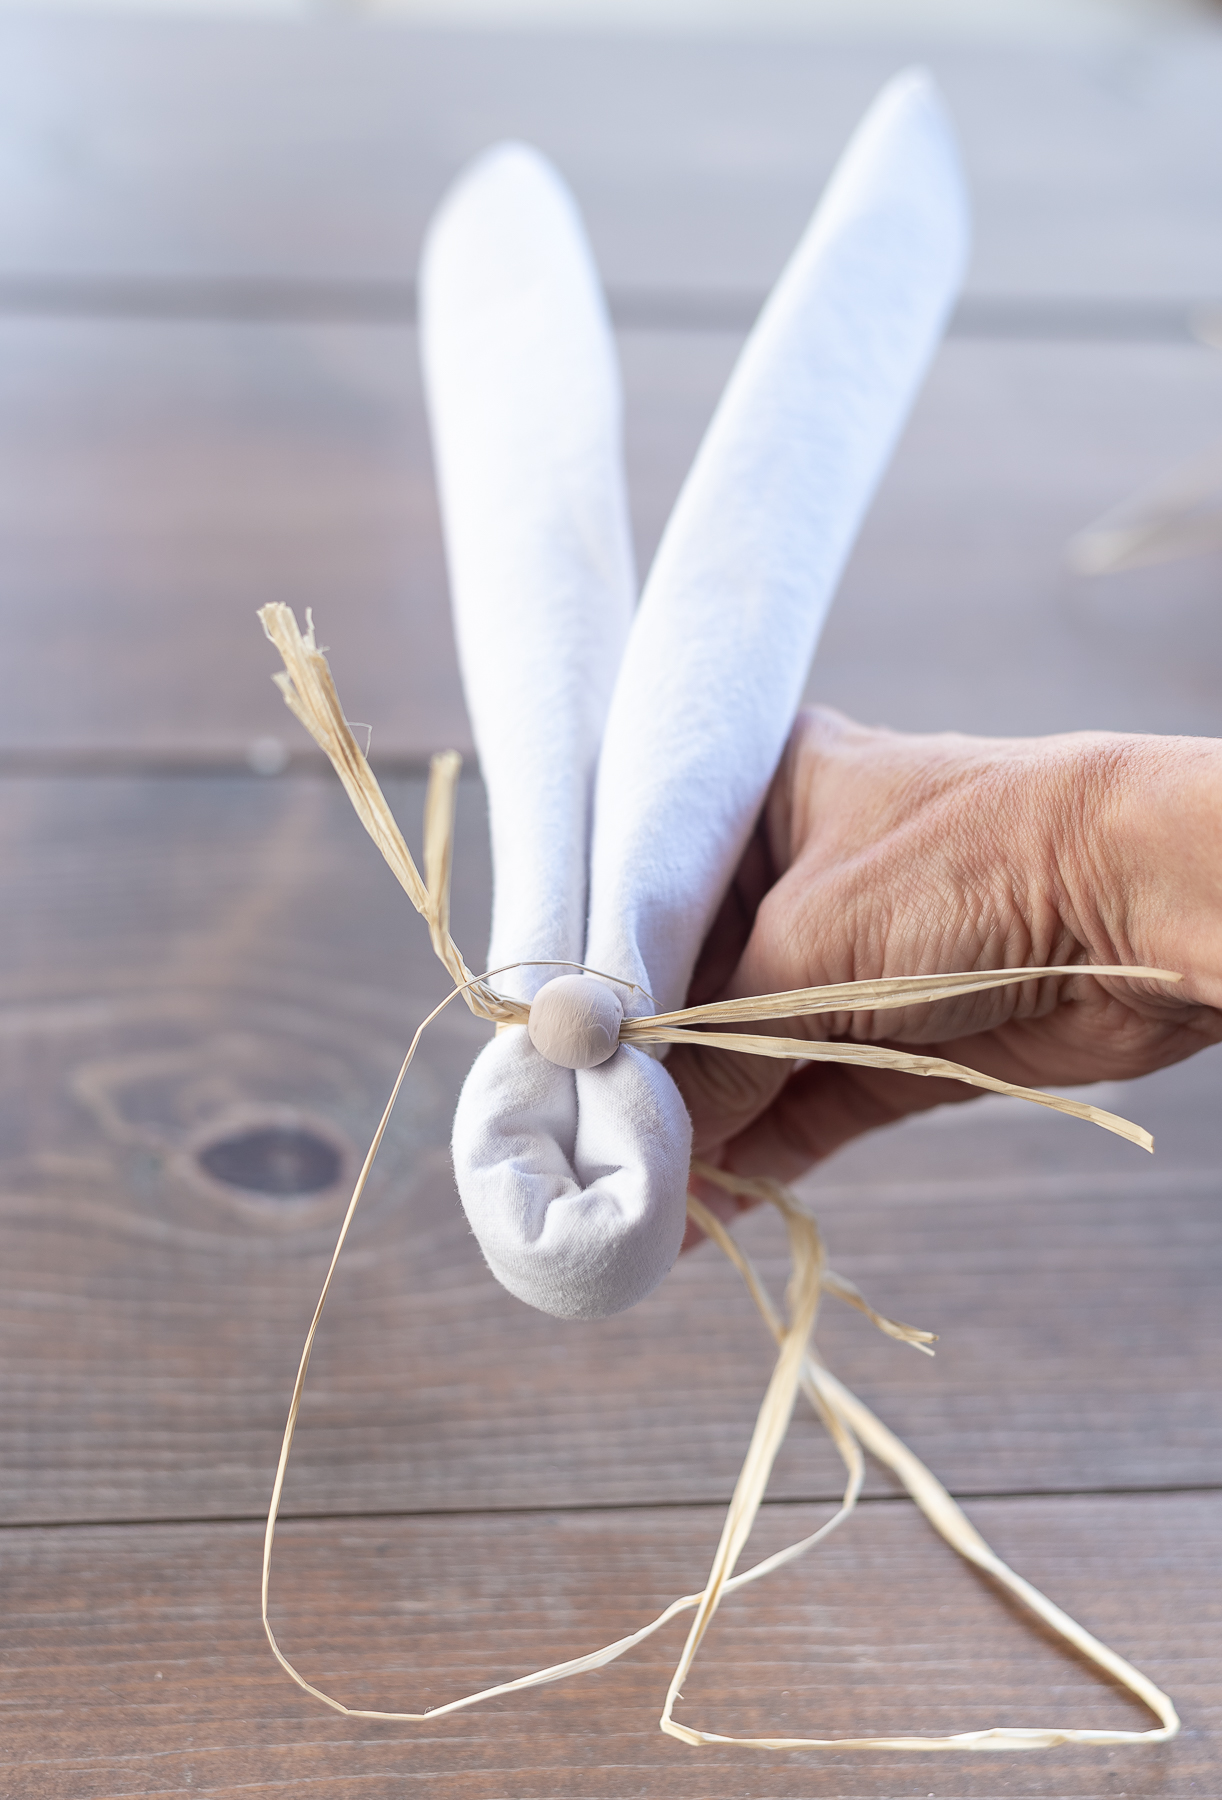
Position the bunny nose where you’d like on the napkin and wrap the long ends of the raffia around the back.
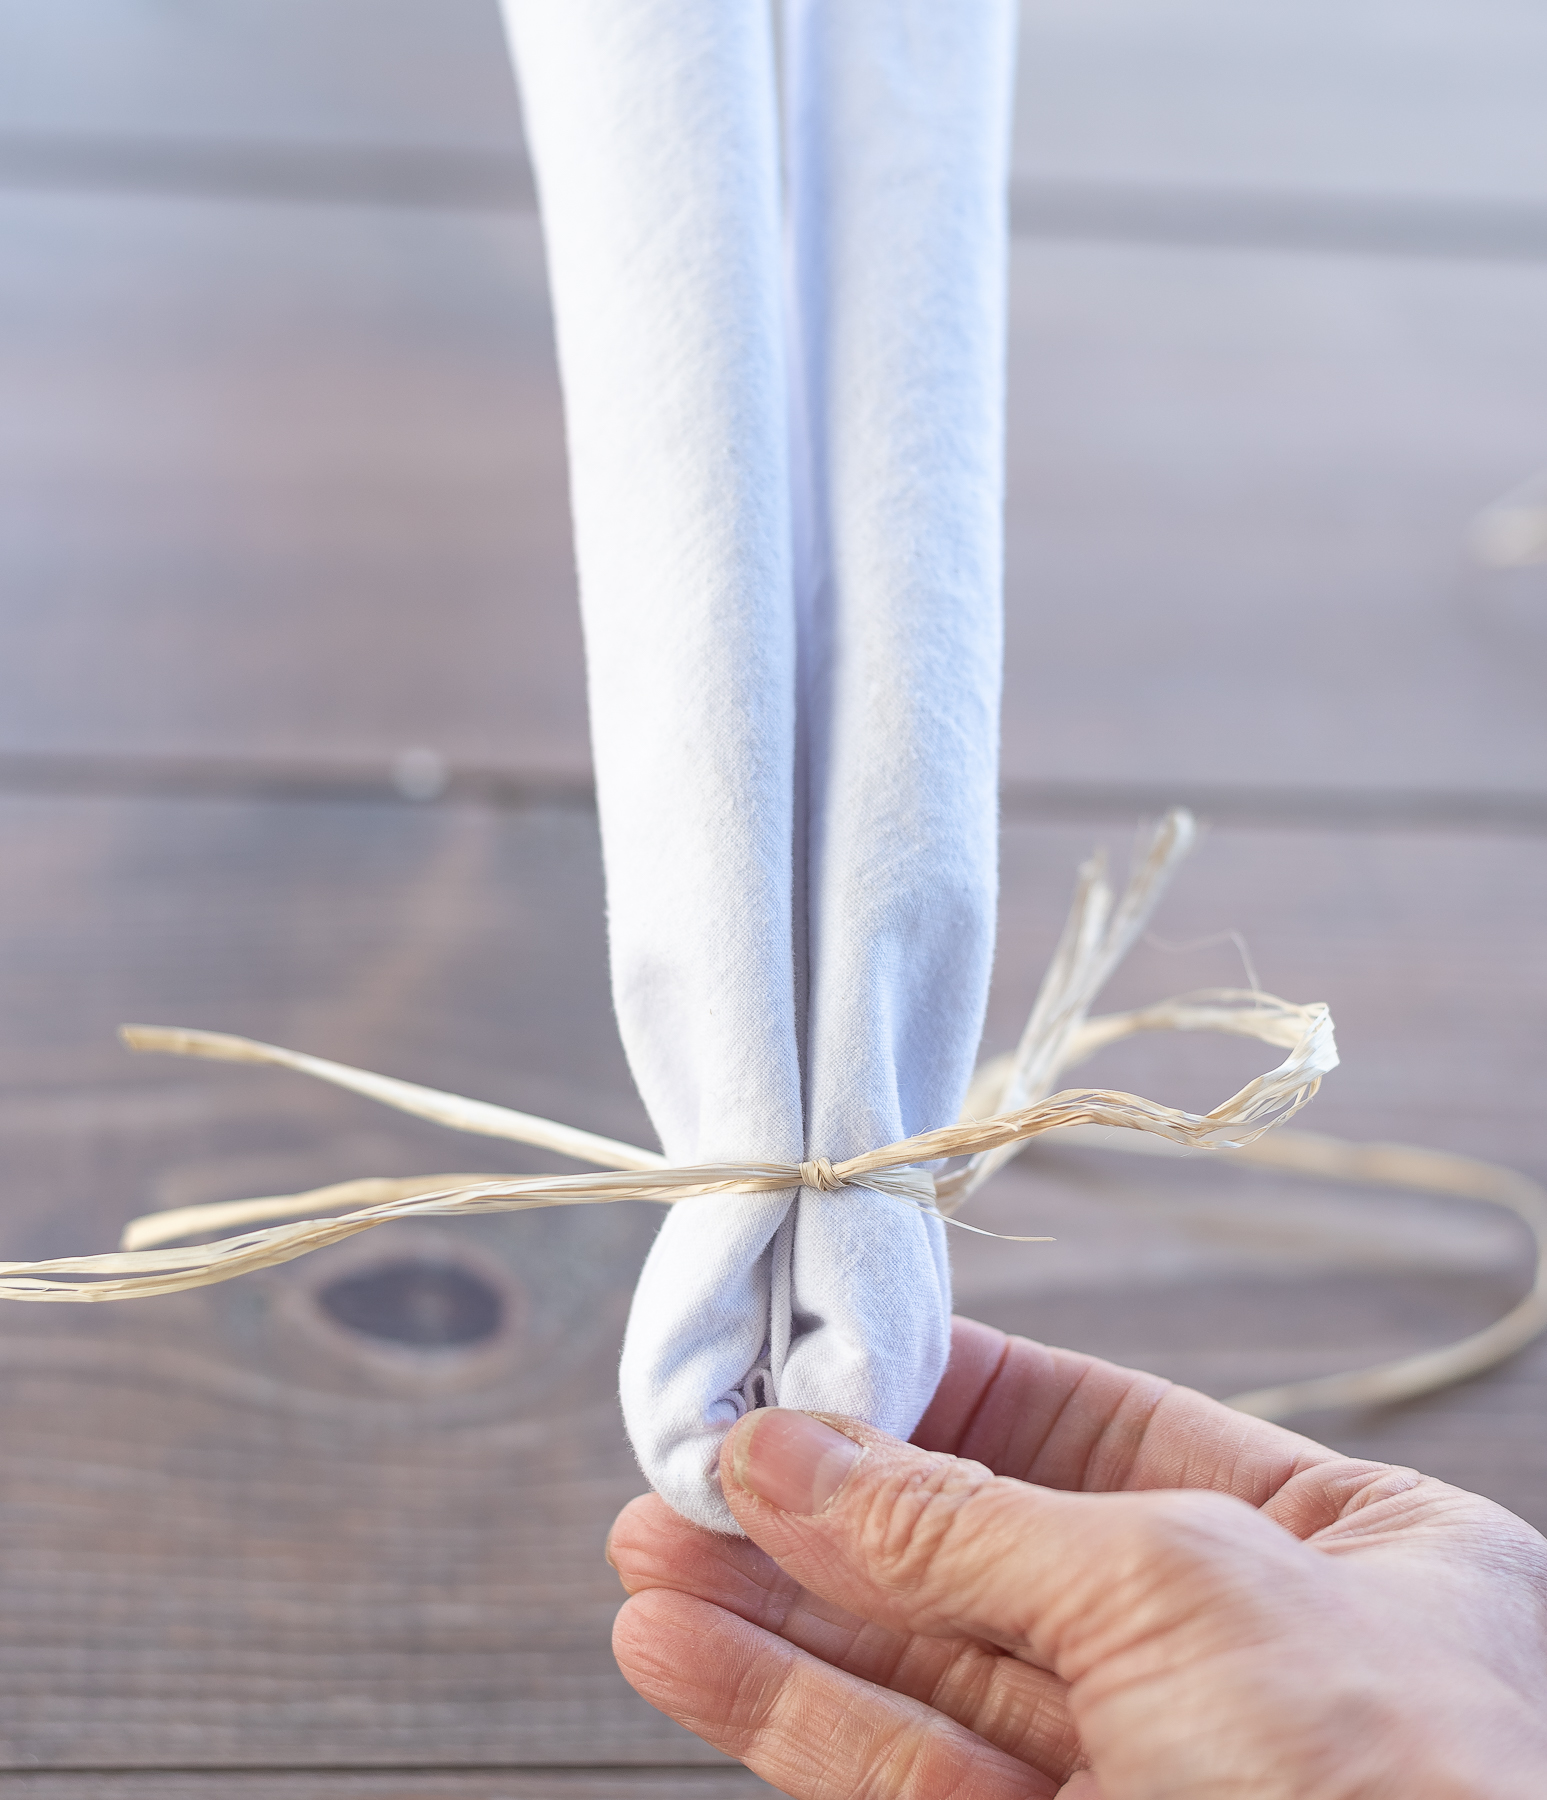
And tie off in the back (be careful not to pull too hard because the raffia does tear easily).
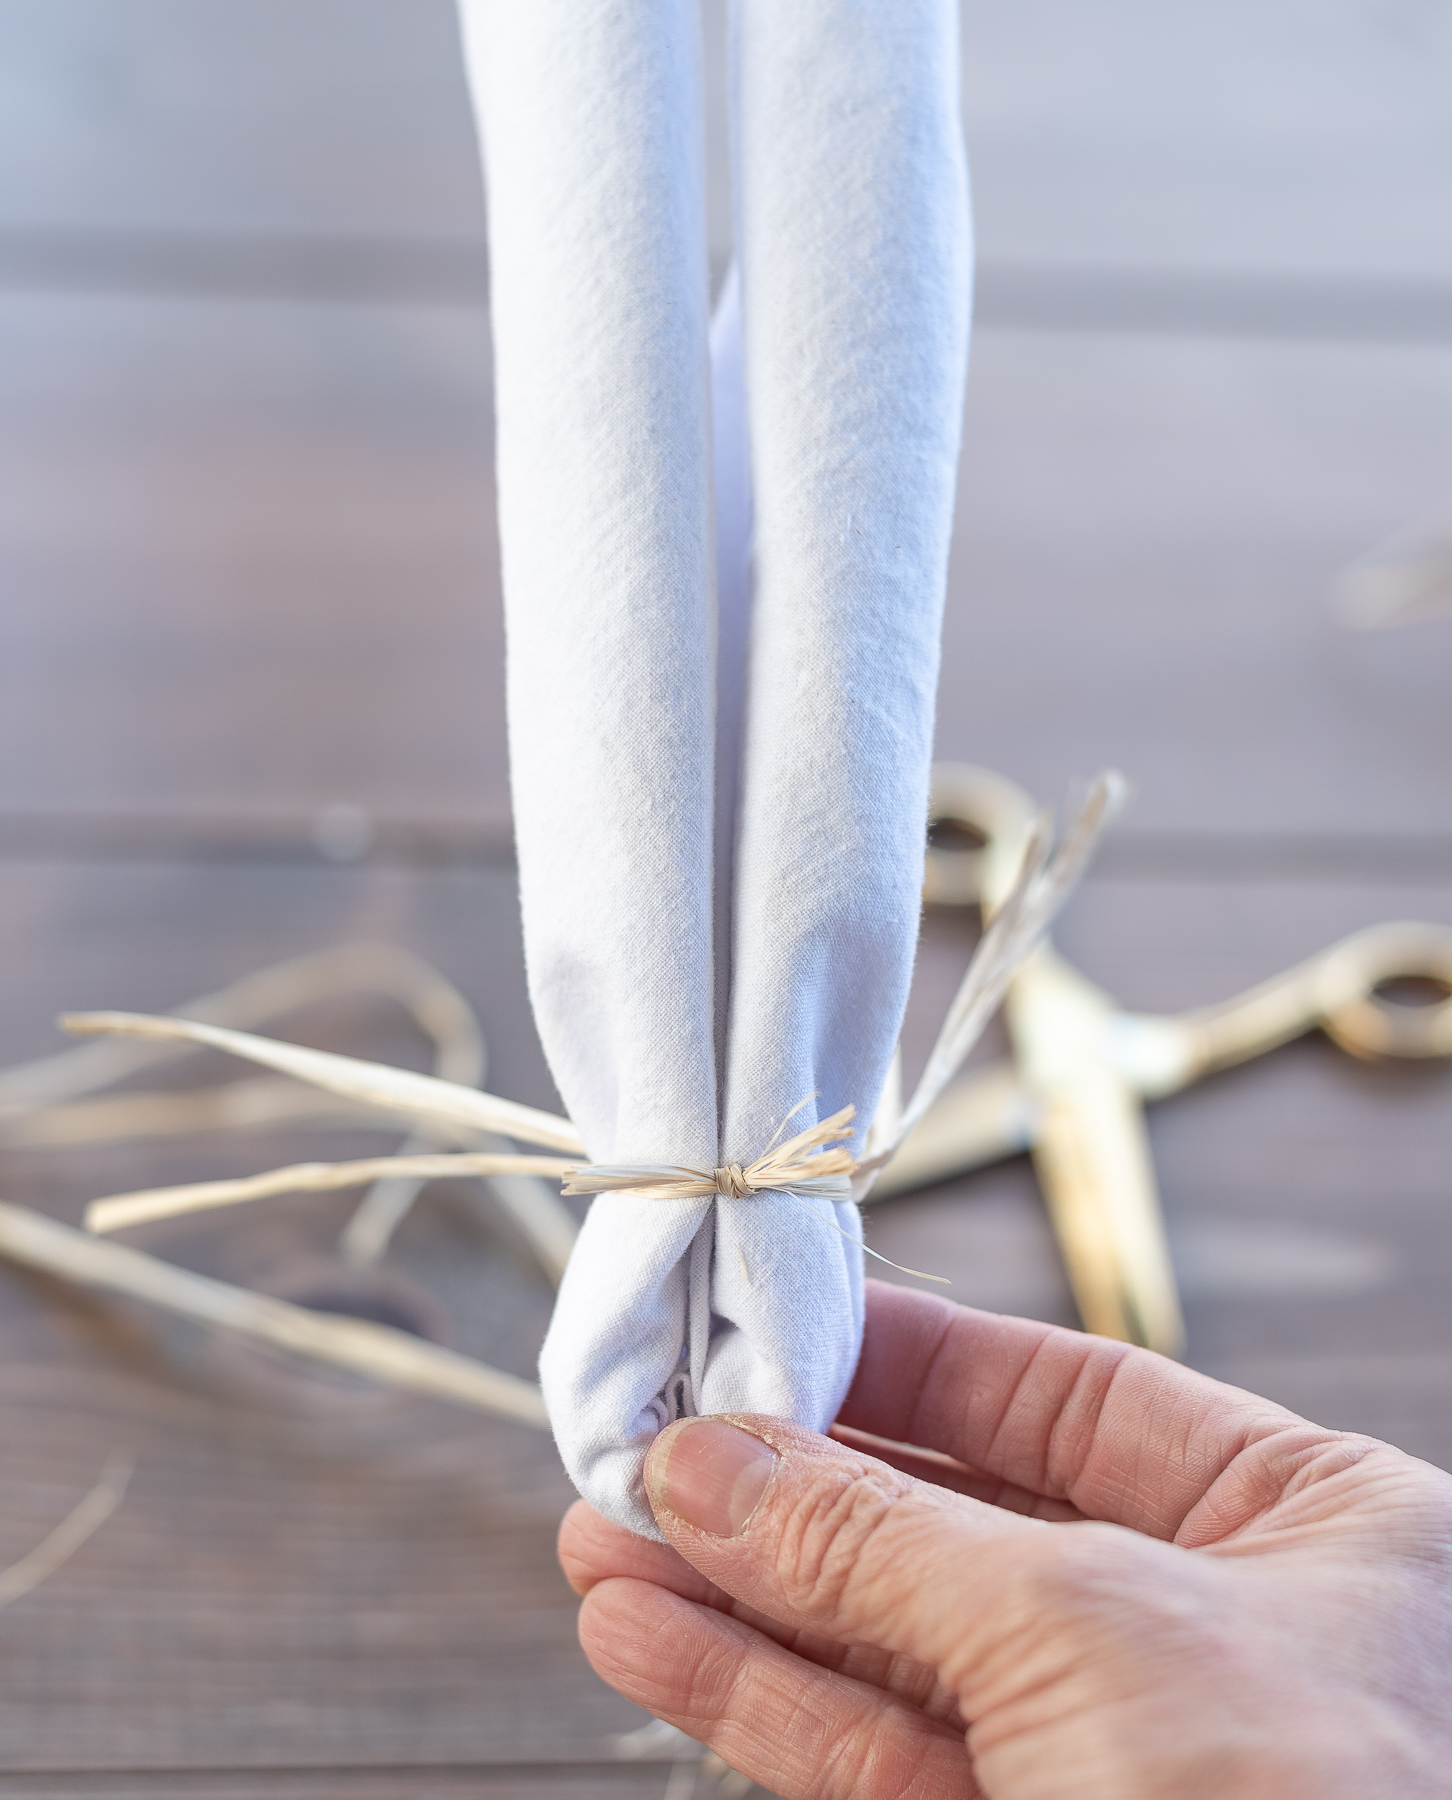
Trim the ends.
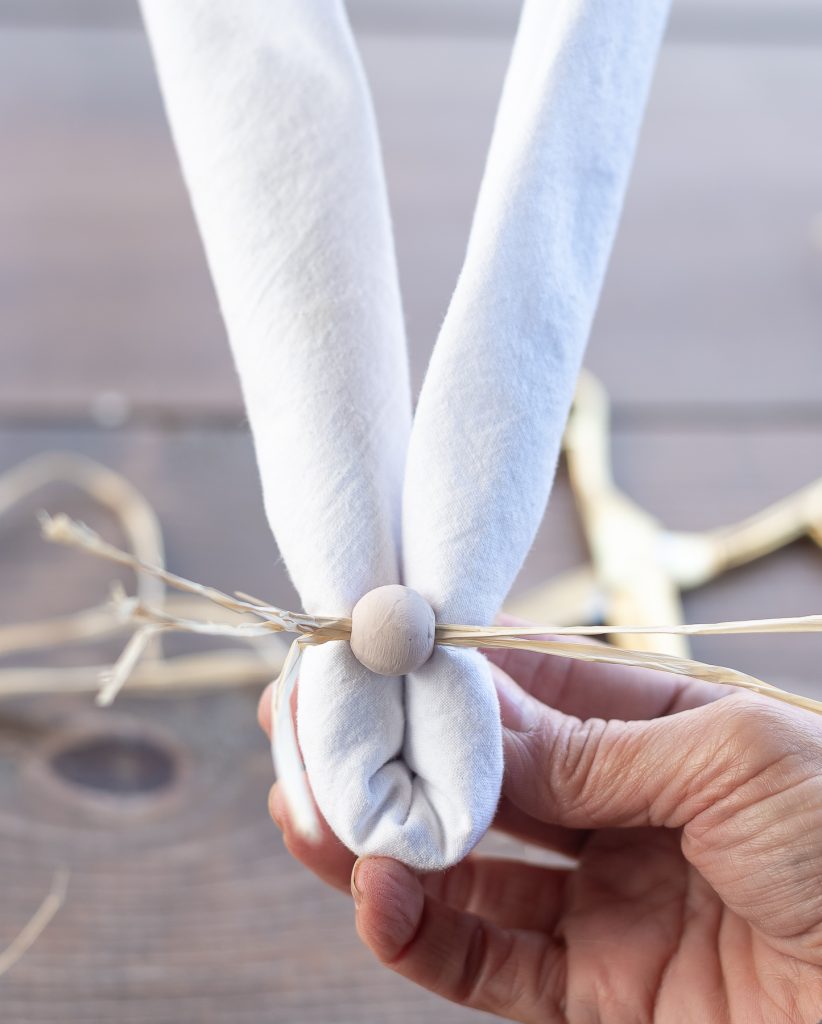
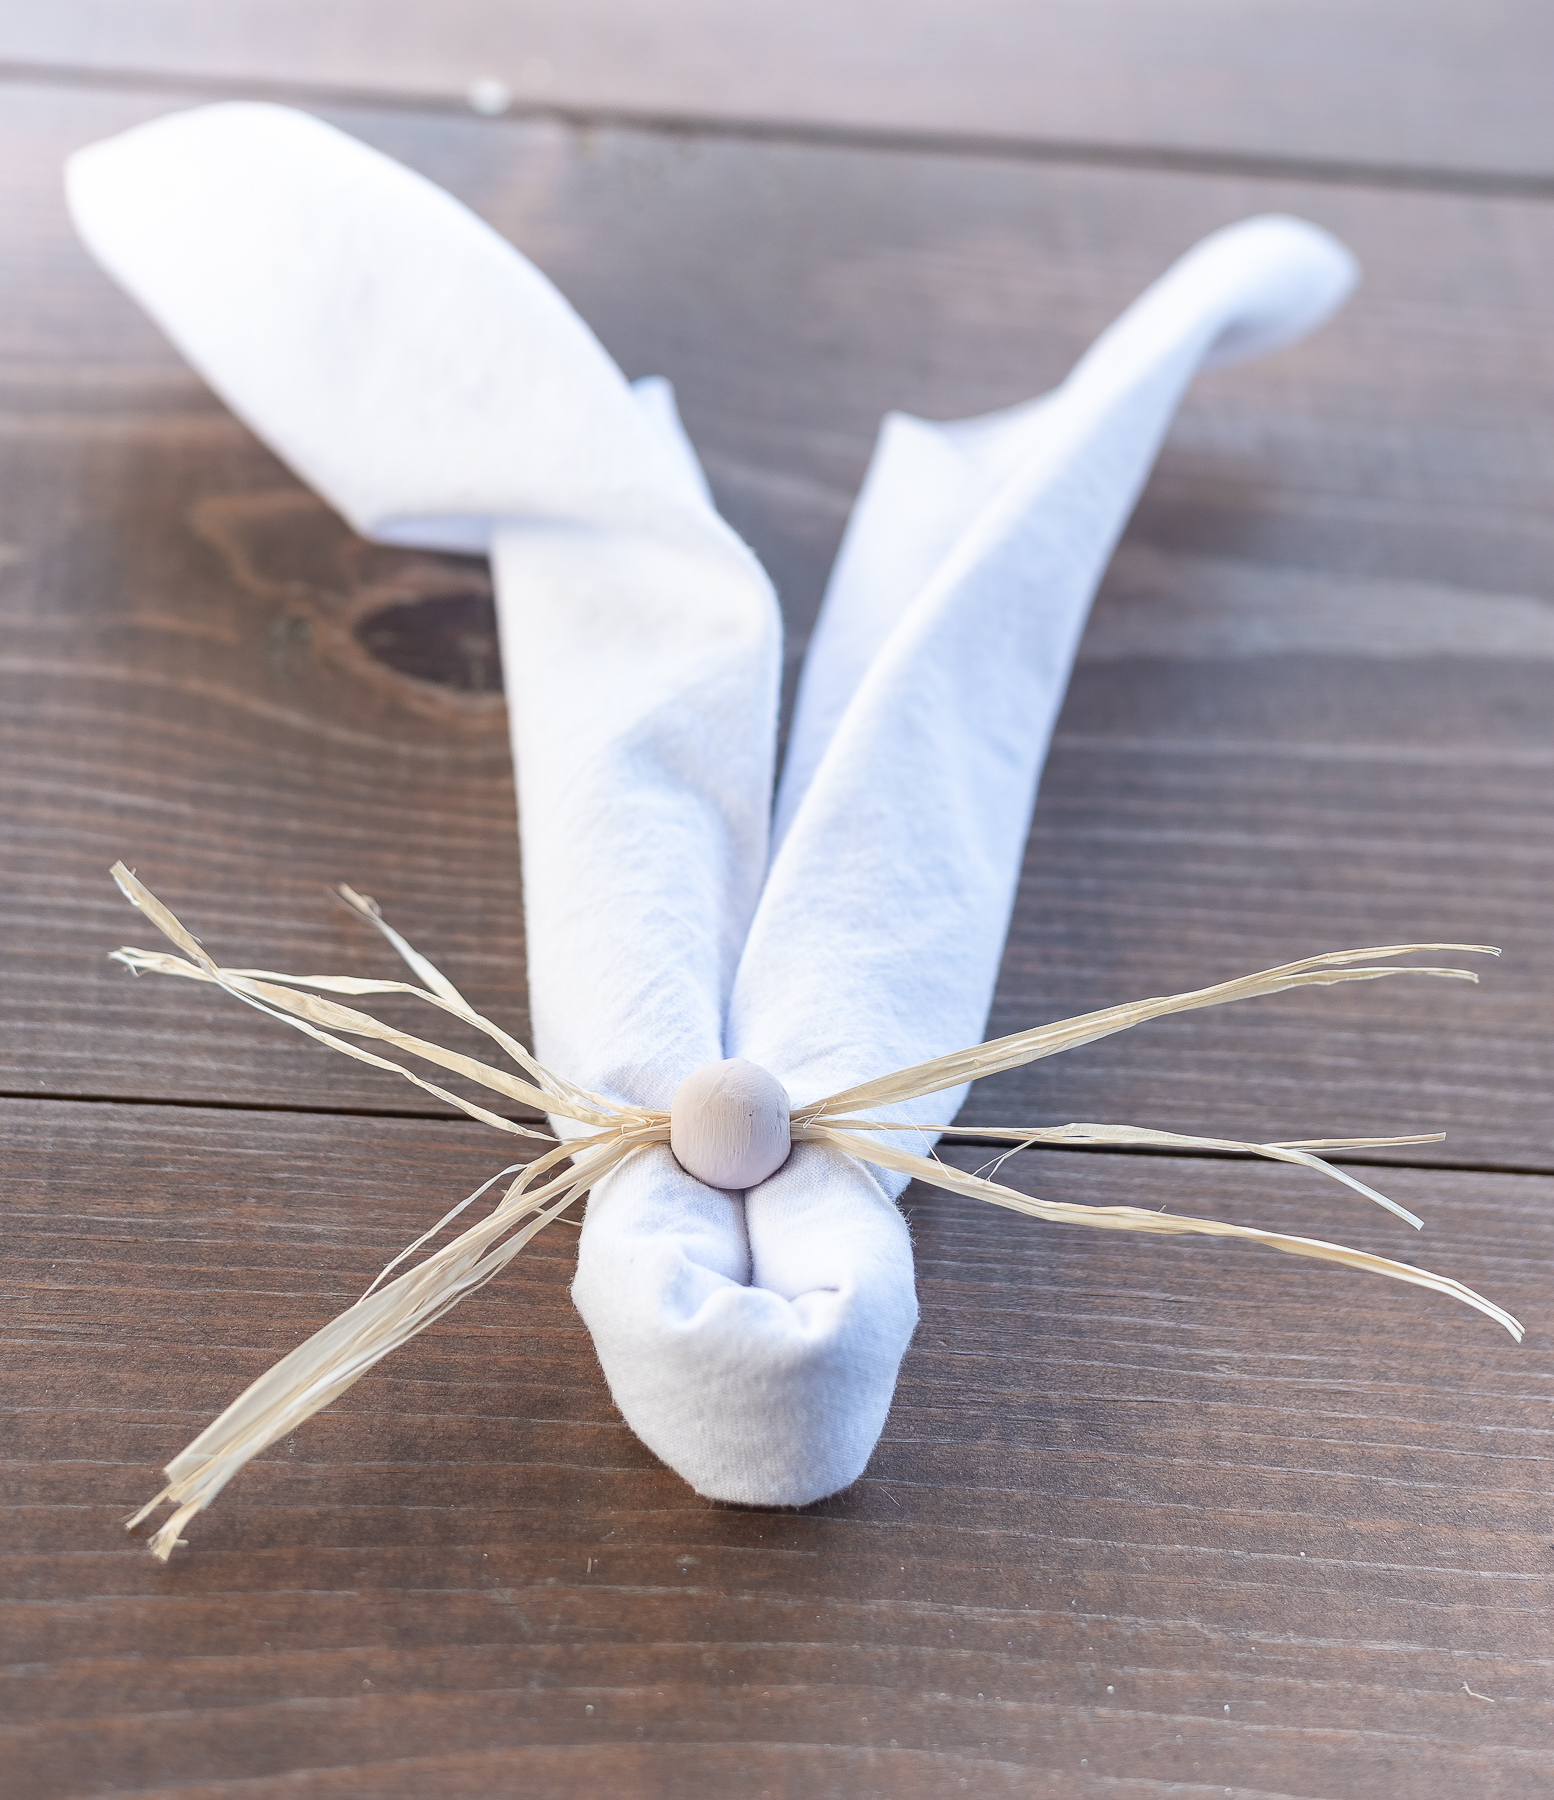
And you’re done!
Well, almost done. There is one more step.
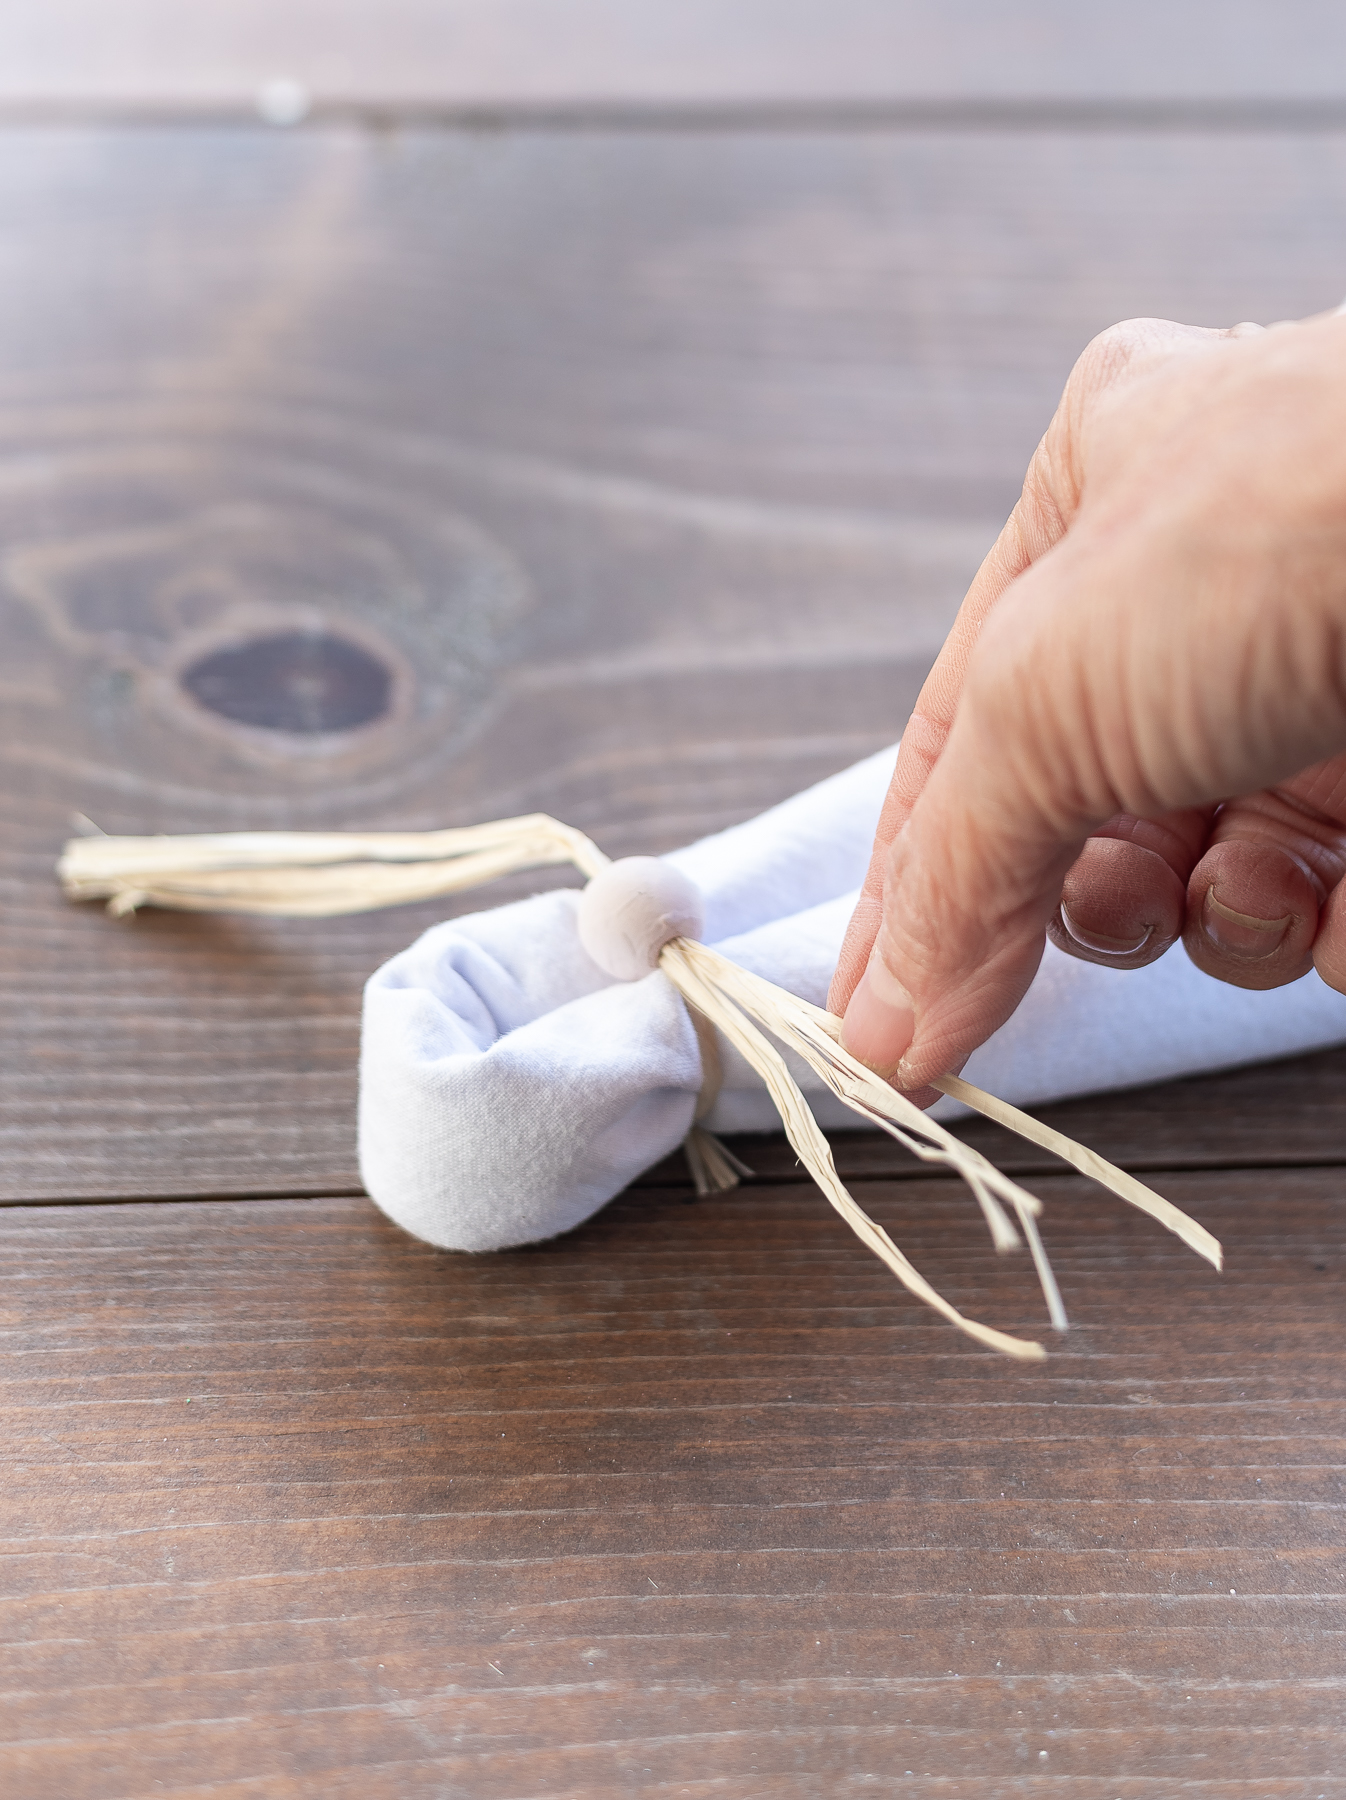
To make the whiskers a little more full, pull apart the pieces of raffia.
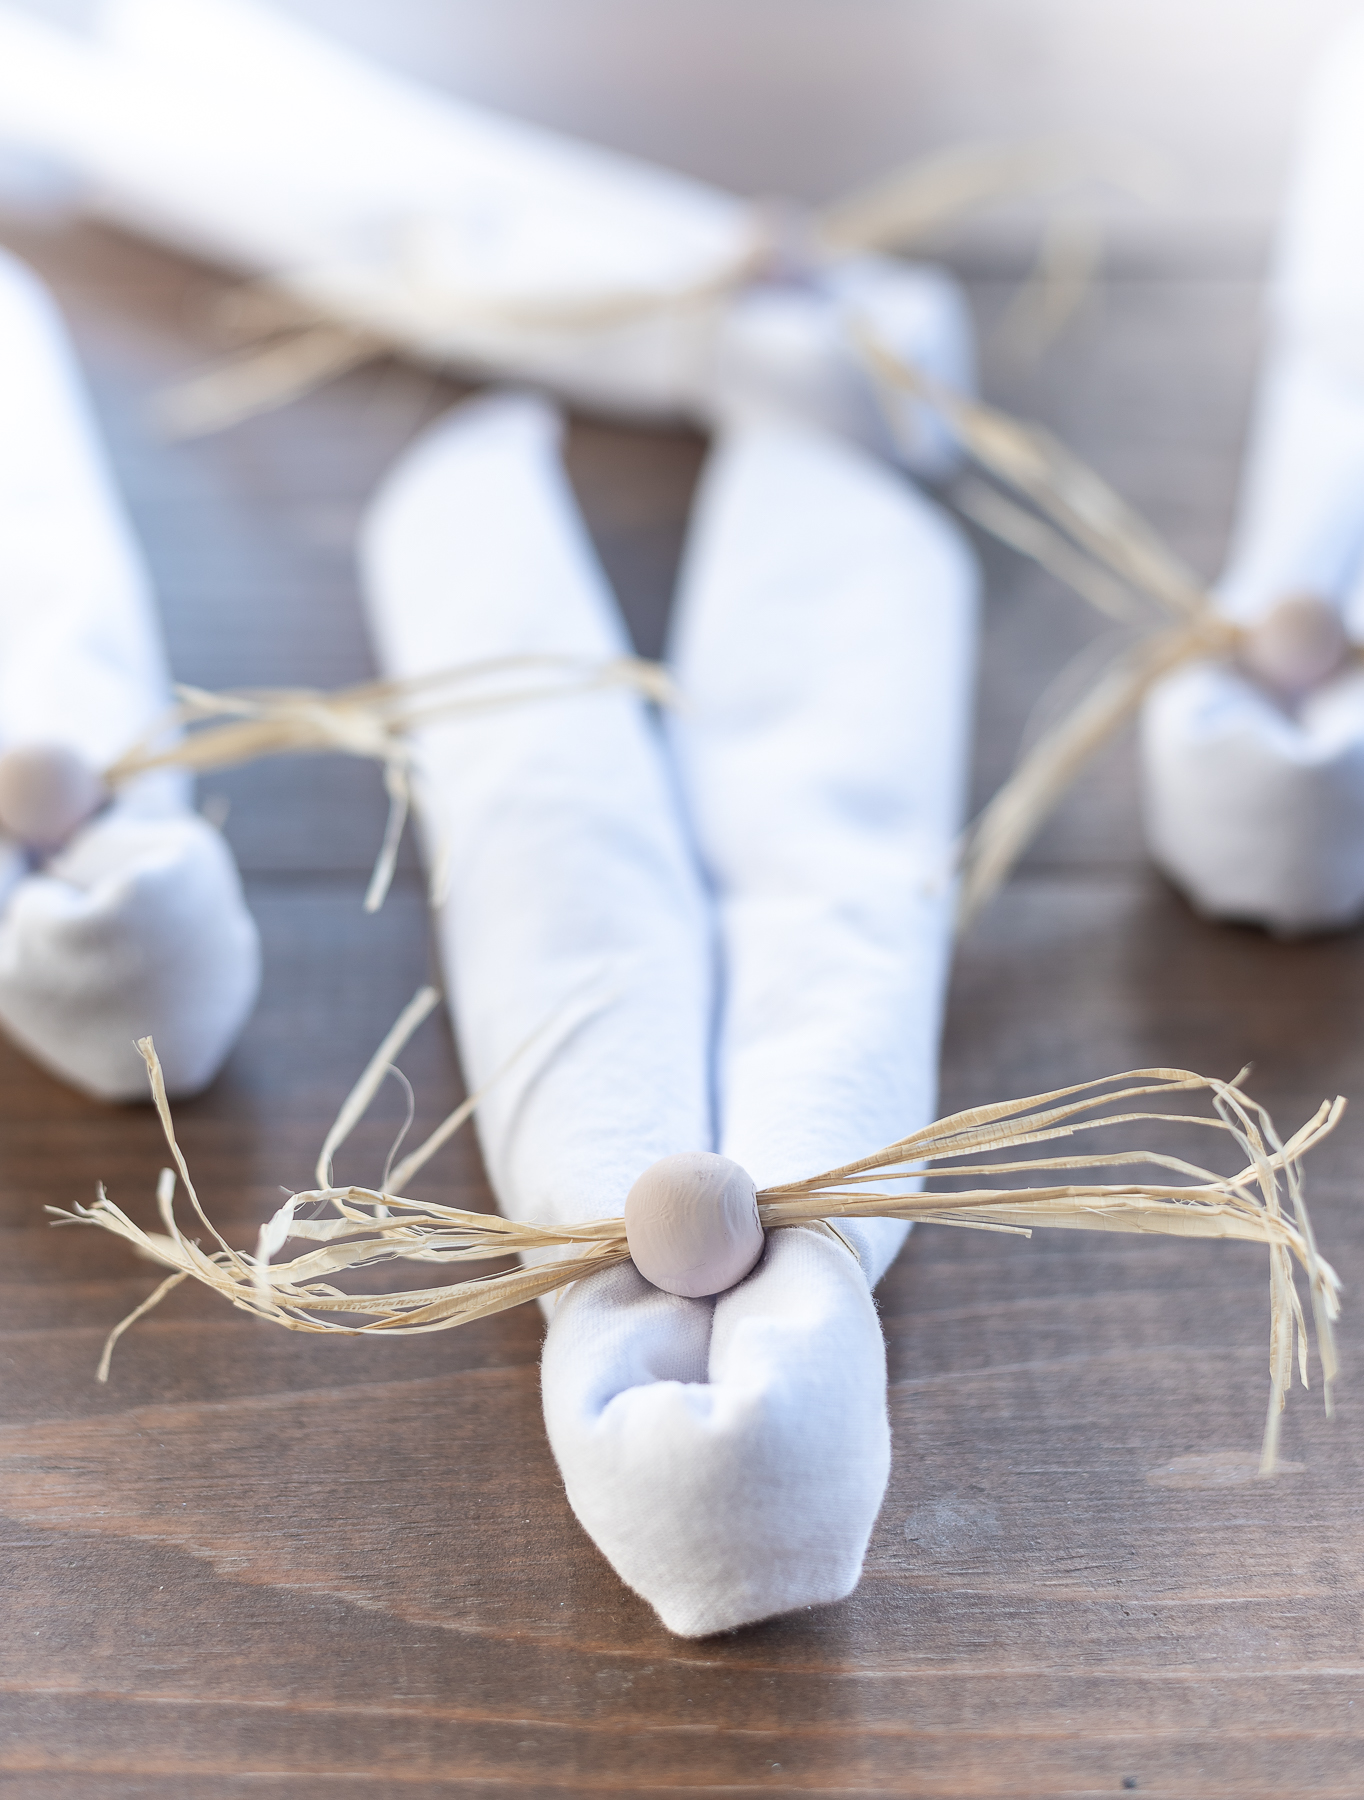
Pin It!
You Might Also Like:

So clever and cute! And I love that it’s easy to do. Visiting from the Senior Salon Pit Stop linkup.
Linda, these napkins with cute bunny noses are adorable… and for the record, I think you can totally take credit for this new project idea.
Thank you for sharing your rabbit ear napkins with bunny noses at Create, Bake, Grow and Gather this week. I’m delighted to be featuring this project at tonight’s party and pinning too.
Happy Easter ~ Kerryanne