Kevin at The Home Depot was my main man. He looked to be no more than 18- or 19-years-old. And to him I looked like an octogenarian. I know that because he was surprised that I managed to get a giant sheet of plywood off the shelf and onto my cart.
And to be honest, I was surprised I managed to get a giant sheet of plywood off the shelf and onto my cart; it was touch and go …
![]()
But once Kevin and I connected – after I spotted him walking down the aisle and waved him down to ask if he could cut the giant piece of plywood precariously leaning in my cart – it was pure magic.
I shared my vision for the saw horse desk DIY for my new work space. And he nodded along. In fact, I think one of those nods was in awe of my soon to be awesomeness. His eyes narrowed. His hand cupped his jaw. And a smirk of recognition crossed his face …
or perhaps he was still trying to envision me getting that giant board of plywood off the shelf and into my cart.
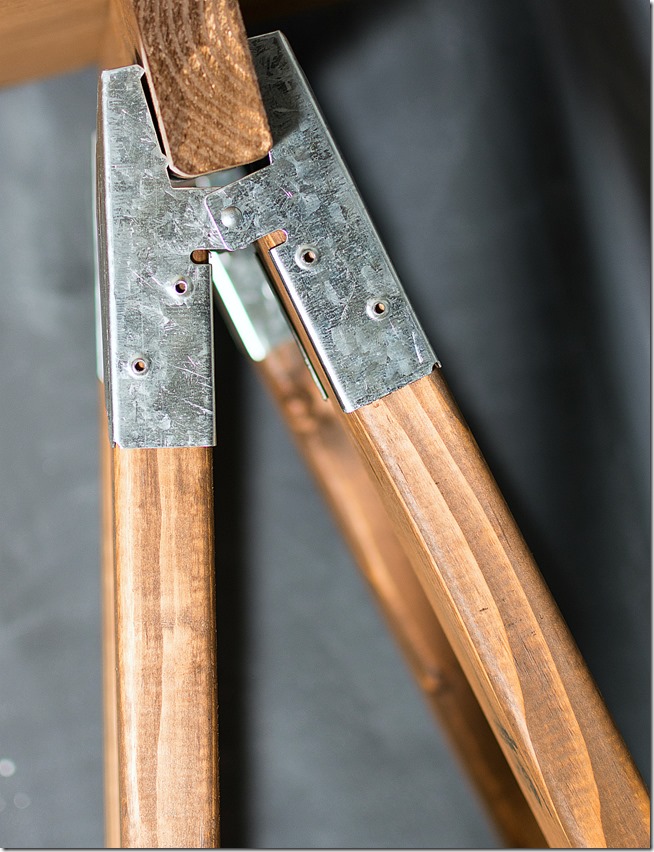
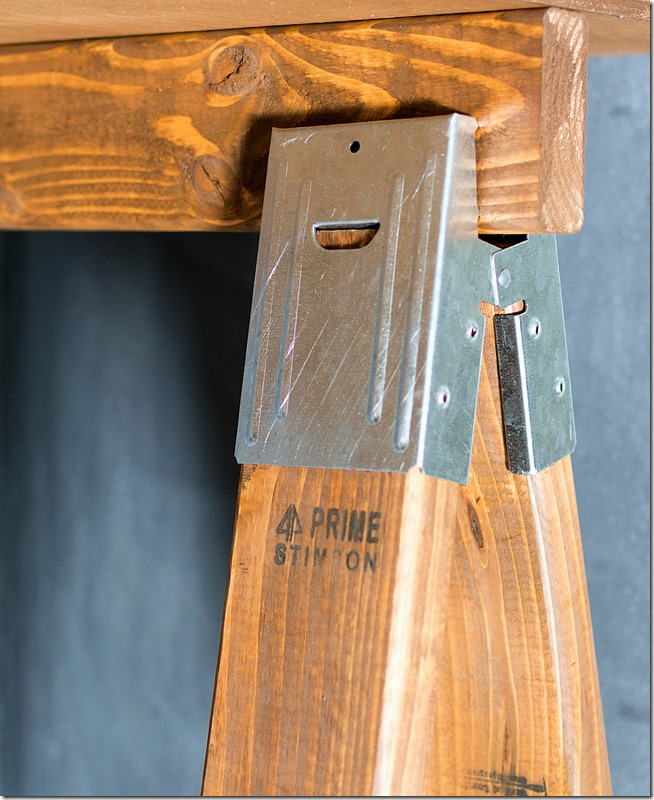
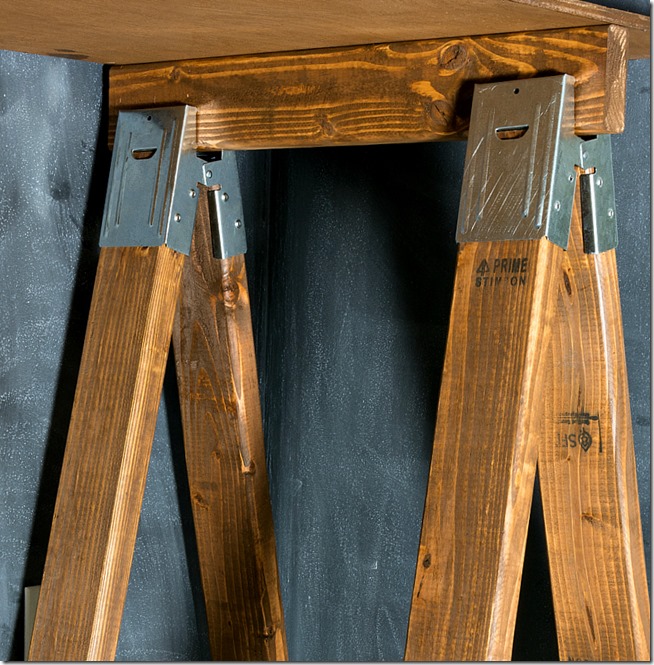
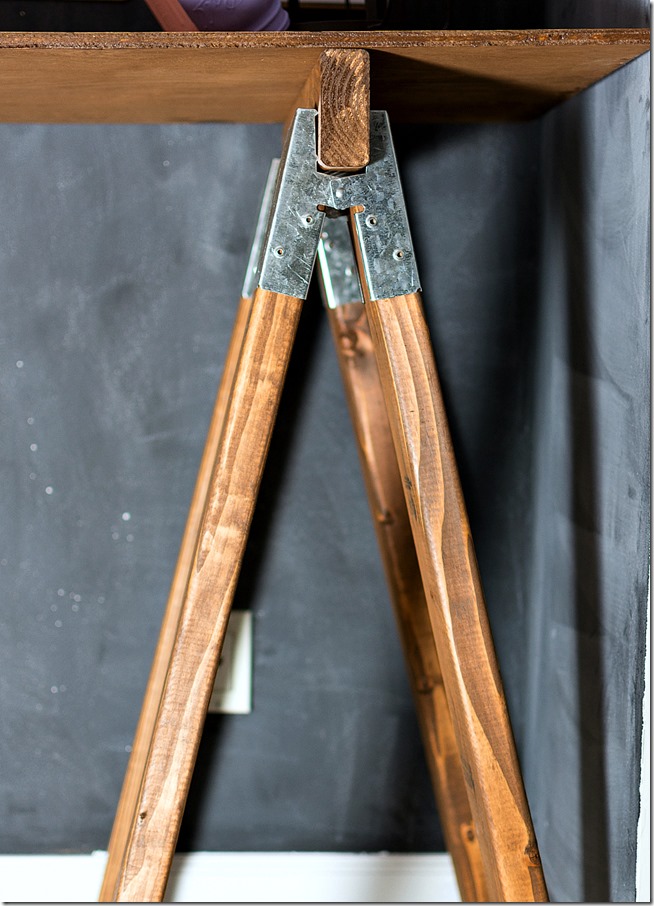
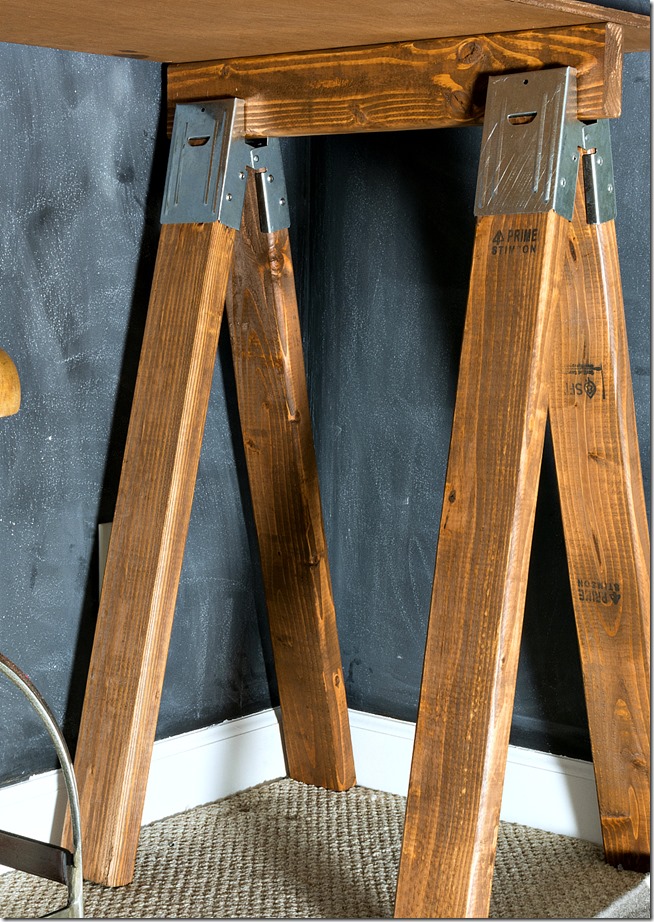
Regardless of the meaning of the narrowed-eye-cupped-jaw-smirk, together Kevin and I read the packaging on the saw horse hinges; hinges that look like this …
and this …
They come two to a package. I purchased two packages, because I needed four. I found them in the tools section of the store.
And on that packaging … packaging that Kevin and I put our heads together to read … we found out we needed 2 x 4s for the legs. Not only that, the packaging provided multiple 2 x 4 cut lengths needed depending on the desired height of saw horse desired.
We may have high fived.
I opted for a custom cut length for my saw horse desk legs: 33” long. This gave me a desk top that would measure 36” from the floor; a measurement that includes the 1/2” plywood board topper.
At this point in the process of material gathering and saw horse hinge packaging reading, I whipped out my calculator. Keith was impressed. Or maybe horrified. Either way, I figured we would need two 8’ long 2 x 4’s that would give us four 33” legs, and the two 22” bridge pieces. You know, for this horizontal piece that would be clipped between the two saw horse hinges…
We also needed two 6’ long 2 x 4’s for the remaining four 33” legs.
In summation, this all comes out to:
- Eight 33” legs from 2 x 4’s (two 8 footers, two six footers)
- Two 22” bridge pieces (from the remaining lengths in the two 8 footers)
The whole time, Kevin was beyond helpful. When we hit the 2 x 4 aisle, he inspected each 2 x 4 to make sure it looked good. No, not good. Perfect. He checked for warps. He checked for mangles. He checked to make sure the knots weren’t too knotty. He checked to make sure the board wasn’t missing a giant chunk. He checked to make sure the board wasn’t too splintery.
Did I mention Kevin was the man!
And then he pushed the cart for me to the cutting area.
I’m pretty sure he thought I was 100 years old,
but that’s okay. Because he took such amazing care to make sure each leg was perfectly cut to the same exact length.
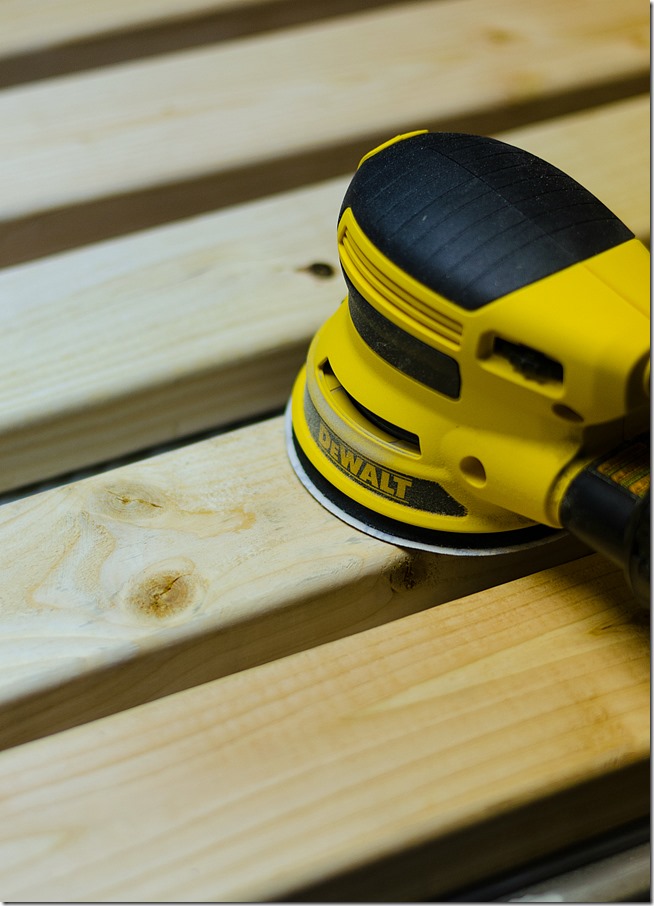
I took all my lumber home and gave it a quick sanding.
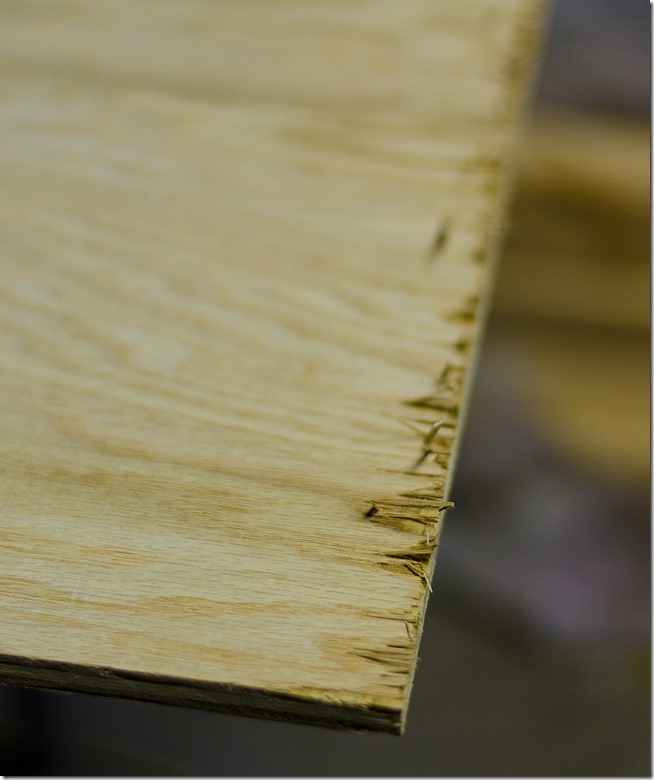
Some of the edges were rough after the cuts.
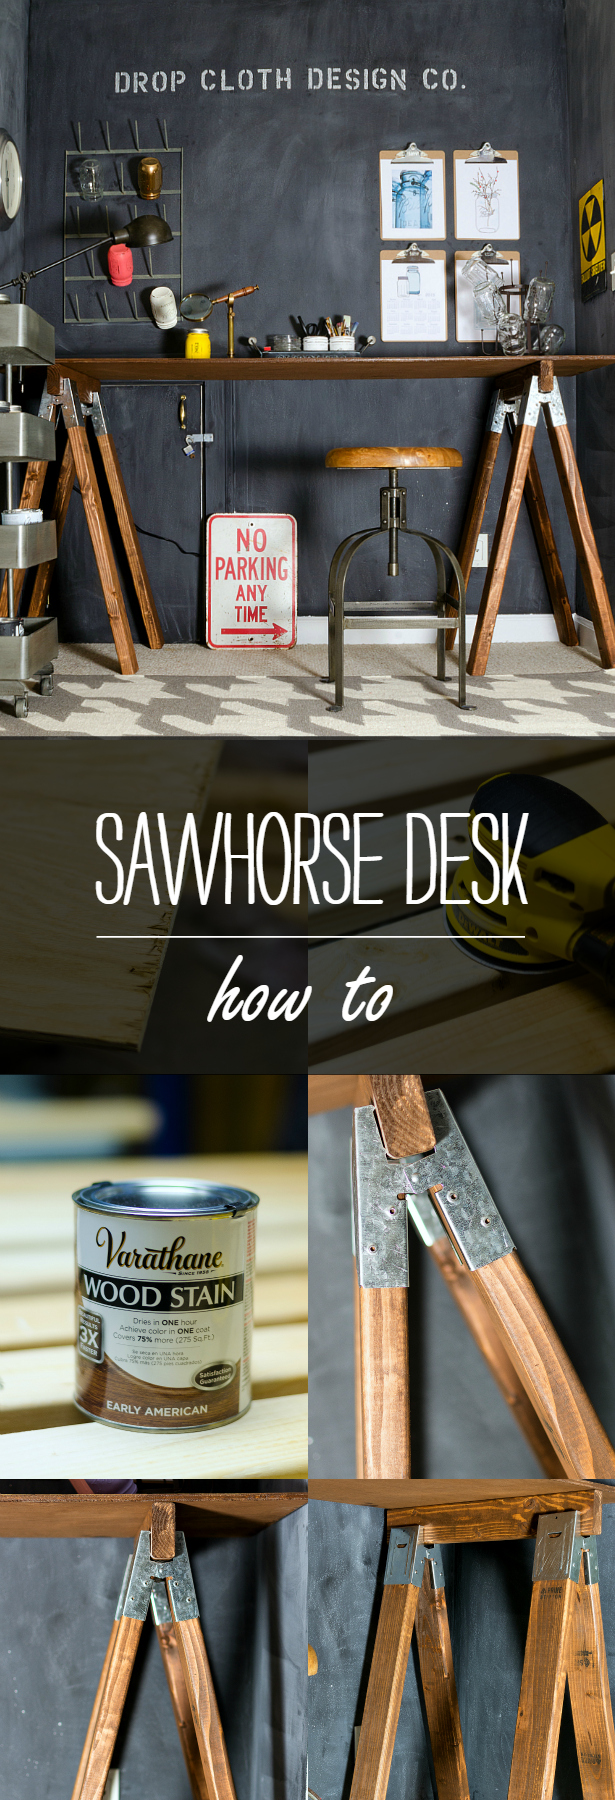
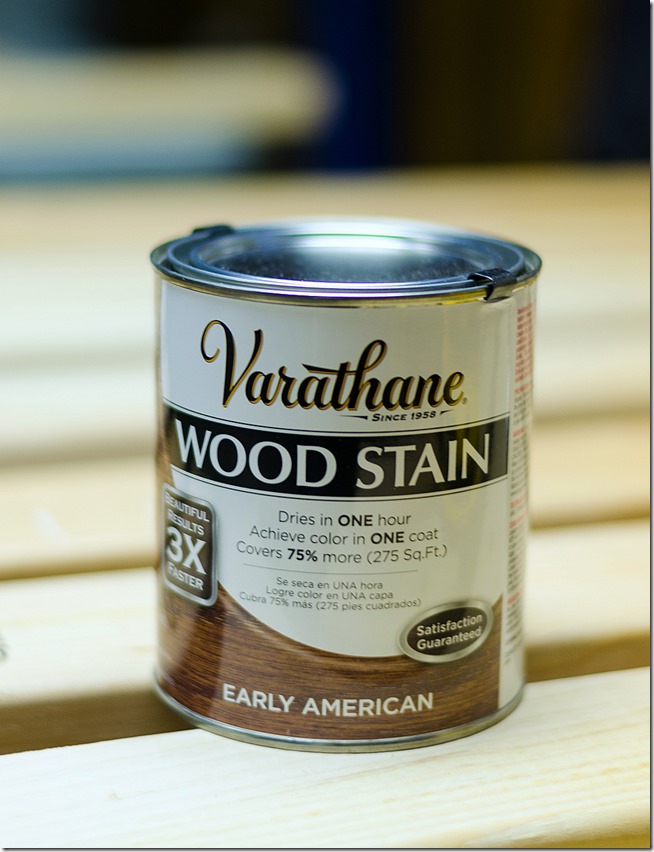
Then the plywood top and the 2 x 4 legs were stained. I used Rust-Oleum’s Varathane wood stain in Early American.
{And thank you Rust-Oleum for sending me the stain!}
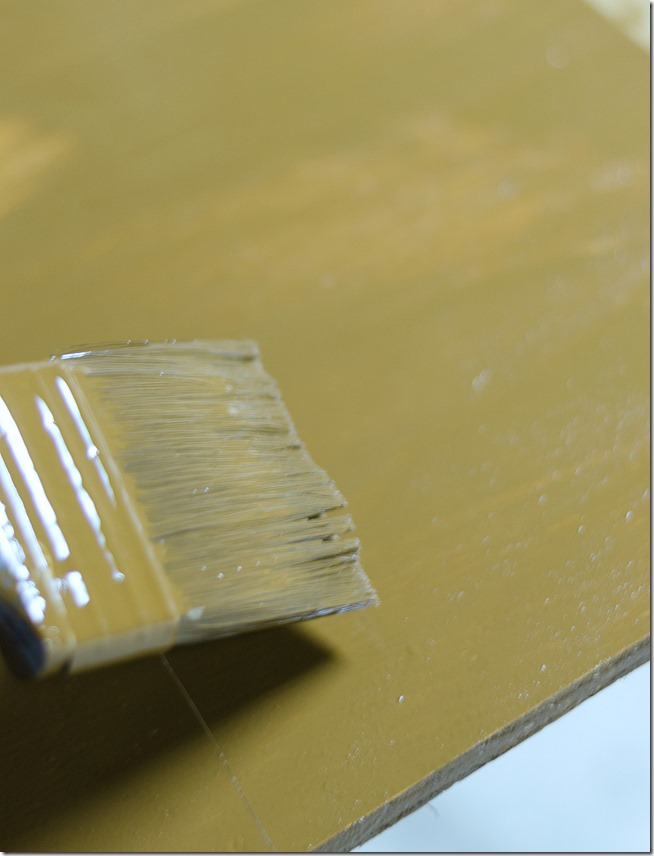
I brushed on a thick coat, and let is sit for a 5-8 minutes or so before wiping off with a rag.
After the legs and top were dry, I gave them a coat of Rust-Oleum’s Varathane brand triple thick polyurethane.

This stuff is amazing! Just one coat so you don’t have to fuss with the coat and sand and coat and sand process.
{And thank you, again, Rust-Oleum for introducing me to this amazing new project and sending me a sample can!}
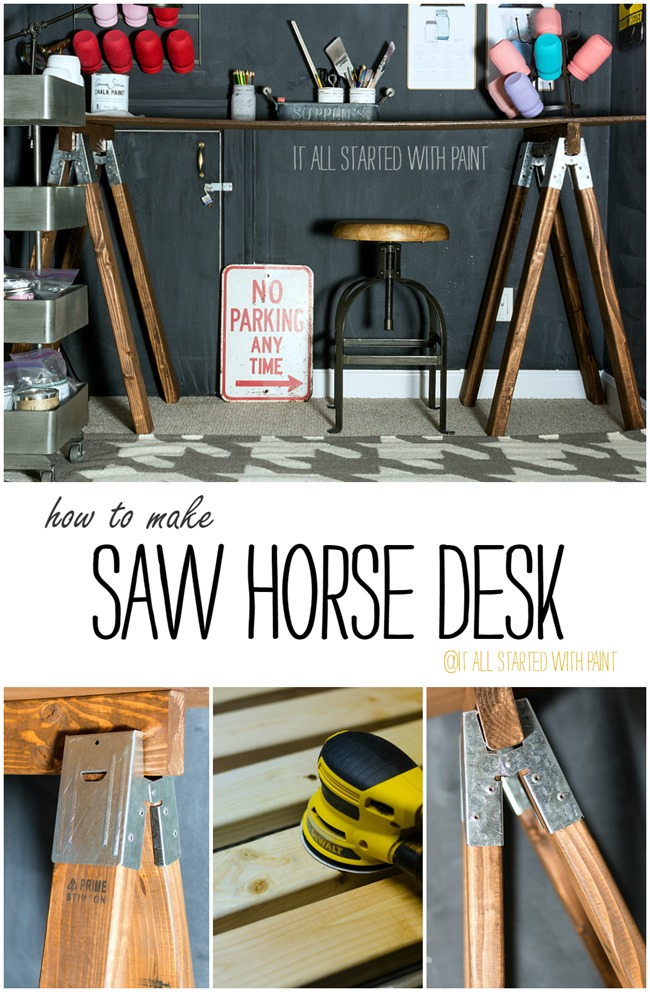
Once everything was completely dry, the desk assembly involved inserting the 2 x 4’s into the saw horse brackets …
… and then clipping in the bridge piece.
The last piece involved adding the 1/2” plywood top.
I’ll admit I cheated. I didn’t nail the saw horse brackets into the wood. I just inserted them in. It was a snug enough fit, sot I thought I’d see how it works before pulling out the hammer. And nails.
And blood, sweat and tears.
For now, so far so good.
![]()
Linda
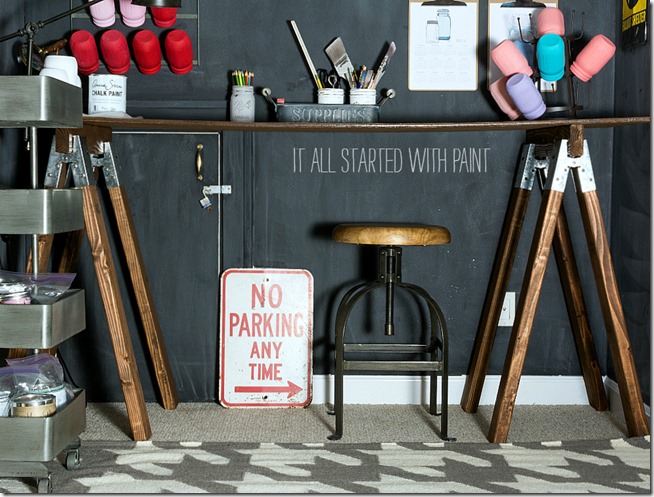
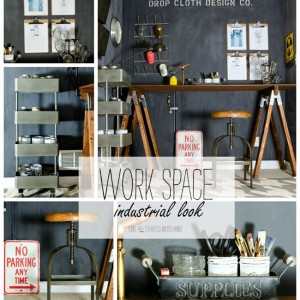
P.S. You can find the work space reveal here …

You (and Kevin!) did a great job! It looks AWESOME!
This is just fabulous! I’ve been looking for a way to make a small table/desk in my craft room and this may be just what I need. Thanks for sharing it.
Can you share how much this cost? I need a new work station and pondered making this type. How hard would you say this was on a 1-10 scale? 1 being si ple and 10 being waaaaay hard?????
This project cost me just under $75 for the brackets and the wood. I’ll be honest, I was avoiding it for awhile because I thought it would be hard. But in the end it was really simple! The biggest part was getting the wood cut – but Home Depot did all that for me. Once I got it home, I just sanded and stained and assembled. I didn’t drive nails through the 2 x 4’s, though. THAT will be really tough! My recommendation would be to drill holes and use screws instead. I’ve heard other bloggers taking that route instead of the trying to nail nails into a 2 x 4. Hope that helps! 🙂 Linda
This little work vignette is like a dream area to me. I have a set of antique saw horses that I’ve been thinking of using for my dining room table. I think yours are probably sturdier than mine.
Well, mine would be sturdier if I actually drove some nails through those holes on the brackets! 😉
Awesome project! I’m telling you, straight out of RH! 🙂
Have a great week!
Thanks Cristina! That was my inspiration so I’m thrilled to have achieved that goal! 🙂
I need one! Can you send Kevin my way? Last time I went to get wood cut for the garden it was such a shemozzle! Once person piped up and said ‘give the customer a saw and tell ’em to do it themselves’ (that was before they saw me standing there…)
Shemozzle! Ha! You made me laugh! 🙂
I love it! Great job! And kudos to Kevin! And isn’t that Triple Thick the BEST?!? Yay!
Thanks Karen! 🙂
This looks wonderful!! Well done. Maybe I missed it but did you nail or screw the top to the base? I’m going to make one of these for my son and I am trying to find out if I need to secure the top to the base. Thanks so much, keep up the great work
Nancy
I just rested the top on the sawhorse base. I’m careful with it and it does span the entire space in that cubby so I haven’t had any issues with it moving.
THIS IS PERFECT! I have just started working from home and need a bigger desk- I now have a project for the weekend 🙂 You are a fabulous DIY writer- thanks for the inspiration and detailed notes. (I also LOVE Home Depot- I go out of my way to go there because of how helpful they are!)
Jennifer
http://www.manifestkismet.com
Thank you so much! I worried with this project that I kept forgetting to take pictures along the way! 🙂
Linda this is such a great project! I love it! I built a stained wood floating desk for my son’s room last year and now I’m about to tackle his brother’s room. This is a must – I have to use those saw horse brackets! Love the whole effect!
I can’t find any information on the hinges you used. What were they called and who makes them please?
They’re called sawhorse brackets. Here’s a link from Home Depot: https://www.homedepot.com/p/HDX-5-5-in-Steel-Galvanized-Sawhorse-Brackets-2-Pack-SH107/303652579
I am wondering what size of plywood you started with and also what size you had it cut down to for your desk top.
Sorry for the late response! I keep forgetting to measure the desk top! I can’t remember the starting size of the plywood. It’s one of those big sheets at Home Depot. The staff actually helped me get it onto the cart! The final measurements for my space is 23 1/2″ x 75″ and the plywood is 1/2″ thick. Apologies again!!! Linda