Thumbprint Bunny Easter Eggs – Decorating Eggs with Paint.
Growing up, it felt like … at a certain point in my life … I was the sole person in the house excited about the holidays. And decorating. And Easter egg dyeing.
I chalk it up to being the youngest of four.
And it felt like a quick transition from four kids decorating the Christmas tree or dyeing Easter eggs at the kitchen table …
to two …
and then one.
Me.
By my junior year in high school, if I didn’t hang ornaments on the Christmas tree it would have stood naked in the picture window in the dining room.
Just lights (dad always did those) and faux pine needles.
Similarly, decorating Easter eggs became lesser and lesser of a family activity …
and more of a me activity.
Granted, I initiated some of these traditions.
And granted, once we stopped with the whole searching for the eggs thing, interest in dyeing them dropped off considerably!
But here I am. At 56-years-old. And still initiating the holiday-and-Easter-egg-decorating.
And doing it alone. 🙂
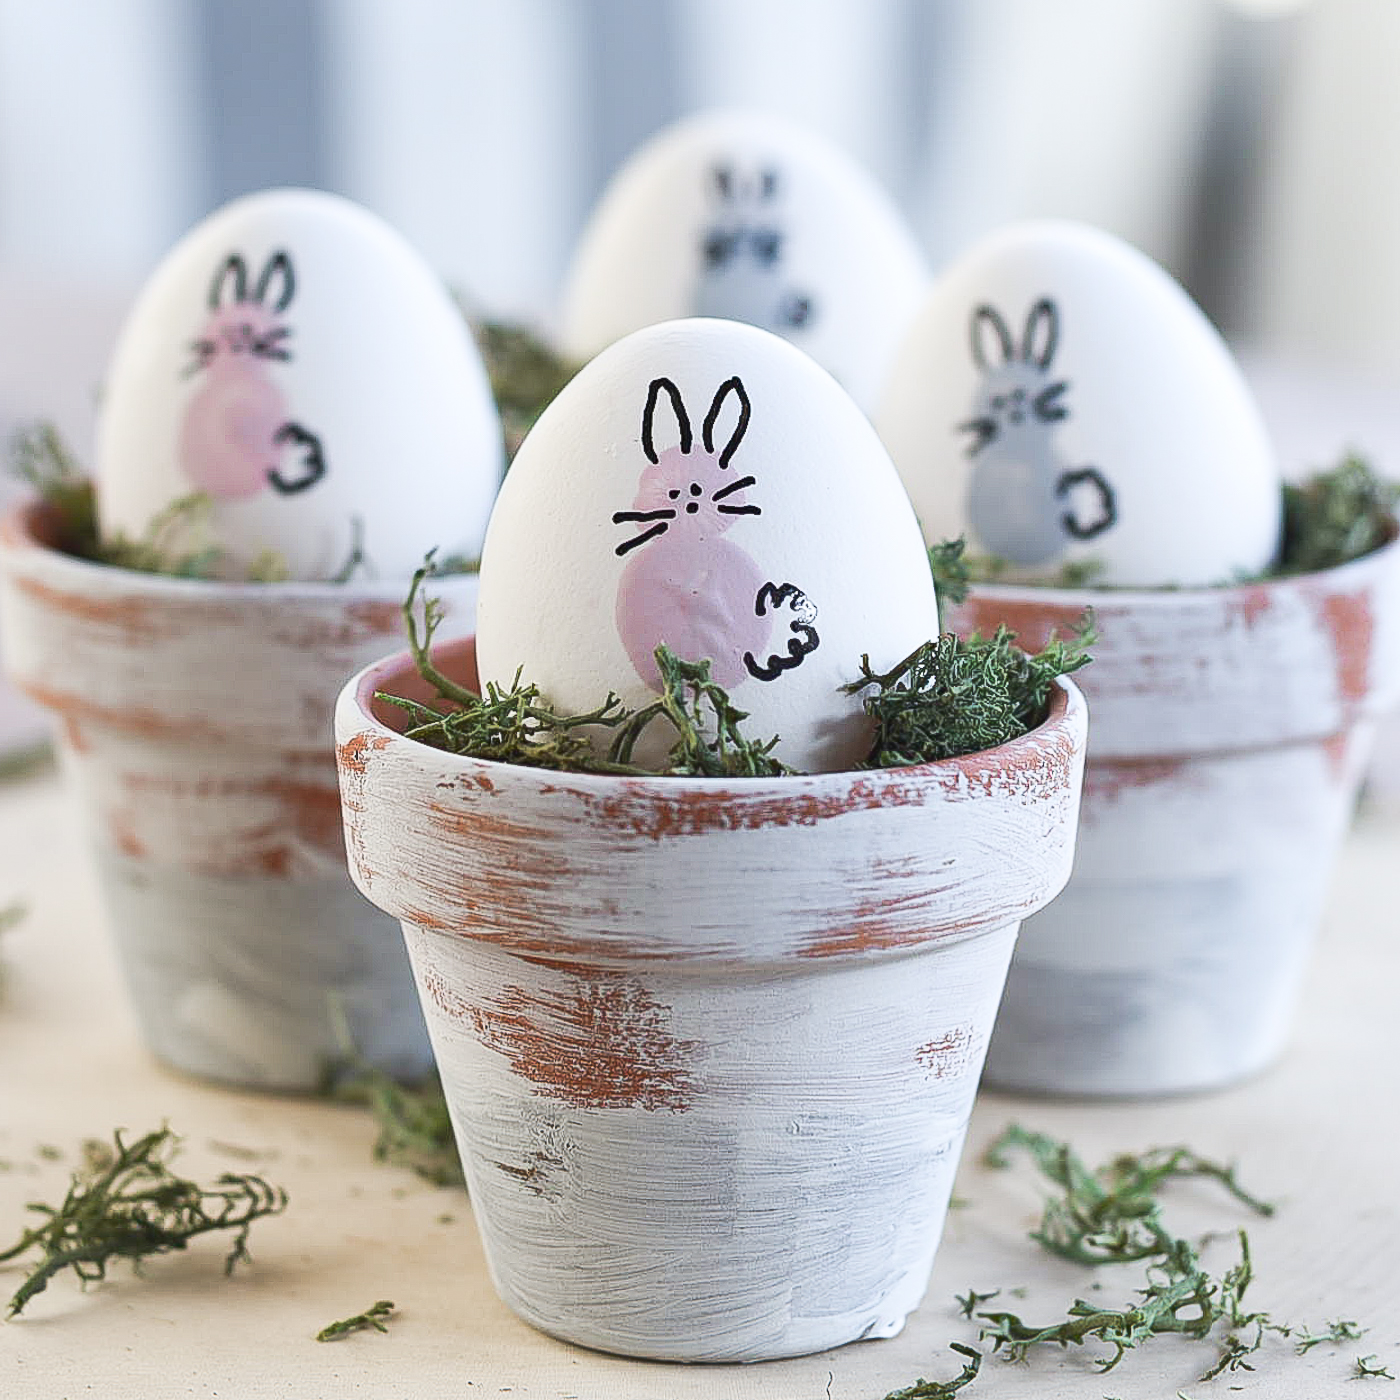
How To Make Thumbprint Bunny Easter Eggs
Materials*
Eggs
FolkArt Acrylic Paint in Ballet Pink
Gray Paint (or White & Black Paint to make gray)
Extra Fine Tipped Black Paint Pen
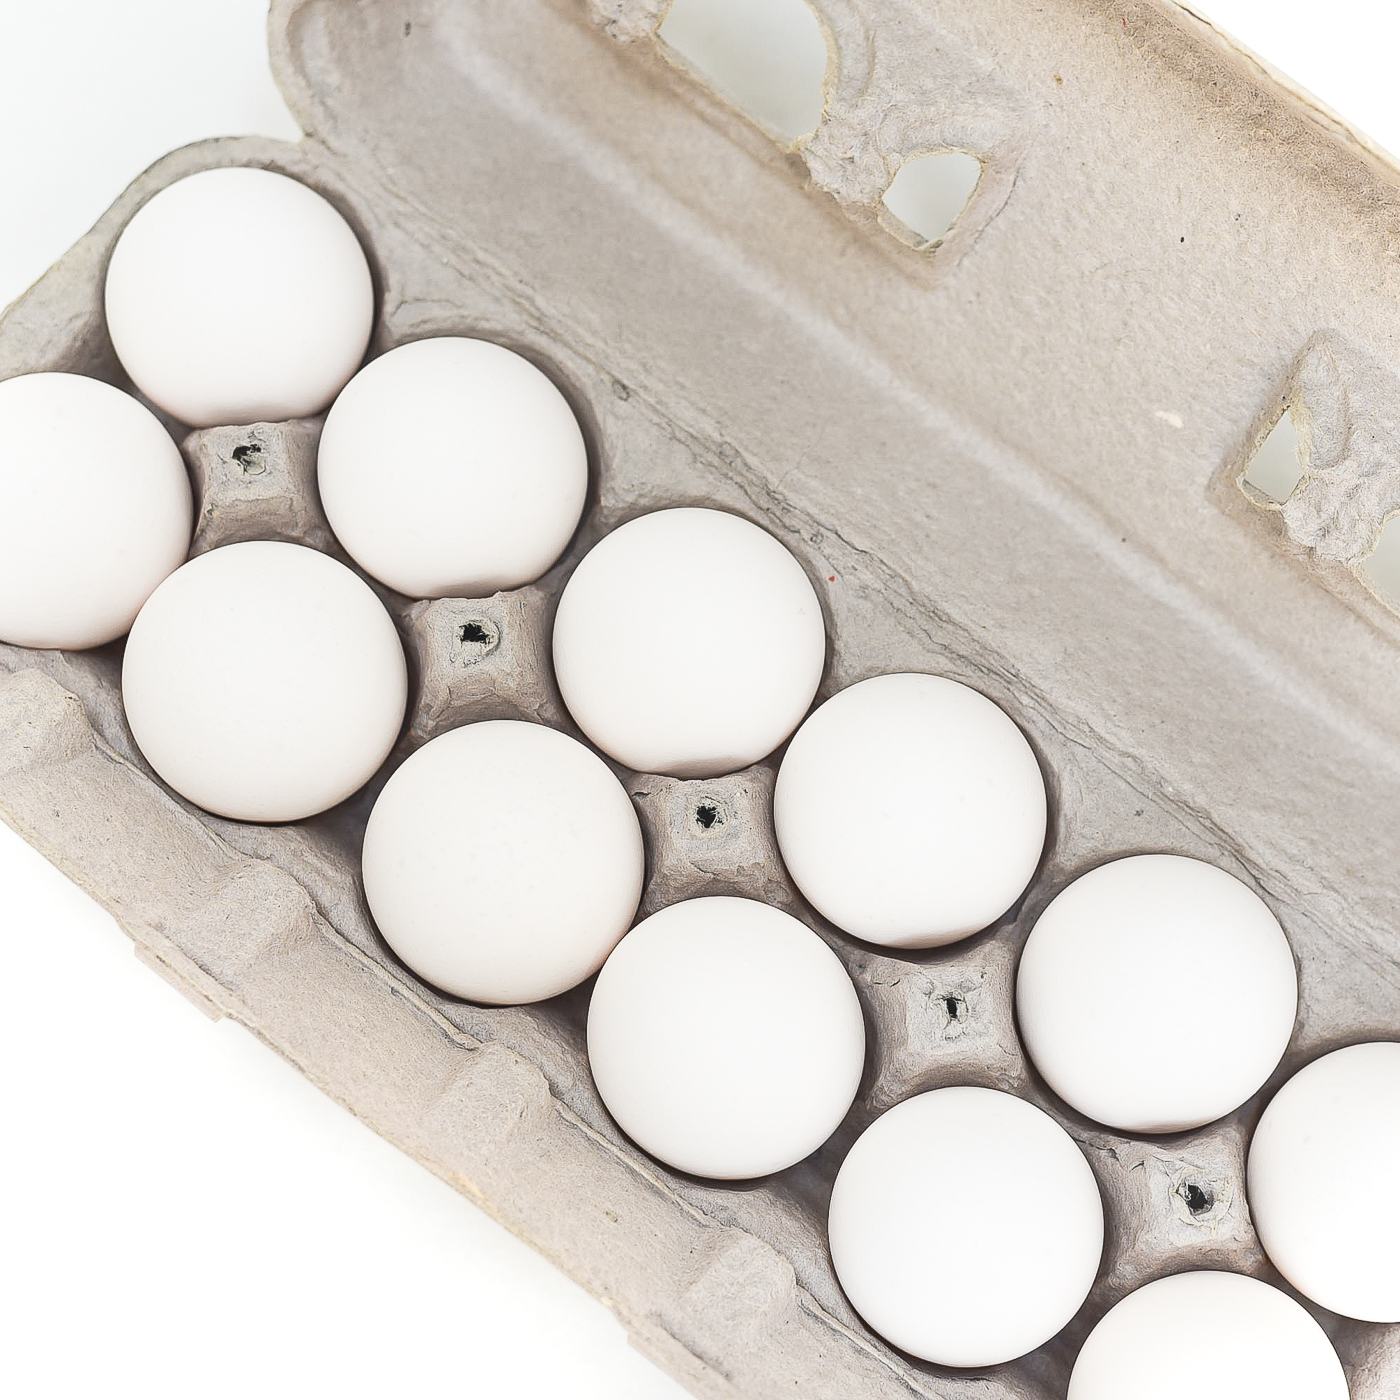
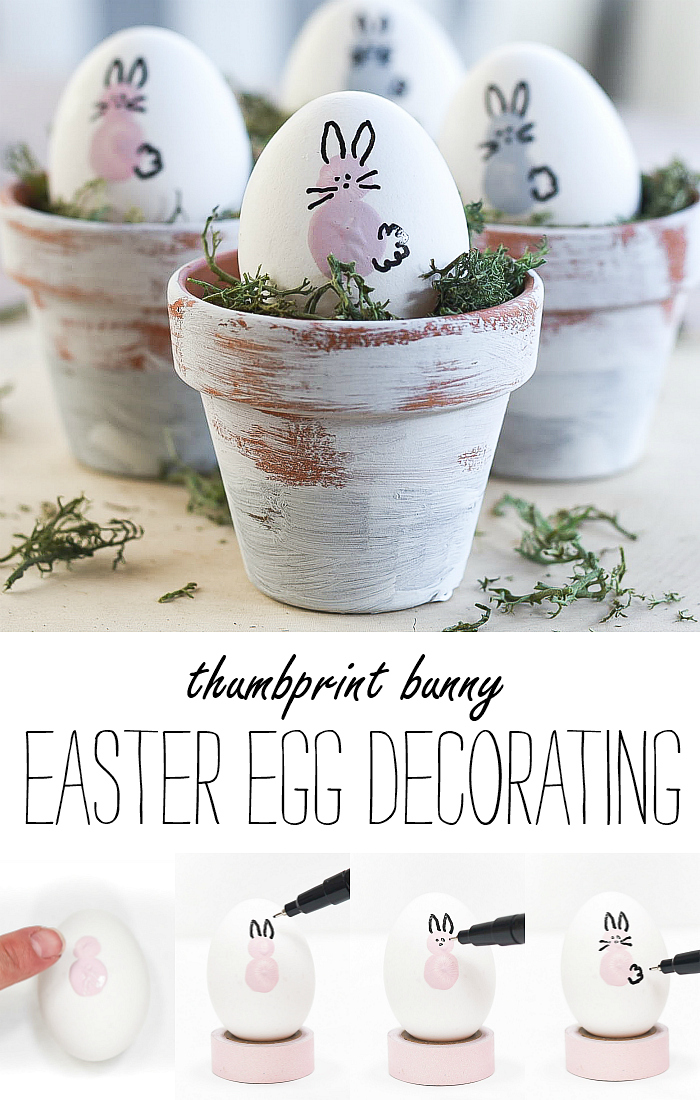
Start with white eggs.
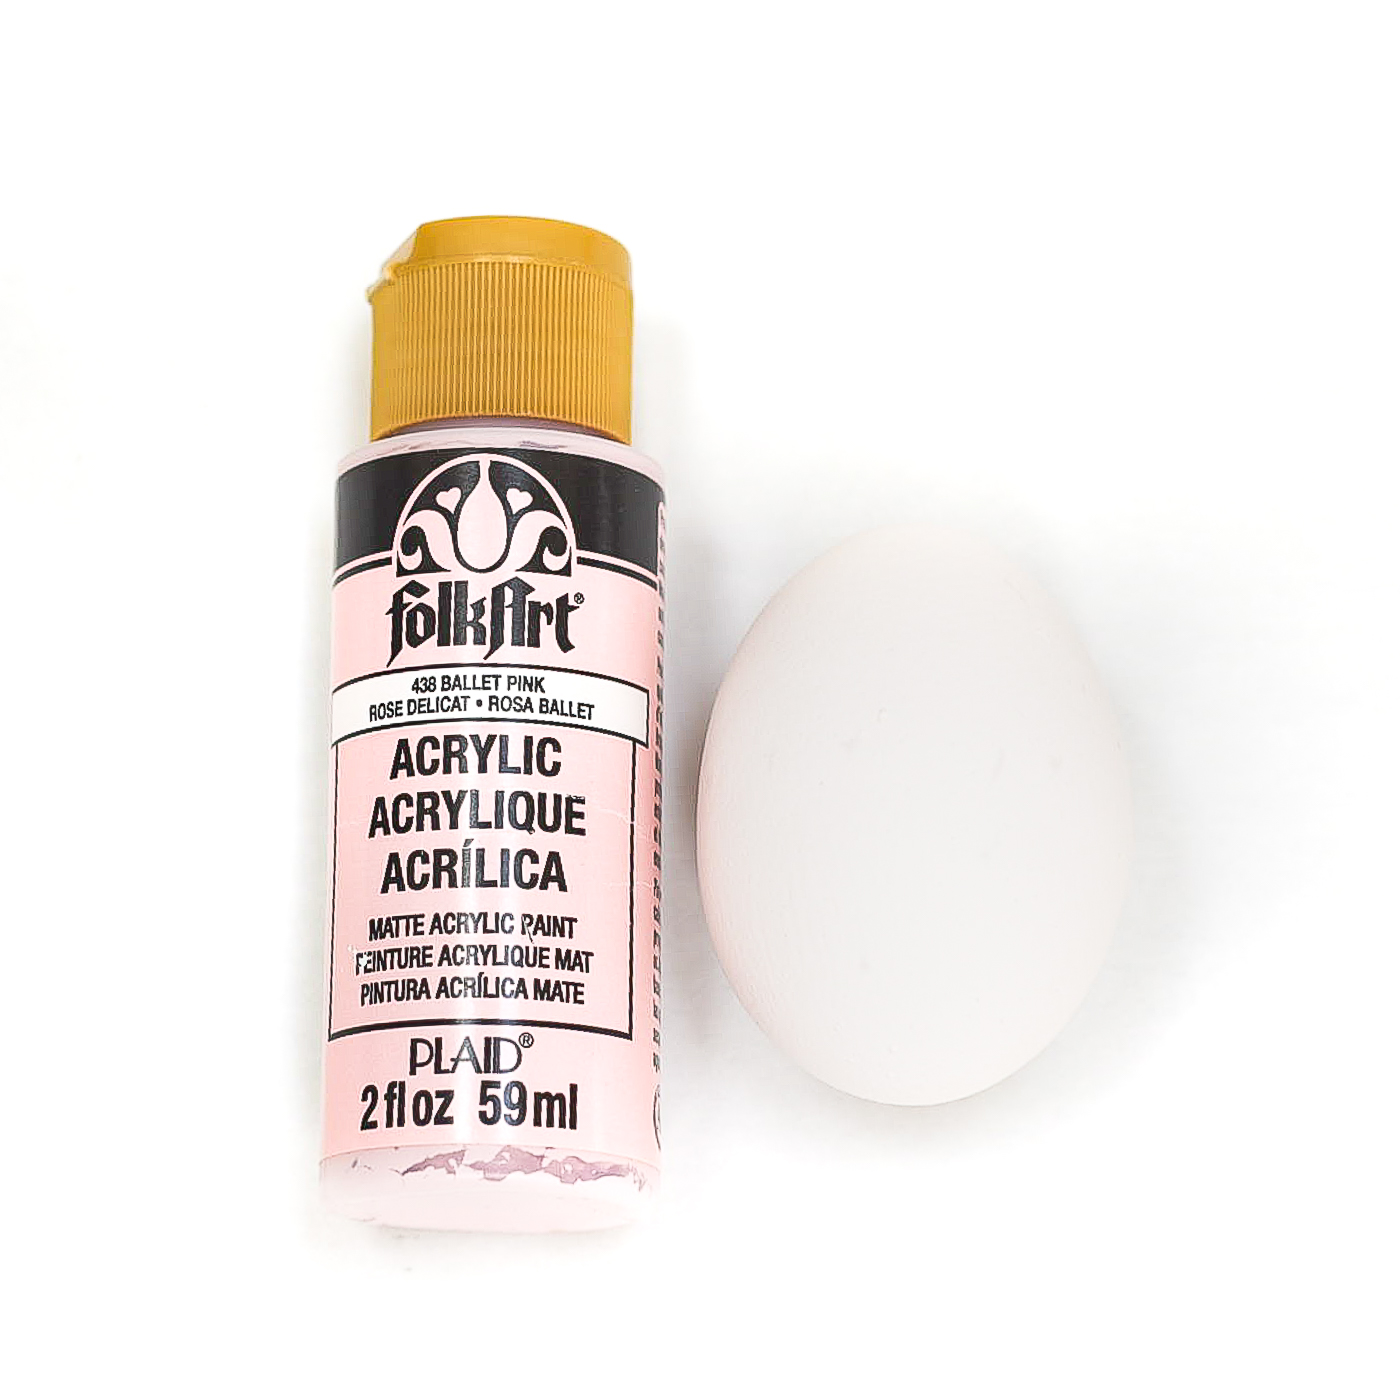
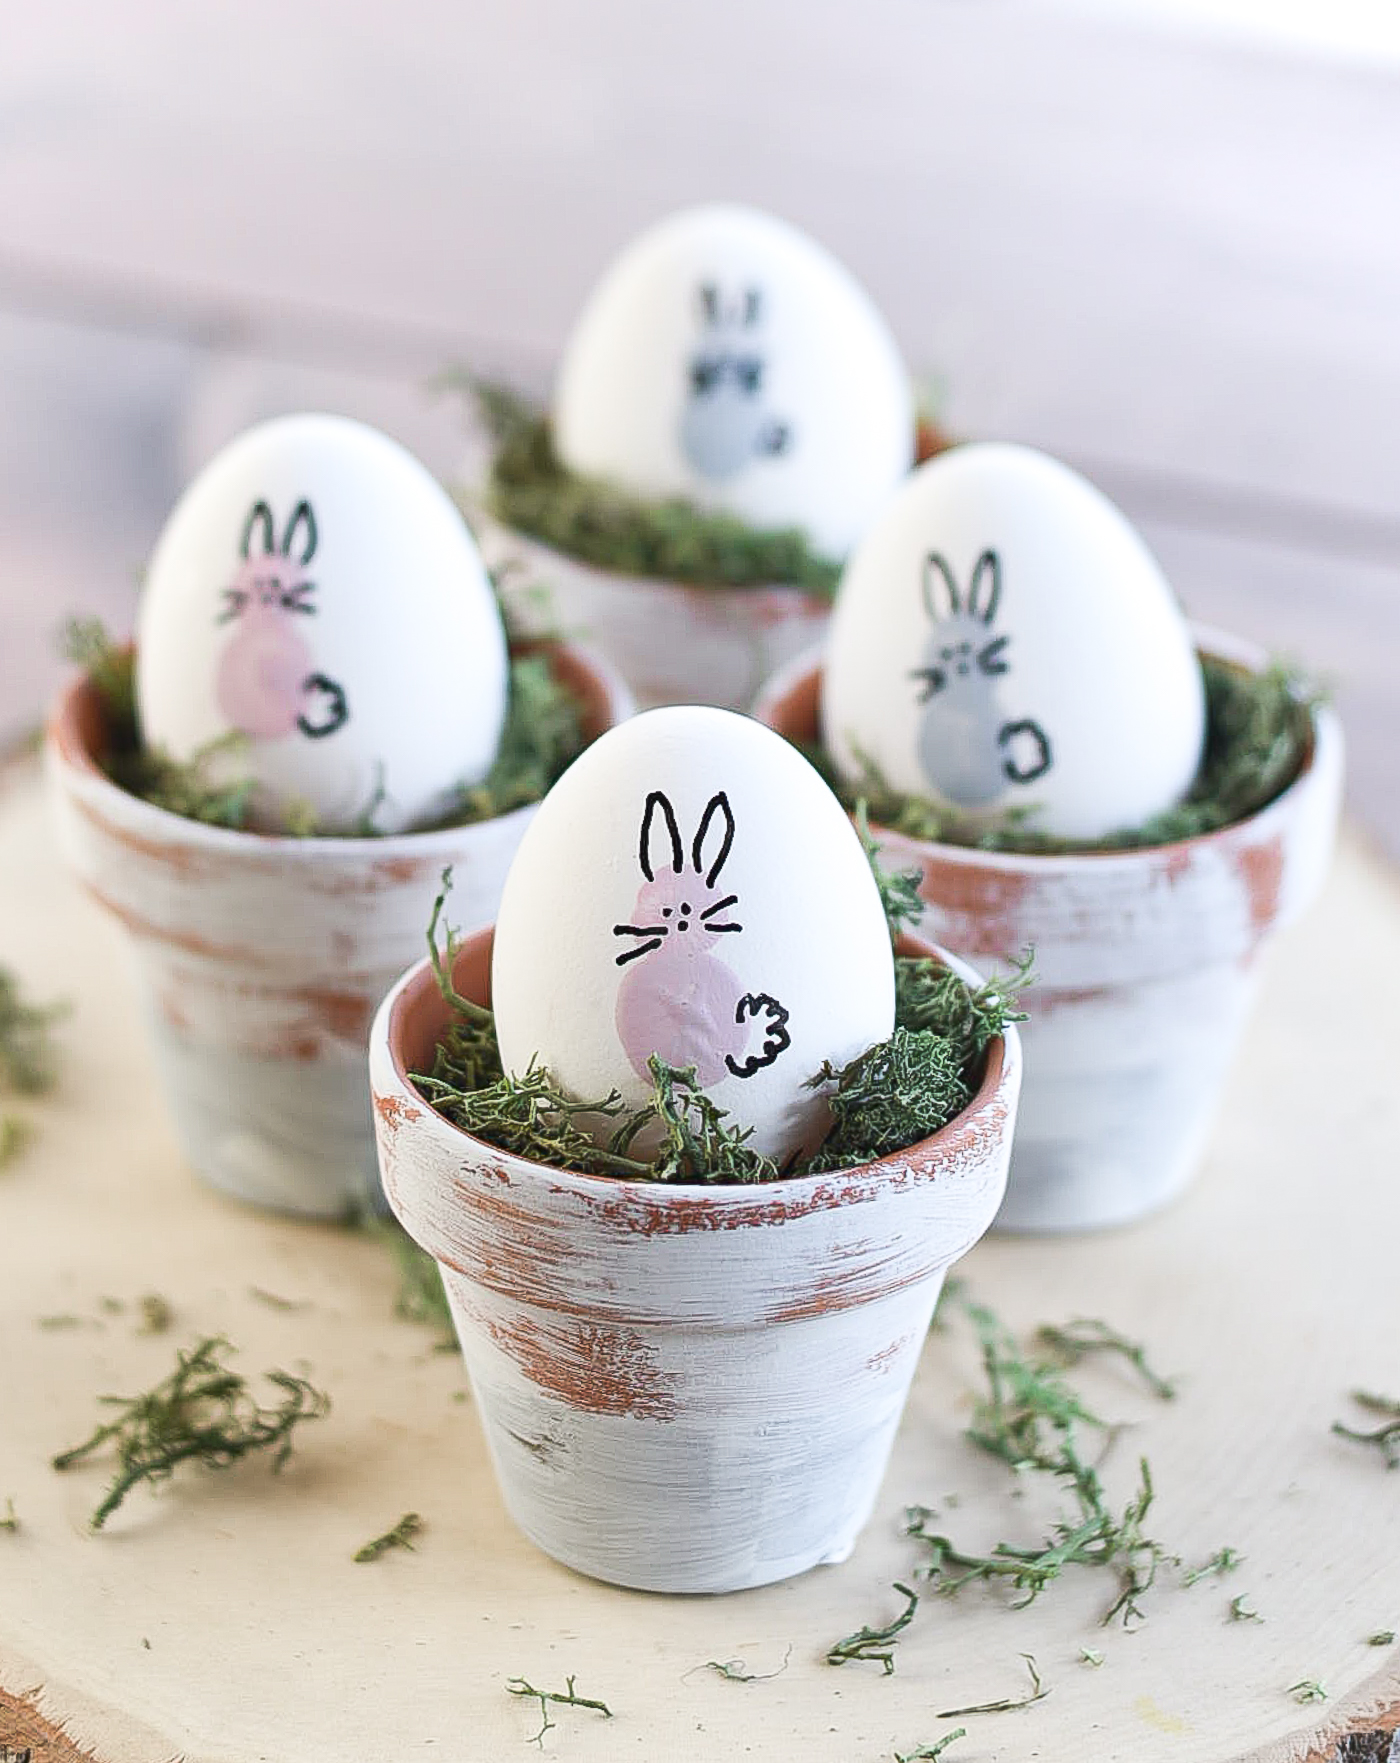
I used a soft pink (FolkArt Ballet Pink). You can use any color you want!
I also made gray bunnies by mixing together some black & white. I’m just using what I have. Now is not the time to be wandering around the craft store!
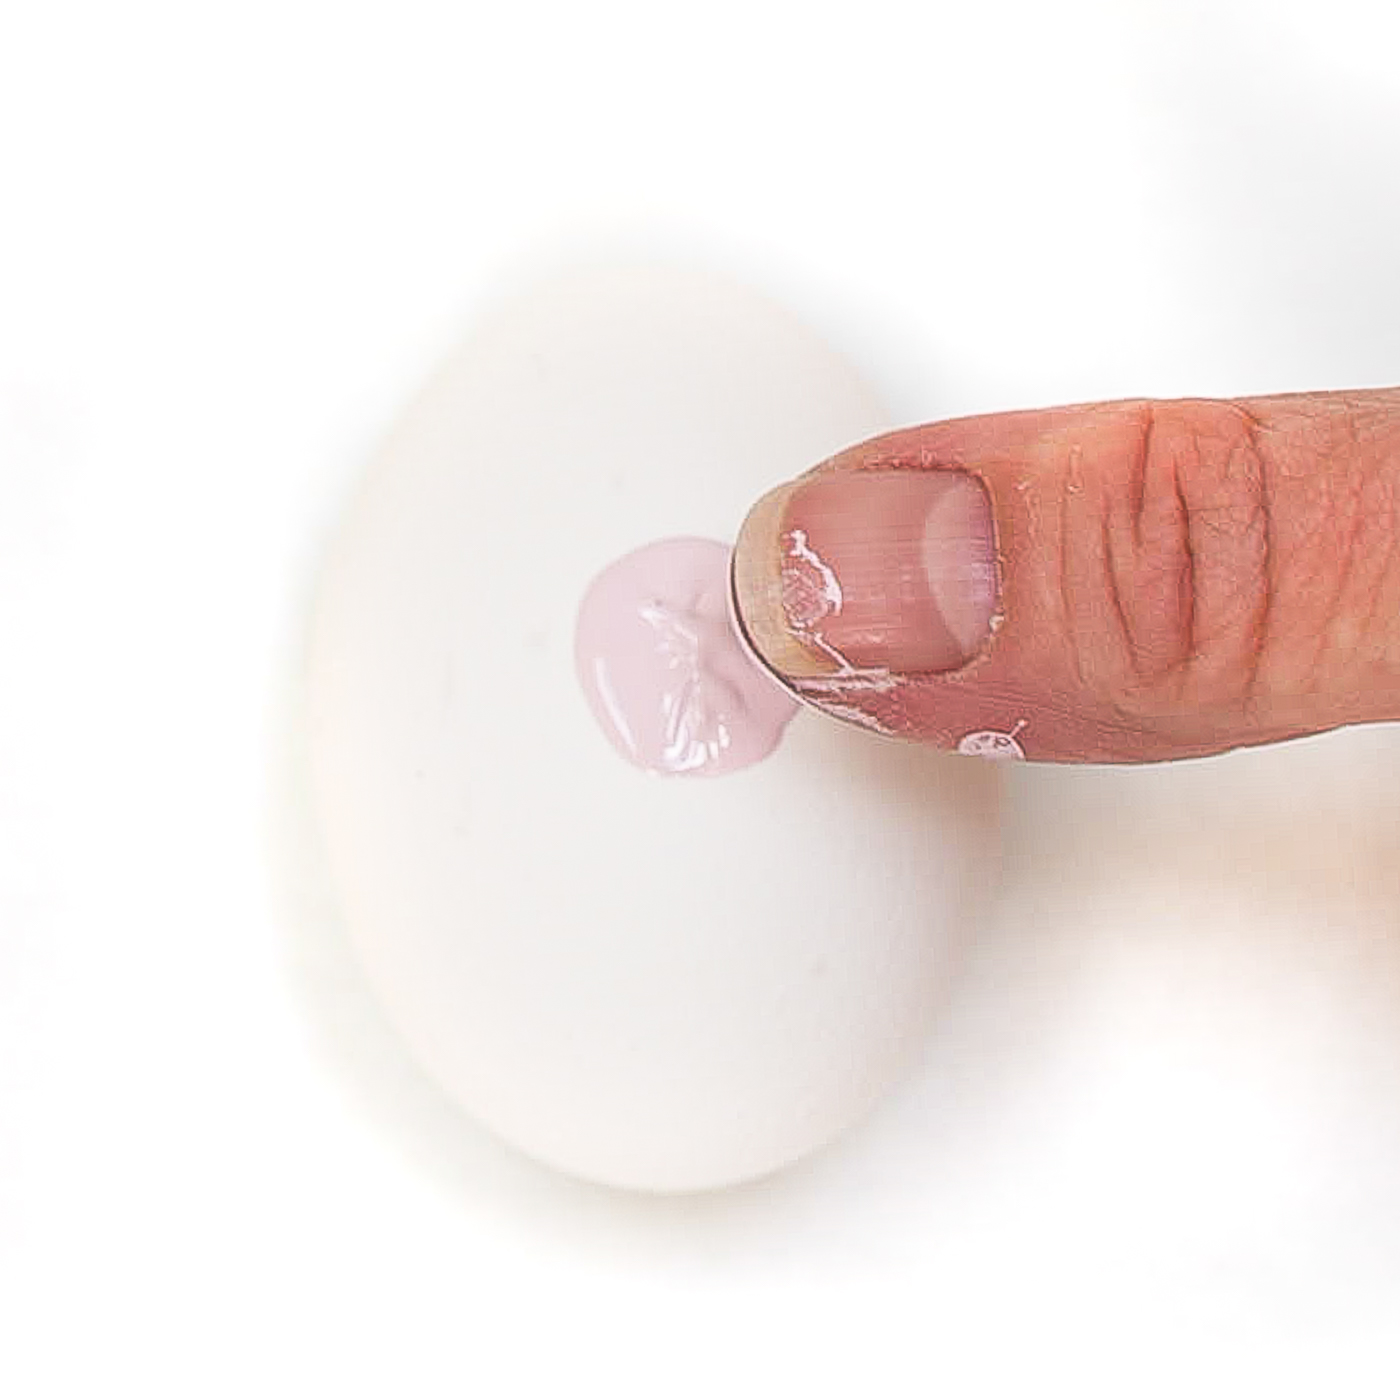
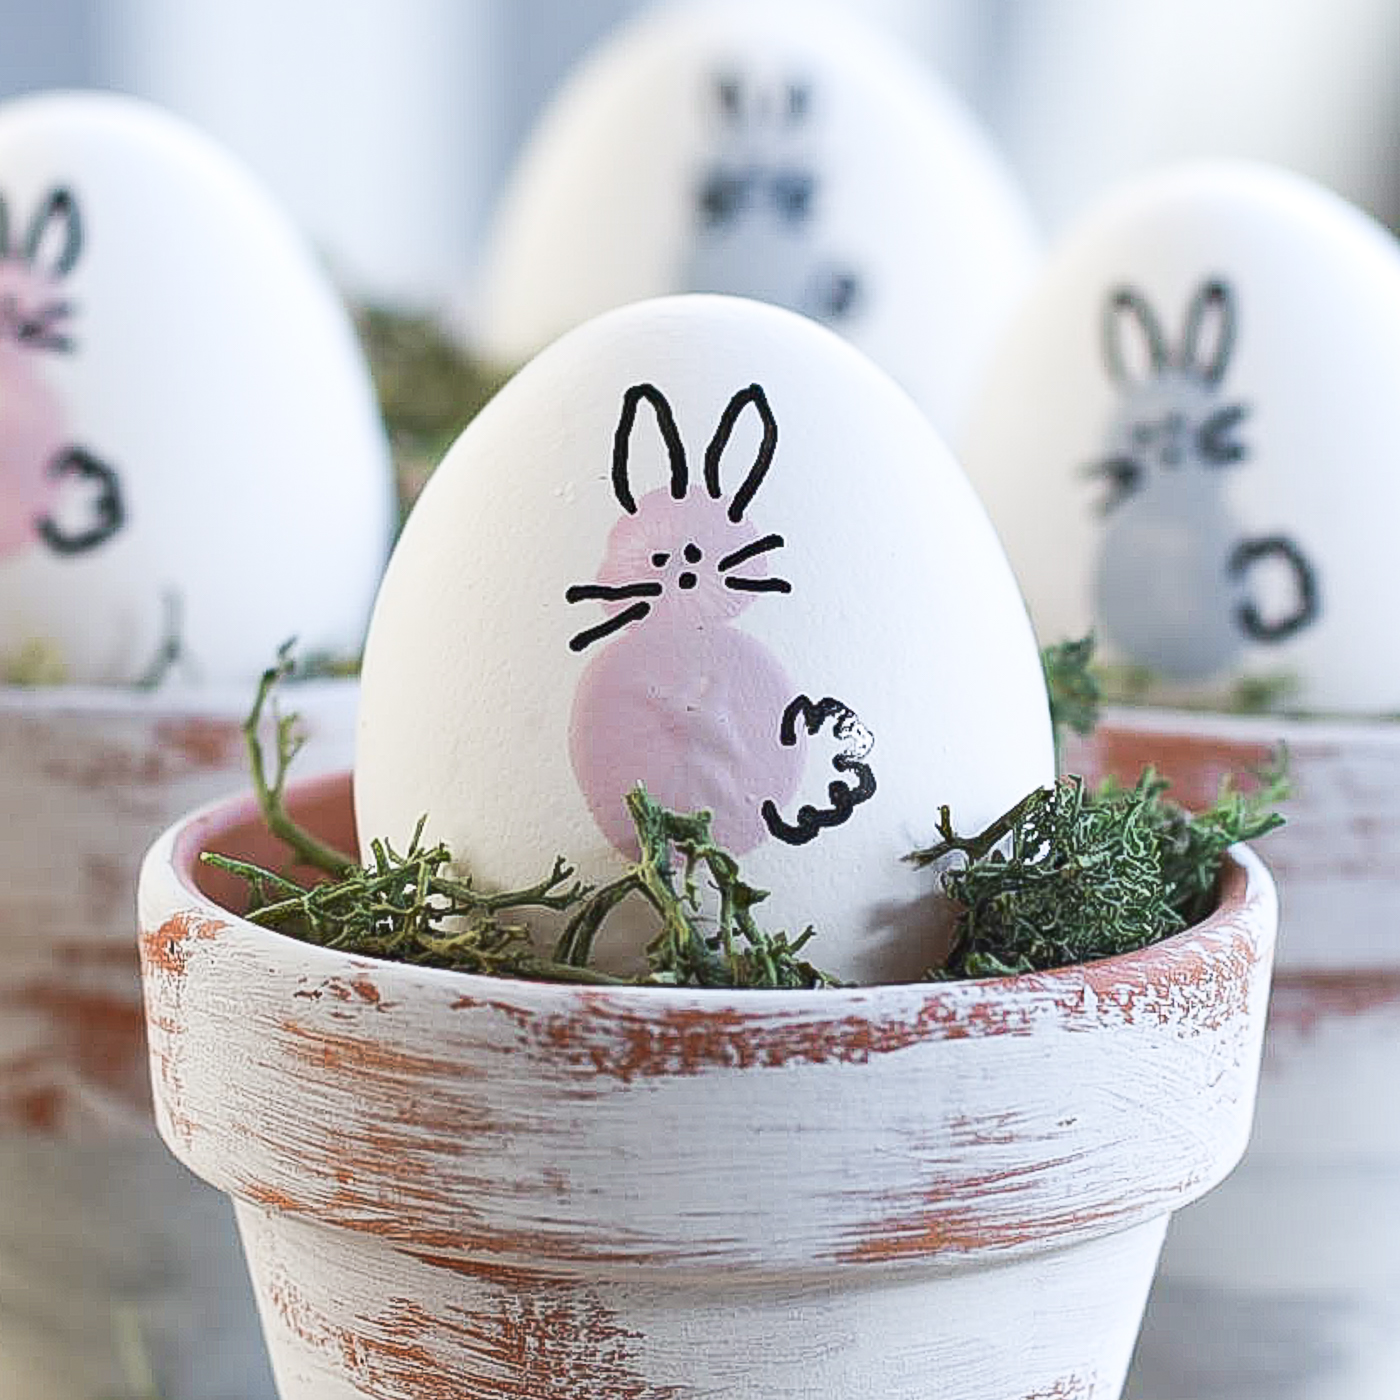
I squirted some paint onto a paper plate, stuck my thumb in the paint and then stuck my thumb on the egg. This makes the bunny’s body.
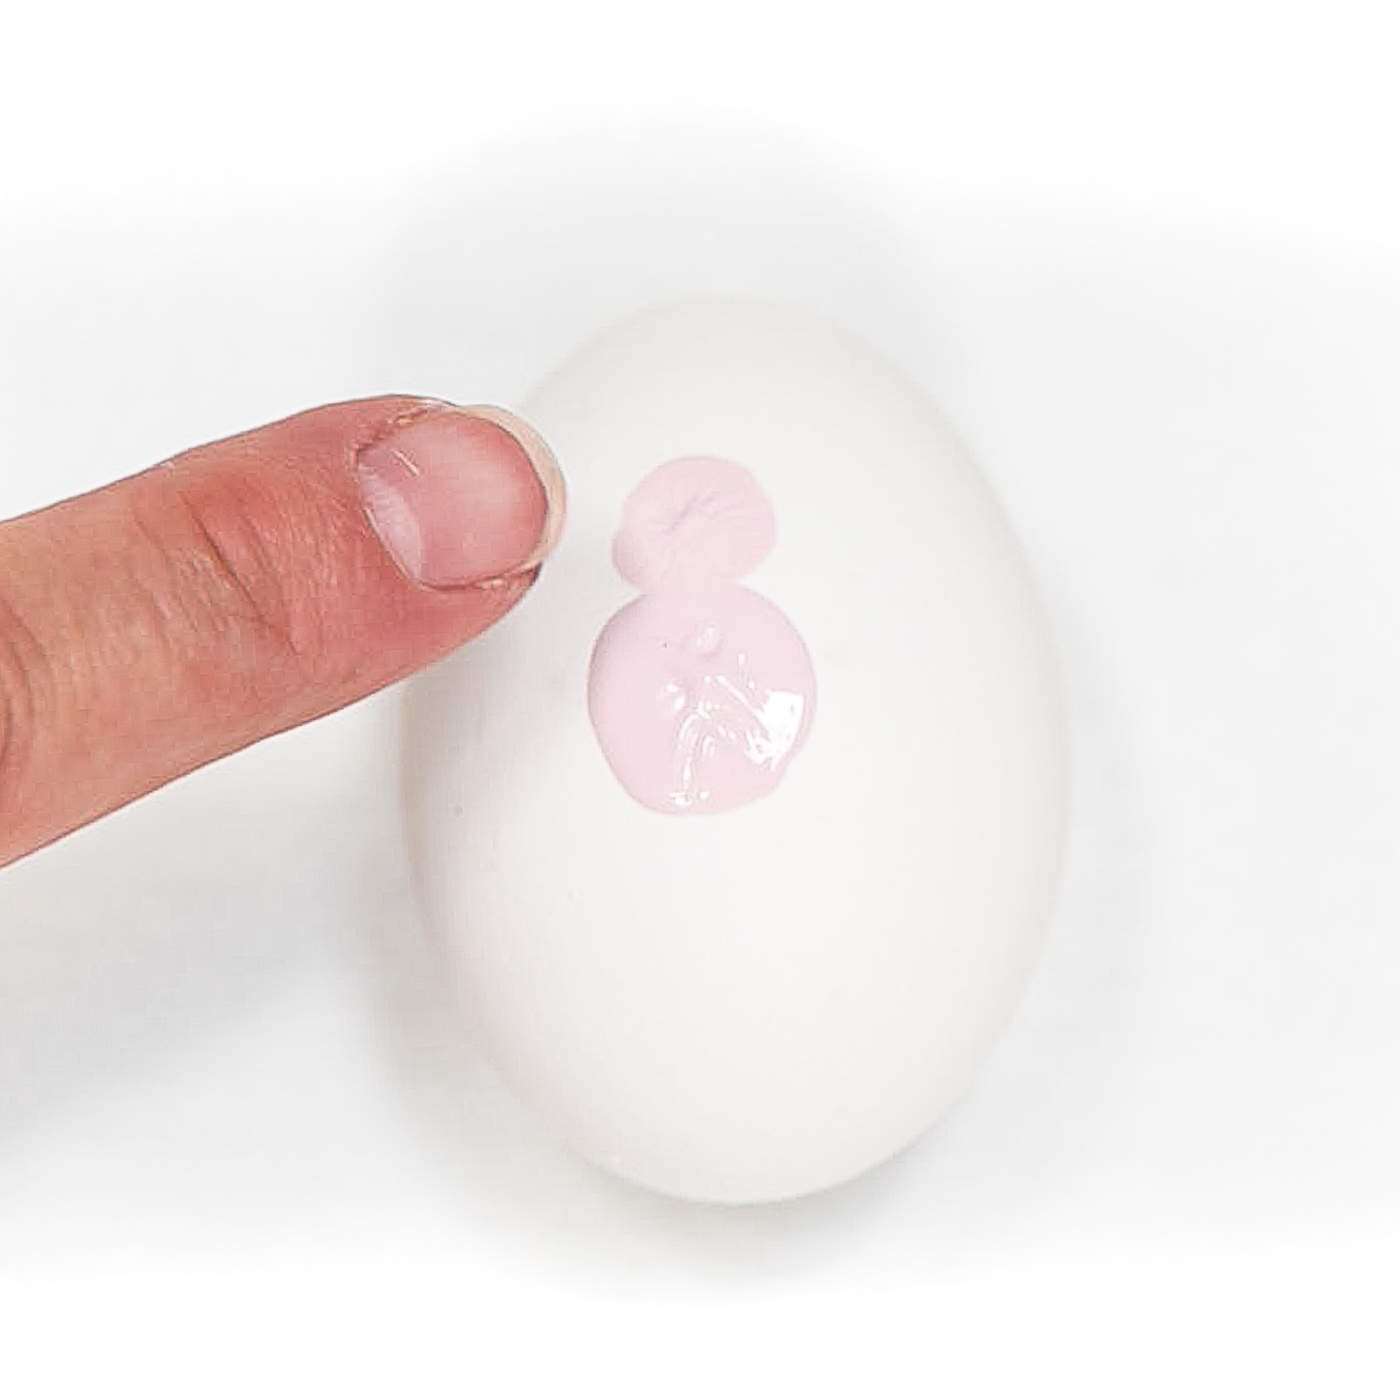
For the bunny’s head, I used my pointer finger.
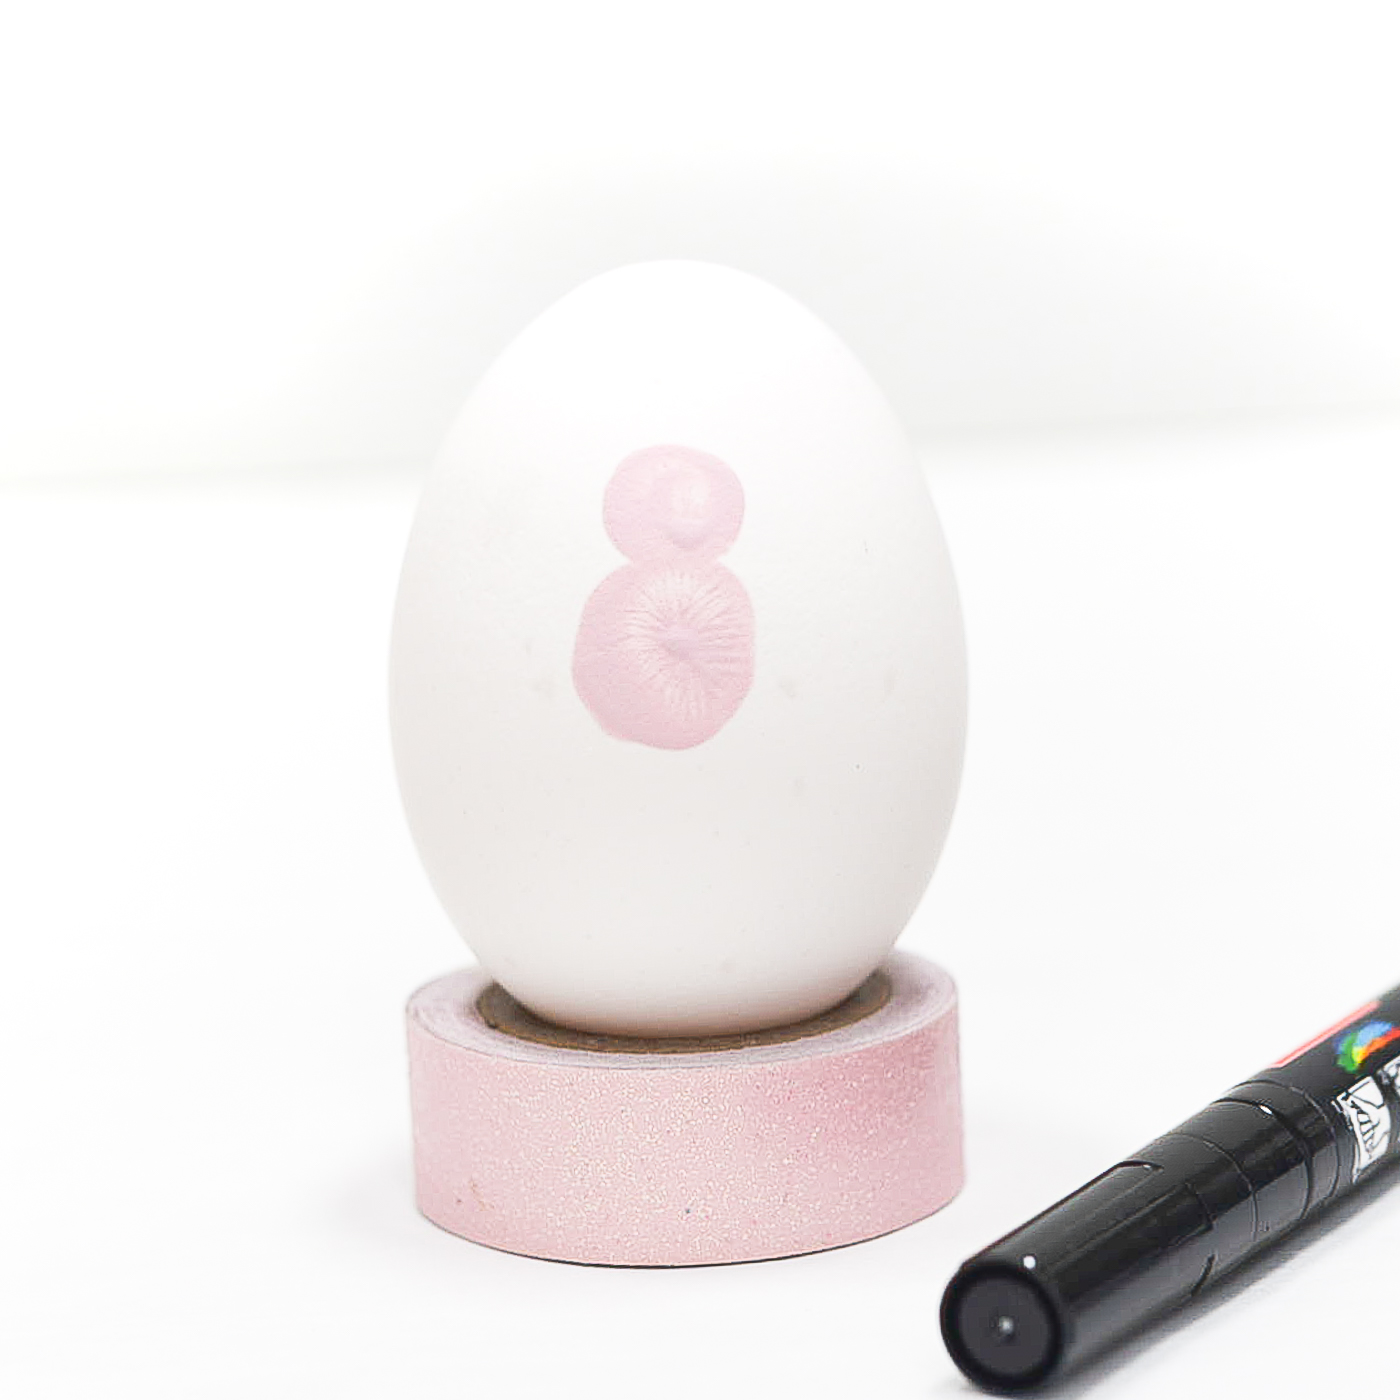
I let dry overnight before proceeding with the next step.
I used a washi tape roll to set my egg in. It’s the perfect size!
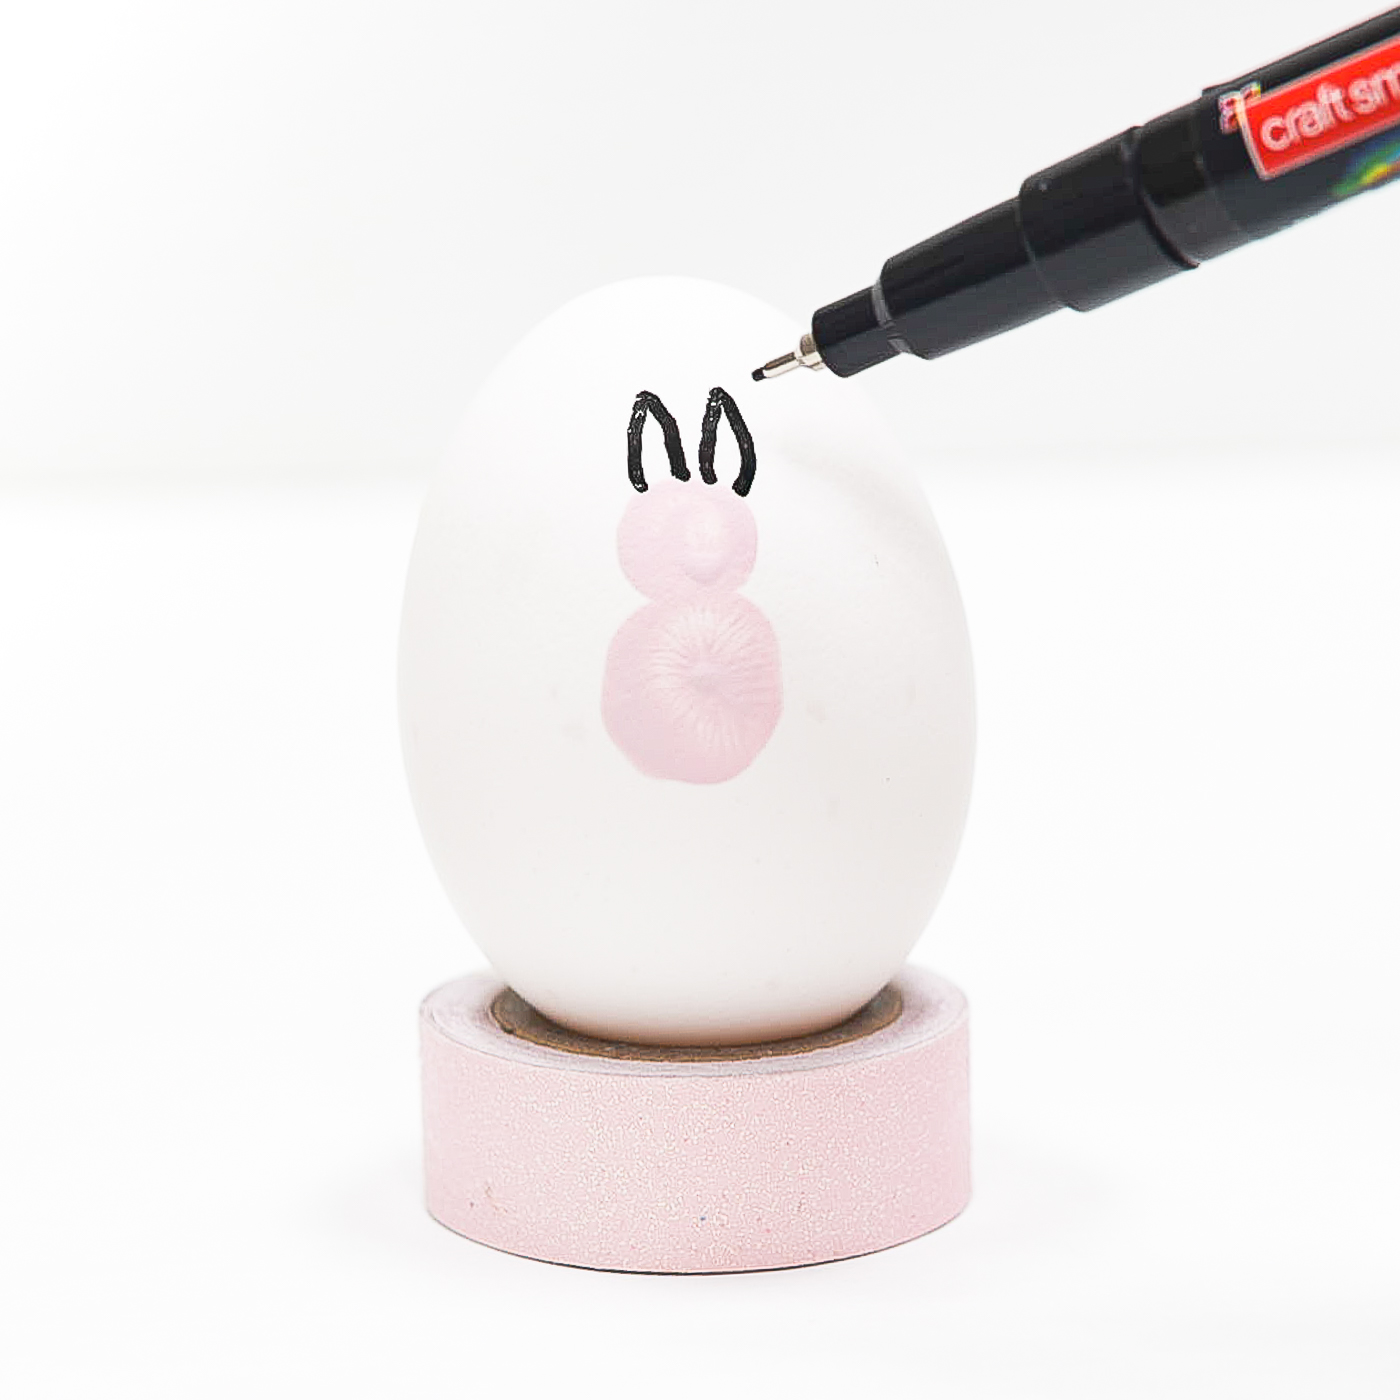
Using an extra fine tip black paint pen (or marker), I drew on ears …
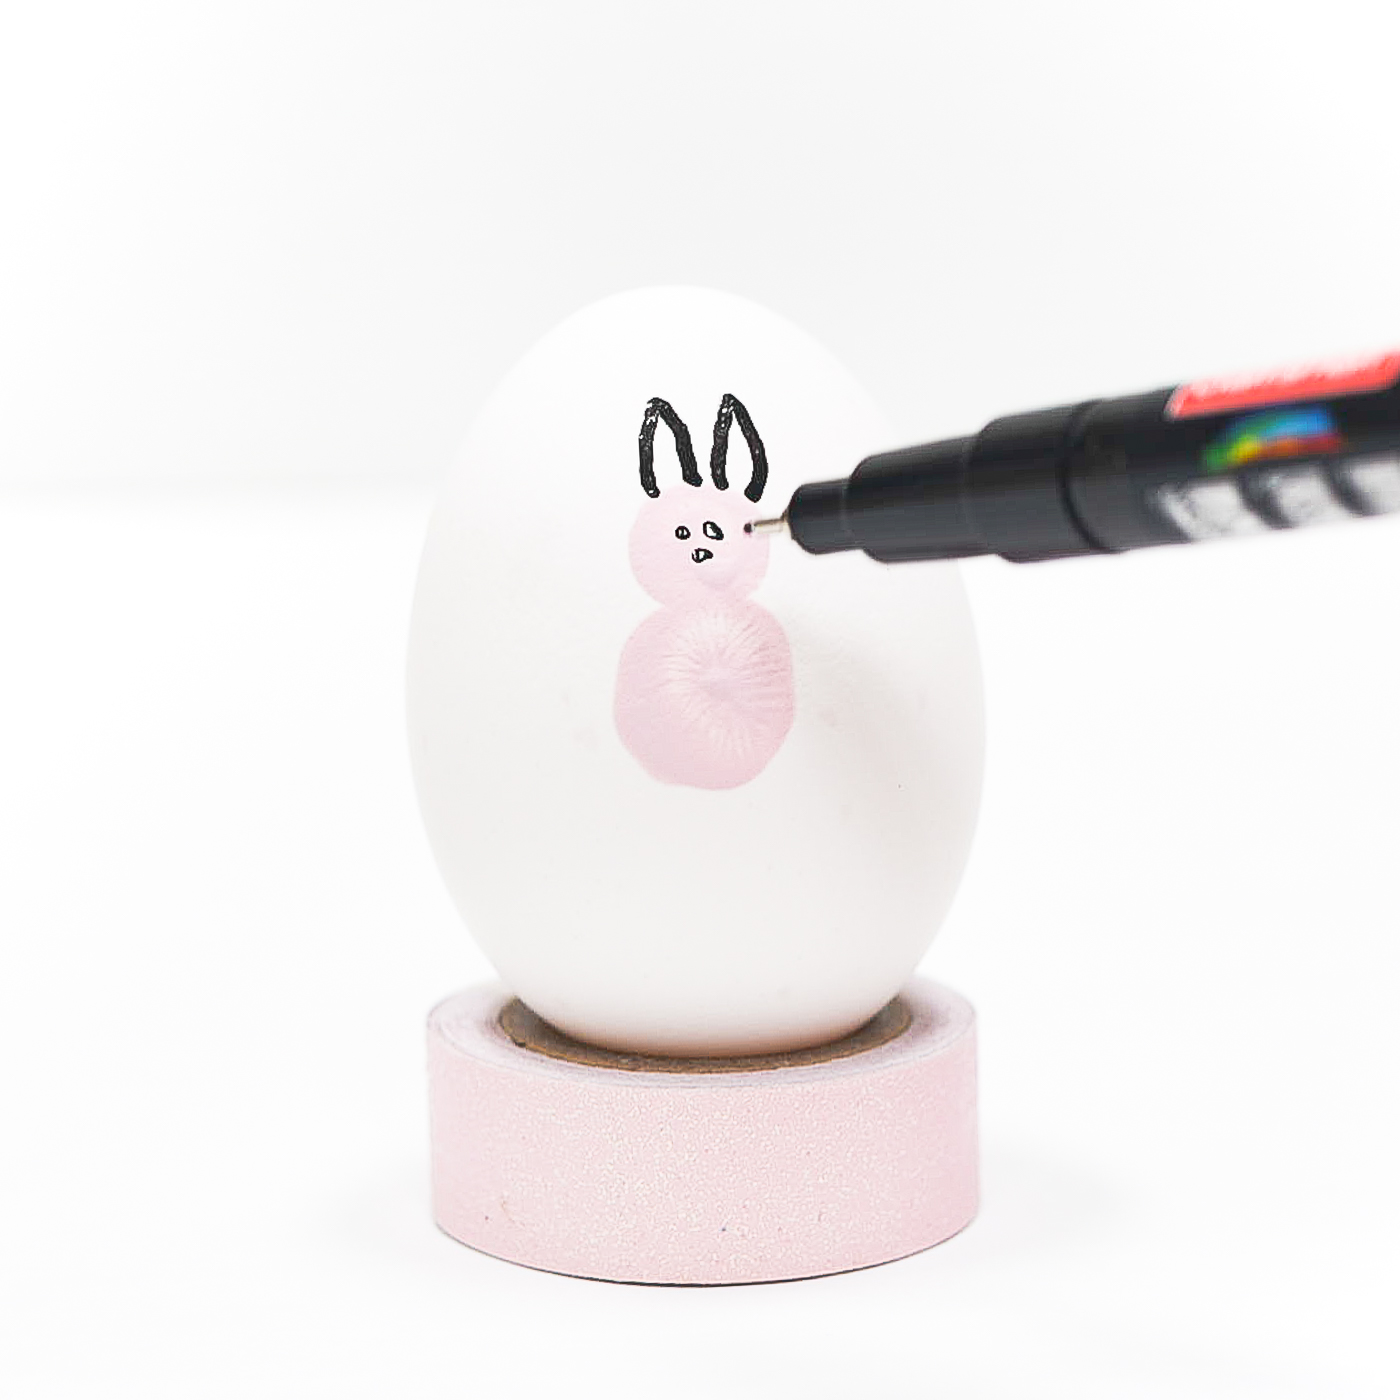
eyes and nose …
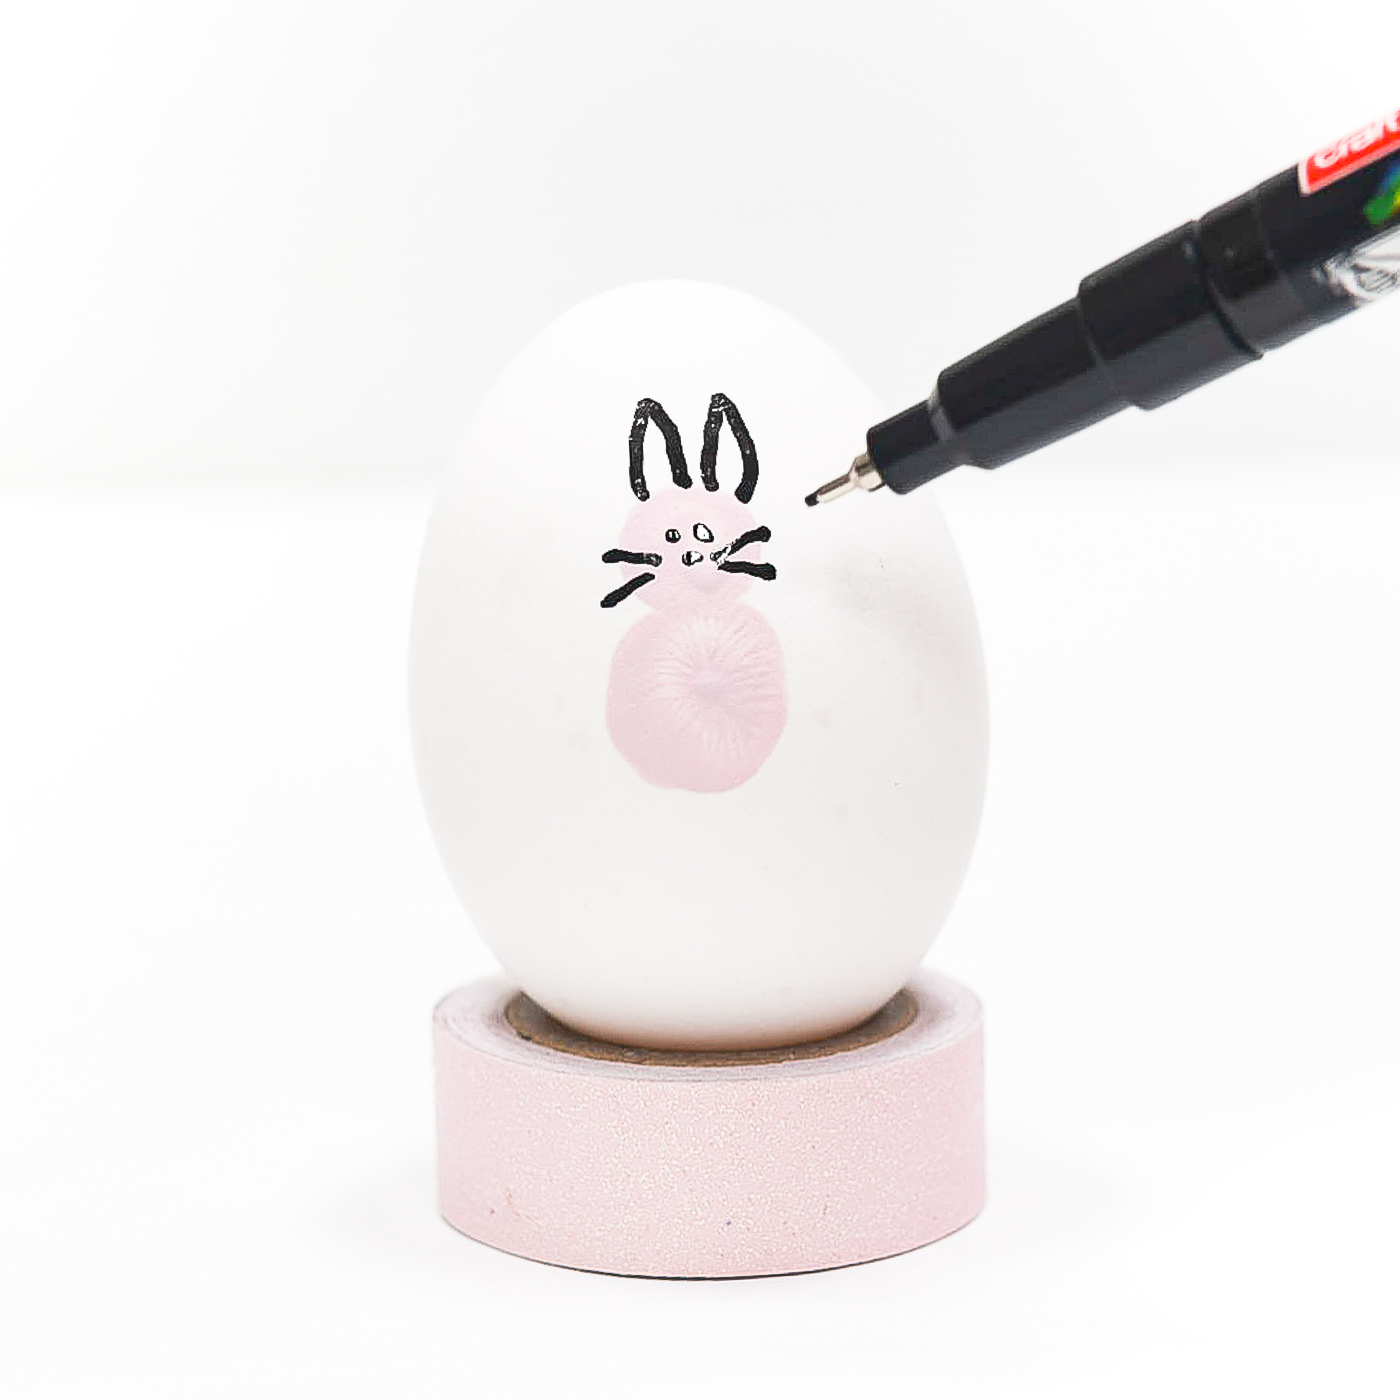
whiskers …
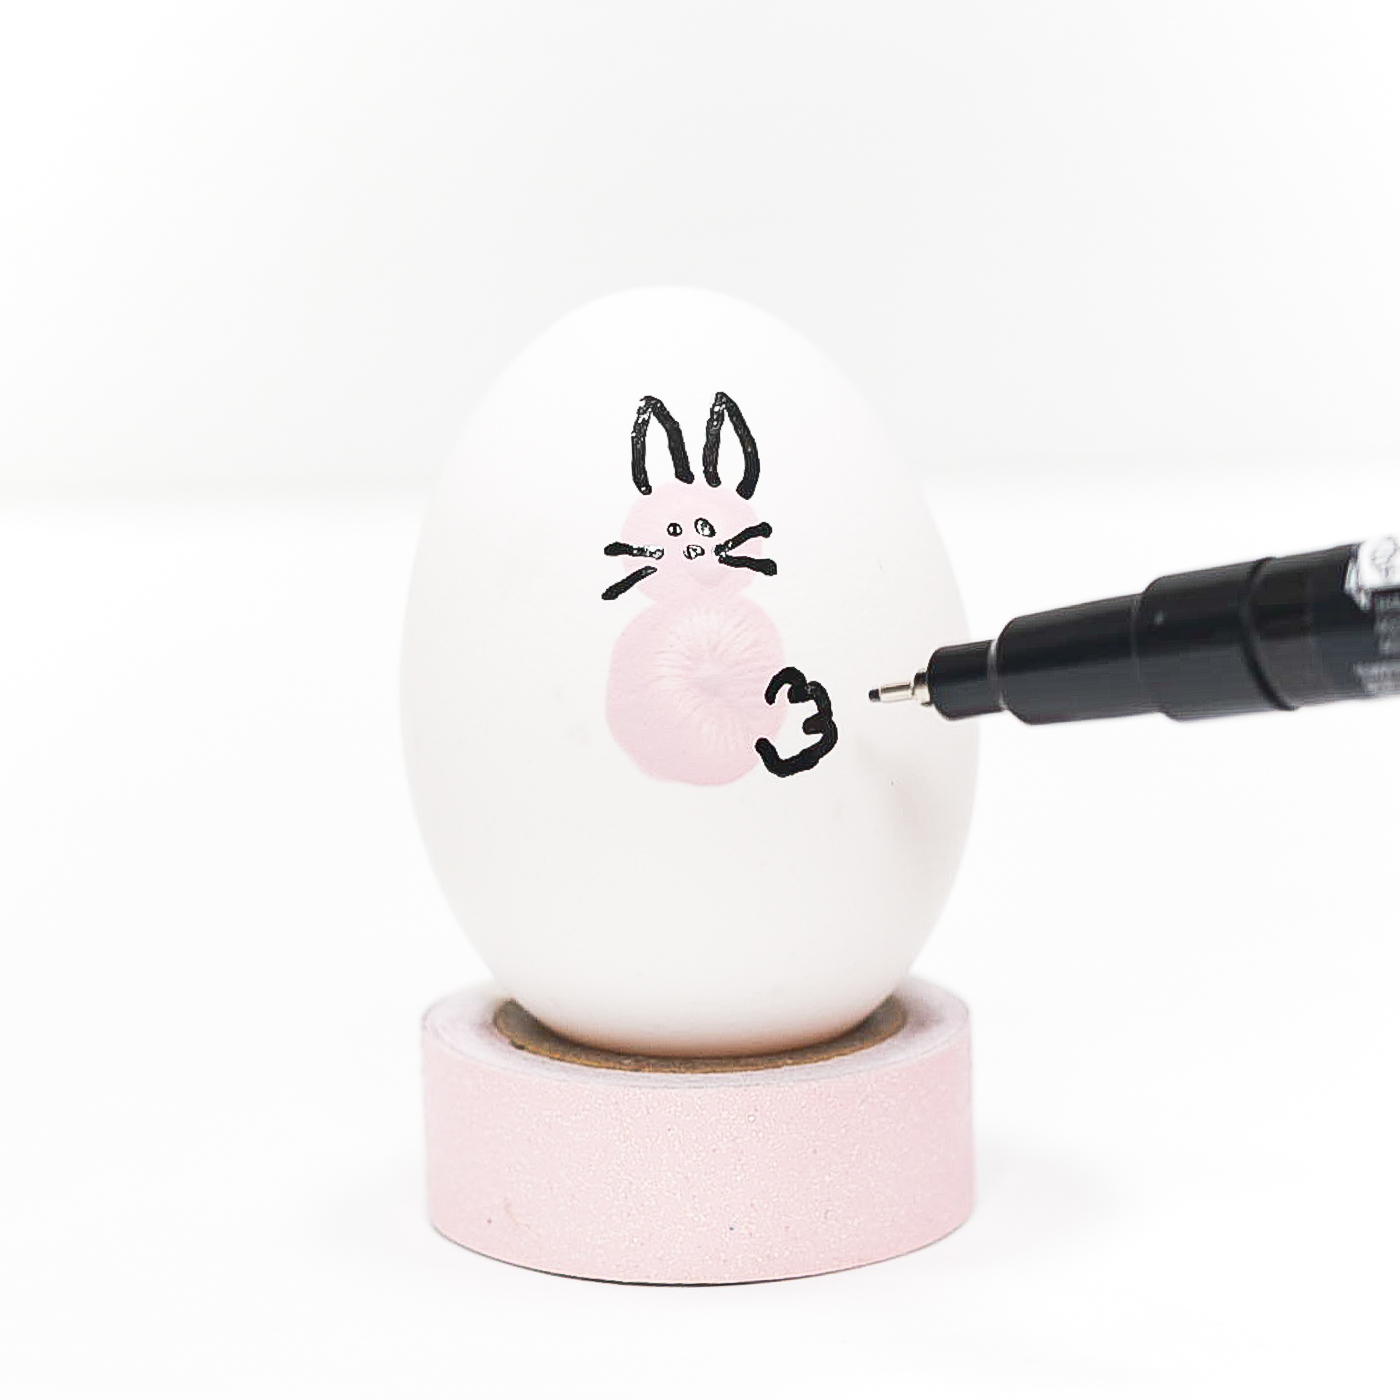
and a fluffy bunny tail.
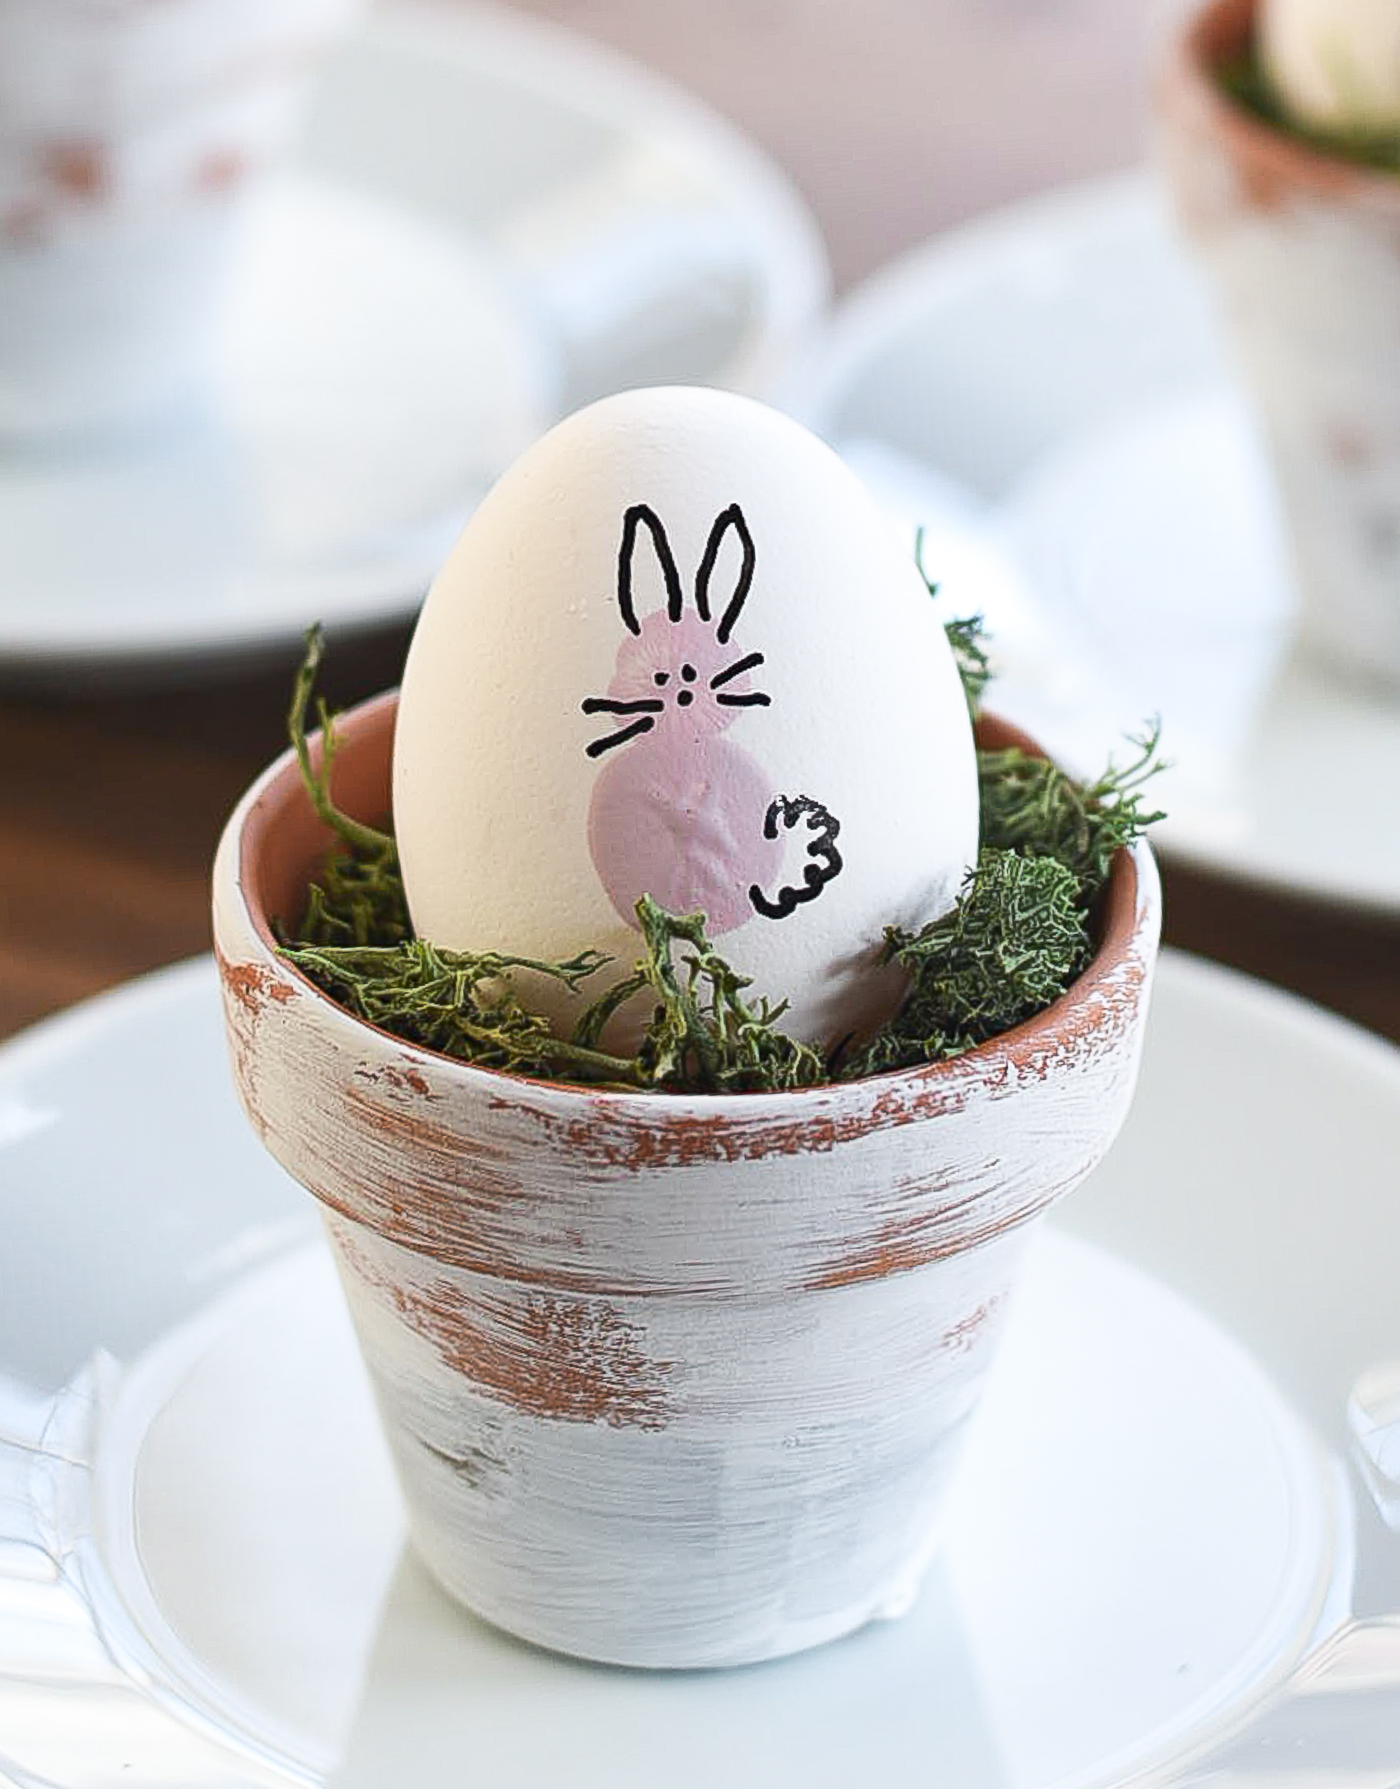
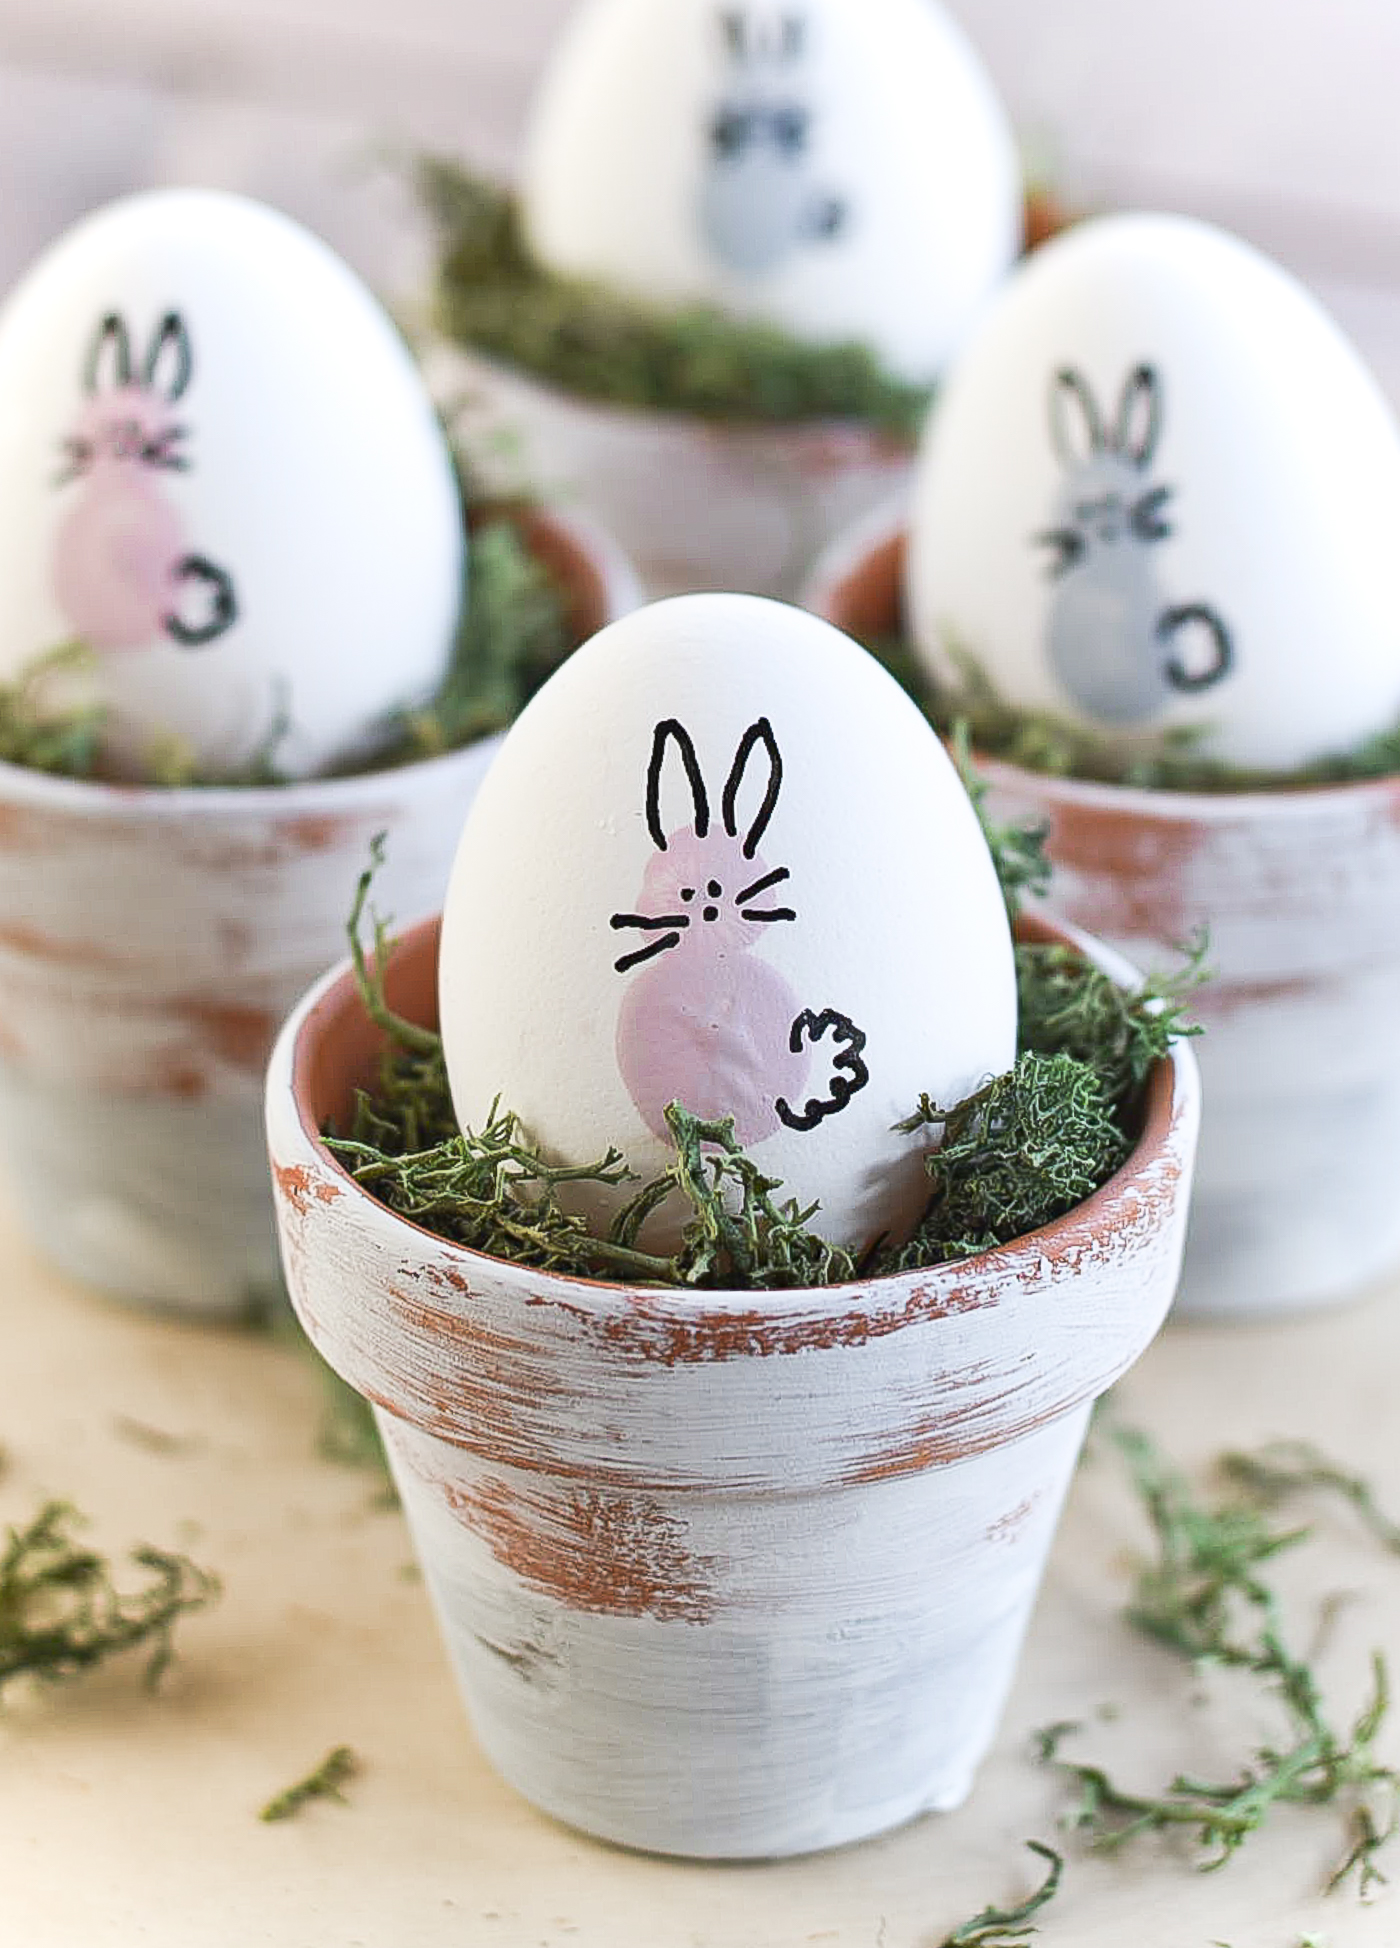
Fun. Easy. Cute.
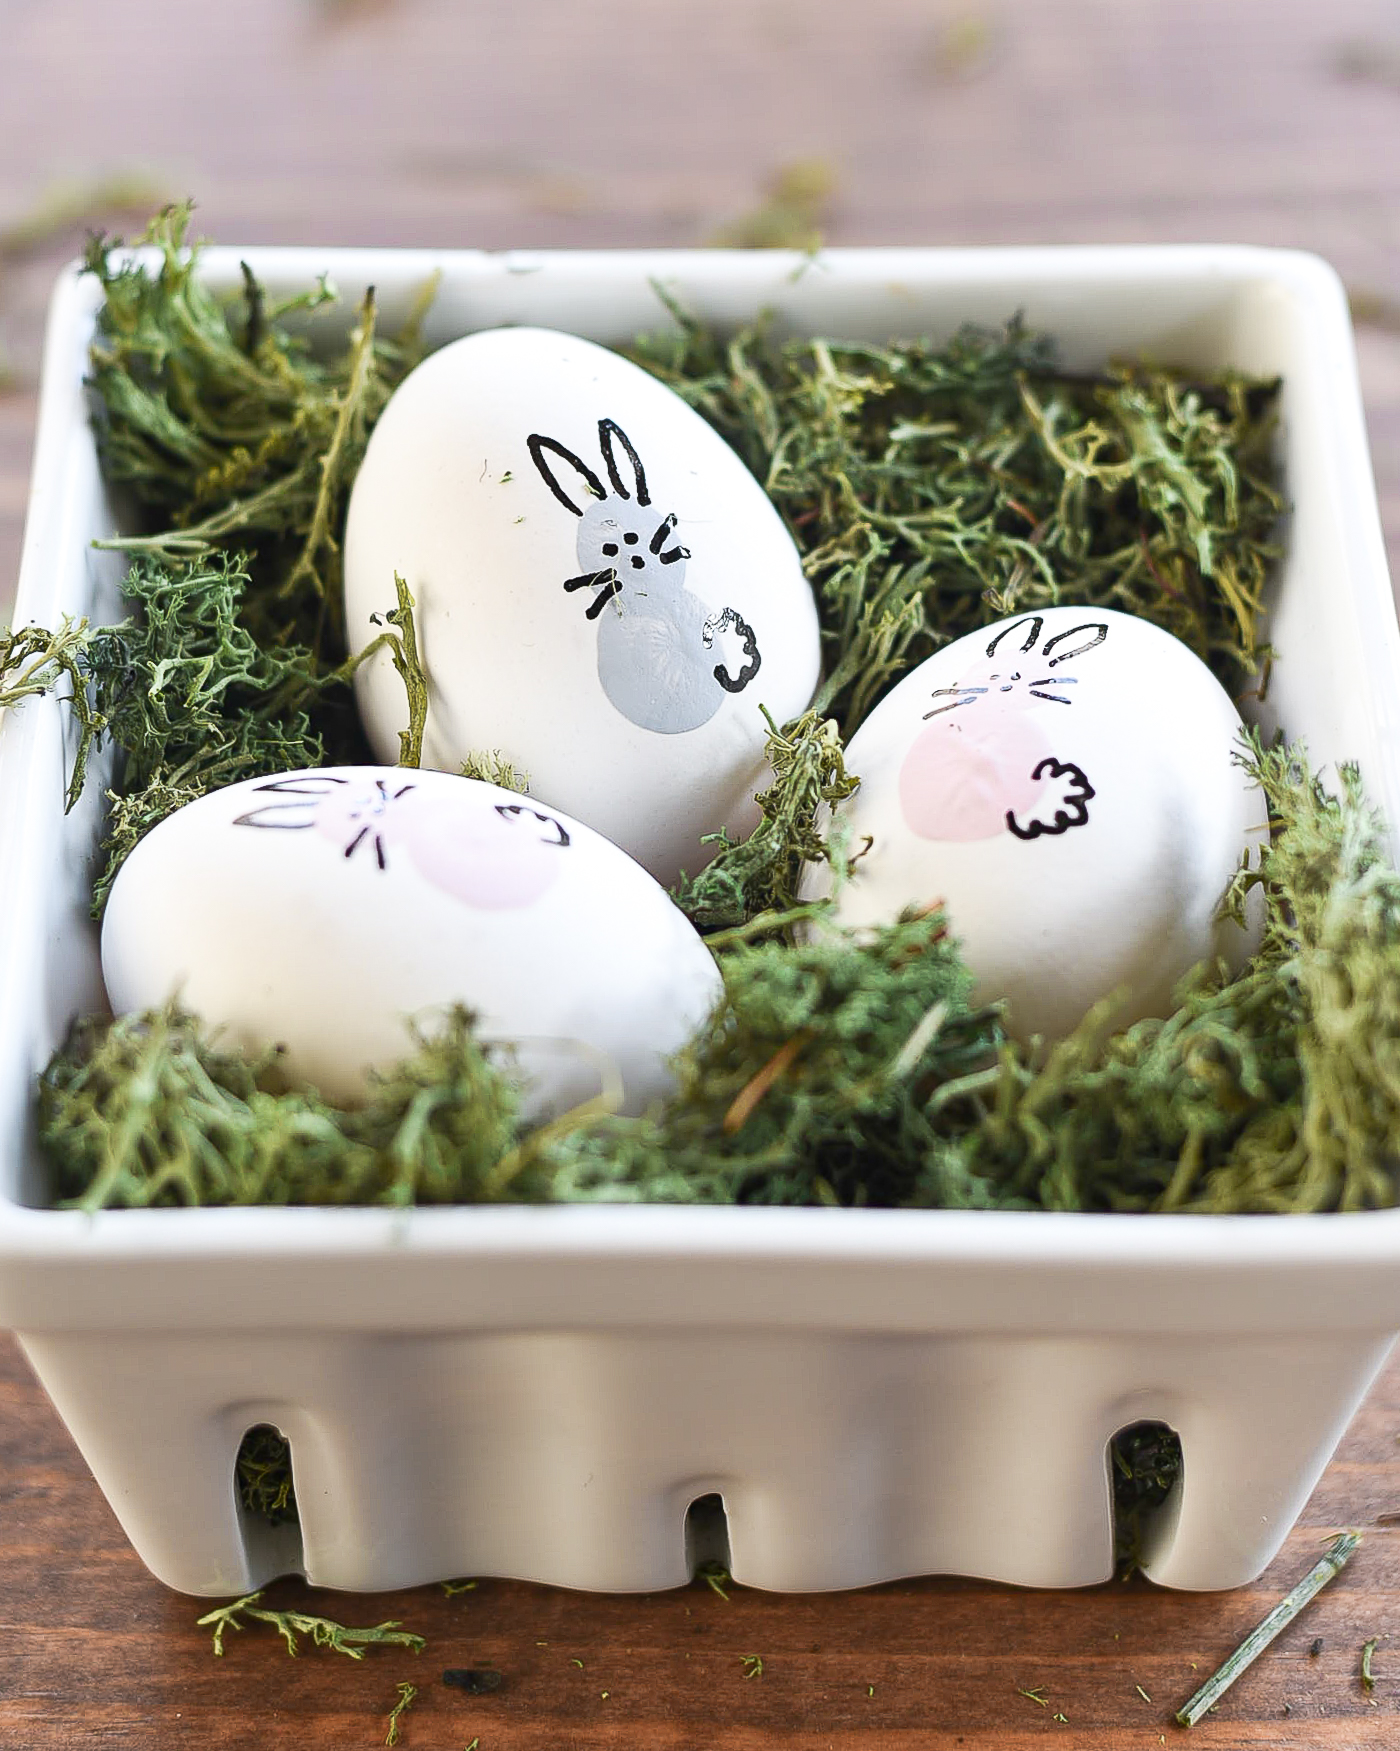
And, quite honestly, I fully enjoyed making these on my own!
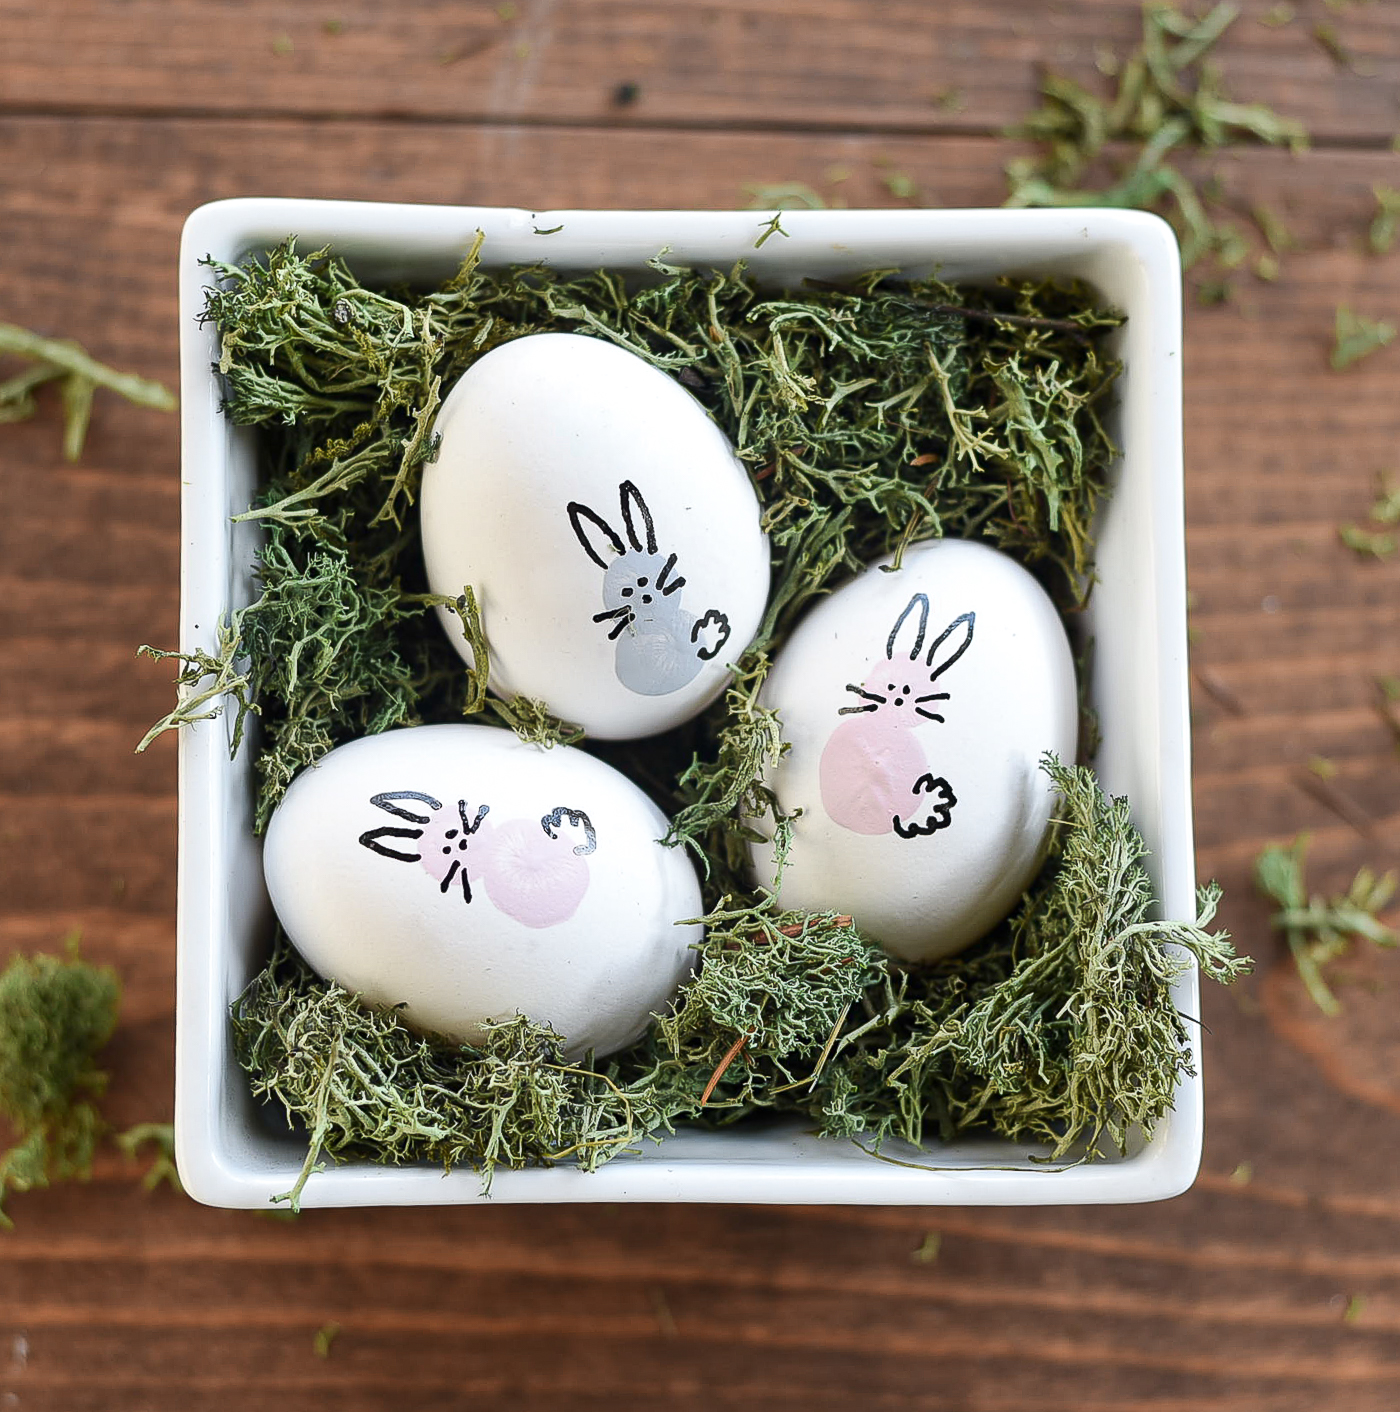
I also made a thumbprint chick, for the fun of it.
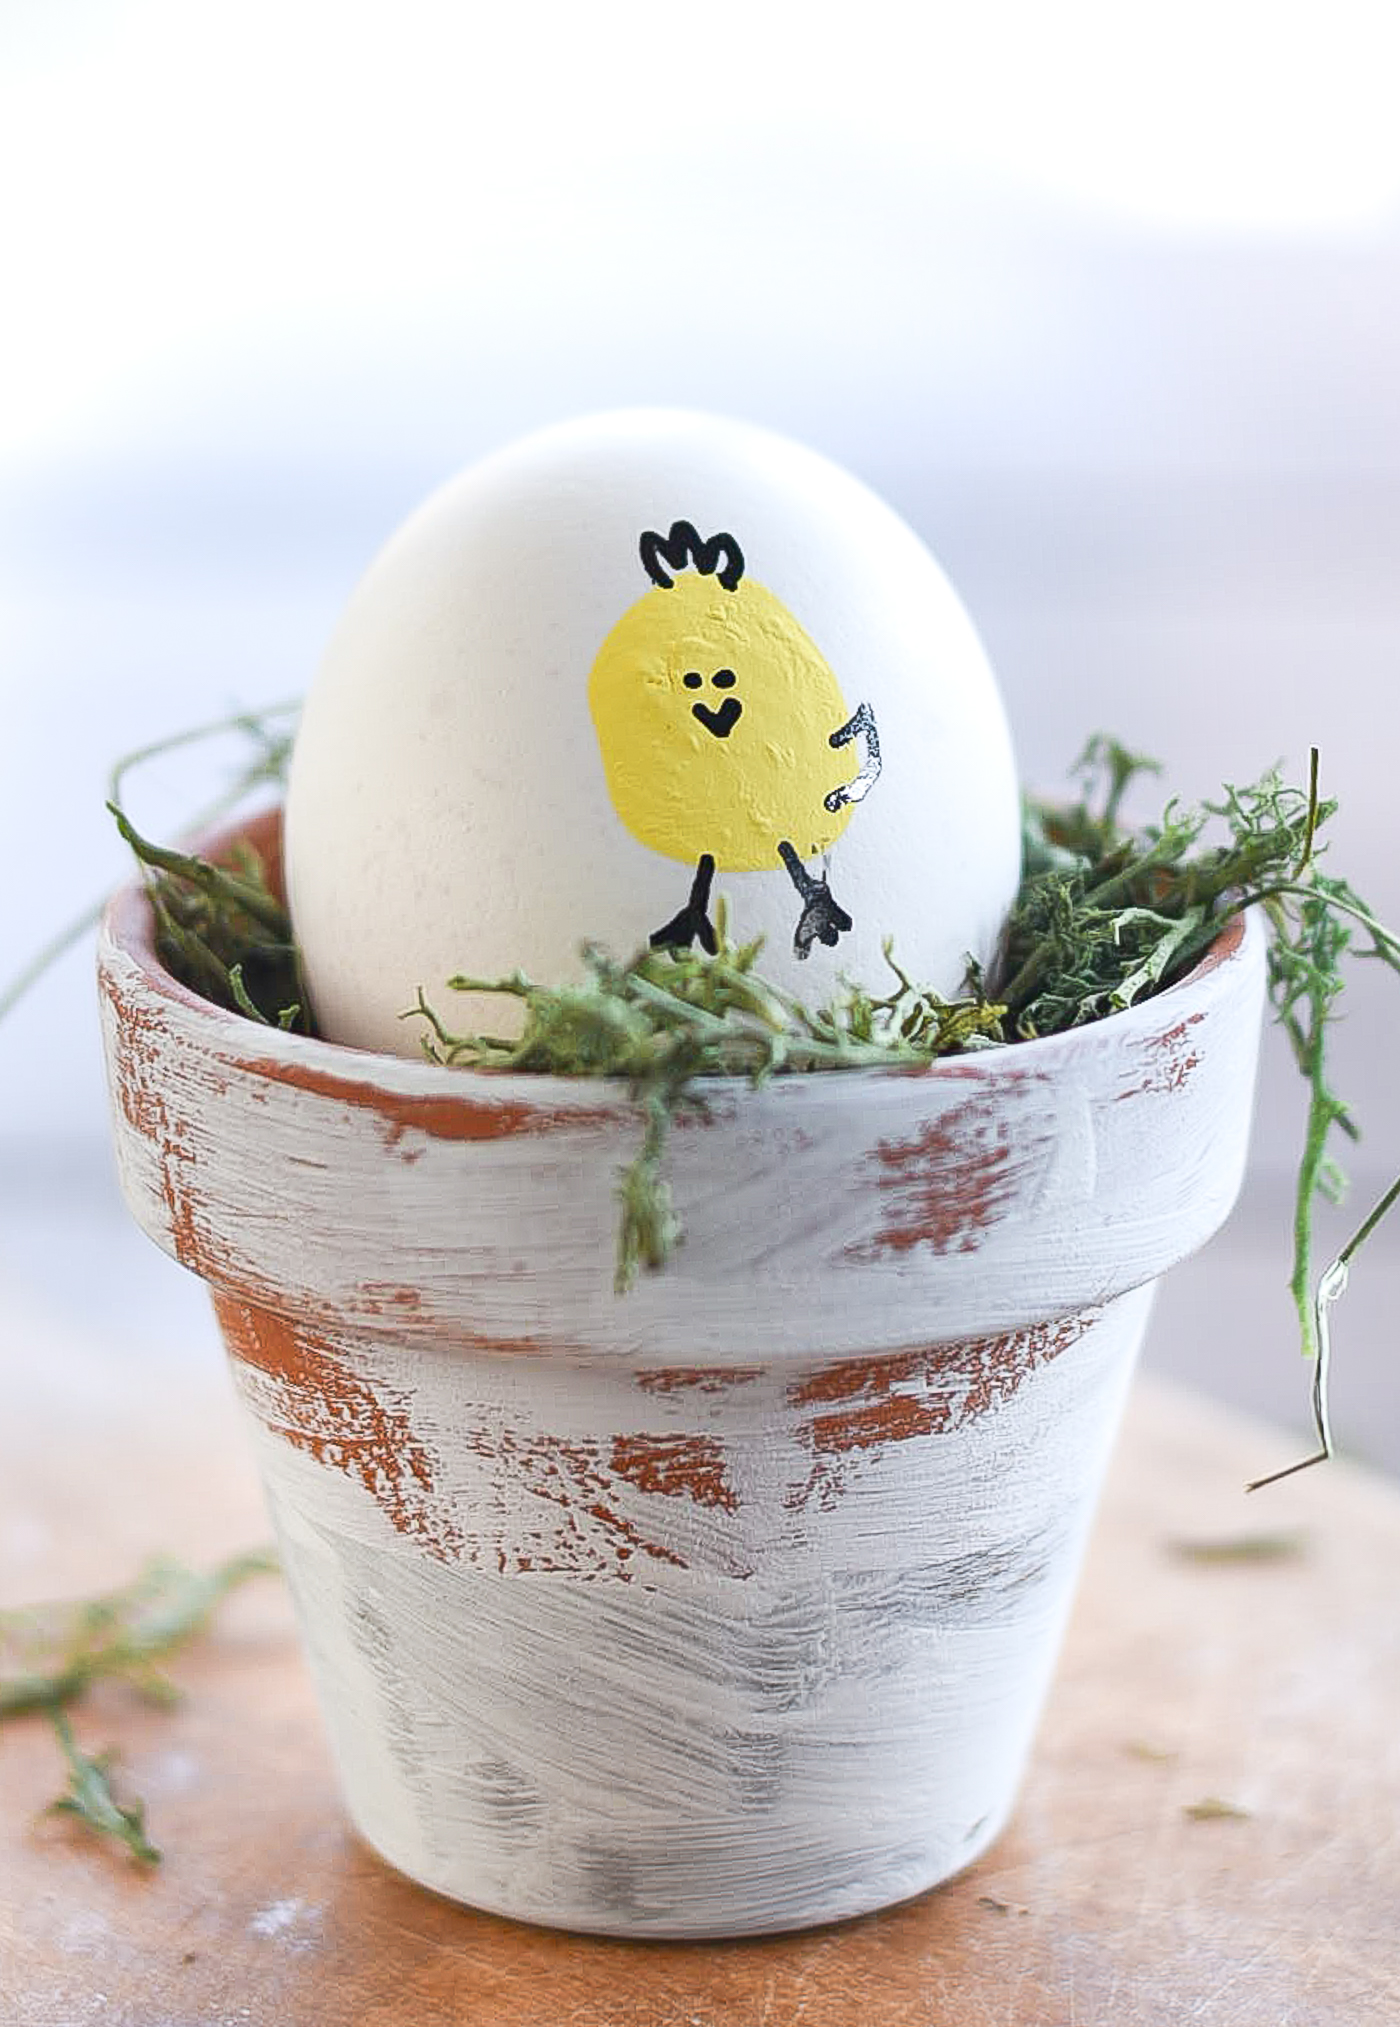
Which, by the way, cracked up my son.
Get it? Cracked up. Cracked eggs?
I think I’m going stir crazy! 🙂
Pin It!
You Might Also Like:

Your eggs turned out so cute and I like your chick one, also! Pinned.
Thank you … and thank you!!! 🙂 Linda
These are so very cute! Visiting today from the hello Monday link up. laurensparks.net
Thanks! 🙂
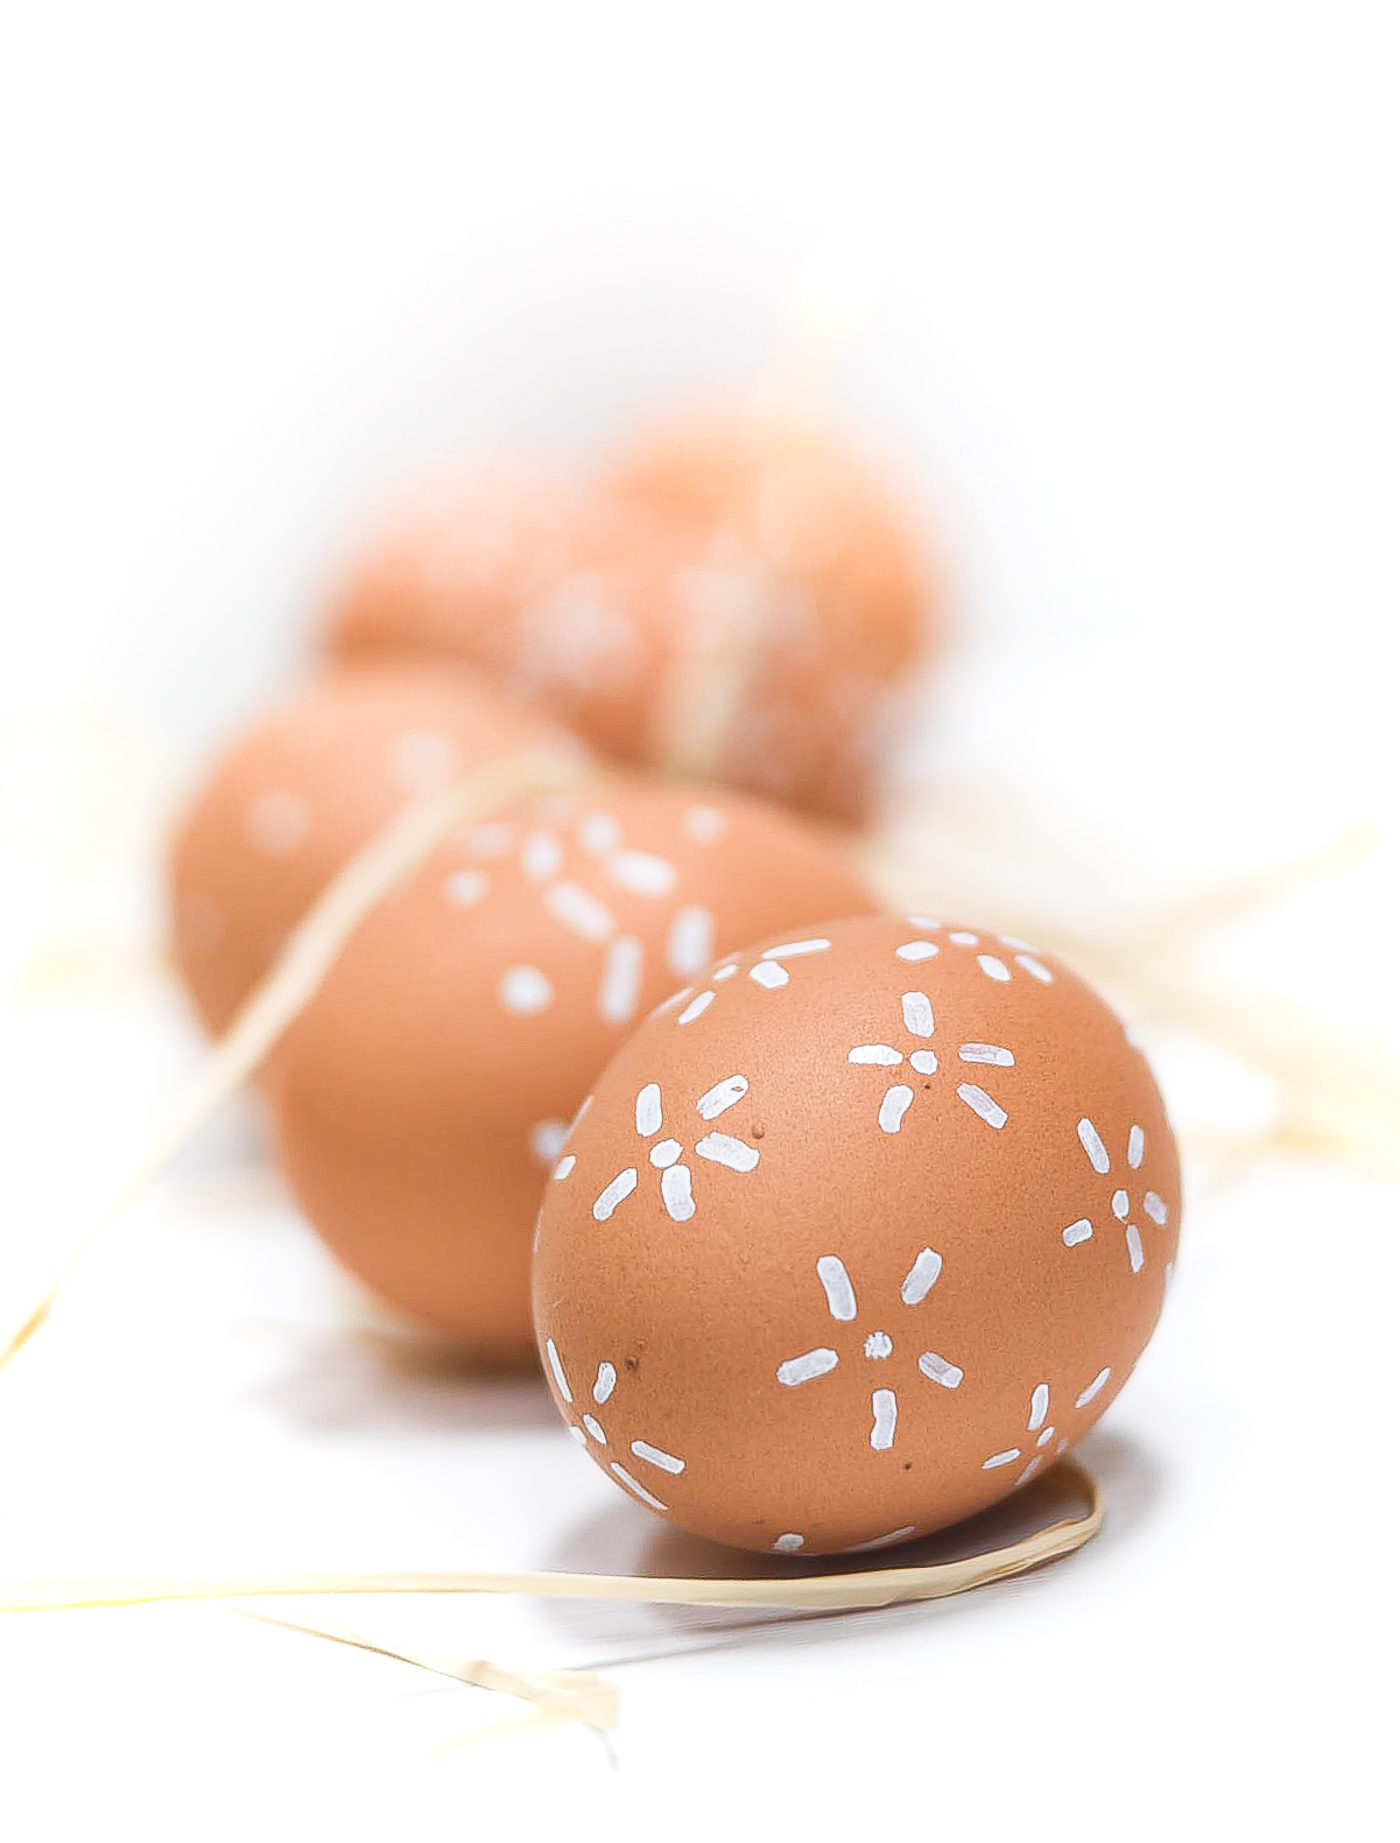
So simple and cute! I also love your paint pen eggs!
Great idea and so adorable! My grandson would have so much fun making these.
These are just the cutest little Easter decorations! Such a fun project to make with the kiddies.
We are excited to be featuring you as Blogger of the Month for April over on Waste Not Wednesday!!
Thank you again for the lovely feature! Happy Easter! 🙂 Linda
So glad I found you through Marty’s link party! I know what you mean about being the only one who bothered to decorate, it was like that at our house too – and still is! I love your gorgeous painted eggs and had to pin them for later! Happy Easter!
Thank you so much and thanks for the pin! Yes, I too continue to be the sole decorator. I had to beg and cajole the kids to at least put some of their favorite ornaments on the real tree! 🙂 Linda
So cute! I’m going to try! Do you have a tutorial on the white-washed pots?
These are adorable!!
I love these!!! We were thinking we needed to change up our Easter eggs this year…pinned!!
These are soooo adorable, and definitely easier than actually dyeing eggs. I know what you mean about being the “enforcer” for holiday traditions. It’ been that way in this family too. Everyone else loves the fun decor, but no one ever wanted to participate… even decorating the tree. I’m featuring your cutie pie bunnies at All About Home this evening. thanks so much for partying with us!
Awesome! And thank you so much for the feature!!!! 🙂 Linda