Vintage Christmas Sign DIY – Easy Christmas Sign Stencil Project.
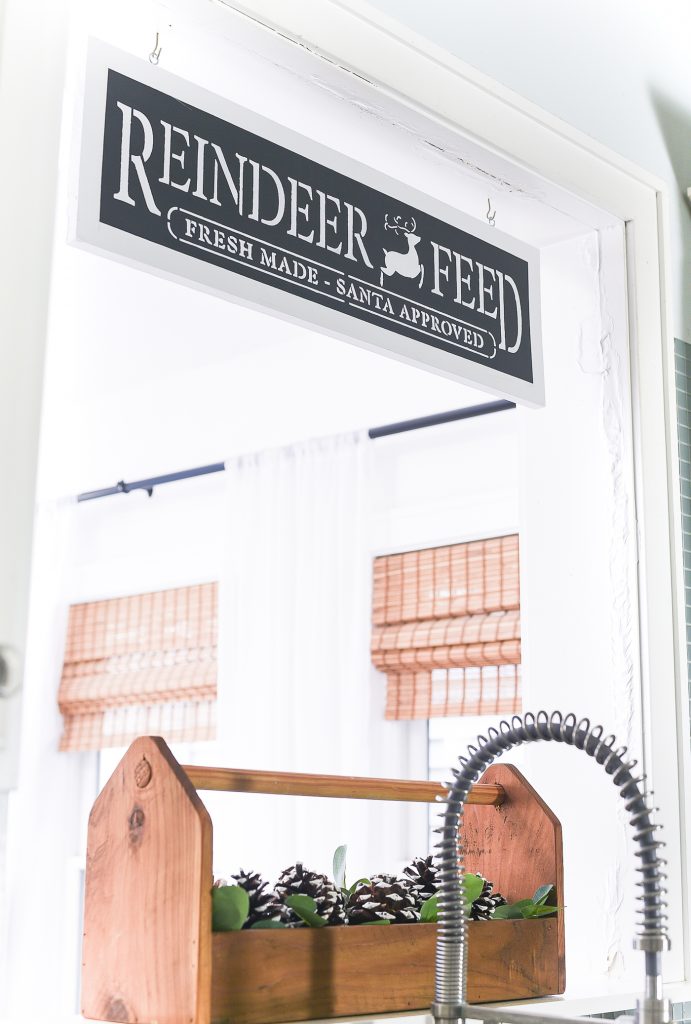
I’m not a master vintage Christmas sign DIY’er.
I’m not a master sign maker, period.
Period with a capital P.
And there are so many other bloggers who can you give you a meticulously detailed diy on how to to create a vintage sign that truly looks vintage. Like something Mike and Frank (you know, those American Pickers guys) dug out from an old, dilapidated barn somewhere in the middle of nowhere.
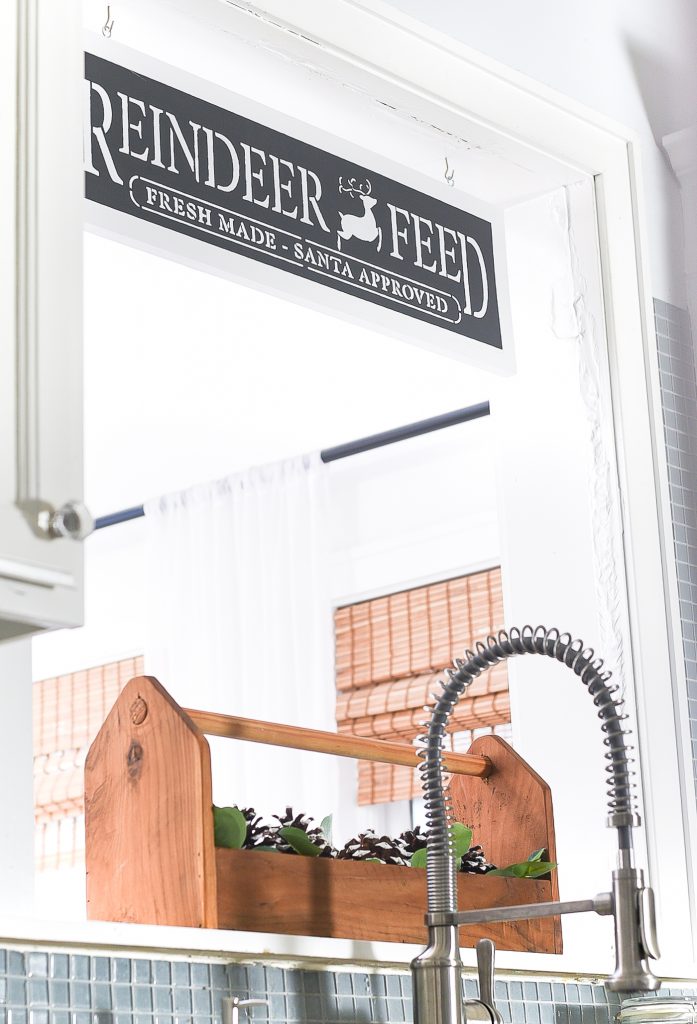
In fact, I’m so not a master sign maker that I skipped a few crucial steps on this project …
steps that would have really given this sign a much more vintage feel.
You know, more of an authentic look beyond the yee olde looking font.
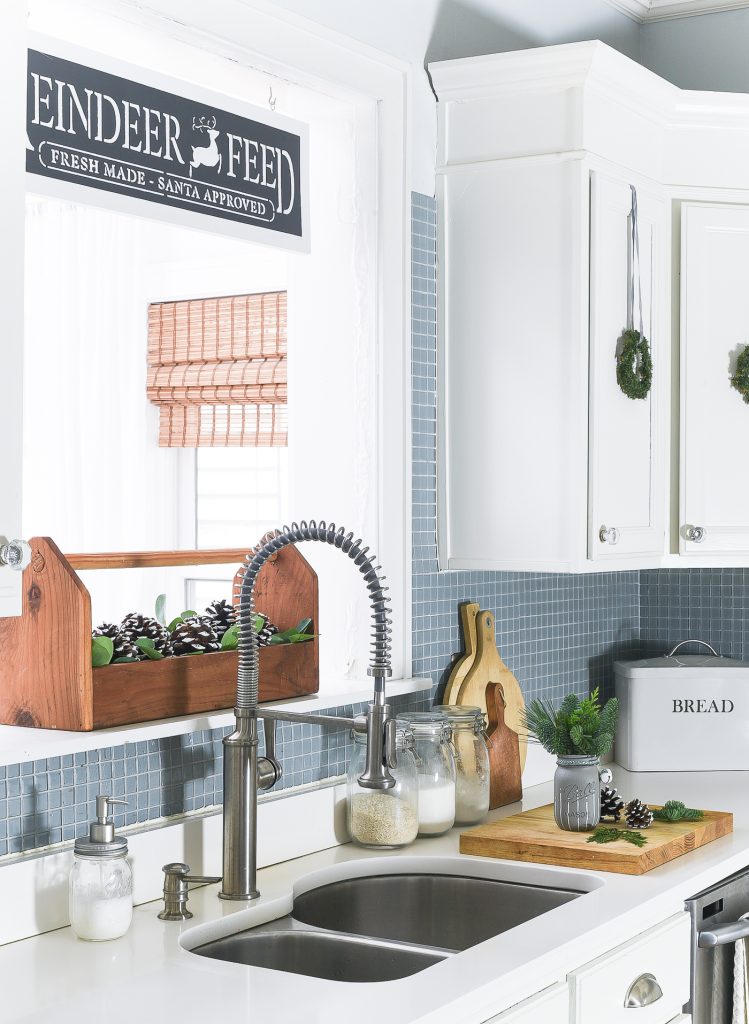
But I was in a rush. A Christmas home tour that I signed up for was looming. And I need to infuse some Christmas spirit into my kitchen ASAP.
So I made this sign ASAP.
And here’s my not-a-master-sign-maker-how-to-make-a-vintage-sign-diy-asap tutorial … 😉
How To Make Vintage Christmas Sign DIY
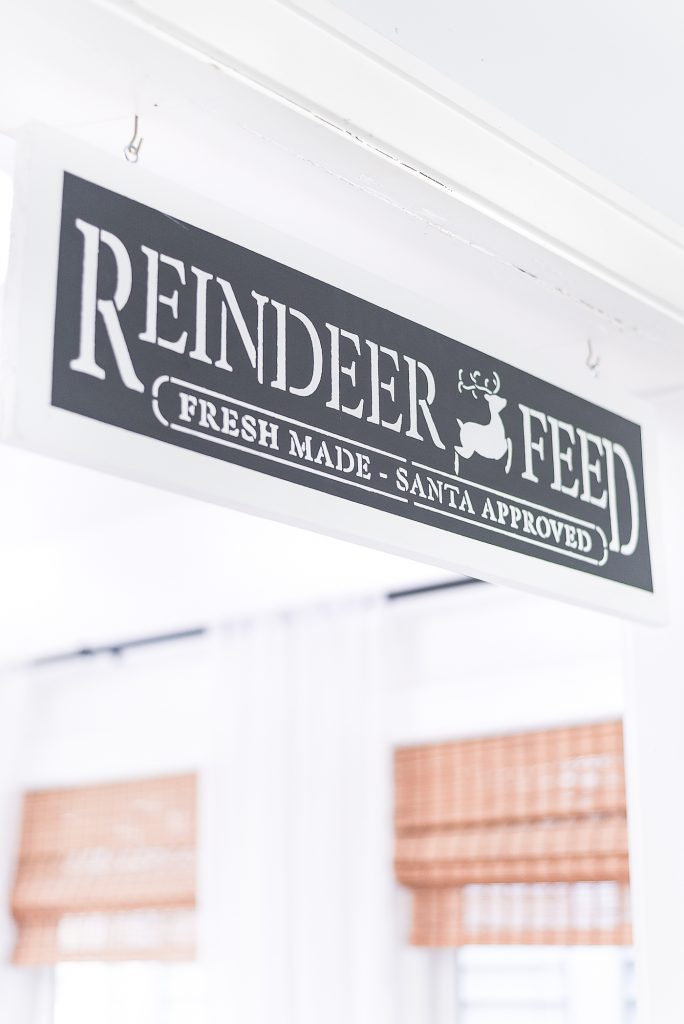
Materials*
1″ x 10″ board (I had mine cut at Home Depot to 32″ in length) – the board actually measures 3/4″ x 9 3/4″
Rustoleum Chalked Linen White Paint
RustOleum Chalked Charcoal Paint
Vintage Christmas Sign Stencil (found my Reindeer Feed stencil on Amazon – click here – and it measures 30″ x 7″)
Painter’s Tape
Paint Brush
Stencil Brush (I used a foam one)
Drill
Eye Hooks
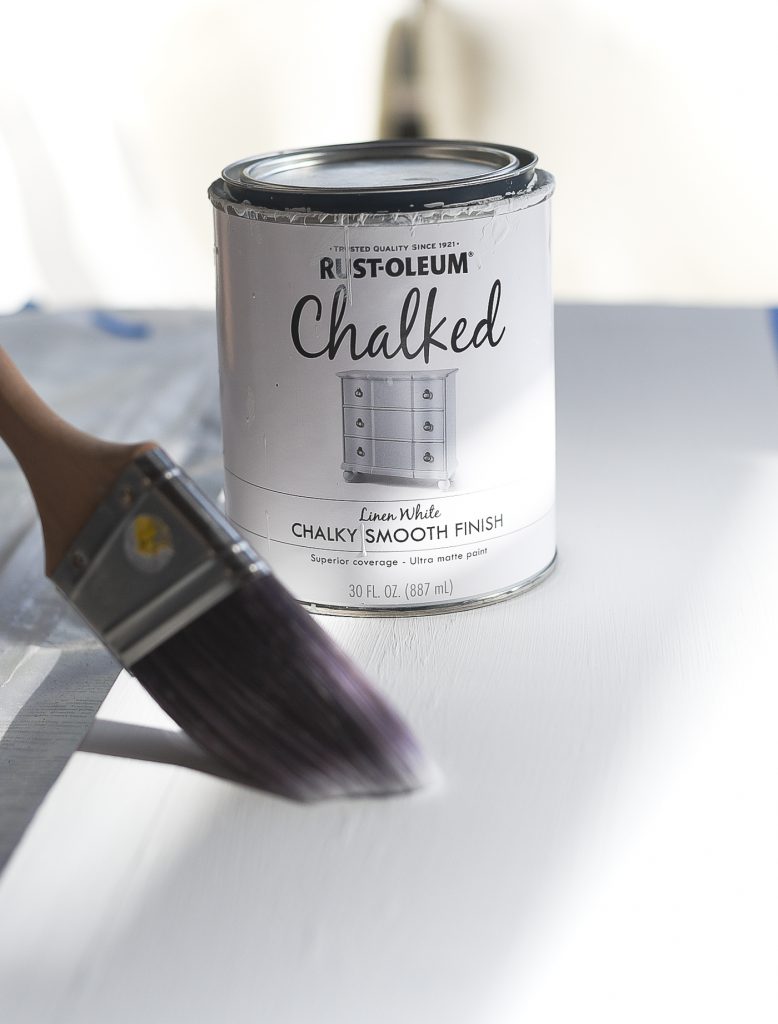
We start this tutorial with 100% proof that I’m not a master sign maker –vintage or otherwise. You see, I painted the whole board with a base coat of RustOleum chalked paint in Linen White. But I didn’t need to paint the whole board. Just the edges. About 2″ in.
Learn from my mistakes people.
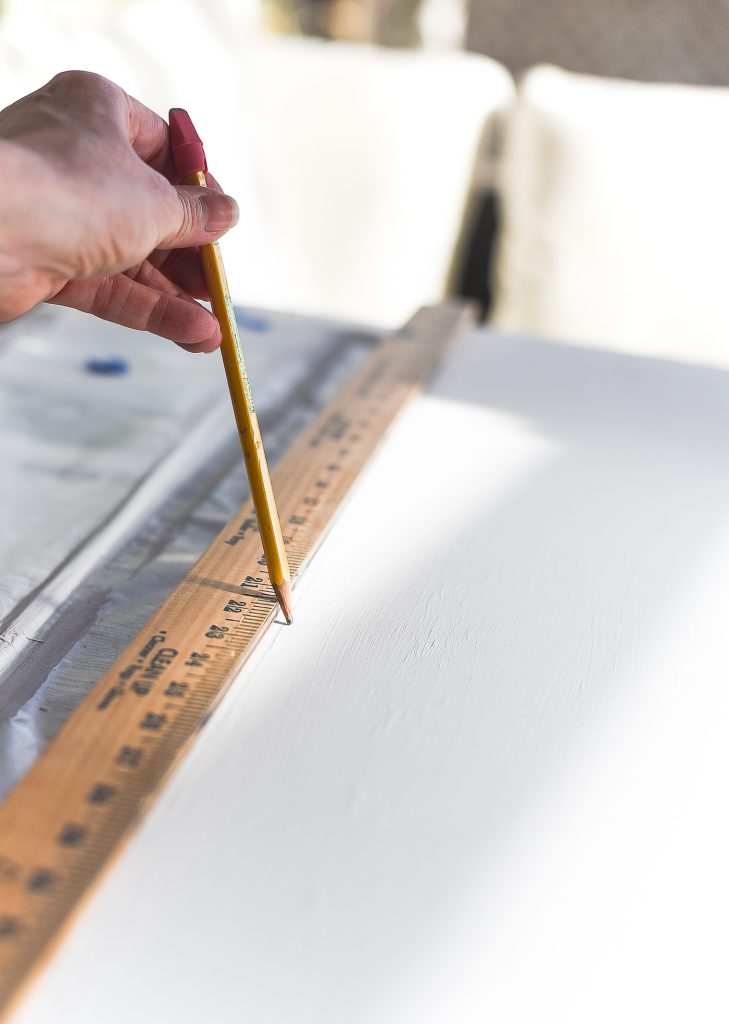
I then marked off a 1 inch boarder around the entire board.
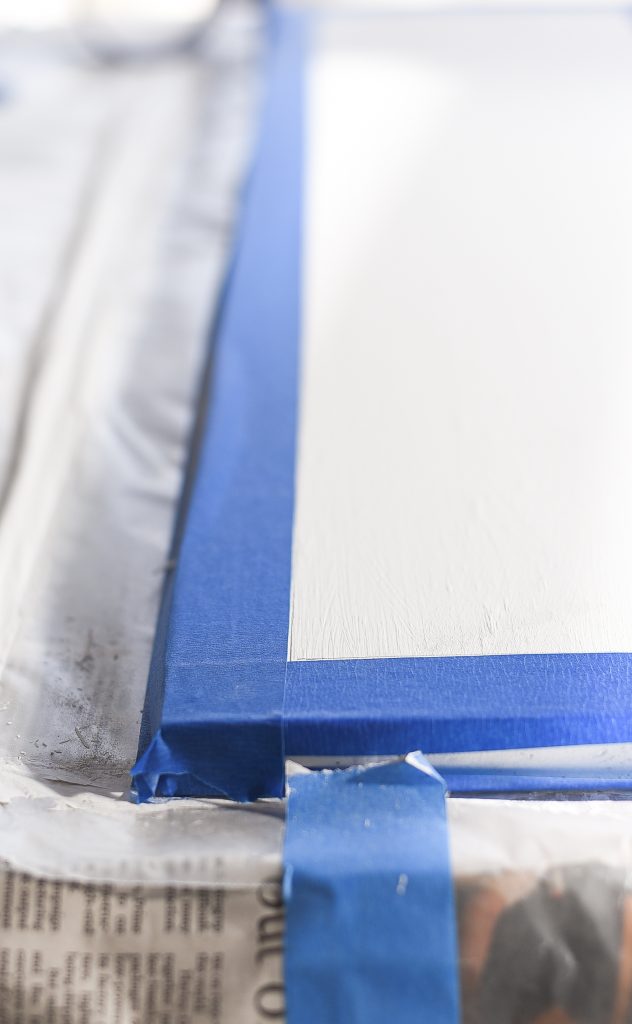
I used painter’s tape to tape off the 1 inch boarder.
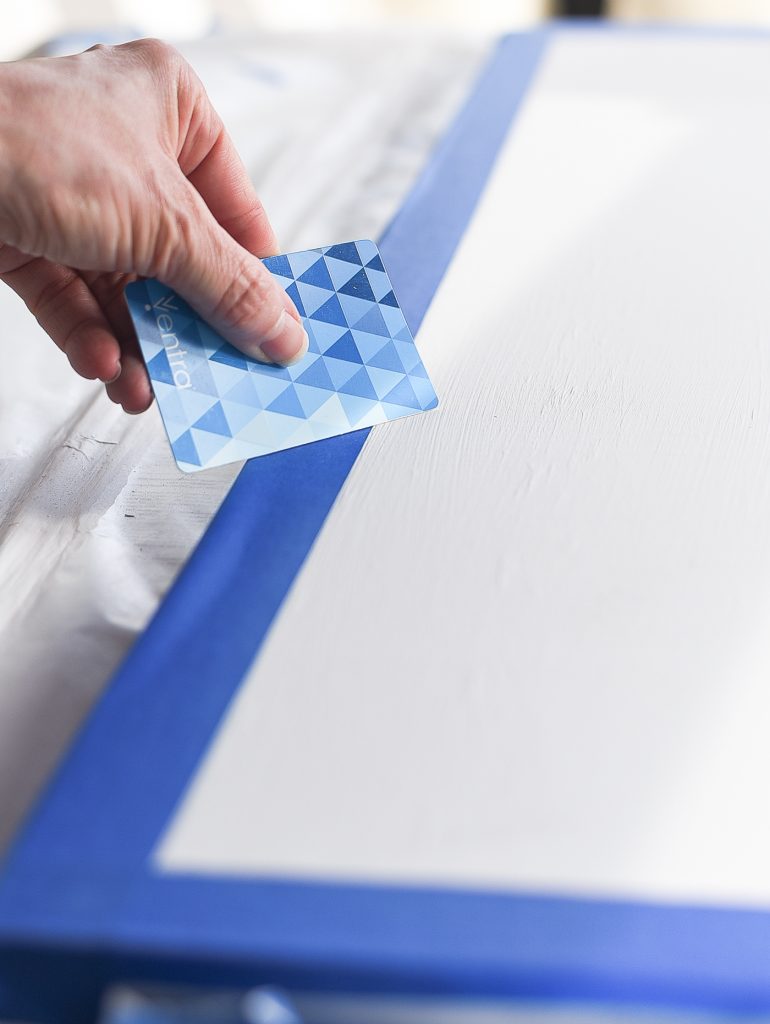
I then used a plastic card (I used my Ventra card; a credit card works equally well) to seal of the taped edges.
Now, this may seem like a master vintage sign maker move. But if I truly was a sign-making-master, I would have painted over the edges of that painter’s tape to prevent any leakage of paint during my next step.
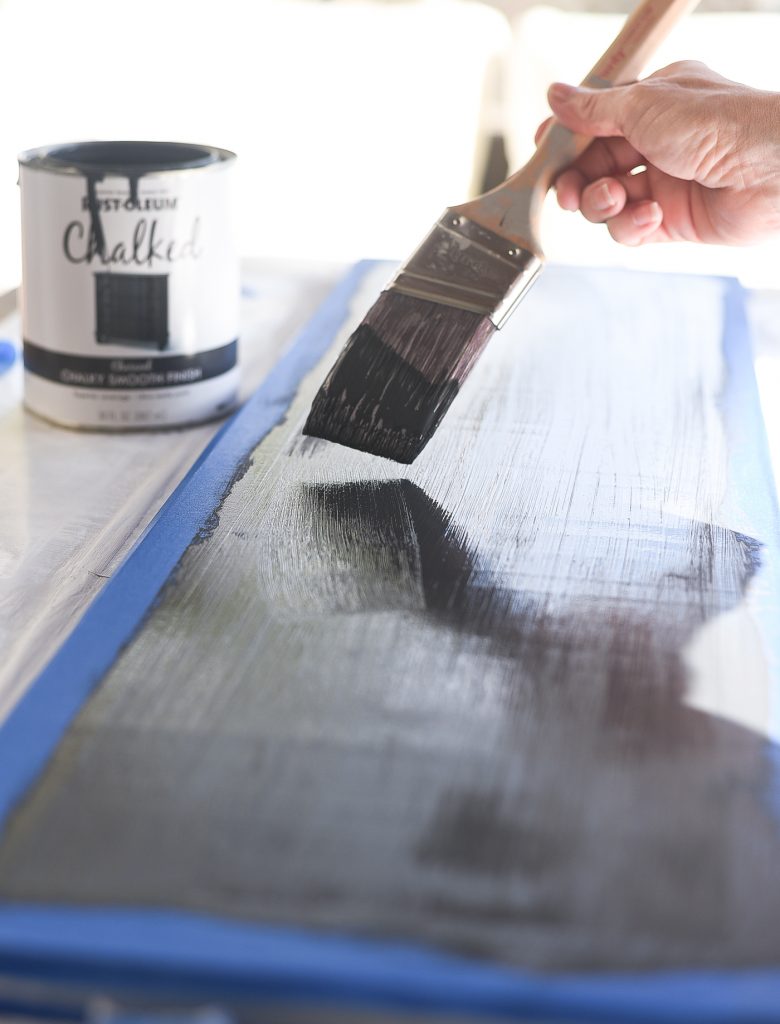
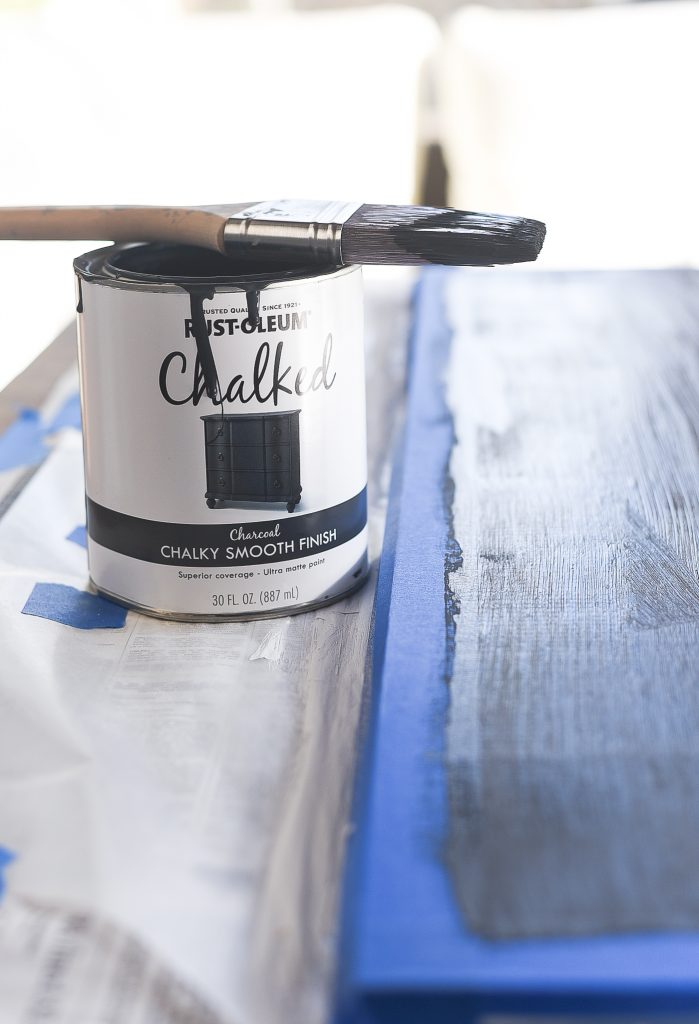
Give it a coat of RustOleum Charcoal Chalked Paint. I went with one coat because (a) this is an ASAP project and (b) the Chalked Paint offers amazing one coat coverage.
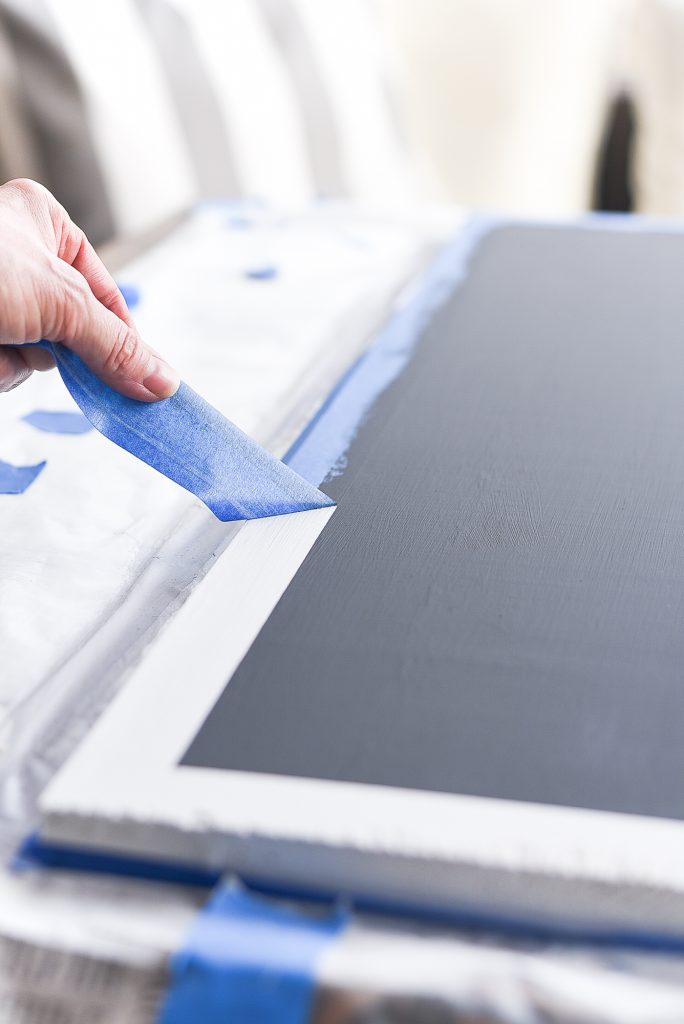
Remove the painter’s tape.
Now, I did not need to include a picture of this step. But this step is soooooo satisfying I just couldn’t resist! 🙂
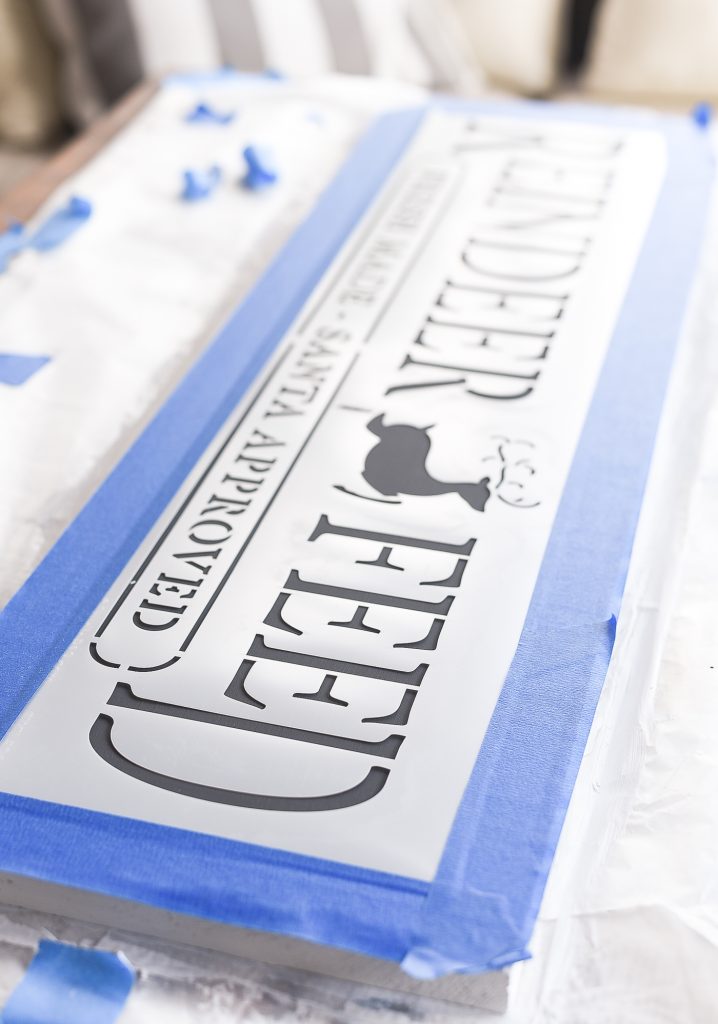
Tape down your awesome vintage Reindeer Feed stencil.
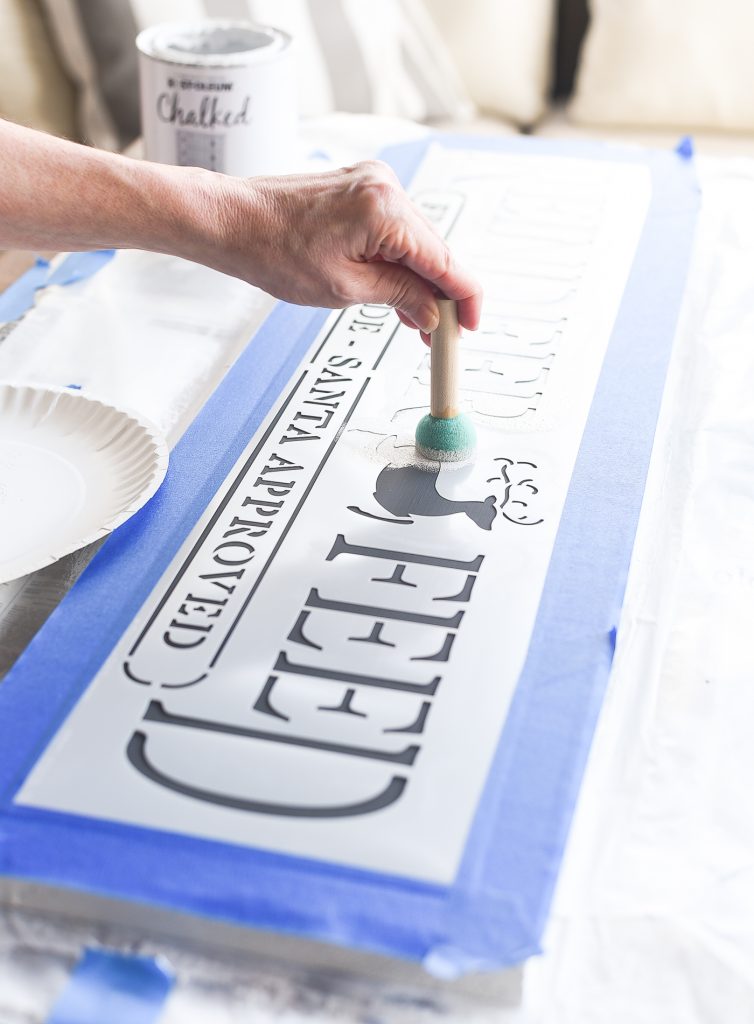
Now it’s time to stencil.
I used a foam stencil stamper. I just dipped the foam into the paint and then blotted some paint off on a paper plate before dabbing over the lettering.
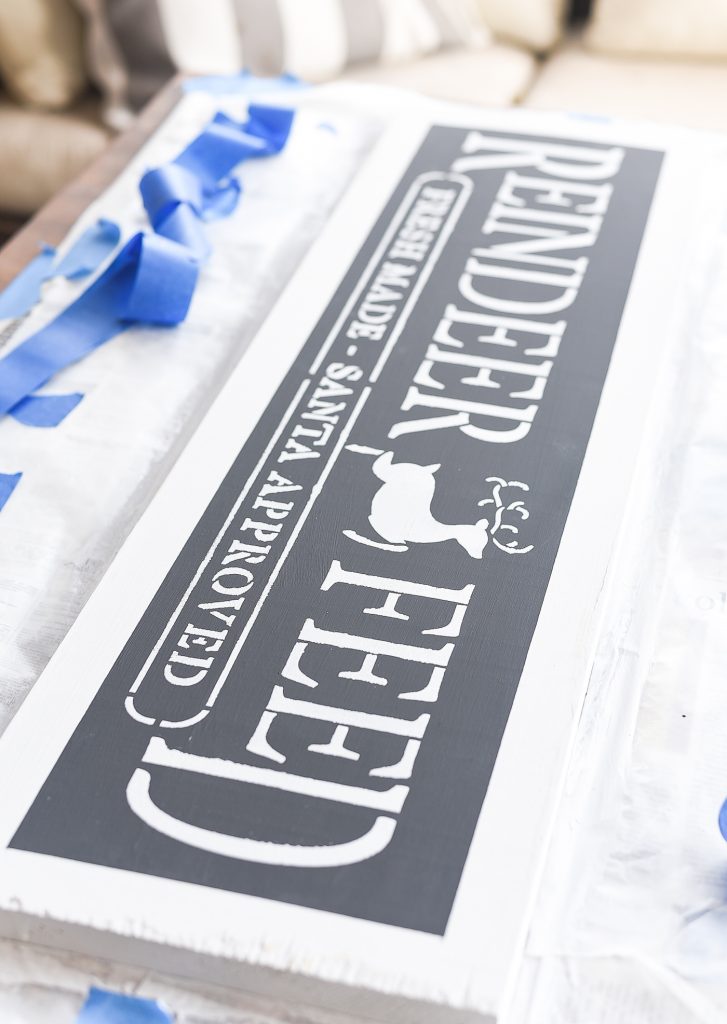
I should have taken a second oh soooooo satisfying picture of the stencil removal.
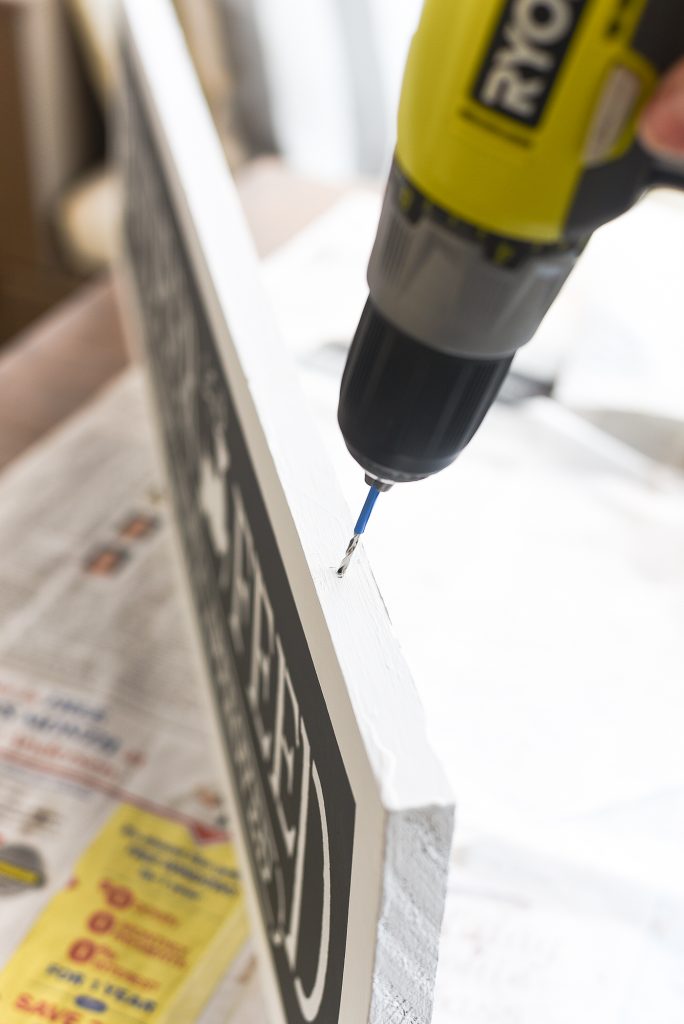
To hang the sign, I just drilled holes to line up with the hooks I’ve already installed in my window frame.

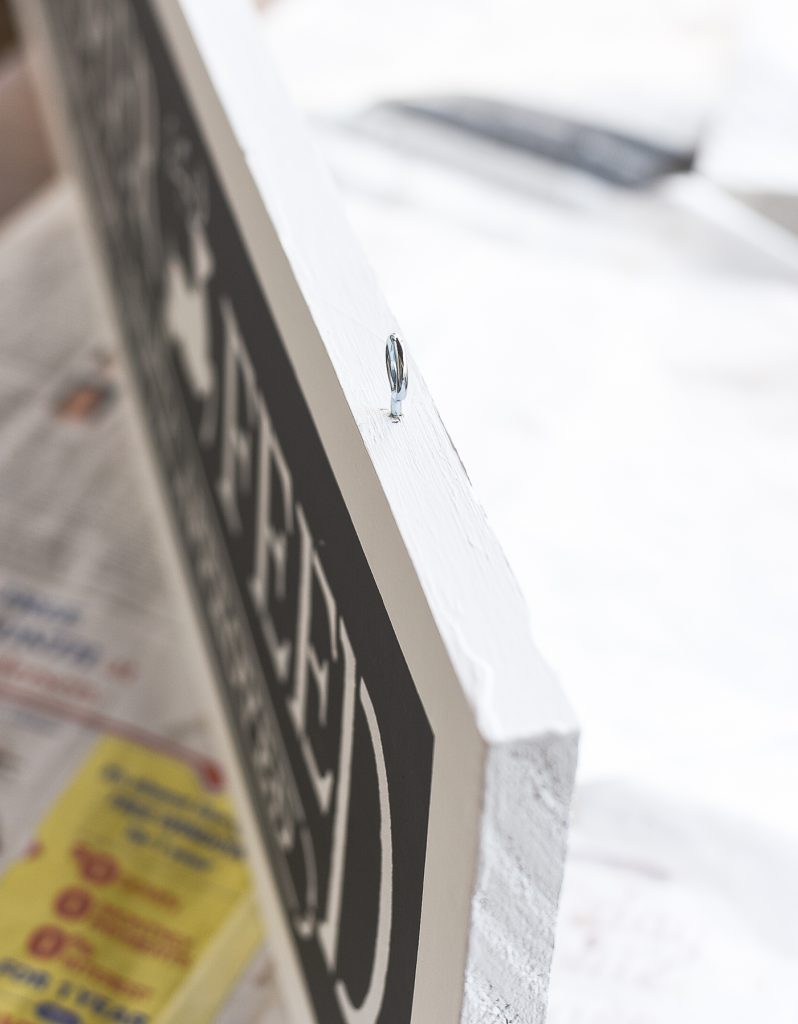
And then I just screwed in the eye hooks.
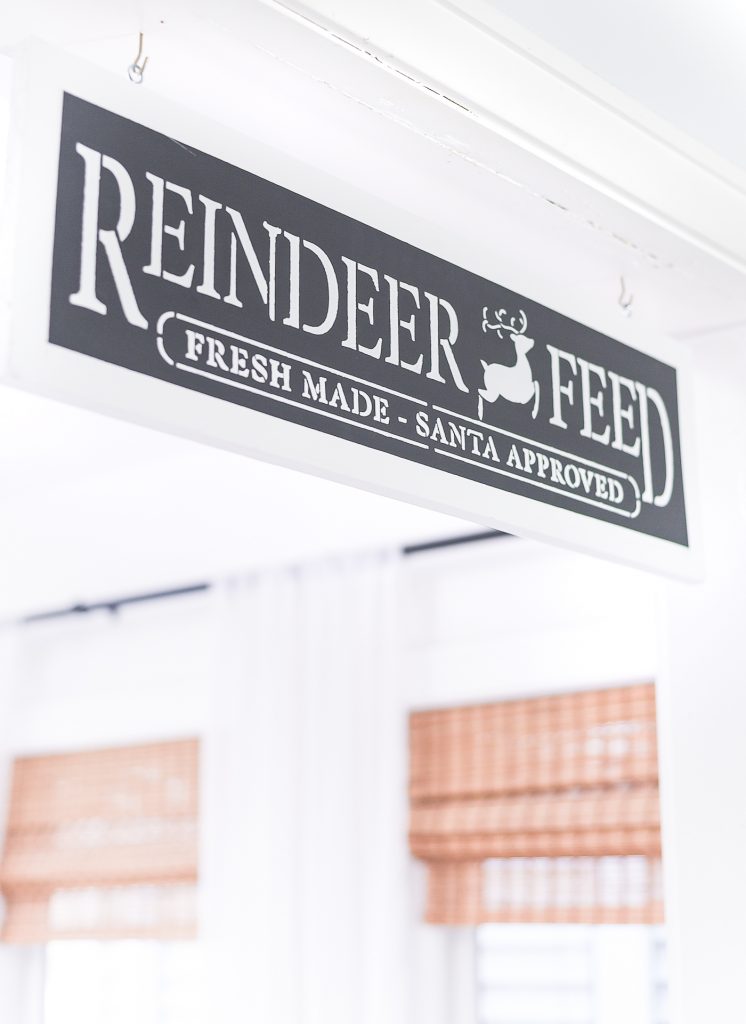
And I hung it.
Now, this not-master-sign-maker skipped a few steps between stenciling and hanging.
To make the sign truly look vintage, I should have taken some sandpaper and distressed that sign. Especially along the edges.
And then (if I was a master vintage sign maker) I would have taken some dark wax and added it (oh so gently) to those distressed edges.
And then (as a master vintage sign maker) I would have give the whole sign a coat of clear wax.
But I was making this sign on an ASAP timeline, so I skipped those steps.
But I did follow those distressing and waxing steps for my Grocery sign. You can find the tutorial at this link.
Maybe before next year’s Christmas home tour I’ll finish this vintage Christmas sign diy off properly! 🙂

Super cute!
Love this idea! Would want to make this on December as well. Thanks for this Christmas DIY!