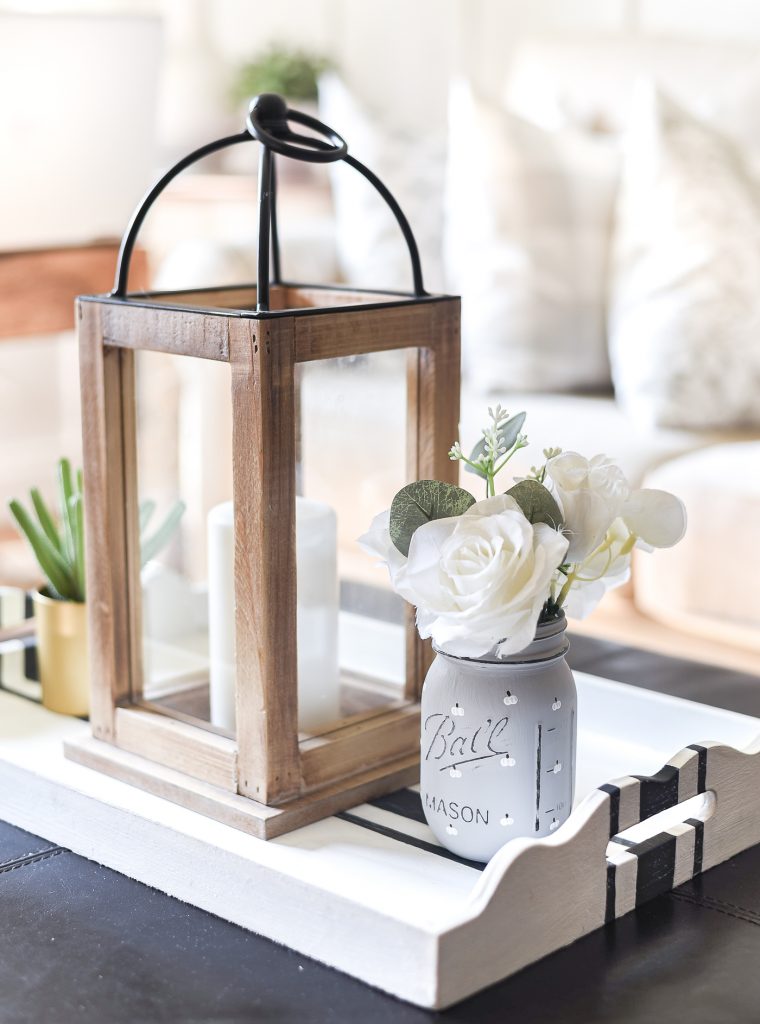
White Painted Pumpkin Mason Jar – Painted Mason Jar Craft for Fall.
Today I will share with you all some of the things that are pinging around in my head.
Lucky you! 😉
Let’s start with my love for September in Chicago. I won’t get into the particulars of that love today. That’s a post for tomorrow …
yes, a rare Saturday appearance! I’ll be joining a few other bloggers as we share our thoughts (good and bad) about the month of September.
There’s a fly in the house terrorizing my dog who simultaneously wants to catch it … and hide from it.
At one point while writing this blog post I got up to make a cup of tea with milk and Equal. I then spent the next five minutes searching for my reading glasses …
only to realize they were perched atop my head the whole time. Sigh.
I’m slowly adjusting to not having my daughter (and best friend) here with me in Chicago. Yet, I still get these pangs of sadness (and loneliness) when I realize she won’t be walking through the door at 4 pm with tales of her day at school. Or (like this past weekend) when I see a Yard Sale sign and think that Molly and I should go … and immediately realize, oh.
But she’s loving her new independence and even celebrated feeling like an adult when she did her laundry! 🙂 And we text and talk. A big thumbs up for modern technology!
Finally, don’t hate me, but where are the pumpkins? I’ve been stalking the grocery store all week, but no pumpkins. Yet. I did spot some mums so they can’t be far behind … 🙂
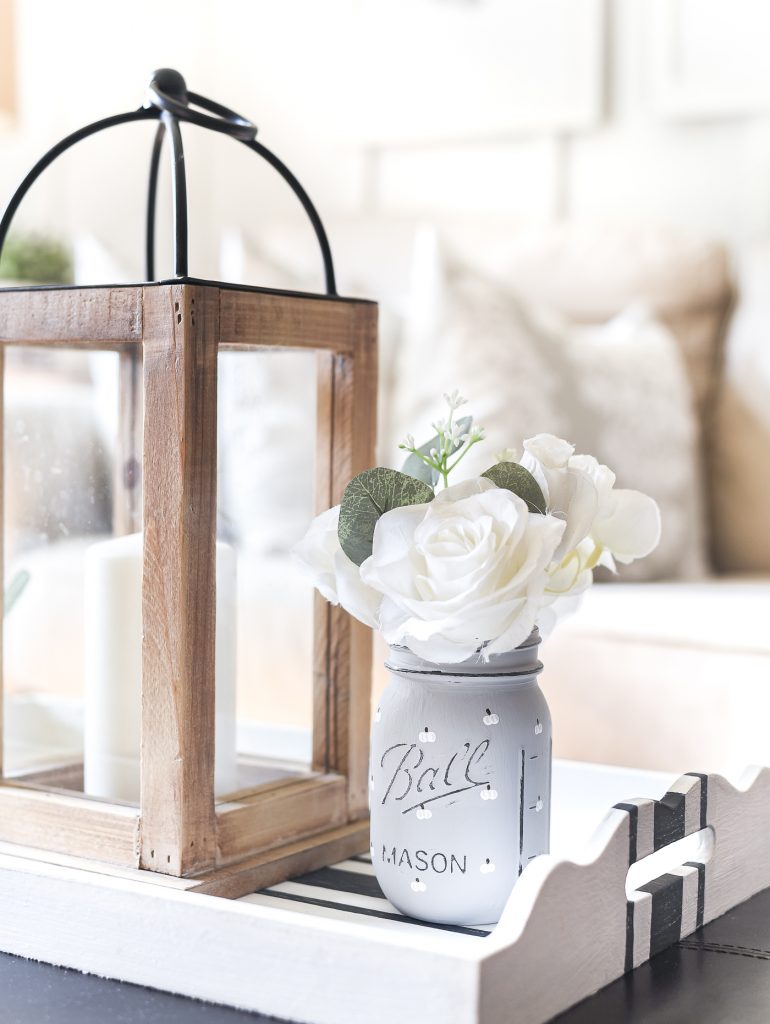
So I had to resort to making my own pumpkins. On mason jars, of course.
How To Make A White Painted Pumpkin Mason Jar
Materials*
Pint Size (16 oz.) Regular Mouth Mason Jar
Gray Paint (I used this Chalked Aged Gray Paint); but you can also use acrylic paint
White Acrylic Paint (Americana Snow White)
Brown Acrylic Paint (FolkArt Real Brown Acrylic Paint)
Black Acrylic Paint
Paint Brushes
Toothpicks
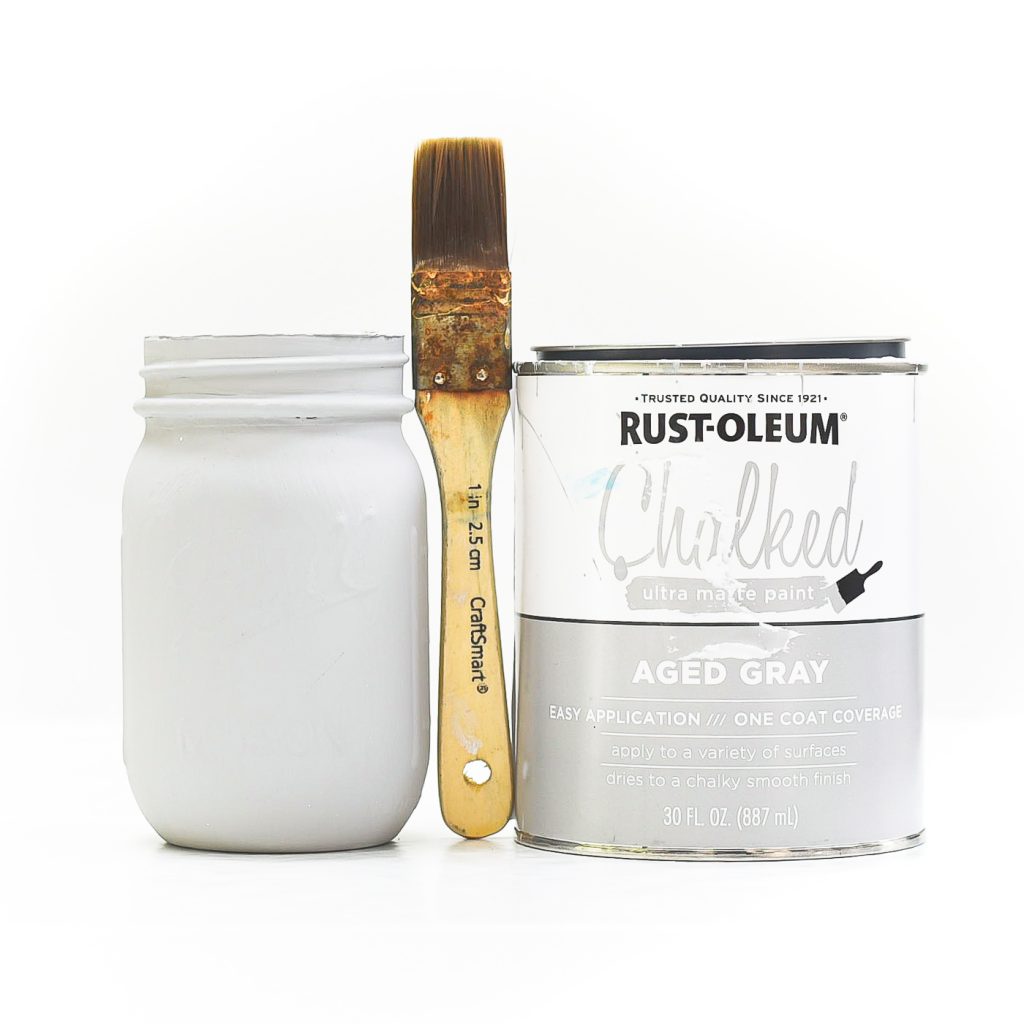
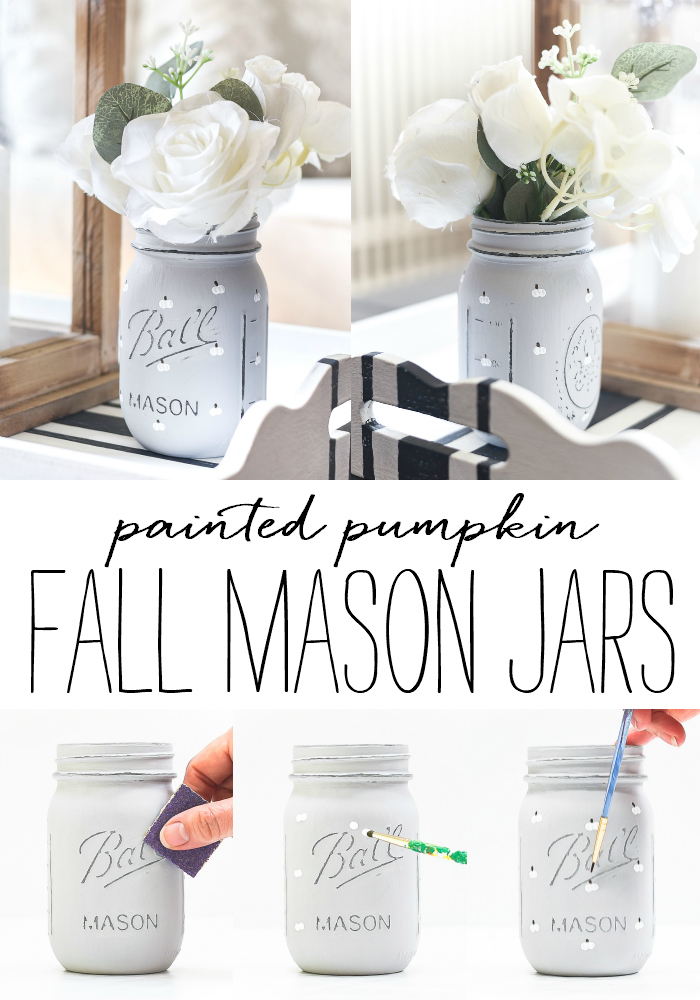
Give your jar two coats of gray paint; let dry overnight between coats.
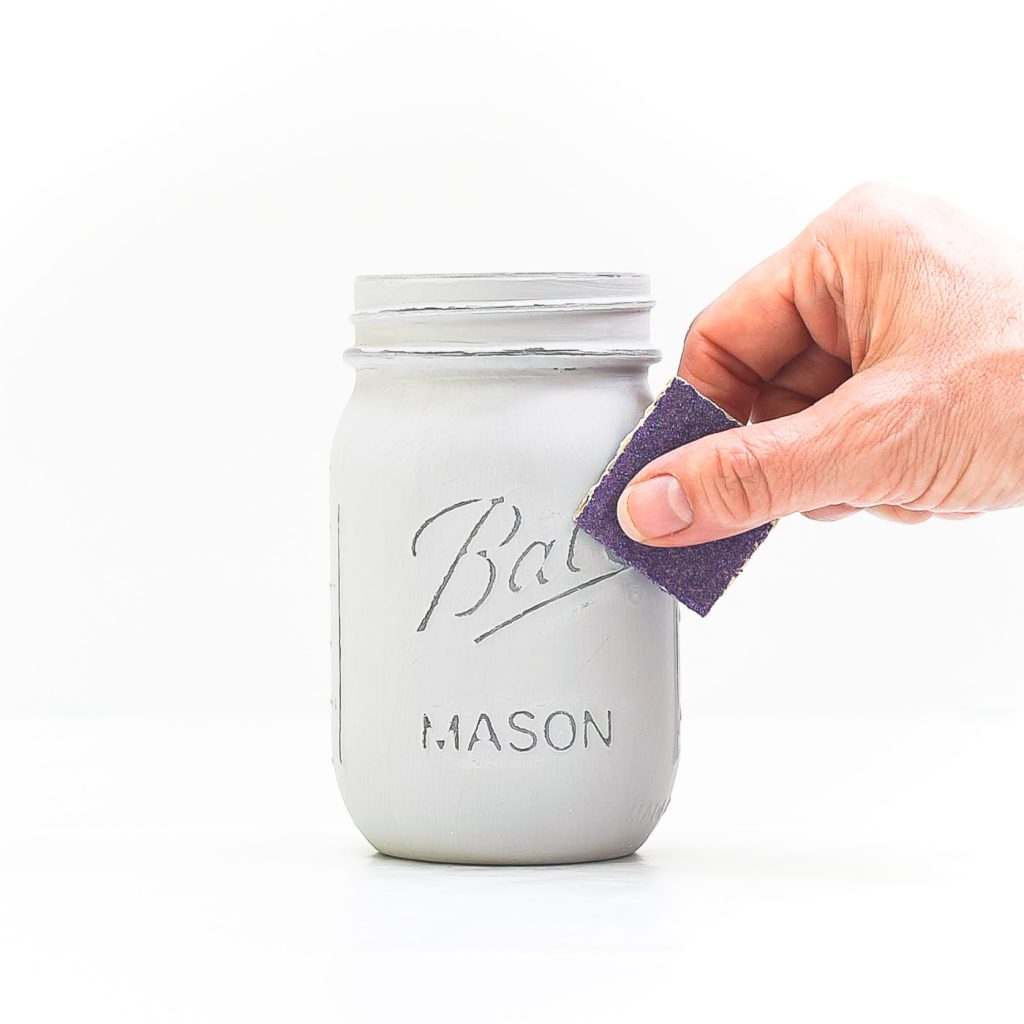
Distress with 80 grit sandpaper.
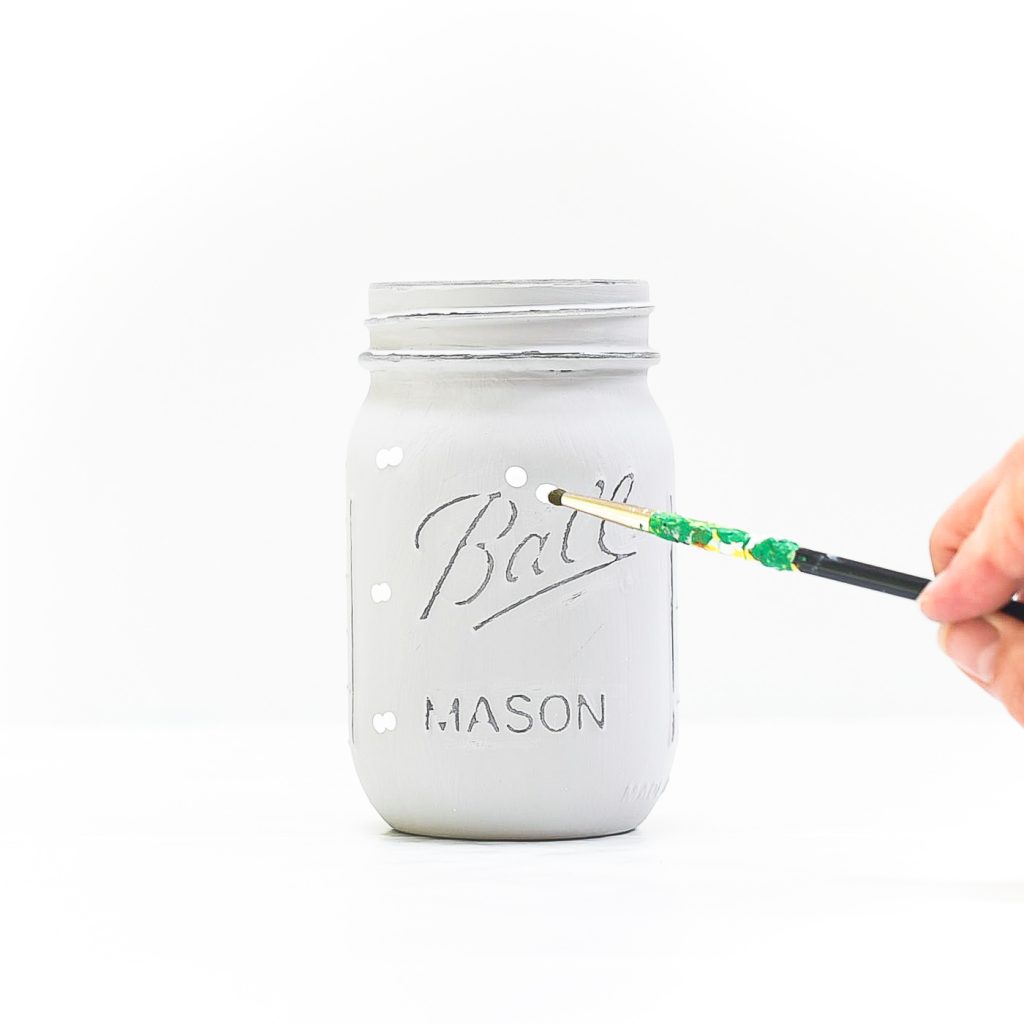
Add dot of white paint.
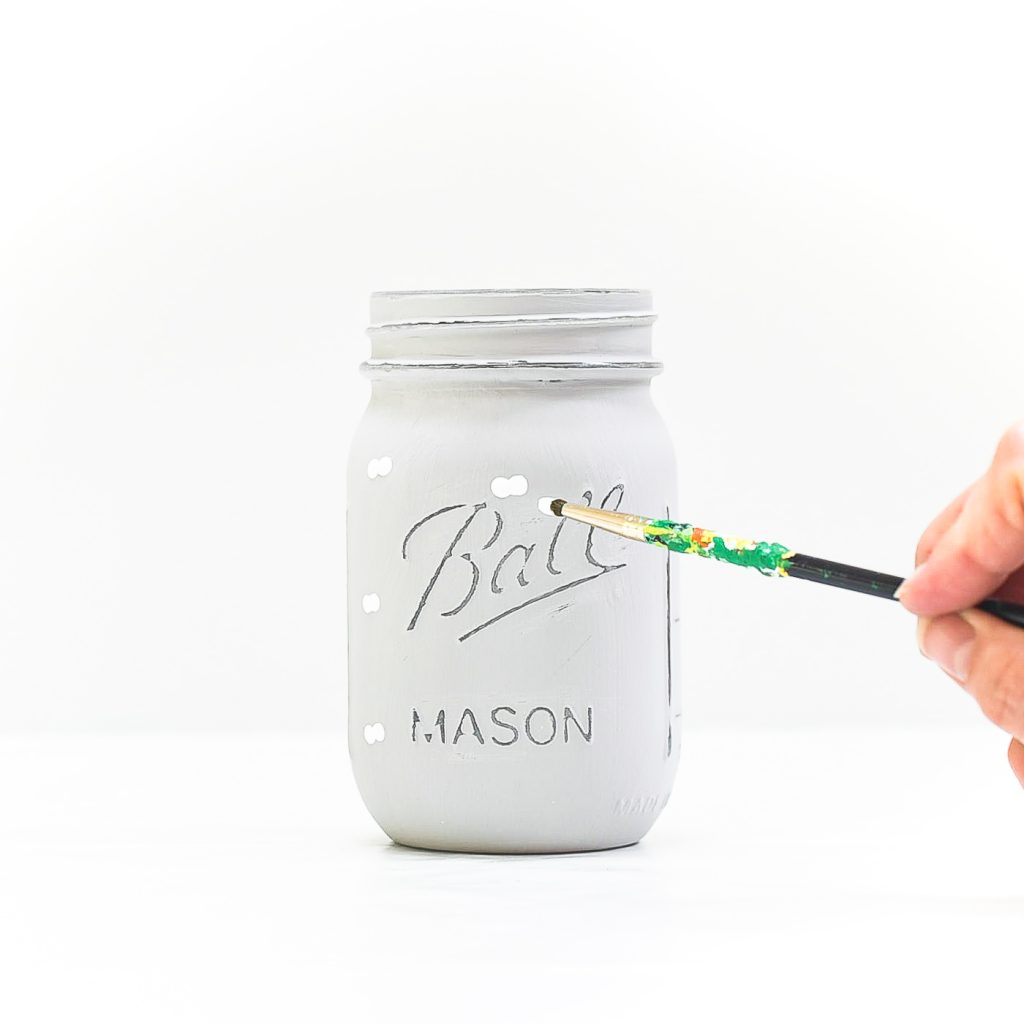
Add second dot of white paint right next to the first dot, overlapping. This makes the pumpkin base.
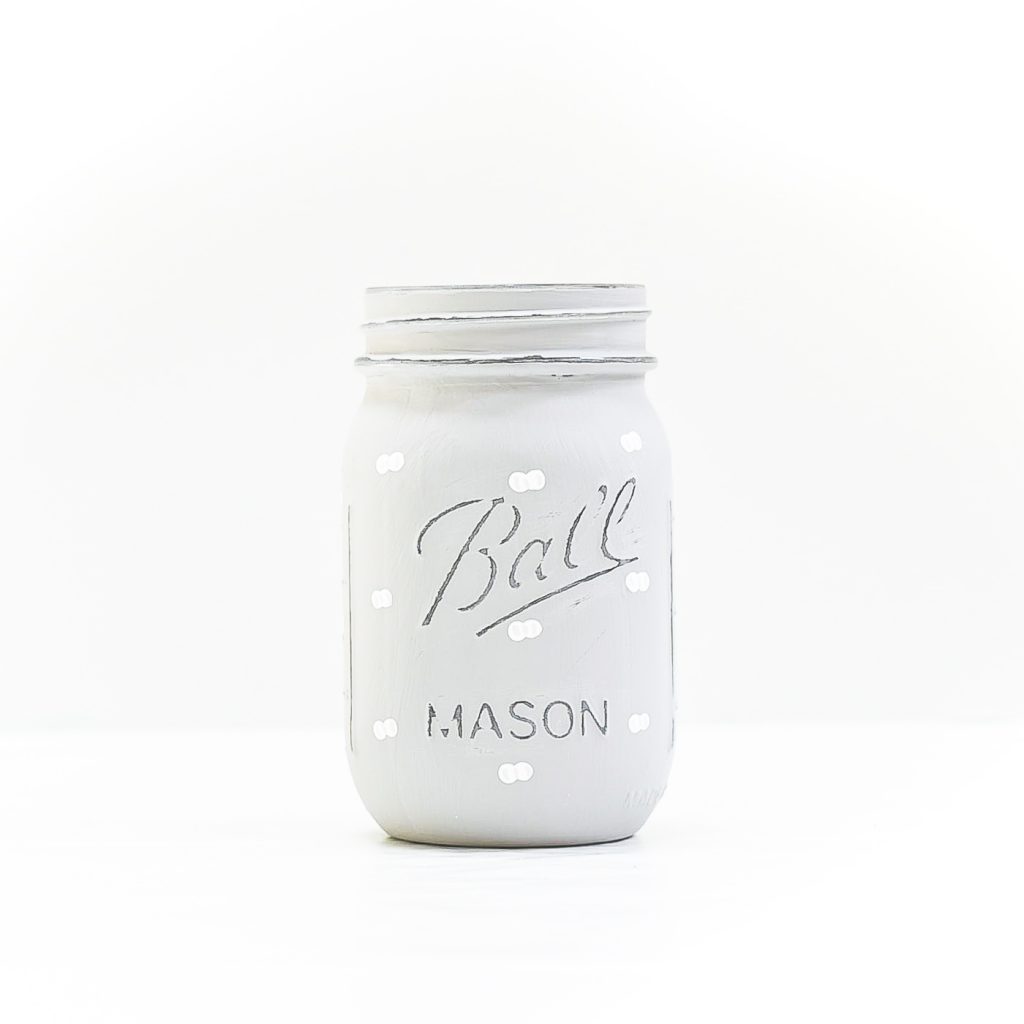
Let dry.
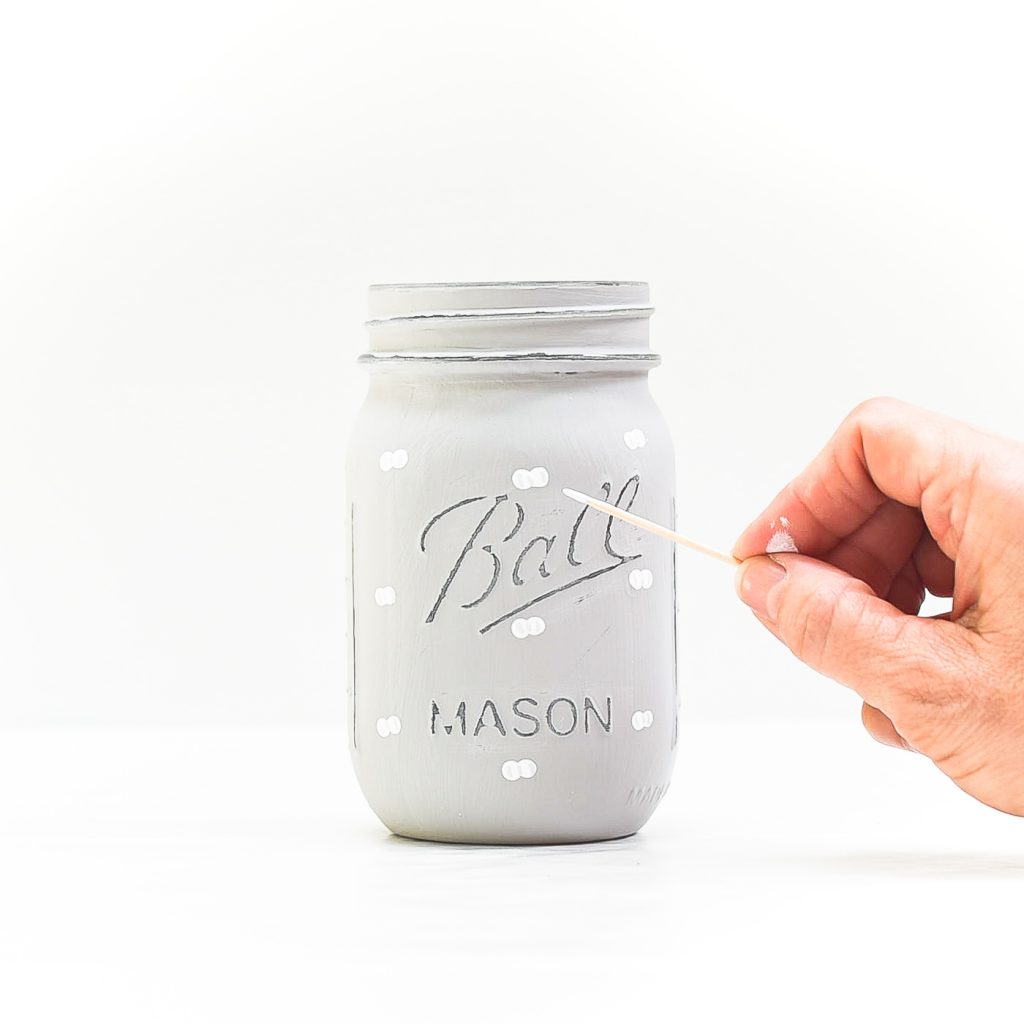
Mix together black & white acrylic paint to make a light gray. Using a toothpick, create three vertical lines in the pumpkin.
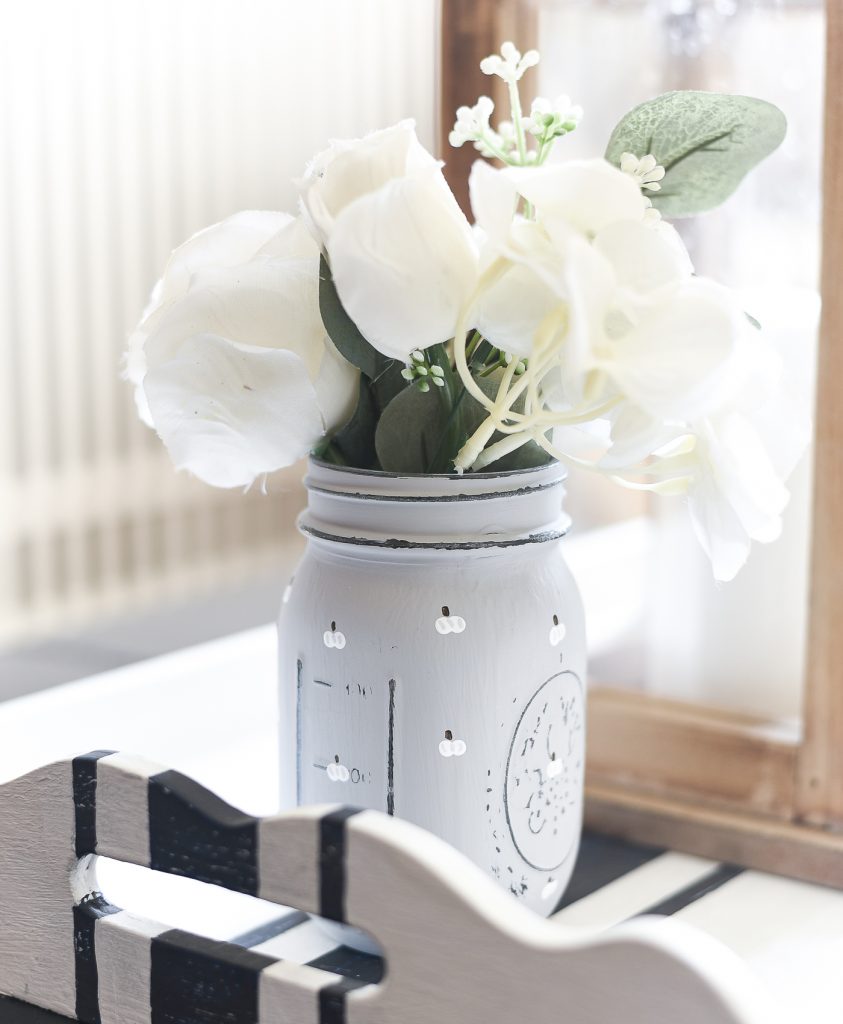
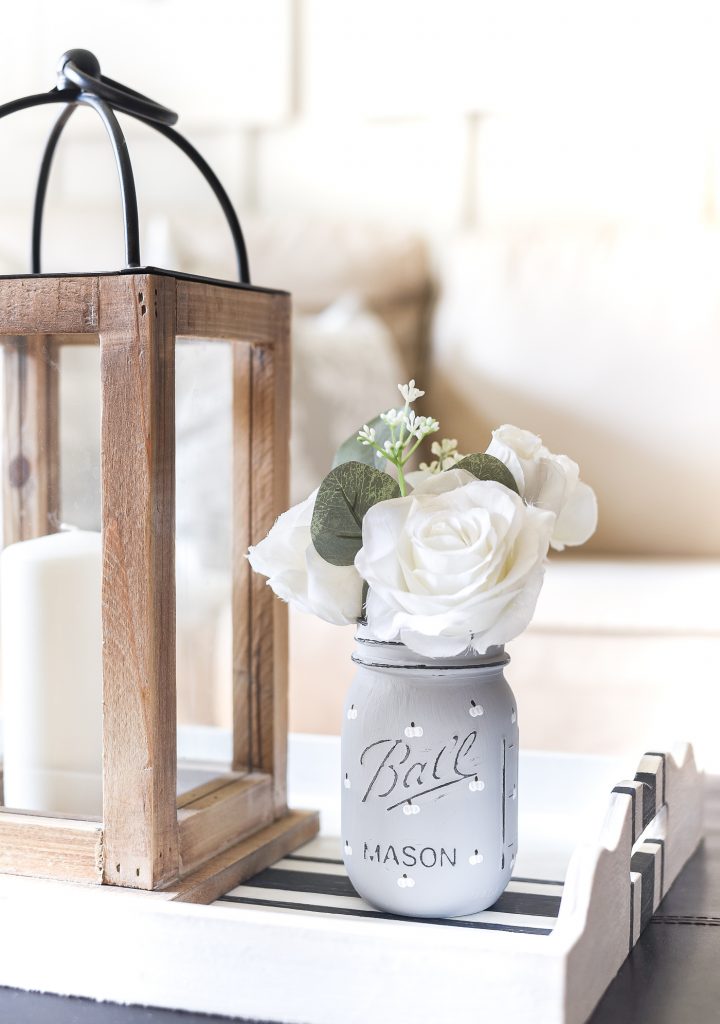
Here’s a closer shot of the finished jar where you can see the vertical gray lines.
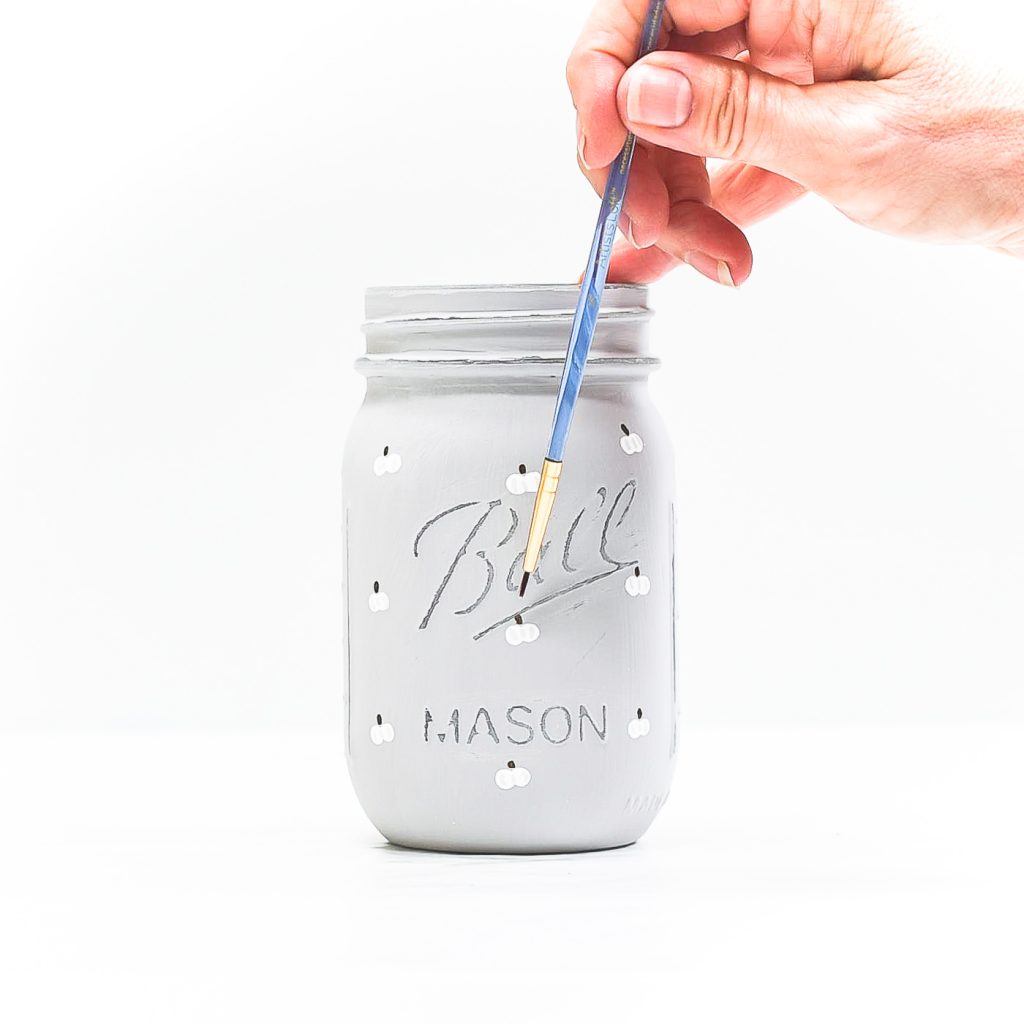
Add stems with brown paint.
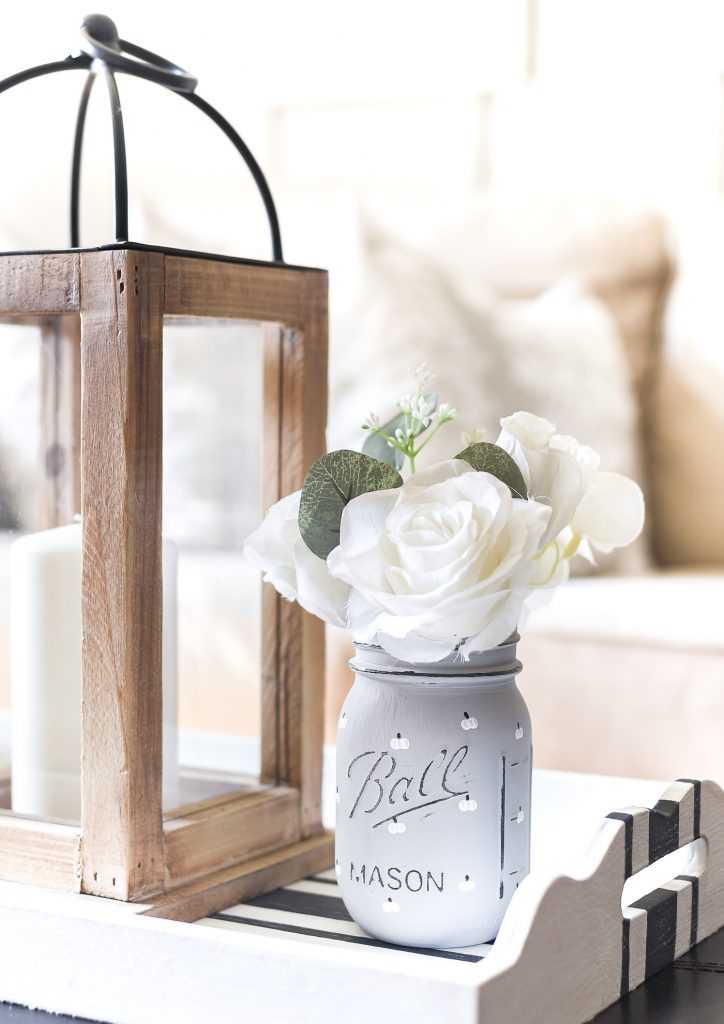
I finish all my jars with a matte finish spray sealant. This is my preferred brand.
That’s it!
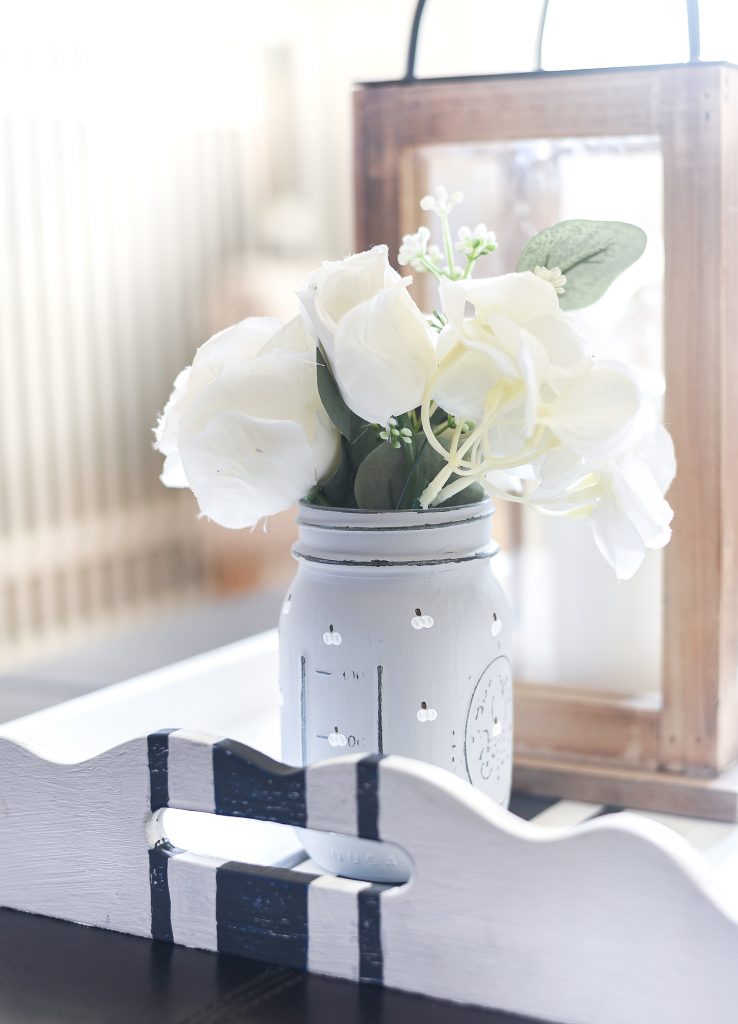
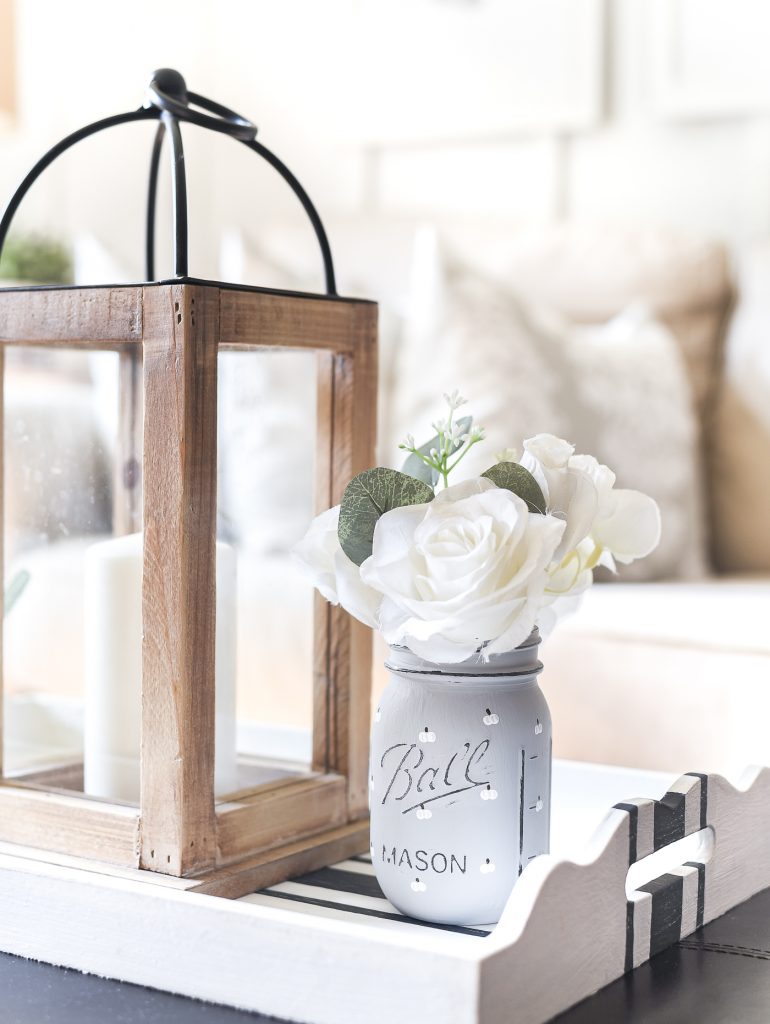
Now I’m off to the grocery store, where the search for pumpkins continues …
though I do have another idea for a pumpkin craft. So perhaps I need to hit the craft store too. 😉
Pin It!
You Might Also Like:
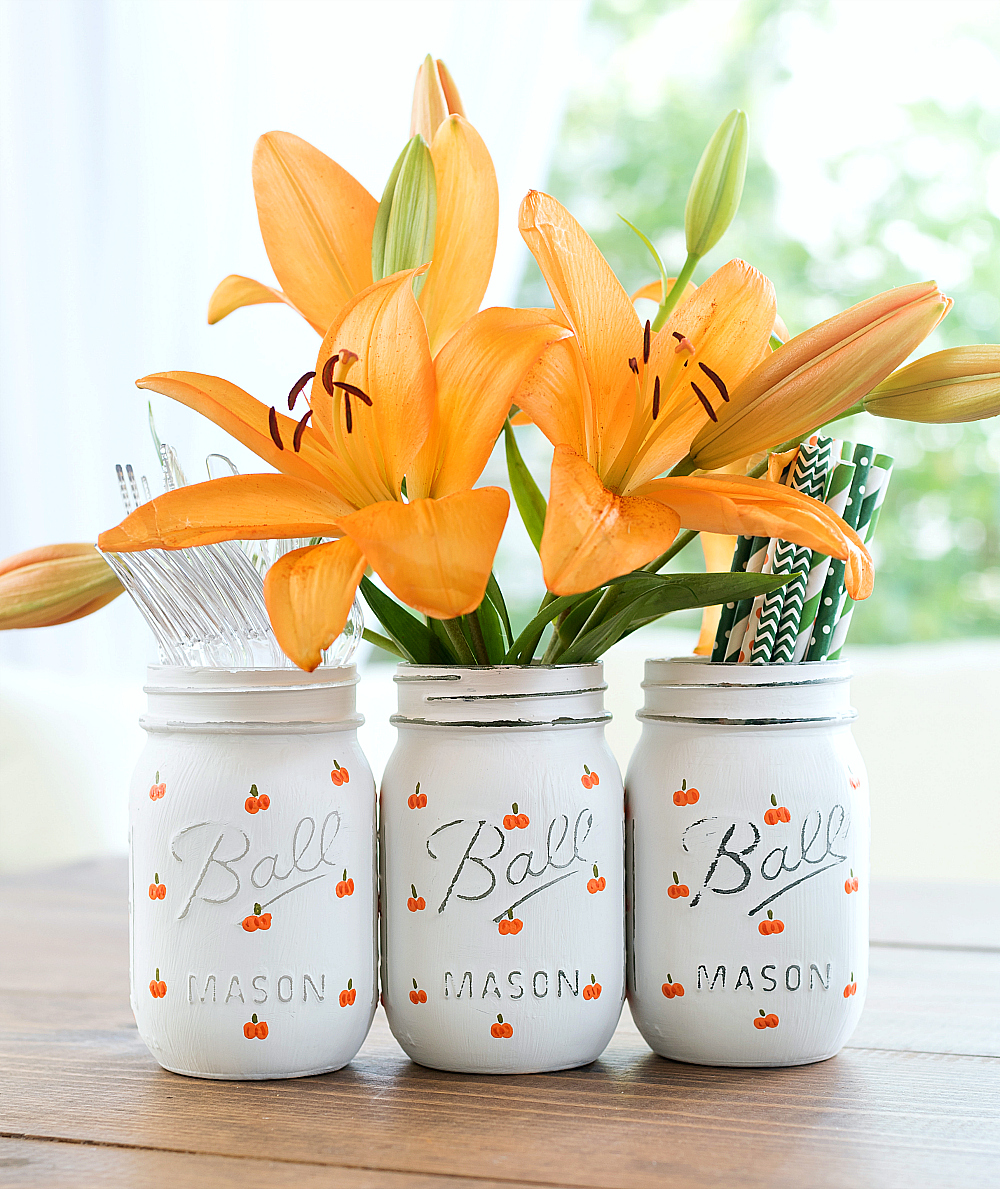
Orange Painted Pumpkin Mason Jar
You can find all my mason jar craft projects at this link …
Love the tone on tone colors! I am going to paint this for my house! pinning!
Super cute jars! Happy Fall,
Kippi
Thanks!
EEEEck.! these are totally adorable! I love both the white and the orange, so cute and now I want to make some for myself. Also think this would be the cutest fabric design ever for Fall. I went to about 6 places looking for pumpkins yesterday. Finally had to find an old place on the edge of town after I’d driven for over an hour; but it was worth it! thanks so much for joining in for All About Home, I’m featuring this post Monday Evening!
Thank you so much and thank you for the feature!!! And you’re right it would make a darling and subtle fall fabric pattern! 🙂
I didn’t realize you have several mason jar posts! So cute, and this one is no exception! Pinned!