Decoupage Pumpkin Craft – No Carve Pumpkin Ideas – Easy Pumpkin Craft Ideas
Last month there were over 10 incidents of arson not too far from our house.
I know, frightening.
Thankfully the arsonist was caught. And thankfully no one was injured.
But the interesting thing — well, not exactly interesting because arson is very serious and very dangerous and 100% not interesting at all — is that he (the arsonist) was setting Halloween decorations ablaze. On people’s front porches. In the wee hours of the morning while they slept.
So much more frightening than a haunted house. Or those creepy larger-than-life wolf-man things that have popped up around our neighborhood.
Turns out all those hay bales were just too tempting. Seriously. Our aldermen advised that we move them away from our porches (thankfully I did not have any hay bales to move).
I’m strictly a pumpkin and mums kinds of Halloween porch decorator.
I’m also a no carve pumpkin kind of decorator. Mostly because the kids are now adults. And mostly because I’m not a fan of the pumpkin carving mess.
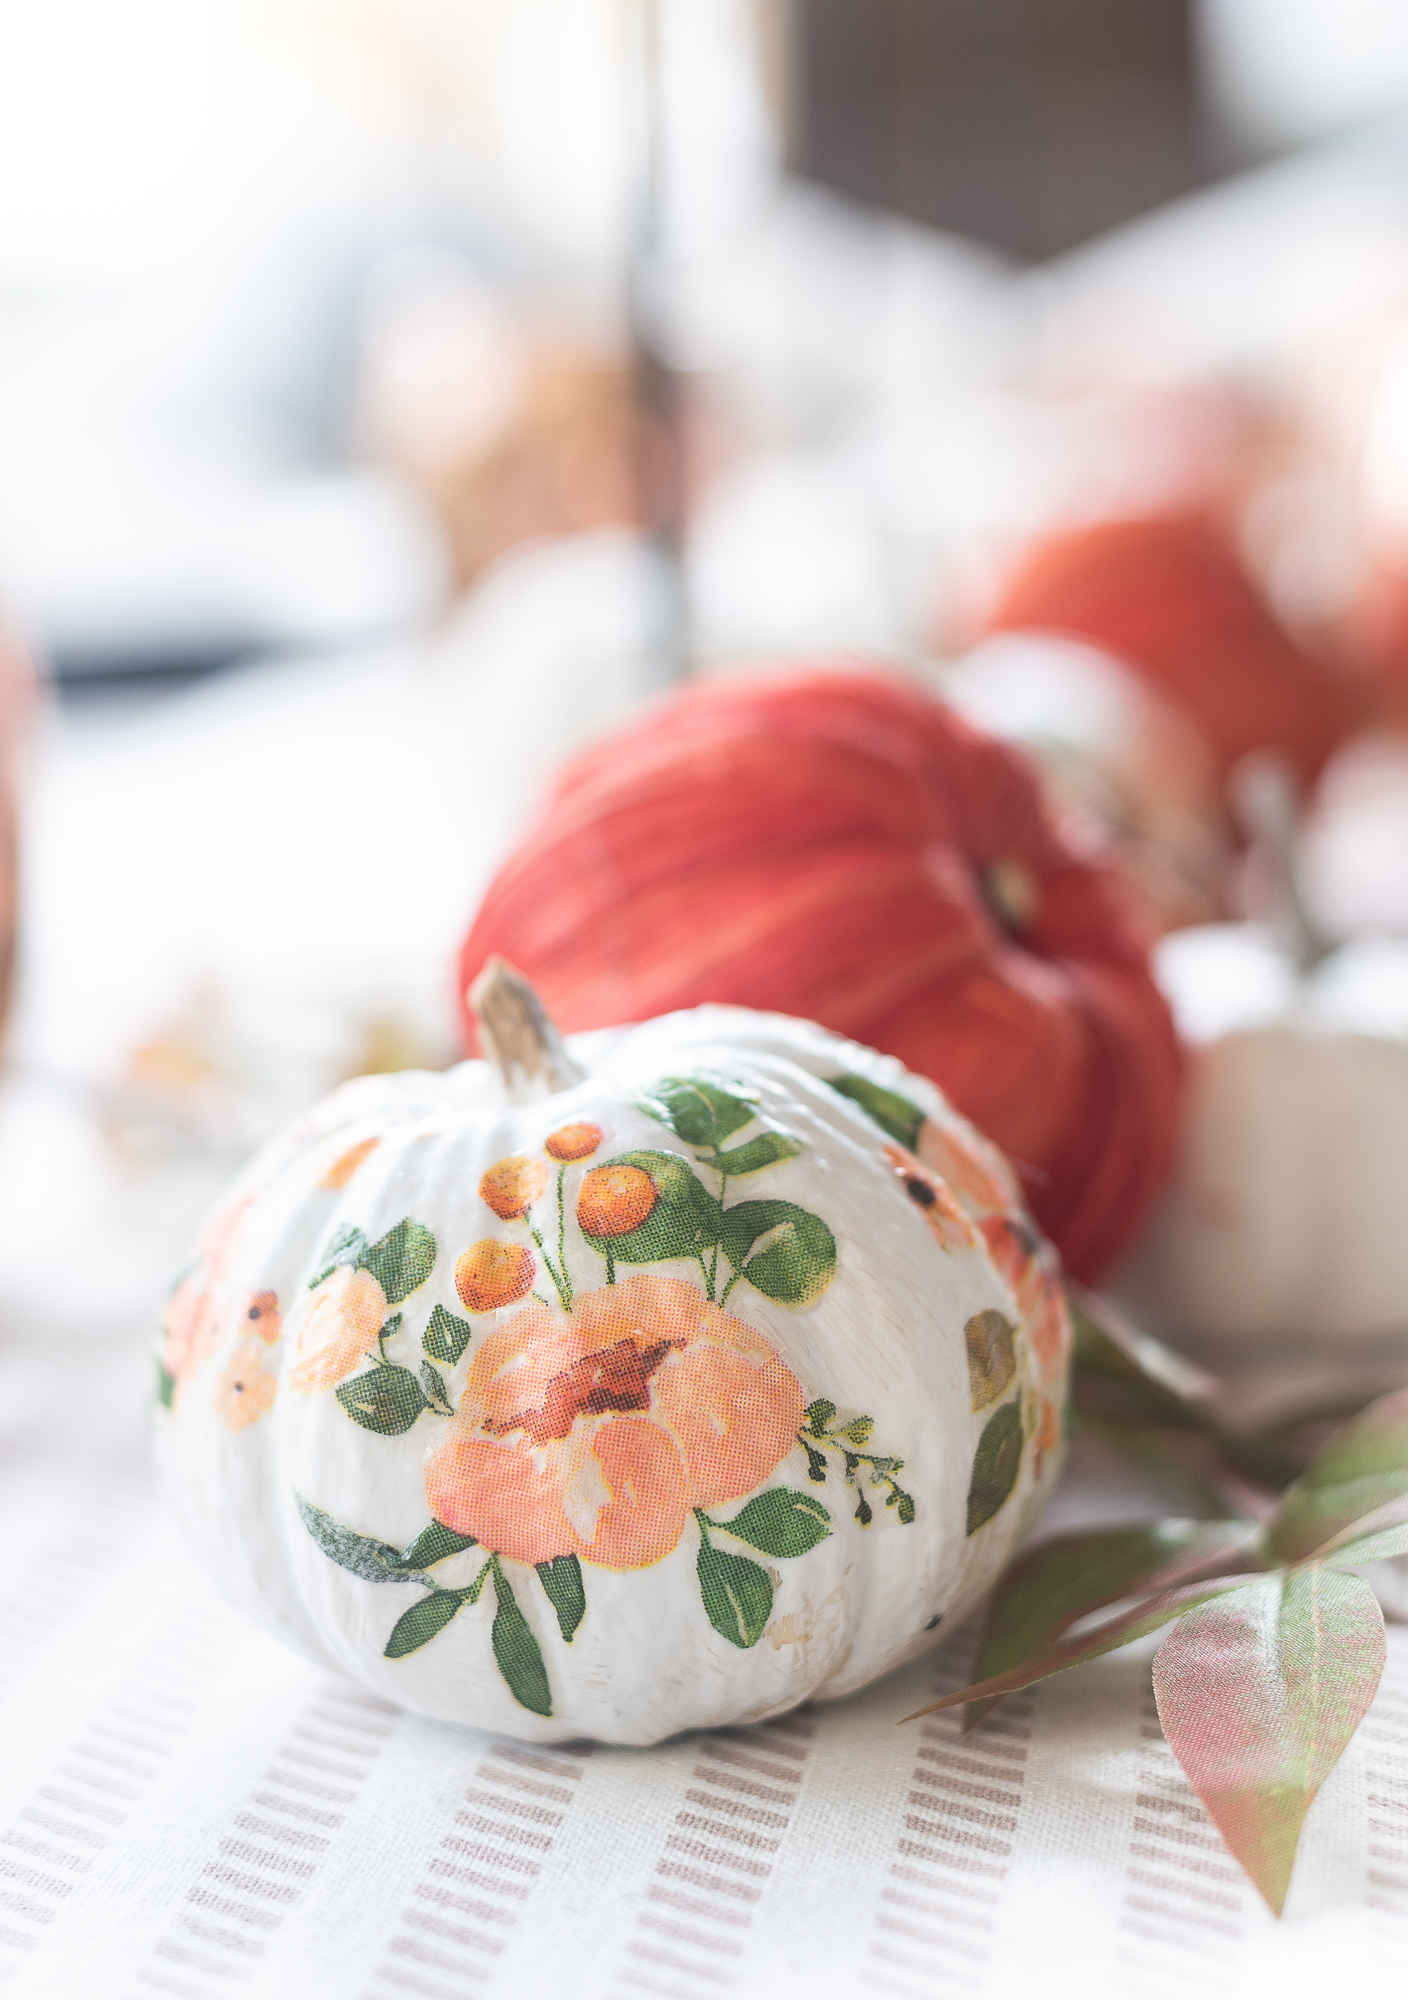
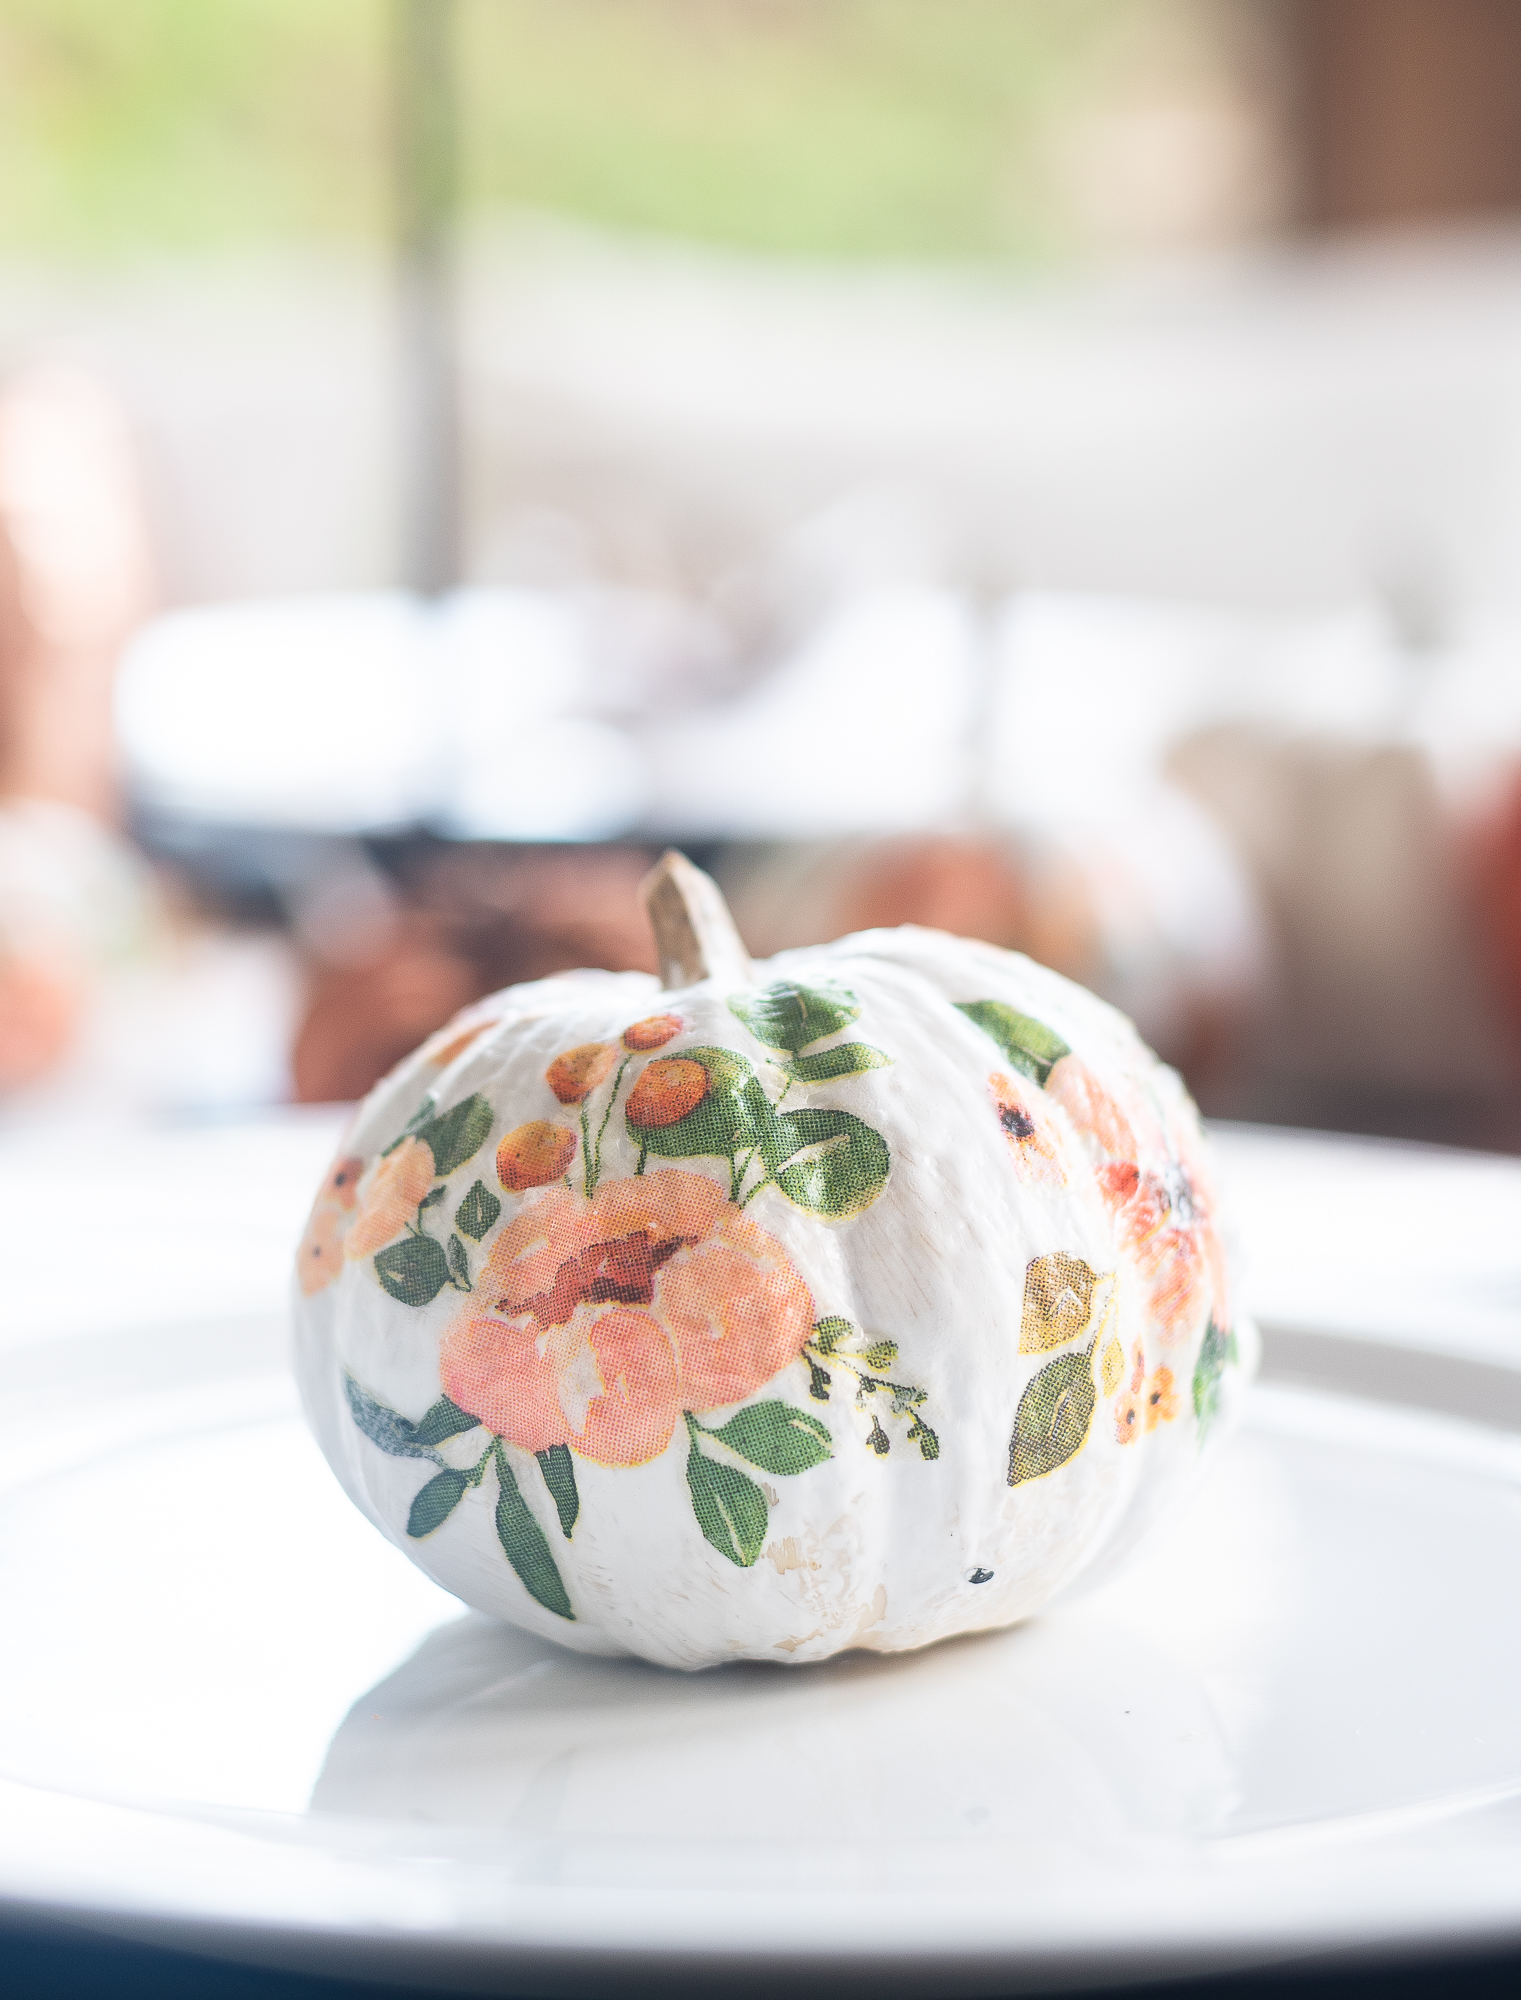
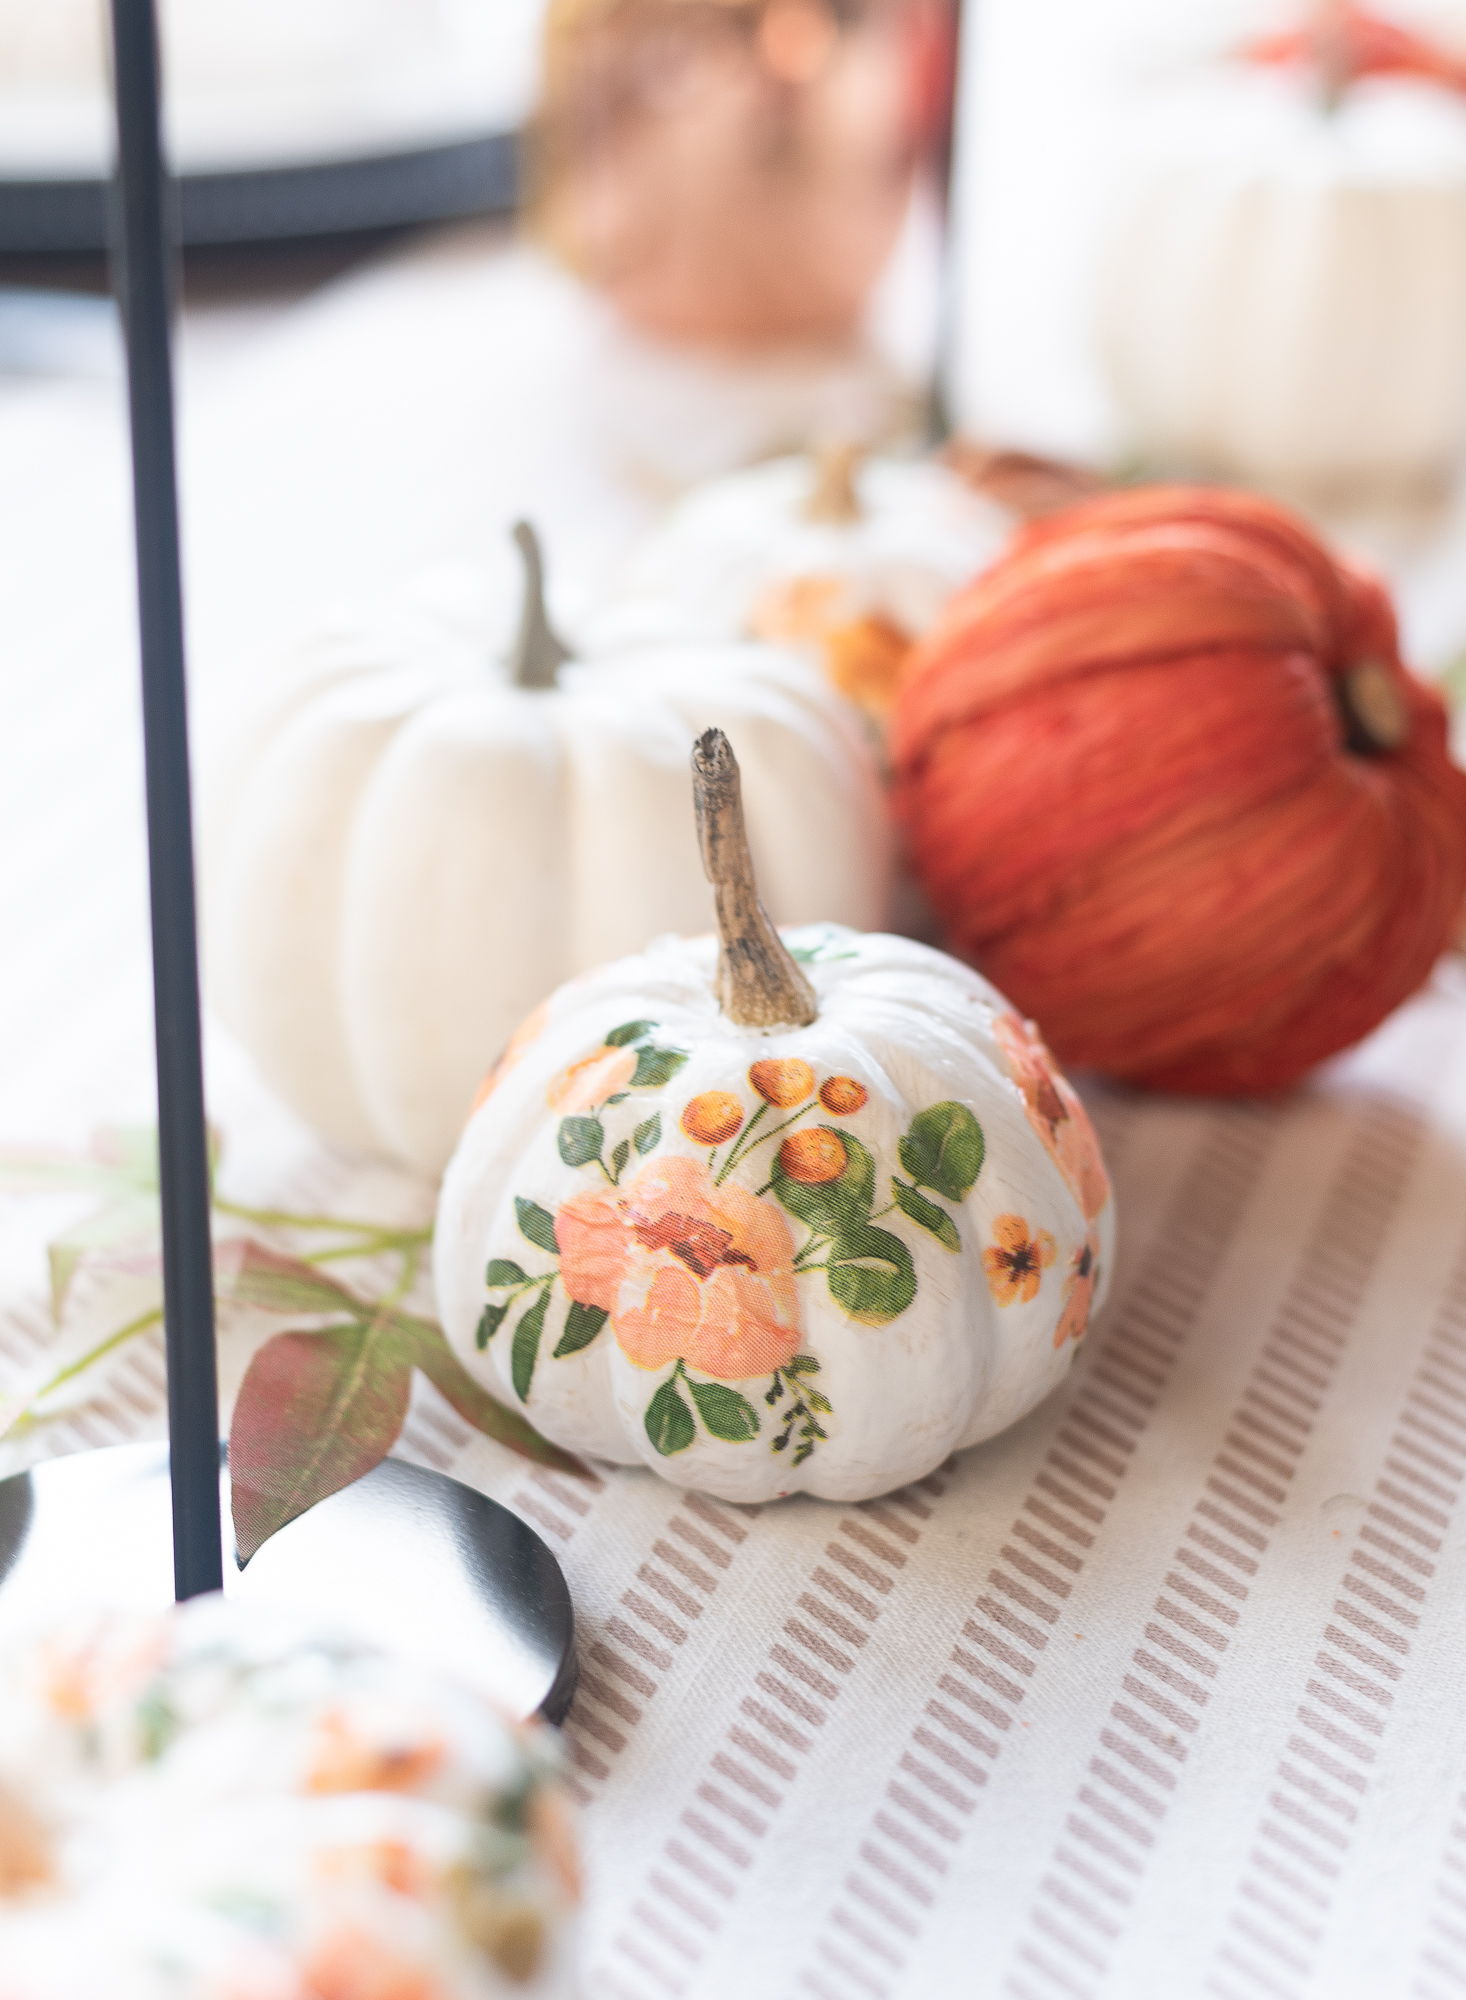
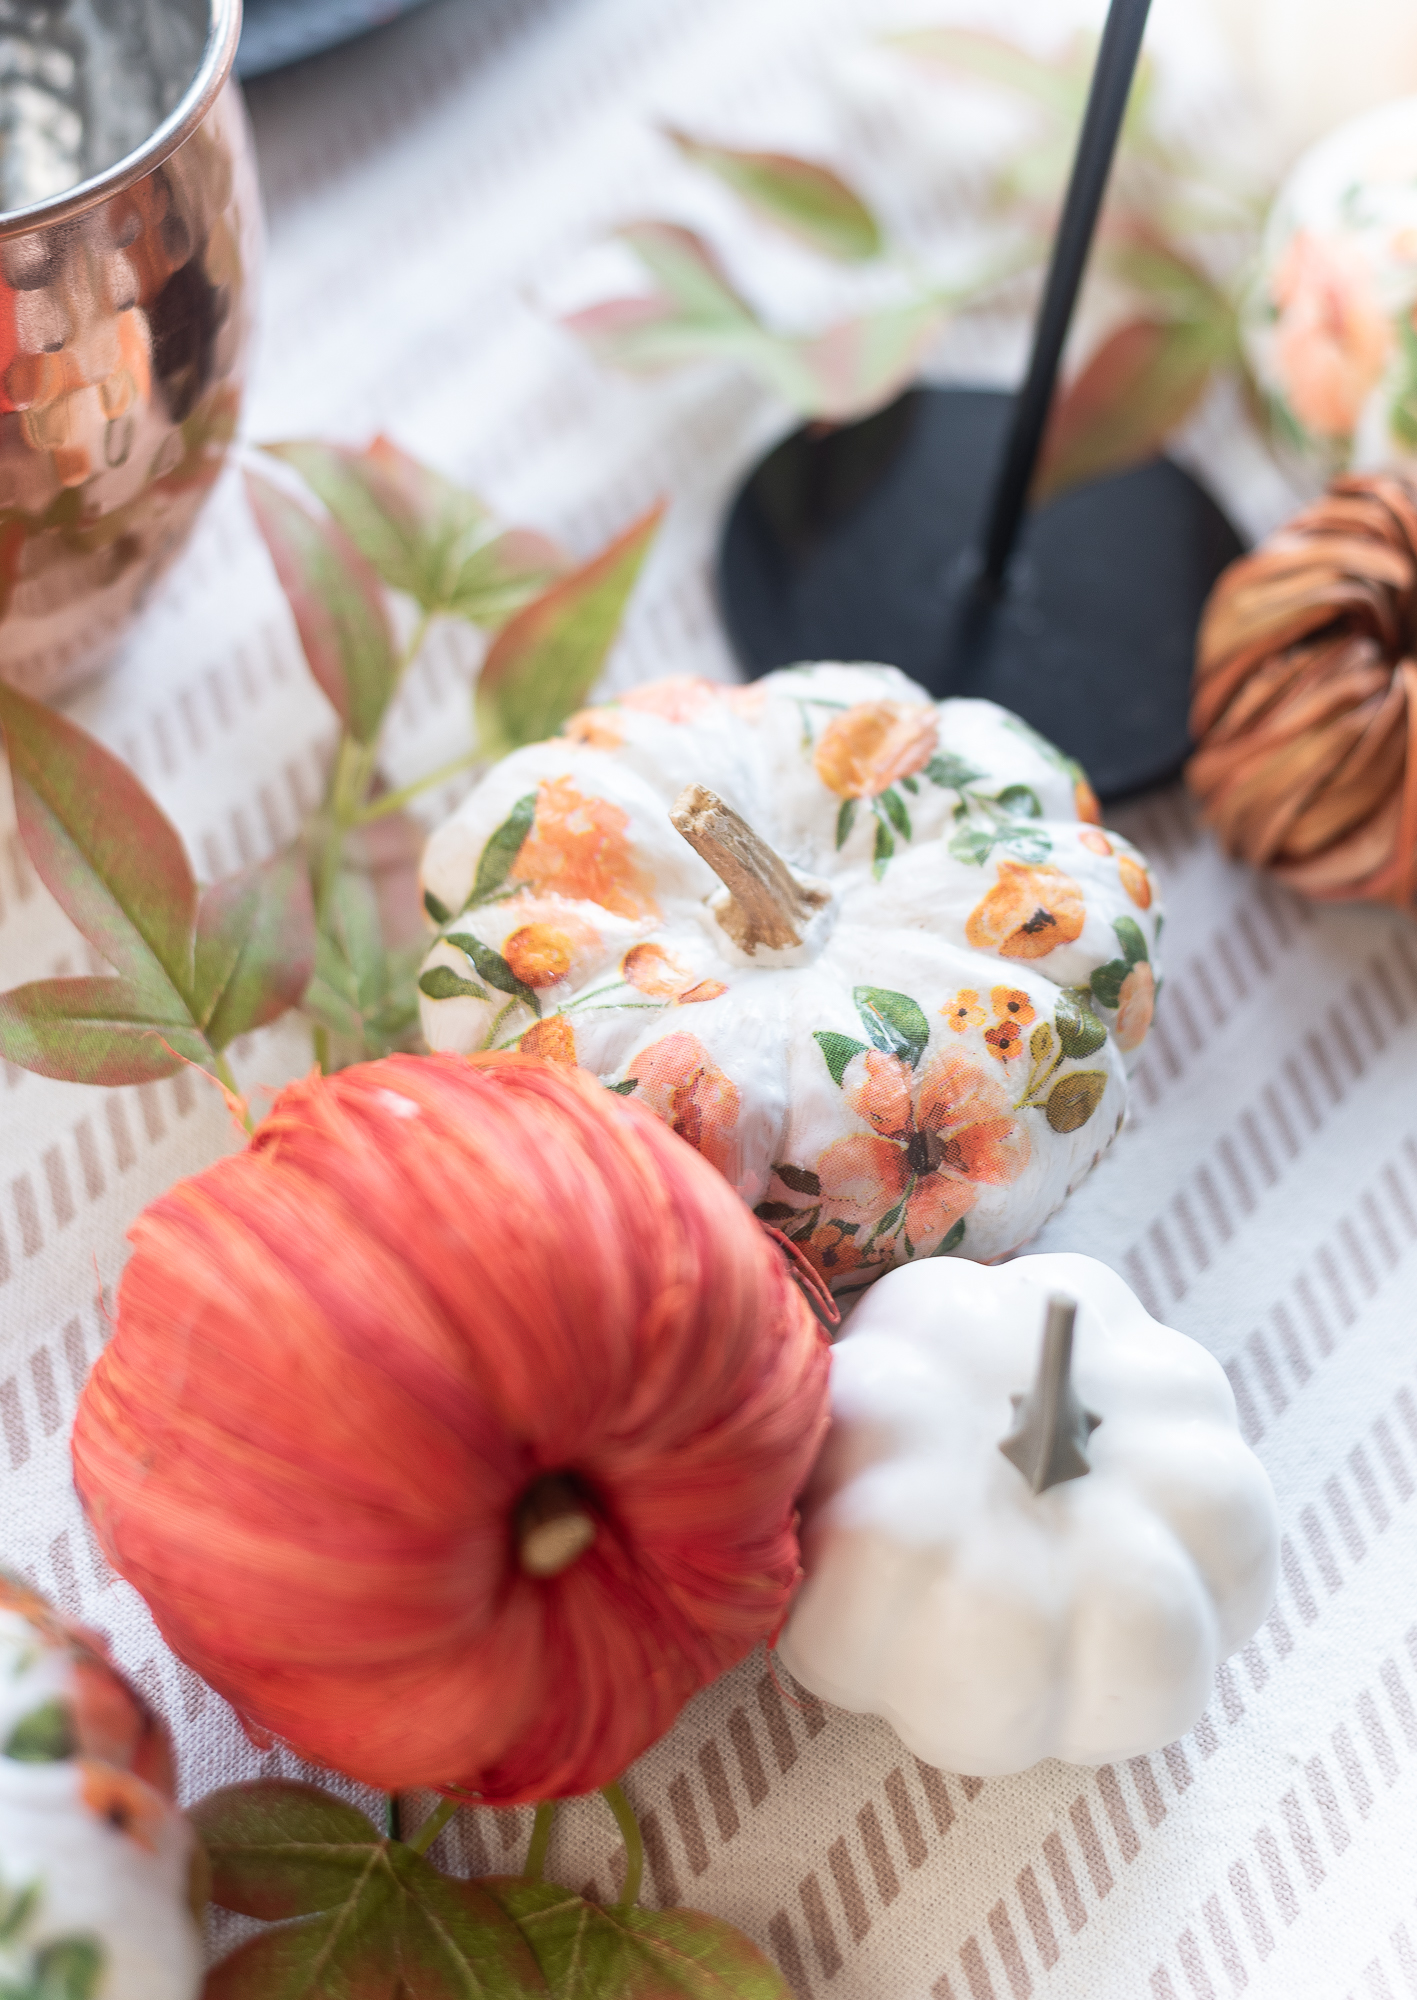
So this year I tried my hand at some pumpkin decoupage.
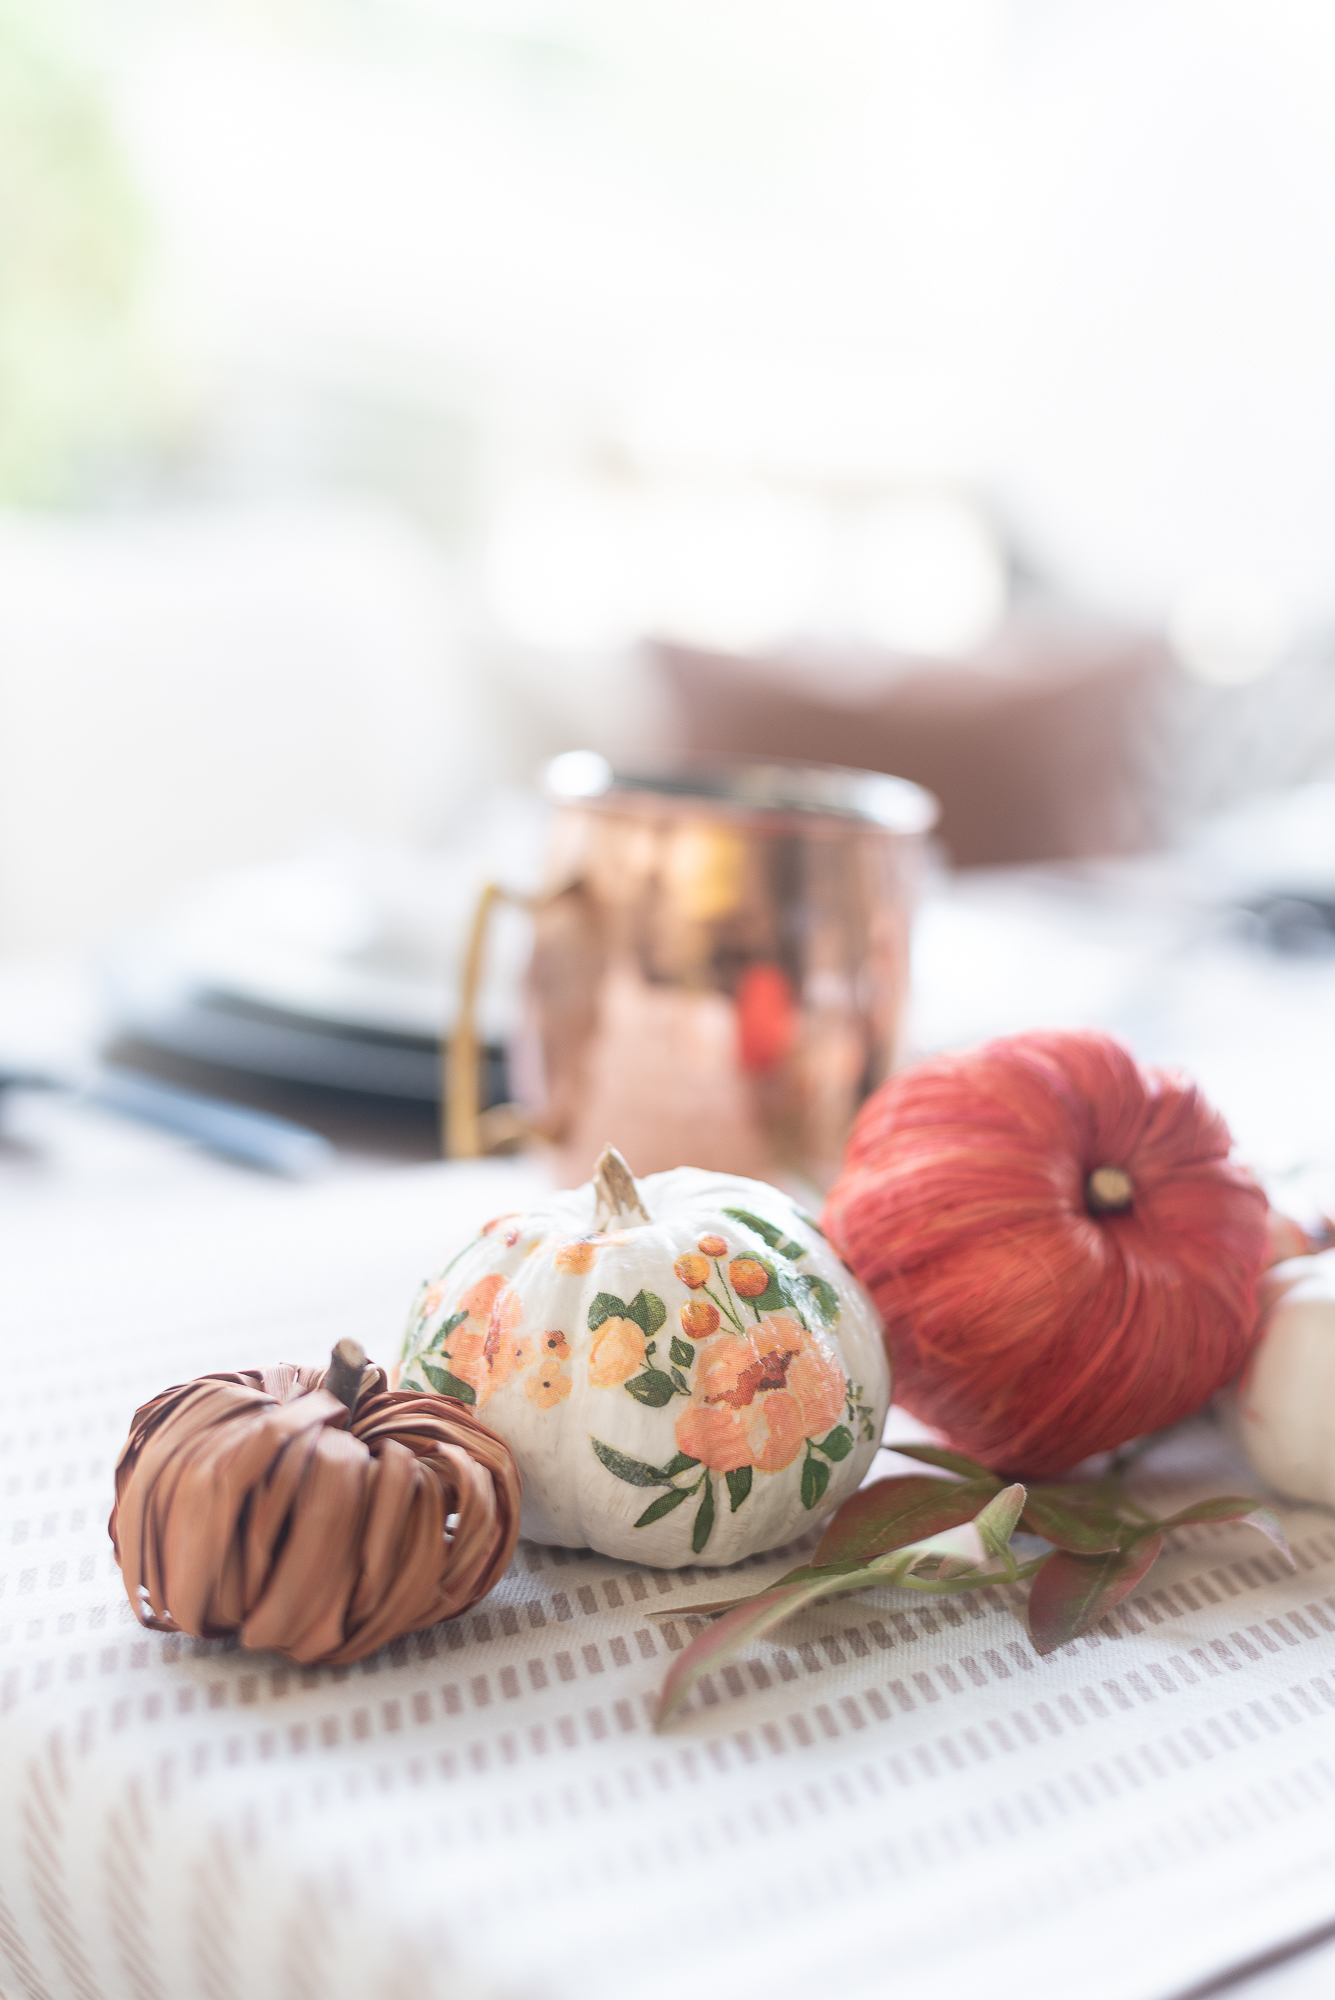
Oh, and don’t be fooled by some of these pictures. These are mini pumpkins. Like fit in the palm of your hand sized pumpkins.
Decoupage Pumpkin Craft: Easy How To Decoupage Pumpkins
Materials*
Mini Pumpkins (found mine at the grocery store)
Brush
Paint & Painter’s Tape (optional)
*includes affiliate links.
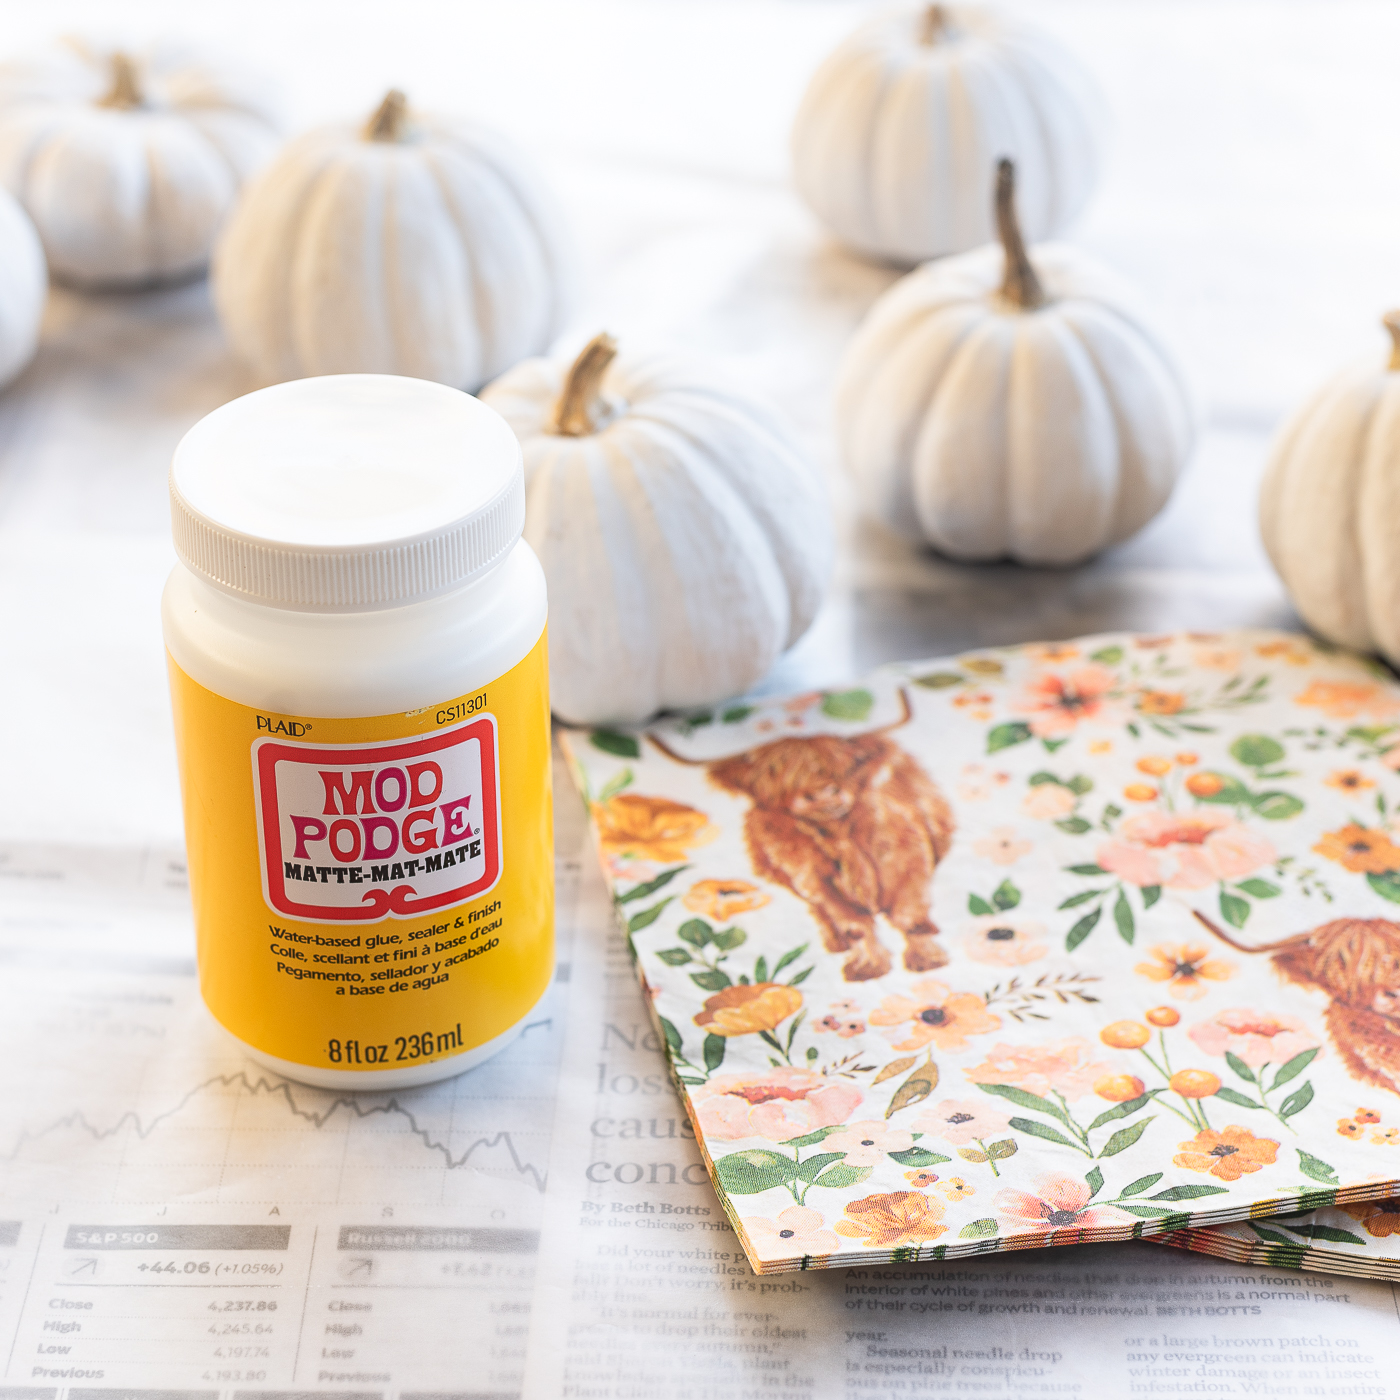
I started with my materials: Mod Podge, Decorative Napkins, and real Mini Pumpkins. My pumpkins started to yellow so I gave them a quick coat of white chalk paint (you can also use white acrylic paint).
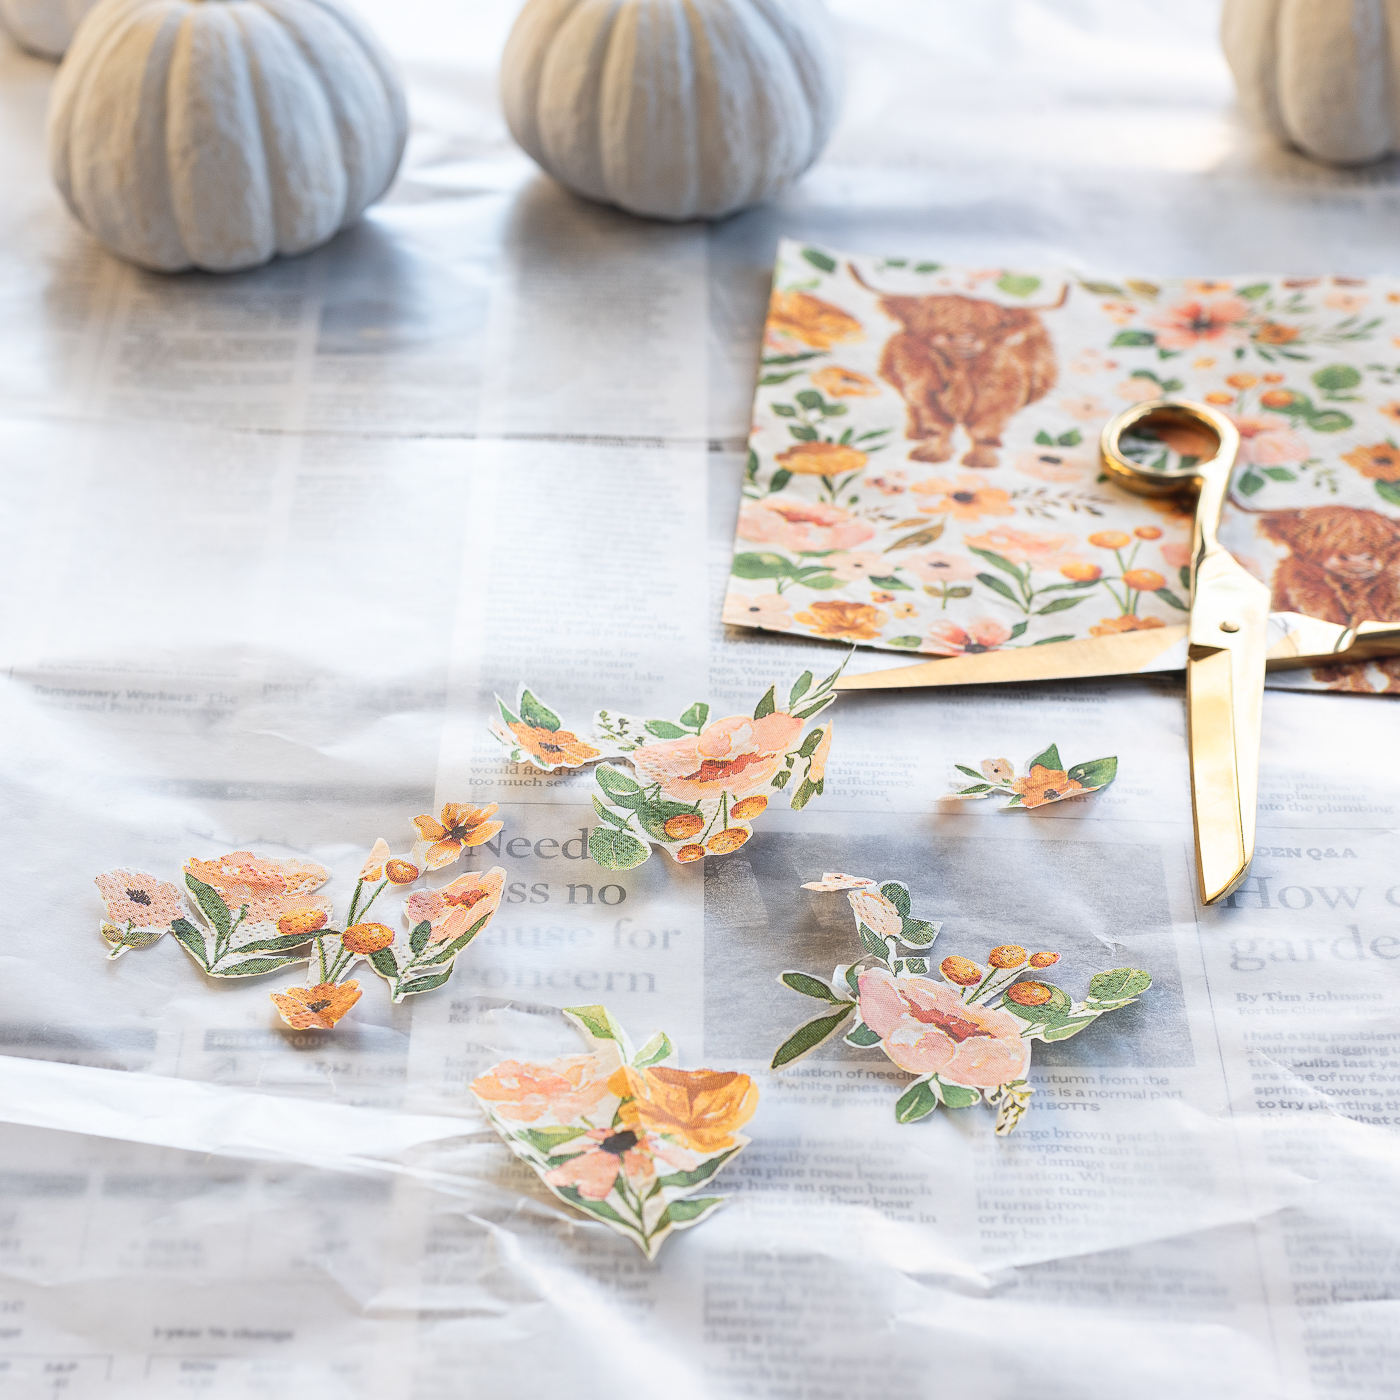
Cut out flowers from your napkins. Quick tip: Cut out more than you think you’ll need. It felt like I cut out hundreds and ended up using pretty much all of them!
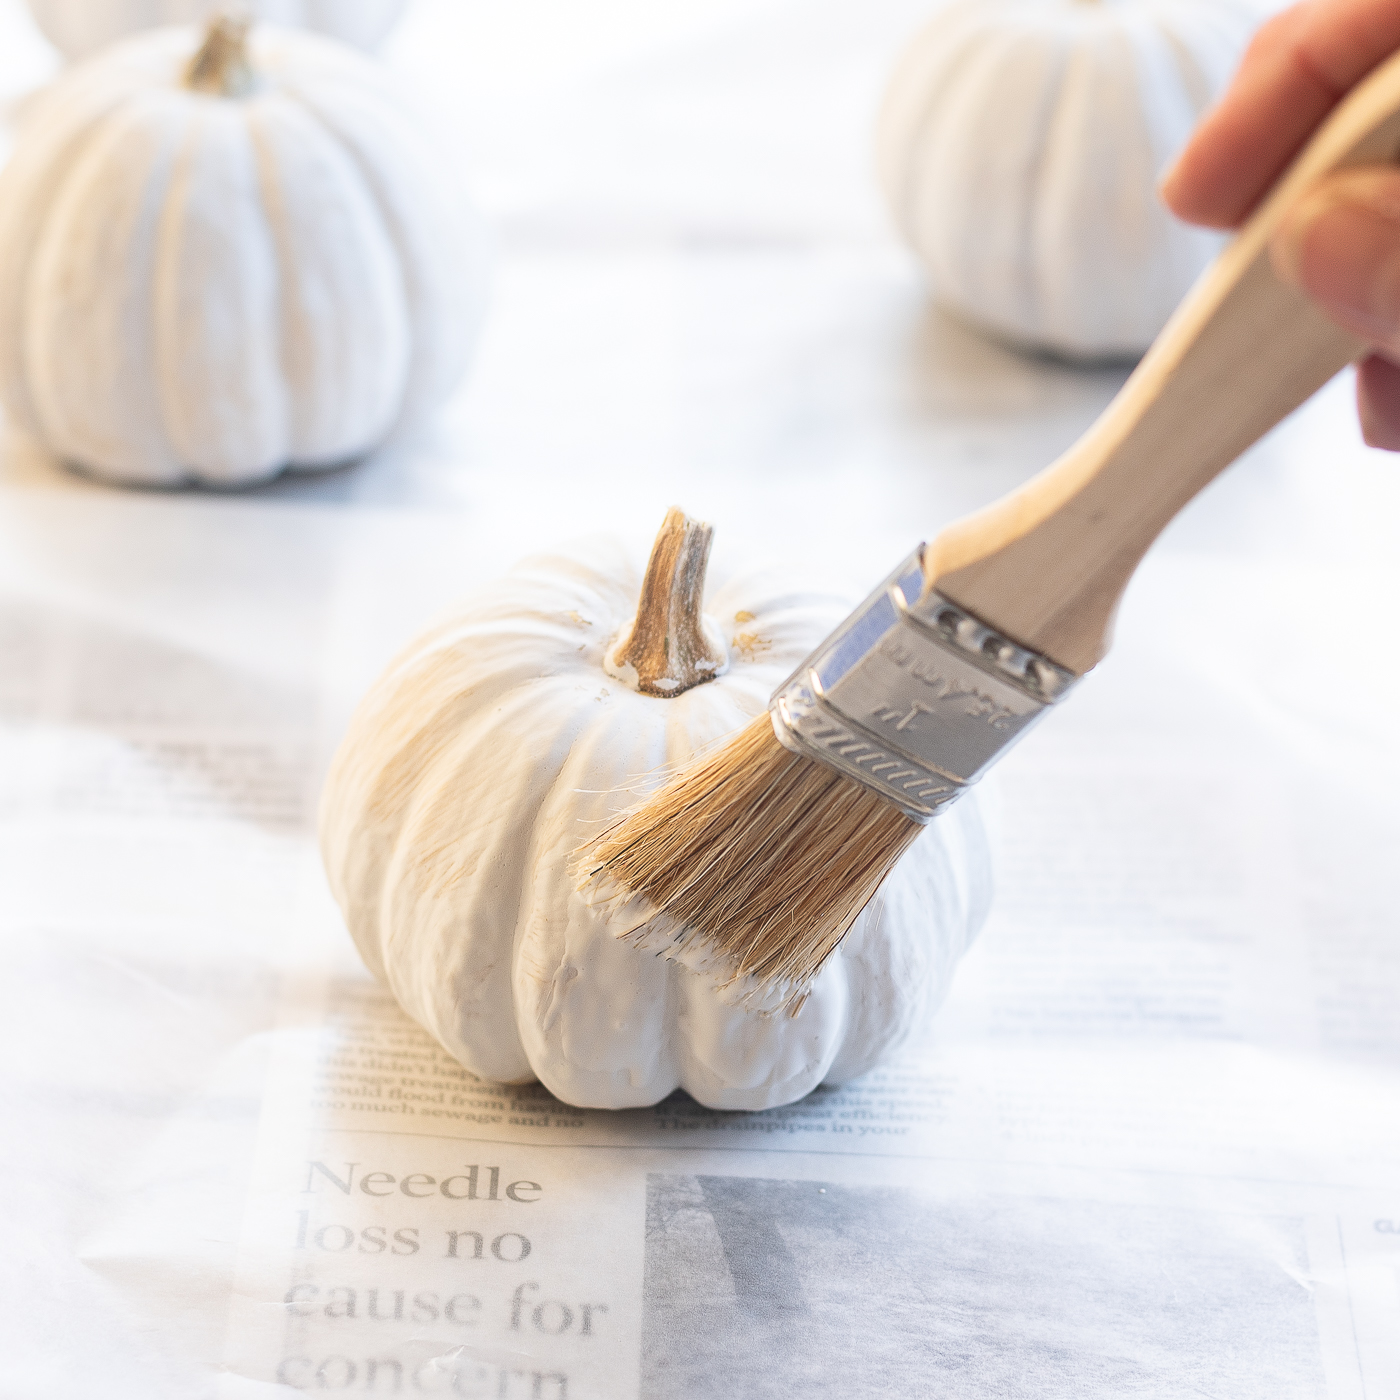
Using a chip brush (you can also use a foam brush), I coated the pumpkin with a generous amount of Mod Podge.
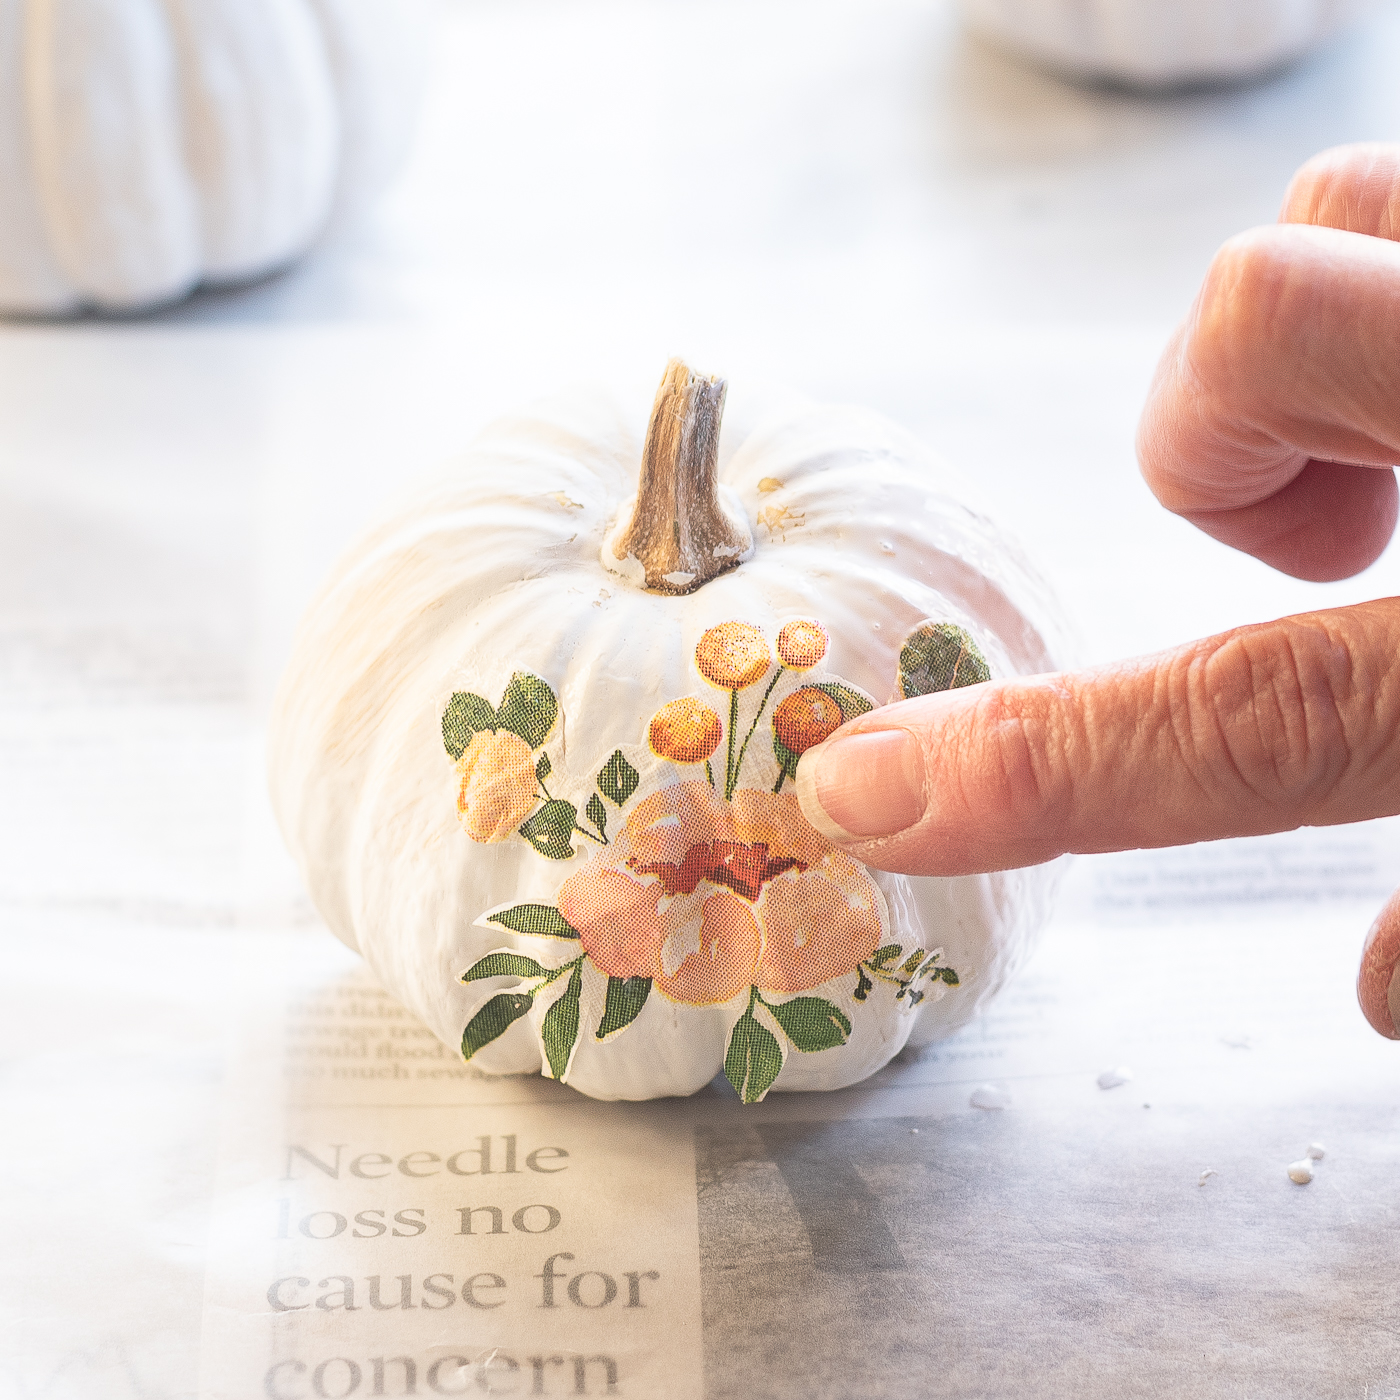
Use your fingers to press flowers into the Mod Podge. I also used the brush to push into cervices on the pumpkin.
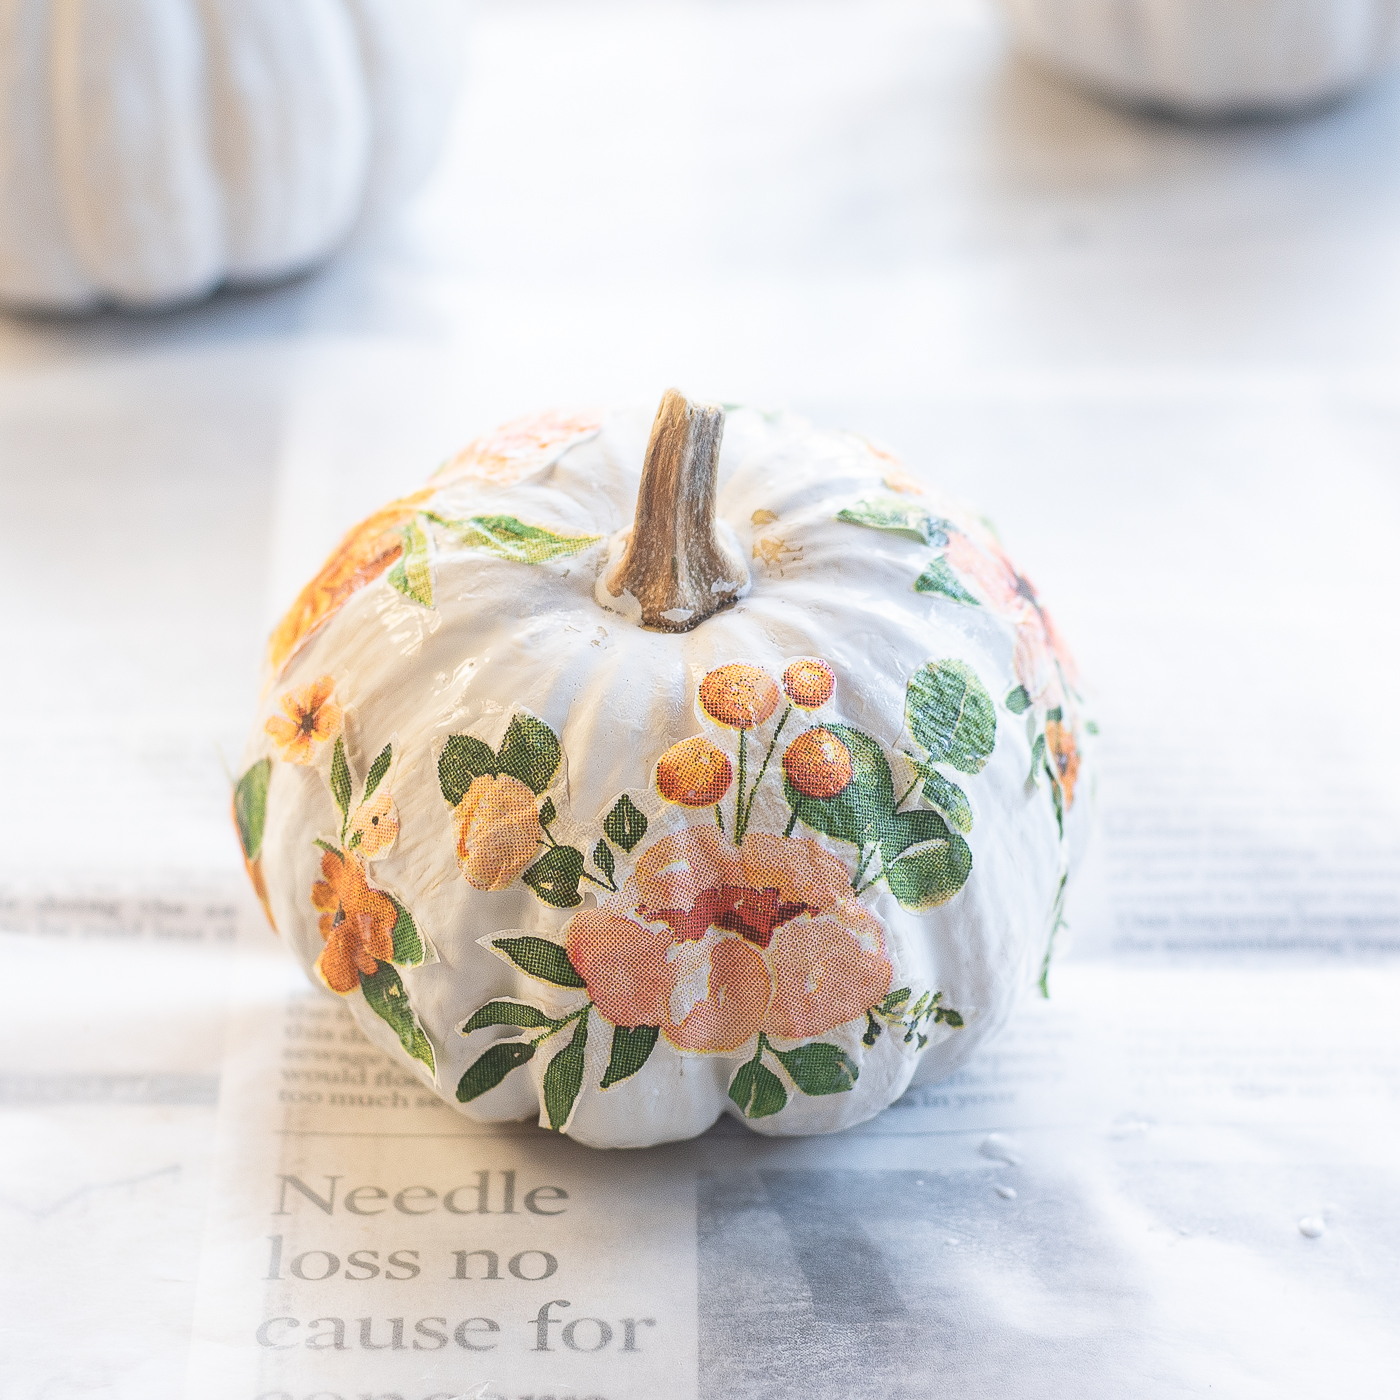
Continue the process around the pumpkin.
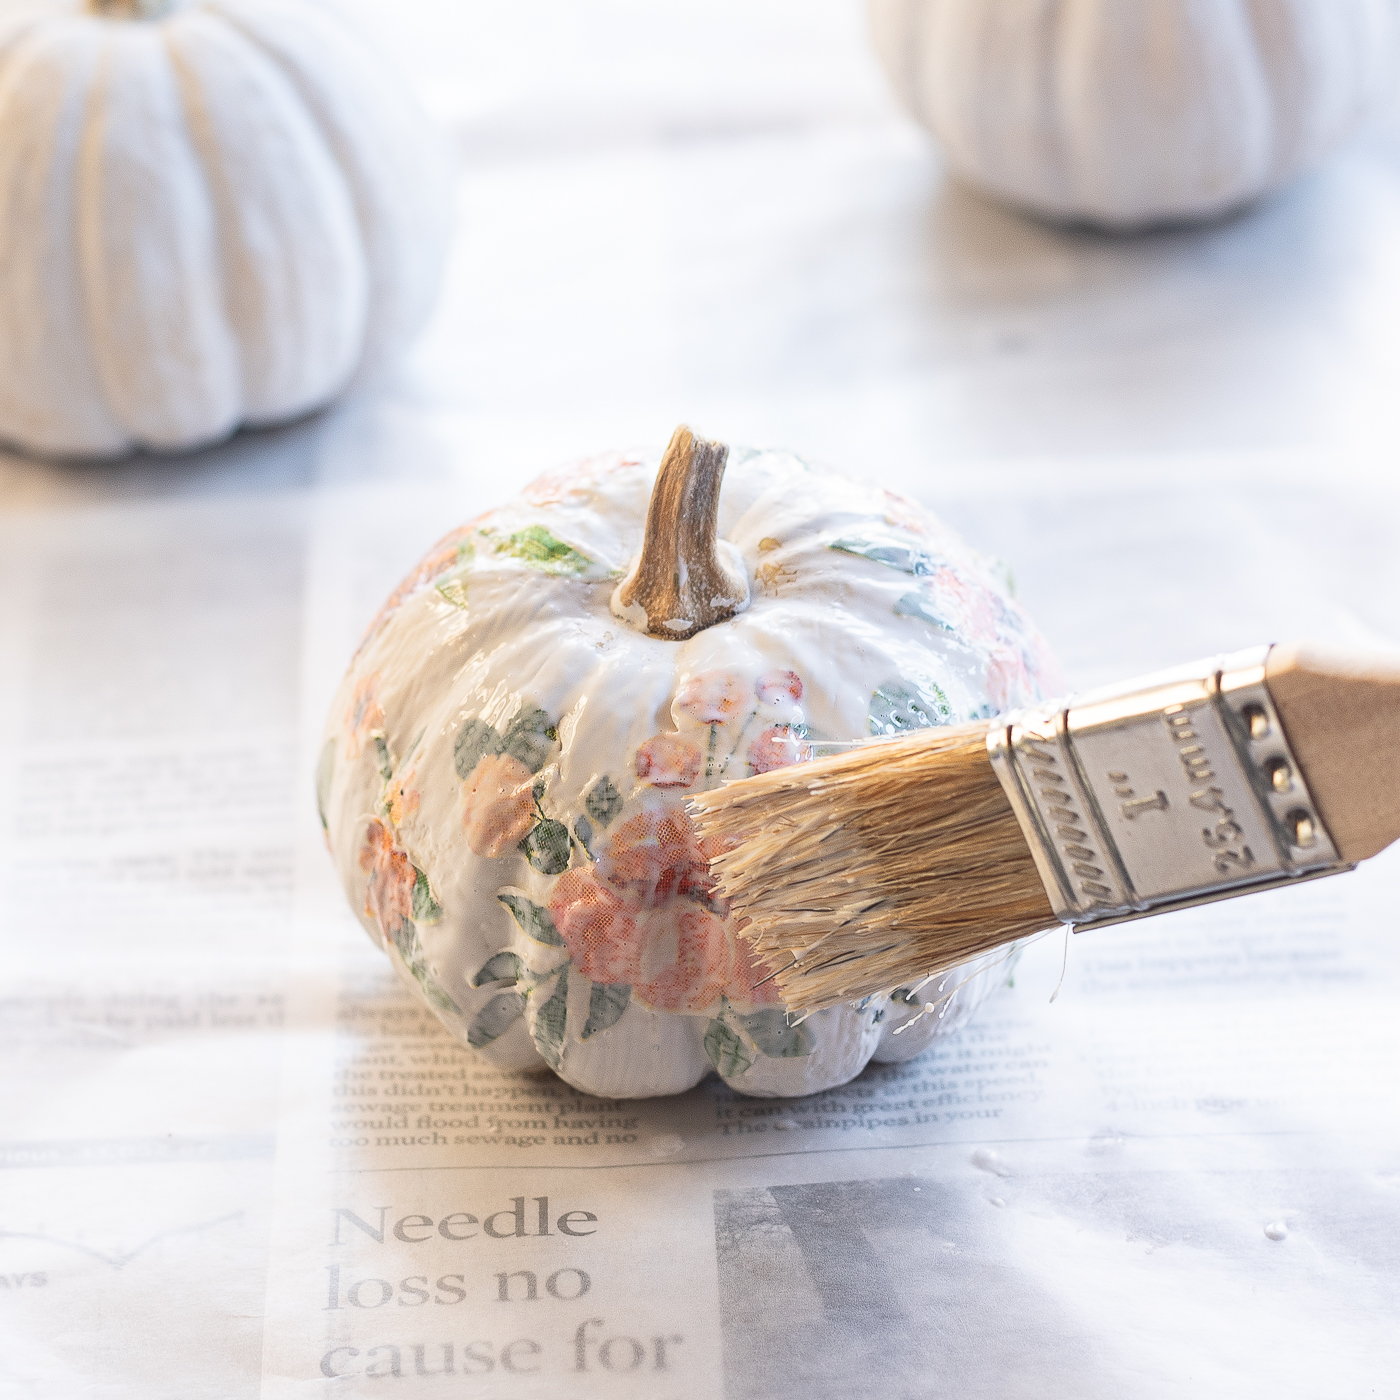
Now give the whole pumpkin a very generous coat of Mod Podge, using your brush and fingers to push down into the pumpkins crevices.
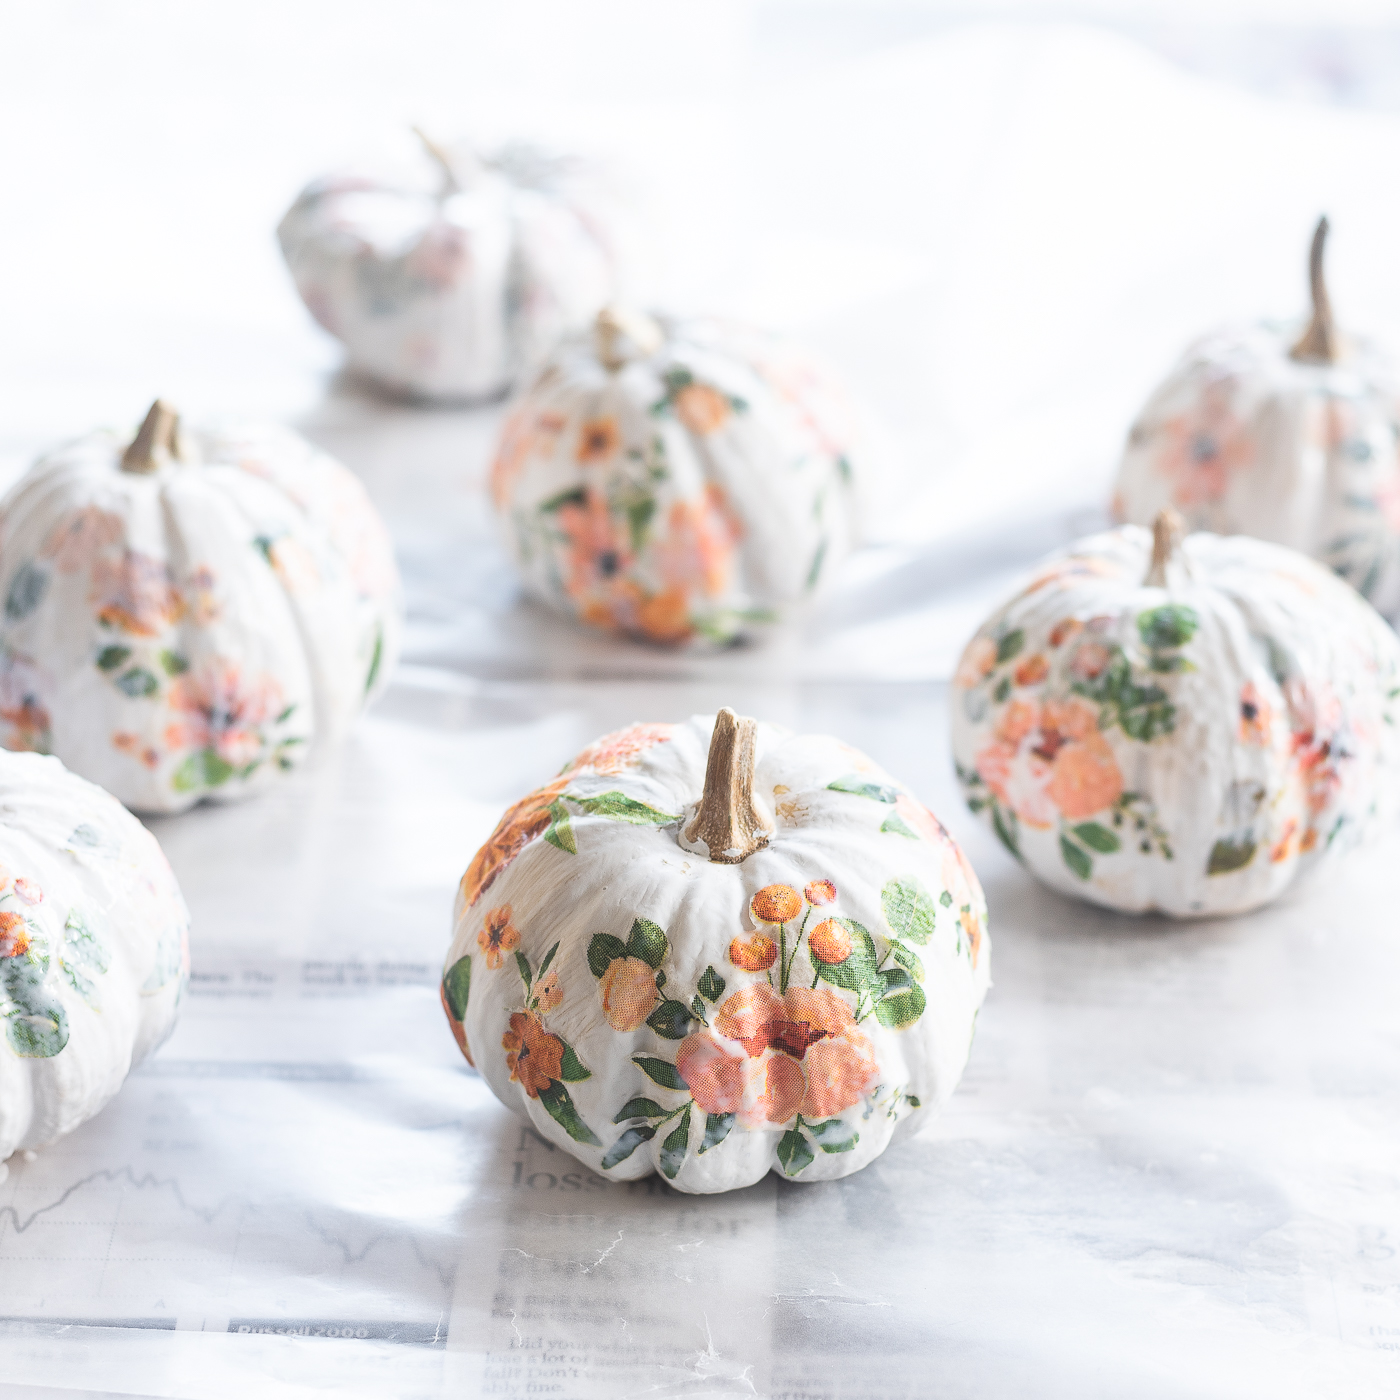
Now just let them dry overnight.
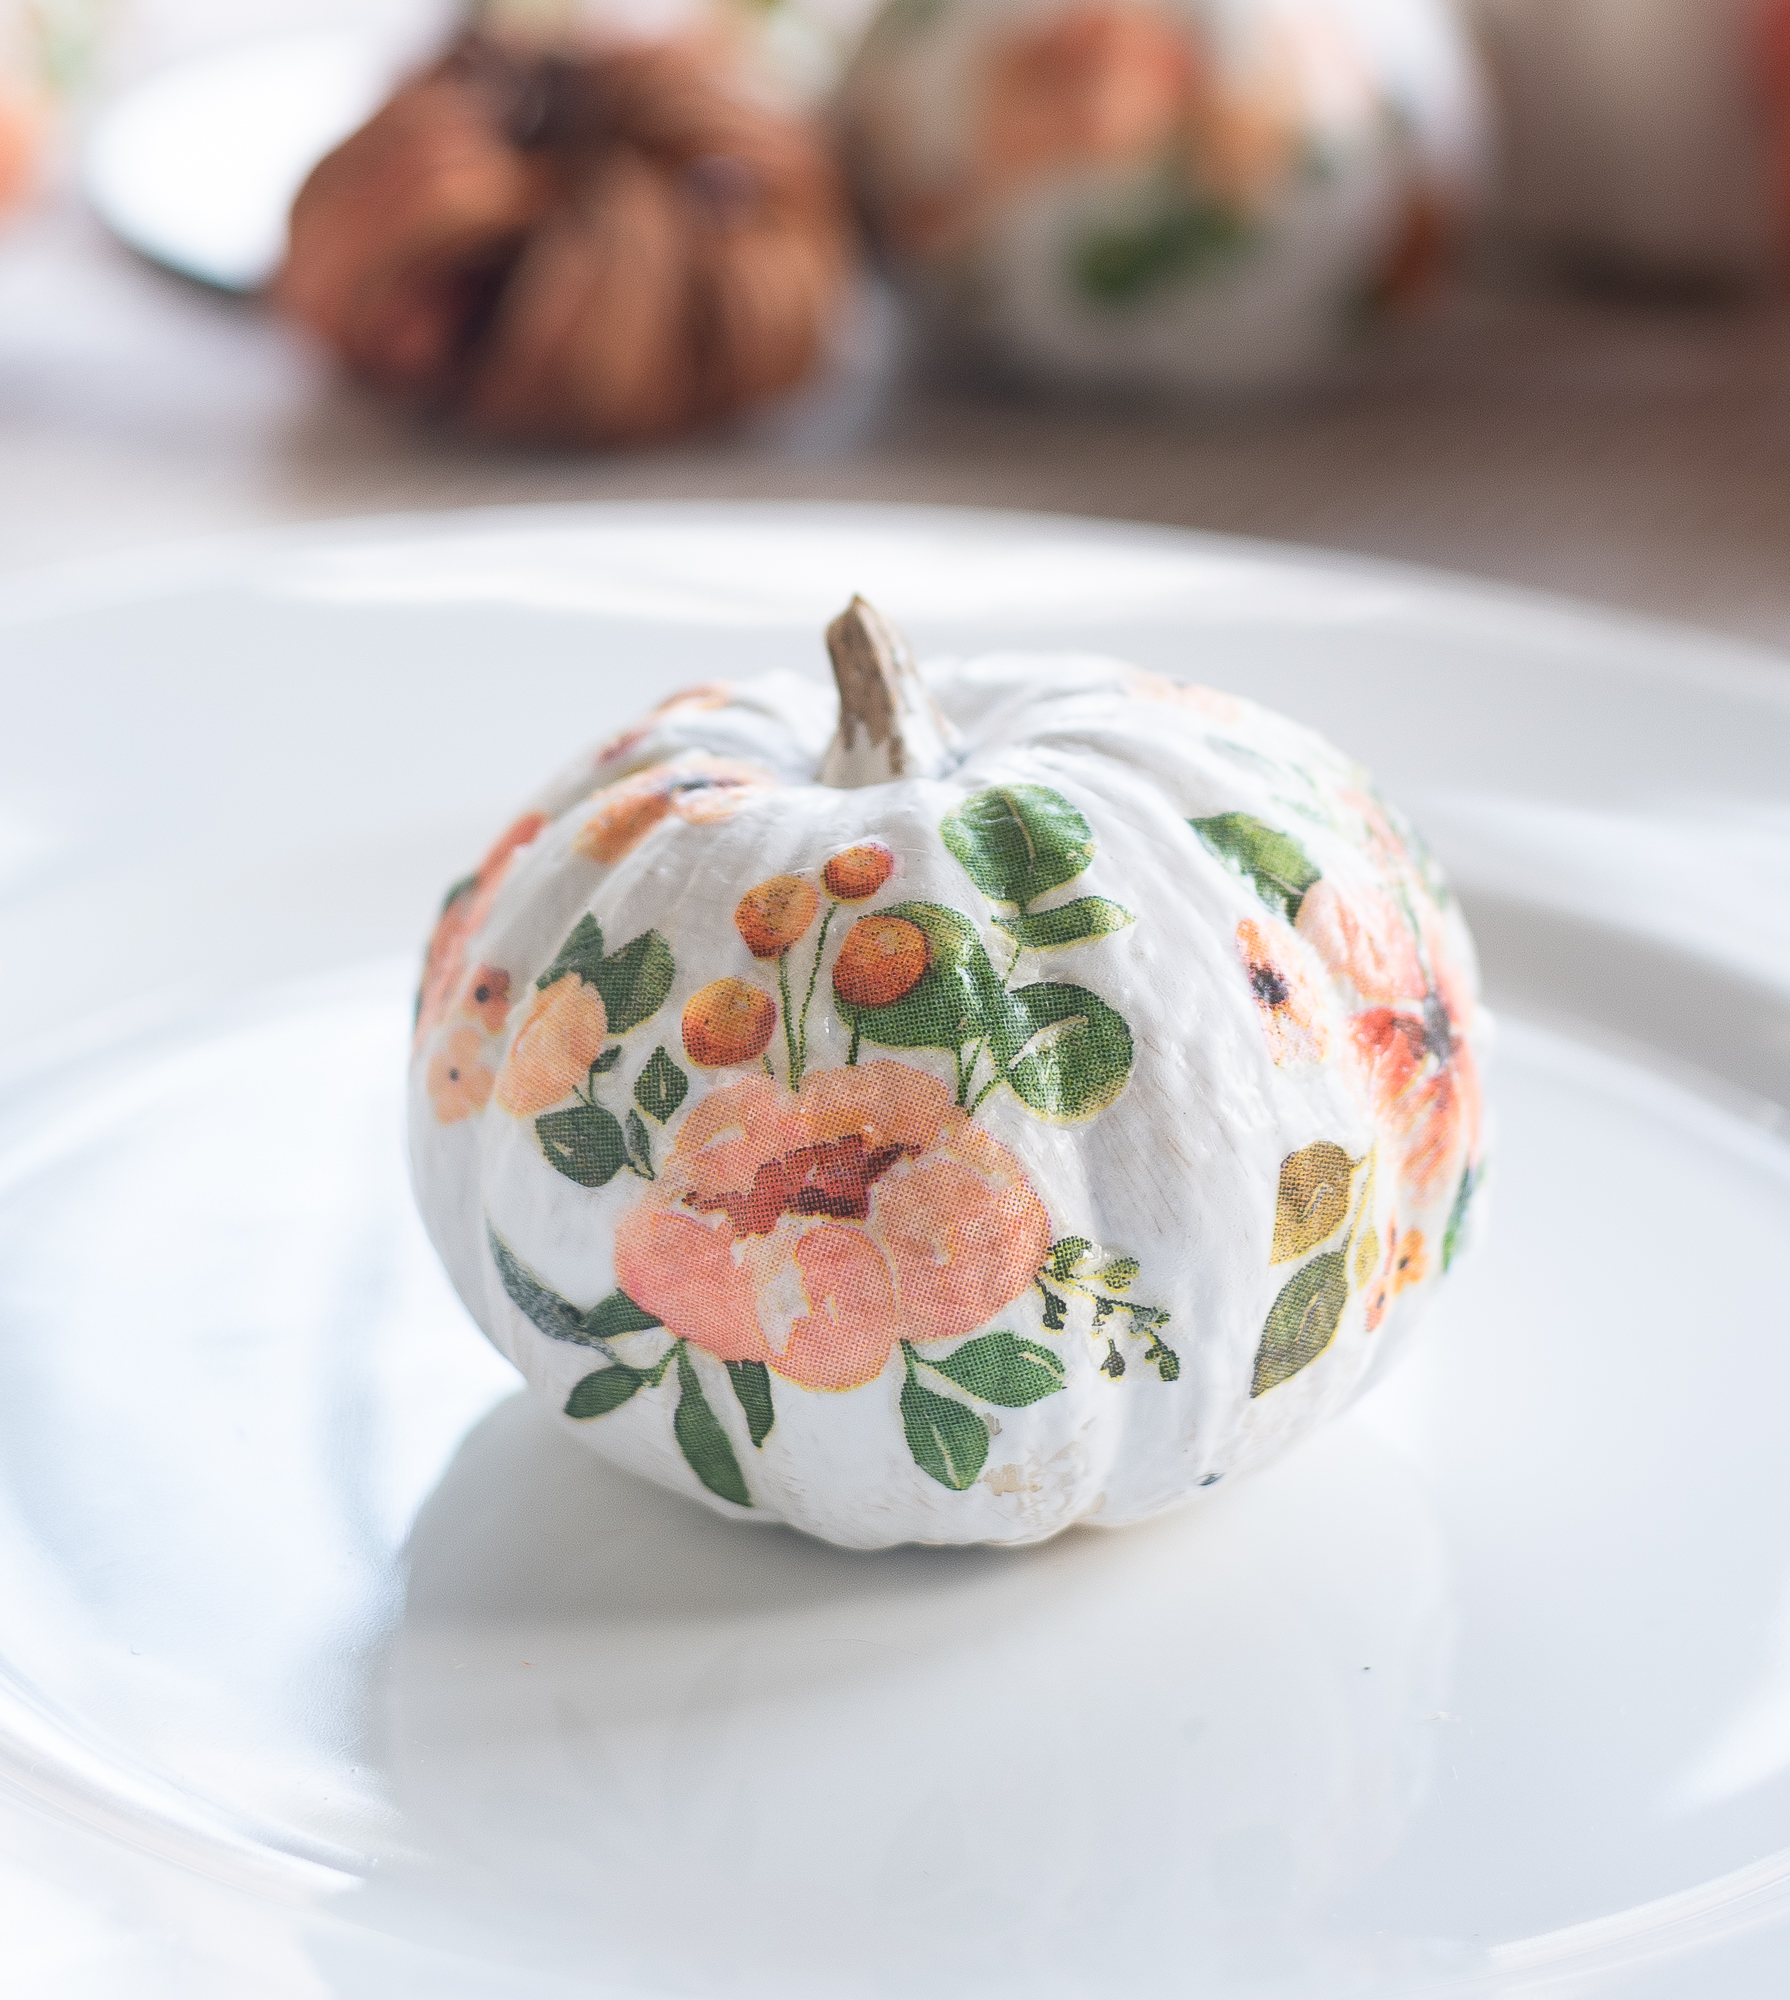
And that’s it!
I used these mini decoupage pumpkins for a Thanksgiving table setting idea that I’ll share on Friday. Until then …
You Might Also Like:
Click here for all my no carve pumpkin crafts!

Thanks for sharing your post with Creatively Crafty Link Party, we hope to see you next week on Thursday for a new link party.
What a strange and scary arson situation! These pumpkins are just darling. I’m so impressed with how they turned out. Pinning. Visiting from Love Your Creativity. (I’d love to see you share this at my linkup as well, if you like: https://lifetalesbooks.blogspot.com/p/calling-fellow-bloggers.html)
Simply GORGEOUS, Linda!
Will be featuring you starting Wednesday at the Creative Crafts Linky Party! Pinned and shared!
Creatively, Beth
Thanks for sharing with us I’m featuring you this week when the next To Grandma’s house we go link party starts!
How lovely! At first, I thought you hand painted them. The detail is very pretty. It will be a shame to throw them away at the end of the season.
Thank you for sharing these with us at the Sunday sunshine blog hop!
have a great week
Laurie
I just LOVE LOVE LOVE this, stunning! I’m sharing this link as well on Craft schooling Sunday features, and maybe next year I’ll find some pumpkins to decoupage!